
Already tried twice to build model MiG-15 aircraft
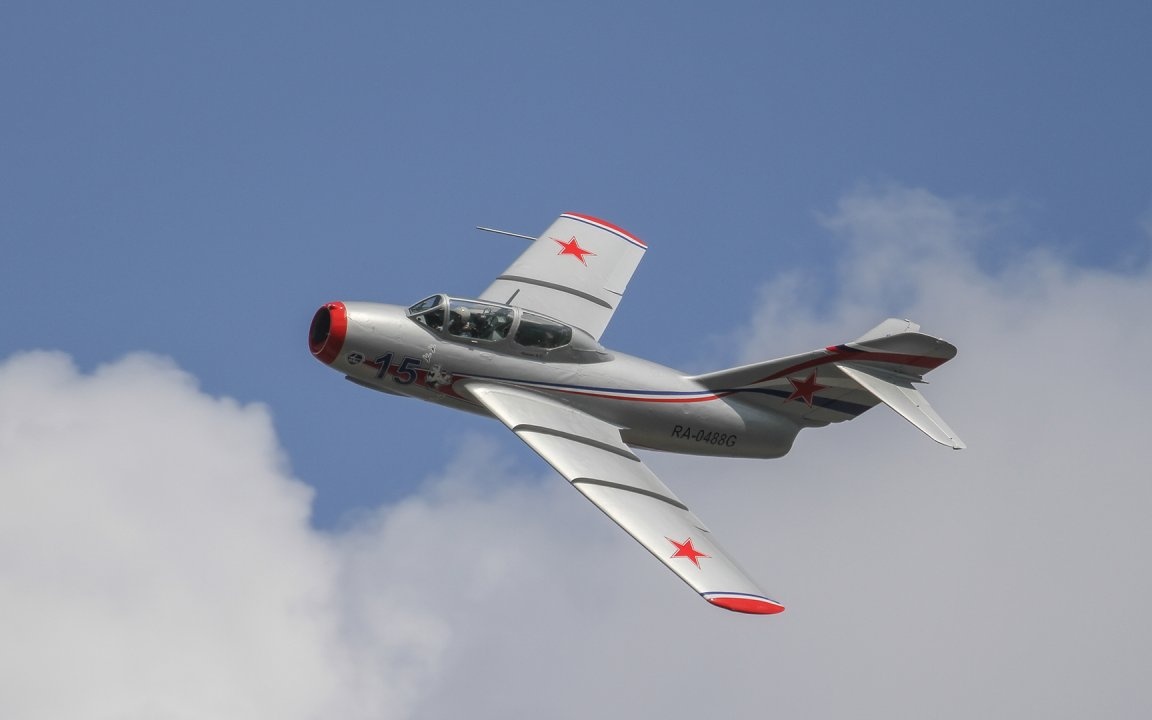
Apart from the "cartoon" and both times, my attempts were unsuccessful. The reasons were various, and above all, there was not enough experience in building such models.
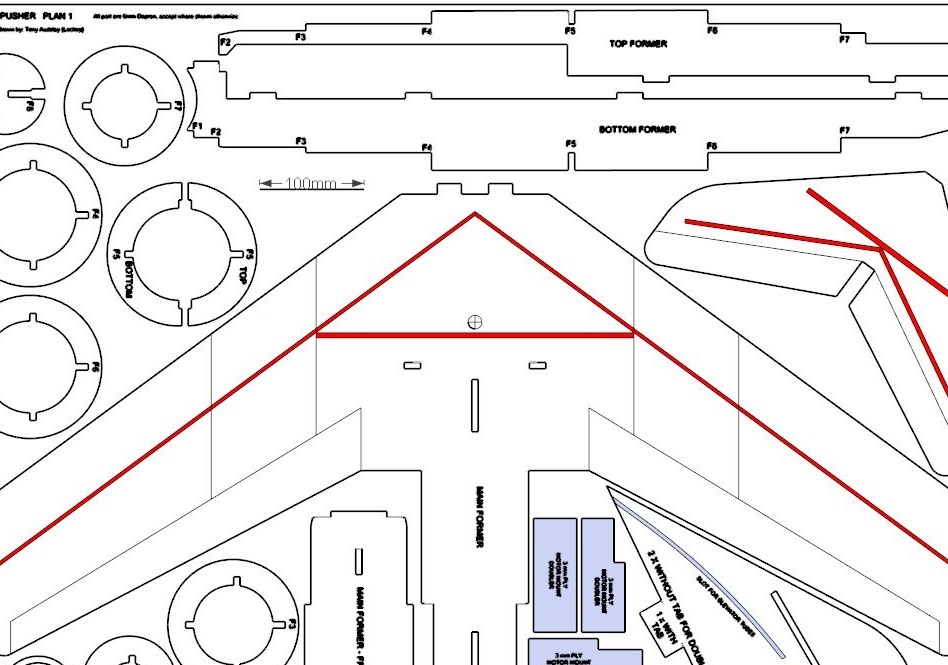
So I found an interesting version of this model on the forum and I want to analyze with you once again the course of its creation. The author has kindly provided drawings, scans and detailed drawings of the location of all structural parts. this model.

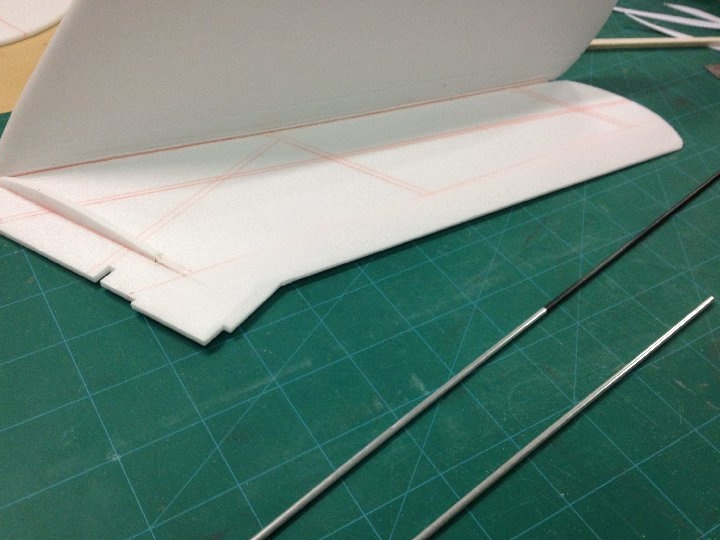
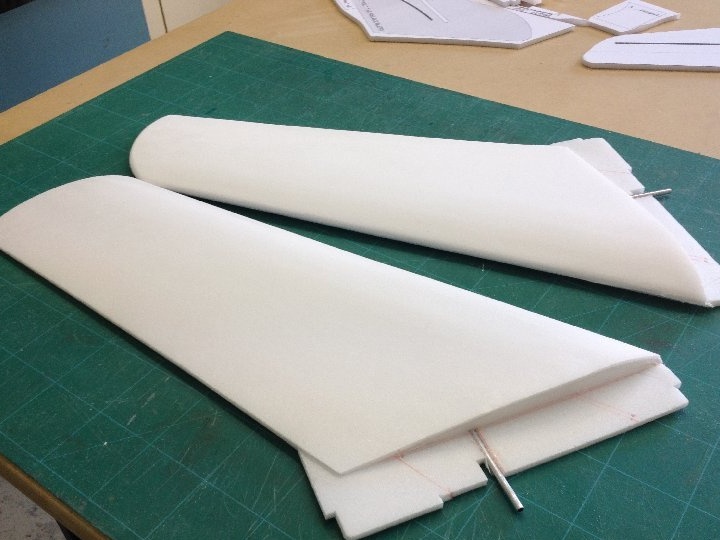
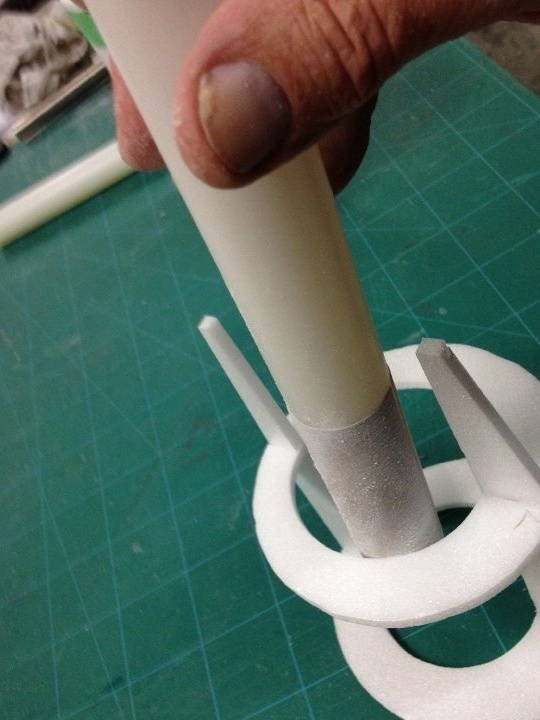
When installing the wings, the author uses pieces of an aluminum tube to connect the wings to the fuselage, I think that it can be replaced with a regular carbon fiber whip (tube) from a fishing rod. By the way, the fact that the end whips for the fishing rod are conical in shape will allow you to very precisely adjust the diameters of the joined segments.
All spars can be made of a wooden ruler, ceiling or substrate, placed on the edge.
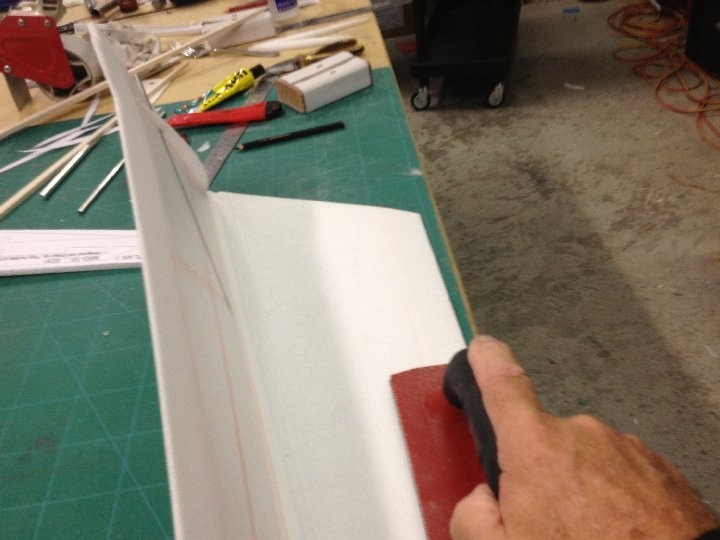

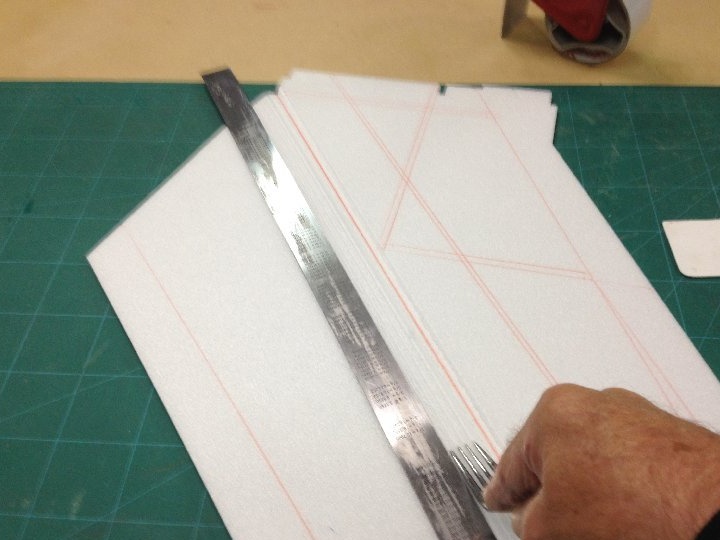

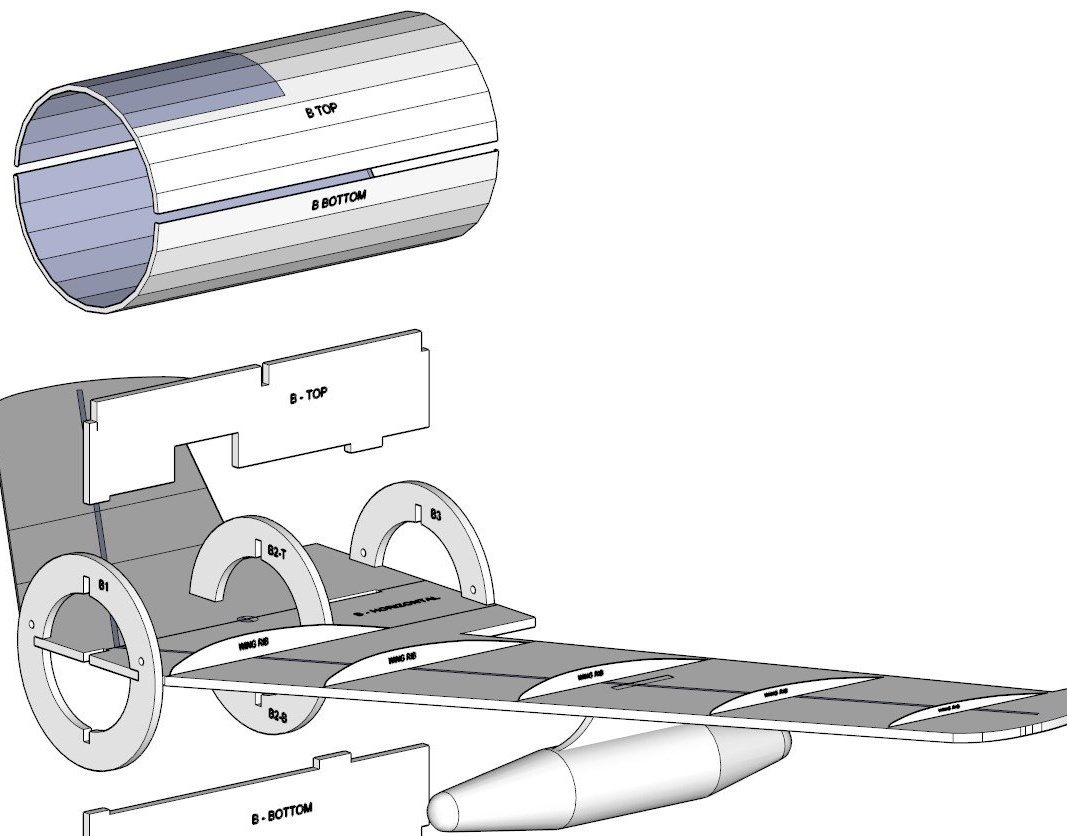
You can apply the technology of manufacturing wings and the one that the author offers in the following photos, using ribs. And you can make a flat wing of two layers of the ceiling or substrate.
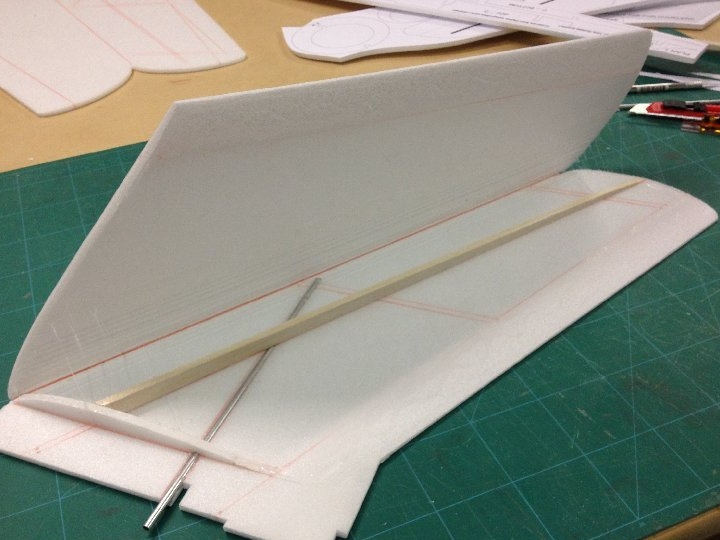
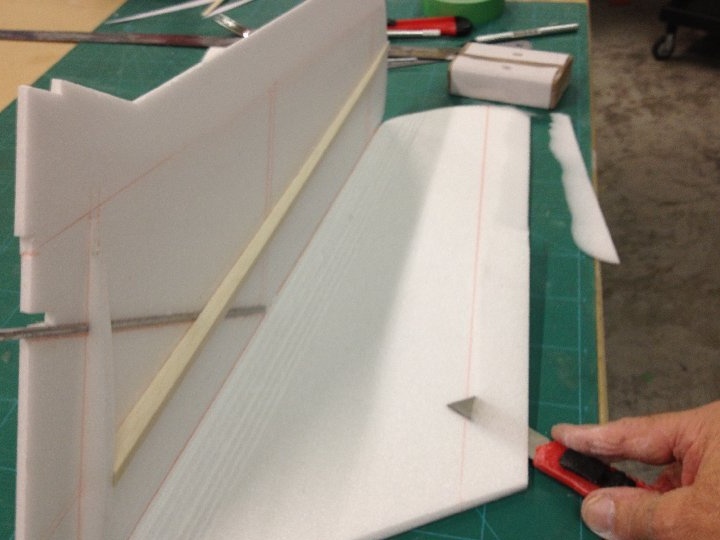
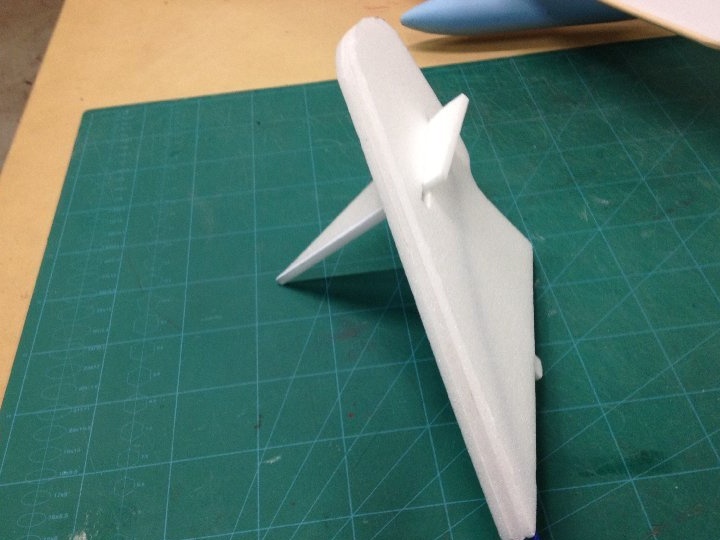
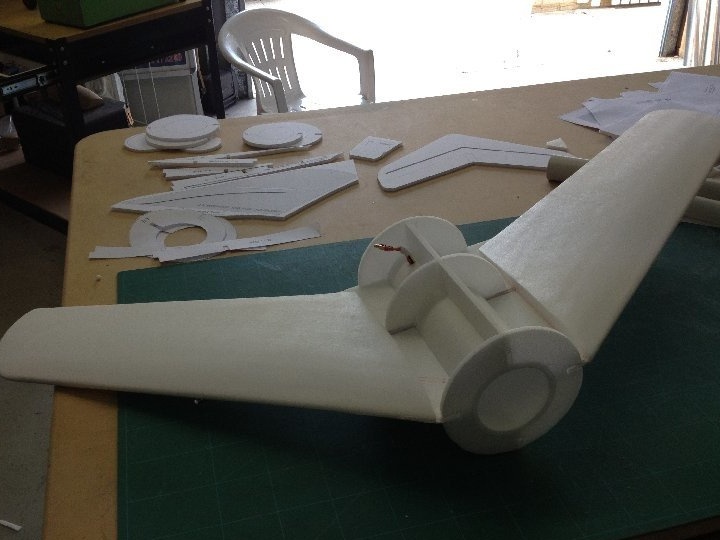
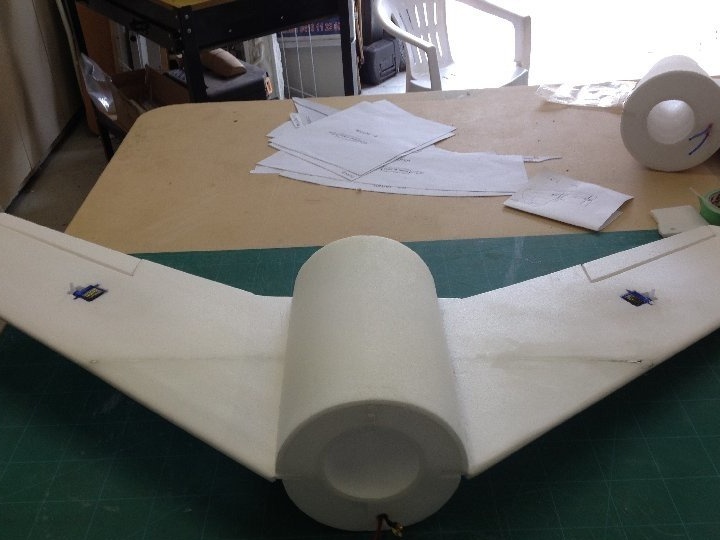
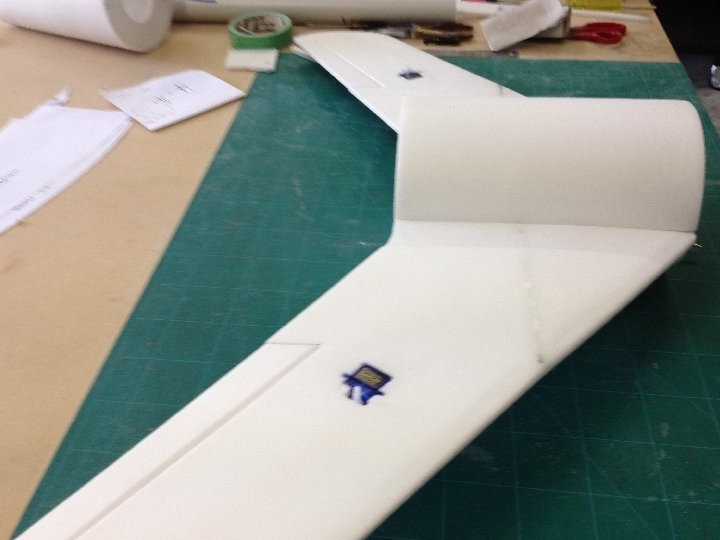
Finished wings are glued to the carrier, the vertical plane of the fuselage, on which all the details of the model will be mounted.

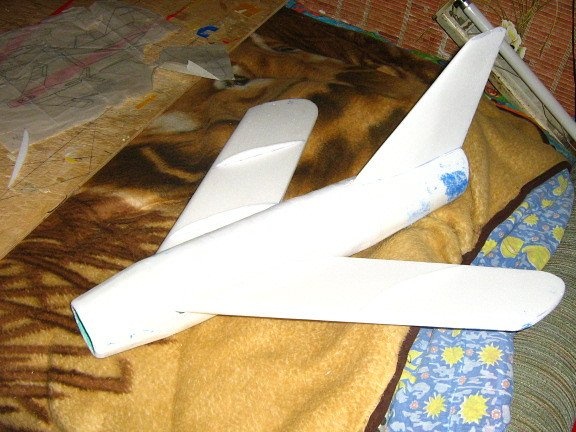
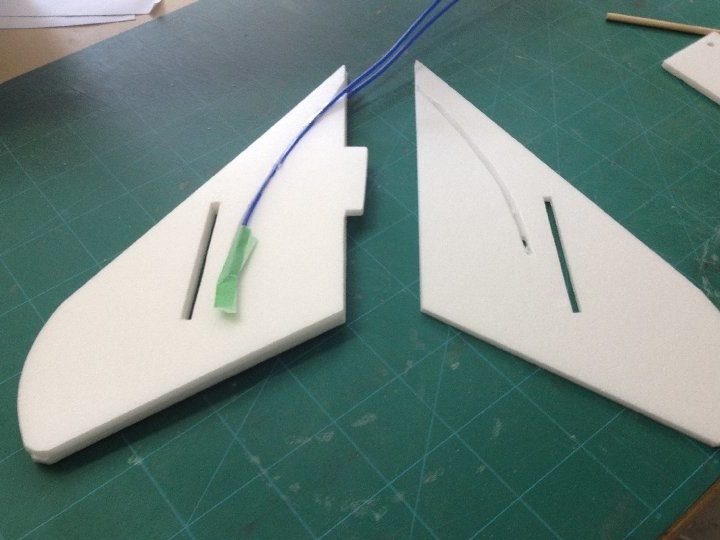
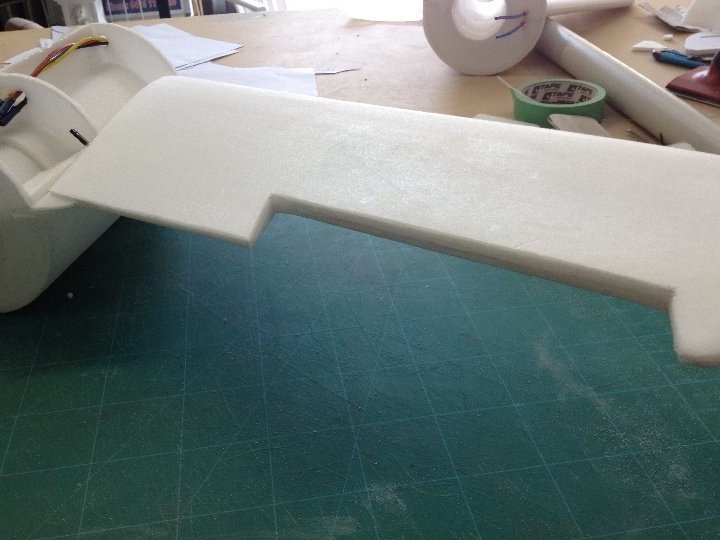
The wing should look like this. Without top trim.
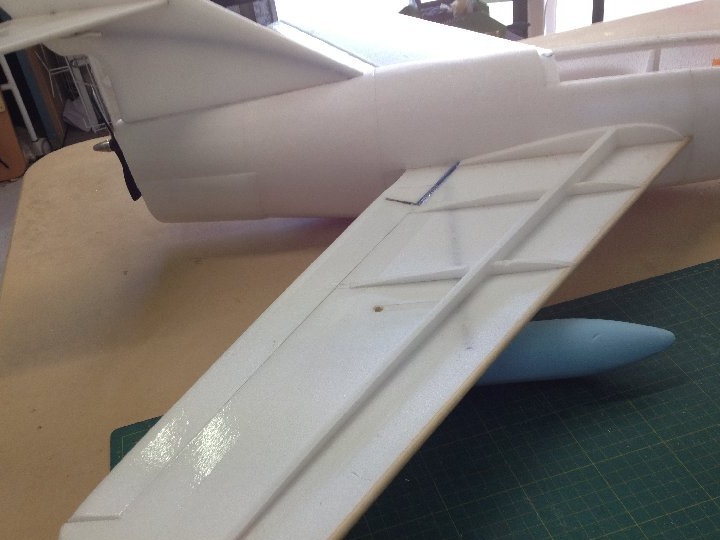
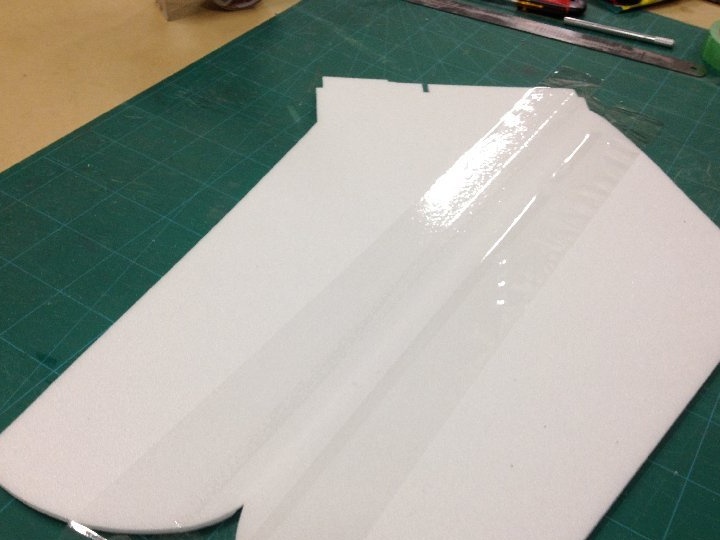
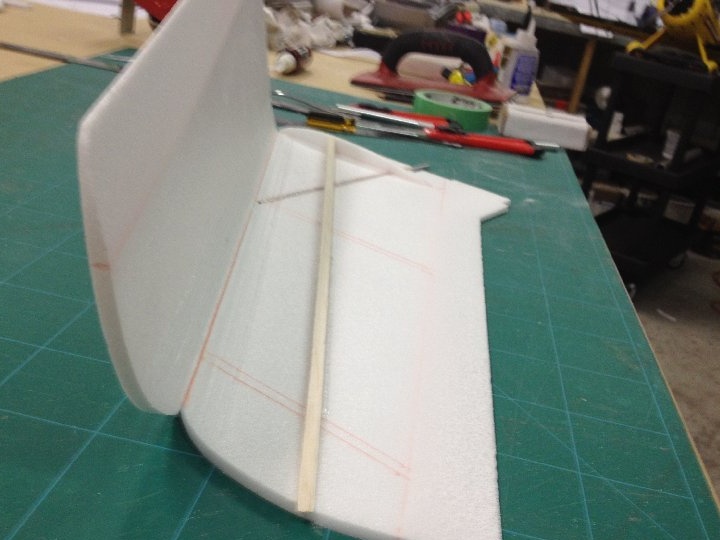
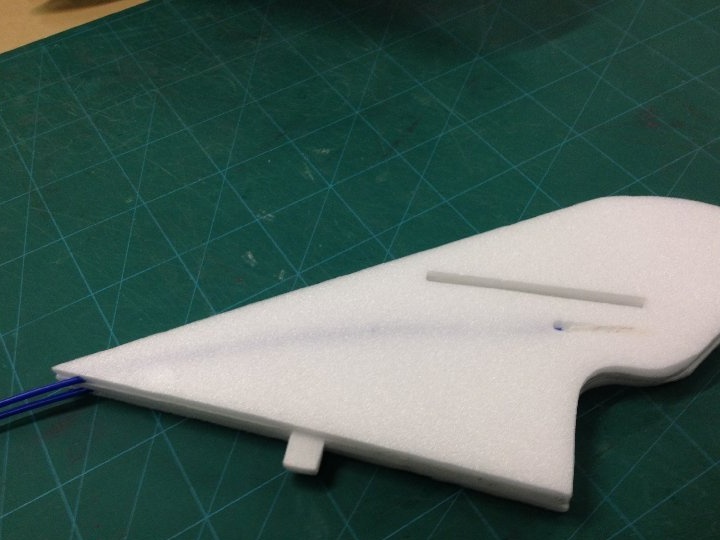
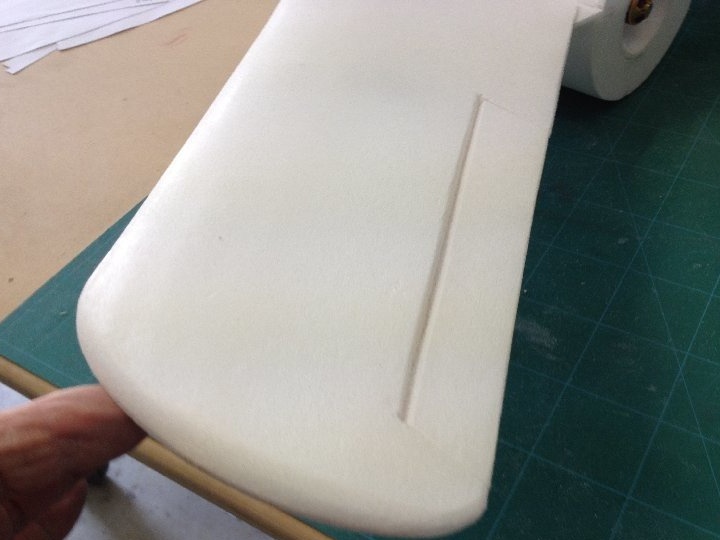
Finished view of the wing.
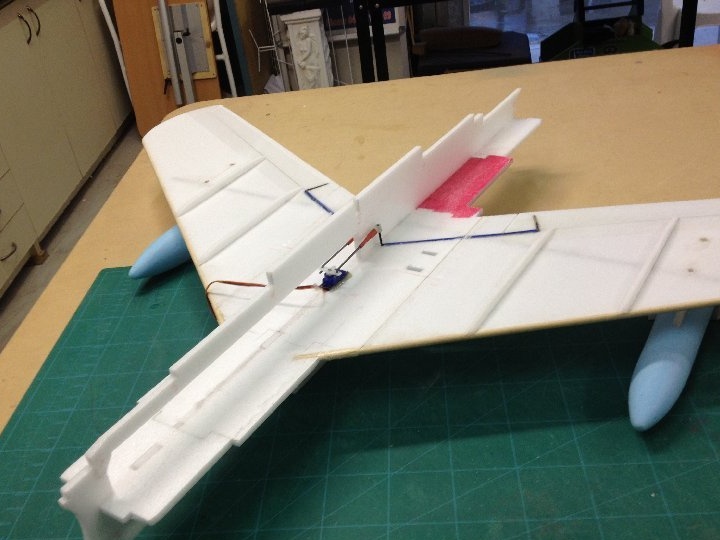
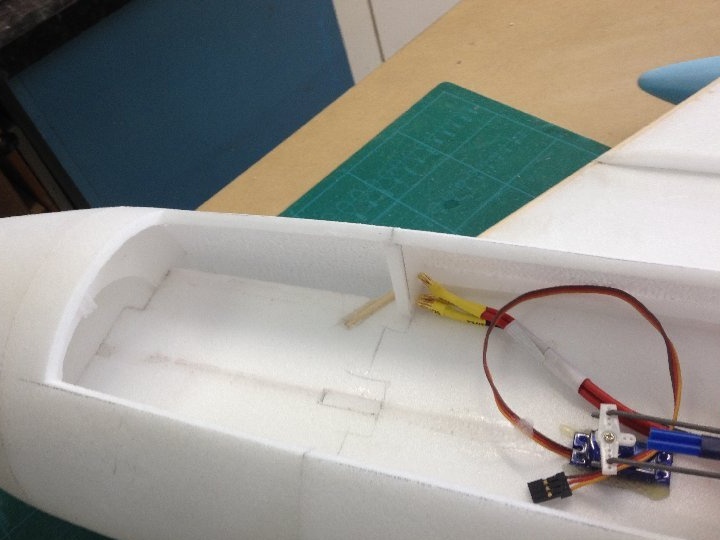
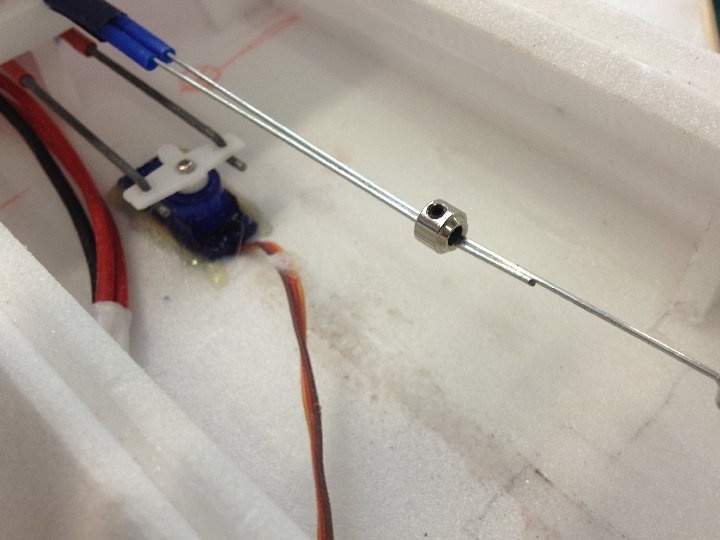
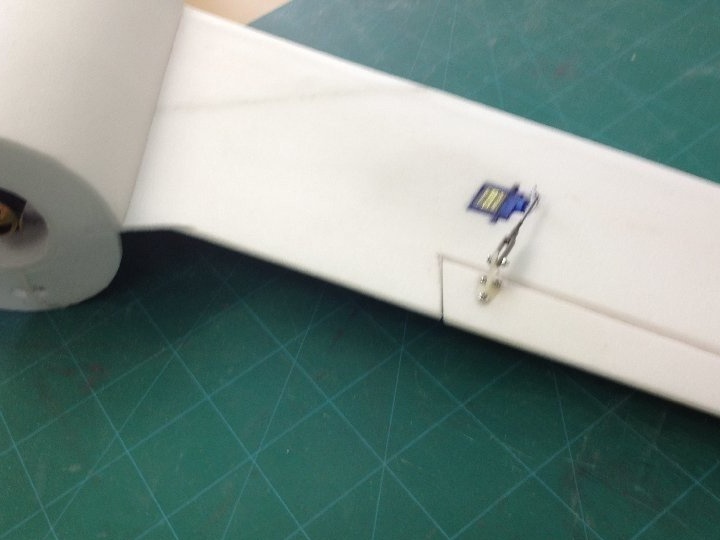
Servos are installed and traction is connected to the ailerons.
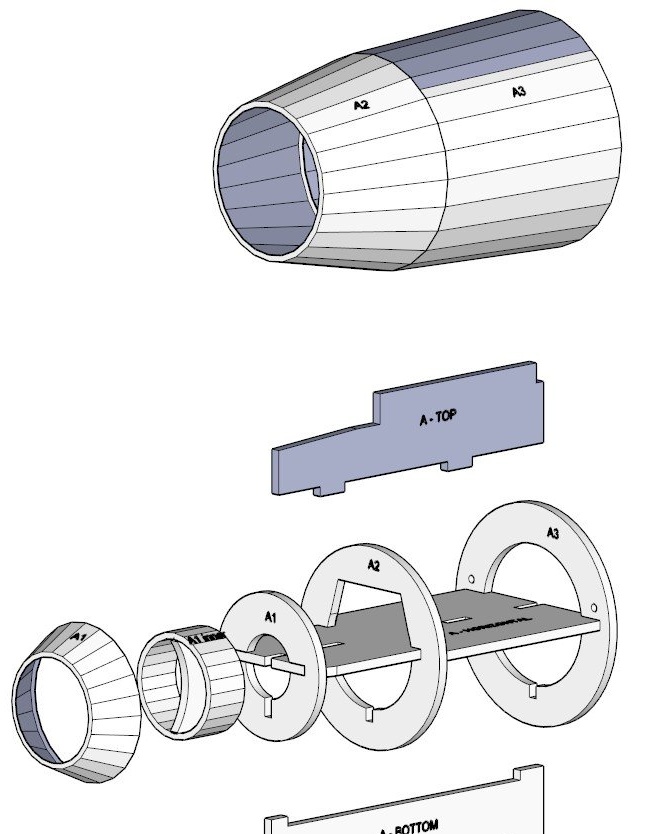
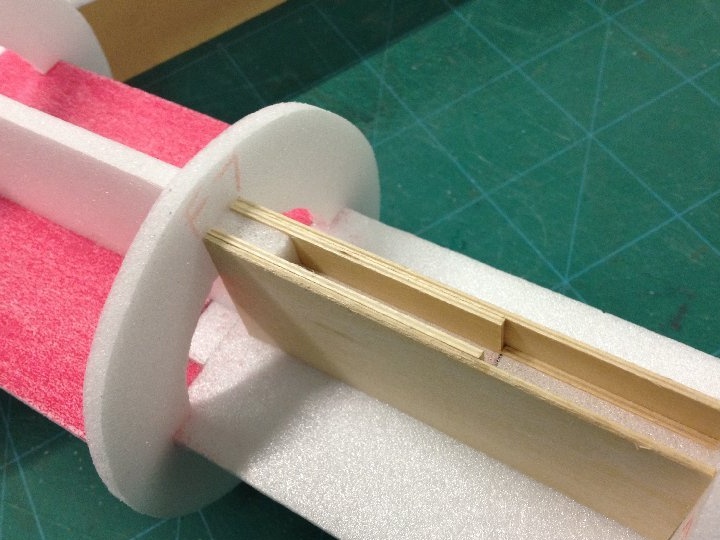
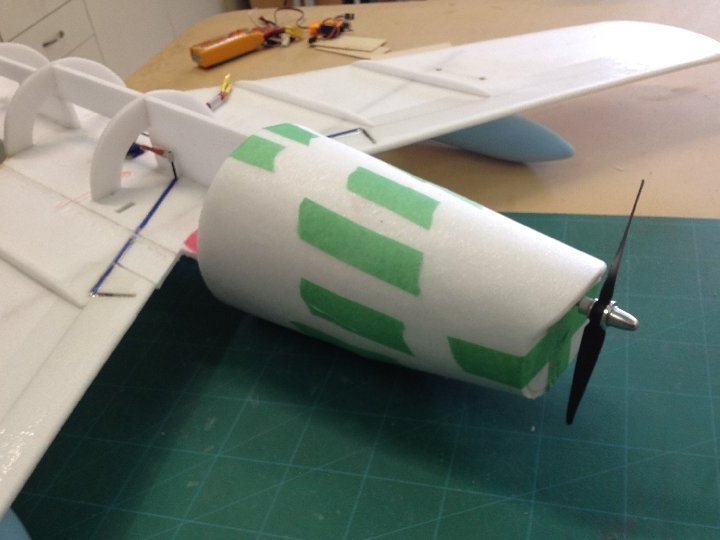
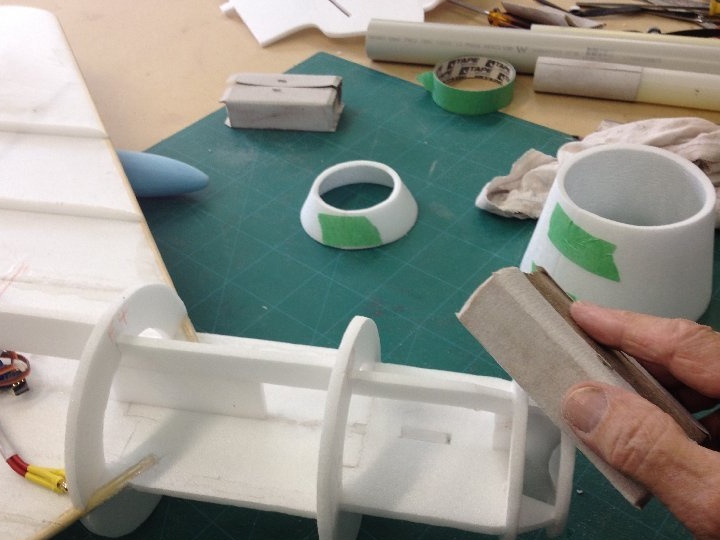
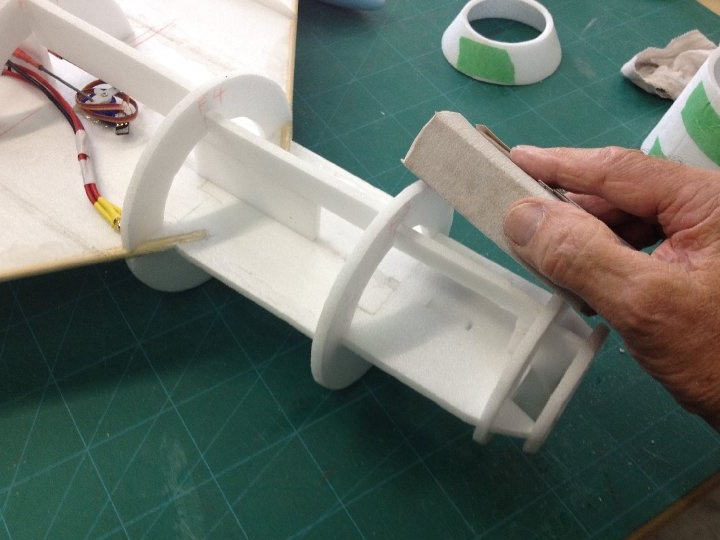
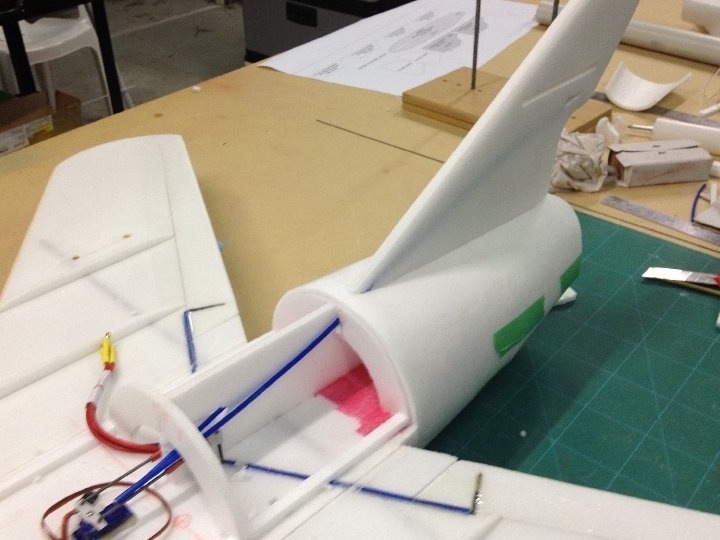
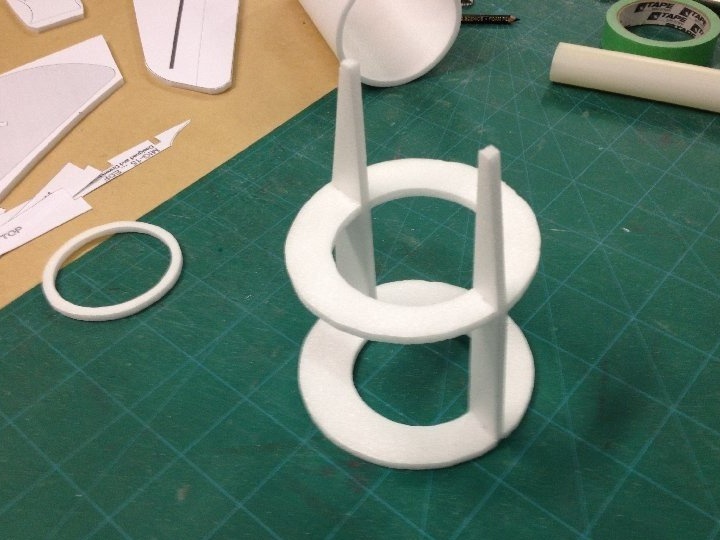
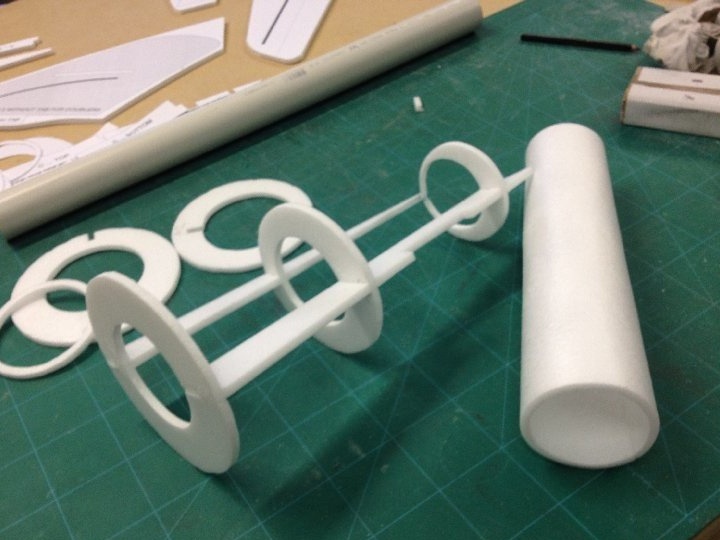
Rings are mounted on which the external fuselage skin will be glued.
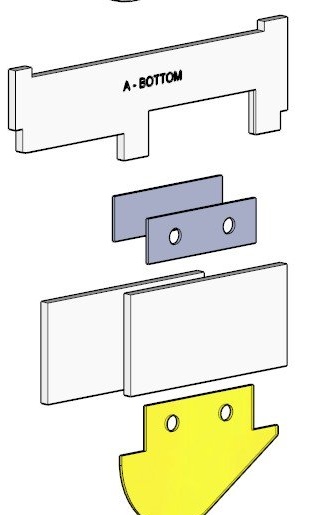
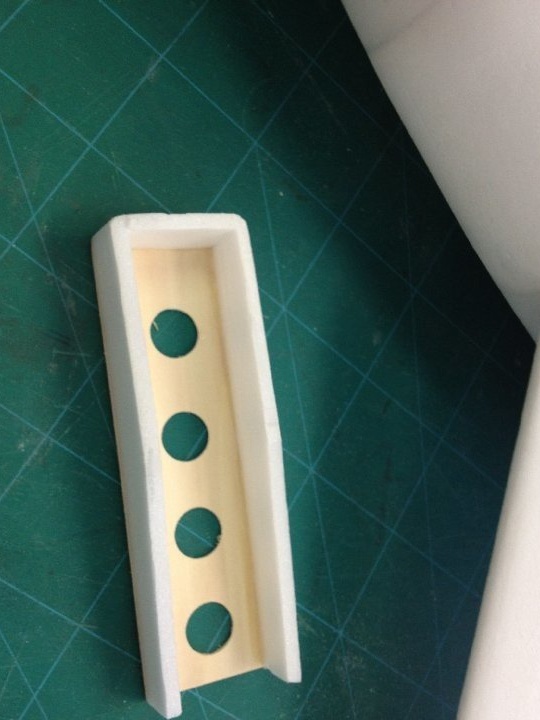
The tail of the fuselage is strengthened by strips of plywood on which the motor will be mounted.
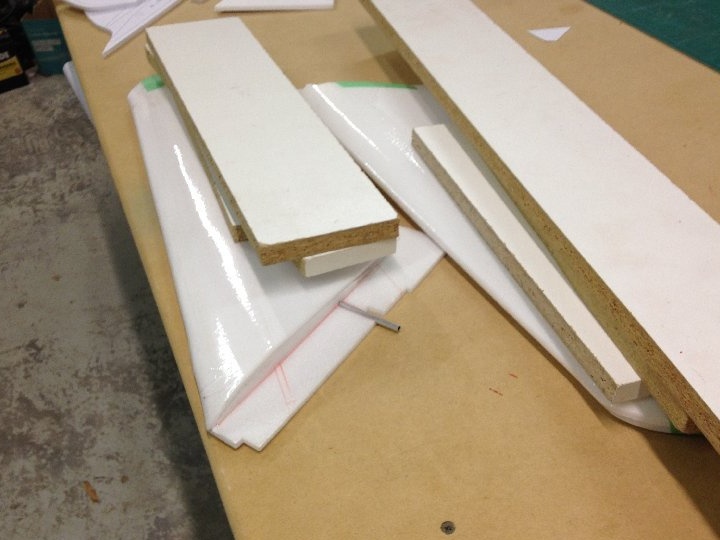
Billets of the outer skin of the fuselage.
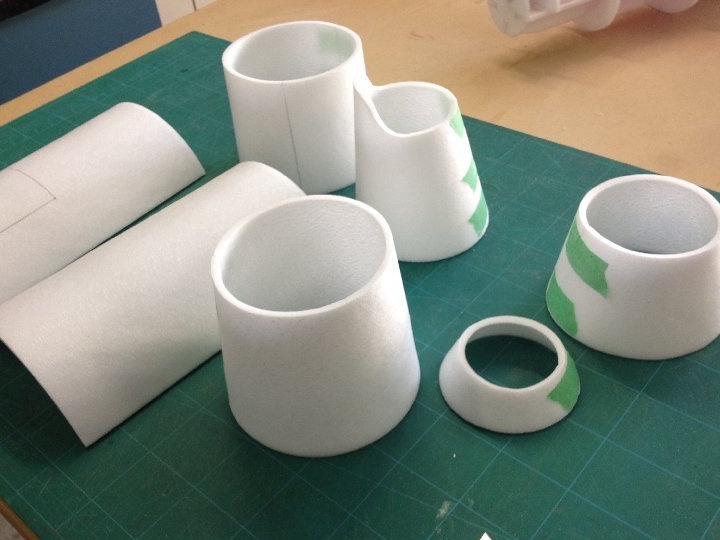
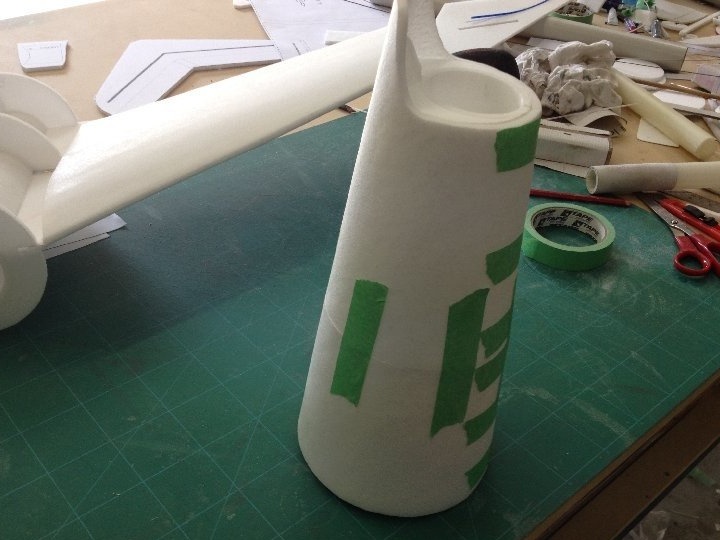
Gradual installation of the outer fuselage skin. Each part must be customized in place and tried on before gluing.

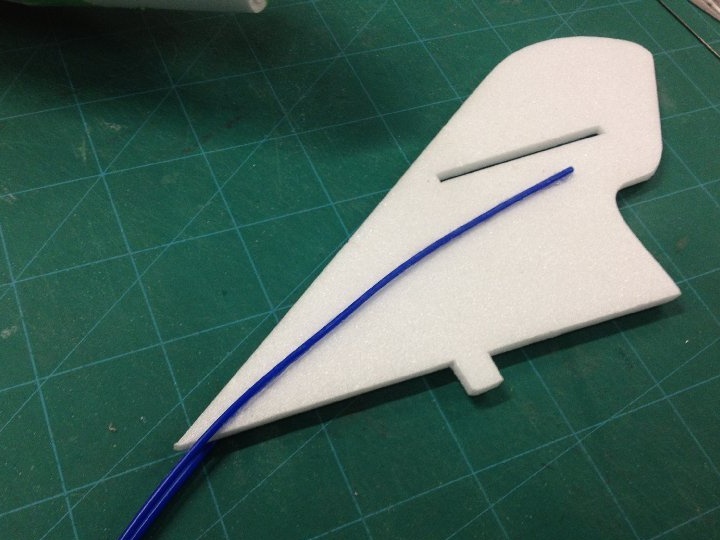
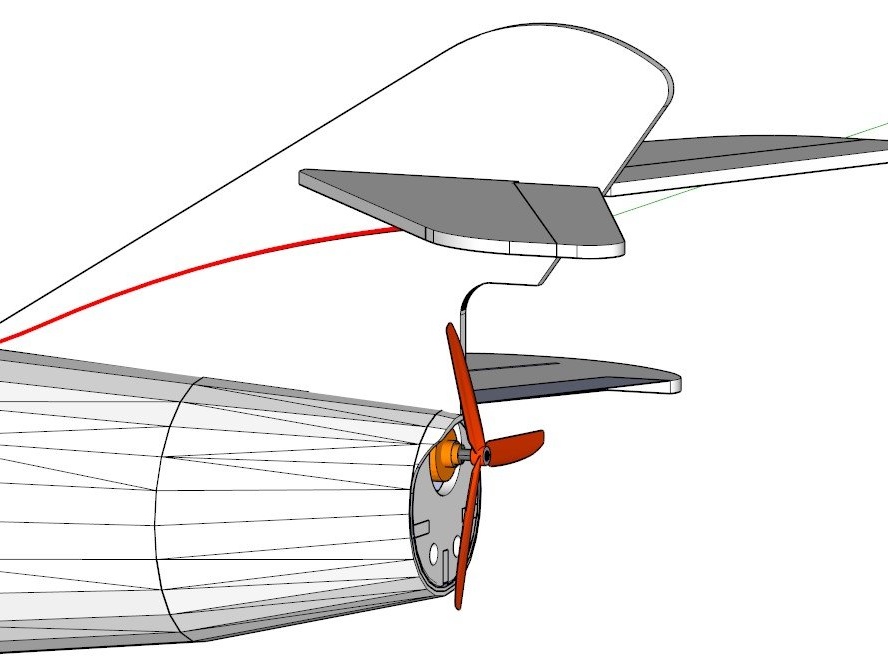
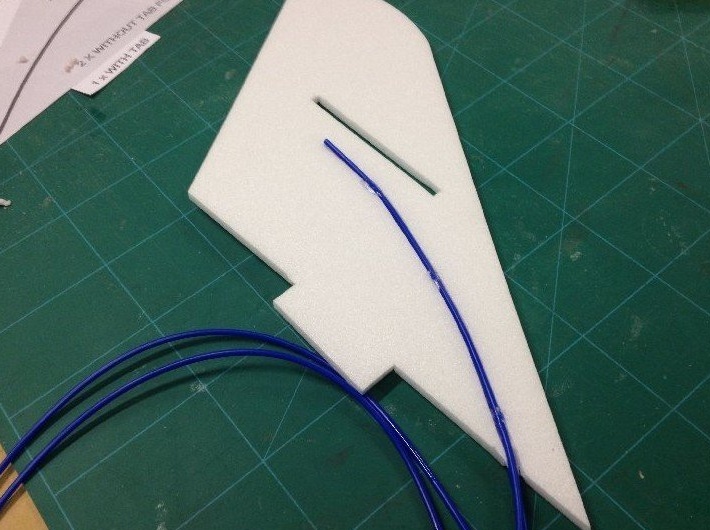
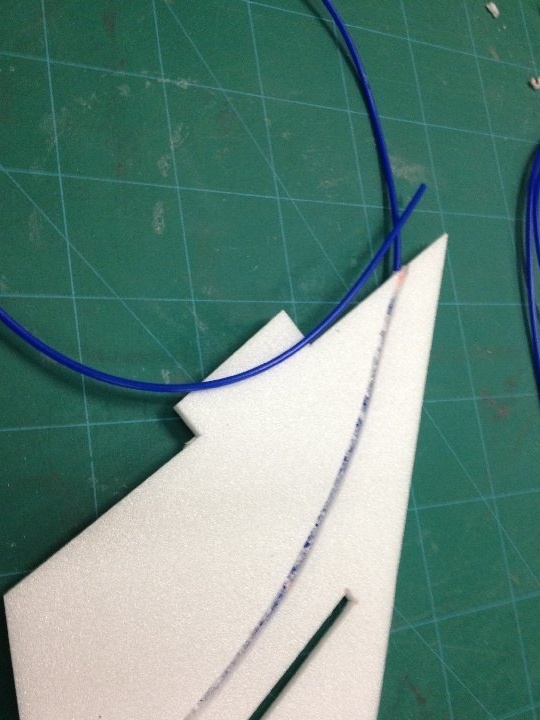
The keel is made of three layers of a ceiling or substrate. Inside, a carbon-fiber bowden is glued, for traction to the elevator.
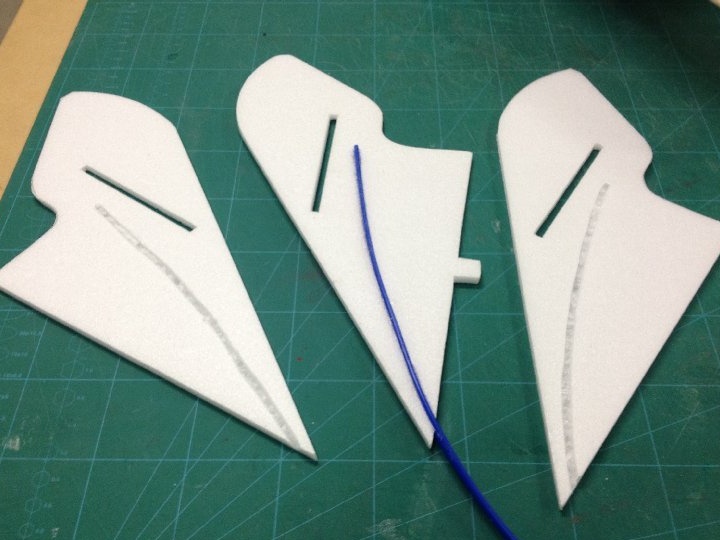
When gluing, the workpieces are centered by a piece of the ceiling.
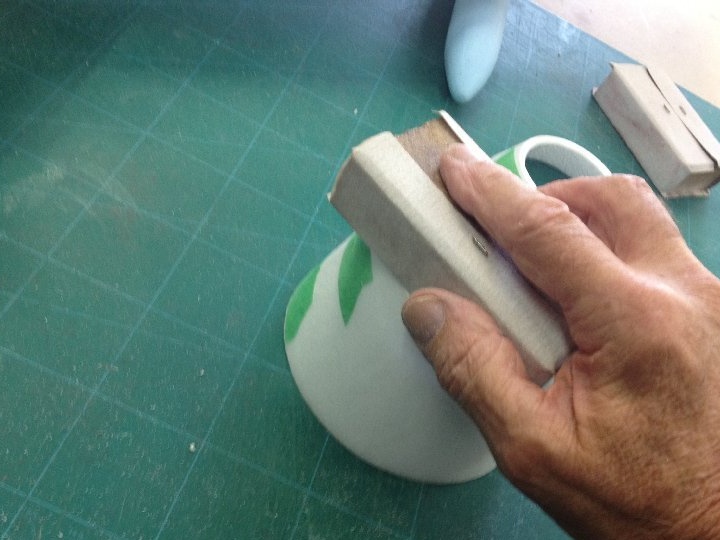
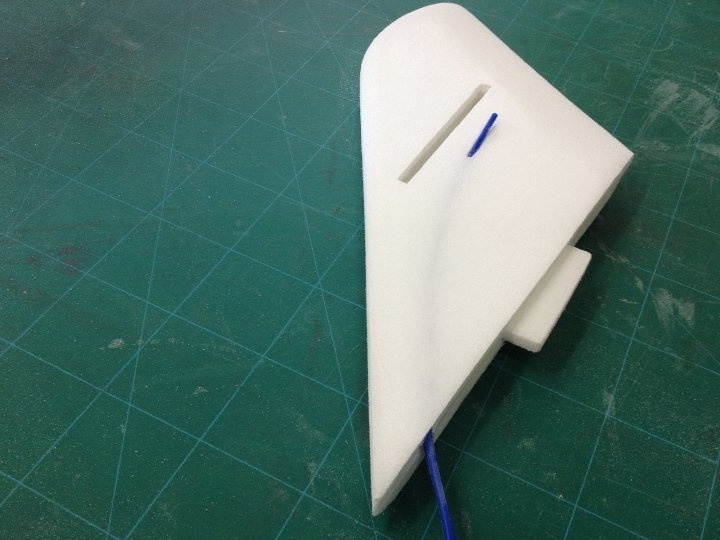
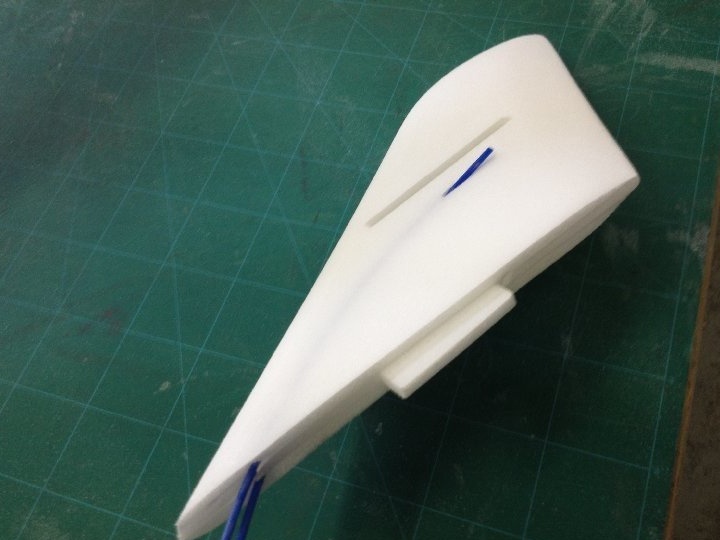
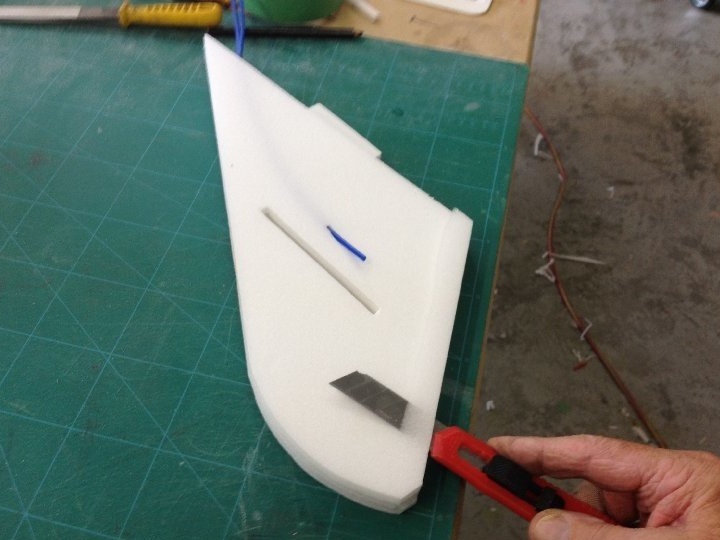
After the glue has dried, the keel is processed with sandpaper to give the desired shape.
The thrust from the RV is passed through the bowden and connected to the servo.
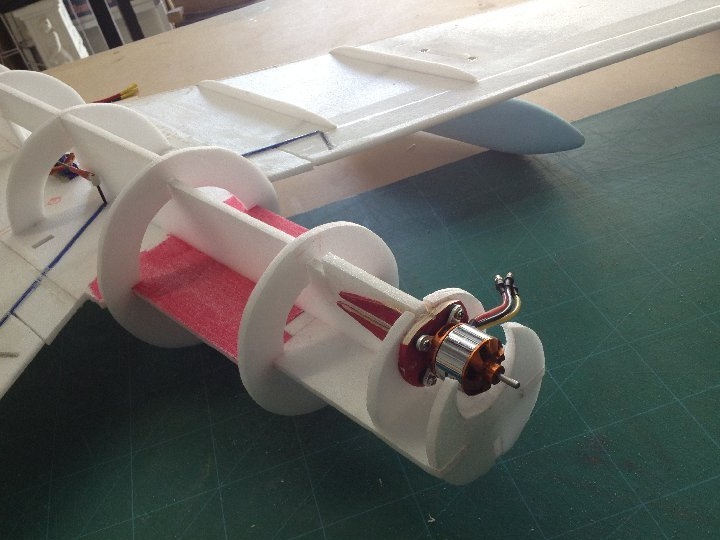
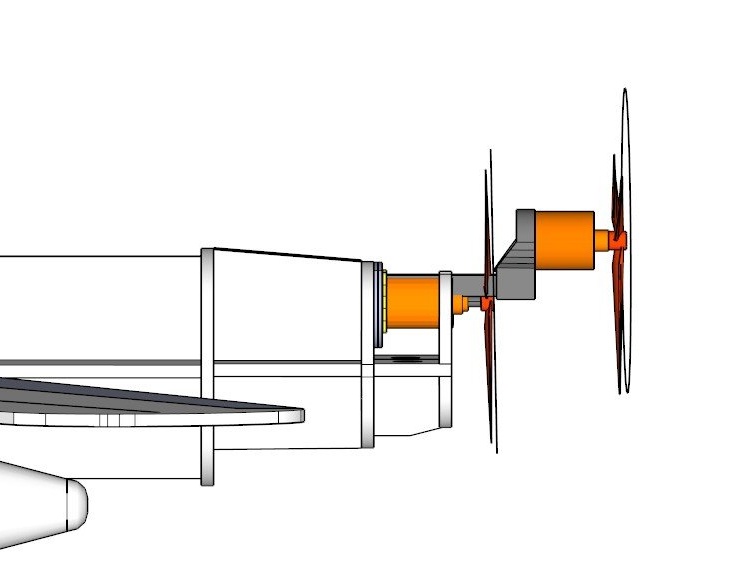
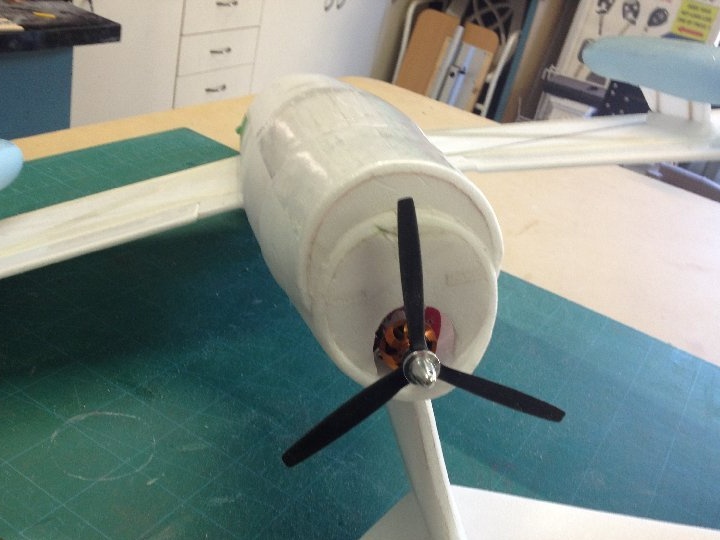
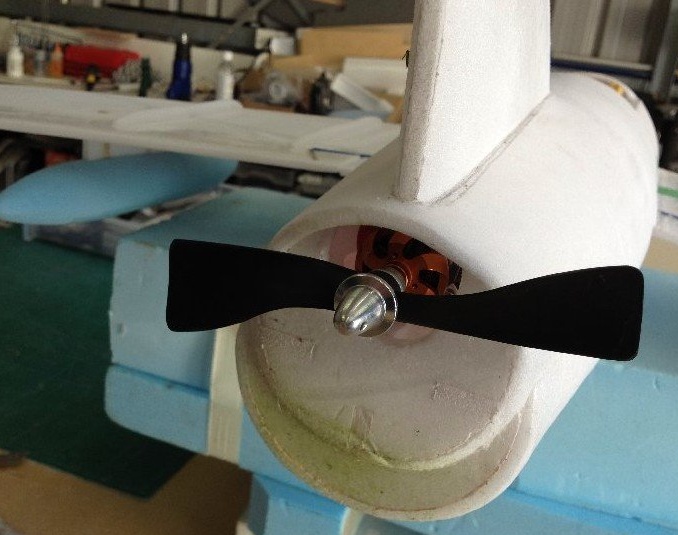
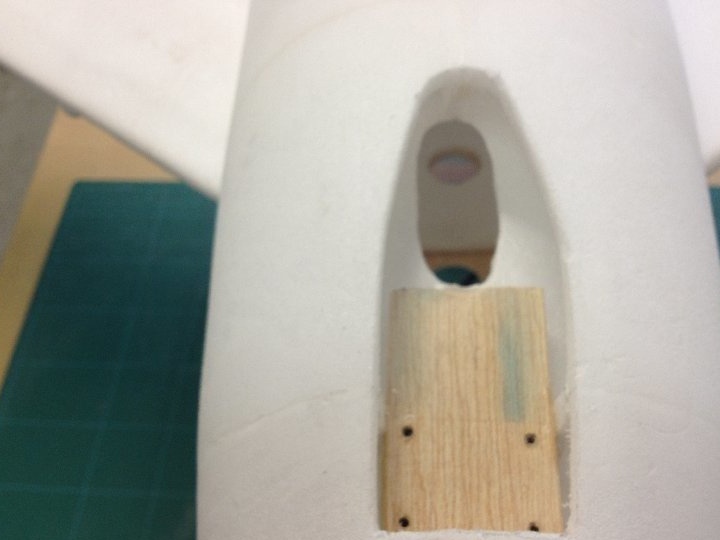
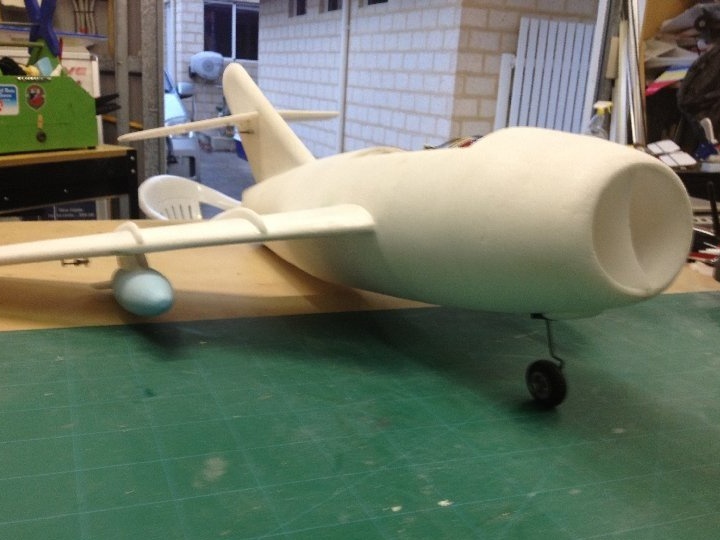
The author pushed the motor mount forward a bit, hiding it in the fuselage. When taking off, there will be a sufficient angle so that the propeller does not cling to the grass.
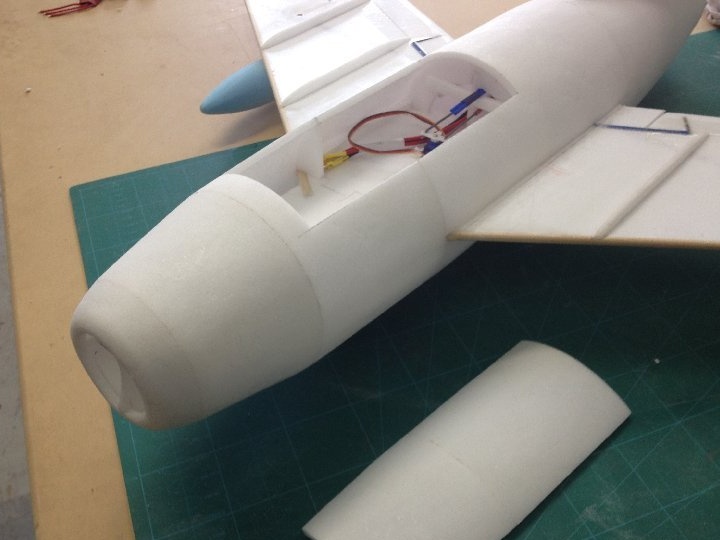
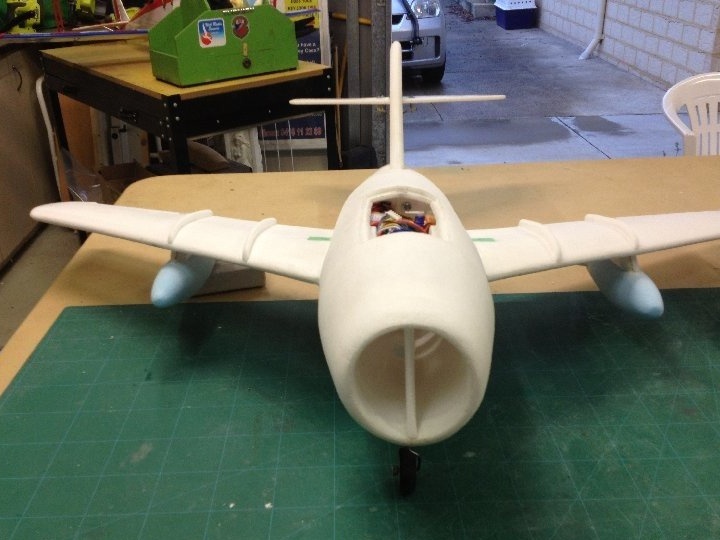
A hatch is cut out in the fuselage to install a battery and access electronics.
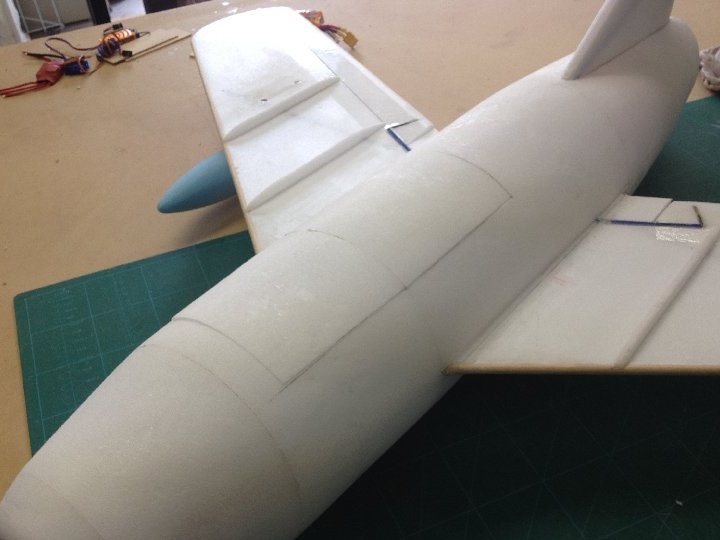
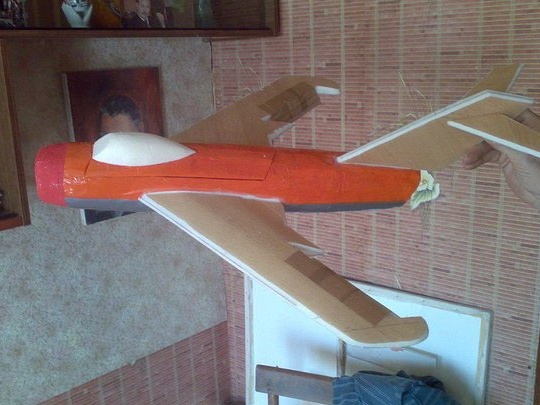
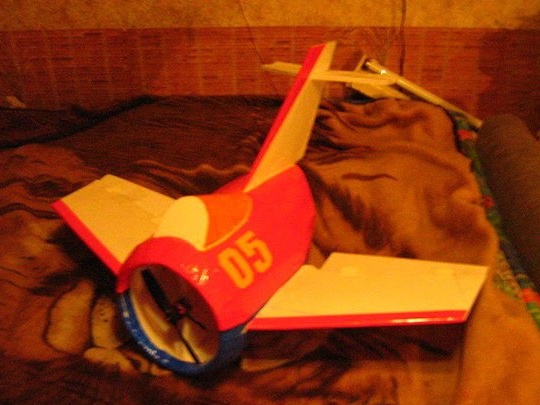
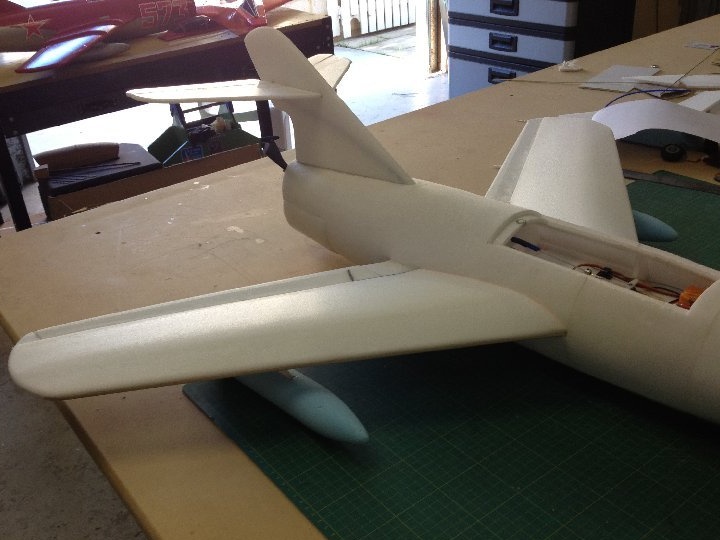
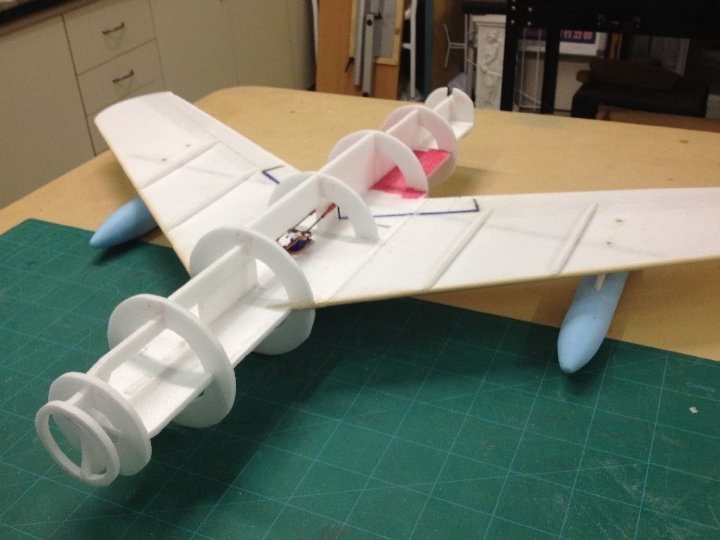
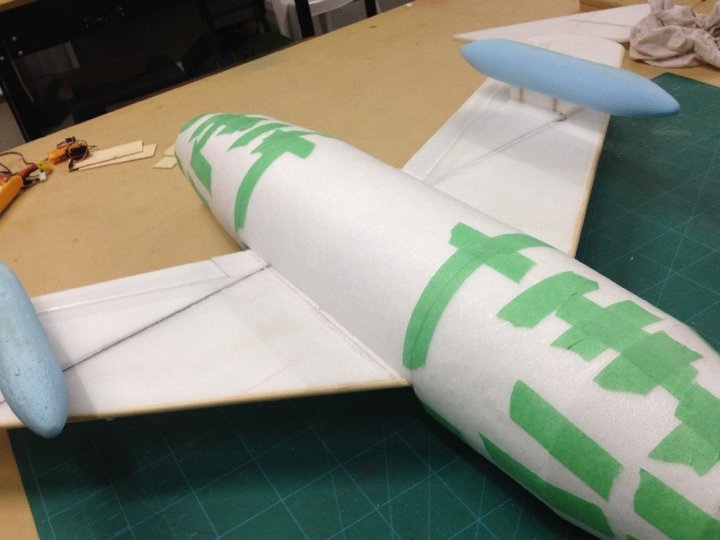
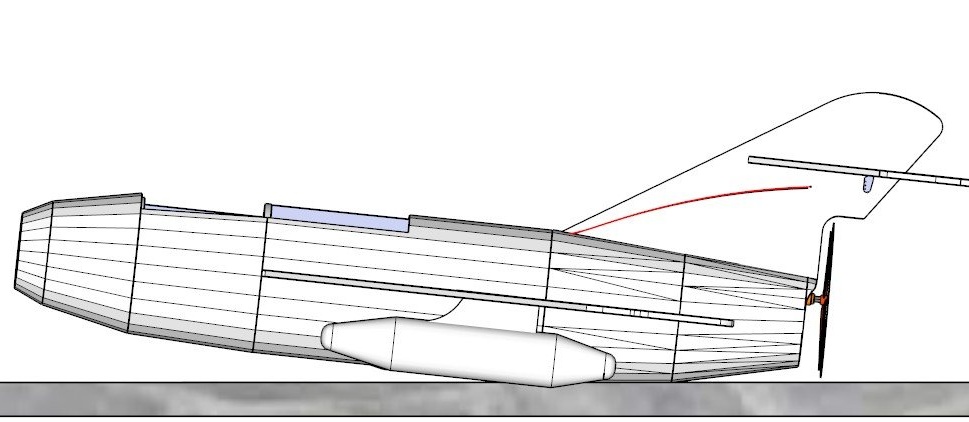
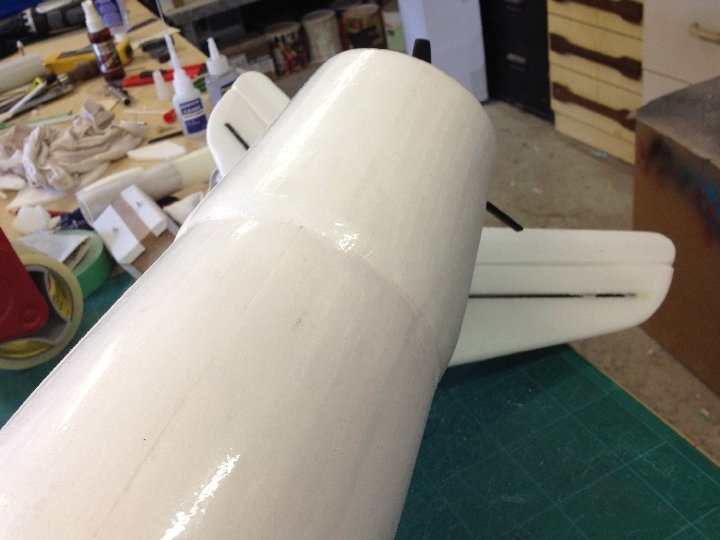
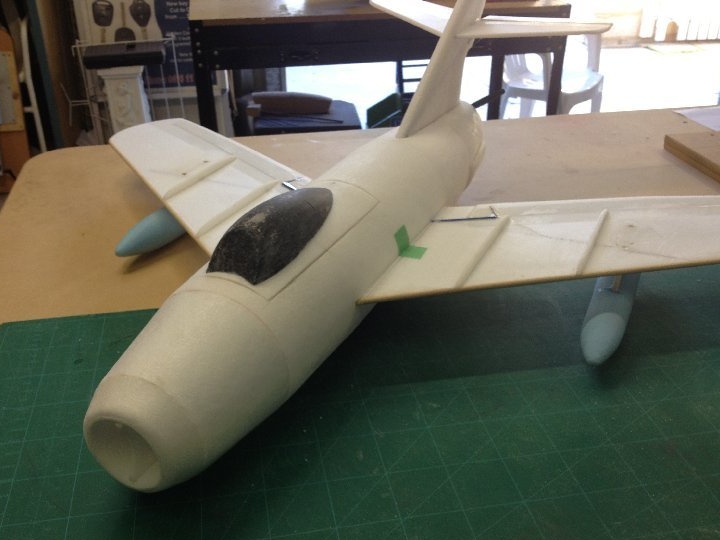
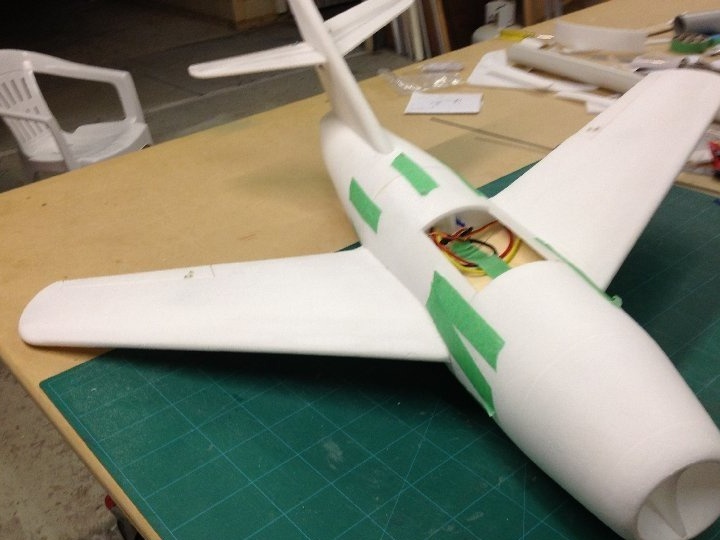
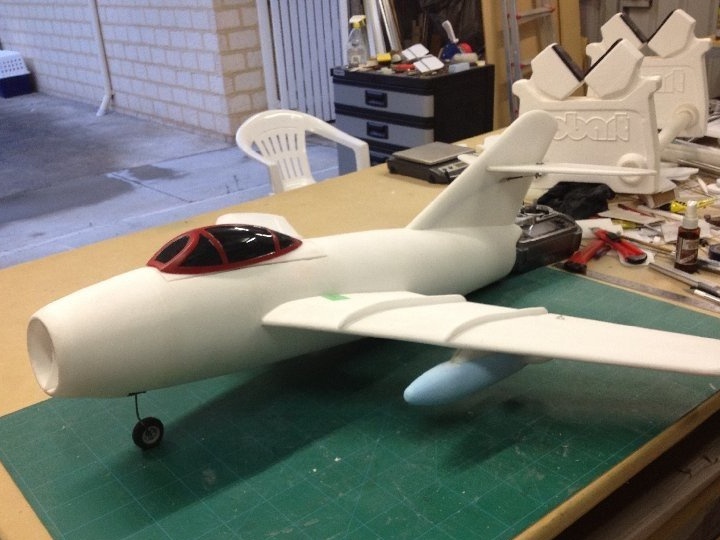
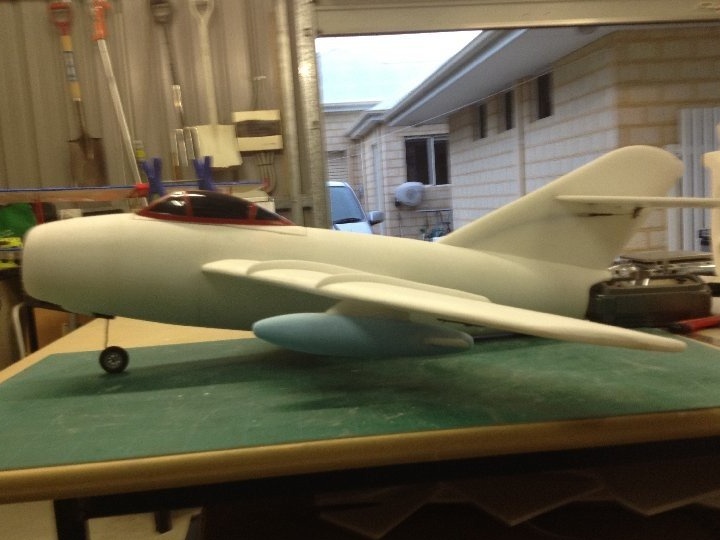
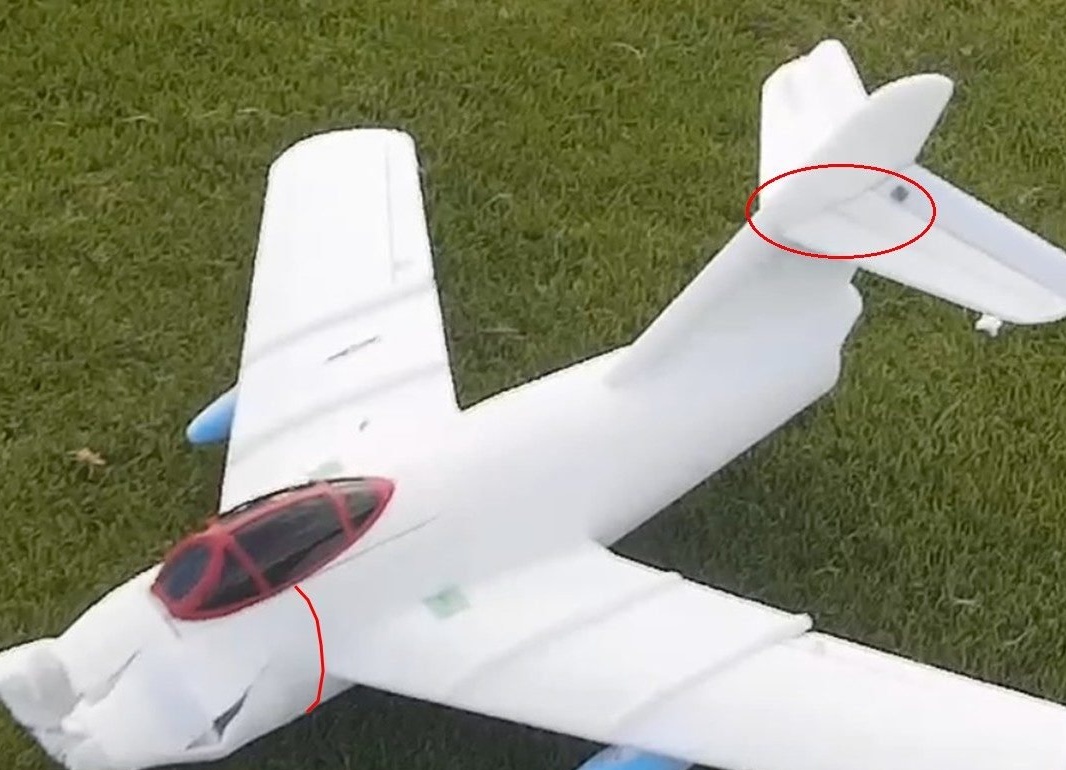
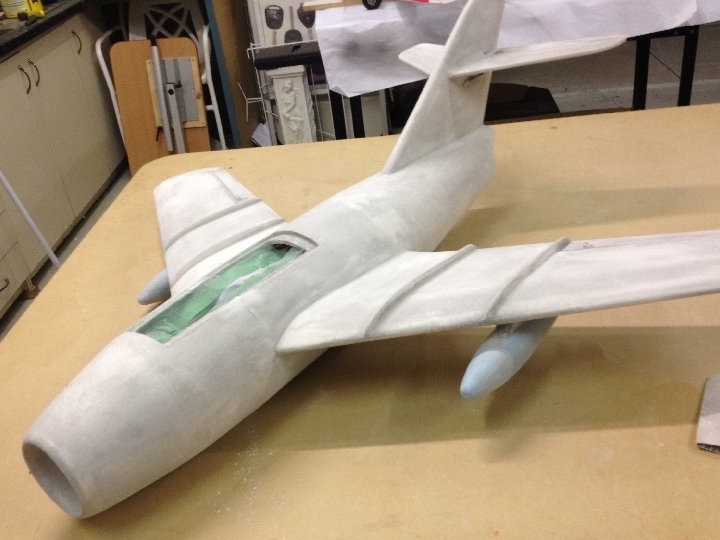
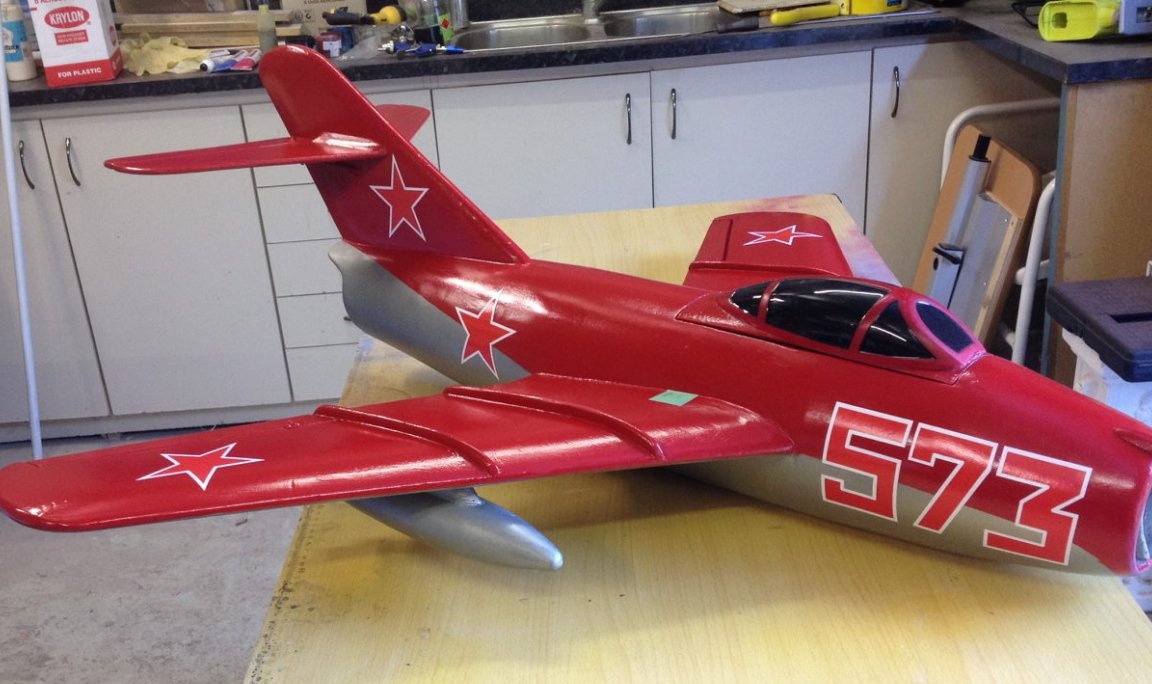
Photos of the model from different angles.
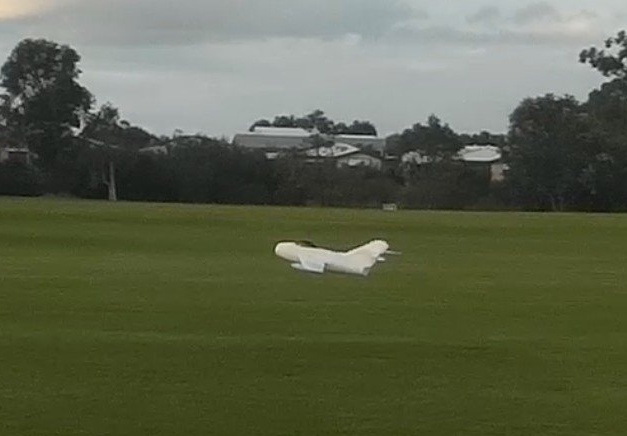
In the first flight, the model went off with a hand launch.
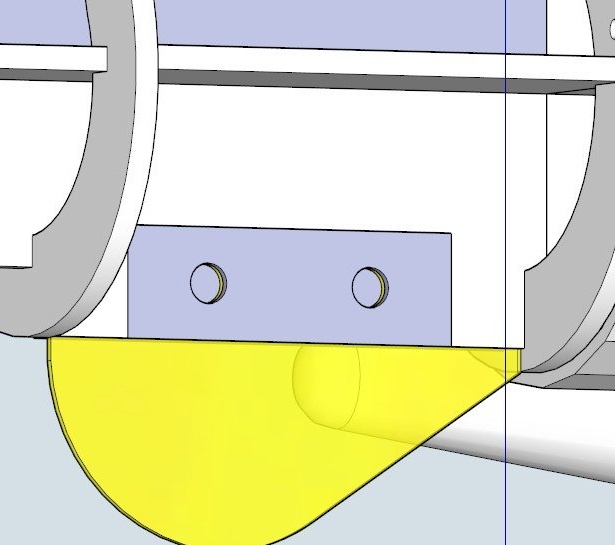
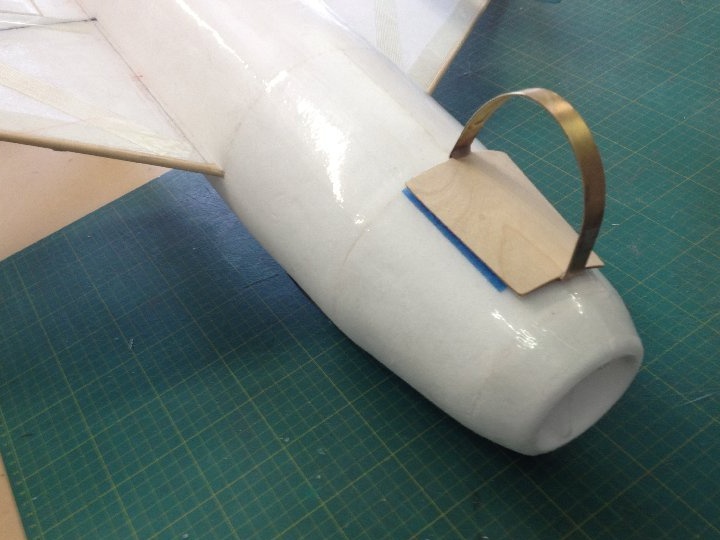
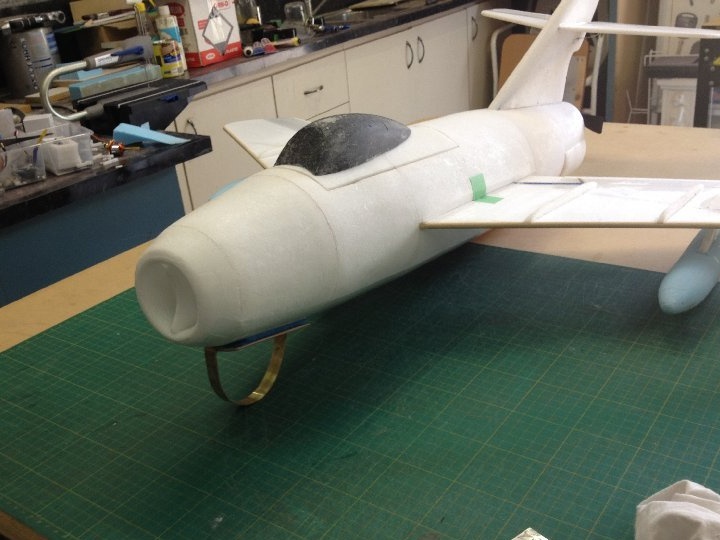
The author, when testing, uses a trimmed screw 10 X 4.5, and also did device in the nose of the fuselage to lift the nose of the model when taking off from the grass.
Subsequently, the author established a retract in front of the model.
The author conducts a series of experiments, choosing the right screw.
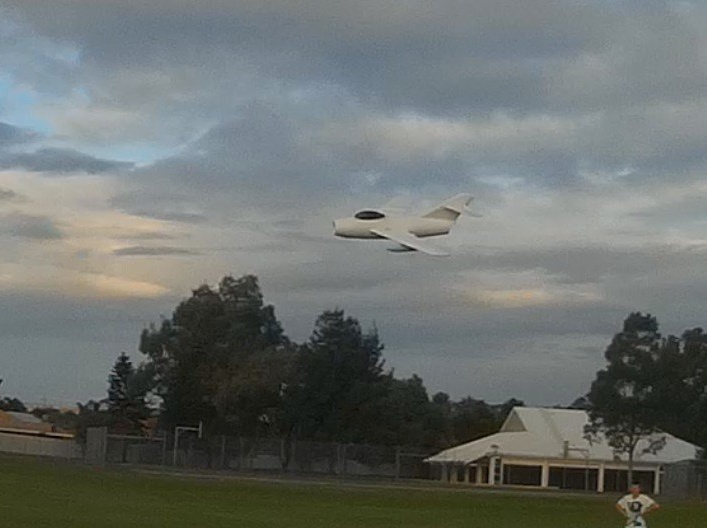
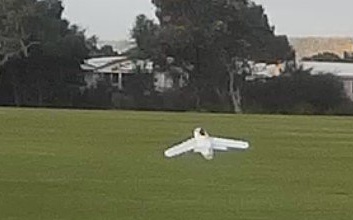
Here is a video of the flight of this model.
Dear friends, I decided to talk about another same model that the same author built, only on the impeller.
I will not describe the whole process in detail, I will only touch on those design units that are not in the previous model.
I already spoke about wings.
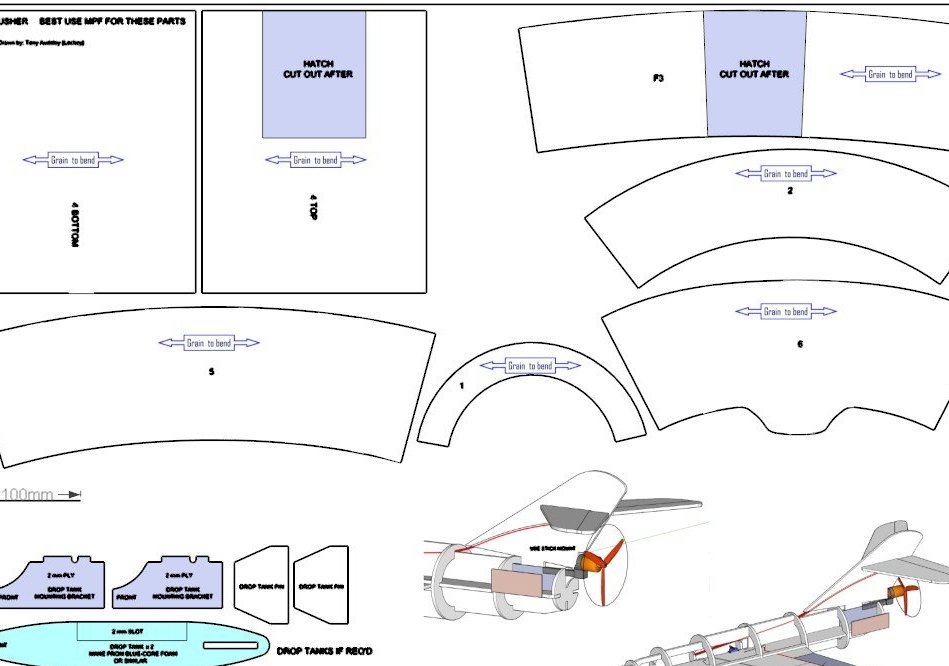
As in the description of the first model, the author gives schemes of all nodes of the model, drawings and plans.
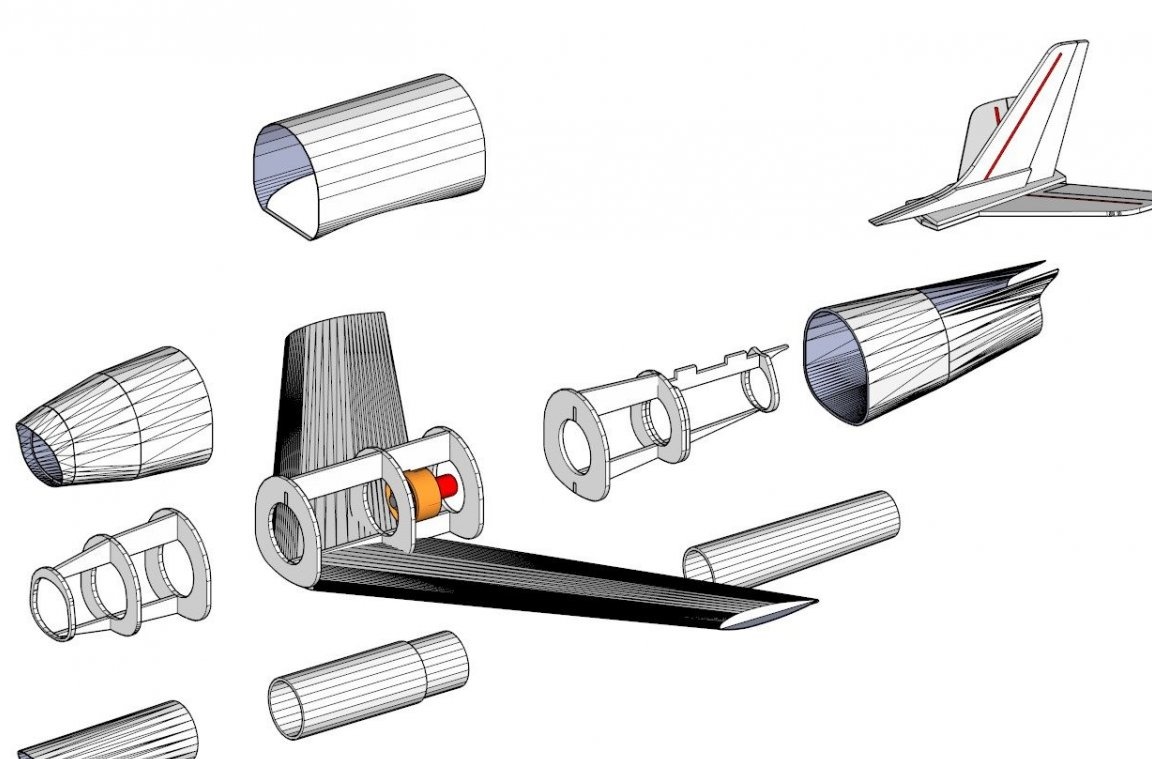
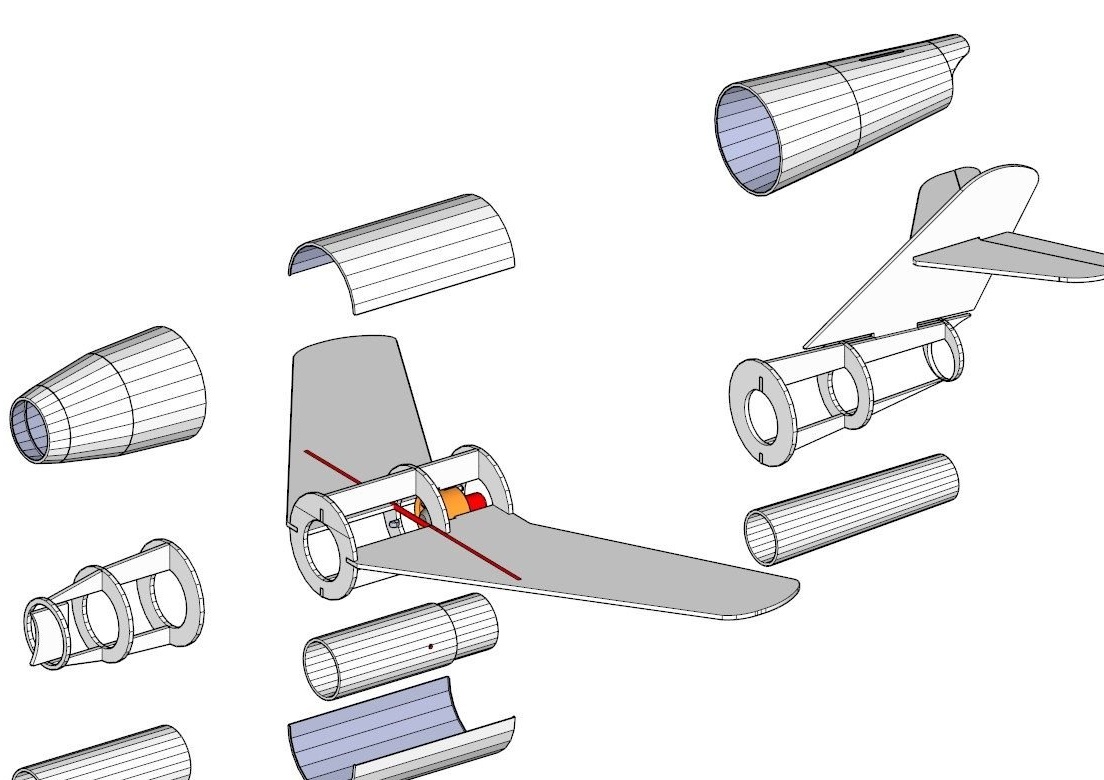
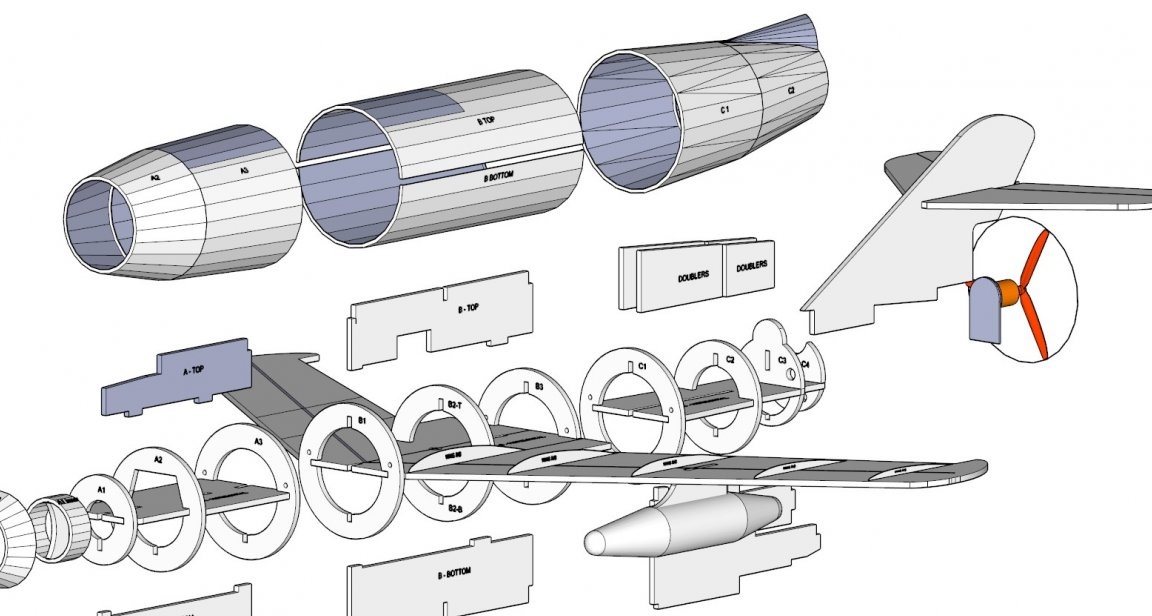
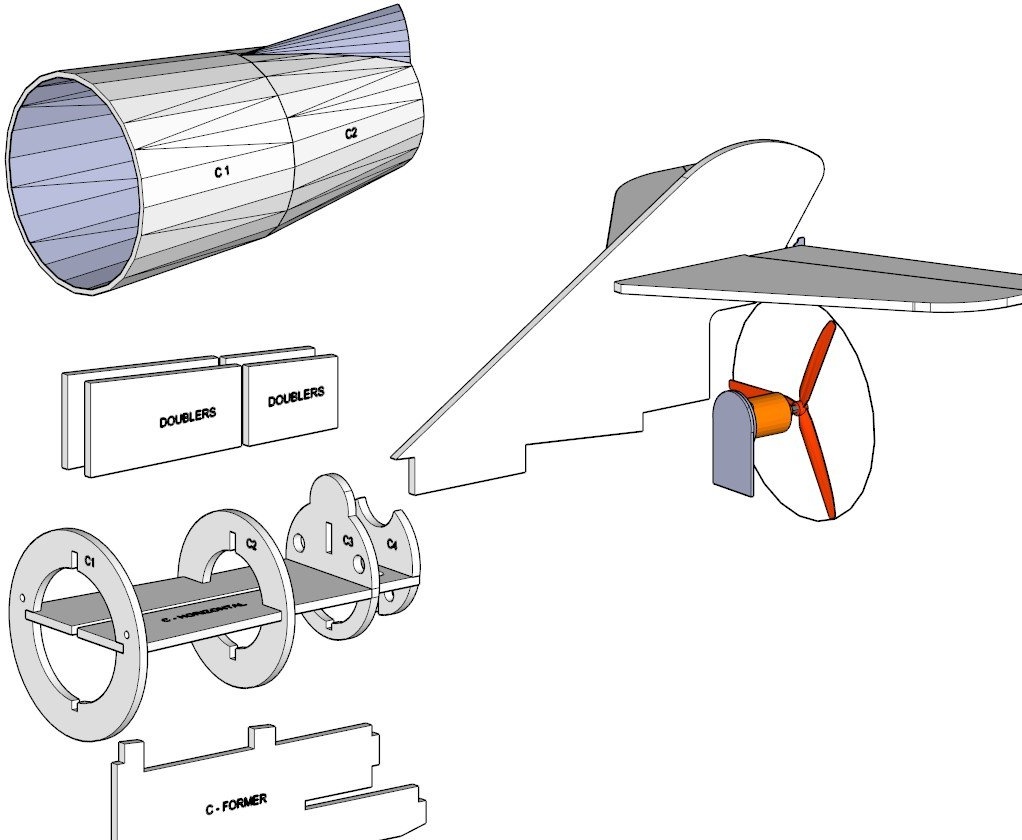
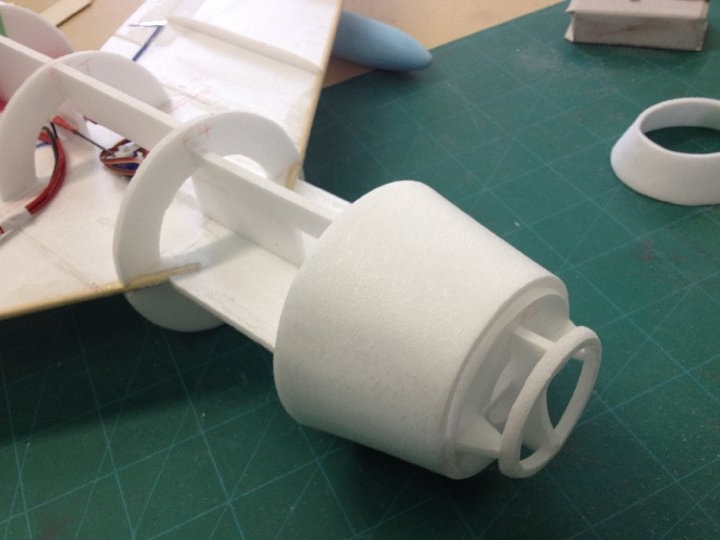
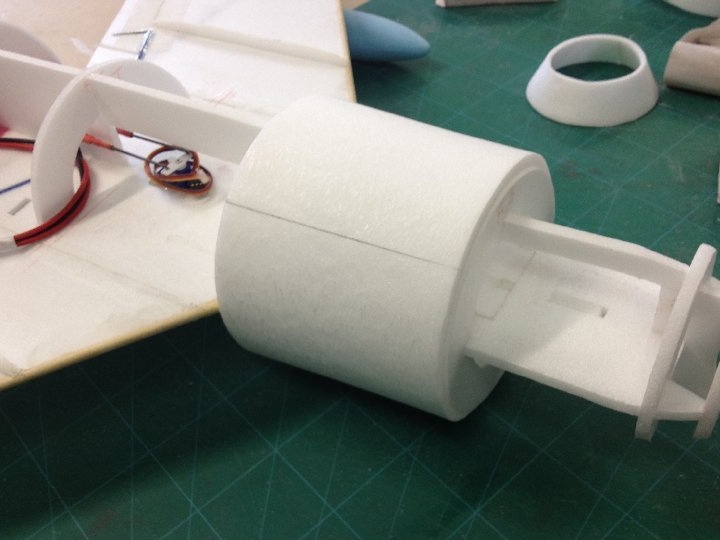
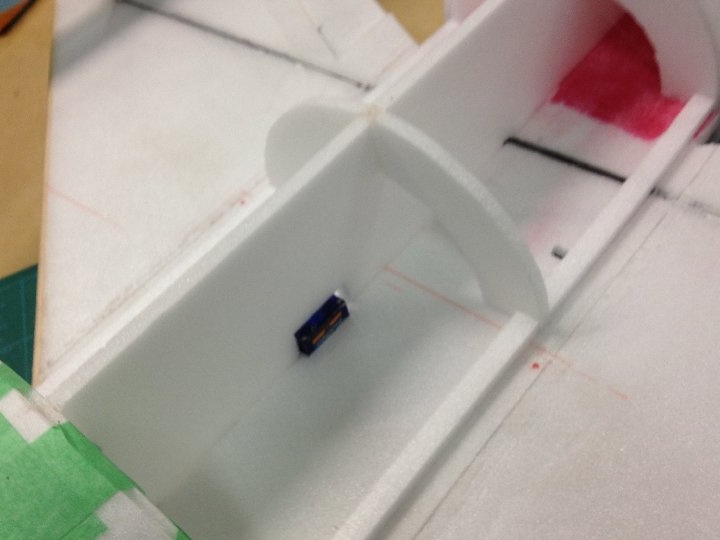
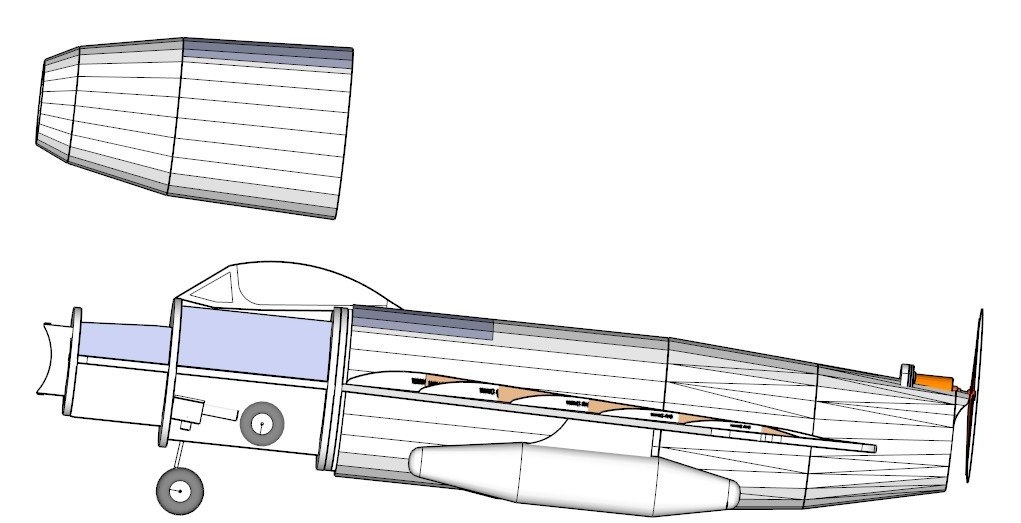
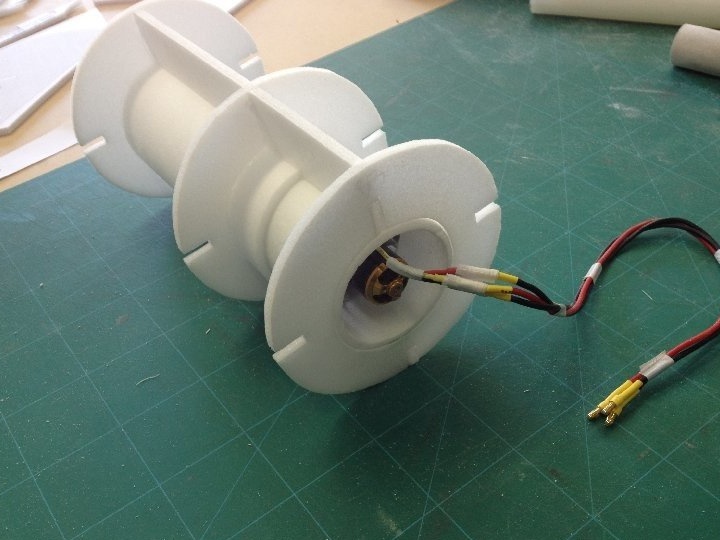
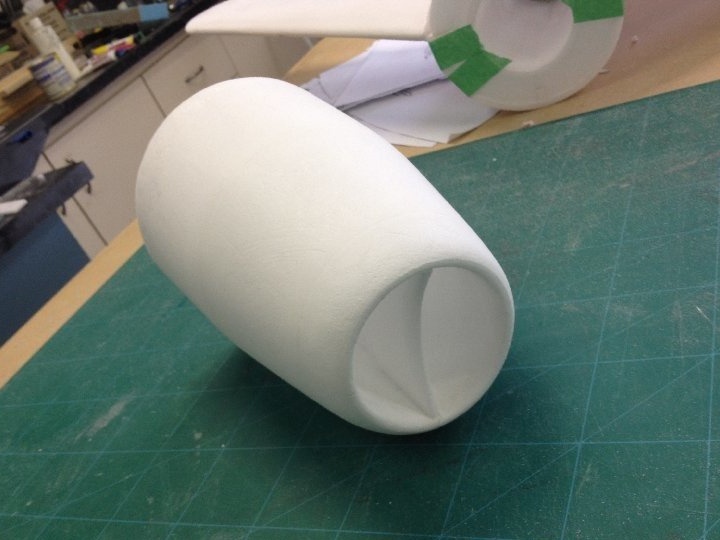
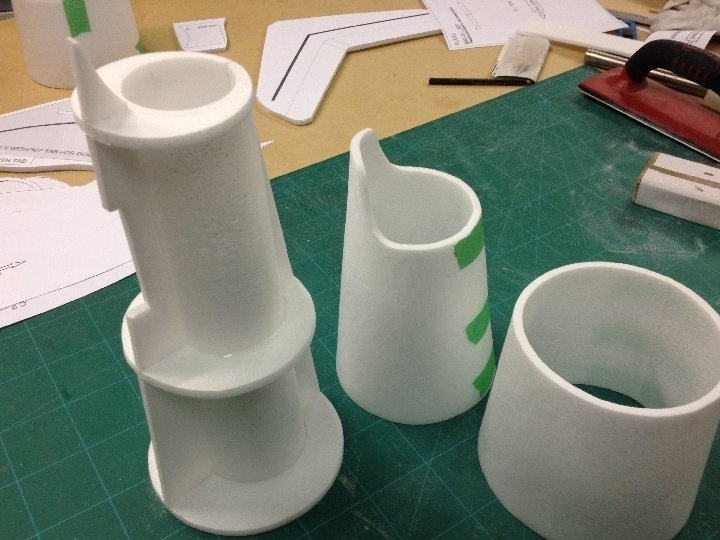
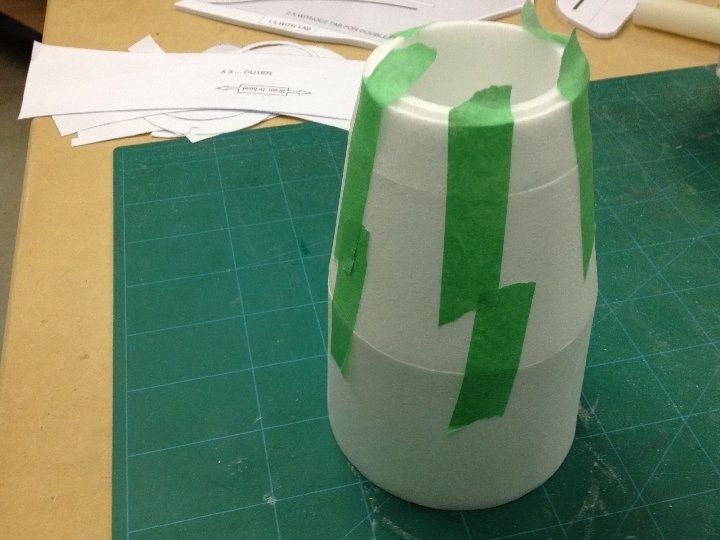
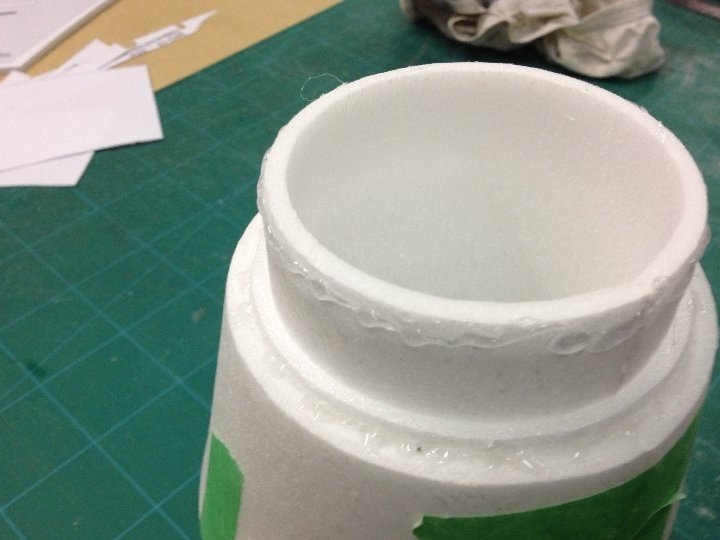
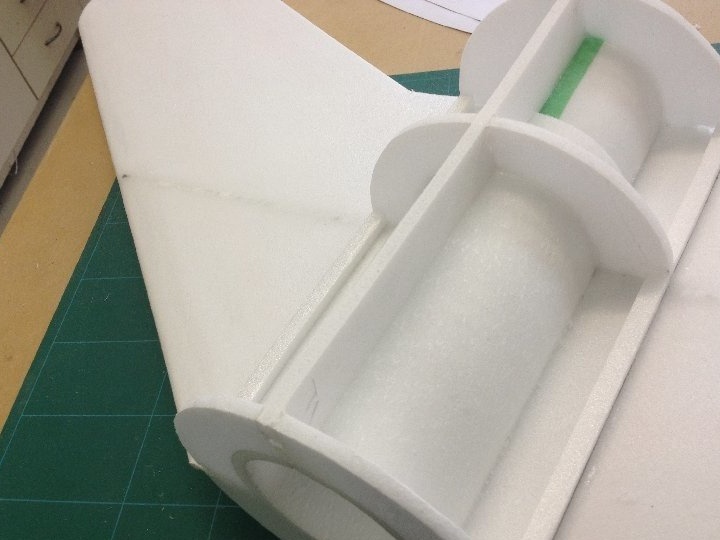
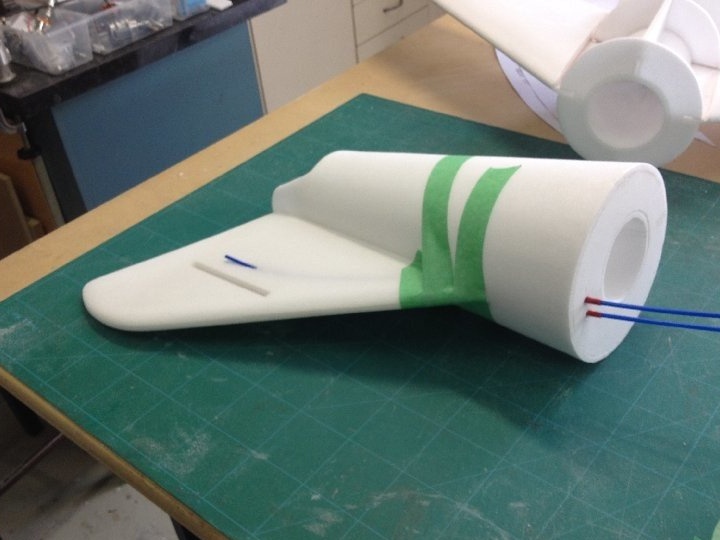
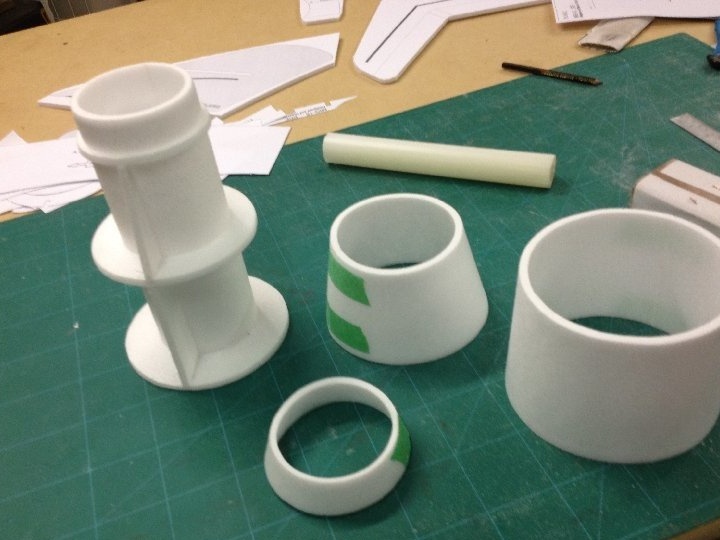
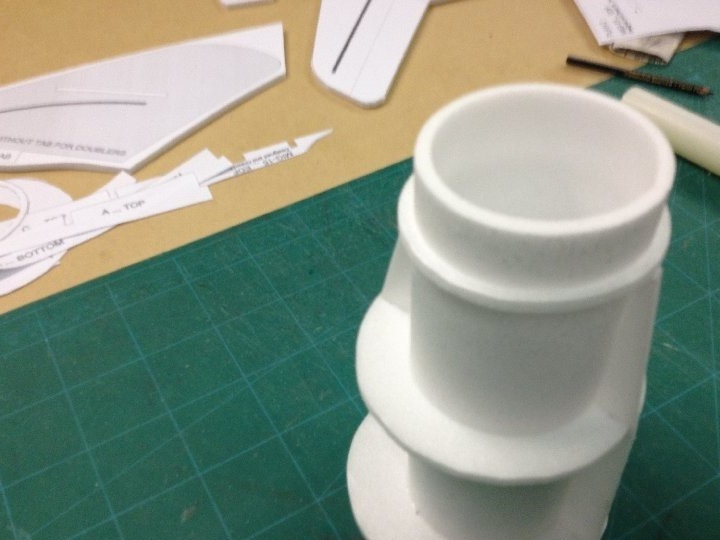
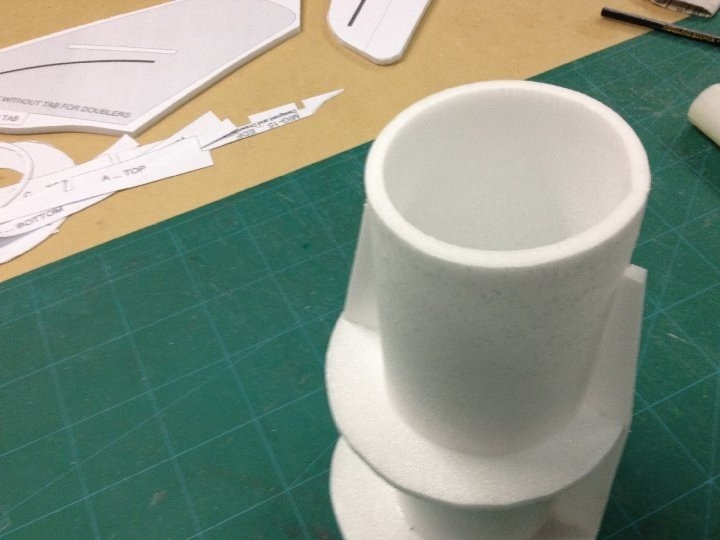
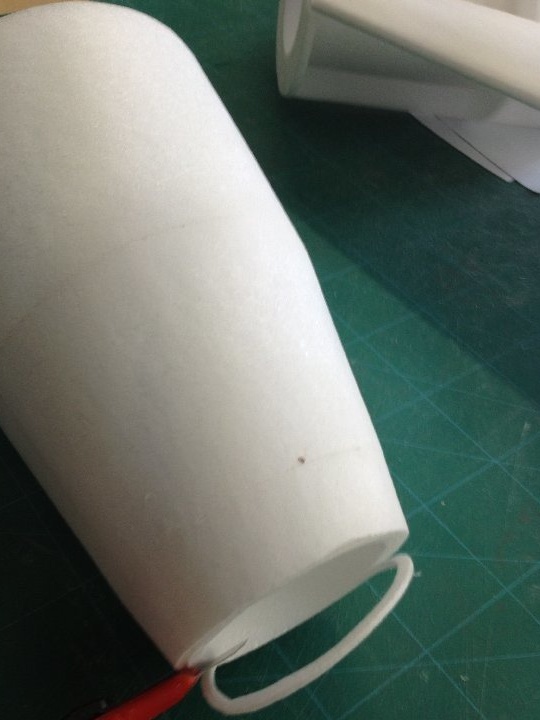
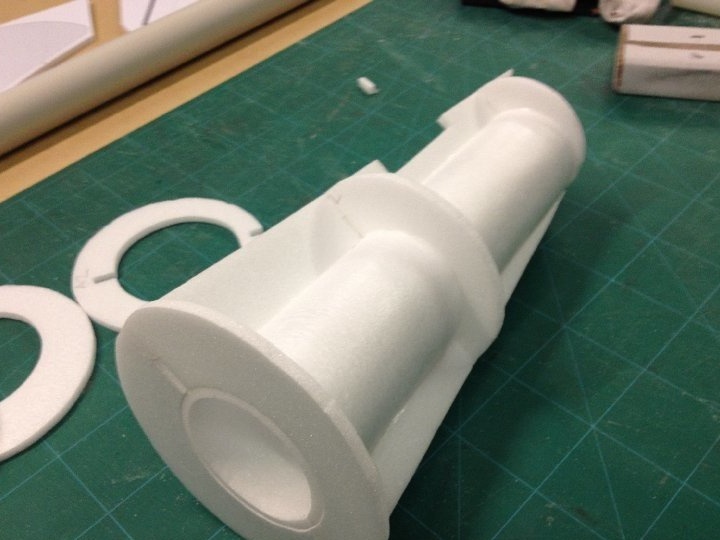
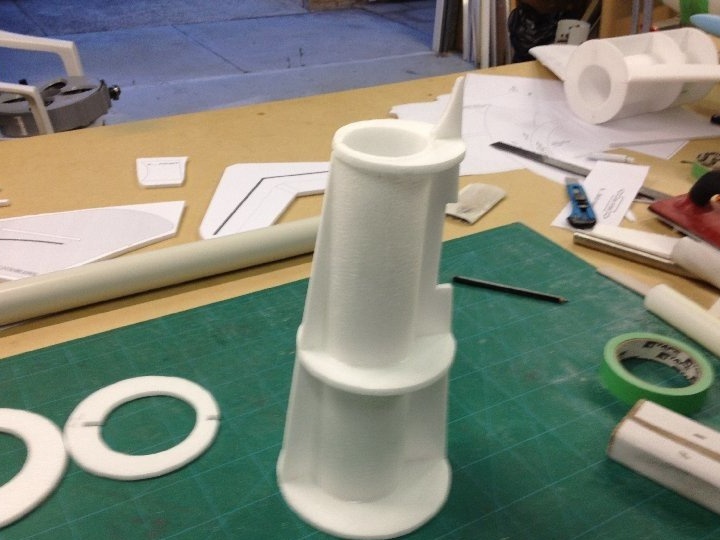
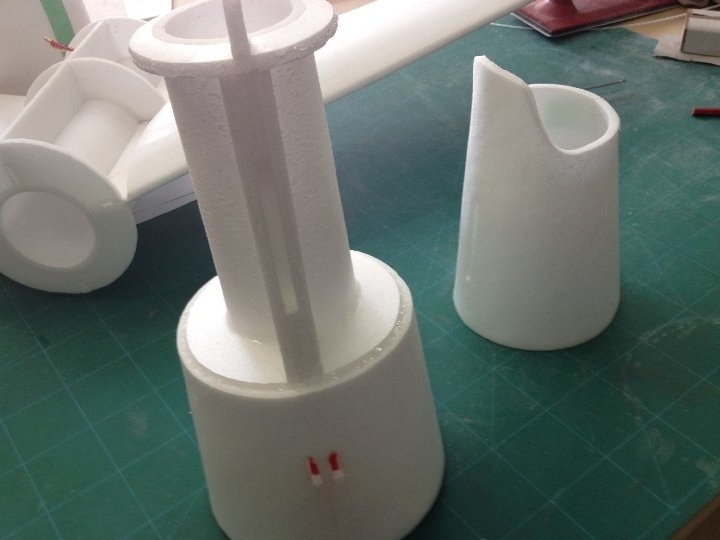
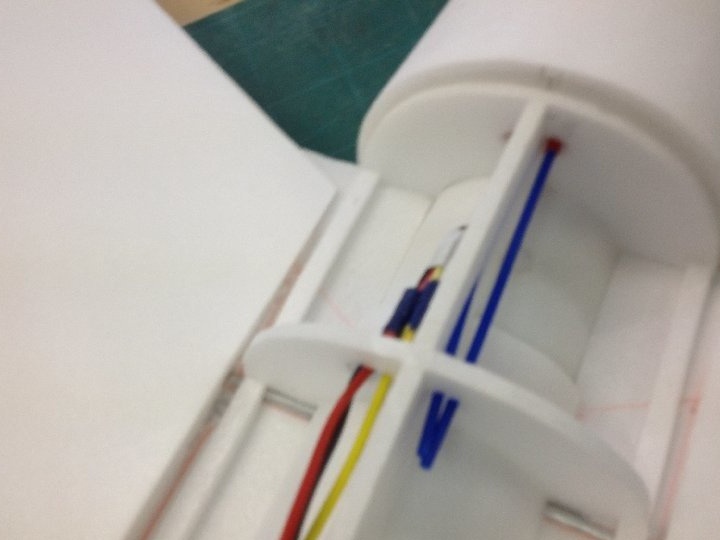
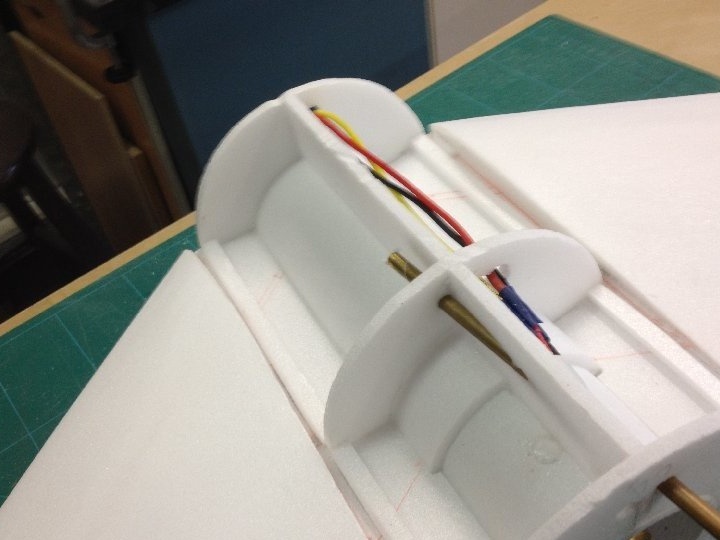
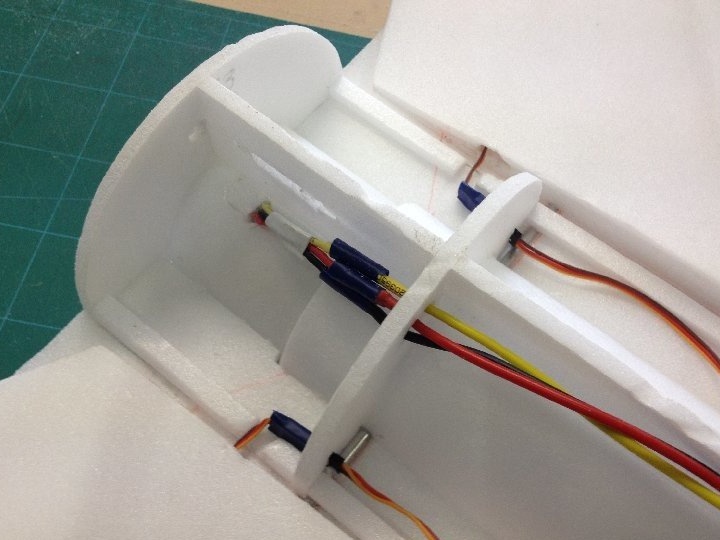
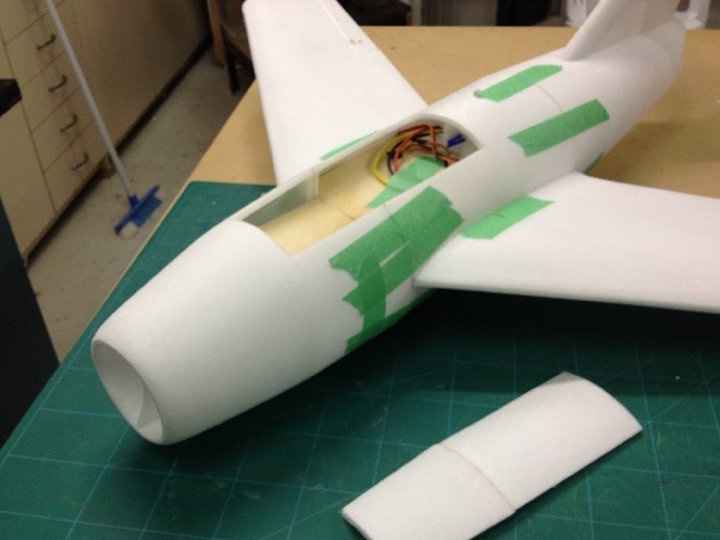
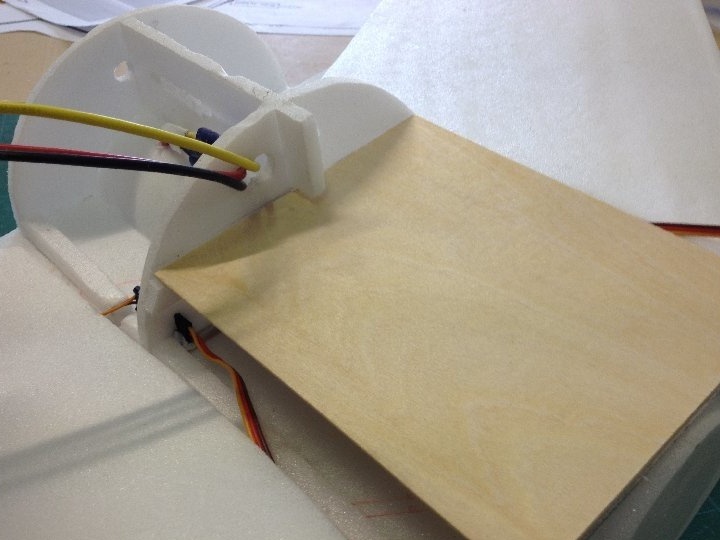
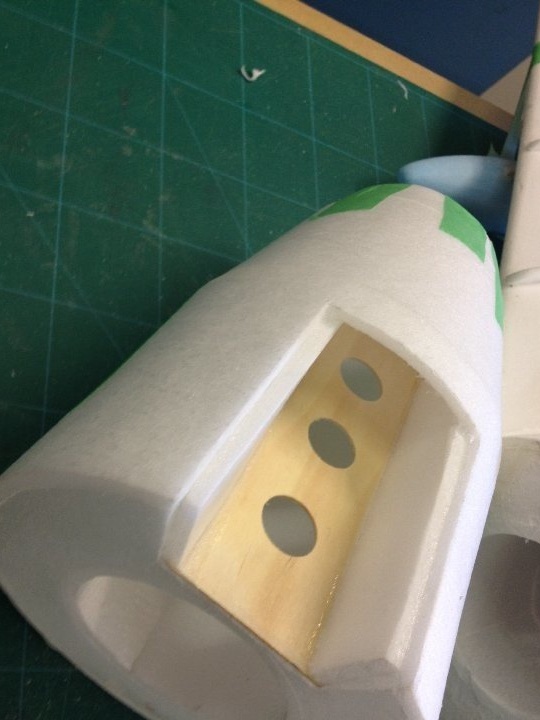
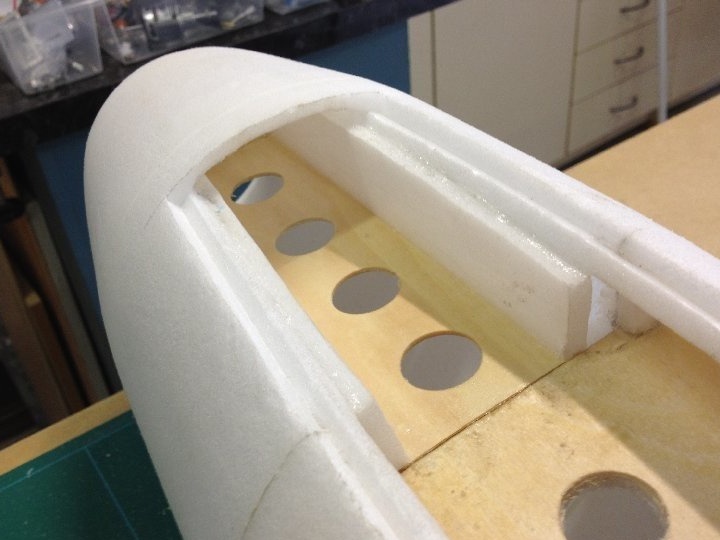
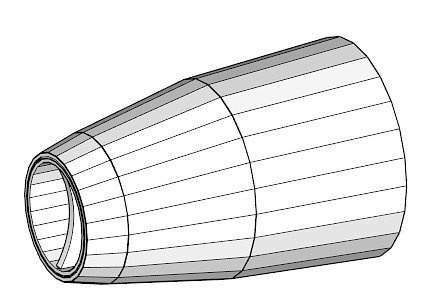
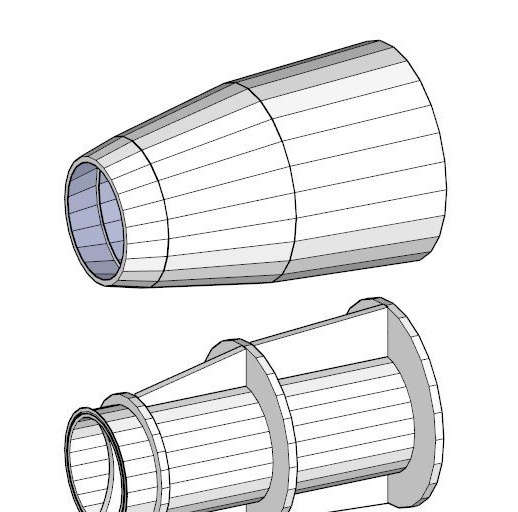
Further, the author shows how to make the central fuselage assembly, where the impeller is mounted.
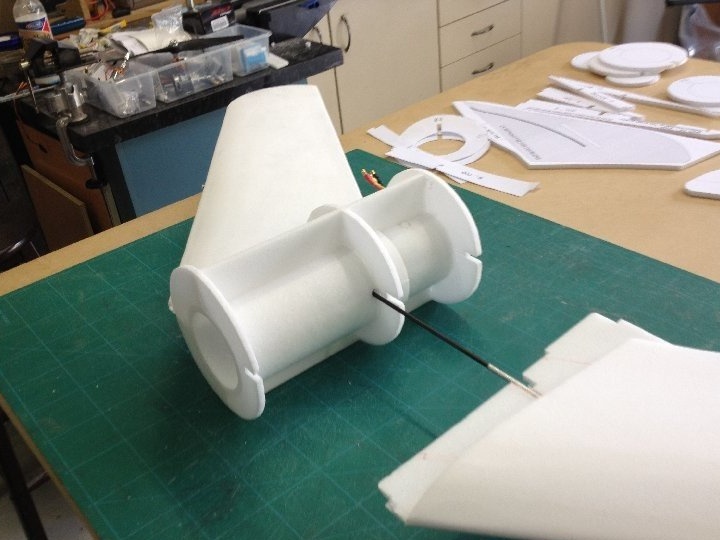
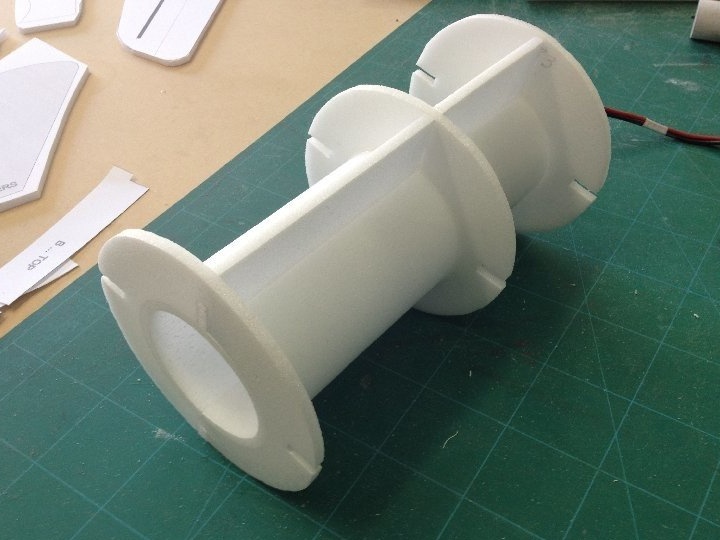
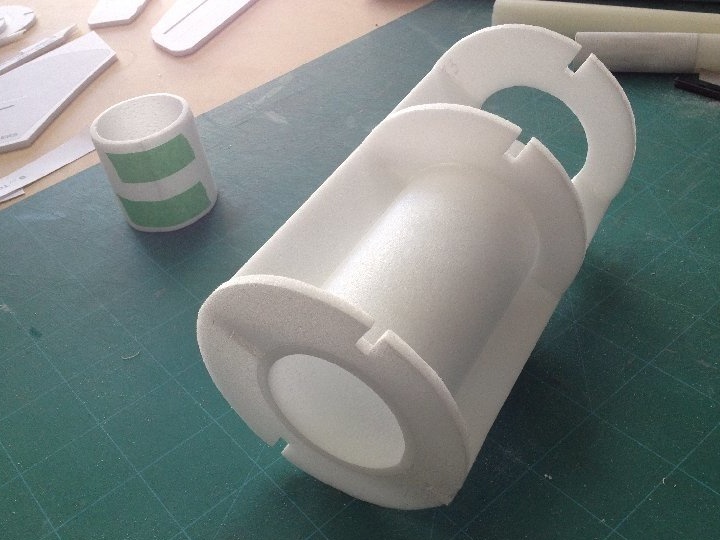
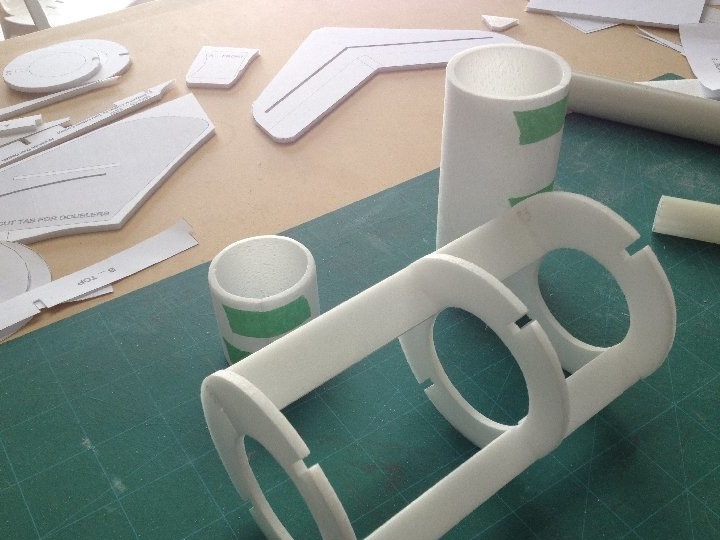
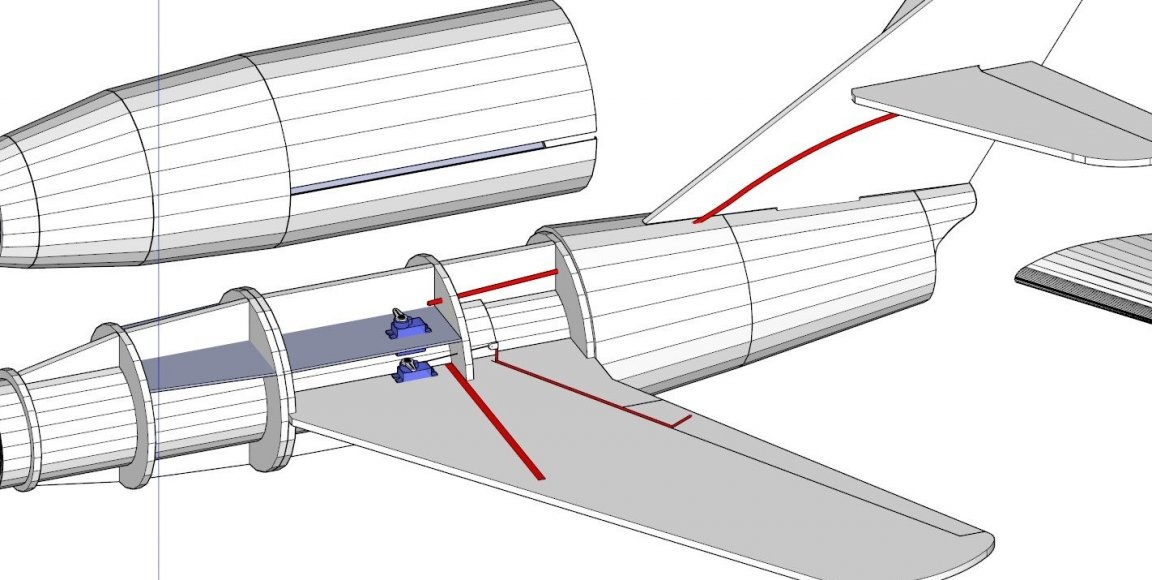
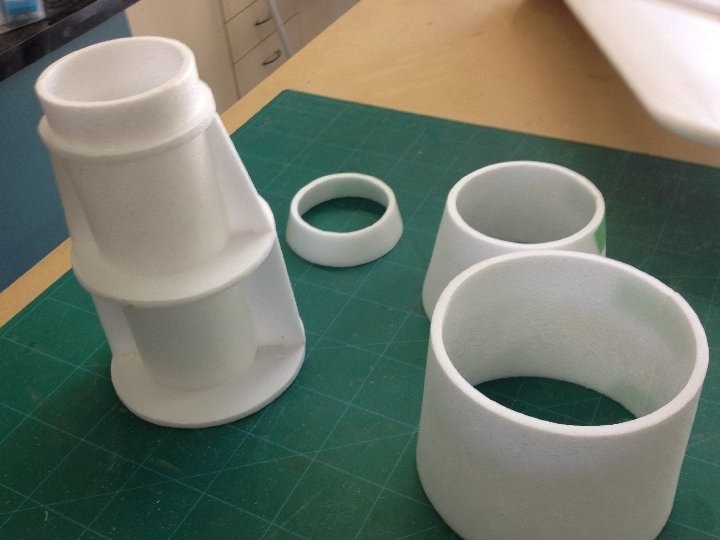
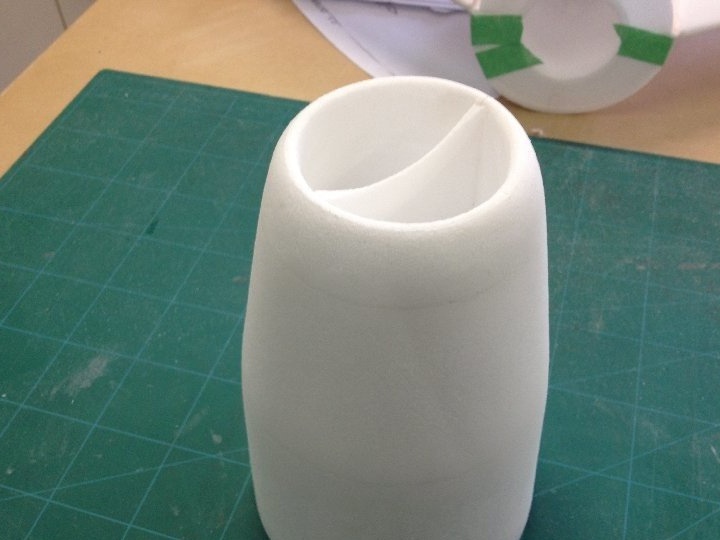
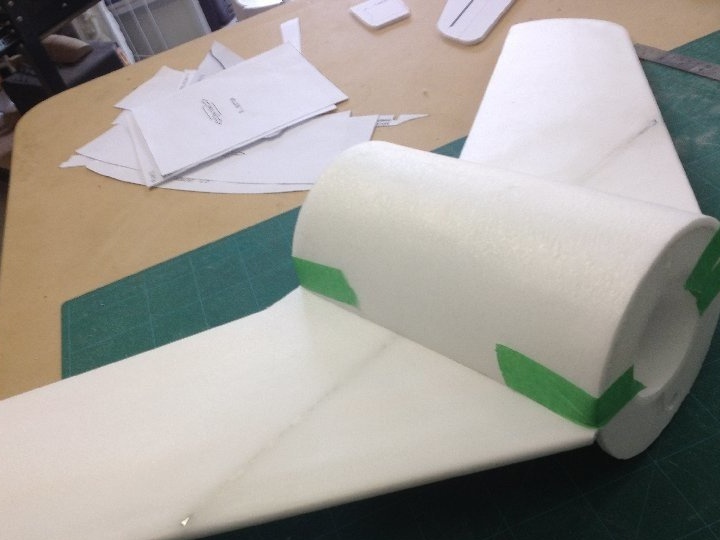
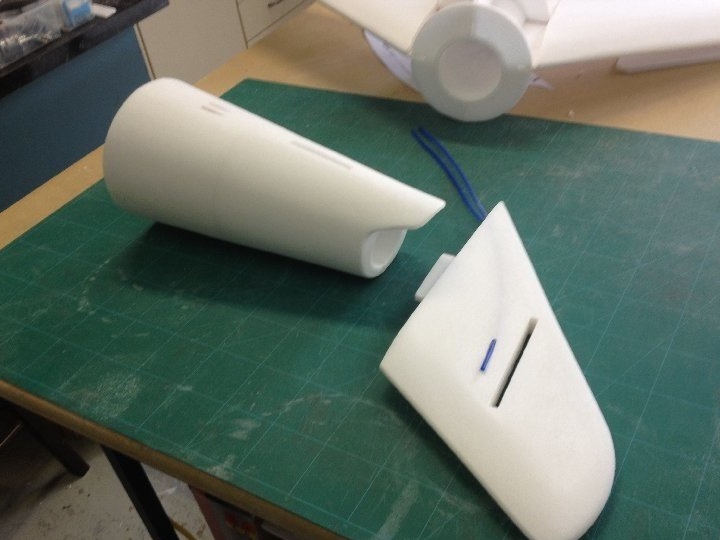
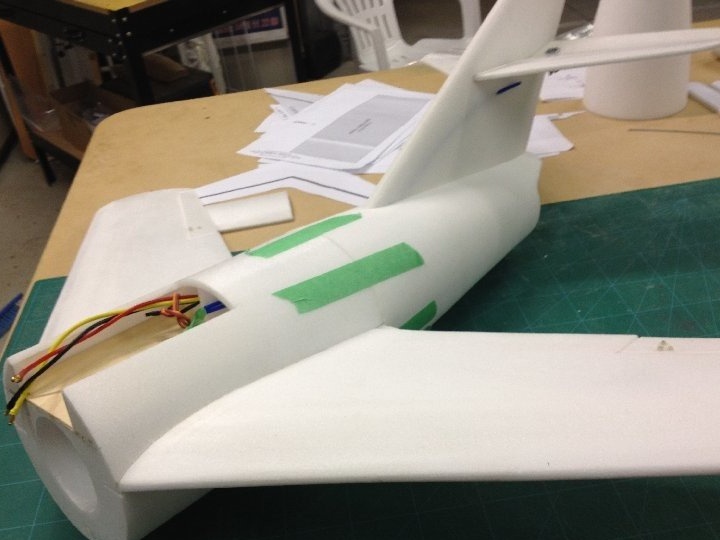
Shown is a step-by-step assembly of the fuselage and fitting of all sections.

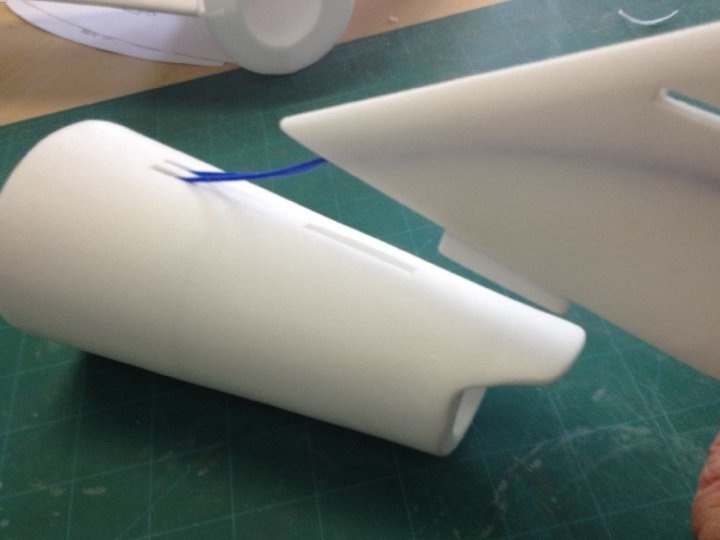

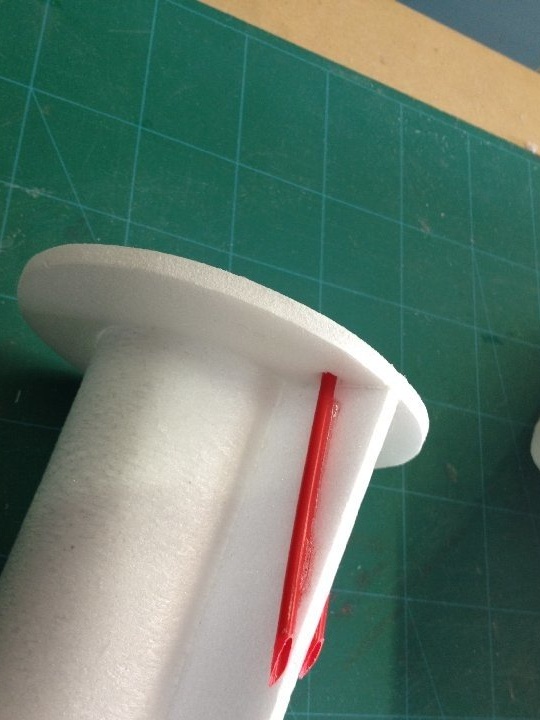
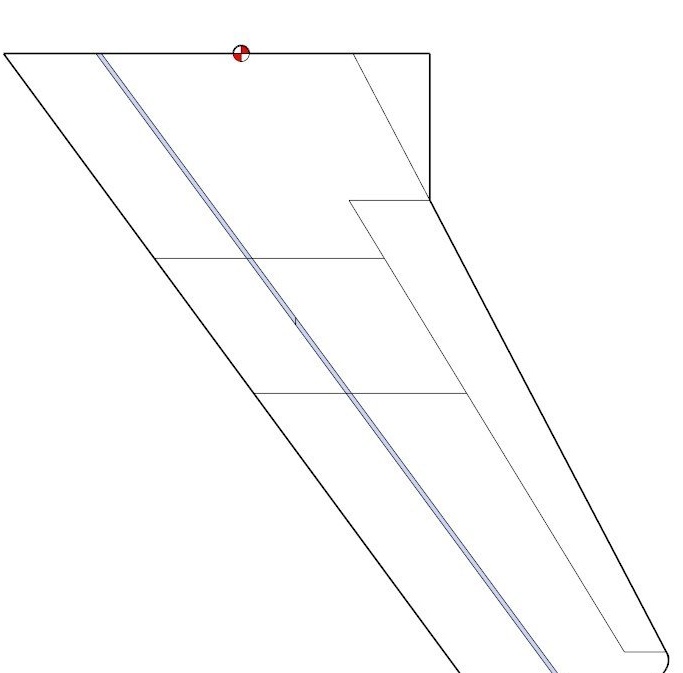
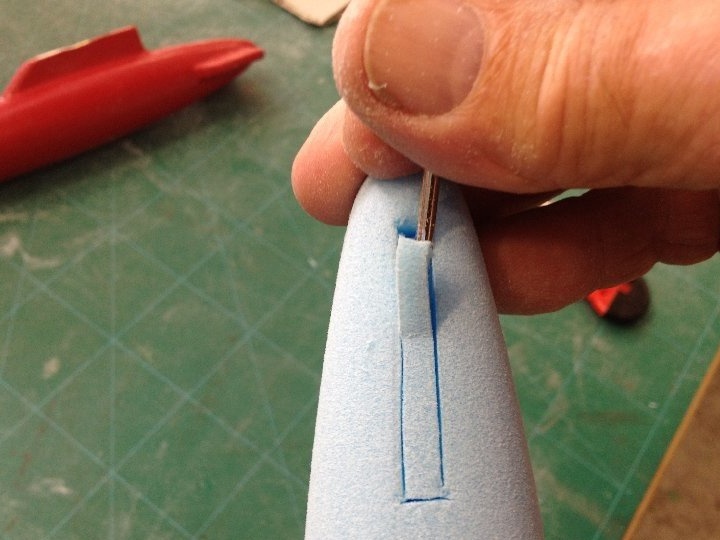
Shows the bowden gasket in the keel.
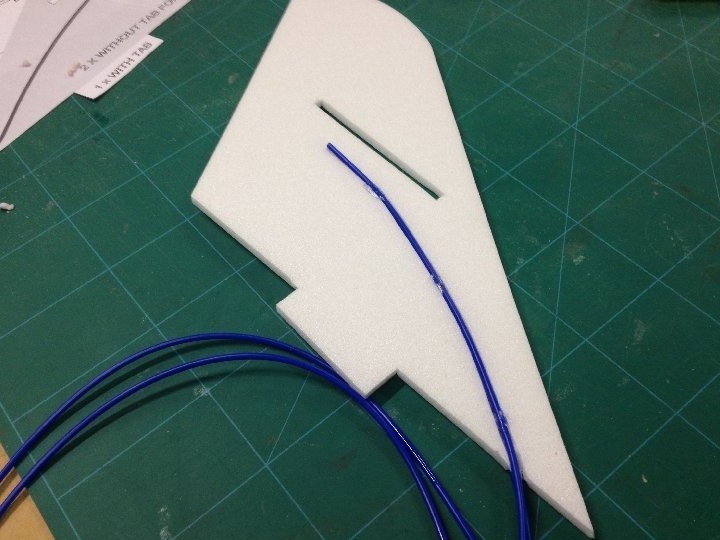
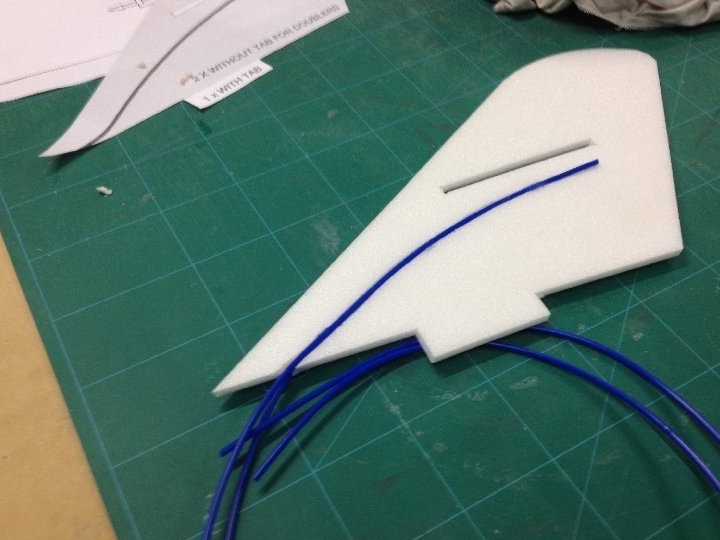
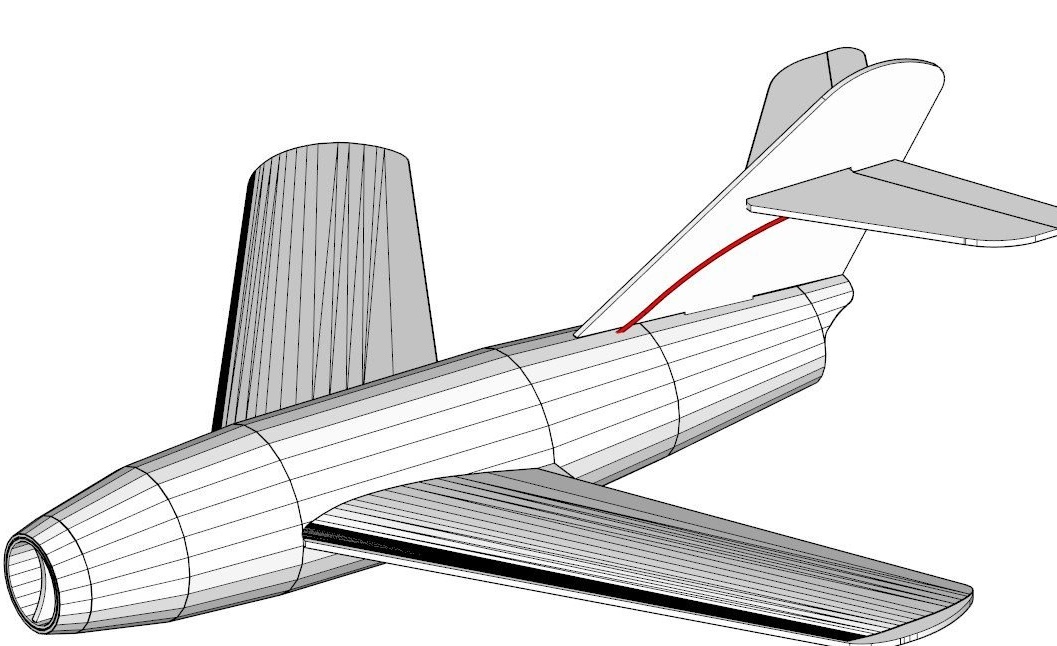
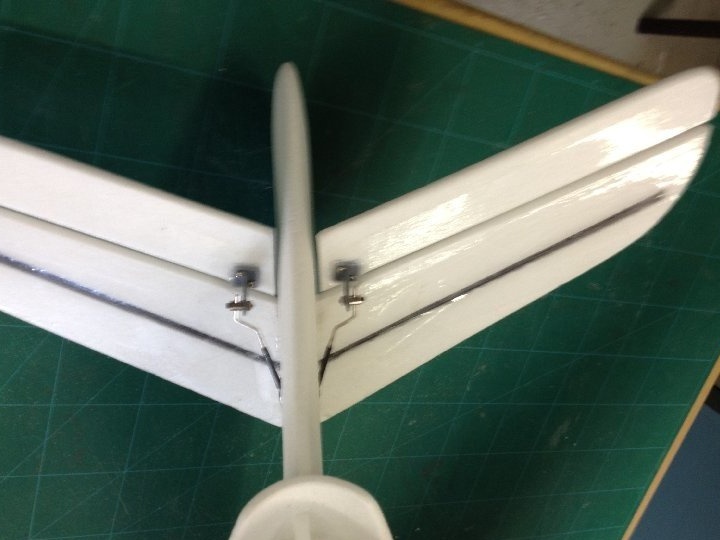
Features of the manufacture of the keel and stabilizer.
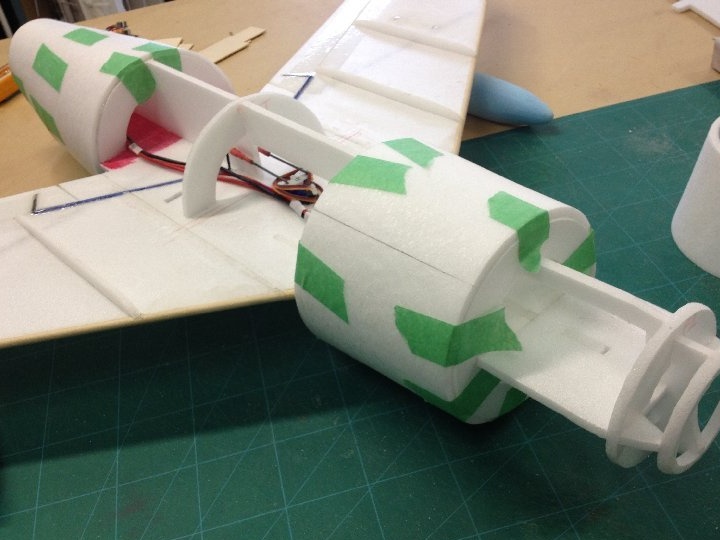
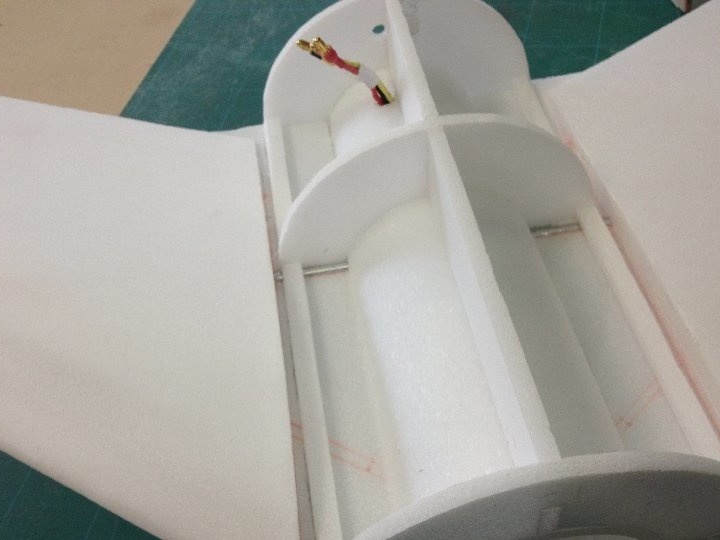
Installation of servos and hitch ailerons.

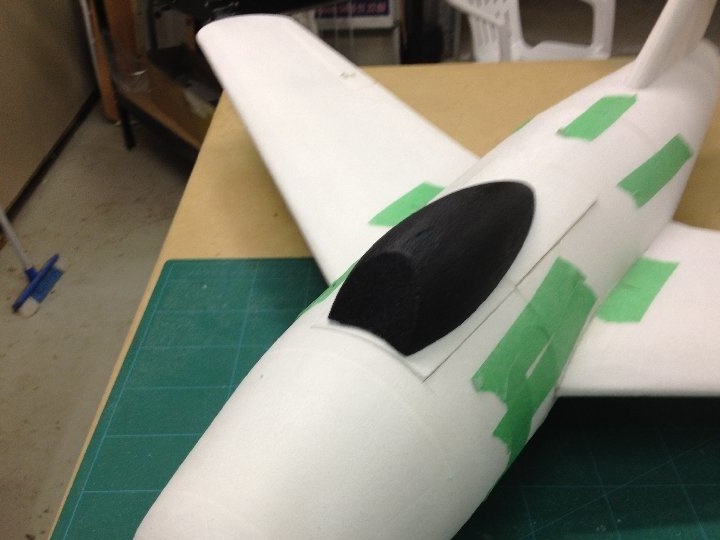
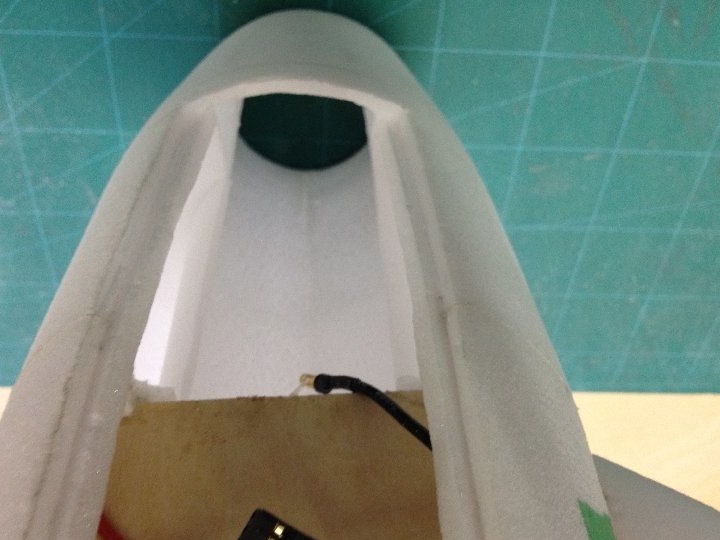
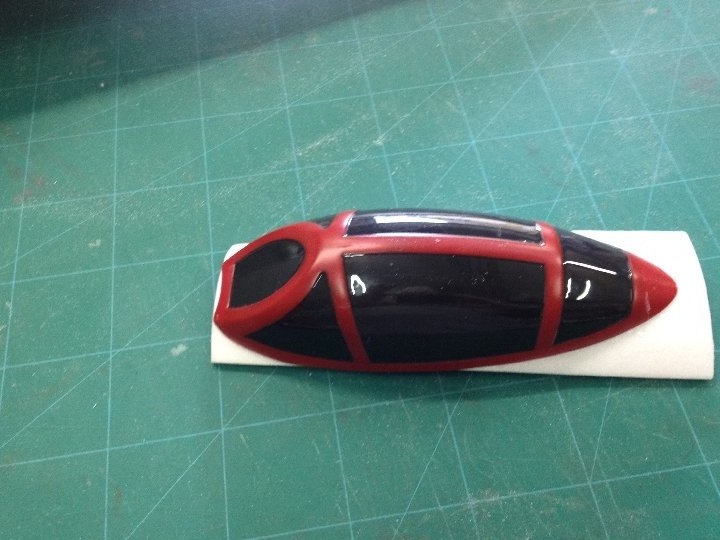
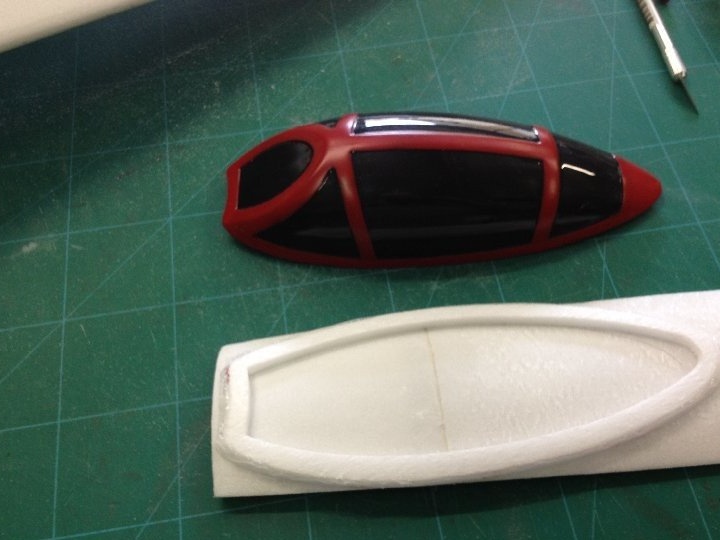
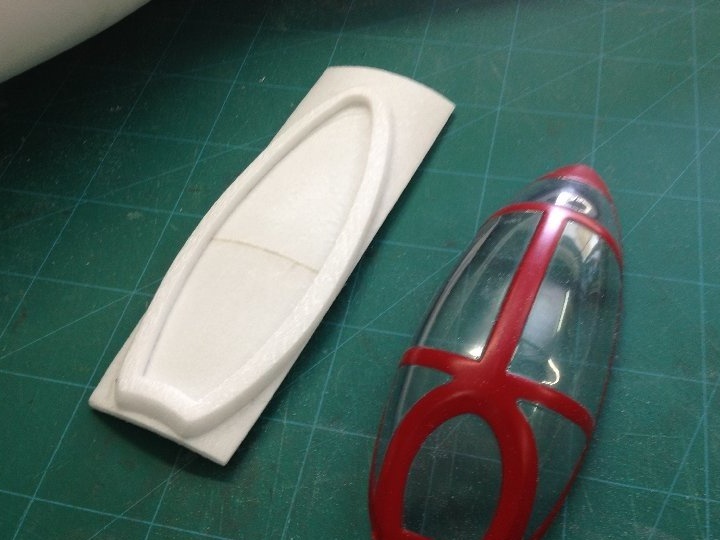
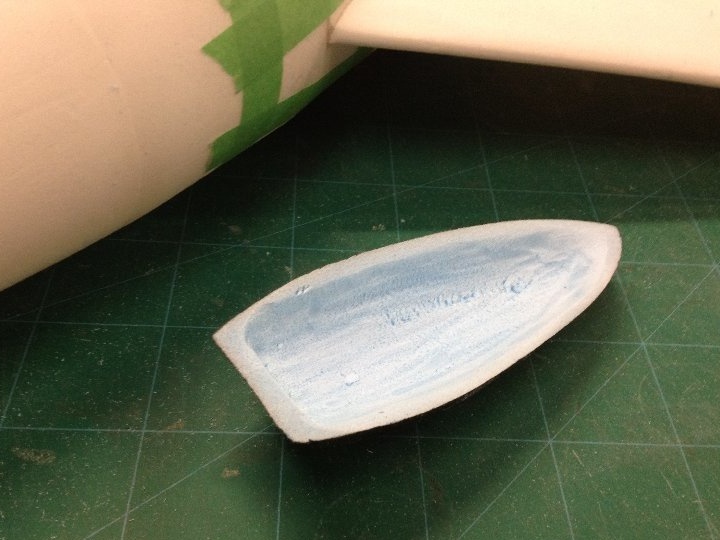
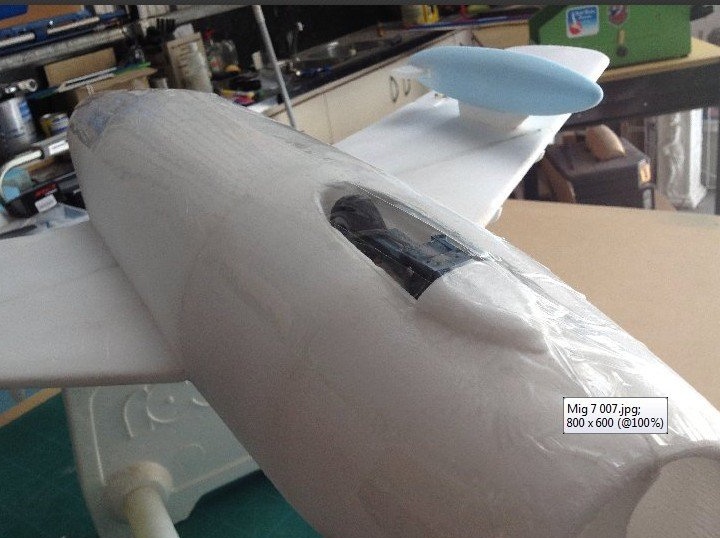
Preparing a place for the cabin.
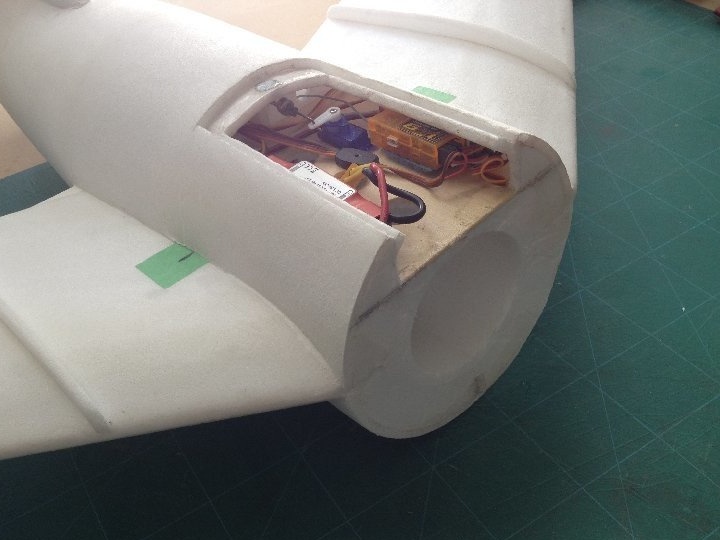
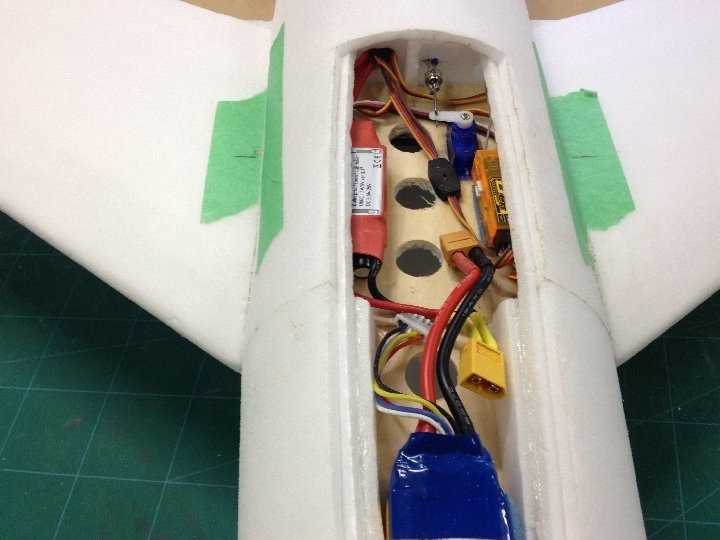
Preparing a place to install the battery and electronics.
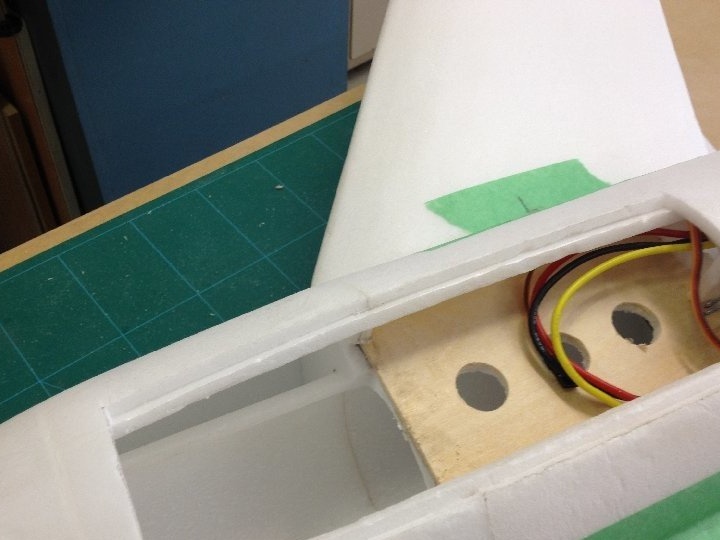
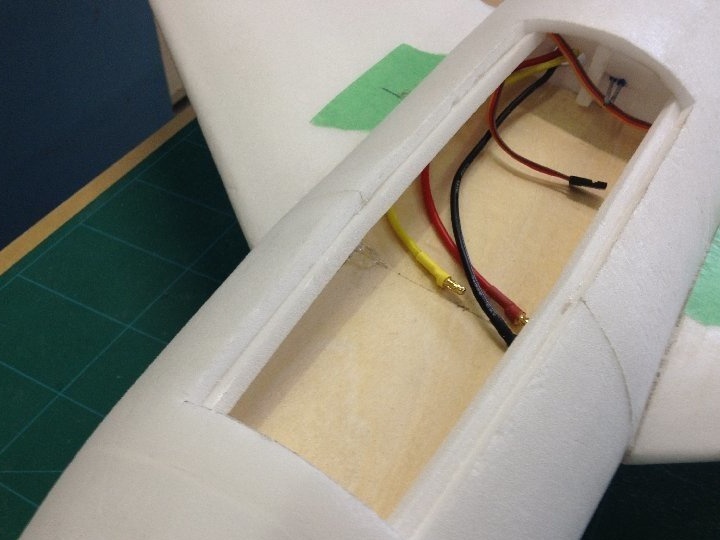
Connection rods to the PB.
On the manhole cover of the battery compartment, a cabin lamp is mounted.
View of the electronics.
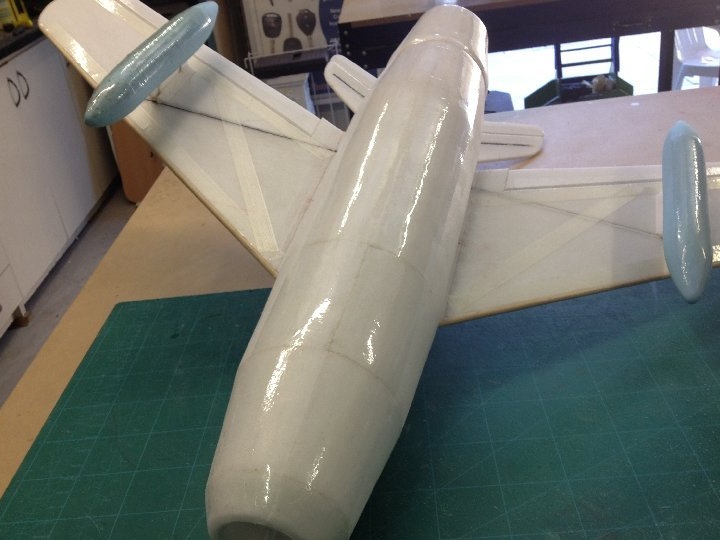
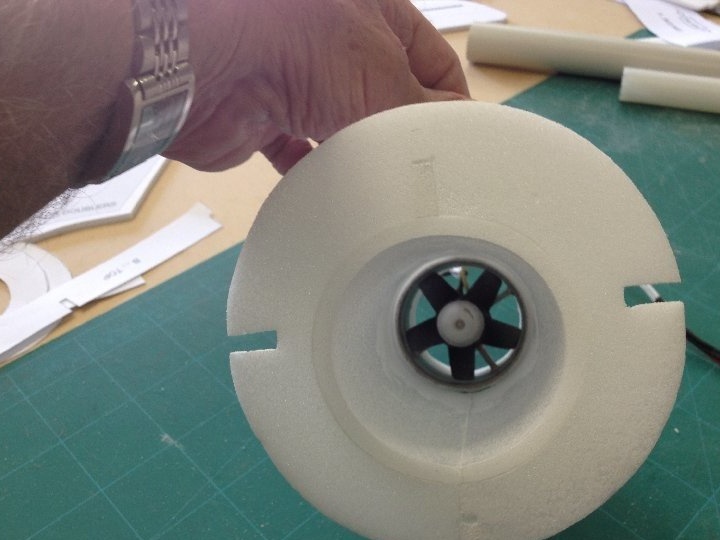
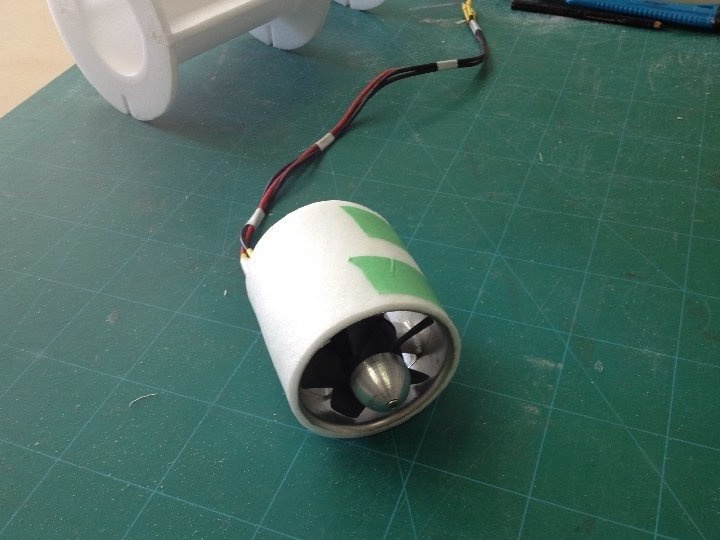
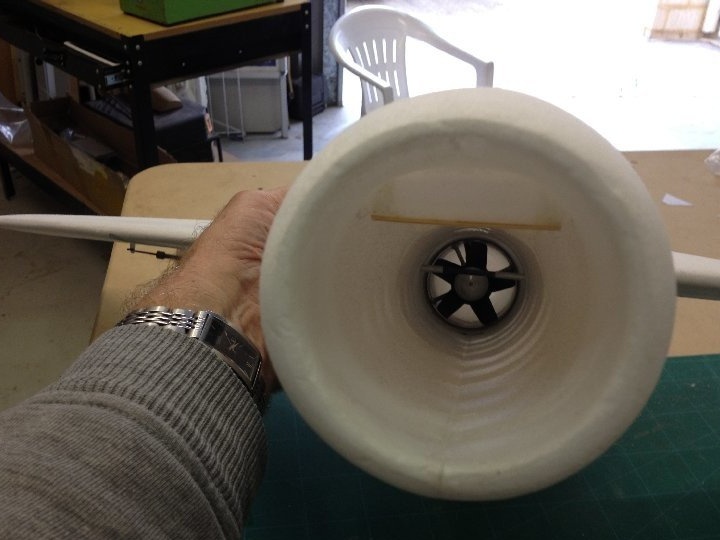
View on the impeller.
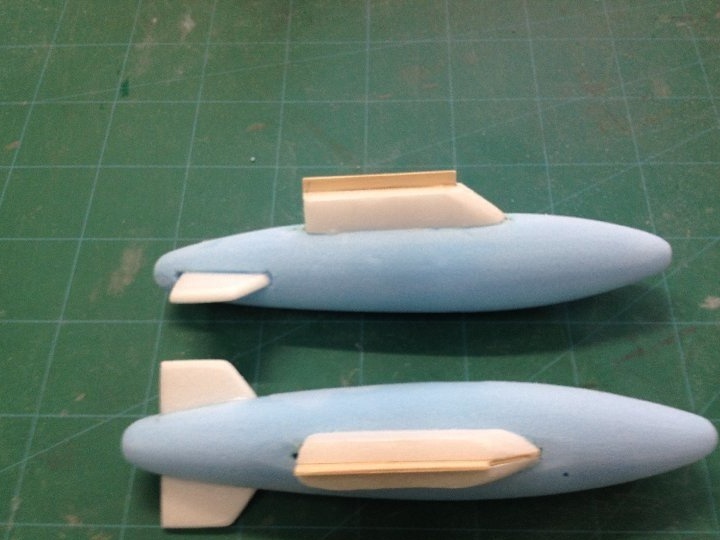
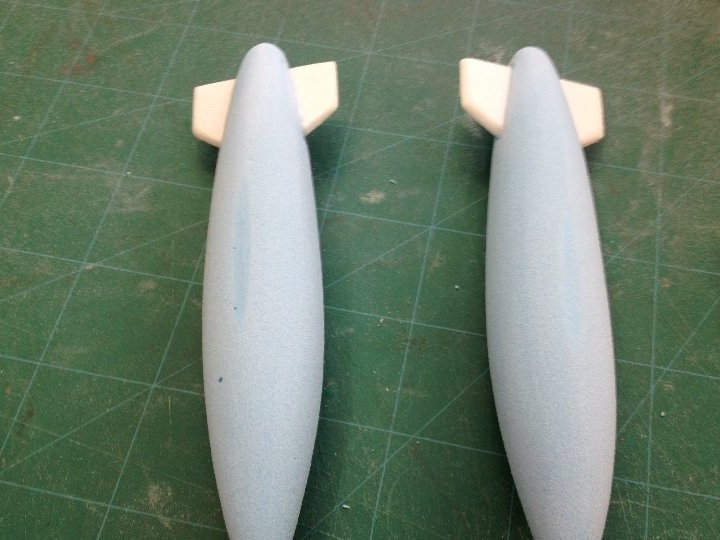
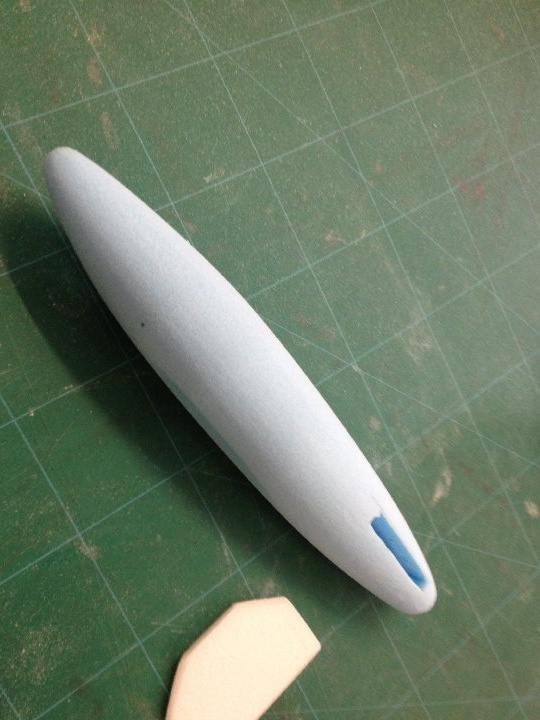
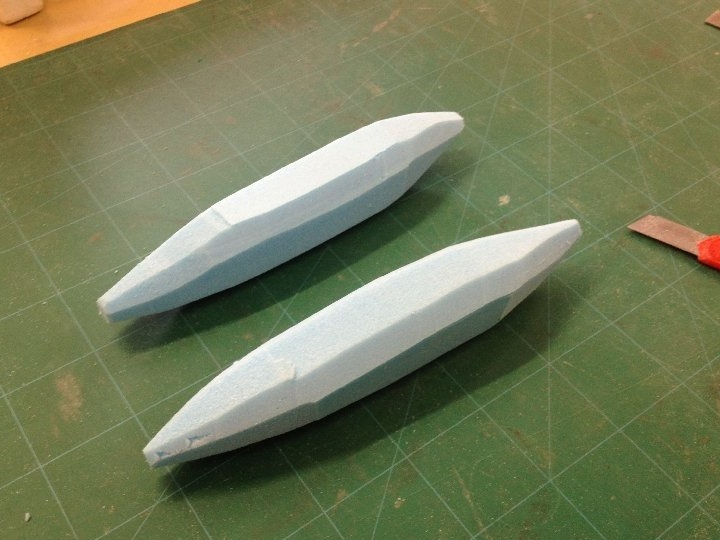
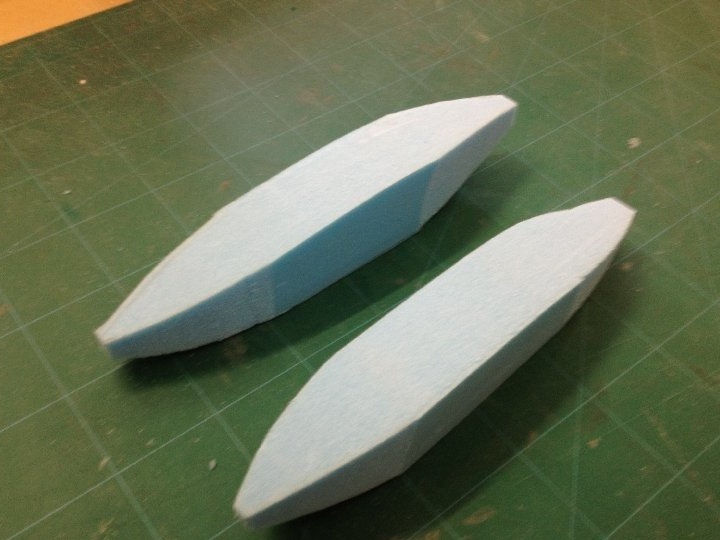
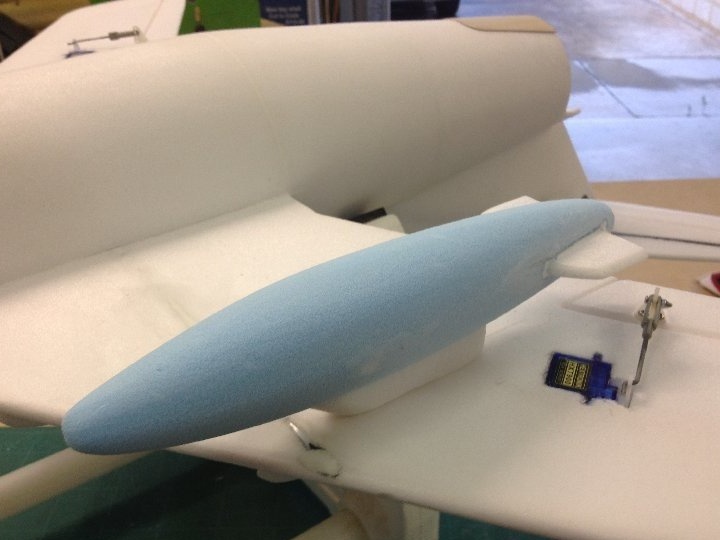
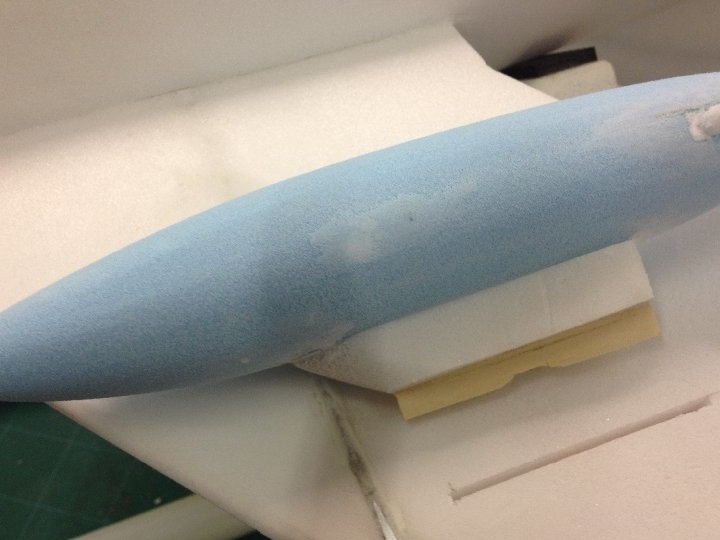
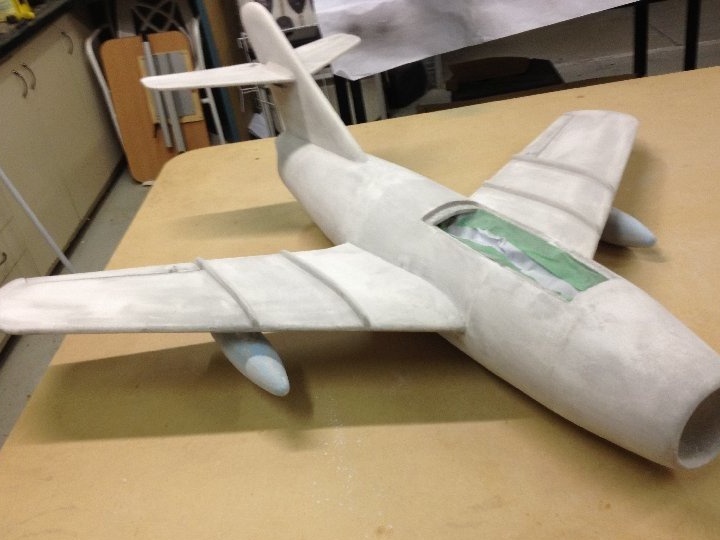
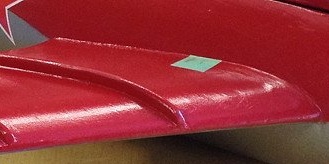
Hanging fuel tanks are made.
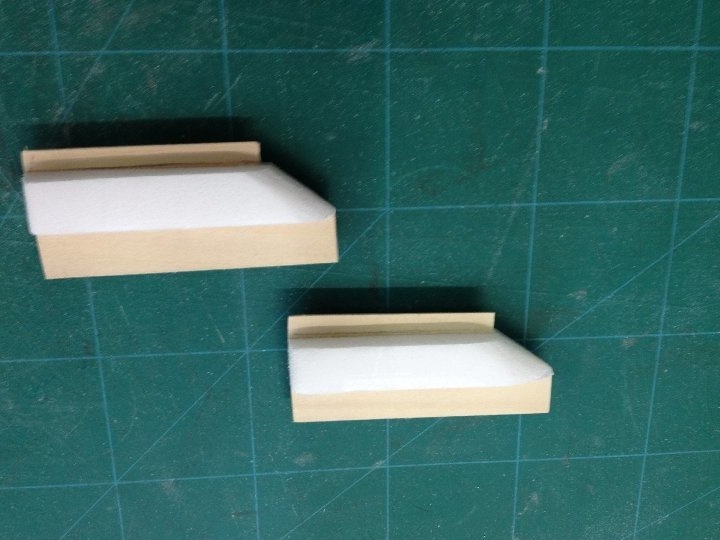

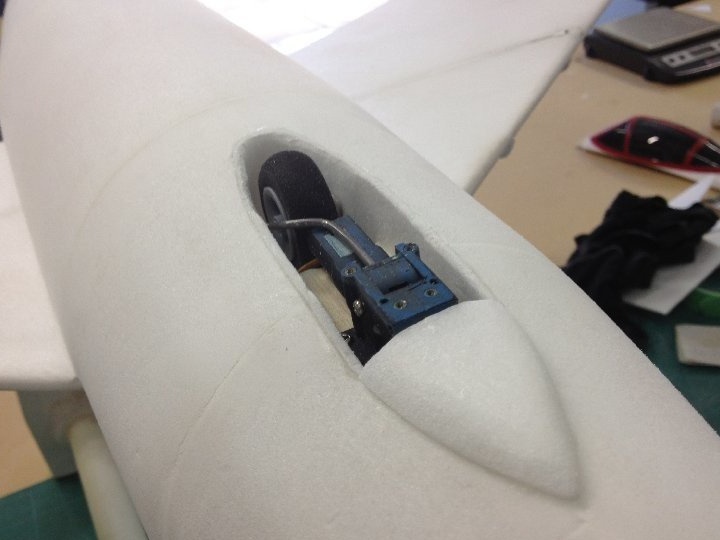
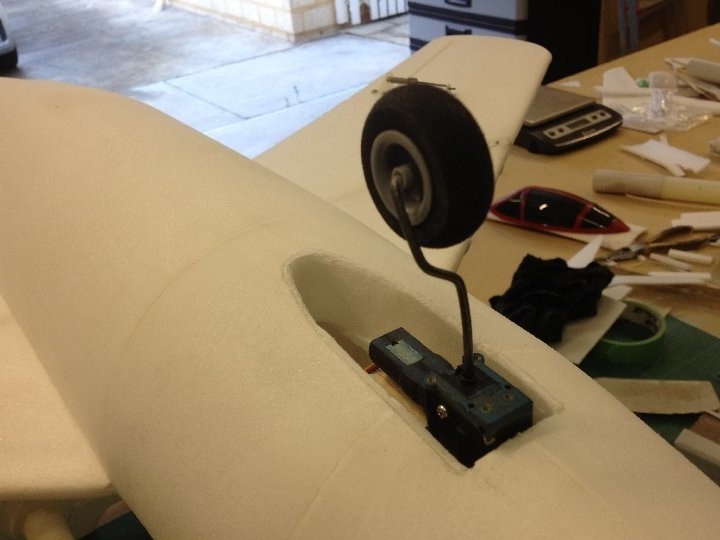
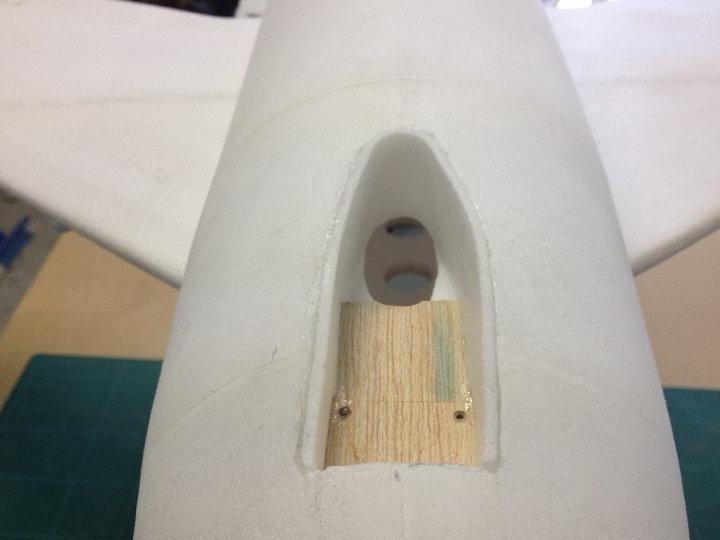
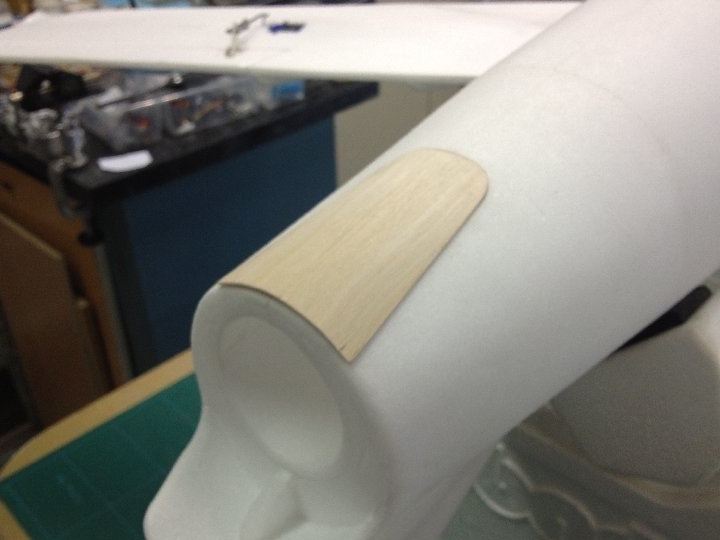
Preparing a place for the front landing gear.
Bottom of the tail of the fuselage, a safety heel is glued.
Hanging tanks are glued.
The first flight of the model and the broken nose of the fuselage.
Repair work to restore the fuselage.
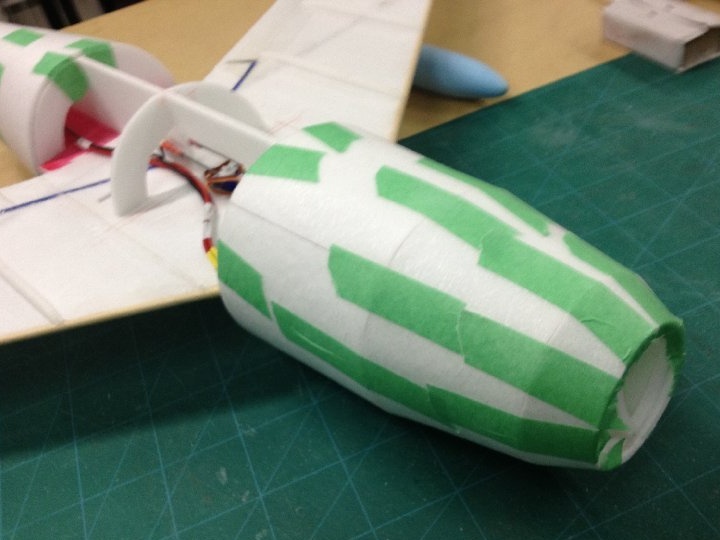
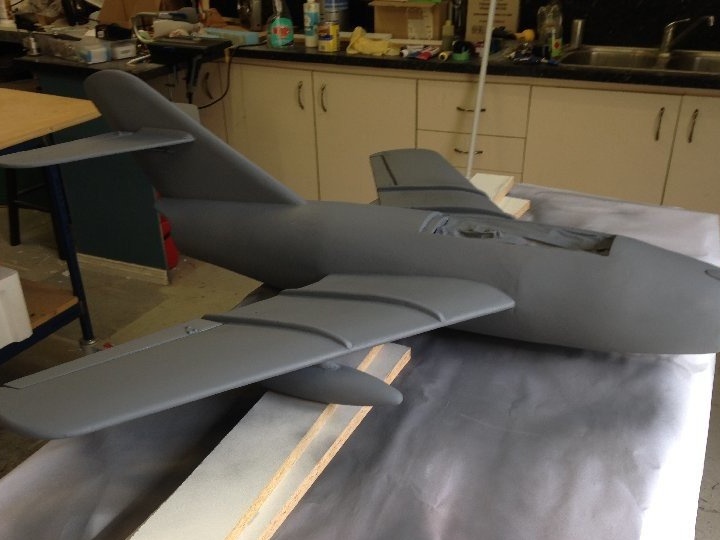
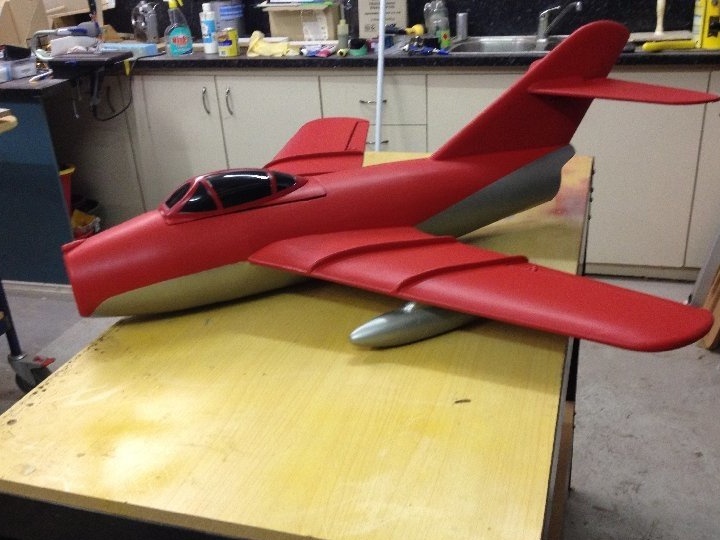
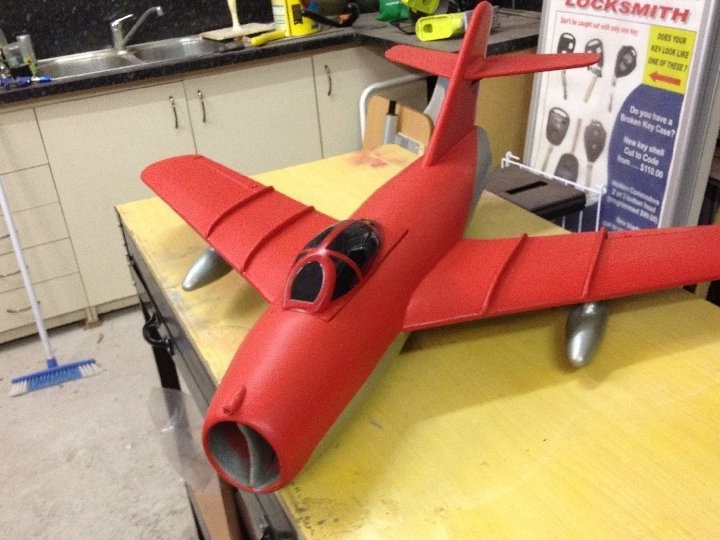
Preparation of the model for painting and primer.
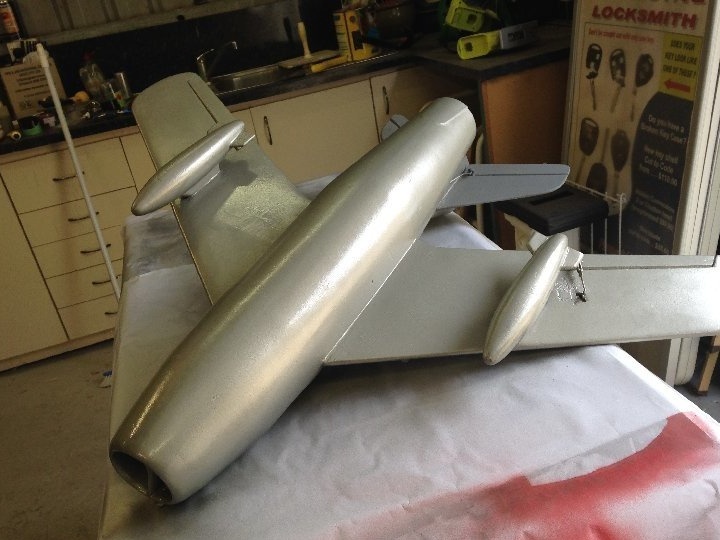

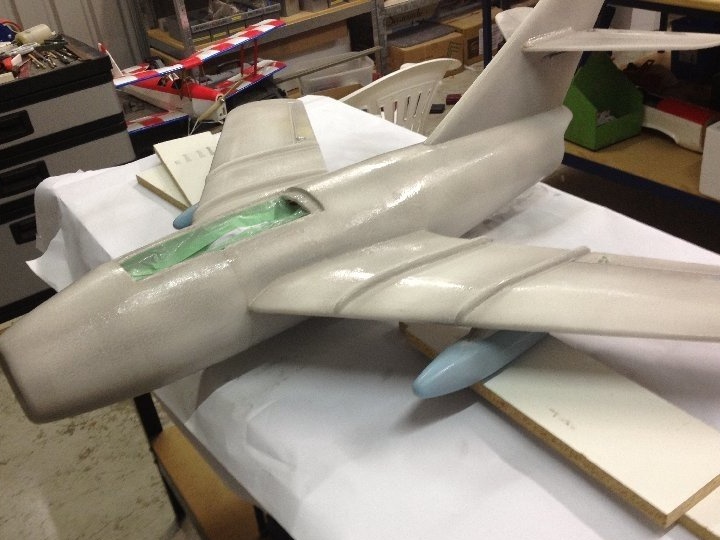

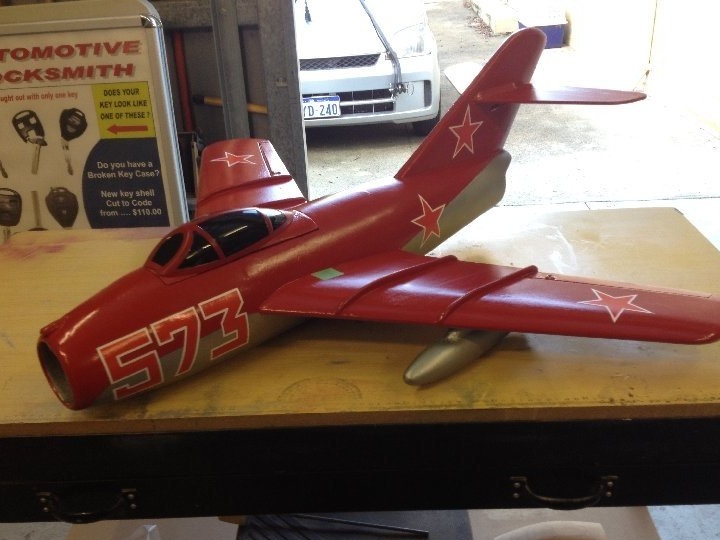
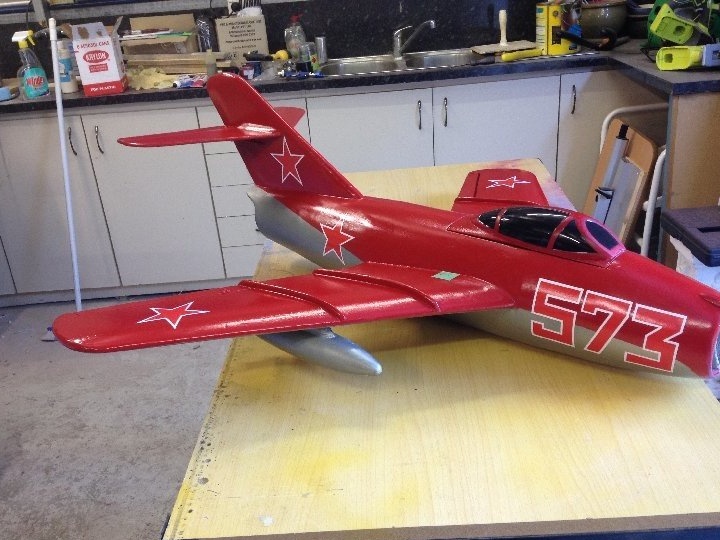
Model after painting.

Friends, I have nothing more to add, it turned out good material, for the construction of this aircraft model, I am satisfied. I hope to build a winter.
Good luck to you.
Bye. Your valerian.