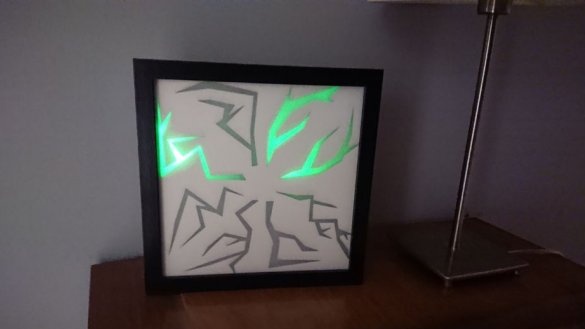
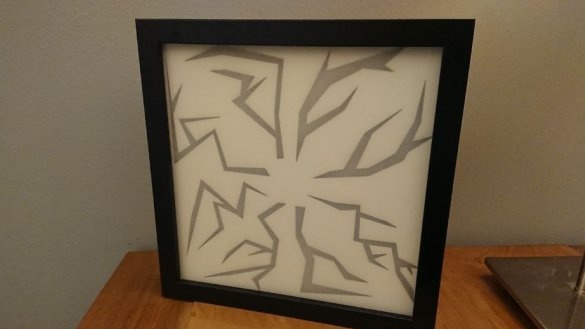
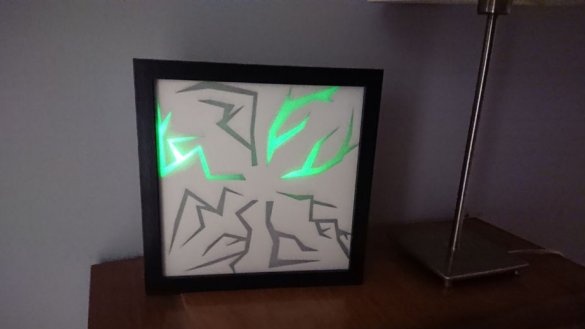
In the nineties, plasma balls with one electrode in the center were popular, in the zero - high plasma cylinders and flat plasma disks, where tiny glass balls were also placed in the space between the layers of glass, in addition to inert gas. Today, all this is still being produced, but the demand is small, which means that the supply is also small. The author of Instructables under the nickname awall99 decided to make a "plasma" square, however, without real plasma - the light sources in it are LED. But on the design homemade does not repeat any of the similar devices known previously. In addition, plywood is used in the design, while in real plasma decorative devices there is not a single wooden part.
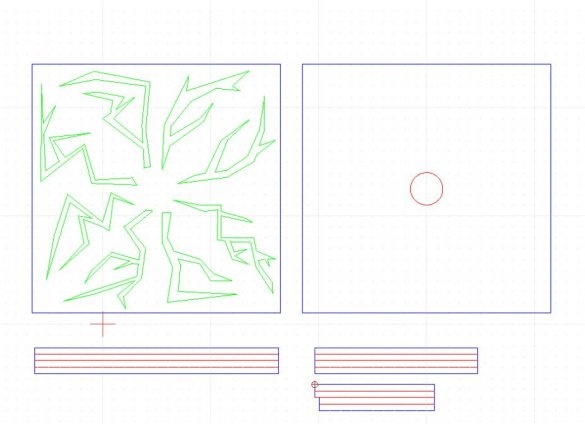
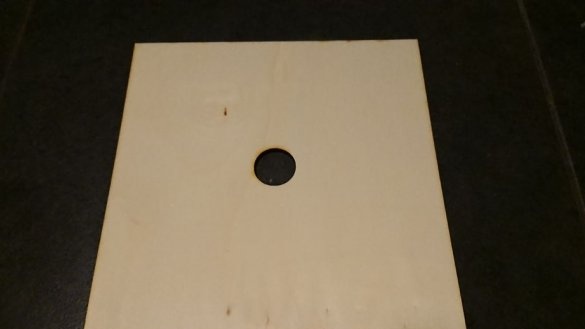
With it, the master begins. Makes Qcad CAD templates for cutting two plywood parts. A file in the DXF format (used to exchange files between different CADs) is laid out here. The template is designed to receive parts for installation in a frame with a square compartment with a side of 230 mm. When using a different frame, the file can be adjusted.
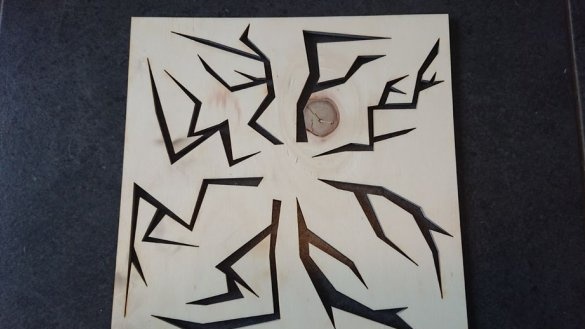
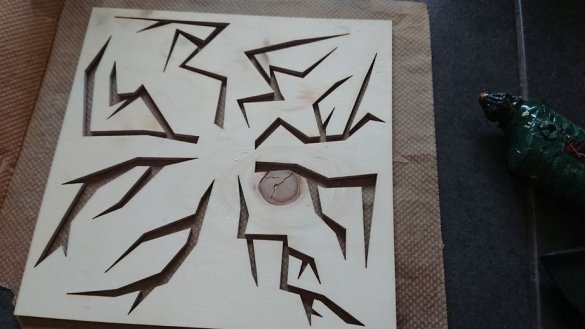
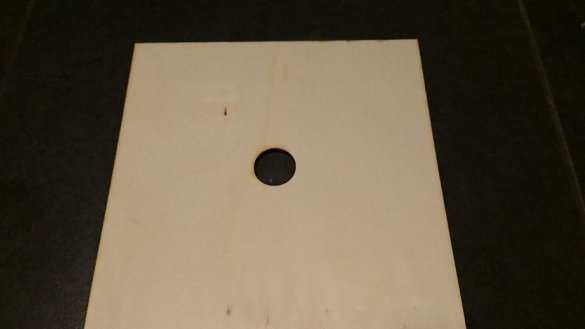
The file can be printed on a large-format printer at a scale of 1: 1, transfer the image to a sheet of plywood with copy paper and cut it with a jigsaw (and the hole in the second part is generally drilled with a pen drill), but the wizard has access to a laser cutter with DXF support, so he prefers easier way. He paints the first of the resulting parts on one side, which will be the front.
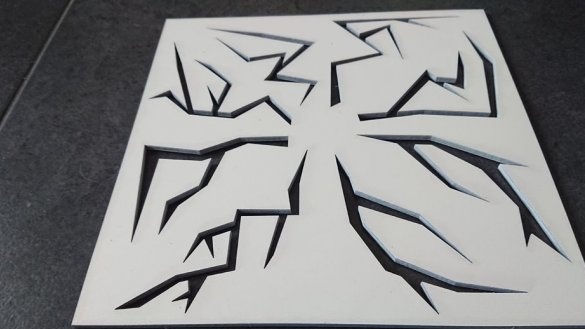
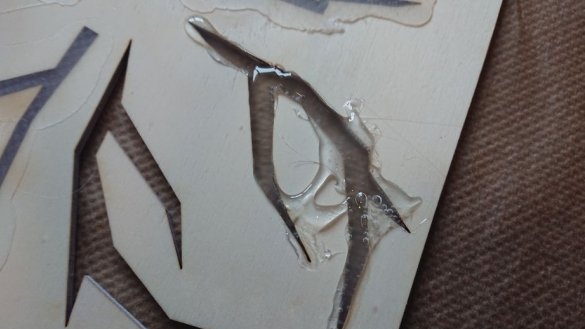
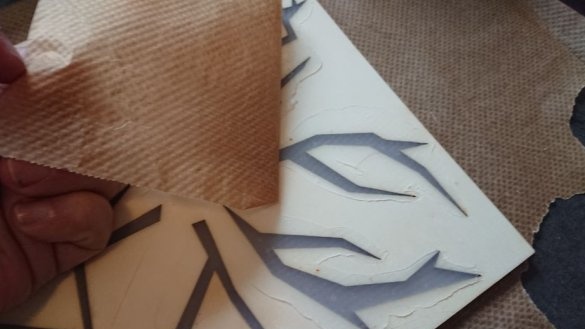
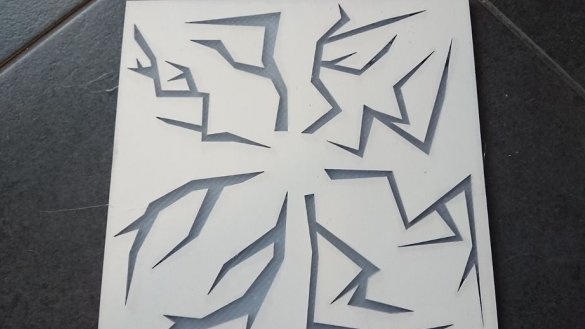
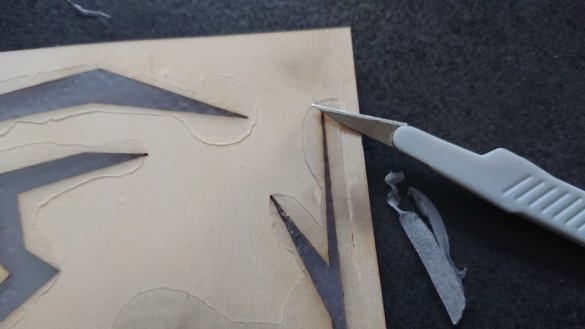
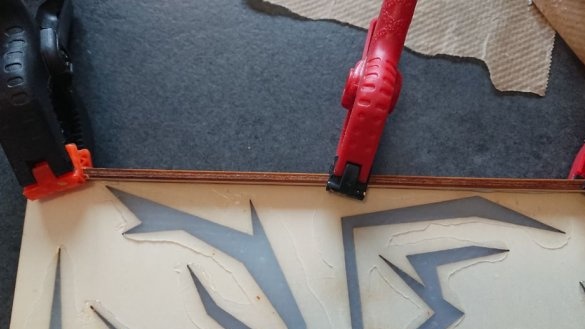
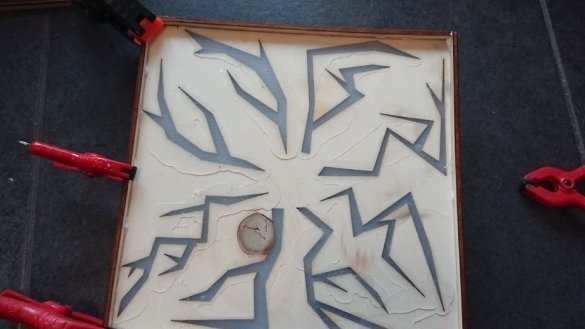
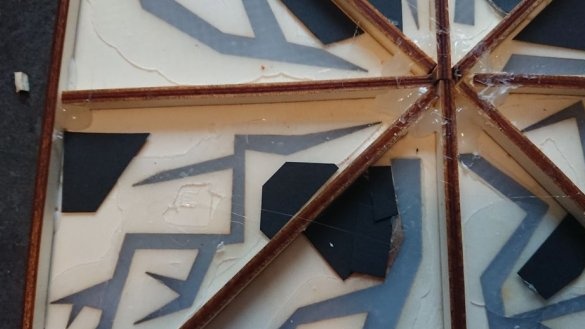
The master applies baking paper on a heat-resistant surface (which he used as a floor tile) and puts the first part face down on top of it. He fills all the hollow spaces forming a pattern simulating spark discharges with hot glue. Which leaves a lot - three large rods. Covers a layer of the same paper and presses with another sheet of plywood. After cooling the glue for five minutes, the master separates the paper. It turns out a good LED light diffuser.
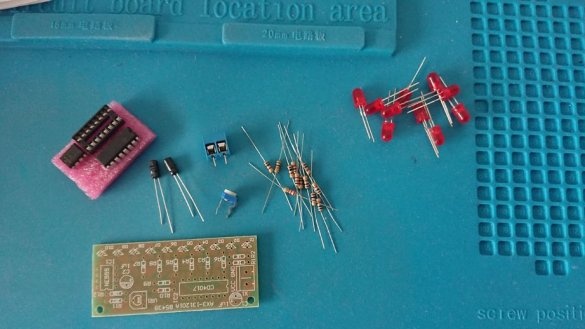
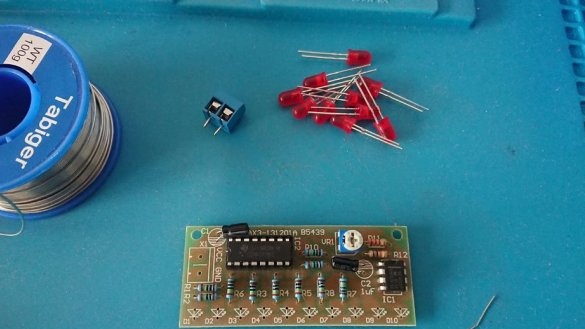
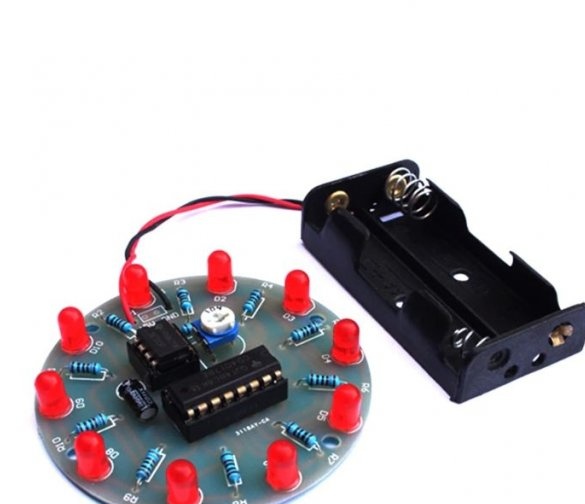
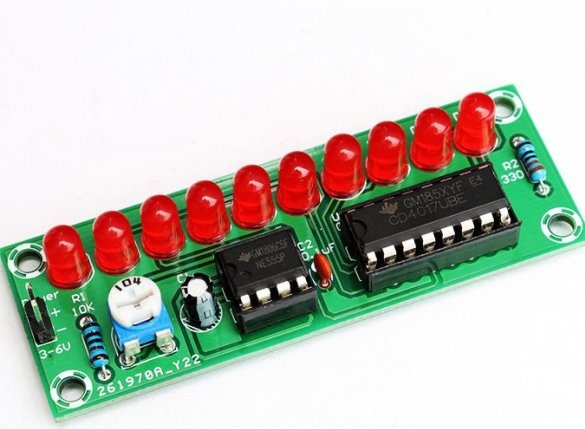
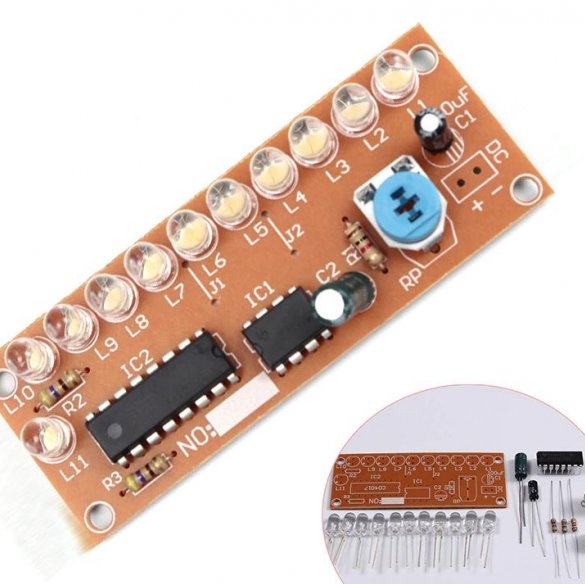
It collects a set of "running fire on chips 555 and 4017" (respectively, KR1006VI1 and K561IE8), they are many different (differ in the shape of the circuit boards), if desired, you can purchase all the necessary parts not separately, but separately. Arduino also suitable, but this is too simple a task for him.
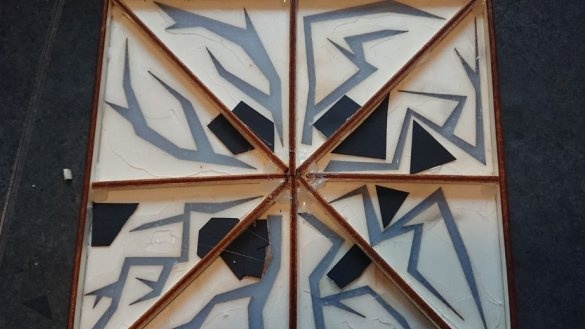
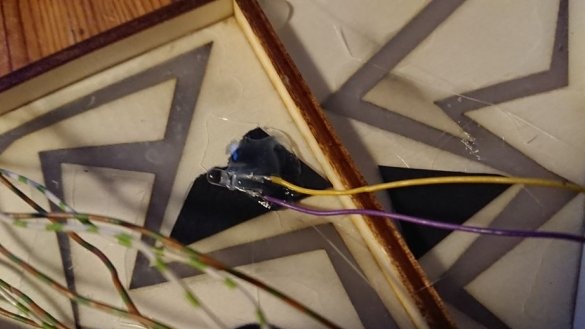
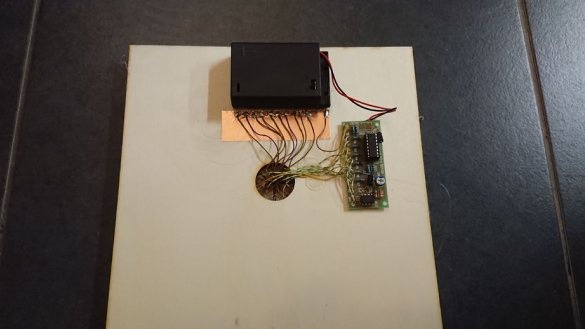
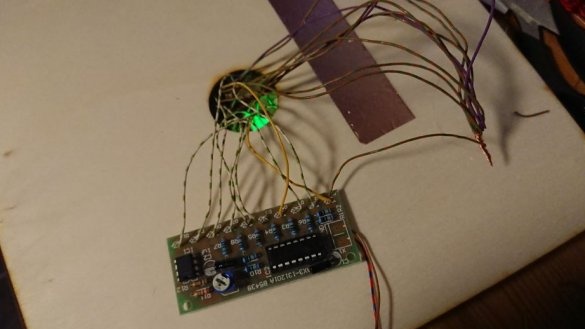
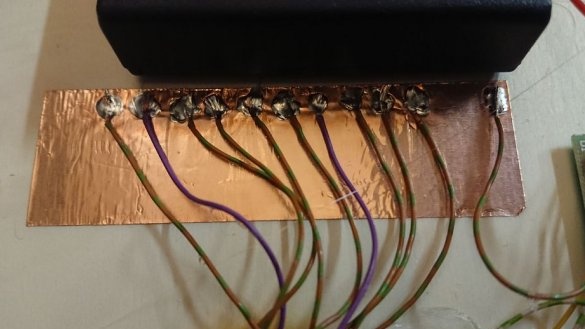
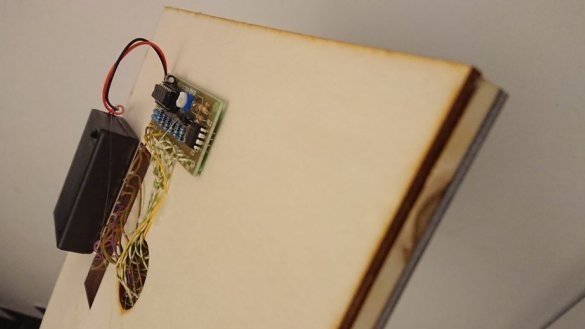
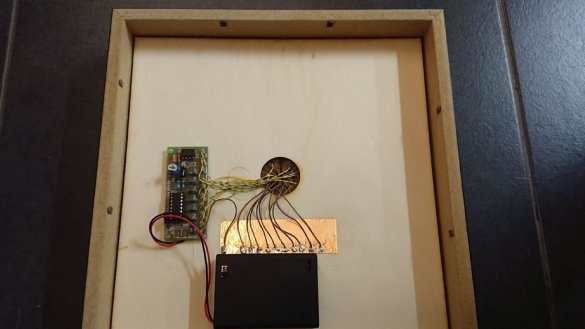
It removes excess hot-melt adhesive from the front side of the first part, divides the back side into eight segments with strips, installs LEDs (there are ten of them, and puts eight additional LEDs in compartments next to adjacent ones), leads the conductors through the hole in the second part and glues it. It installs the board and the battery compartment, equipped with a built-in switch (can be replaced with a USB cable), sticks a strip of copper foil, which will be a common bus for all segments, connects everything, checks how it will work.
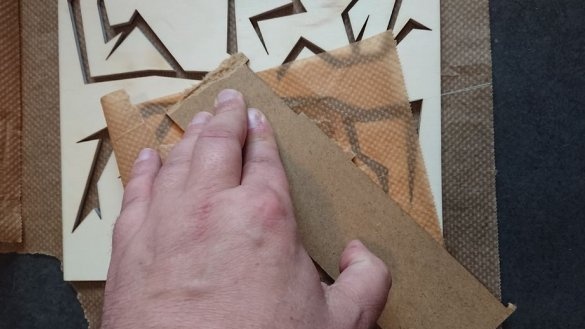
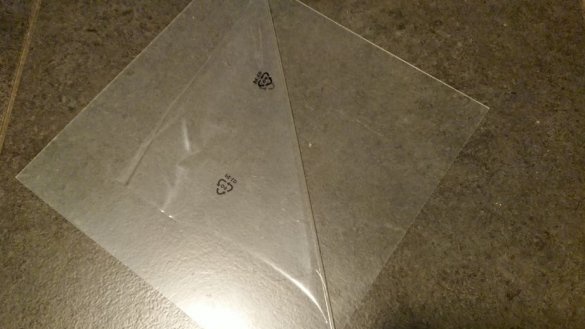
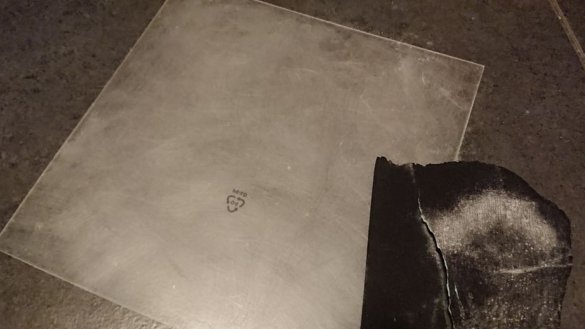
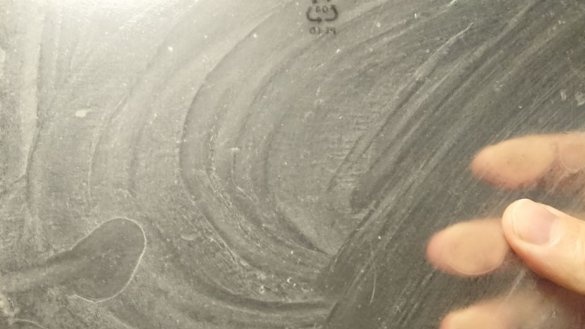
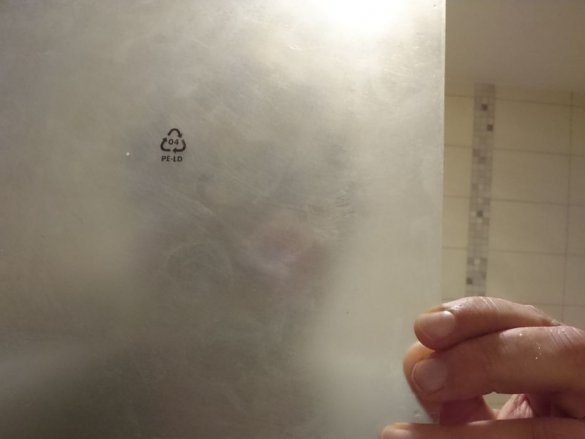
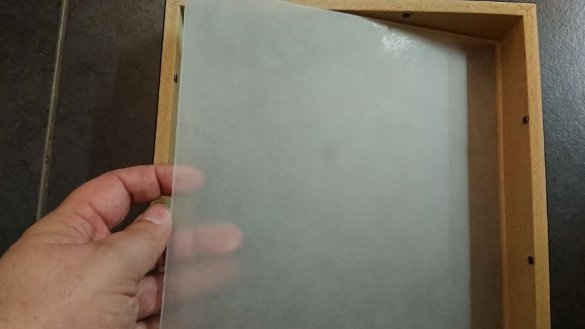
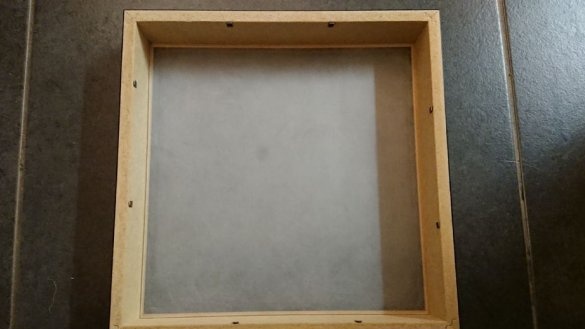
Previously, the master did not like the fact that IKEA replaced glass in plastic in all photo frames of the Ribba series. But for the proposed design, this turned out to be even better: after sanding, an excellent additional diffuser was obtained.
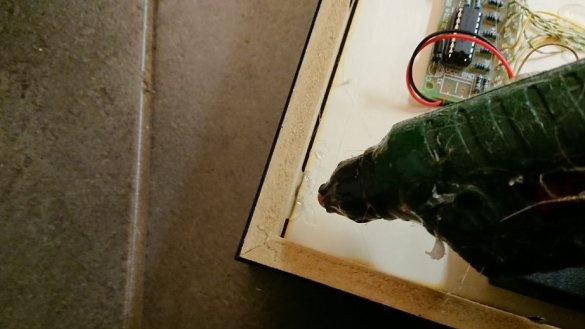
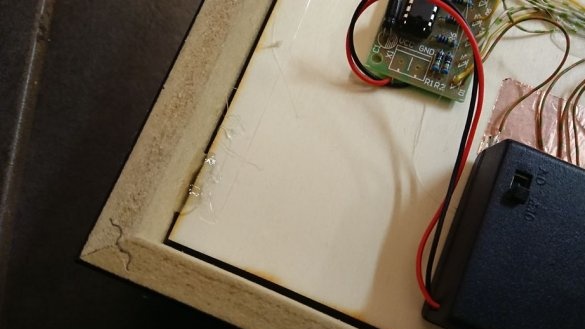
The master installs a “salty cake” of electronics, plywood, hot-melt adhesive and LEDs in a photo frame and fixes it with hot-melt adhesive, as if this glue was not there by weight more than anything else.
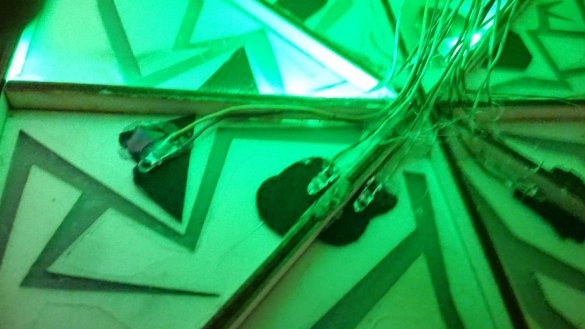
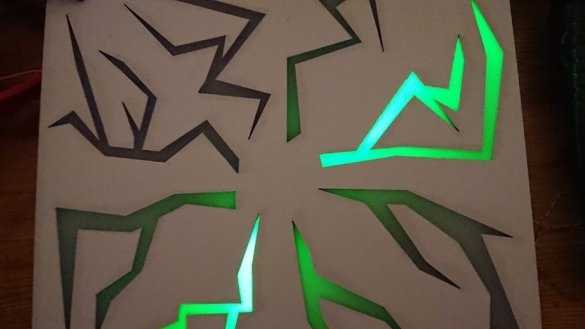
The "plasma" square is ready, then it is shown in the off and on states:
Such a master turned out to be a decorative device resembling a plasma disk, but square in shape and without high voltages.

