
This project is specifically for fans of solar panels. As soon as you fell into our hands! This is destiny…
You probably thought that we decided to change the world with the help of simple cheap solar panels. HAHAHA, you are so naive! Now I will tell the true purpose of our “solar” experiments.
Long live the solar powered Madagascar cockroach!
This baby Gromphadorhina portentosa costs less than a hot dog and requires only 15 minutes of time. Inspired by similar projects on a conventional battery (where a small object moves toward the light source thanks to a photocell), I decided to create an analogue on a solar battery. You can easily do it by placing a photovoltaic module on top of the “animal” case. We have created 77 504 Madagascar cockroaches that enjoy in life only two things - protons and your fears!
Soon we will release our “children” to freedom, in an amusement park or at some kind of fair in your city. They will click and entertain the local kittens until the sun fades, in billions of years ... The only shelter from the cockroach invasion is a well-mounted umbrella!
Let's start creating a racing cockroach.
Step 1: What do you need for this
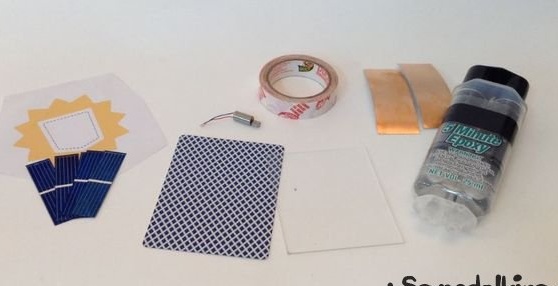
- A playing card (a piece of thick paper, acryloplast or any other material up to 2 mm thick is also suitable).
- Double-sided tape: anyone will do, my favorite option is window tape.
- A pair of strips of sticky copper foil: it's just a must-have for any job with solar panels. Such a ribbon can be found in any art store.
- A piece of acrylic or PET smaller than your playing card: I used a rectangle of acrylic canvas 70 x 60 mm.
- 5 photocells *
- A vibration motor that vibrates at a voltage of 0.5 - 2V
- 5-minute epoxy adhesive, which is designed for temperatures of at least 90 ° C.
- Hot glue and gun for him
- Teflon sheet (optional)
* If you are still new to the world of photonic robots, the term “photocell” is clearly not familiar to you. photocells are small pieces of mono- or polycrystalline photoelectric silicon, cut by laser or manually into smaller fragments of solar panels.These are just small rectangular tiles of magic silicon sewn inside the panel. It is they who convert sunlight into electricity.
Step 2: Glue the copper conductor onto the playing card
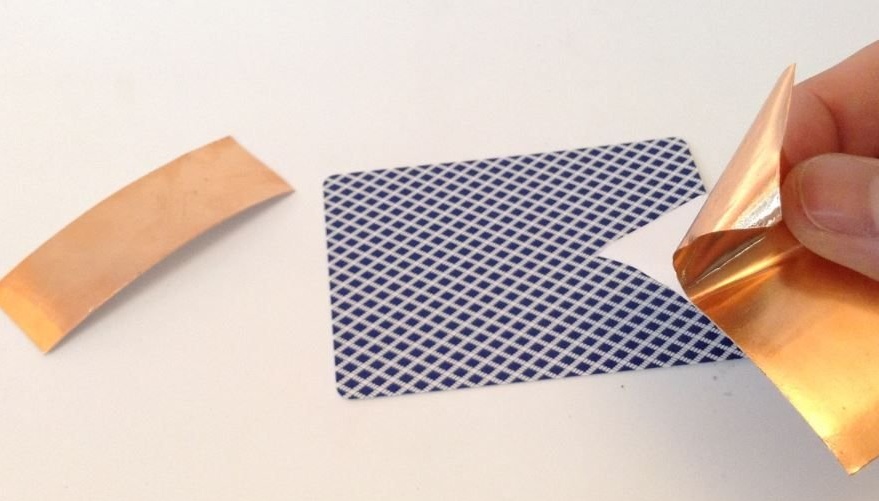
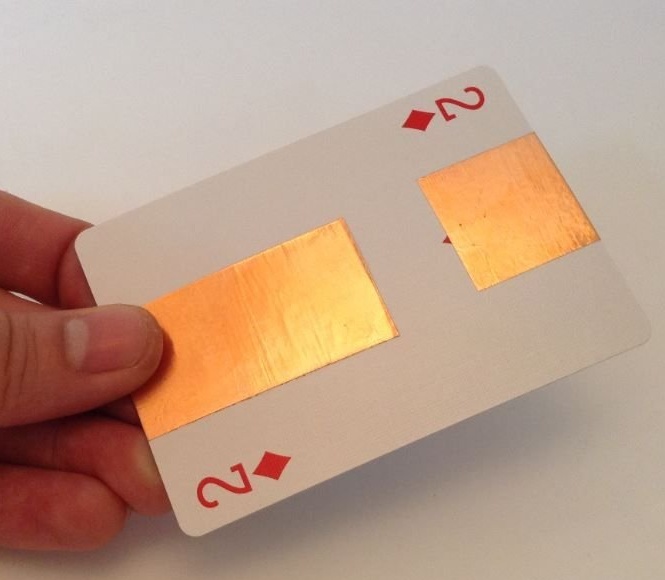
You will need two pieces of copper duct tape for the two poles of the solar panel. Cut the desired piece, peel off the paper and glue it. Nail smooth the foil to a shine :)
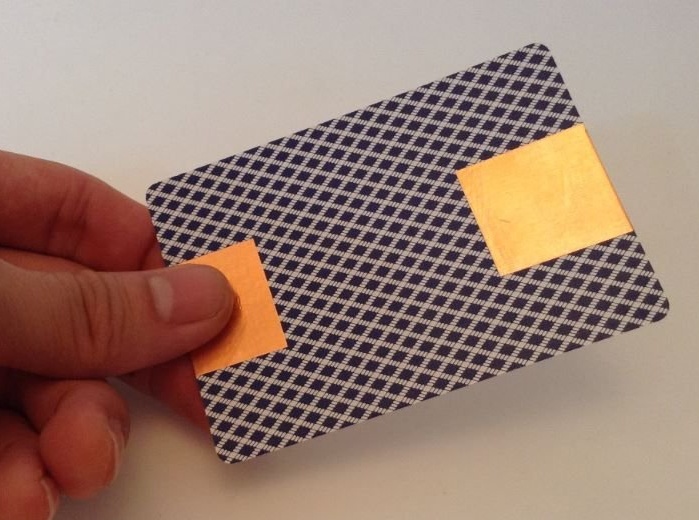
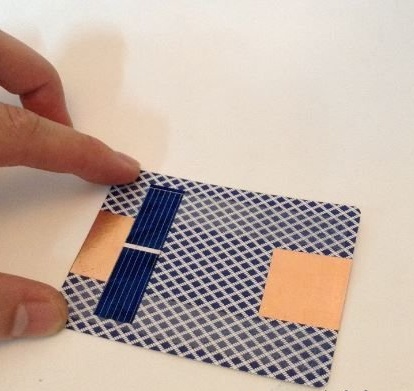
Since we are going to make a panel with a voltage of 2V (with one photocell as a fake conductor), and we need 5 photocells, I arranged two pieces of foil 25 mm at a distance of 45 mm from each other (see photo of the wrong side and front side).
>> Remember that best copper foil conducts current on a surface without glue. The thicker the layer, the less reliable the conductivity.
Step 3: Using Double Tape
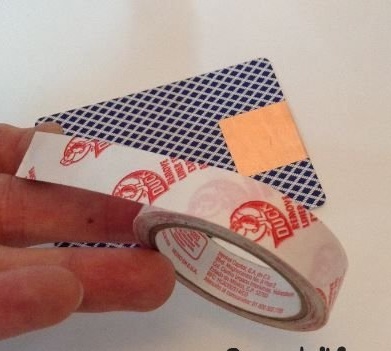
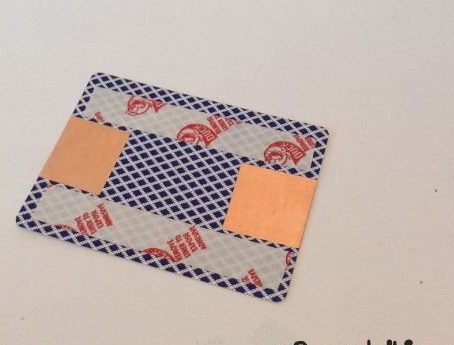
On the sides of the foil you need to glue two strips of double-sided and adhesive tape. In no case do not go on the foil with tape, as this can cause a decrease in the power of the solar battery.
Step 4: Mount the Solettes
In this step, we will combine the photocells into one battery.
Previously, in such projects, I used superglue, and conductive paste, and soldering. For the light Madagascar cockroach, you do not need any of this, you will do much easier. It is necessary to put the edge of one photocell on the edge of another, without any glue or adhesions. This design will close the battery circuit.
Theory:
Each photocell or other type of mono- or polycrystalline photoelectric silicon produces 0.5 - 0.6 V with a small current for most of the possible useful applications of this energy. We need to assemble a sufficient number of photocells together, with a circuit, so that in total they give more voltage.
In order for the vibromotor to rotate and create the vibration necessary to bring the robot cockroach into motion, a voltage of about 2V must be applied to the motor wires. This means that we need a battery of 4 photocells (which in total will give 2.0V).
I recommend the use of 13x52 mm photocells, and each one will provide a supply current in the region of 150-200 mA per photocell. This is much more than enough to bring the vibrator into motion at full speed, even on a cloudy day. Since we assemble several photocells together, the voltage is added up, but the current is not. 4 photocells in a row will produce 2.0V and a current of 150 - 200 mA on a clear day, and about ⅓ of this current on a cloudy day.
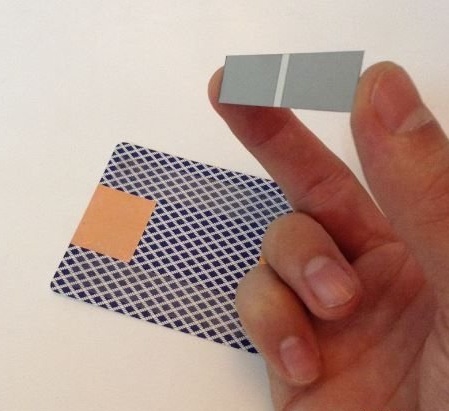
Back to the photocells: (+) the output is the gray bottom of the first photocell in the chain. Access to the (-) output can be obtained through an electric bus or silver streaks on the blue surface of the resulting battery, or by using a “fake” photocell, which will not produce electricity, but will only serve as a connector between the outer surface of one photocell and the inside of the second. This is the best approach, as I demonstrate it in the photo. It’s not a pity to sacrifice a photocell because of the simplicity that this method gives us. Ignore everything I wrote in the previous paragraph. We will need 5 photocells, not 4, and 1 will be the base conductor.
Practice:
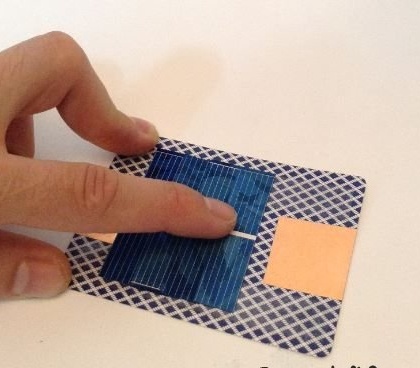
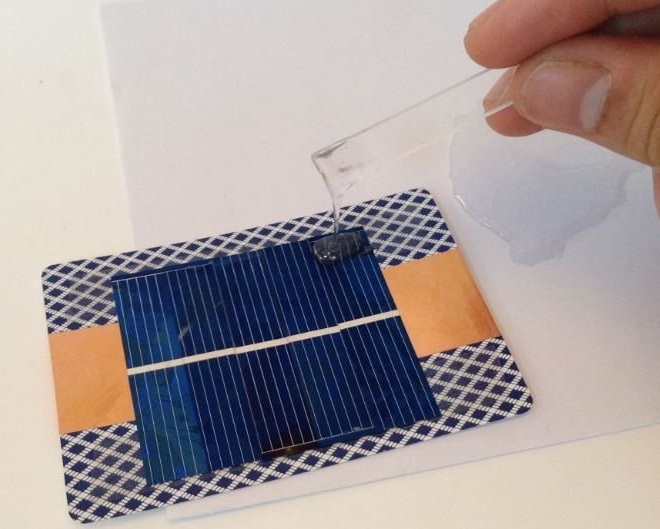
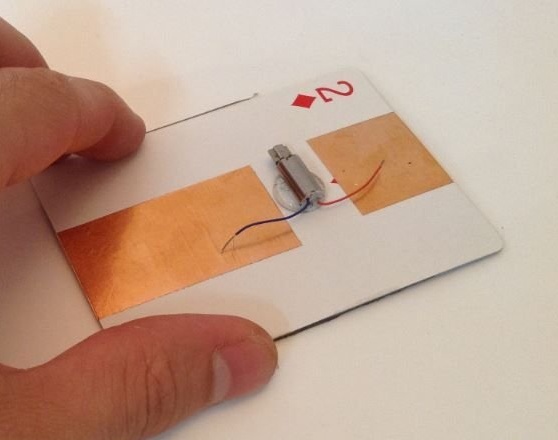
For the first photocell, make sure that there is a white tire on the inside for contact with copper foil. I used a photocell with a solid busbar in this example. Put the photocell bus onto the foil at least 2 mm to ensure a stable connection. The photocell should be well attached to the card due to two adhesive strips on the sides of the card. Do not forget that it is the blue side of the card that will face the sun.
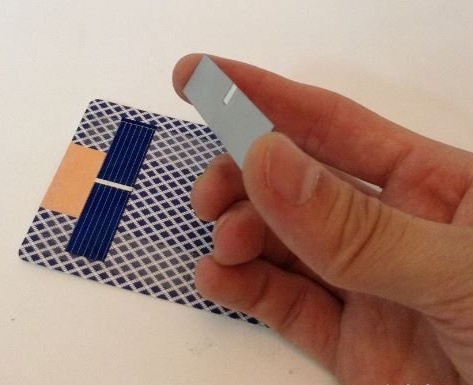
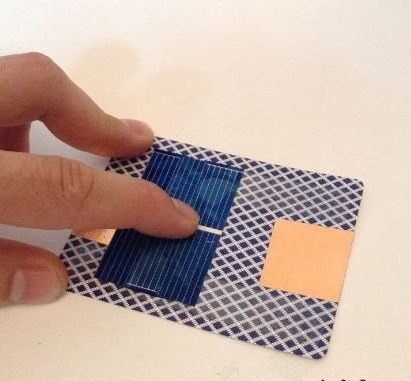
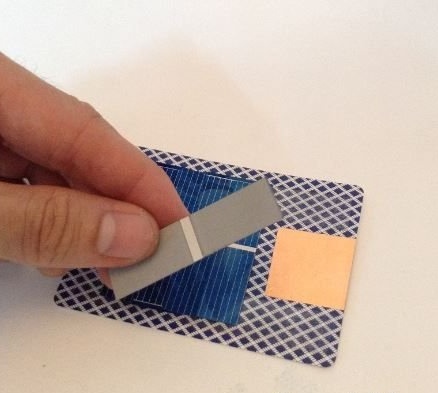
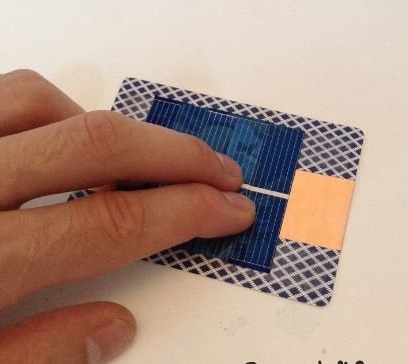
Now lay the second photocell over the first 2 mm. And again, at least part of the busbar under the second photocell must contact the white bus on top of the first photocell to ensure good conductivity (this is not a mandatory rule for such tile-like panels, but more on that in one of the following workshops). Place all four photocells on top of each other. The fifth and last photocell must have a solid busbar on the bottom side, which will ensure the connection of photocell No. 4 with a copper strip (-) of the edge of the panel.The last photocell acts just like a conductor, a piece of aluminum foil or a copper flat conductor folded into several layers also works well. But using a “fake” photocell gives the most reliable result, so I recommend it.
Step 5: Encapsulation and Coating


To protect the future flock of solar cockroaches, we will use a 5-minute resin and a layer of transparent acrylic. Epoxy is not the best choice for the manufacture of solar micro-panels, since it turns yellow in the sun as a result of ultraviolet radiation. But acrylic blocks ultraviolet, so this duet allows you to cheaply seriously extend the life of the solar battery.
At least in theory. I myself have not tested this type of panel for more than a few days. So tell me yourself if the theory of reality matches!
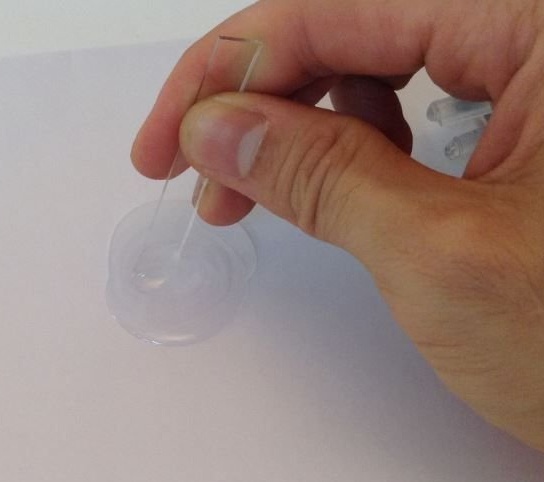
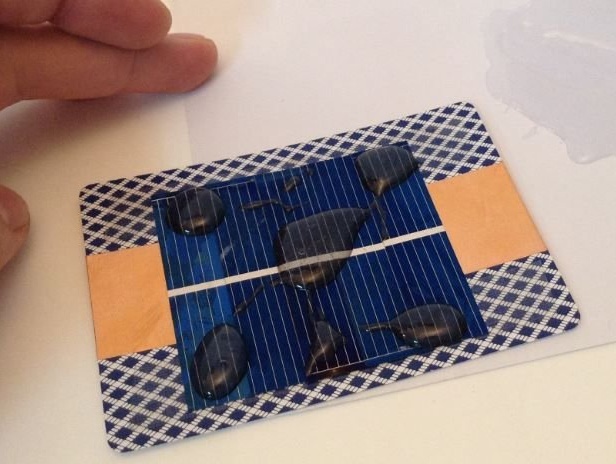
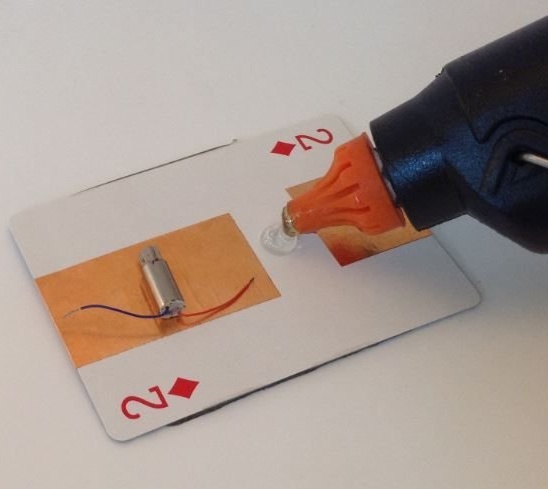
Mix about 2 ml of epoxy; that's enough to slap our solar panel in the next step.
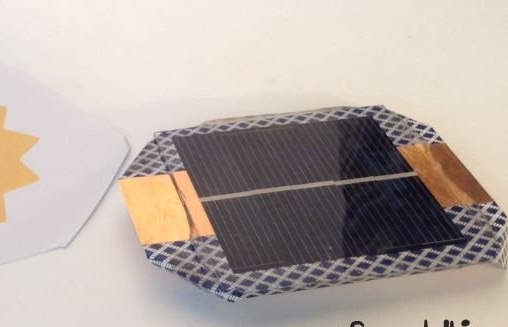
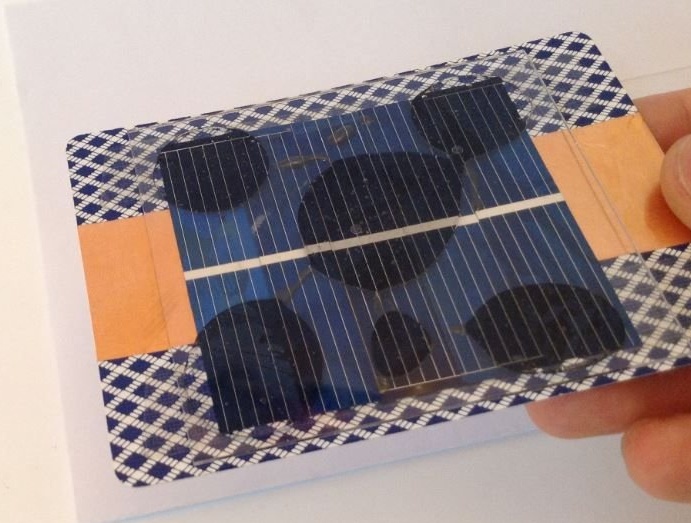
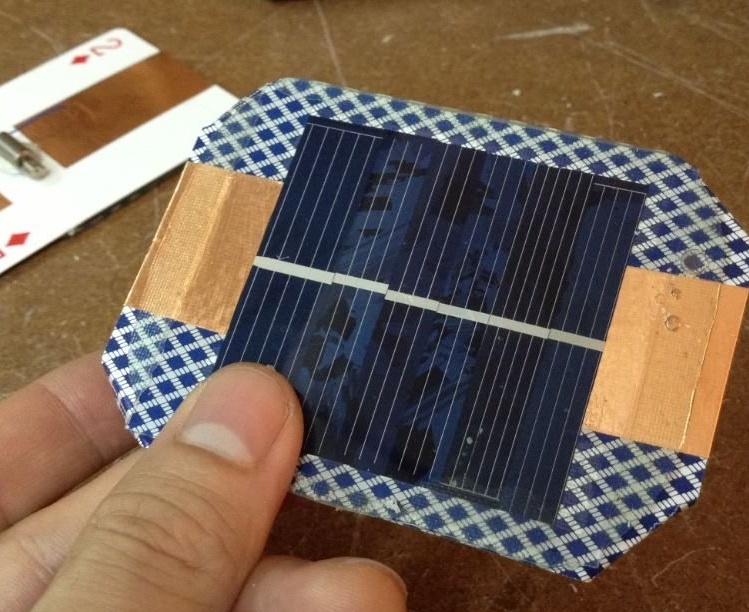
Place resin on the photocells. Add an acrylic coating (I used a sheet 1 mm thick, but thinner or thicker acrylic will work too). The acrylic sheet should simply cover the photocells and protrude a few mm beyond them so that there is about 20 mm of an uncoated card on the sides, as shown in the photo. I have a piece of acrylic sheet measuring 70x60 mm.
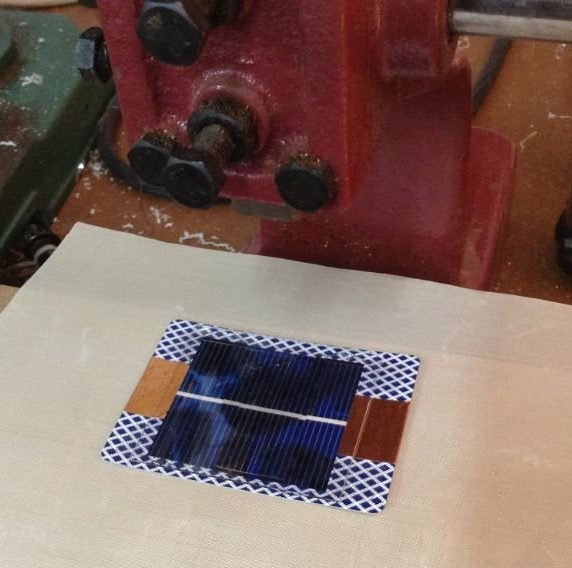
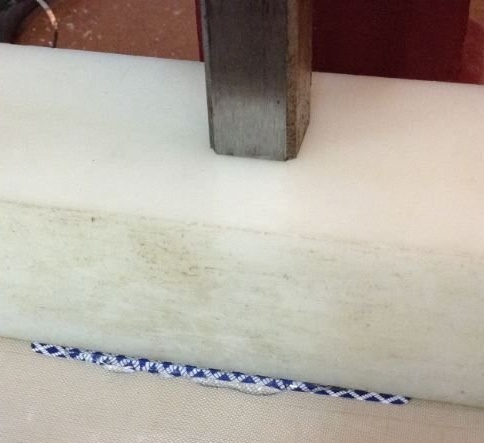
And then on top you need to put a weight of 5-10 kg in order to compress this card-photo-cell-epoxy-acrylic sandwich. My panel successfully passed a crash test with a 15 kg press (which equates to 2 psi of pressure on the panel). The panel should be separated from the press by something not sticky, otherwise the cockroach runs the risk of sticking to that heavy object for life. I used a teflon sheet.
The battery needs to lie down for 10 minutes under the press, and then you need to free it from there. This miracle should produce about 2.5V and 150 - 200 mA on a fine sunny day. Even less current will ensure the normal operation of the vibromotor at maximum power, since the motor needs tens of mA at 2V.
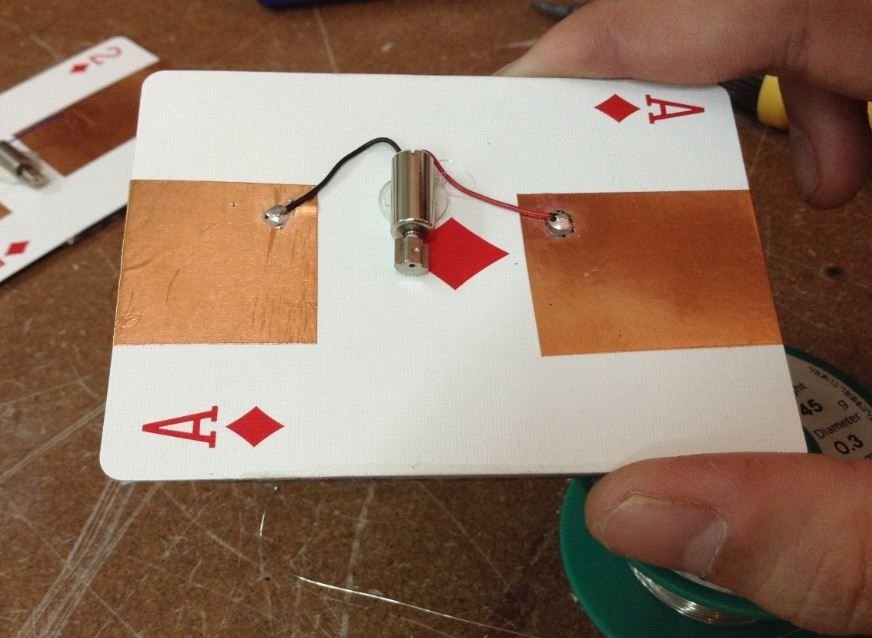
Step 6: Glue the vibration motor to the back of the playing card
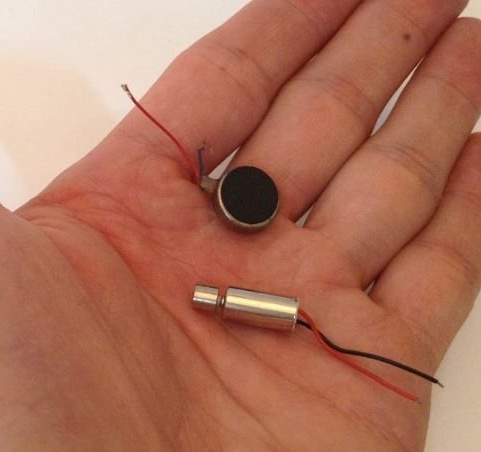
There are a couple of basic varieties of vibromotors. The most popular option has an asymmetric mass at the ends, which causes the effect of vibration of several hundred Hz during rotation of the mass. Another less popular form is a uniformly filled disc.
If you have an asymmetric mass option, center the mass in the middle of the back of the playing card. Drip hot glue and glue the vibrator so that the glue does not fall on the inertial mass. If at least a piece of hot glue gets on her, the cockroach will flop on its belly before it is released for a walk. Do not break his musculoskeletal system!
Step 7: Solder the vibrator motor contacts to the copper contacts of the battery
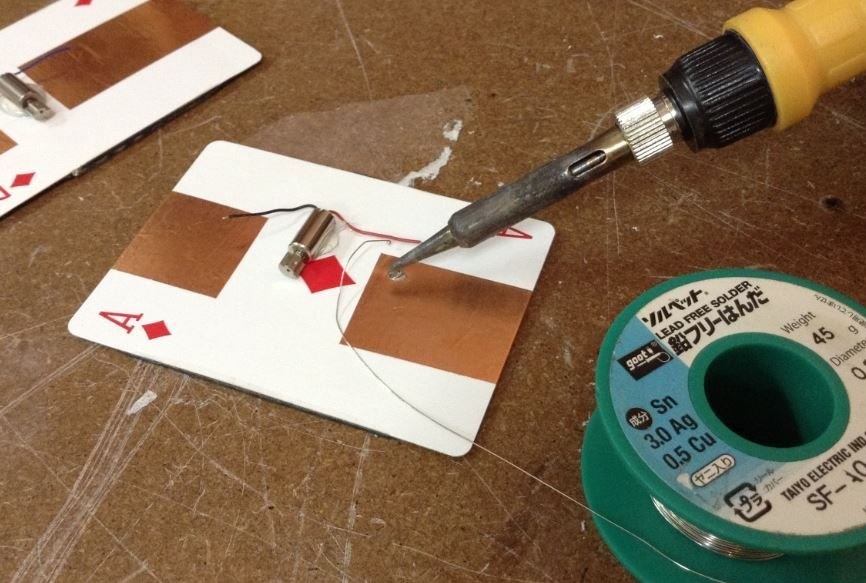
Solder lays on copper very well. Since the kids really like to grab a running cockroach, I used lead-free solder and soldered at a temperature of 350C.
I found that it does not matter which wire is soldered to which contact on the battery. Maybe for some motors this matters. If so, just solder the red motor contact to the copper strip near the first photocell, as this is the (+) battery contact.
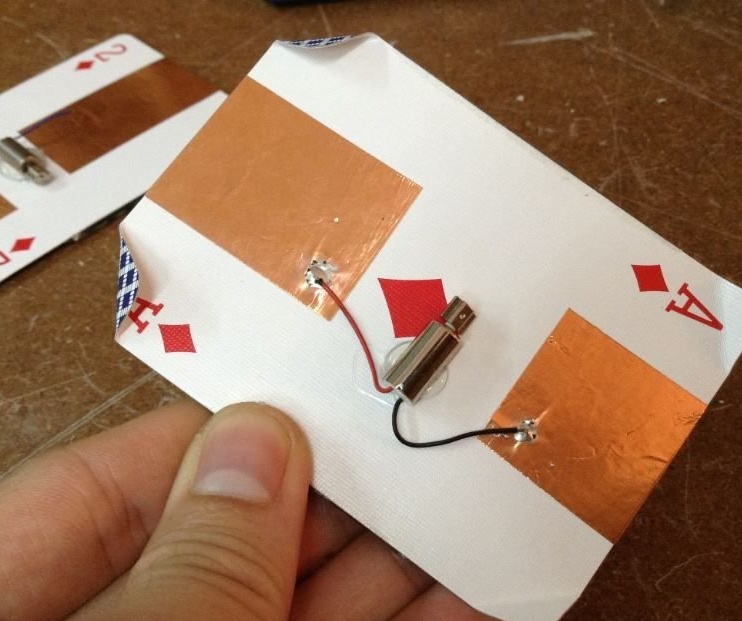
Step 8: Bend the Feet
This is the last and most important step!
Choose which side of the card will be the “head” of the cockroach. Fold these two corners as you bend pages in a book. These bends should be large enough so that when the cockroach is on its “legs”, the motor can rotate quietly.
Also bend the other two corners.
Theory:
When the motor rotates, the entire card will vibrate. The purpose of these “legs” is that all these vibrations are redirected in the same direction. Notice in the photo how the two front legs look in the same direction as the hind legs (one pair of legs is bent).This is a little secret, how to teach a cockroach to walk and even run, and not randomly push around in a corner
Cockroach is ready for the race!