
This device is positioned by the master for motor vehicles, but I think it can be adapted for the car. Using Smart Central, block and unlock the engine starting from the ignition, as well as remotely start and stop using a smartphone auto/ motorcycles.
Tools and materials:
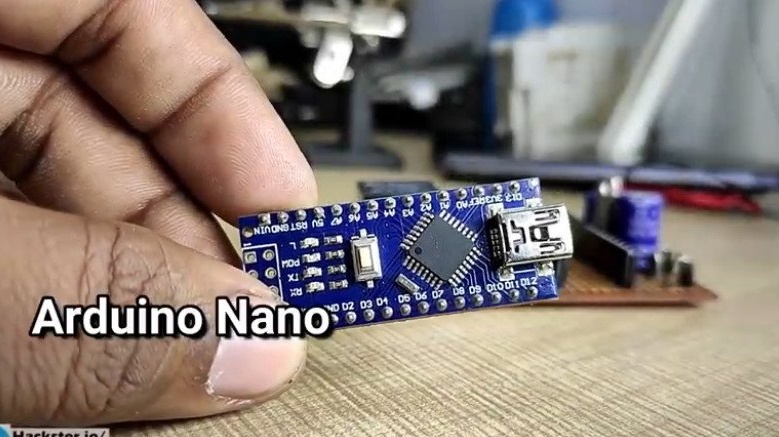
-Arduino nano;
-Bluetooth module;
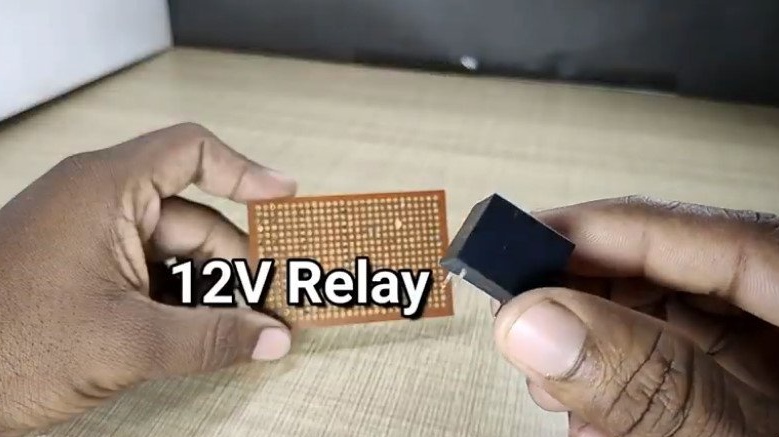
Relay 12V - 2pcs;
- Capacitor 1000 uF / 35 V;
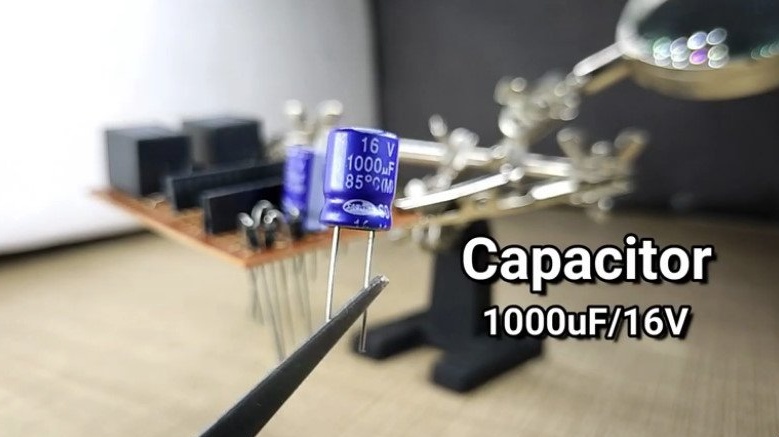
- Capacitor 1000 uF / 16 V;
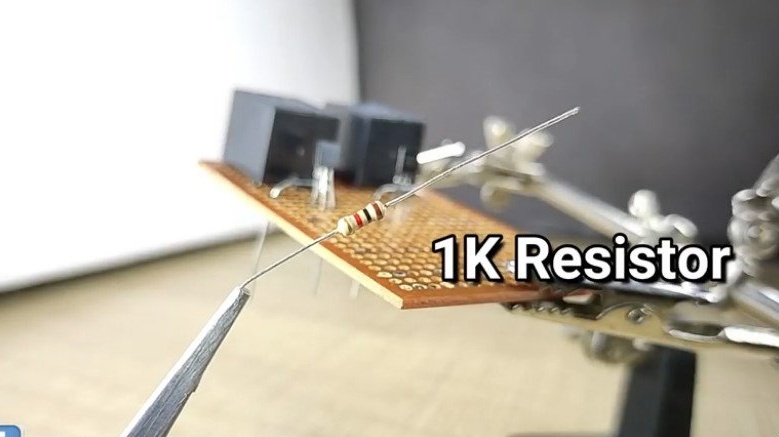
-Resistor 1K -2 pcs;
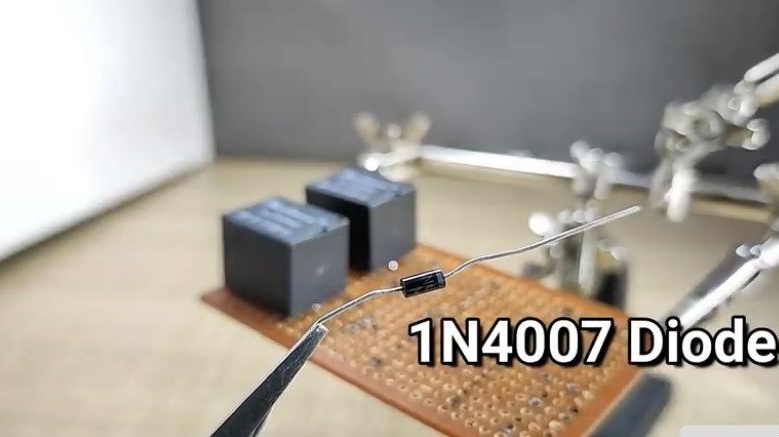
- Diodes 1N4007 - 6 pcs;
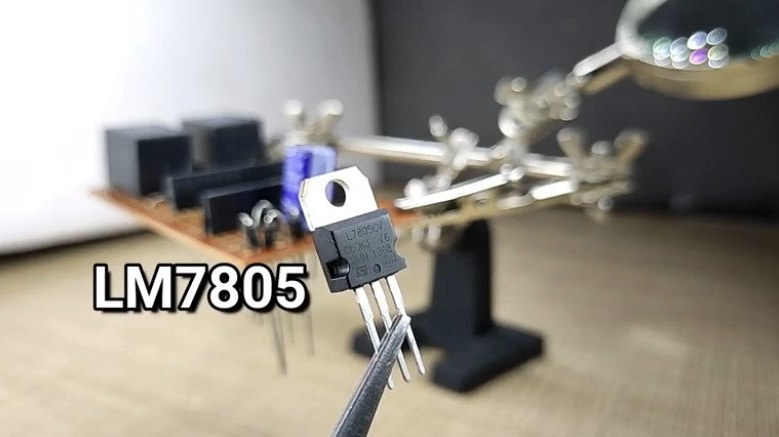
- Voltage stabilizer LM7805;
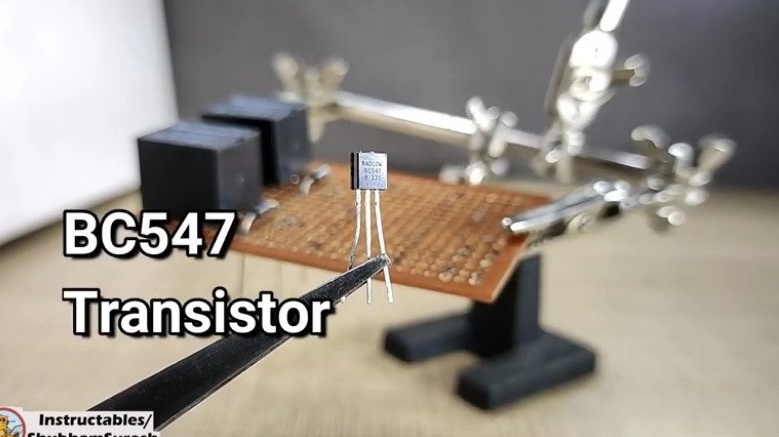
- Transistors BC547 - 2 pcs;
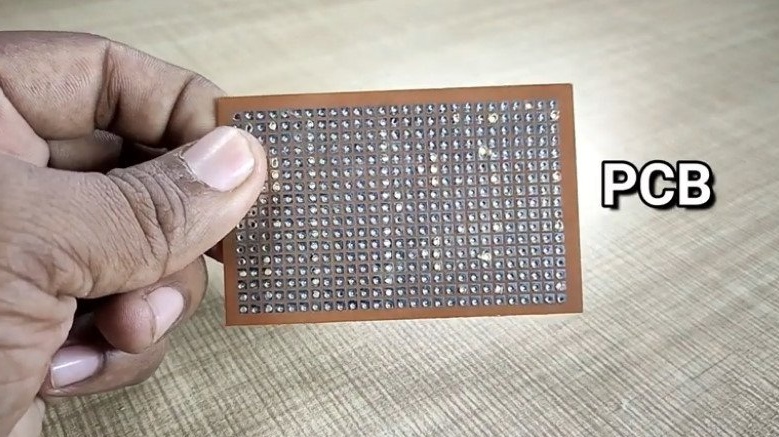
-Circuit board;
-Soldering equipment;
-Wire;
-Nippers;
-PC;
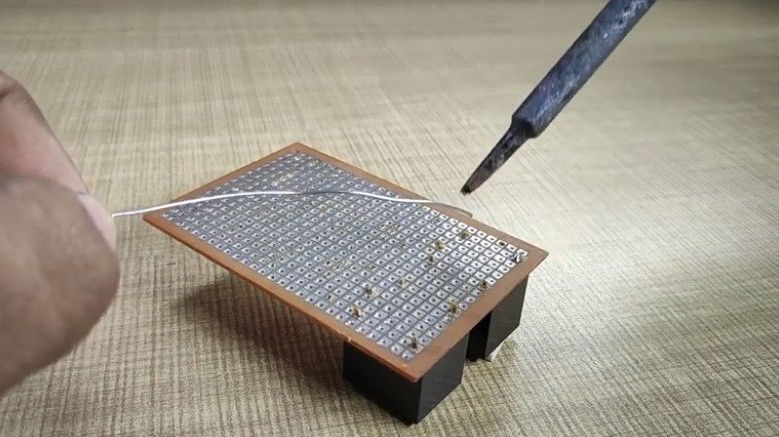
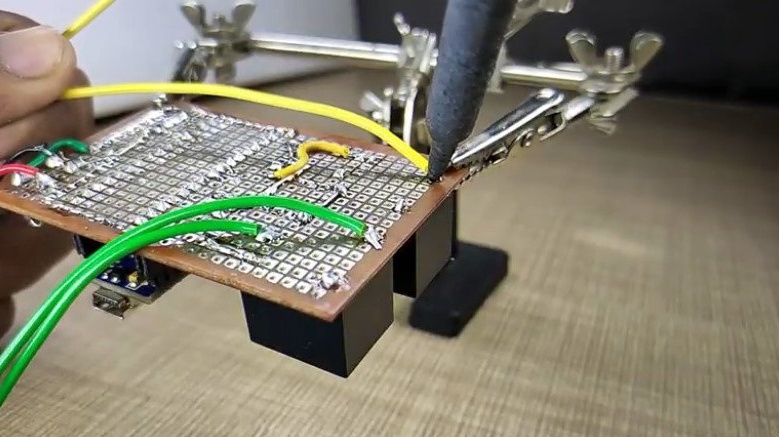
Step One: Installing the Board
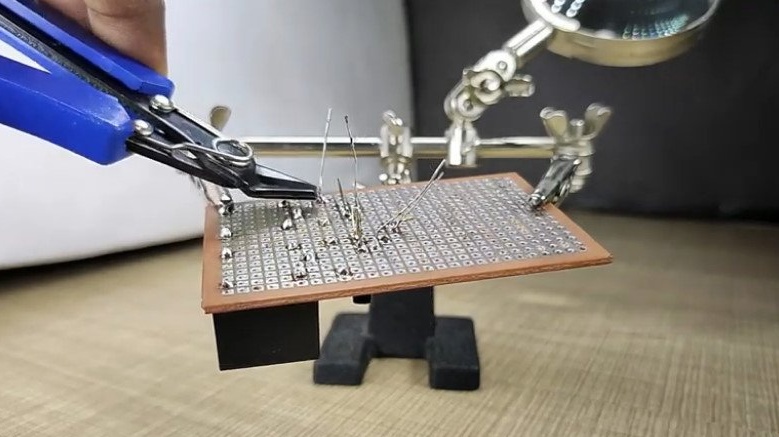
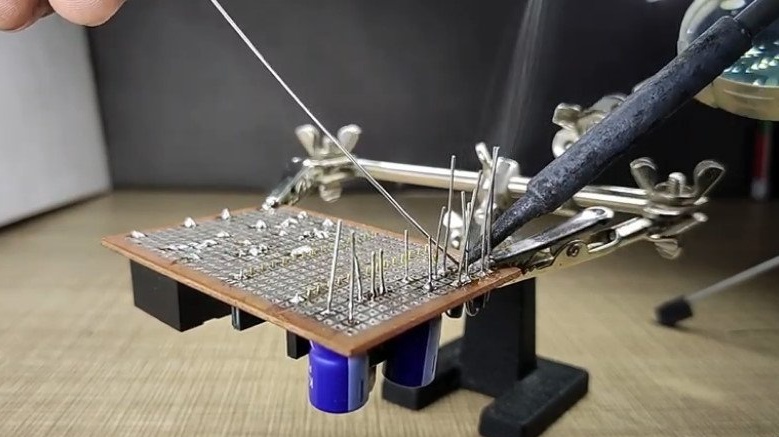
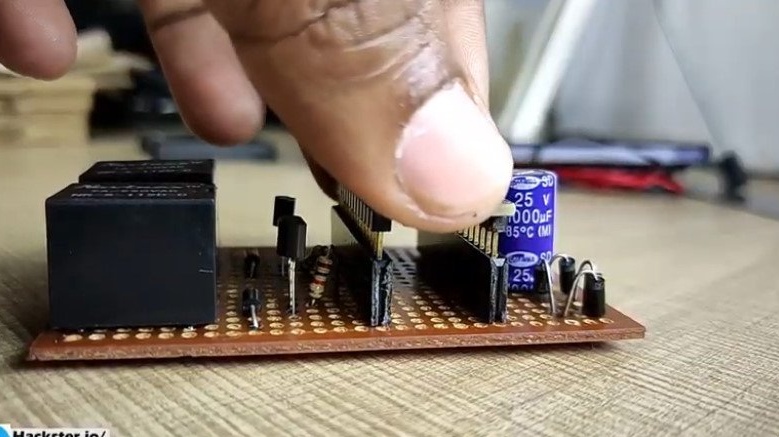
According to the scheme, the master starts mounting the board.
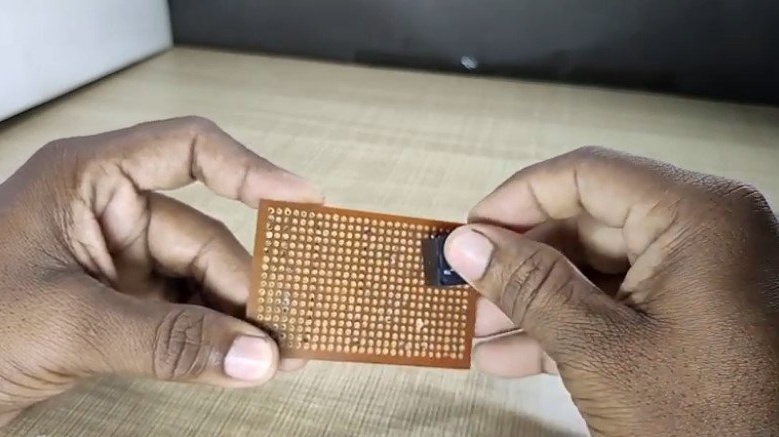
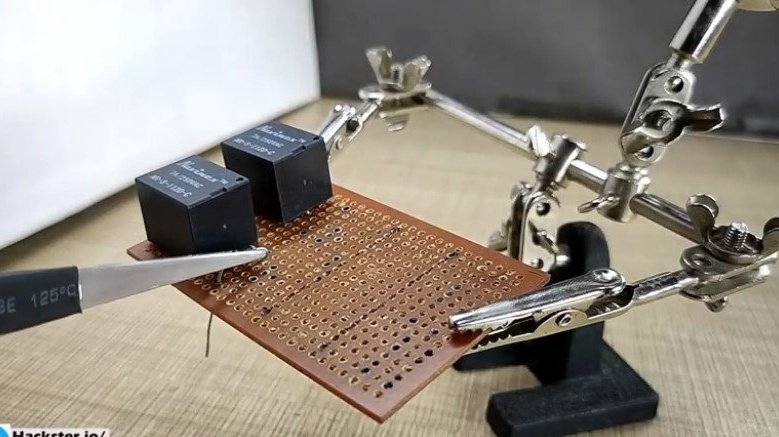
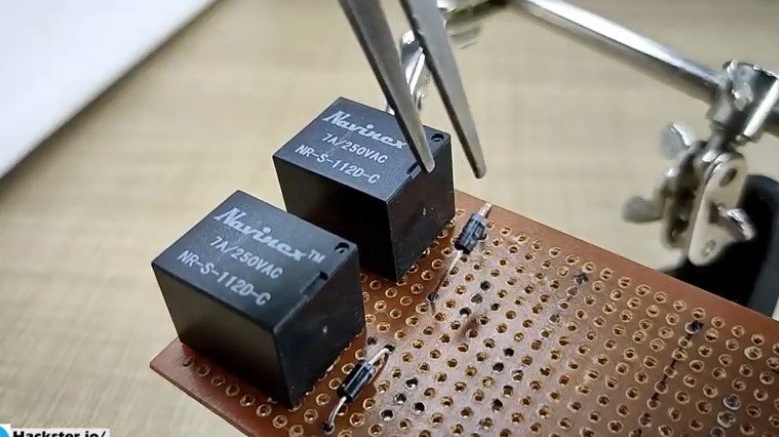
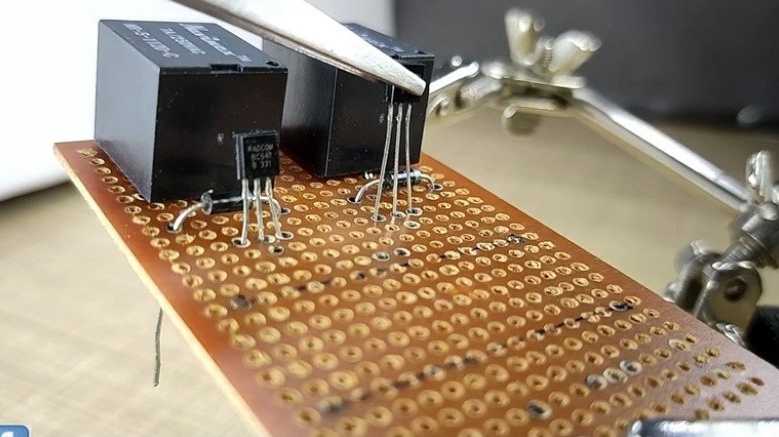
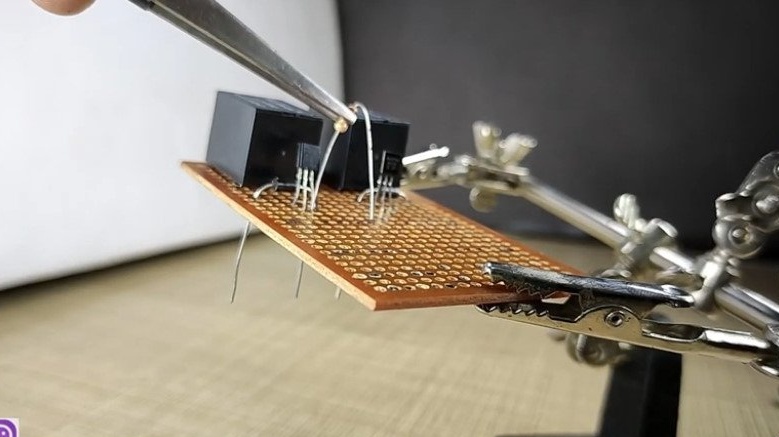
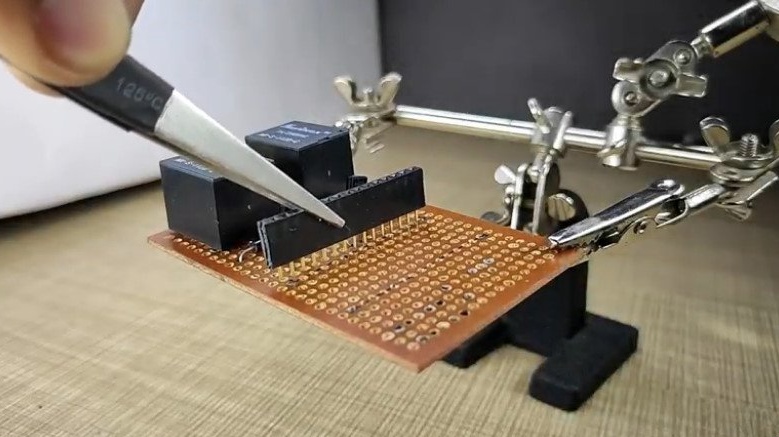
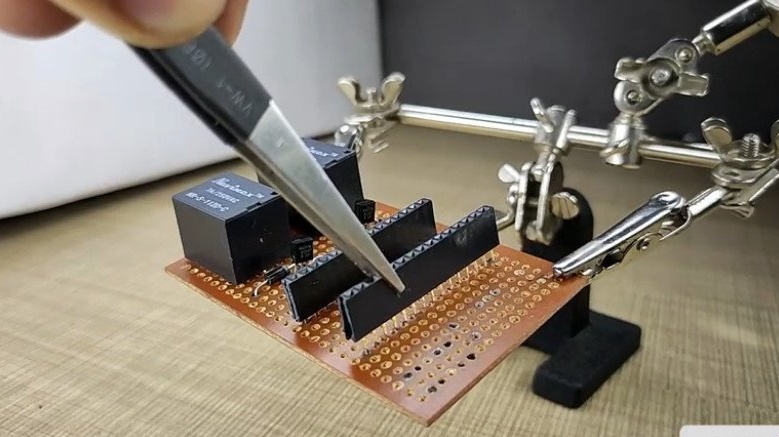
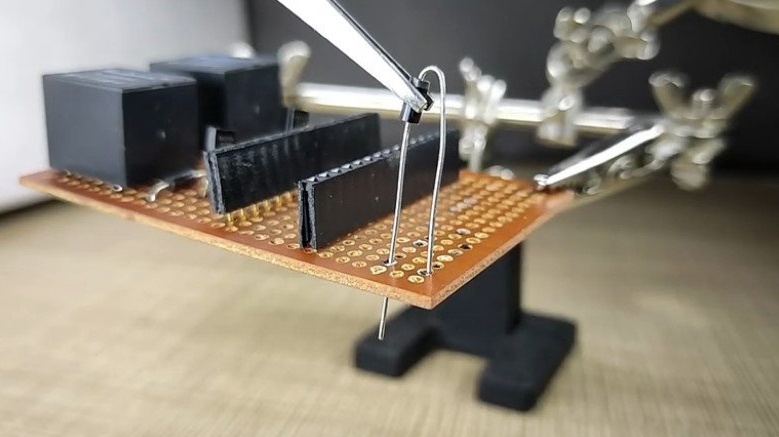
Installs two relays on the board.
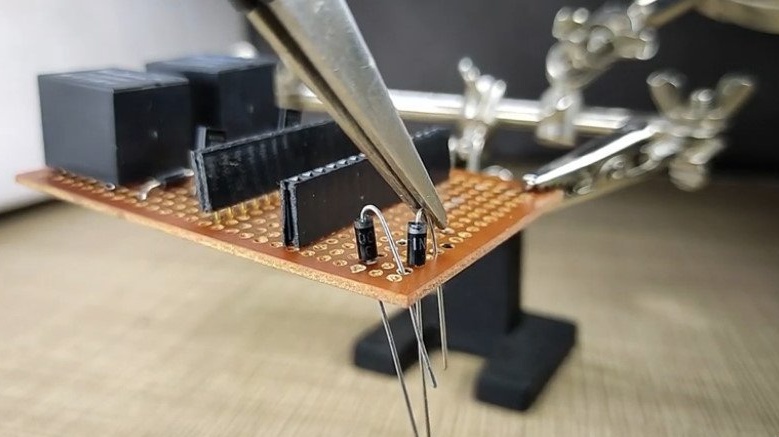
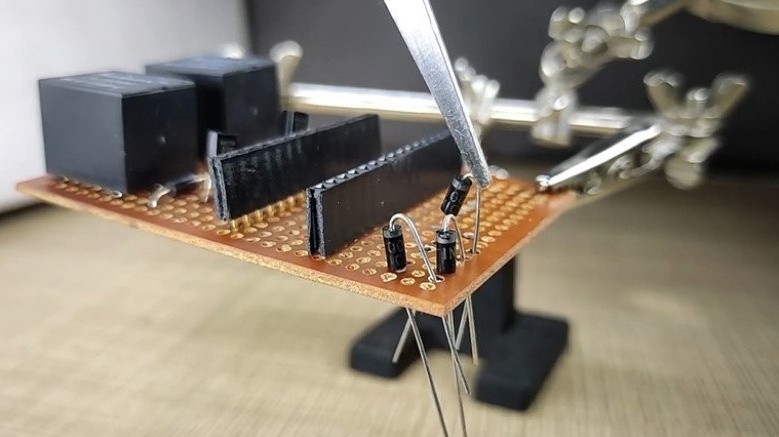
Mounts diodes.
Mounts two transistors.
Solder resistors.

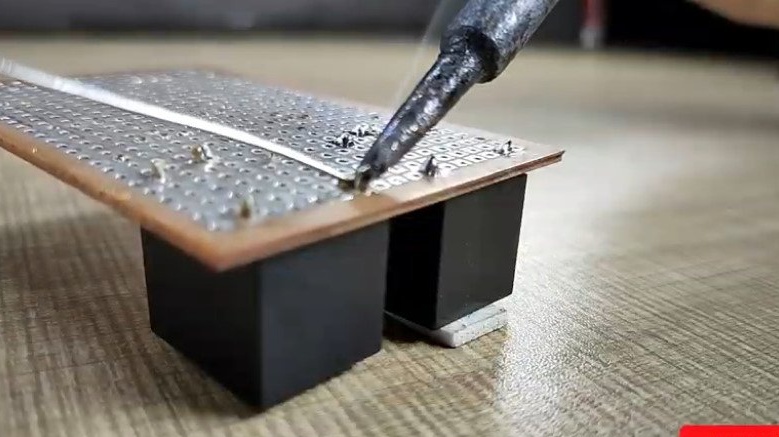
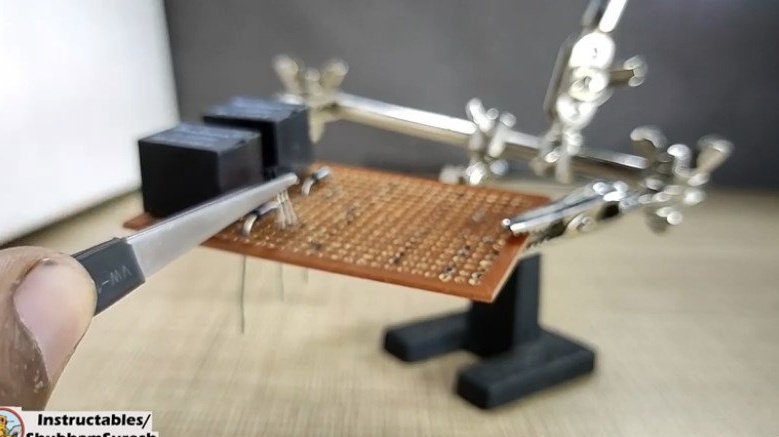
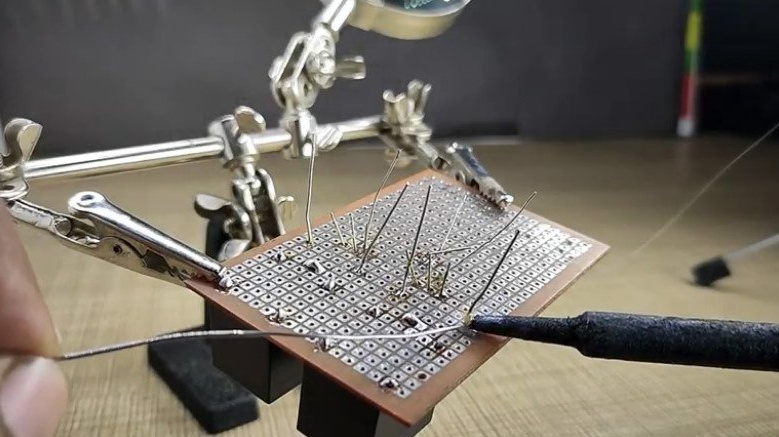
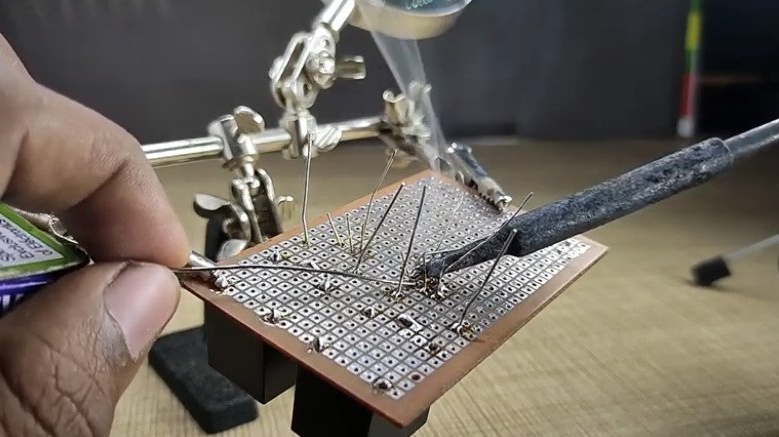
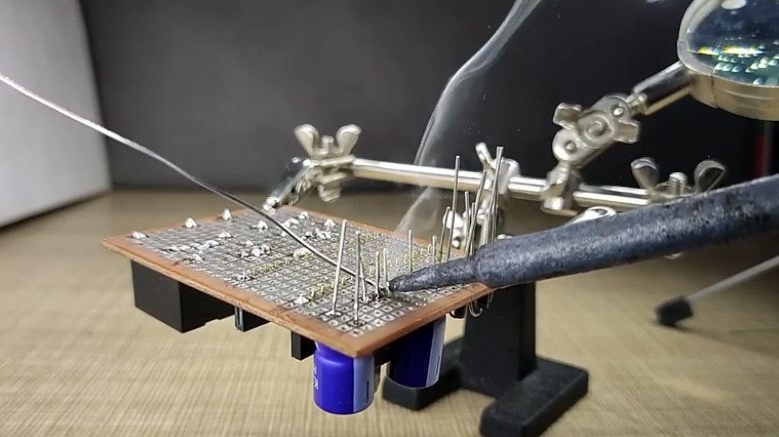
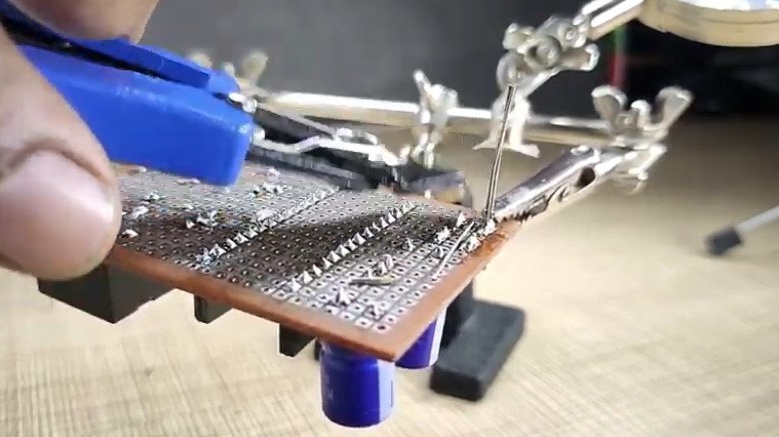
On the reverse side, it solders and bites off the legs of the radio components.
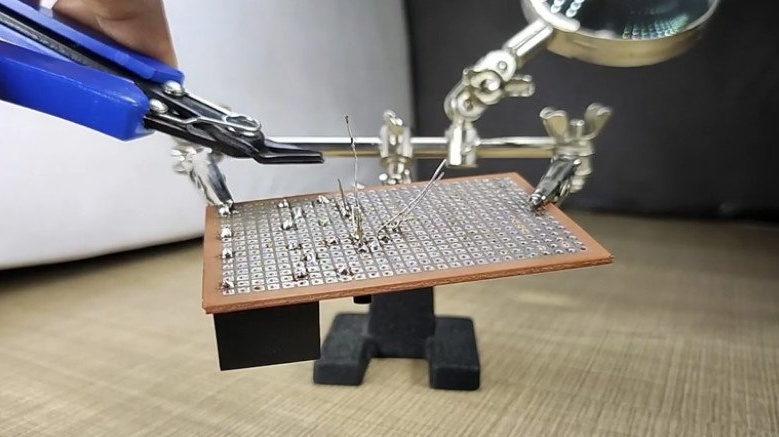
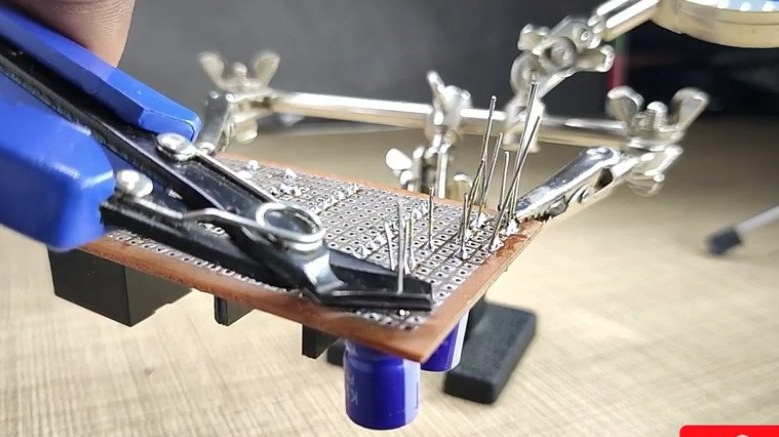
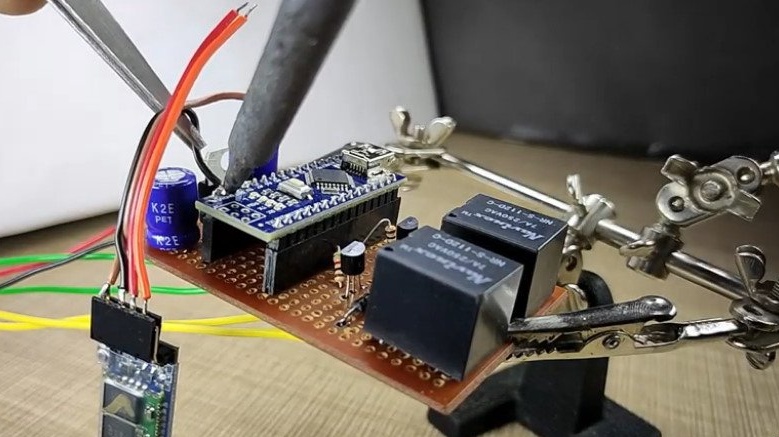
To connect Arduino mounts the adapter.
Sets diodes
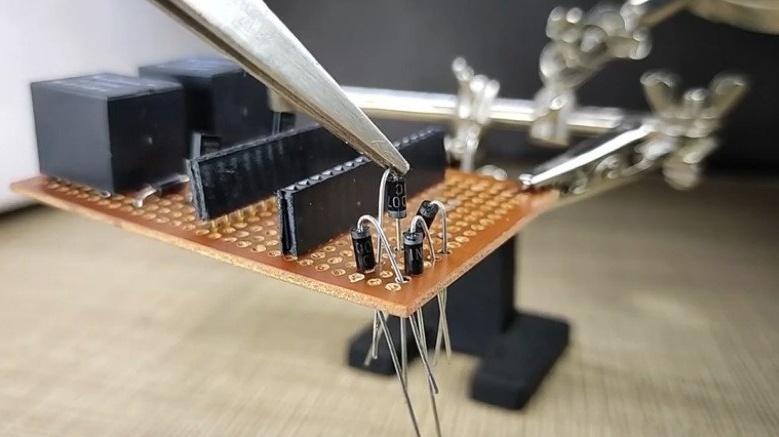
and capacitors with voltage regulator.


The protruding legs are soldered and bit off.

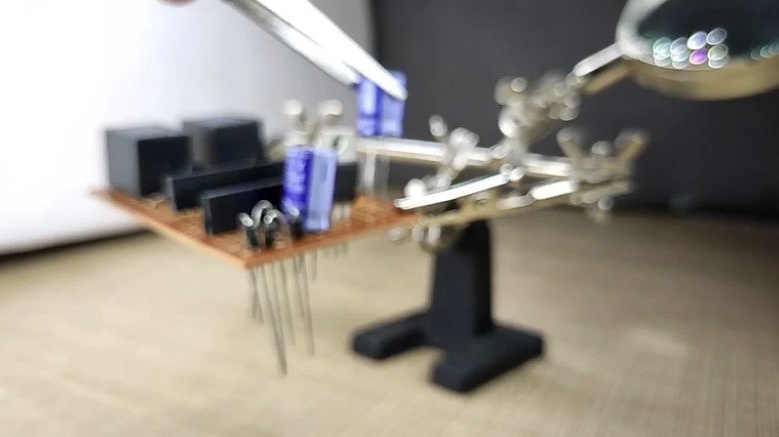
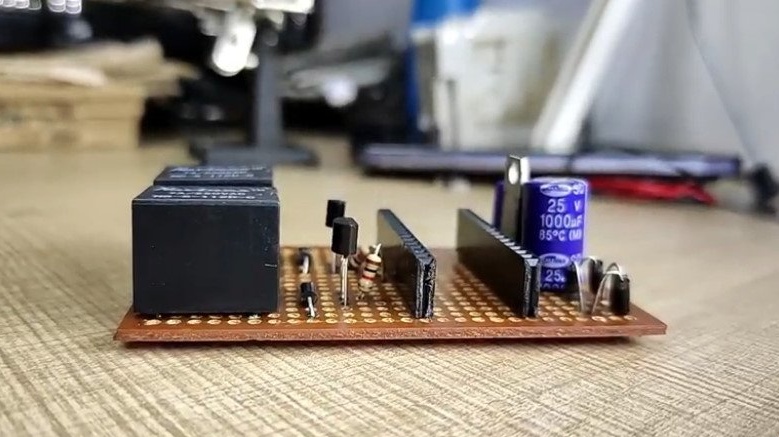
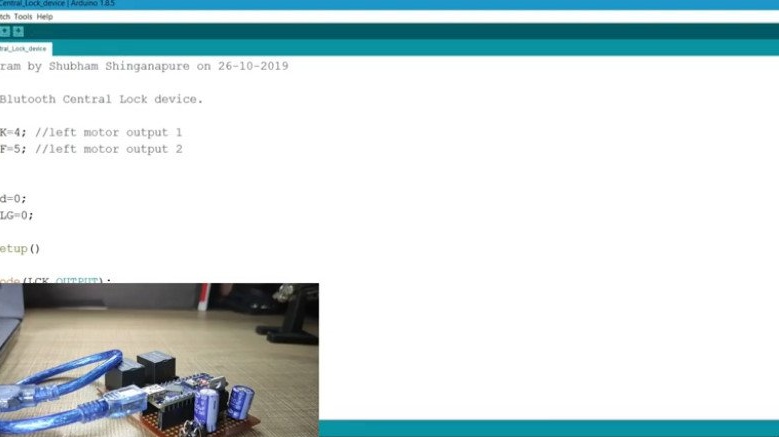
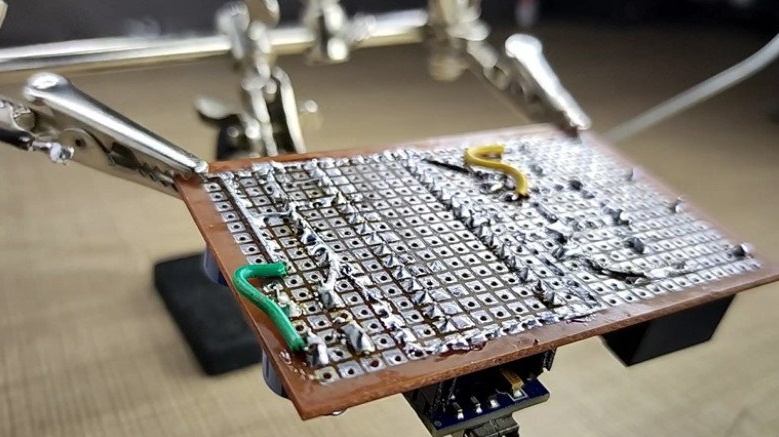
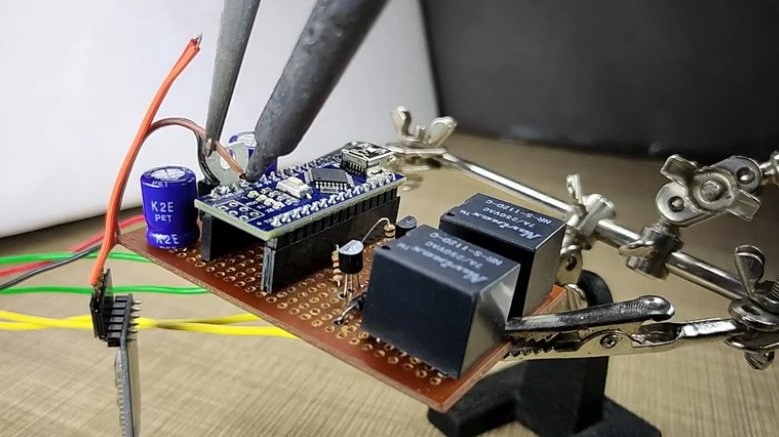
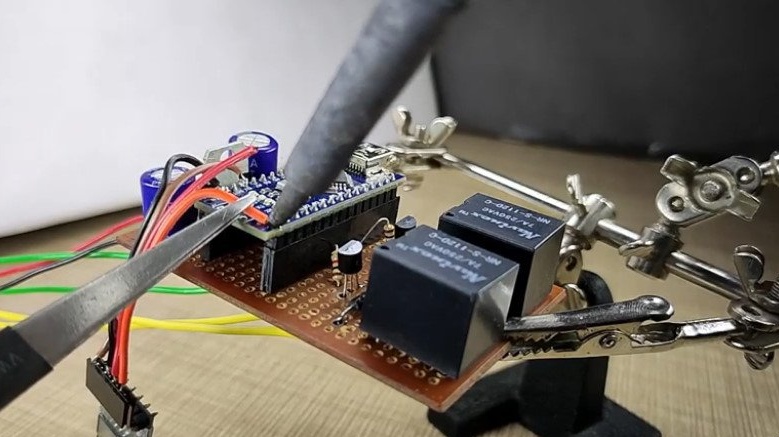
At the moment, the board looks like this.
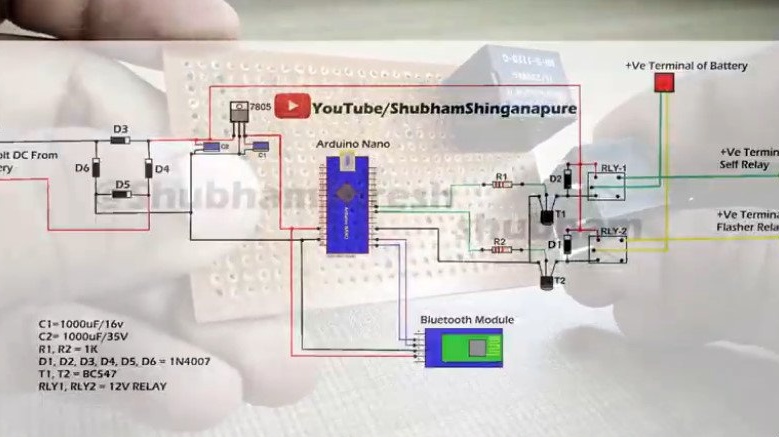
Now let's figure out the scheme.
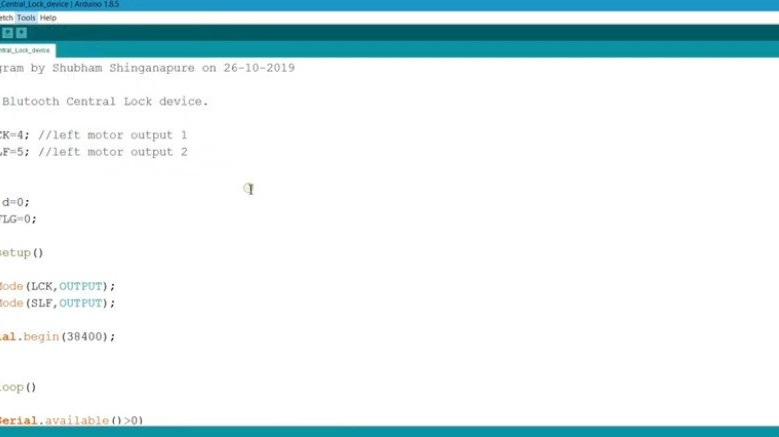
Power is supplied to the board from a 12 V DC power supply. The master added a diode bridge to protect the circuit from reverse polarity. After the bridge, the voltage is reduced to 5 volts using a linear voltage regulator IC LM7805, and is fed to the Arduino nano and the Bluetooth module. The Bluetooth module is connected to the Arduino via the Tx and Rx pins. The Tx Bluetooth pin goes to the Rx Arduino pin, and the Rx Bluetooth pin goes to the Tx Arduino pin. Transistor T1 and T2 act as a switch to control relays RLY1 and RLY2. The base of transistor T1 is connected to Arduino digital pin 5 via a 1 kΩ current-limiting resistor, and the T2 base is connected to Arduino digital pin 4.
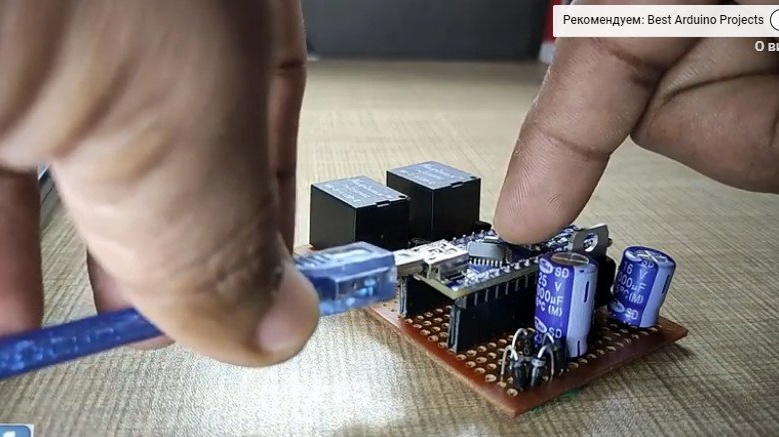
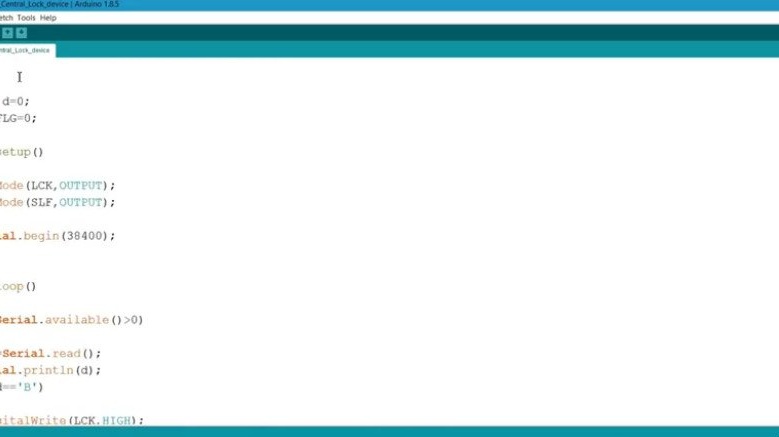
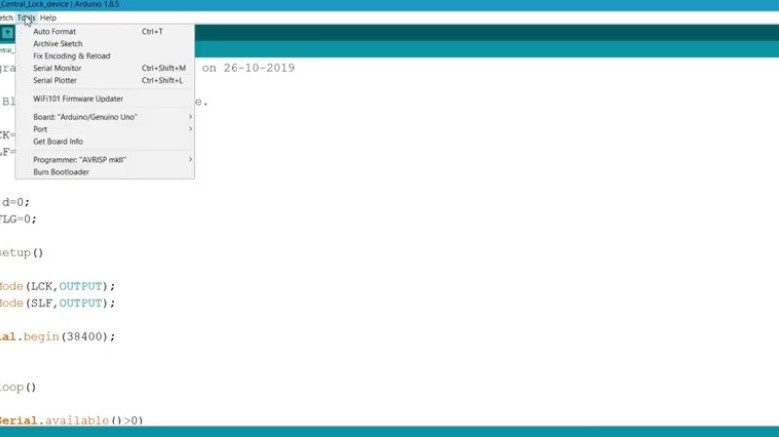
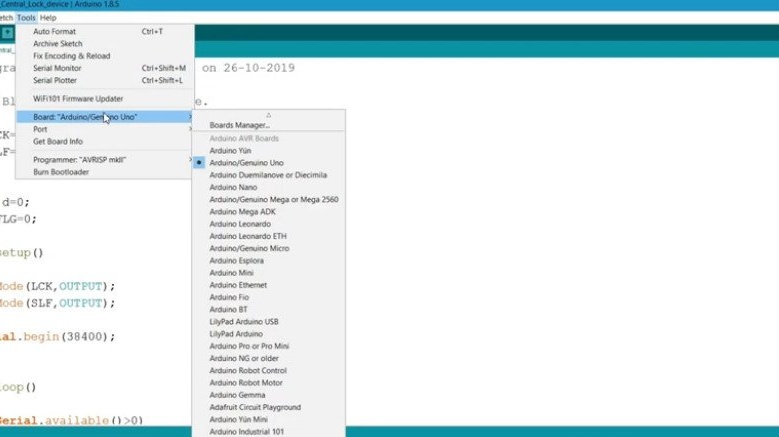
Step Two: Arduino
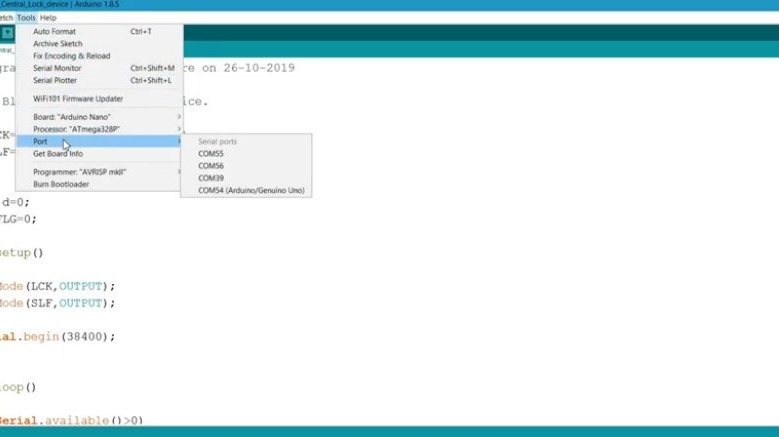
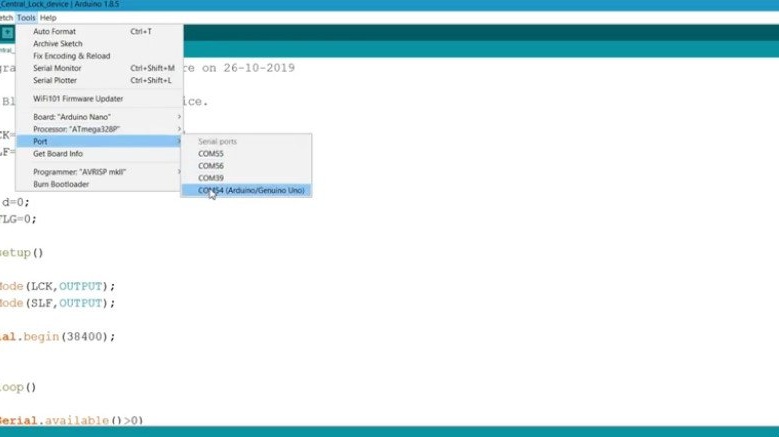
Now you need to install Arduino on the board. Connect it to a PC.
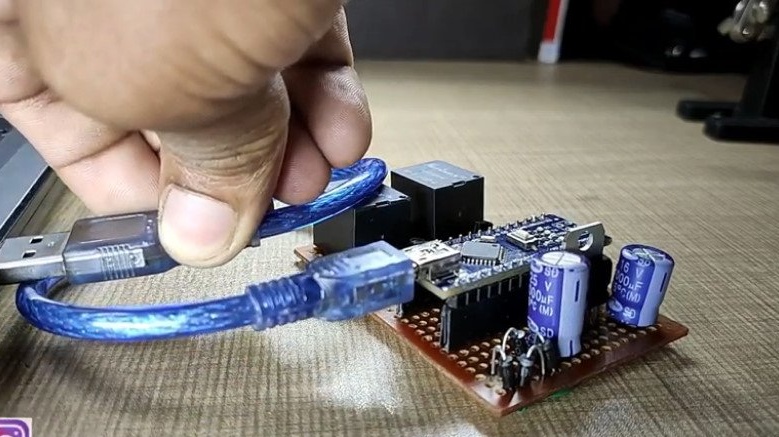
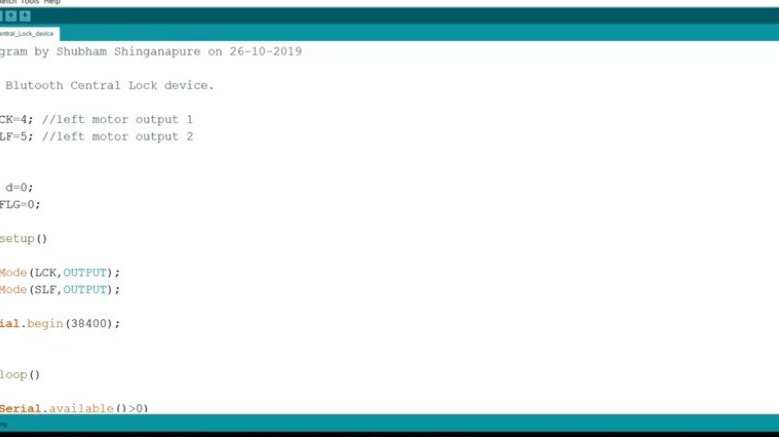
Download code.
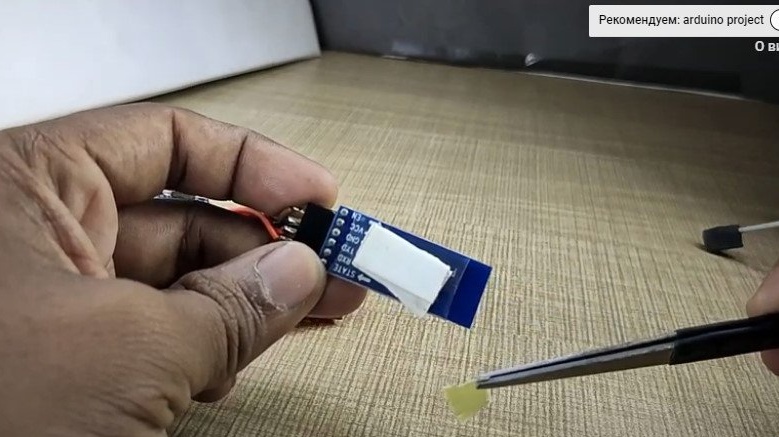
Step Three: Bluetooth Module
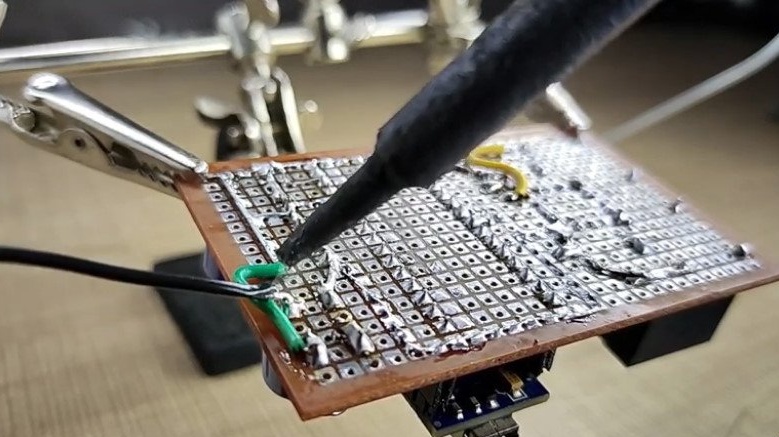
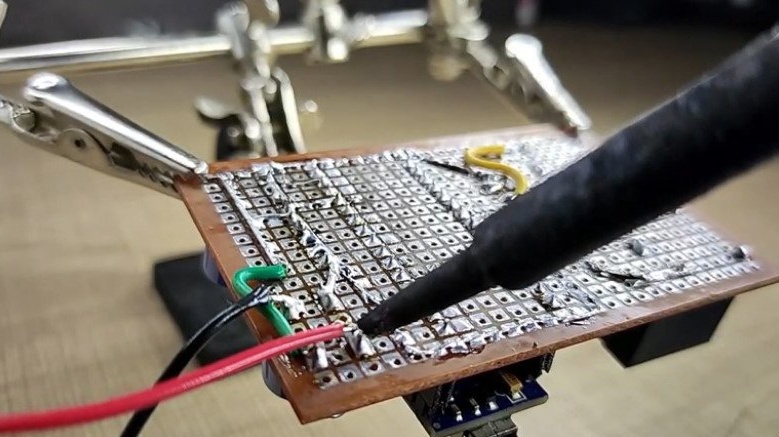
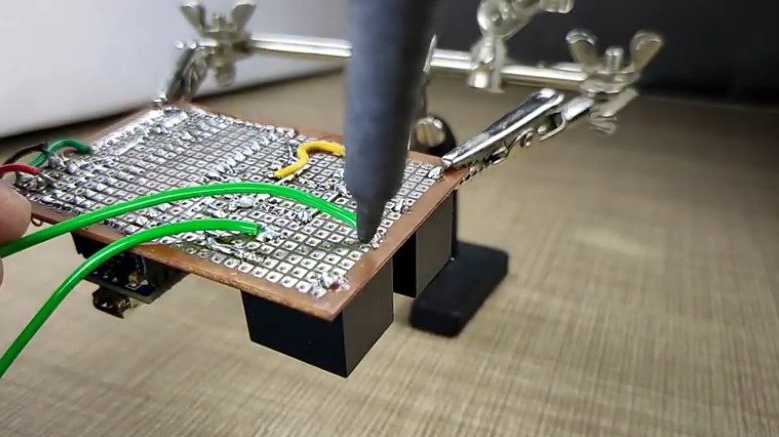
Solder wires to the circuit board.
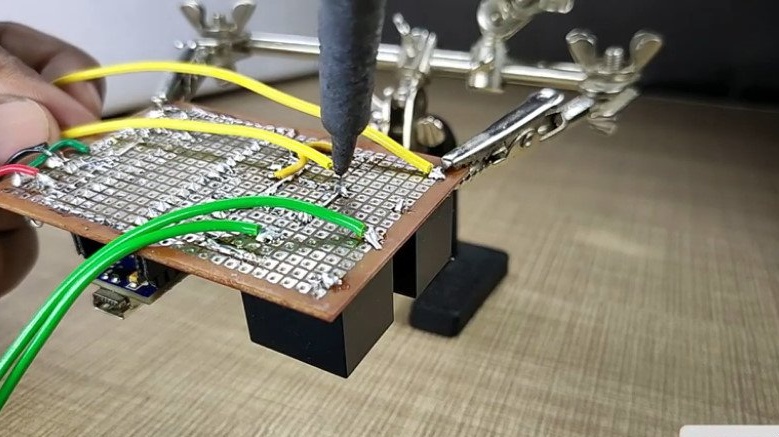
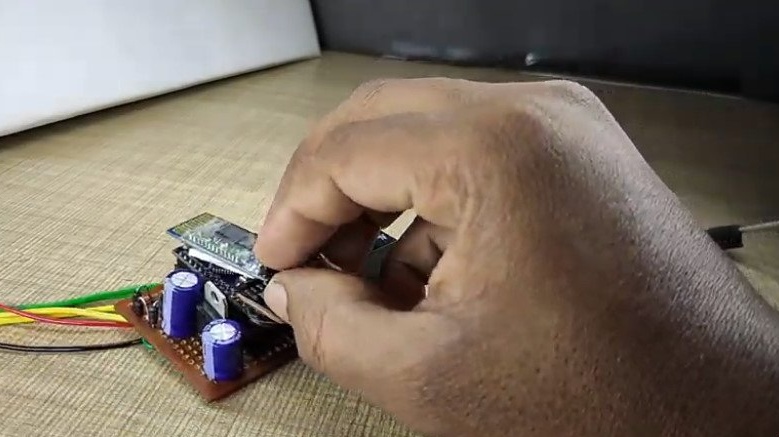
Connects the bluetooth module.


The module glues double-sided tape to Arduino.
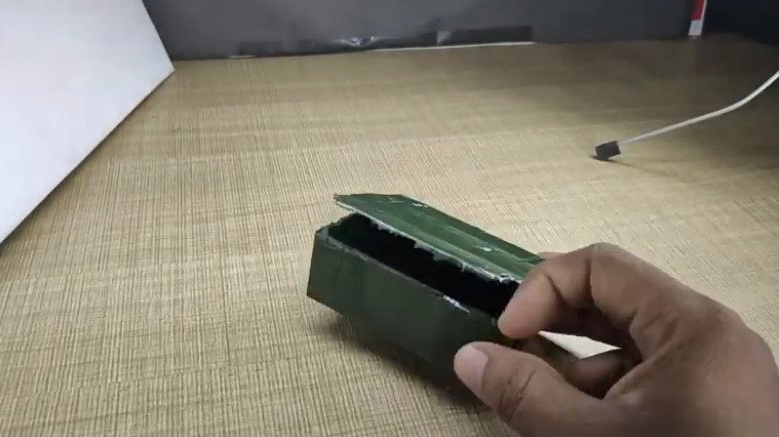
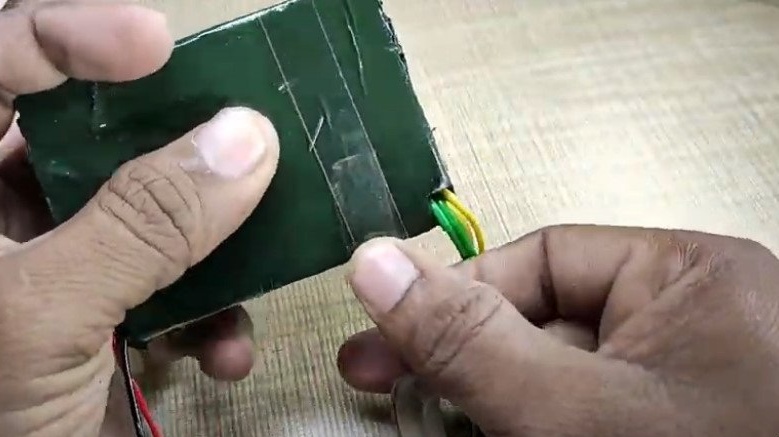
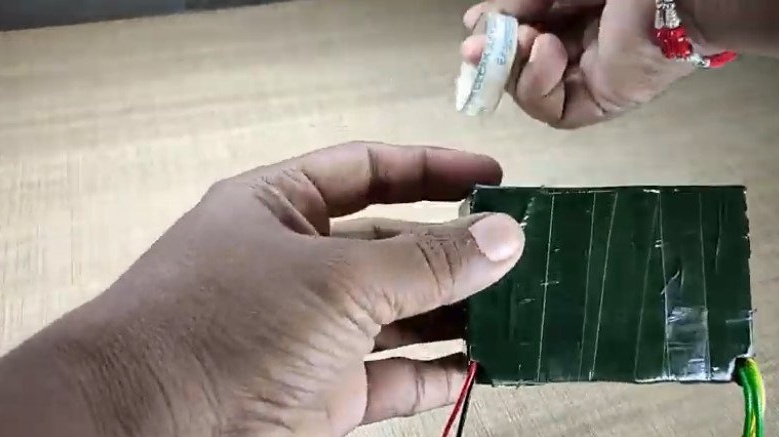
Step Four: Case
The body was made by a master from cardboard. Papered with tape, glued the box. He put the board in the box and sealed it with tape.
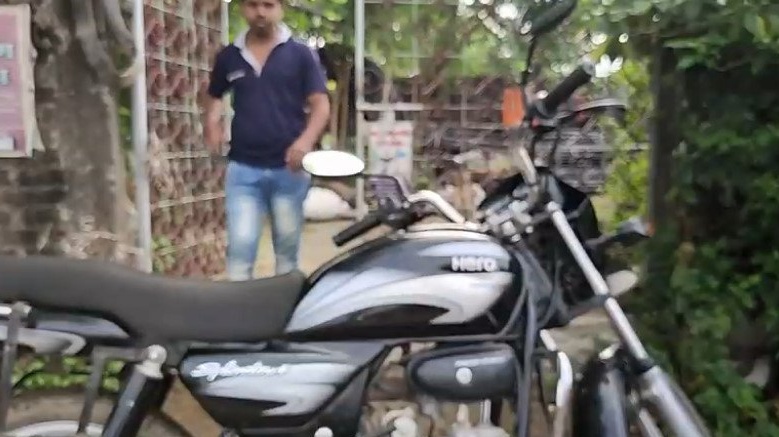
Step Five: Install the device on motorcycle
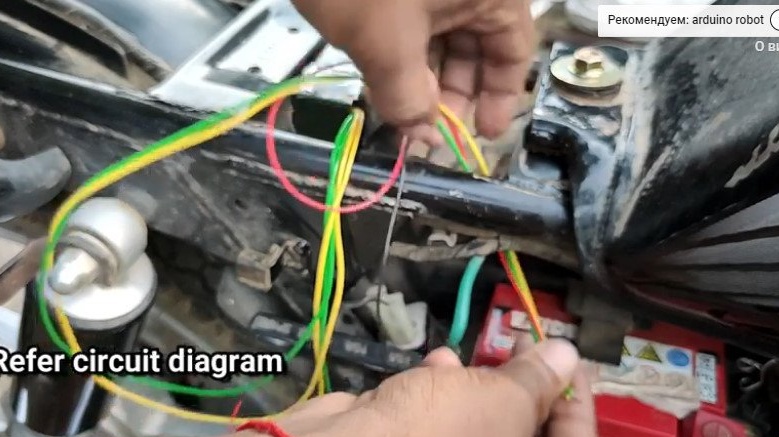
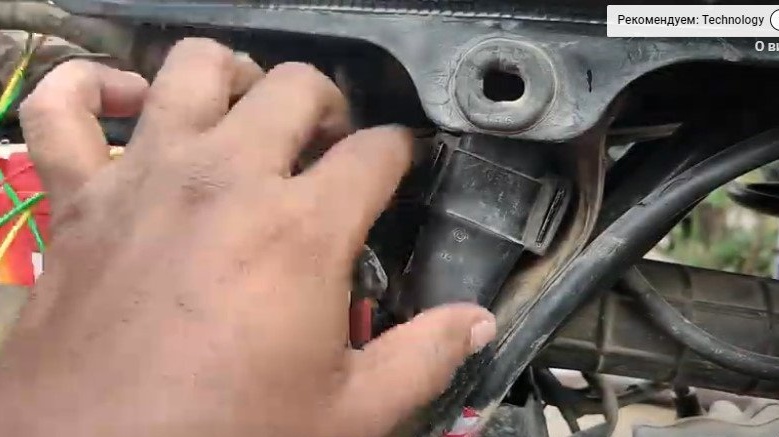
Now you need to install the device in the motorcycle circuit.
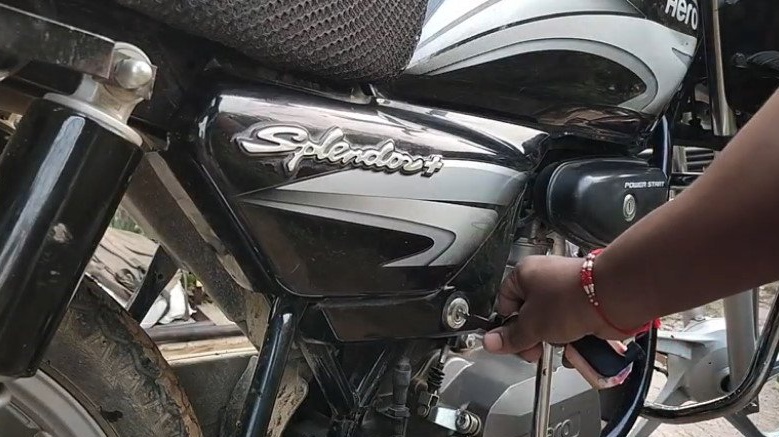
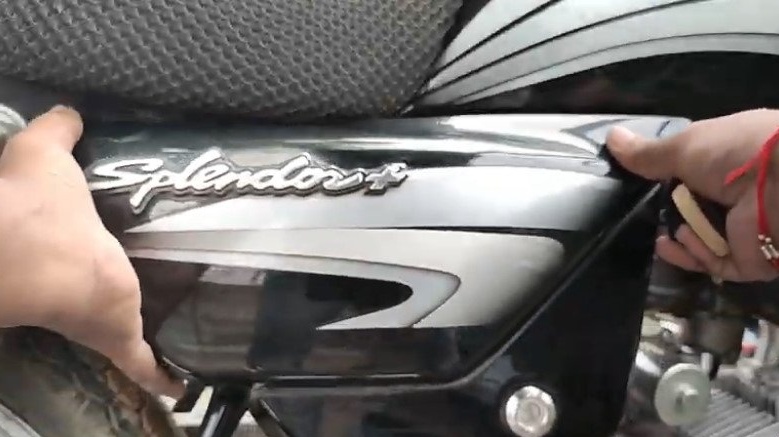
The wizard warns that this connection is relevant for connecting to motorcycles of the following brands: Hero Splendor Plus, Hero Splendor Pro, Hero CD Delux. To connect to other cars / motor vehicles, you must have the pinout of the ignition switch and starter.
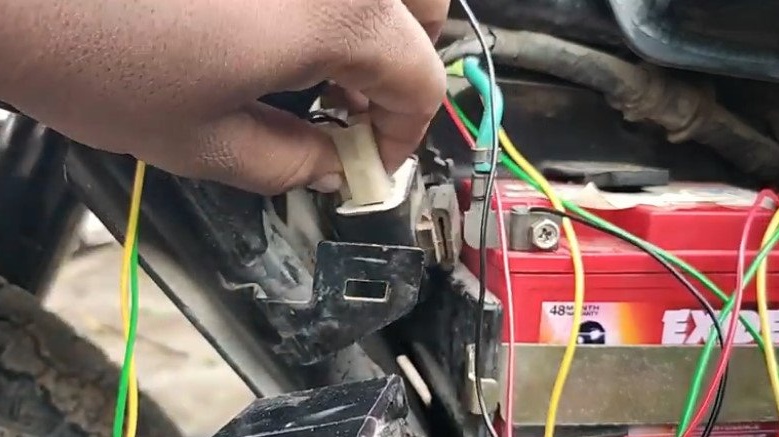
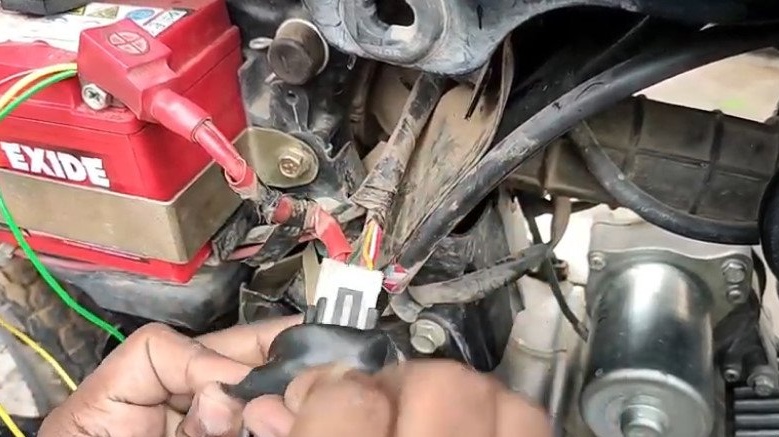
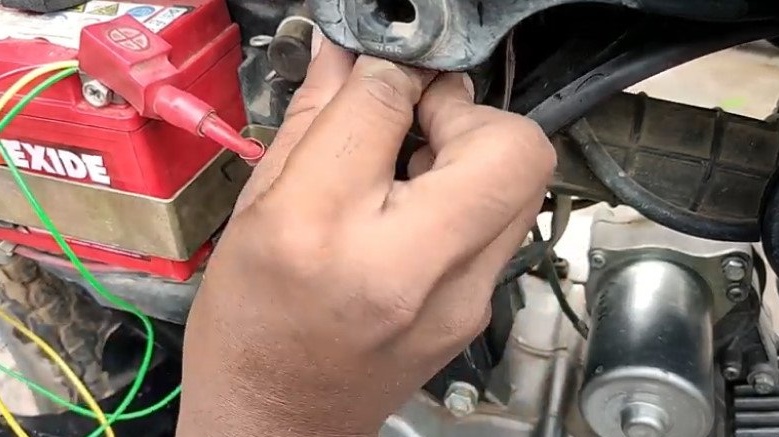
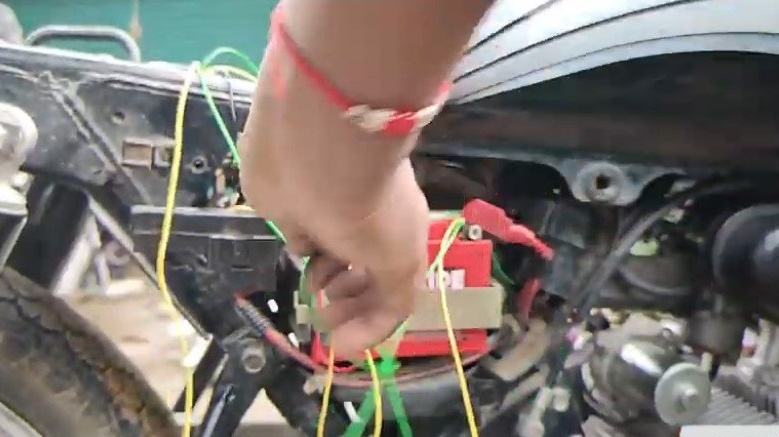
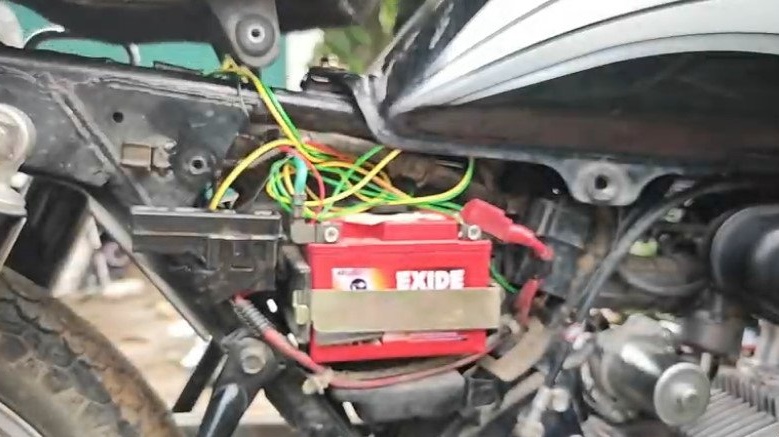
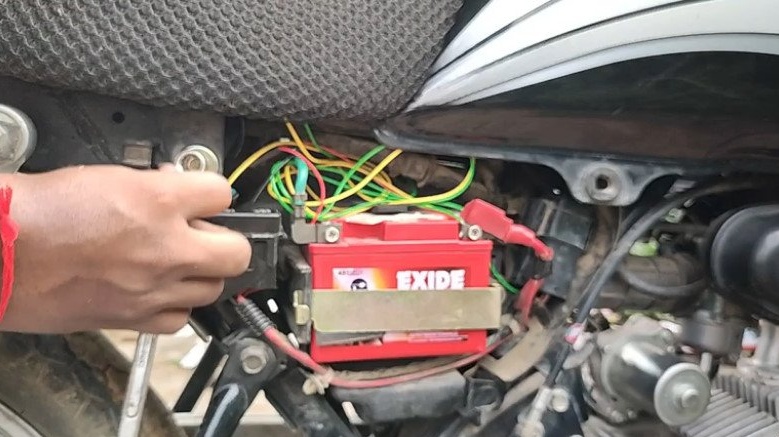
Removes the battery cover and seat. The device installs on a frame under the seat.
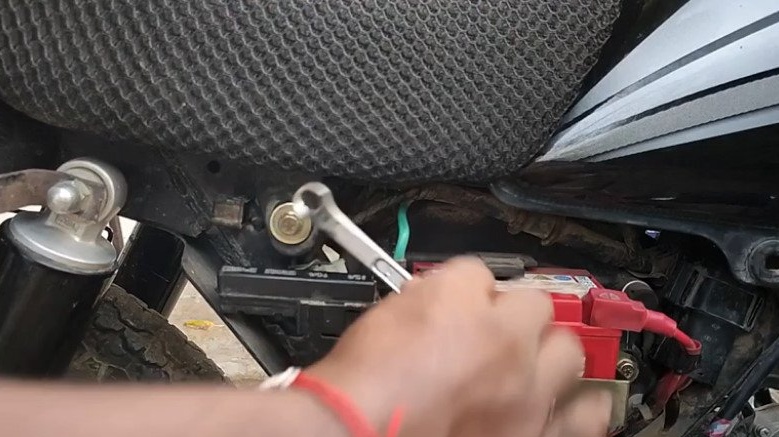
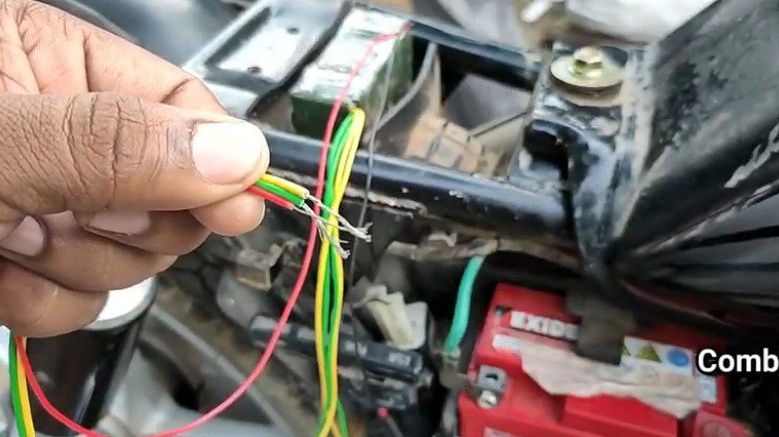
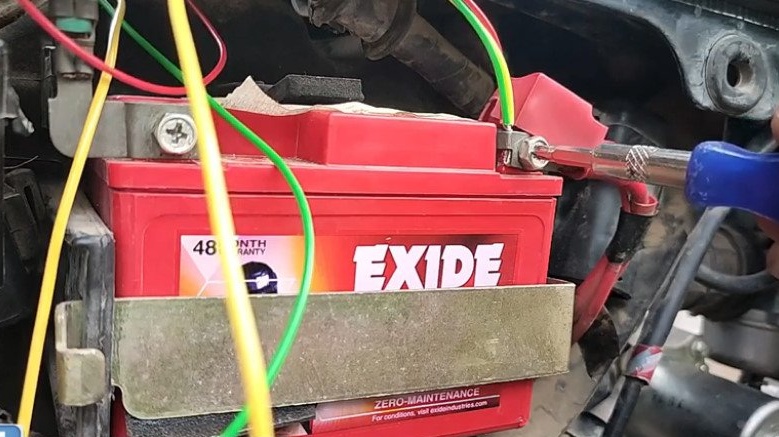
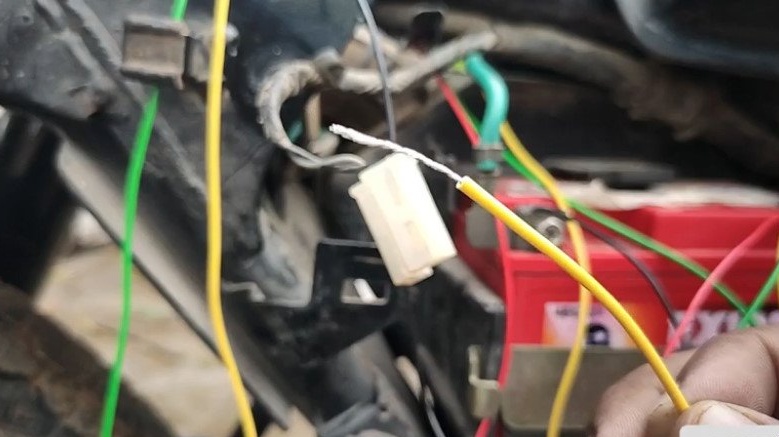
Twists the red, green, and yellow wires and connects them to the positive terminal of the battery.
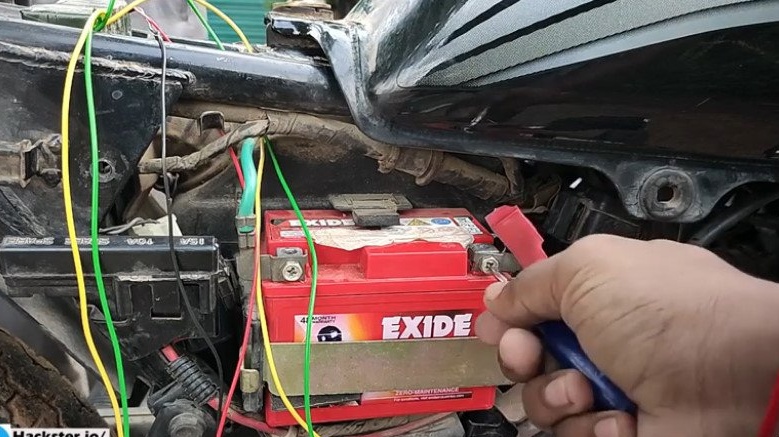

The black wire connects to the negative terminal of the battery.

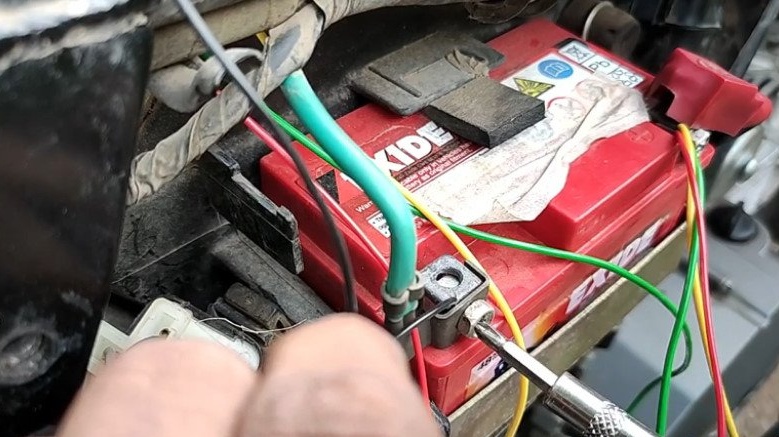
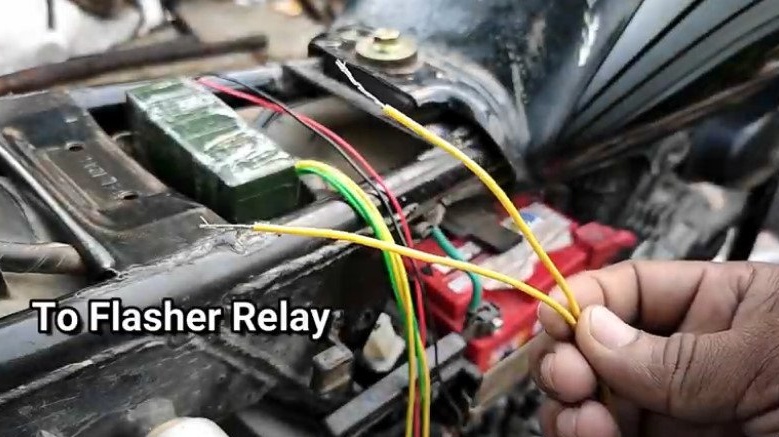
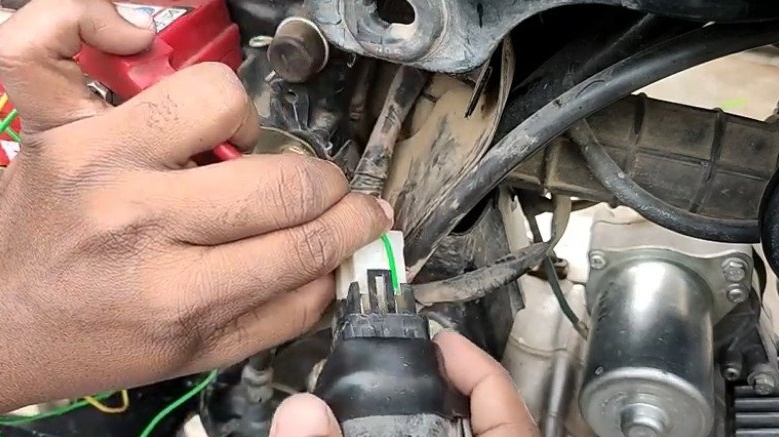
The yellow wire connects to the positive input of the ignition relay.
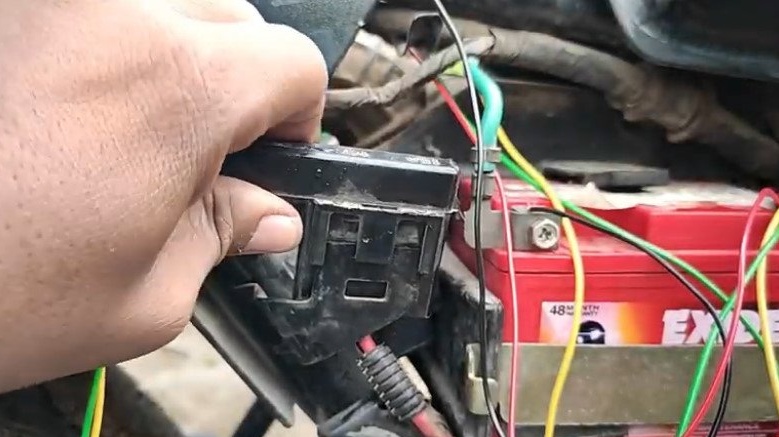
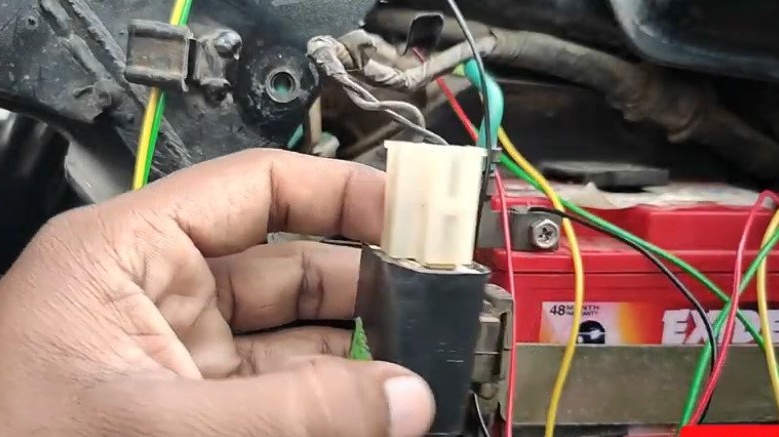
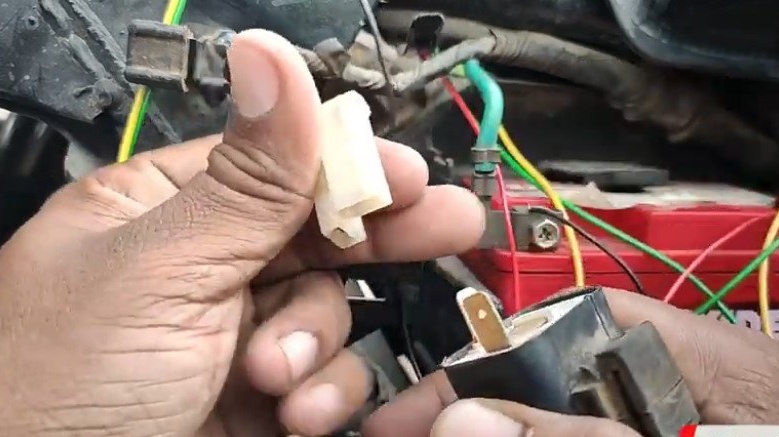
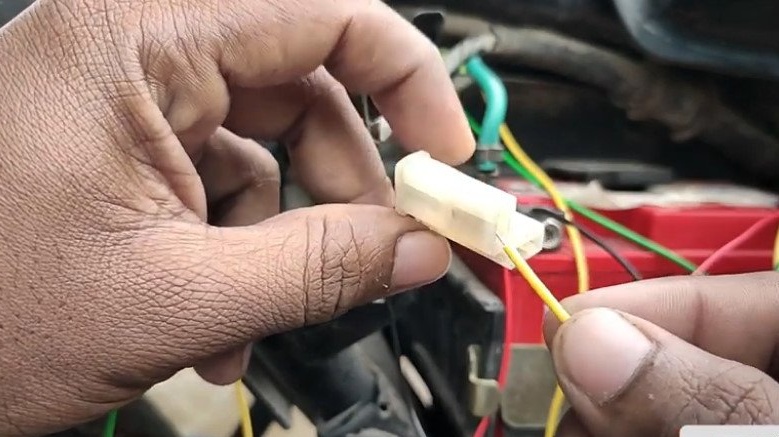

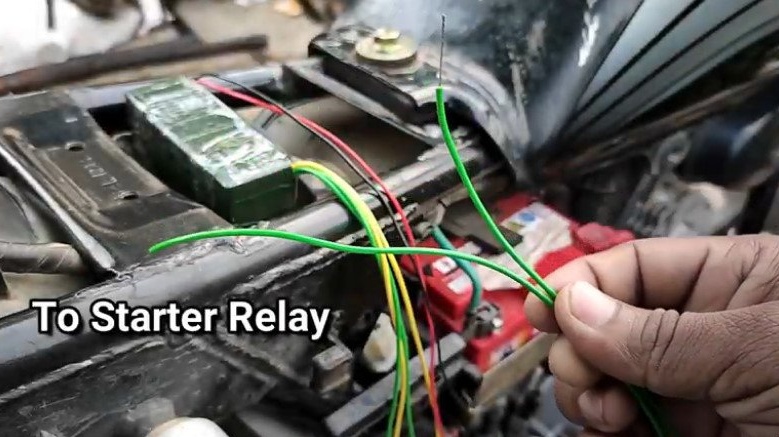
The green wire connects to the positive terminal of the starter relay.

Replaces the seat and cover.
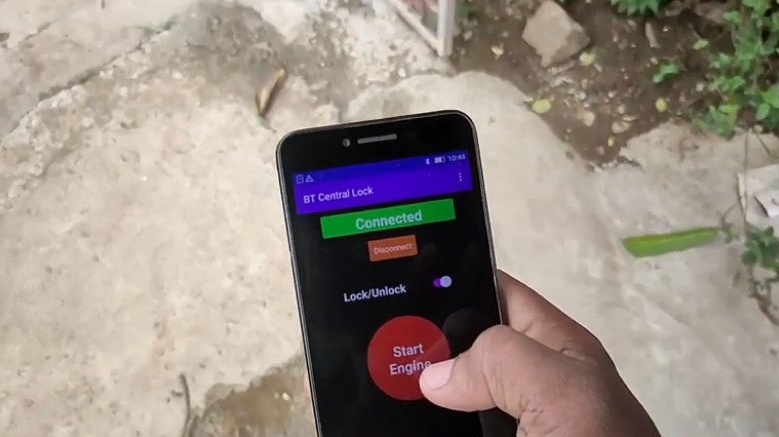
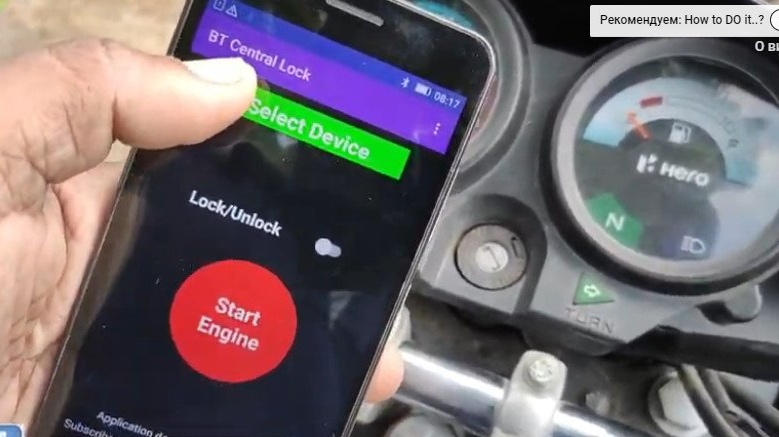
Step six: use the device
In order to start using autorun, you must first download the program on this smartphone to your smartphone the link.
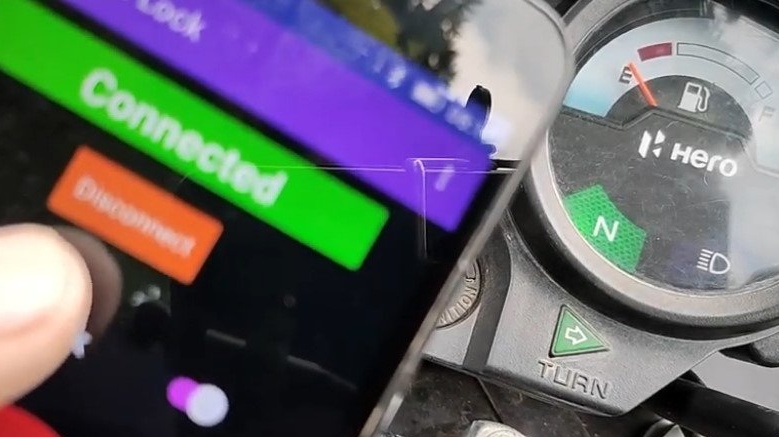
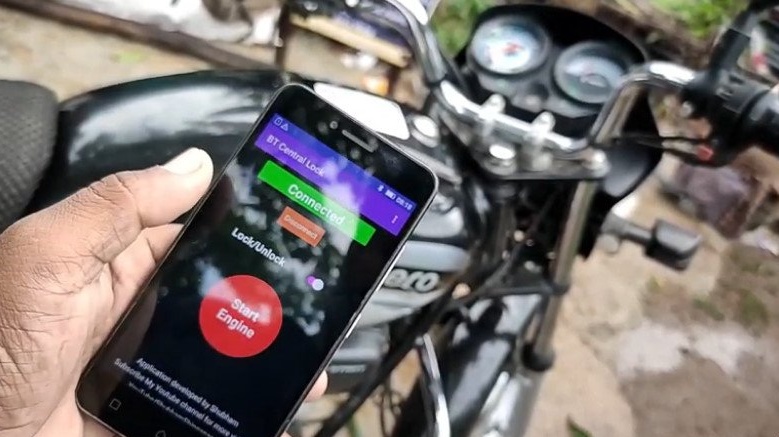
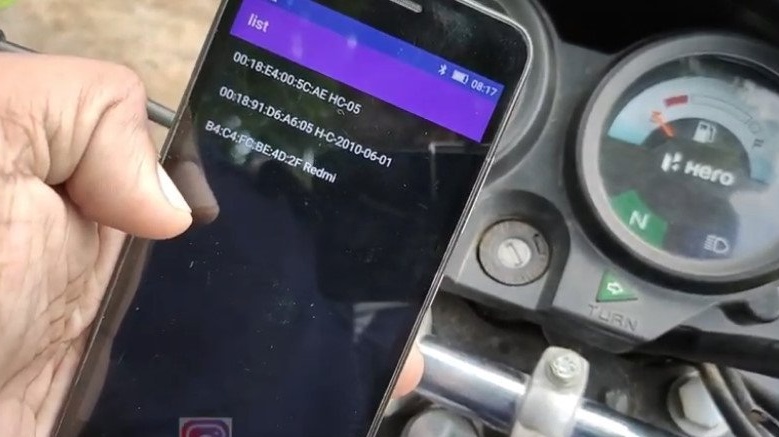
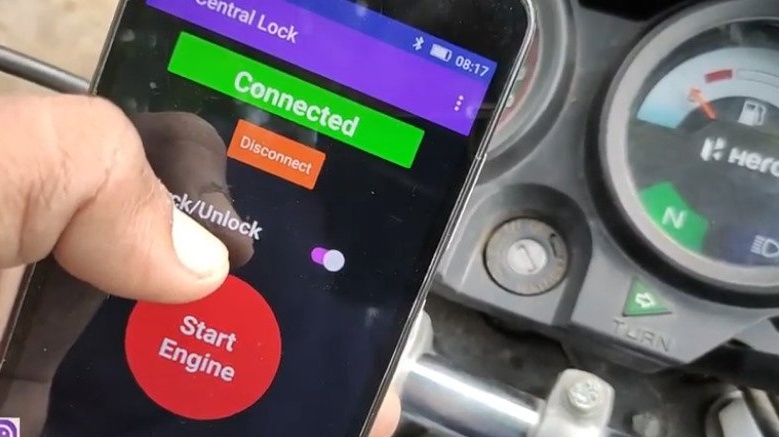
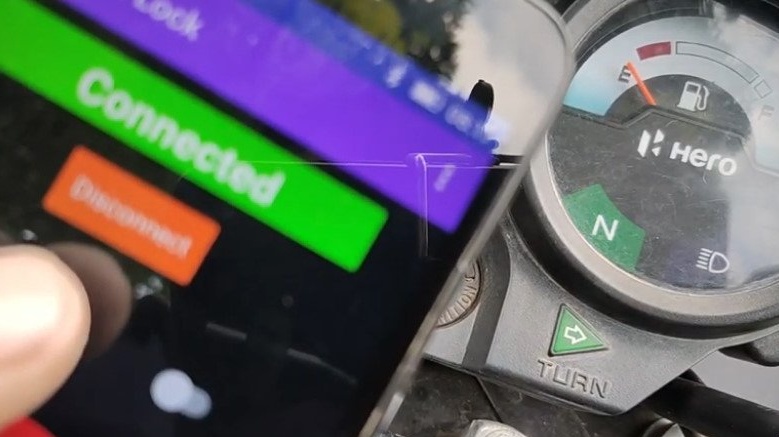
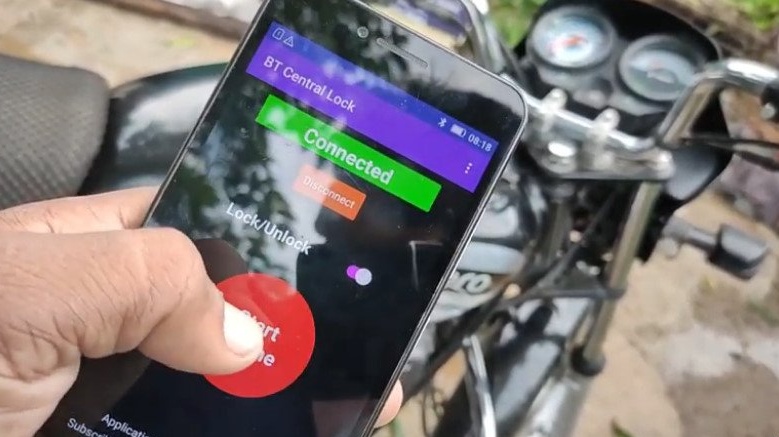
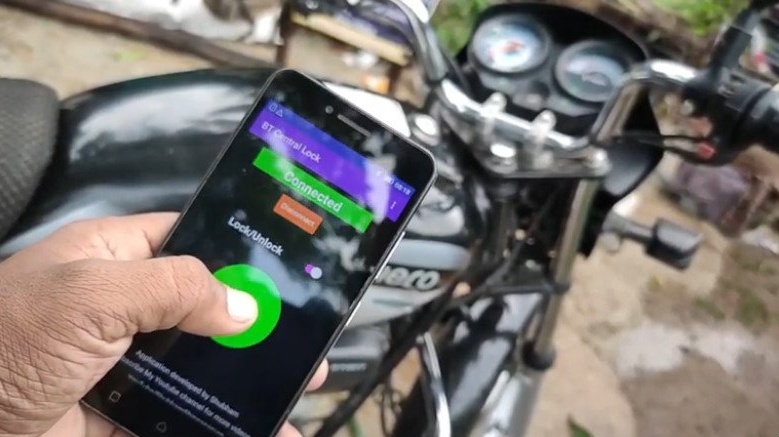
Open the program and establish a connection with the HC-05. The default password is 1234/0000. After establishing the connection, move the slider to the right and click on start. The motorcycle should start.
The whole process of manufacturing and connecting such a device can be seen in the video.