
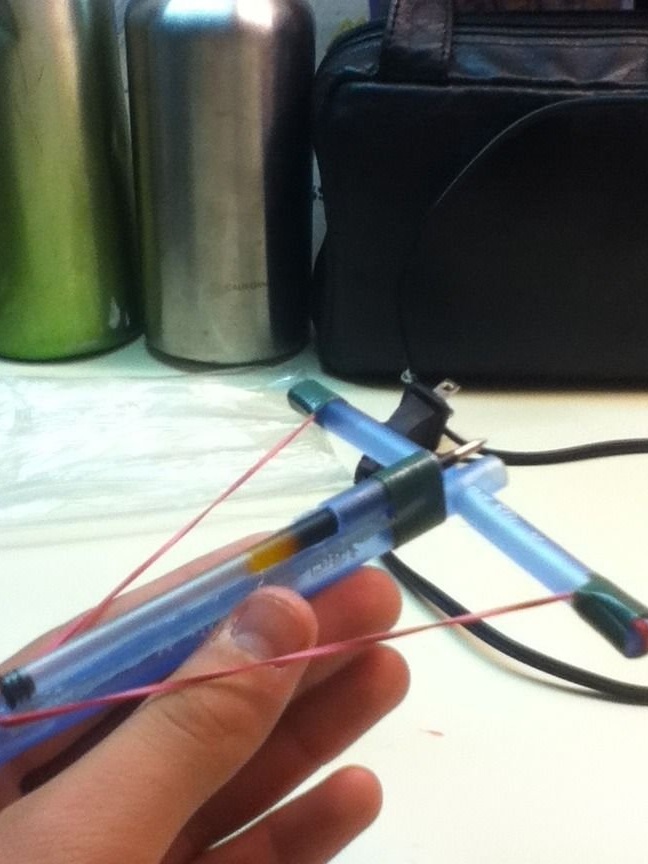
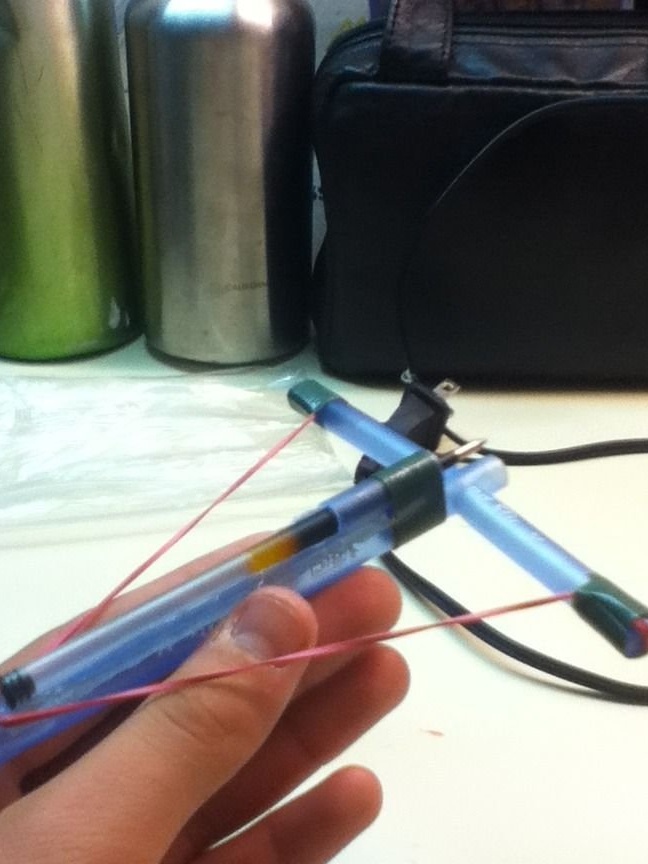
Once at school I was so bored that I took a few pens. scissors, electrical tape and constructed here such a crossbow in an hour. This is the first crossbow I have seen that can be taken apart.
Step 1: Materials
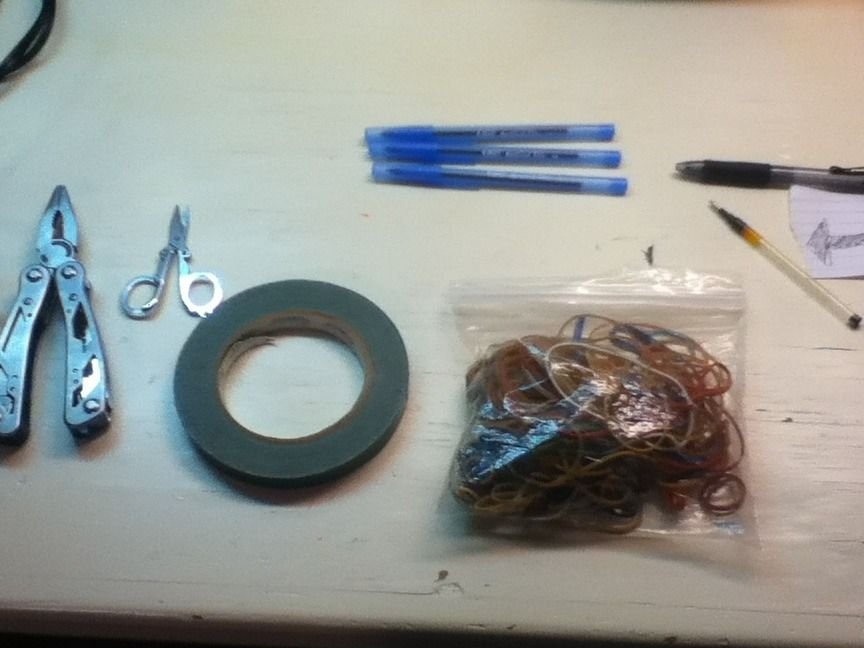

For this we need:
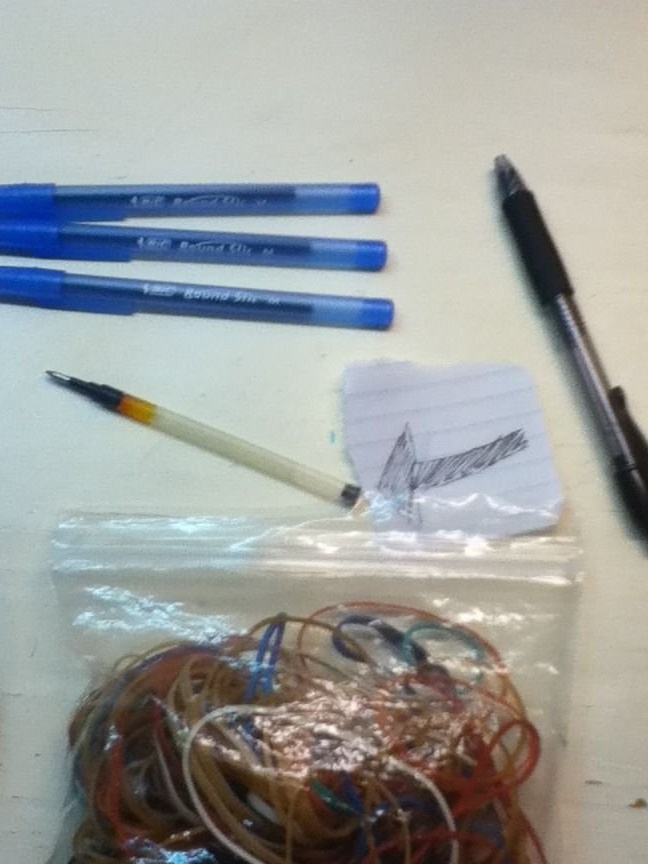
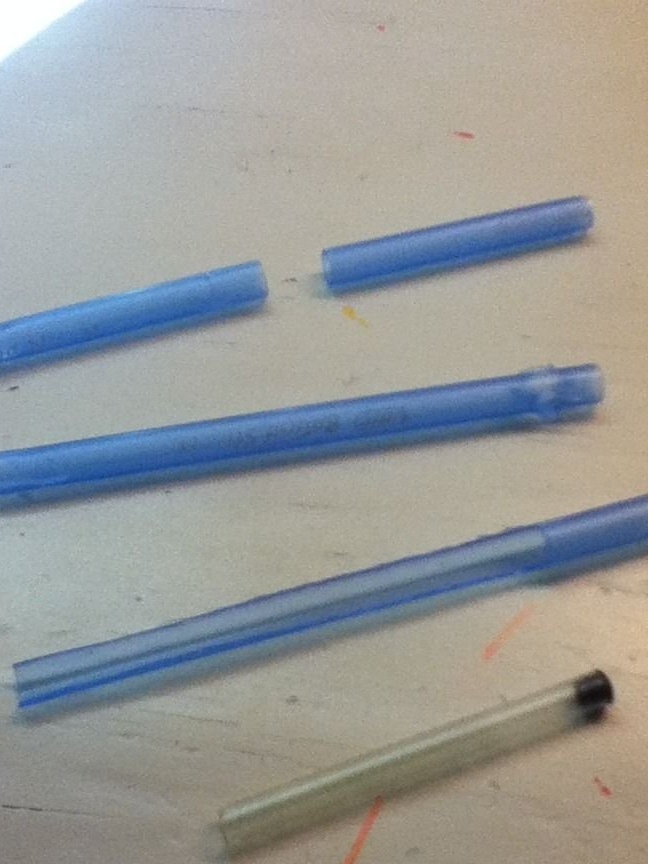
- 3 disposable ballpoint pens
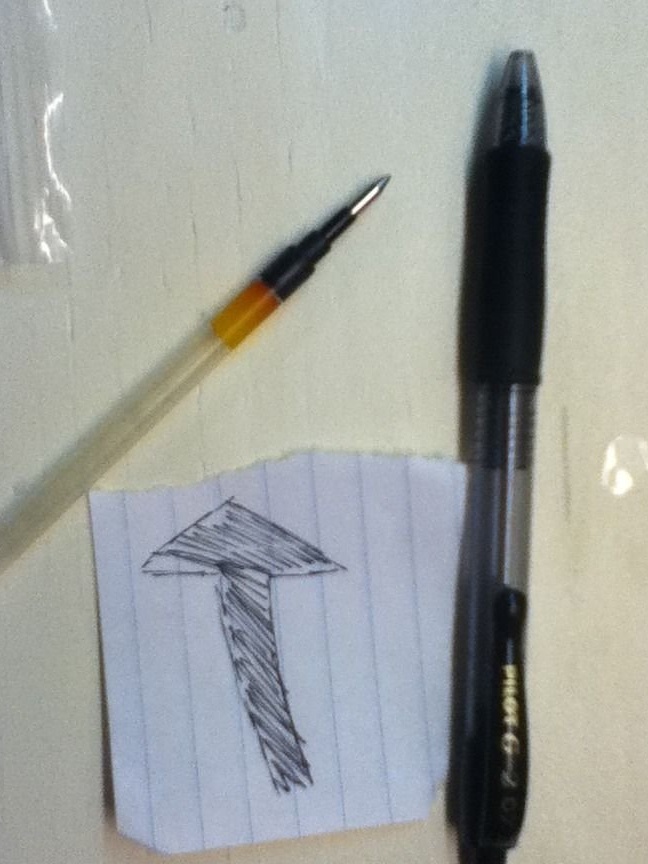
- 1 or more Pilot G2 ink cartridges (at least 1 empty). One is enough, the rest will be our ammunition for shooting
- A couple of stationery erasers - you only need one, but several are needed to choose the most suitable in size.
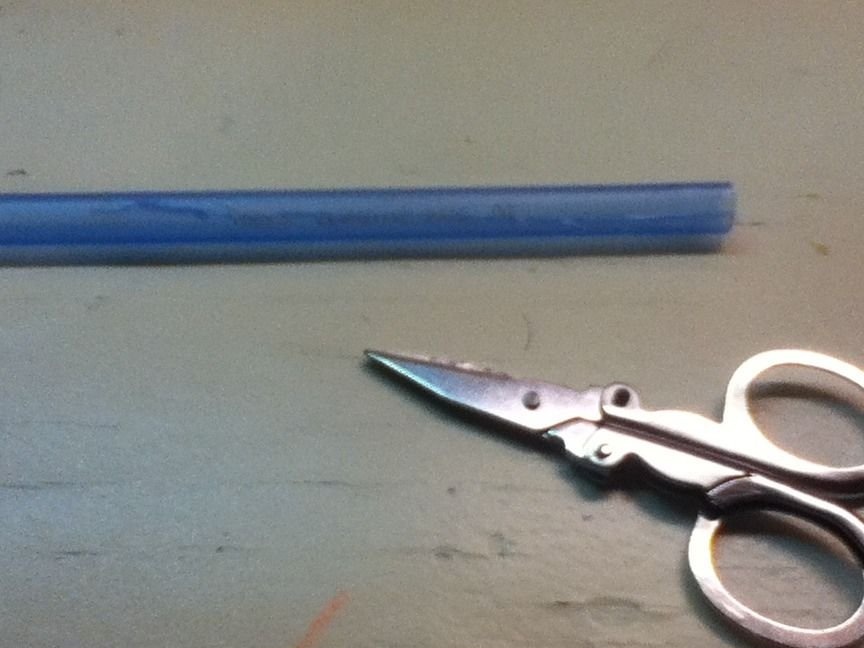
- good scissors (for cutting handles in half)
- gun with hot glue (recommended) / Super glue / electrical tape
- small scissors
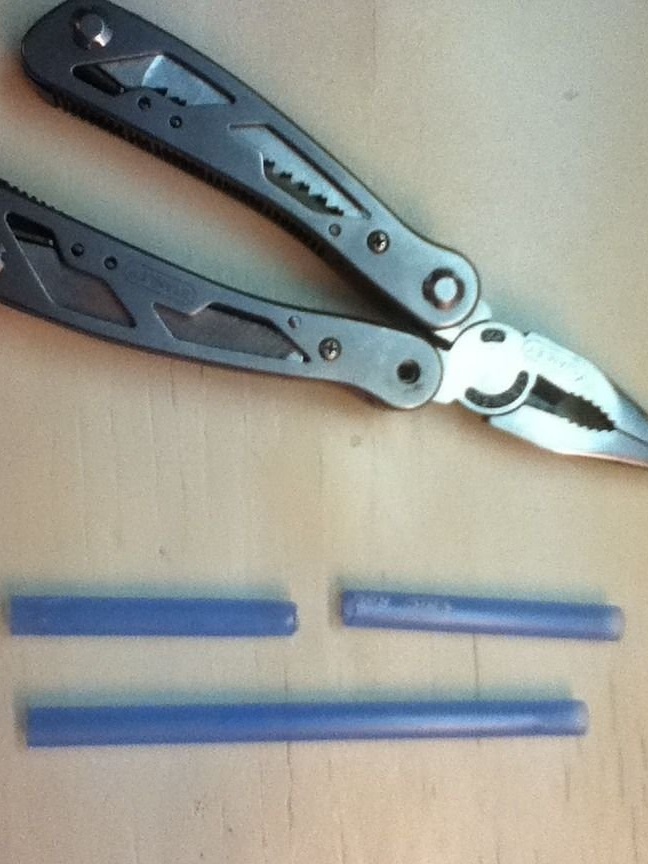
- screwdriver
- a drill (something to drill holes in the handle body)
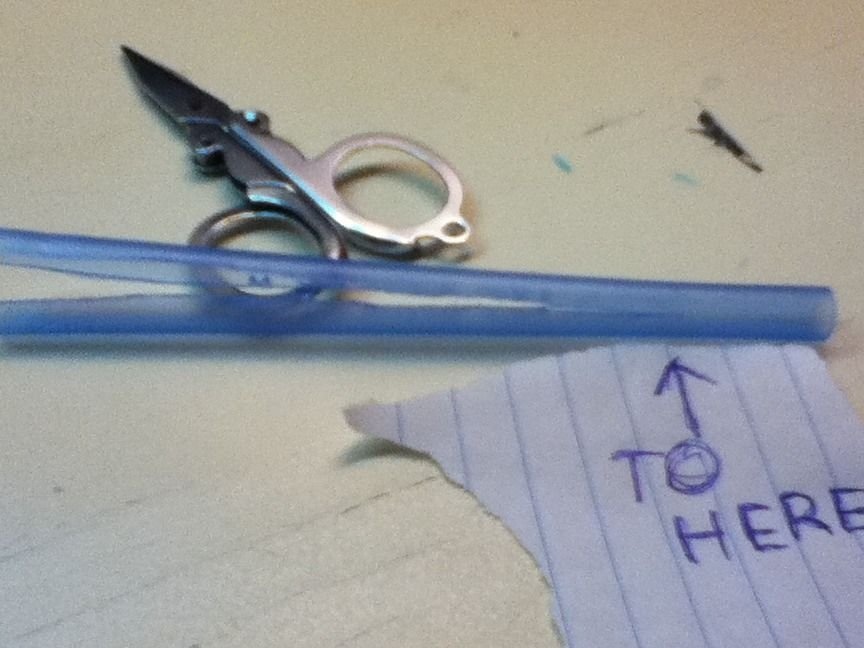
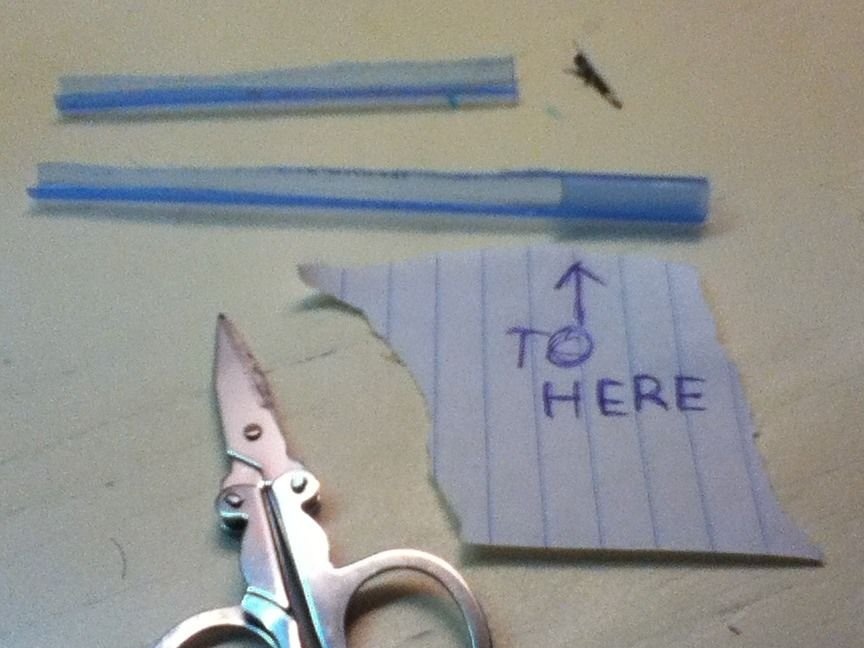
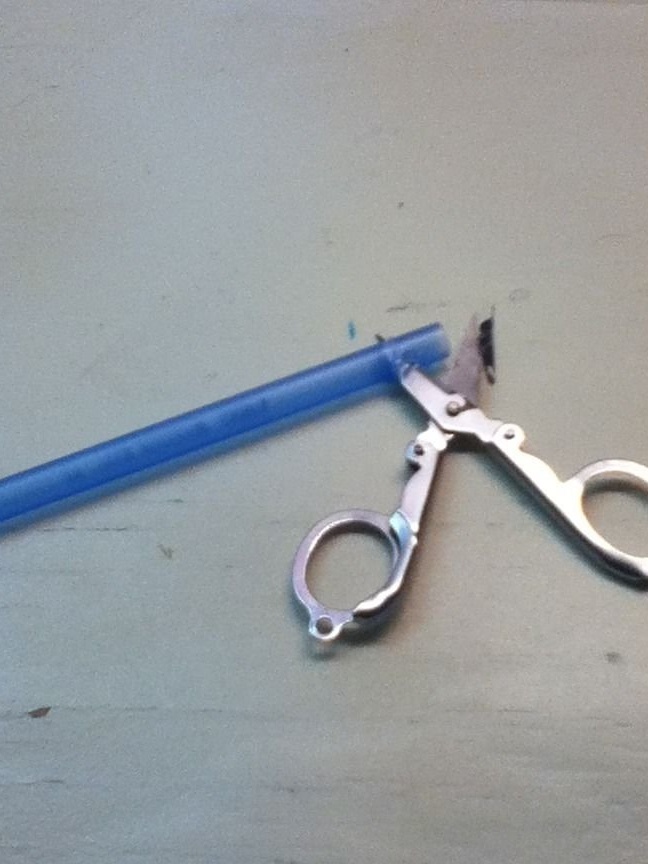
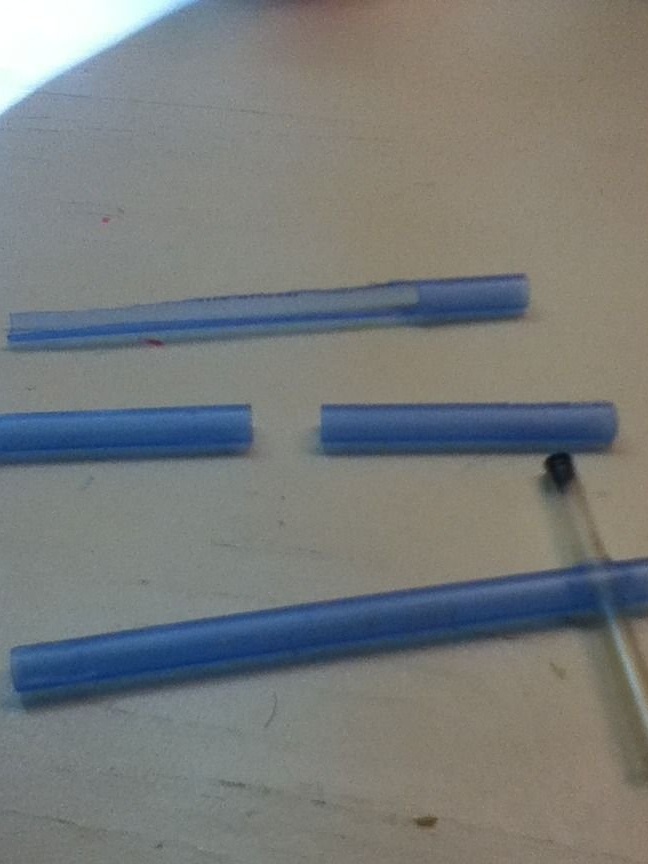
Step 2: Cut the Pens
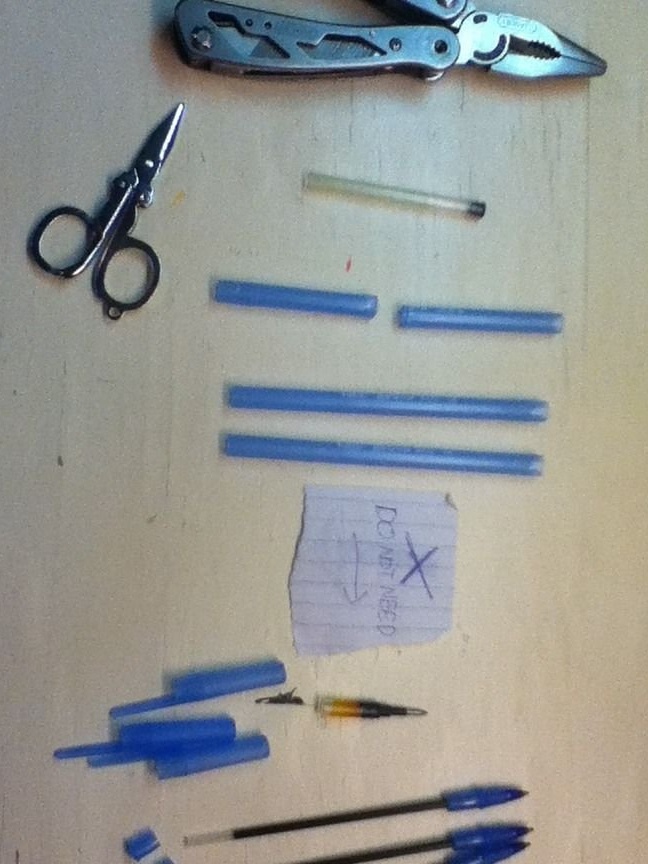

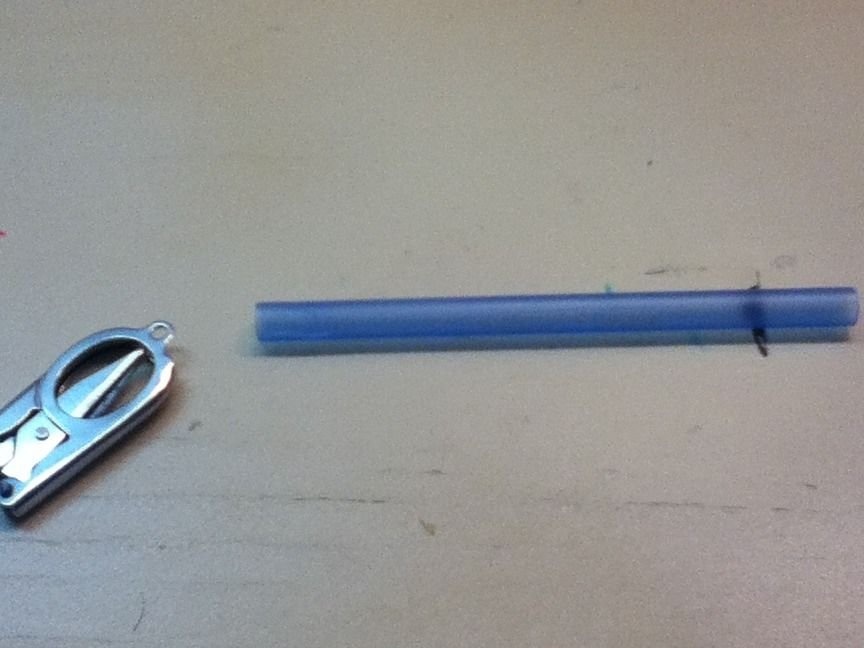
First you need to disassemble the disposable handles and take only the cases. You can keep your rods as arrows. It is necessary to cut one of the buildings in half. Then grab an empty rod with the Pilot G2 and cut a piece right where the yellow gel ends. It’s better not to cut it directly on the gel, as it is very difficult to wash it off with scissors and everything else where it drops.
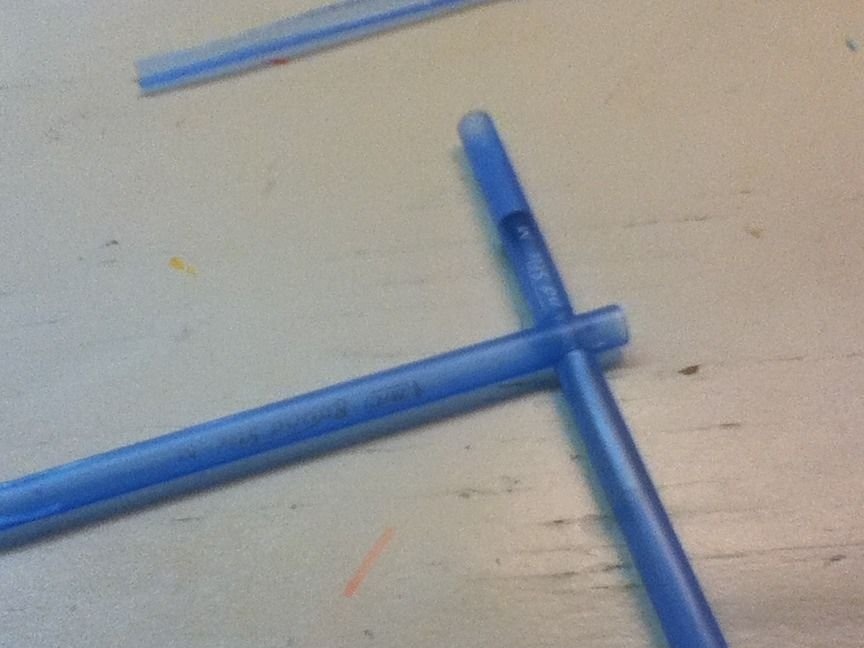
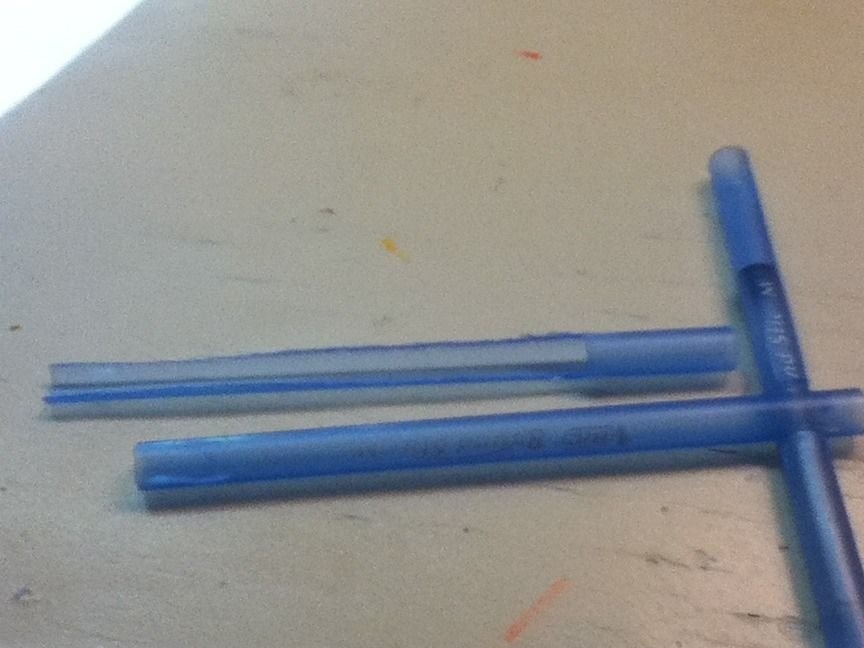
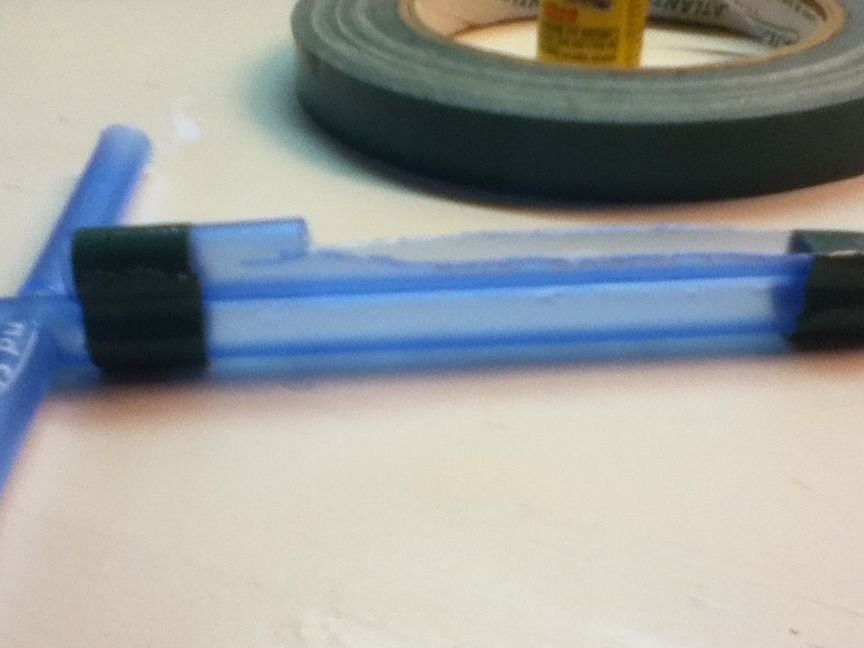
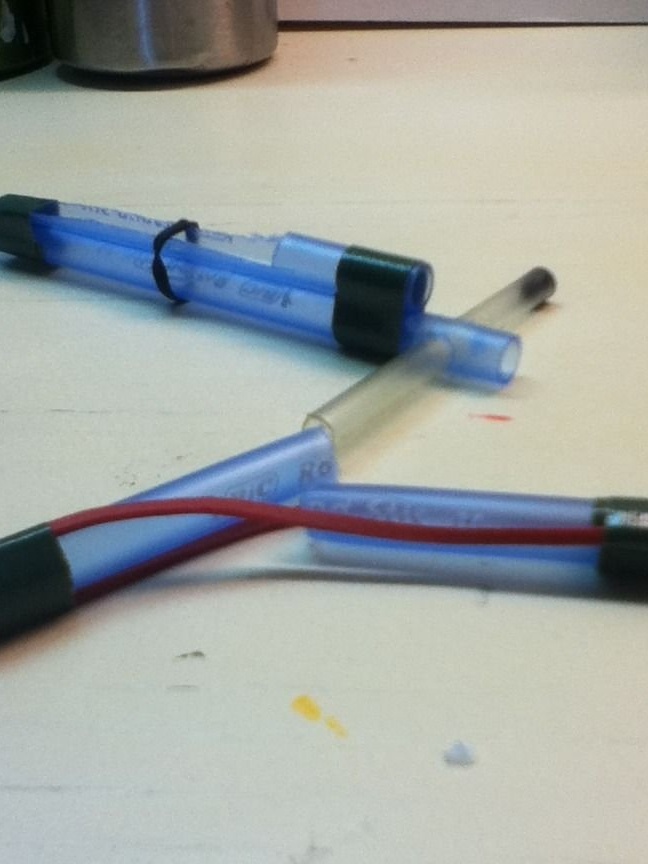
Step 3: make the guide

Take one of the handle cases and cut it in half along, leaving about a centimeter uncut from one edge. Cut one of the cut halves. The resulting part will be the guide for the “arrows”.
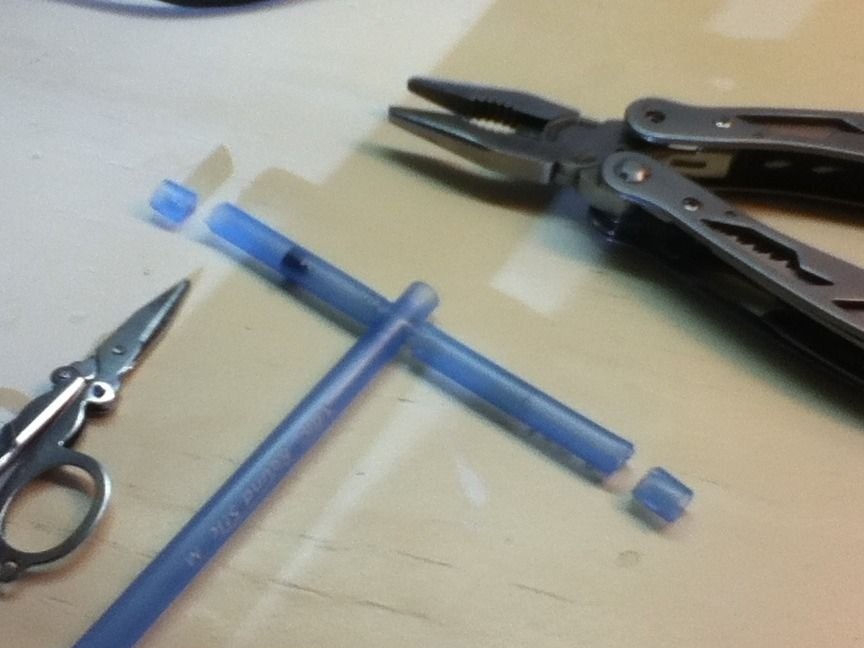
Step 4: drill a hole
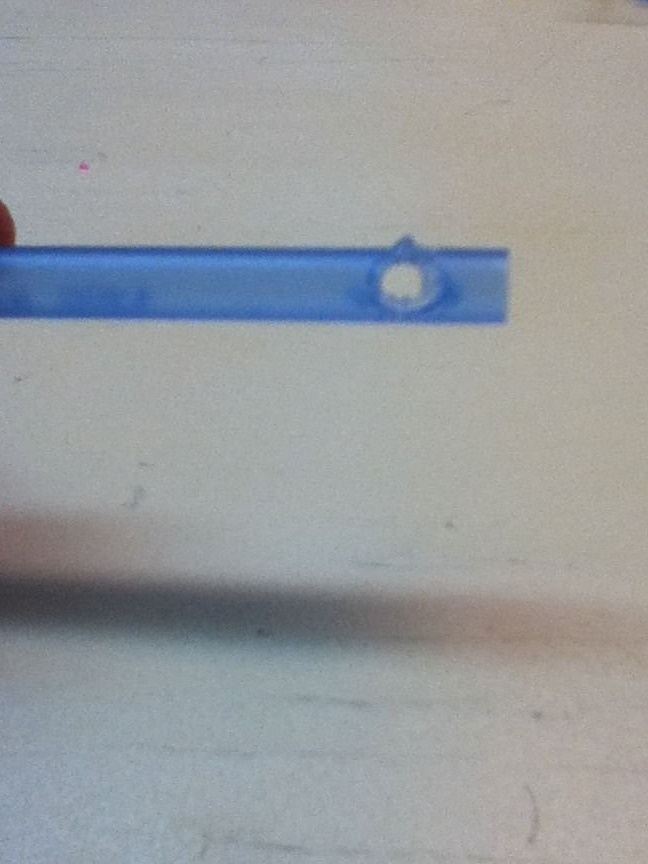
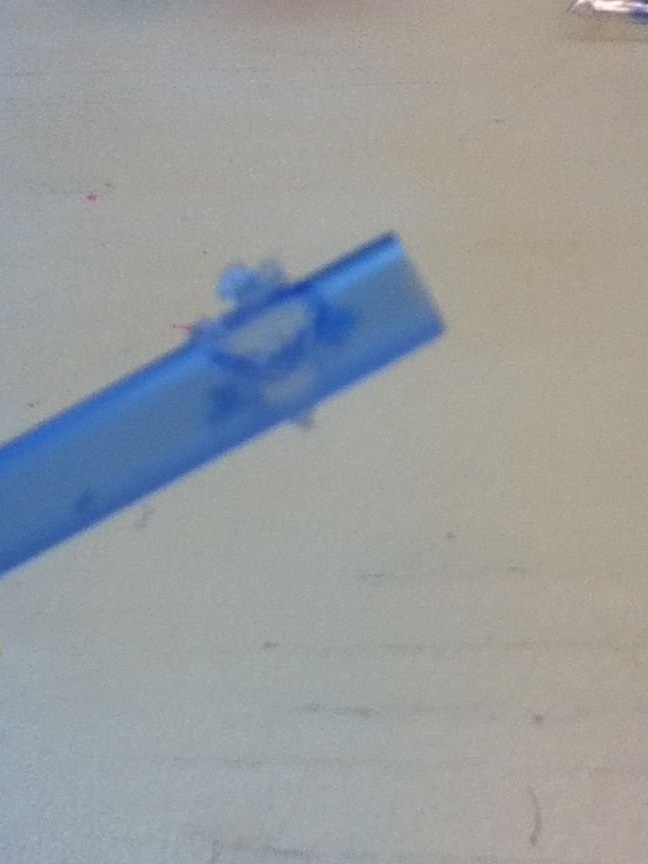
From the third case of the disposable handle, you need to make a base by drilling a hole wide enough for a cut piece of the G2 rod. The hole should be narrow enough to hold the rod tightly inside, but also large enough so that, if desired, the rod can be removed when disassembling the crossbow. The hole can be made with a drill, scissors, a screwdriver or any other sharp object.
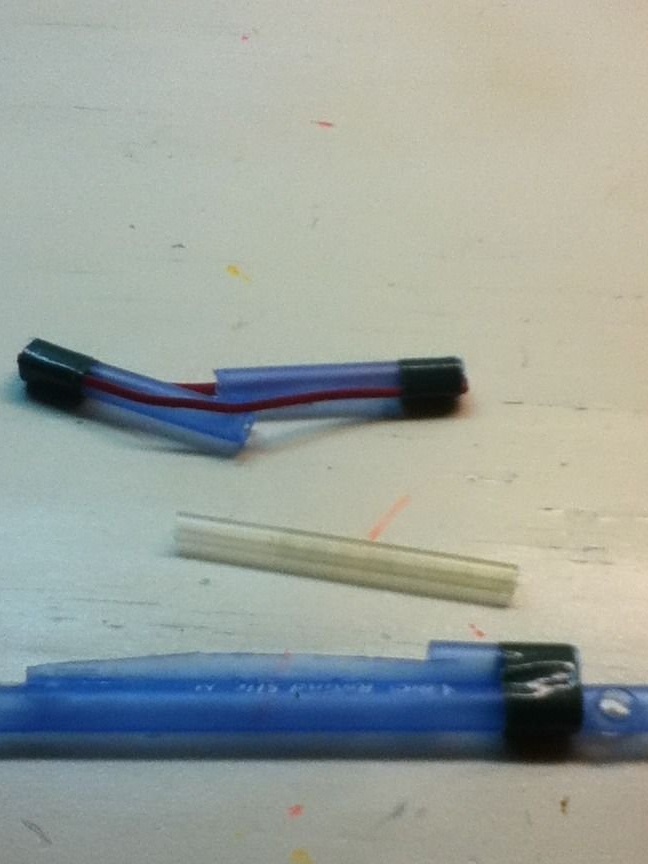
Step 5: Build
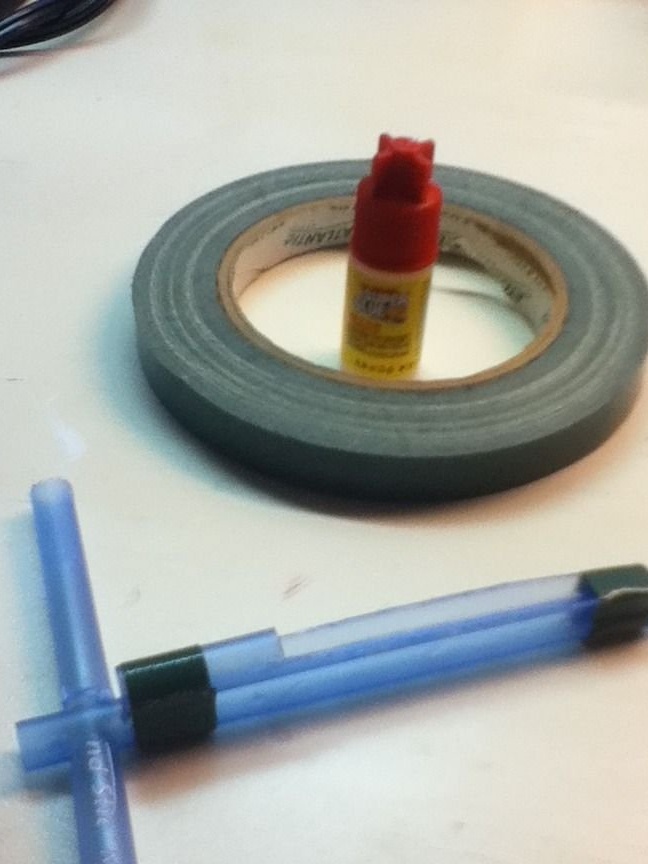

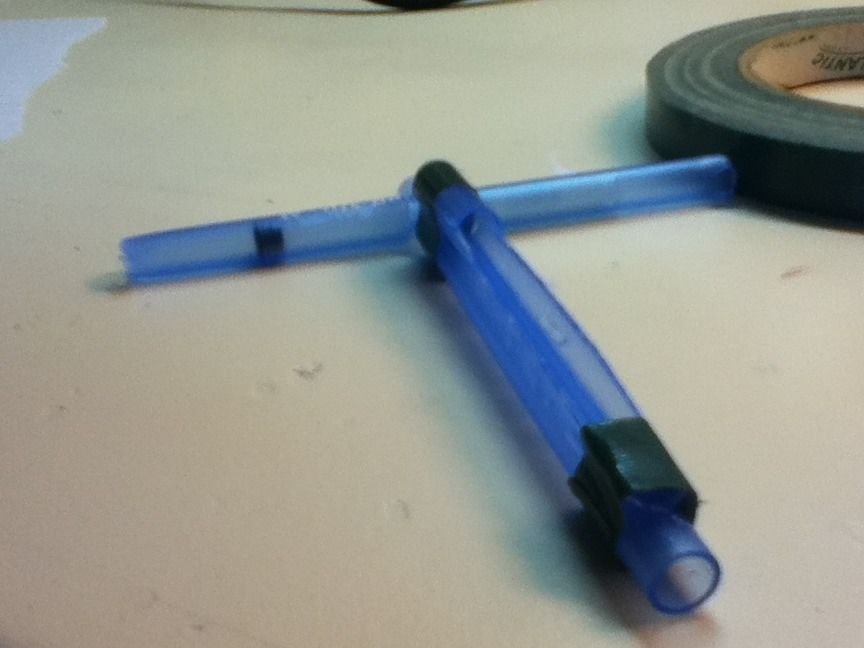
Slide the G2 pin into the hole in the base case first. Next, put the halves of the cut handle housing on each side of the shaft. Glue the arrow guide to the top of the base with hot glue, stepping a centimeter from the rear end of the base. The guide should be shorter than the main tube, so cut a little from the half edge.Also, before moving on to the next step, I suggest trimming your shoulders a bit to make the crossbow look prettier, and it’s more convenient to “pull the string”.
Step 6: Bowstring
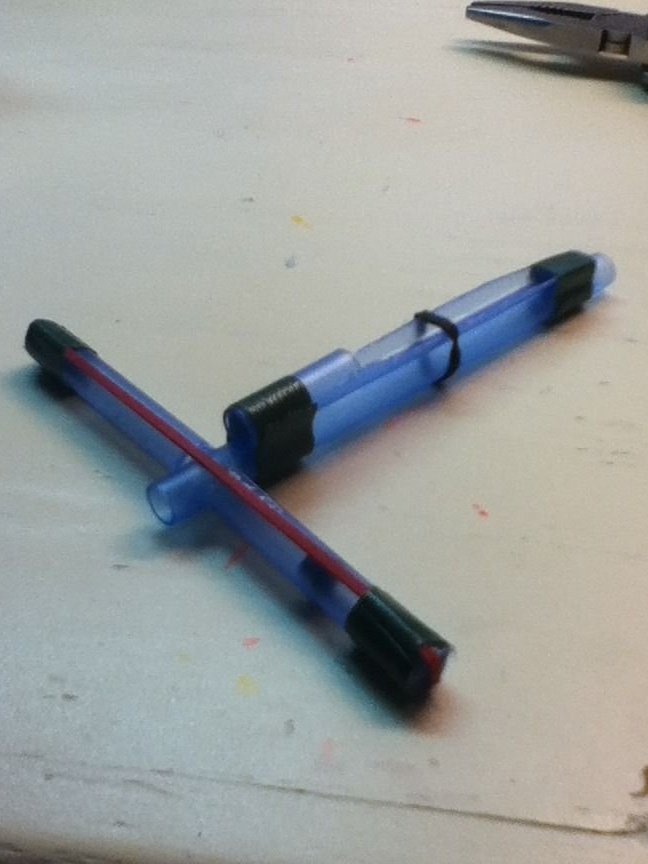

It’s time to put on an office gum. You need to put it on both shoulders of the crossbow and secure it either with electrical tape or by making cuts on the edges of the shoulders. If you have a long elastic band, it is better to use electrical tape - so you can shorten the elastic band and make it tighter. If the elastic is small, it is better to cut through the small grooves at the ends, parallel to the main body. Thanks to the slots, the gum will not fly off when pulled.
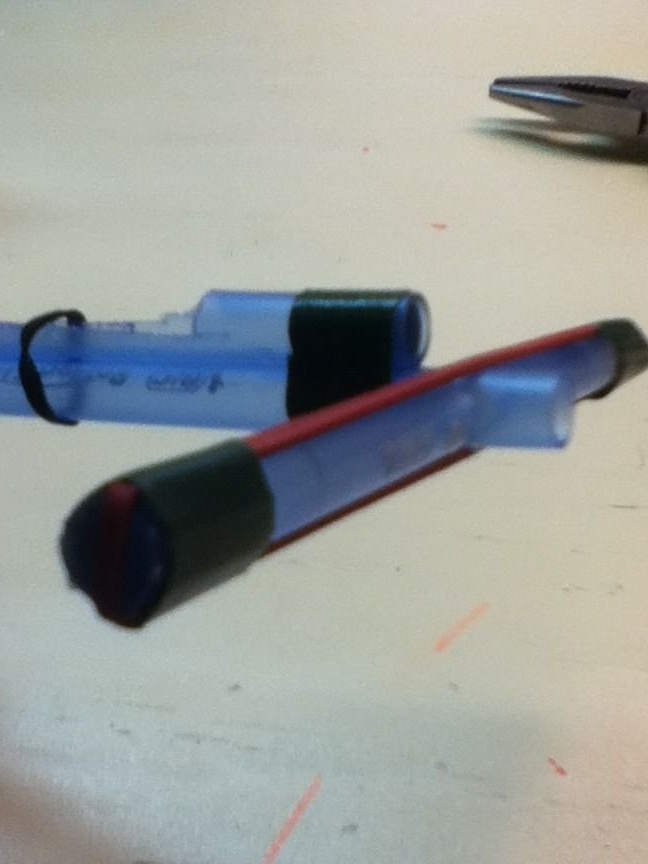
Step 7: Disassembly and Finishing
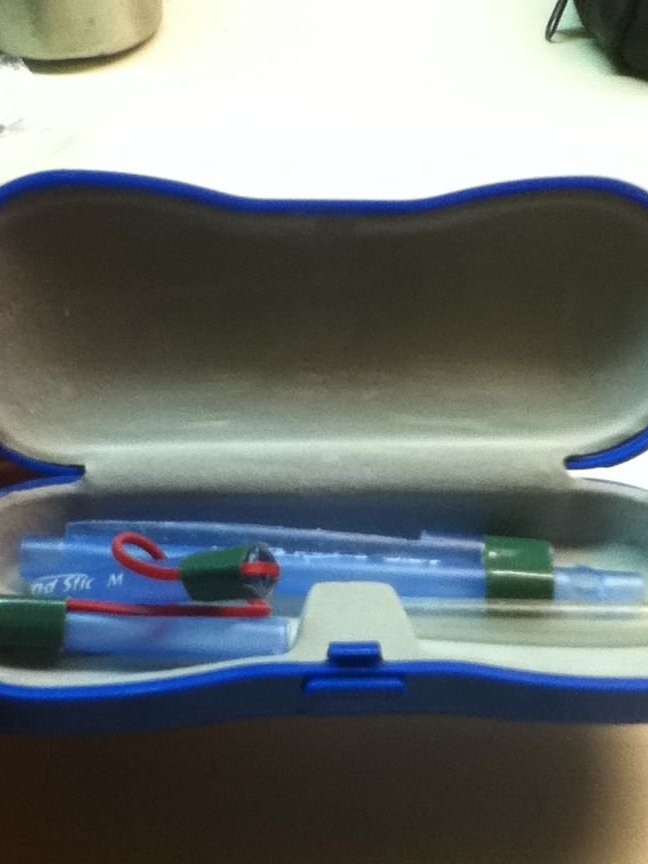
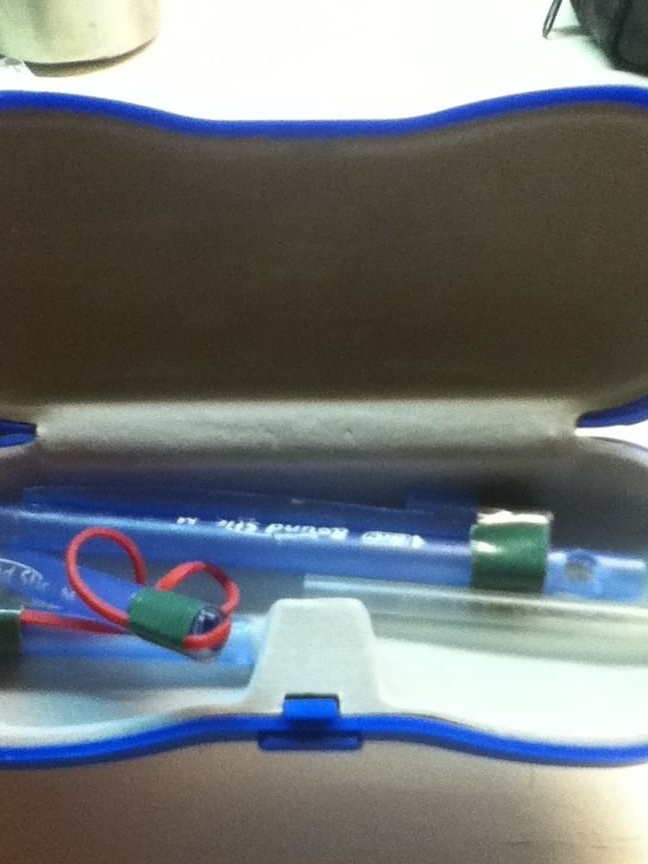
To disassemble the crossbow, simply remove the humerus halves from the cut rod and pull the rod out of the hole. You will get a neat set of parts that can be conveniently placed in a case for glasses. I hope you enjoyed this toy crossbow! Best of all, he shoots with Pilot G2 rods and rods from Bic's disposable handles. This is my first master class, I want to know what you think about it!