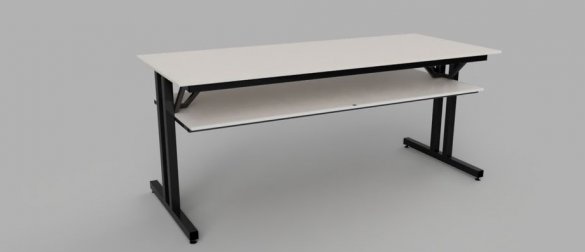
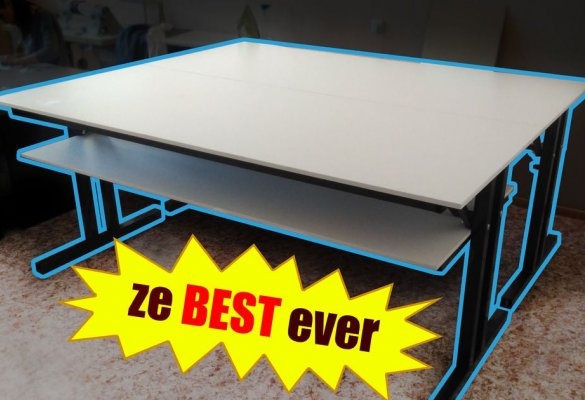
In this article, the master will share his experience in manufacturing a table for cutting fabric.
Tools and materials:
-Profile;
-Welding equipment;
- chipboard;
-A screwdriver;
-Fasteners;
-Drill;
-Roulette;
-Marker;
-Gon;
-USHM;
Step One: Project
The author of this homemade lives in Russia and when designing a table took into account the state standard specifications of the USSR. In accordance with GOSTs, such tables are divided into 5 categories. This table is made in accordance with category 4, used in the manufacture of tables and desks in educational institutions.
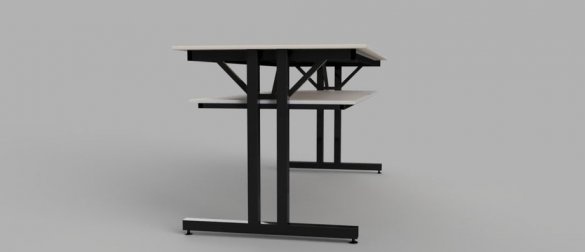
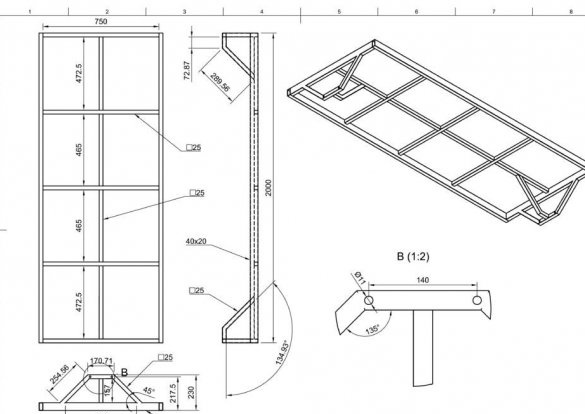
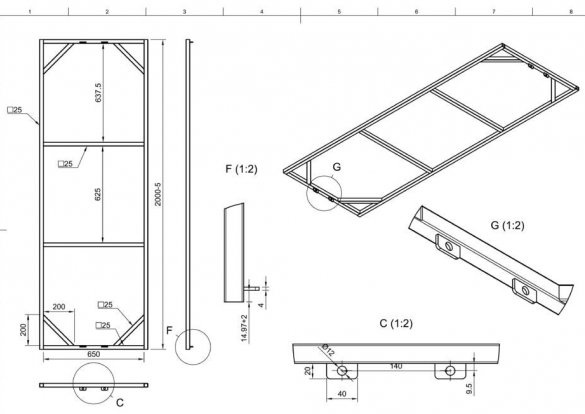
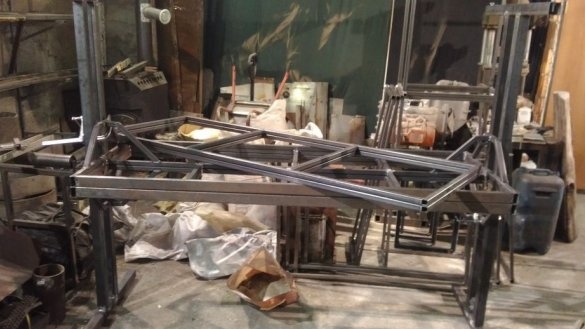
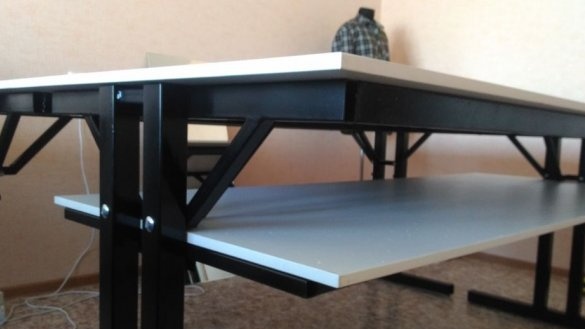
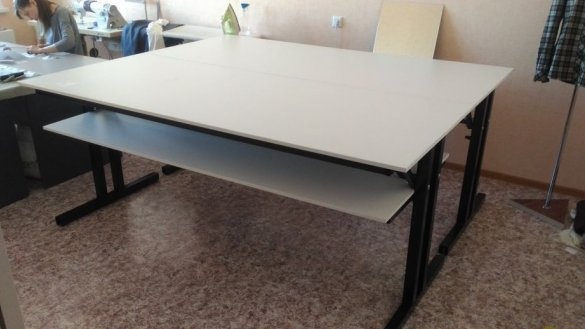
The size of the desktop is 2140x900 mm, with a height of 90 cm. The size of the shelf (under the worktop) is 1950x800 mm.
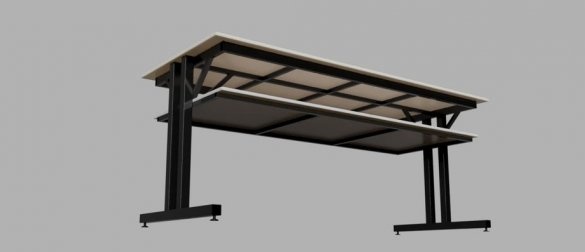
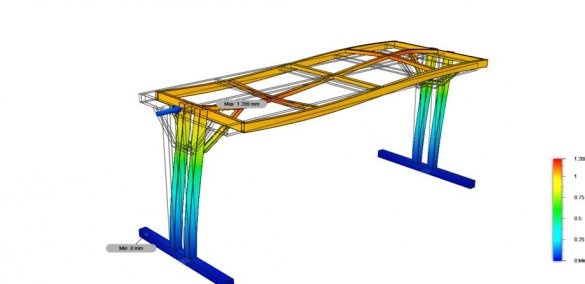
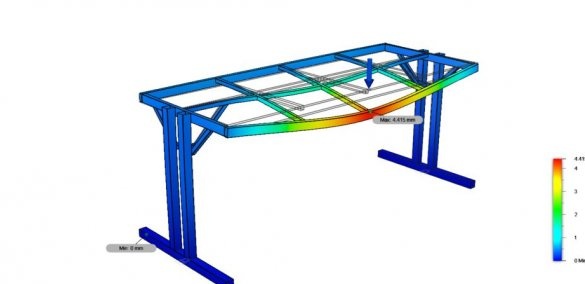
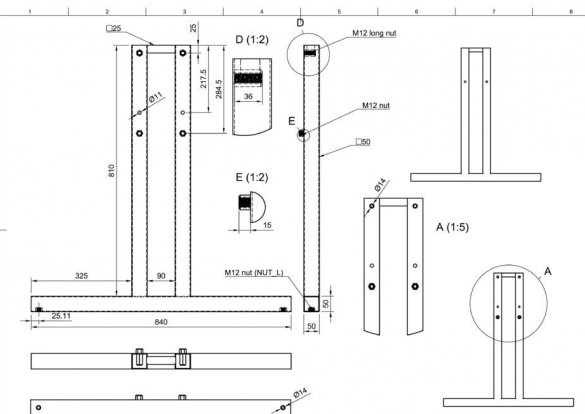
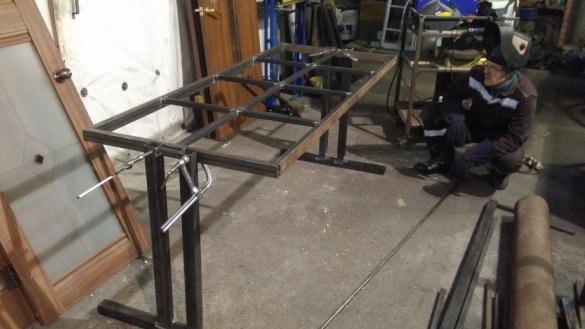
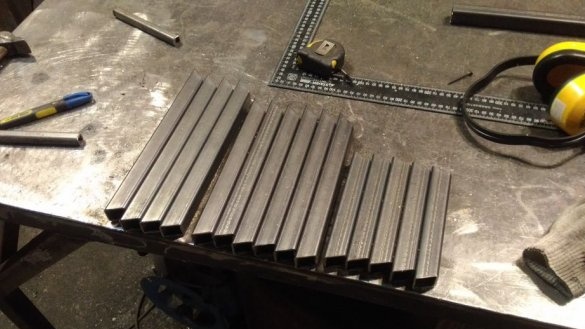
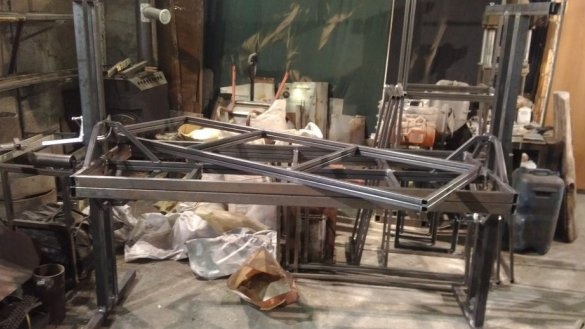
The frame consists of four parts: two legs, a countertop and a shelf. All parts are made of profile pipes: 25x25x2, 50x25x2 and 50x50x3.
Sewing_table_blueprints.pdf
Step Two: Feet
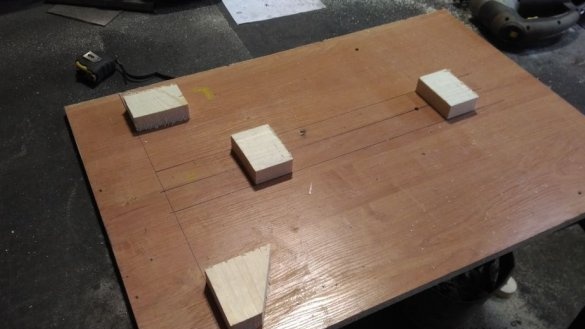
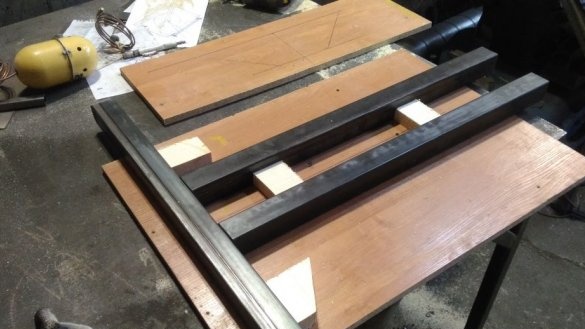
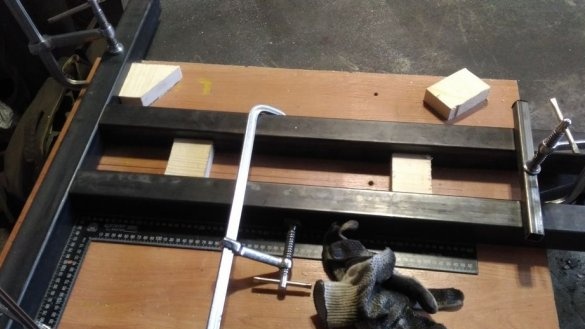
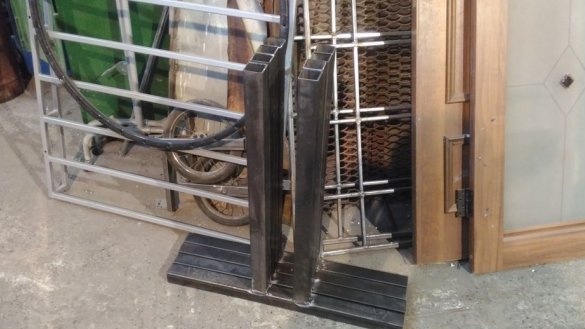
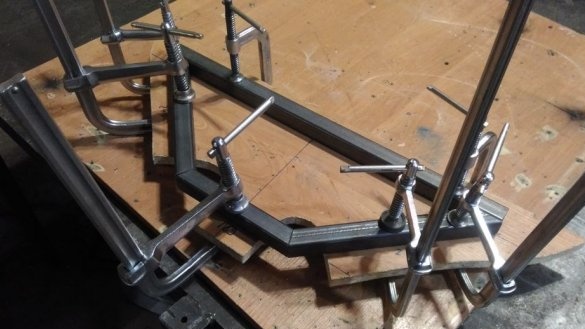
The master makes a template. Welds the legs according to the pattern.
Step Three: Countertop Frame
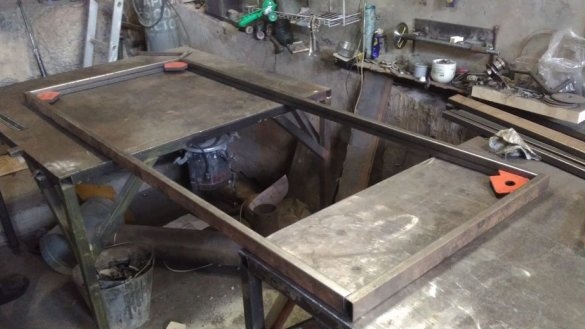
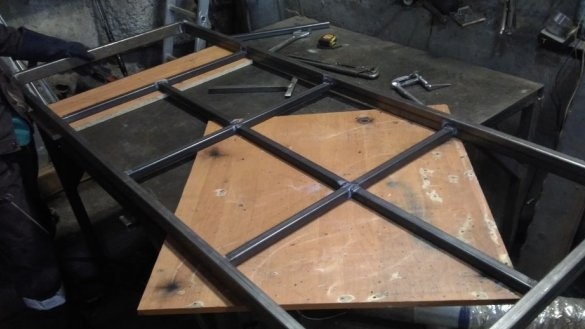
Welds the frame under the countertop.
Step Four: Brackets
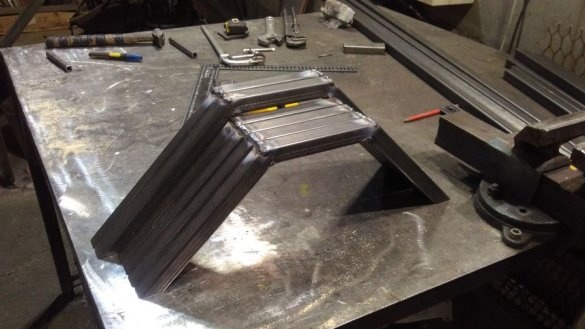
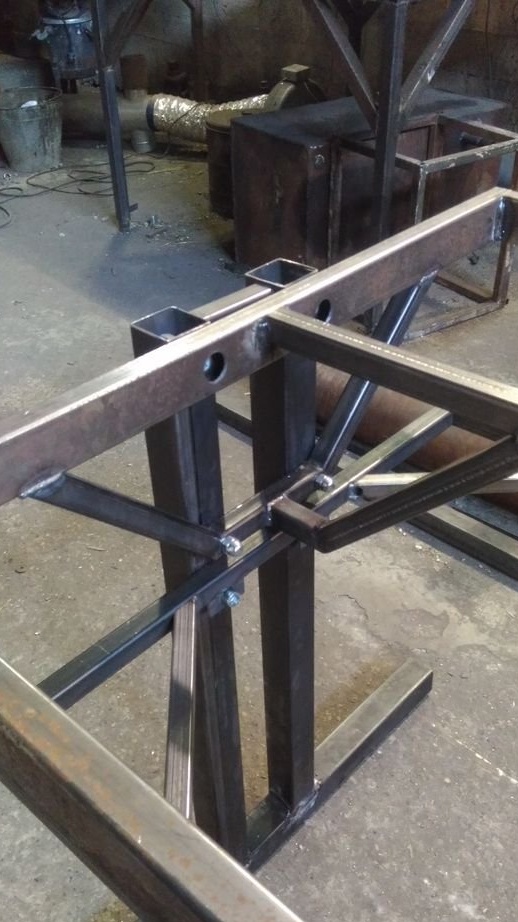
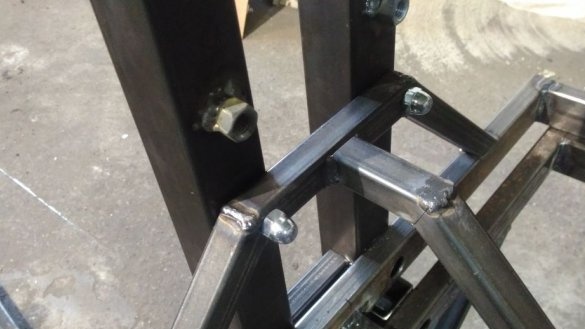
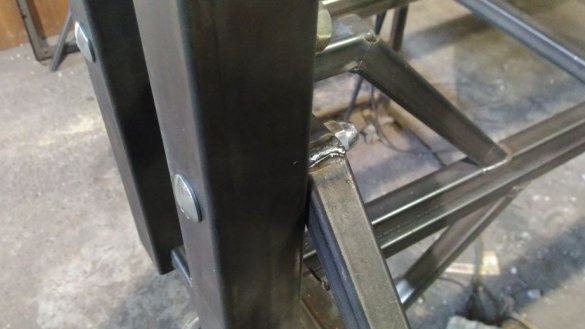
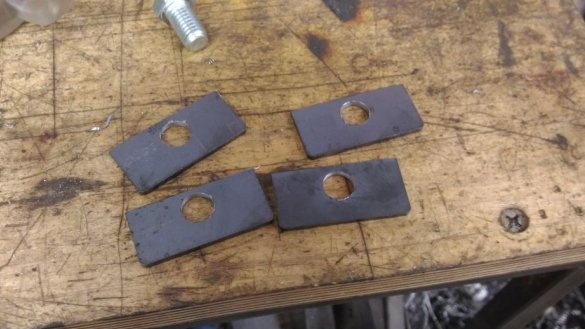
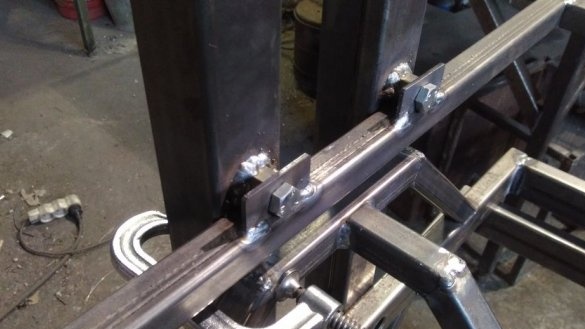
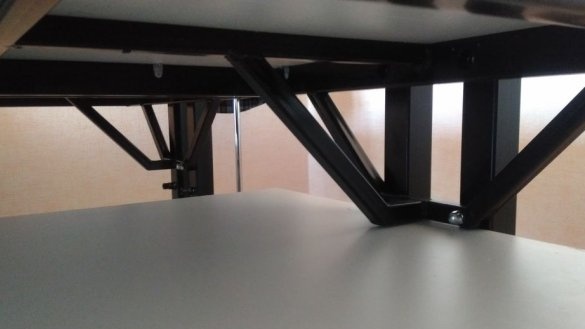
Further the master makes brackets. Using them, the frame of the countertop is attached to the legs. This design allows you to disassemble the table or set a different table height.
The brackets are welded to the frame, and bolted to the legs.
Step Five: Shelf
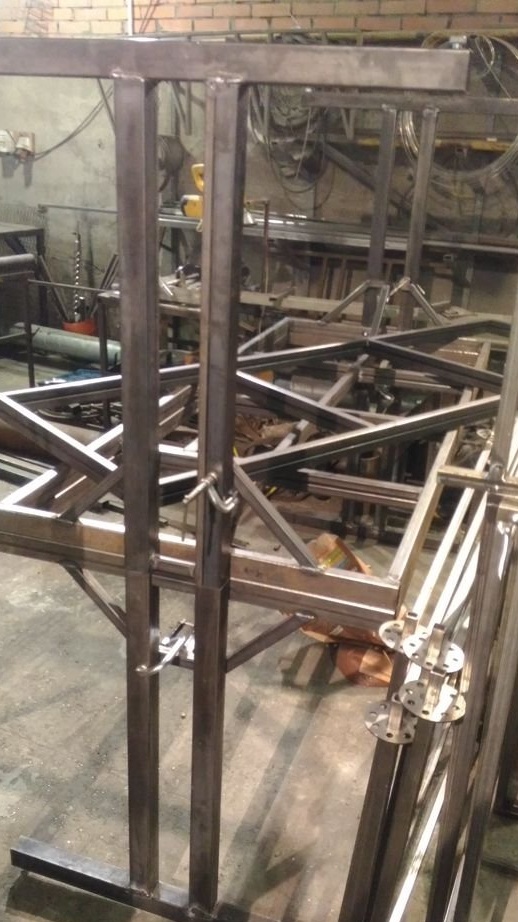
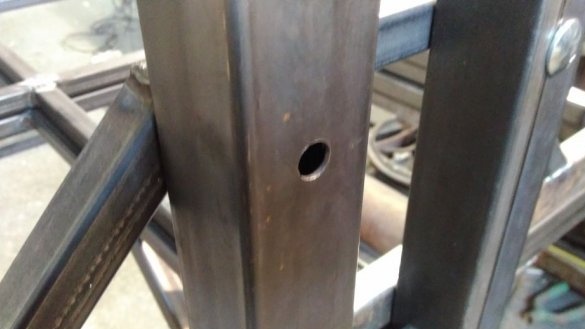
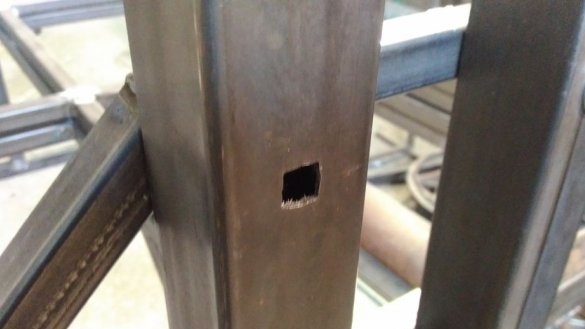
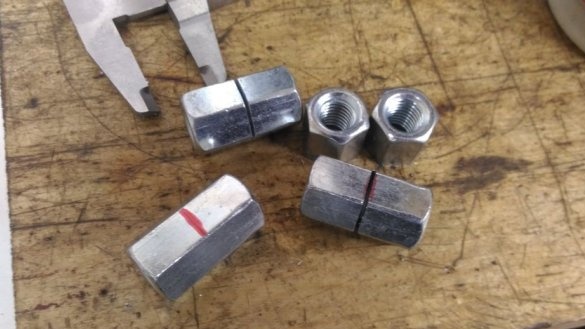
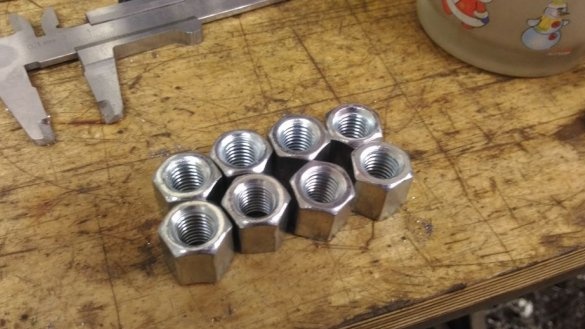
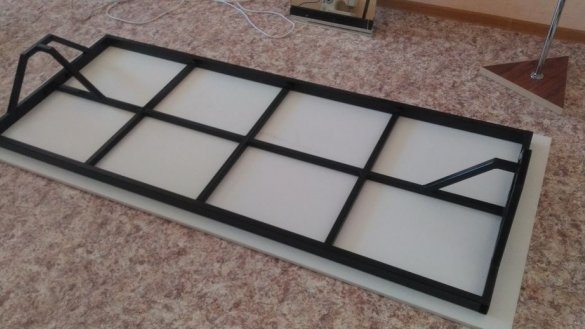
Welds the frame of the shelf. Welds nuts to the legs, and brackets to the frame. Screws the frame to the legs.
Step Six: Particleboard
The table is assembled and it remains to fix the countertop and the shelf from the laminated chipboard.
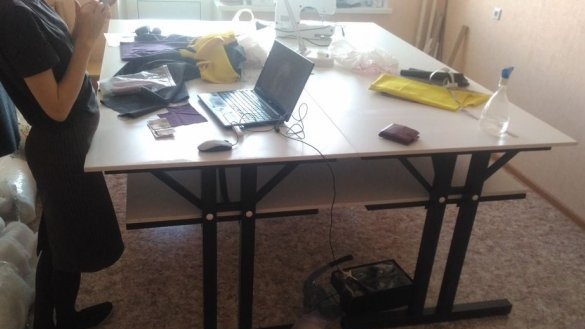
The cutting table is ready.

