
Many of you prefer to perform some construction work yourself, or do it professionally.
In this article, the author of the YouTube channel "Build with me", will share with you advice on how to finish the walls and make an imitation of bricklaying.
This technique is quite simple to implement, and does not require complex tools. Such a coating can be used to design exterior walls.
Materials
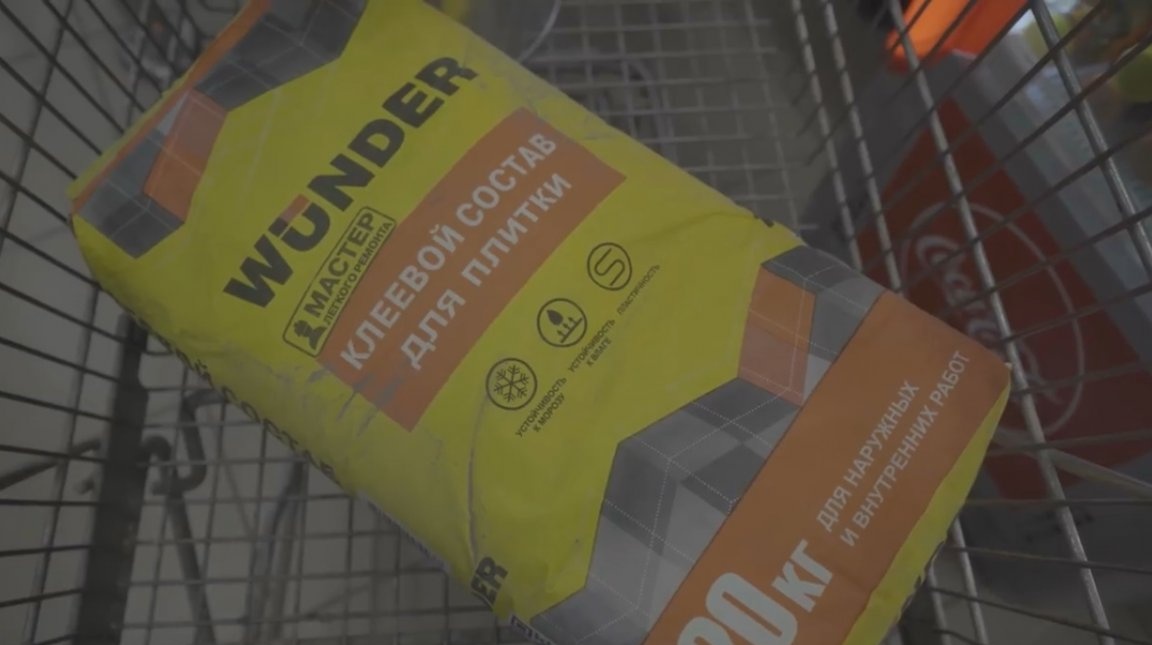
- Tile adhesive
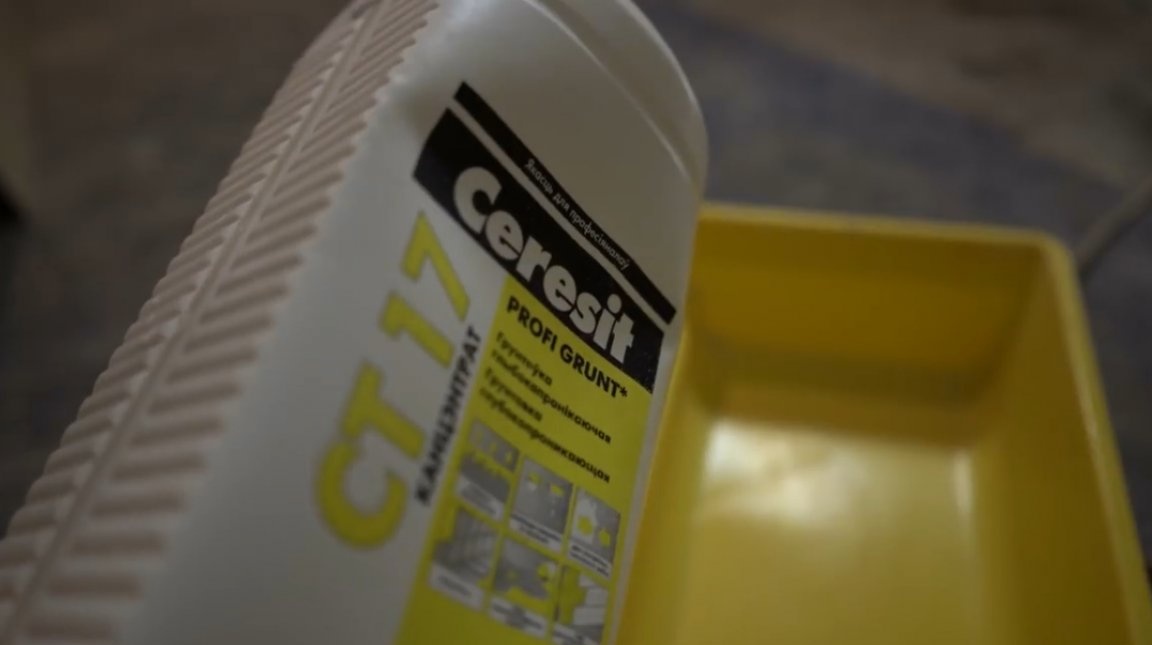
- Primer
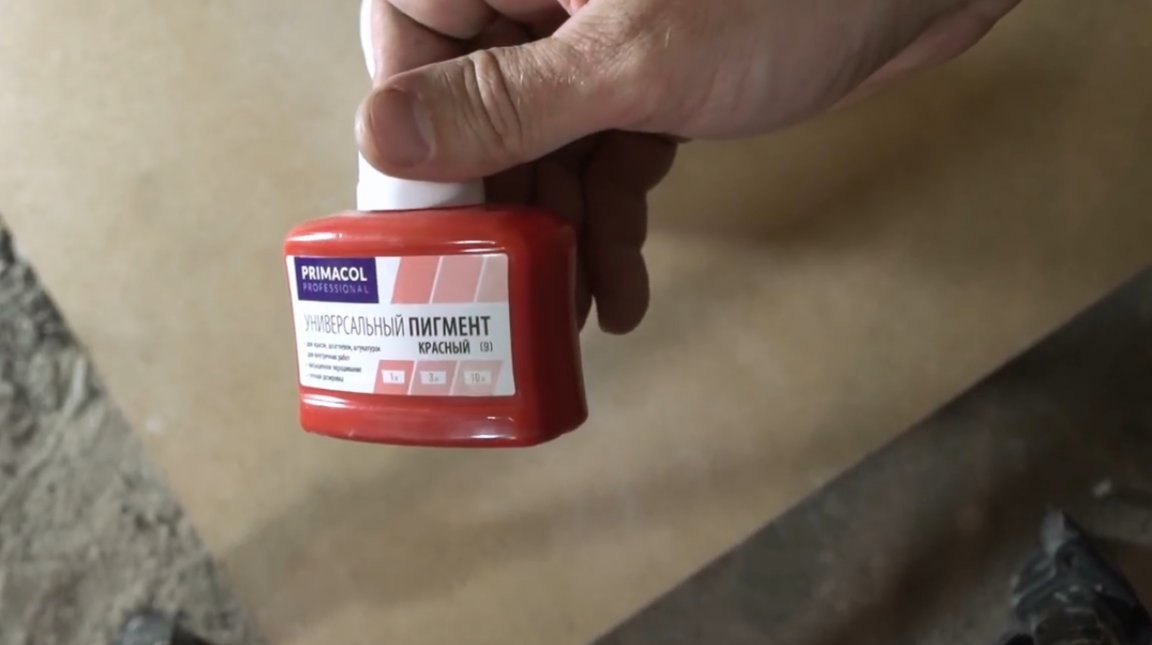
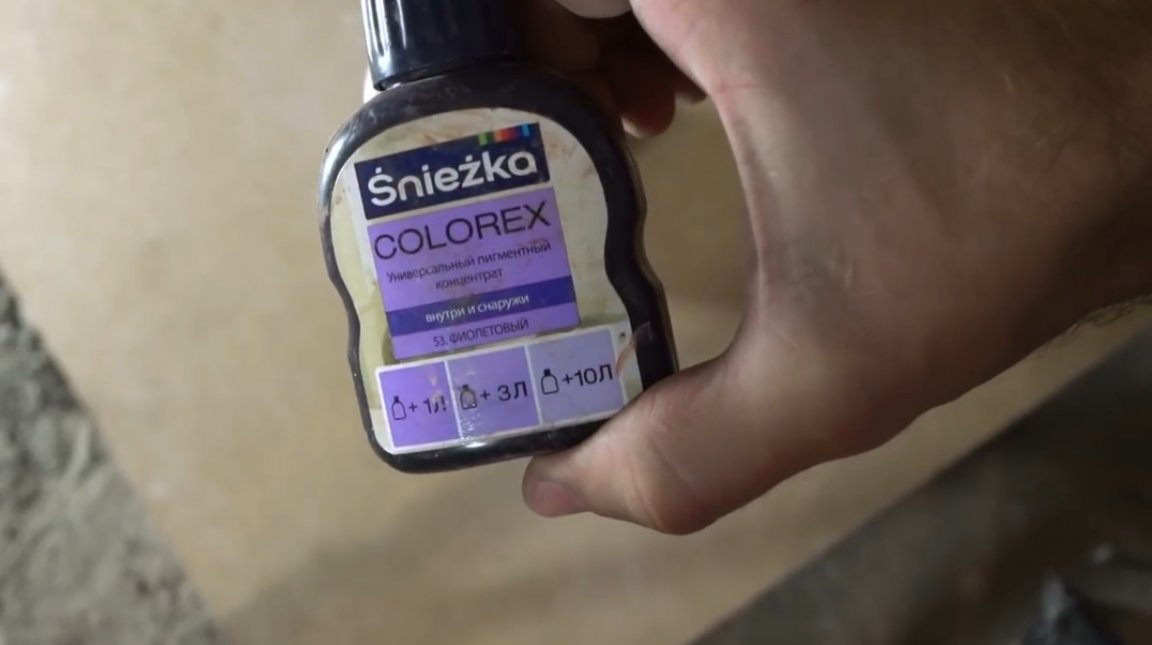
- dye
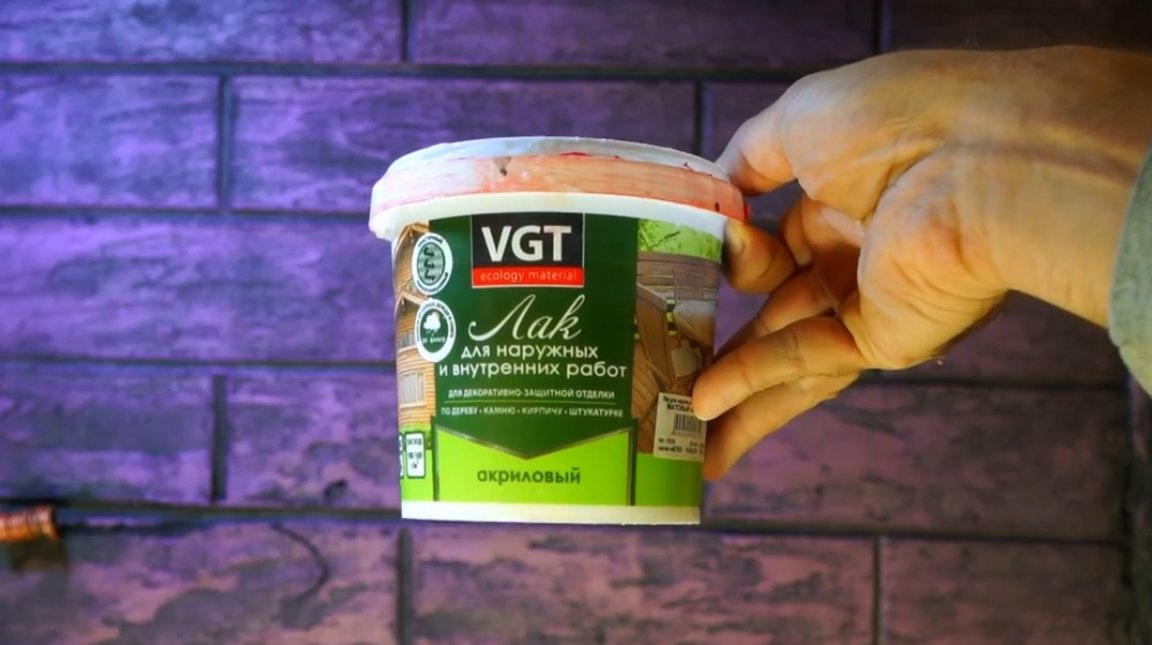
- Acrylic lacquer
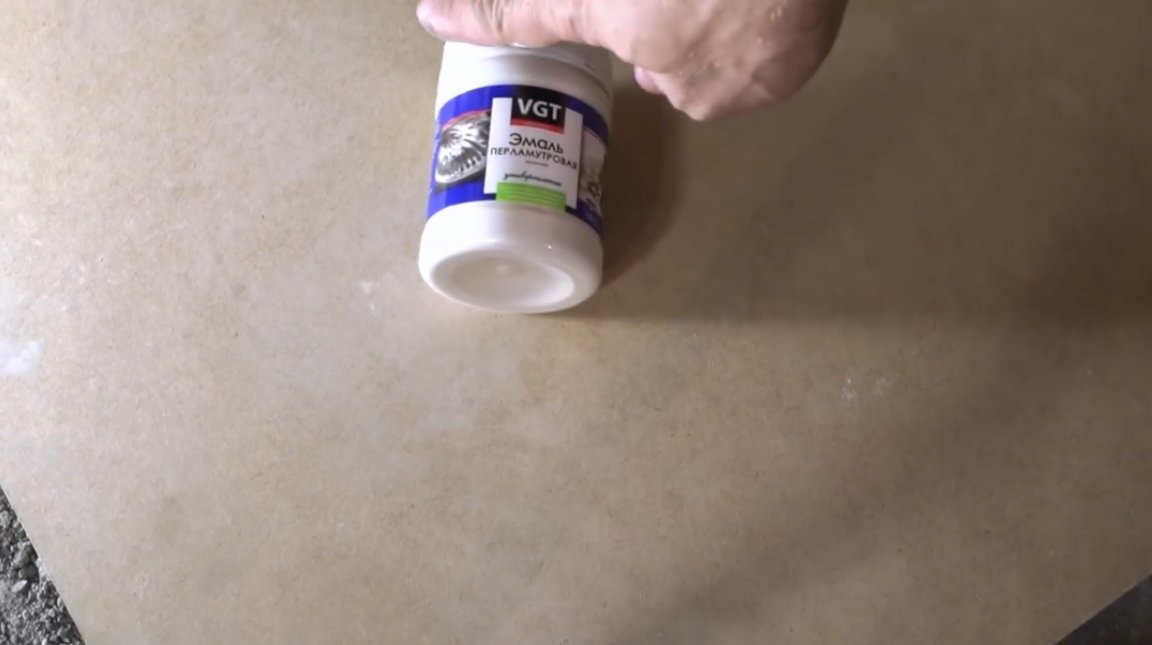
- Pearlescent enamel.
Instruments, used by the author.
- Trowel, putty knife
- Bricklayer's masonry
- level
- Hammer, nozzle - mixer
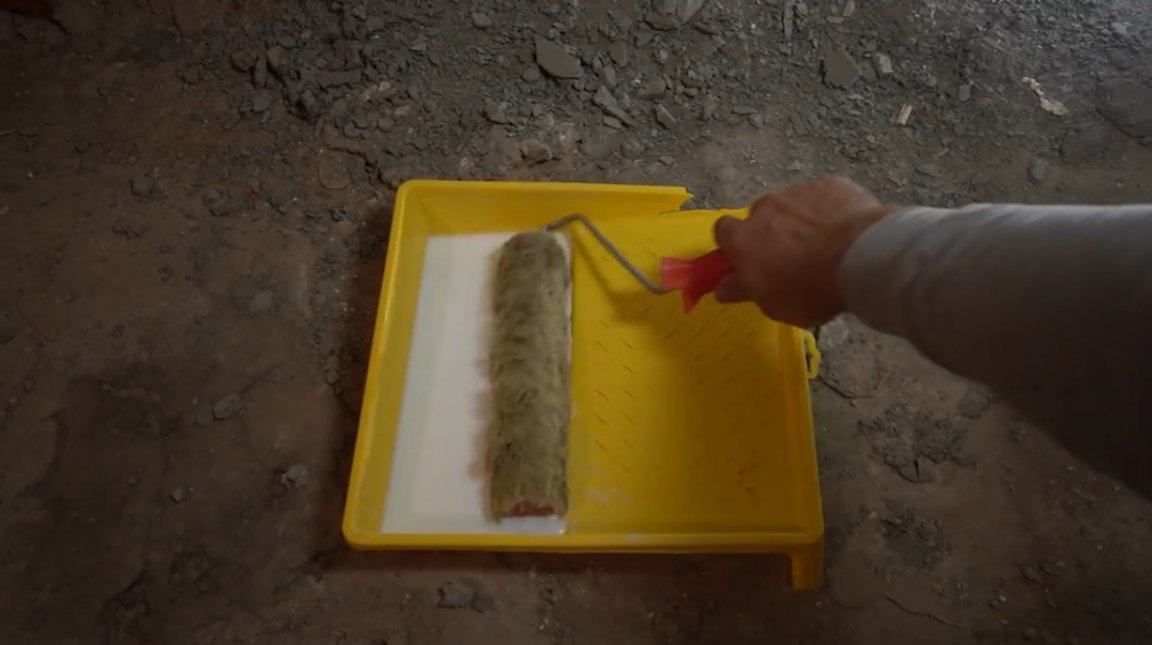
- The roller.
Manufacturing process.
The master will show this technique on the example of such a small piece of wall. Of course, it is better to strengthen the finish coating with a fiberglass mesh, but in this case it is not very important.

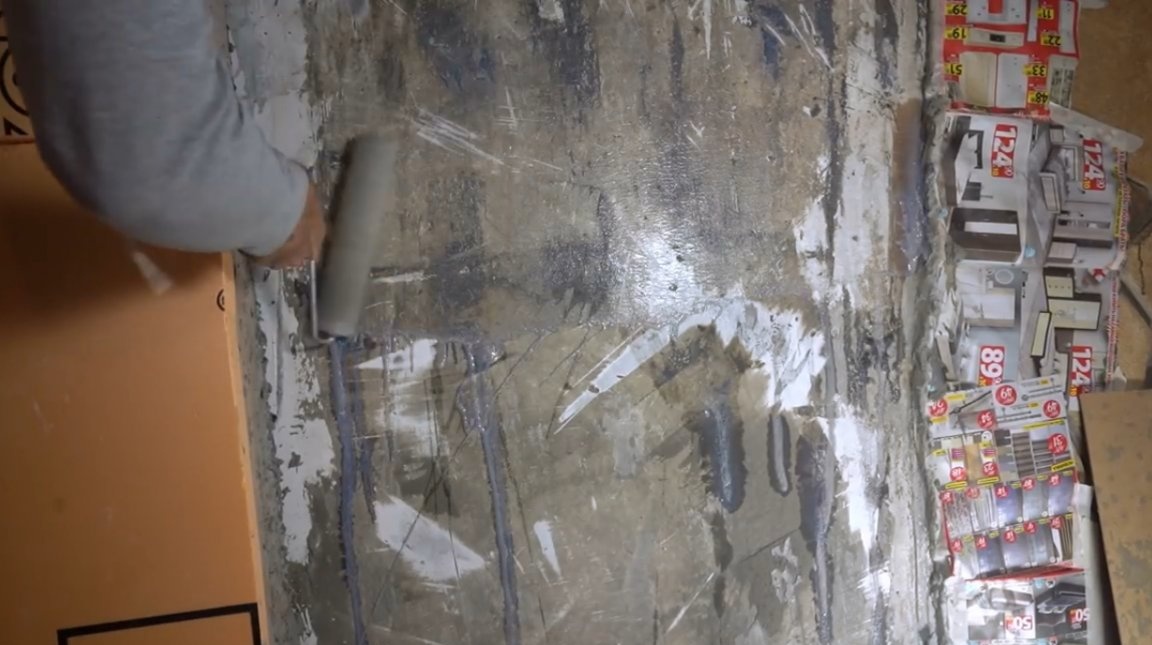
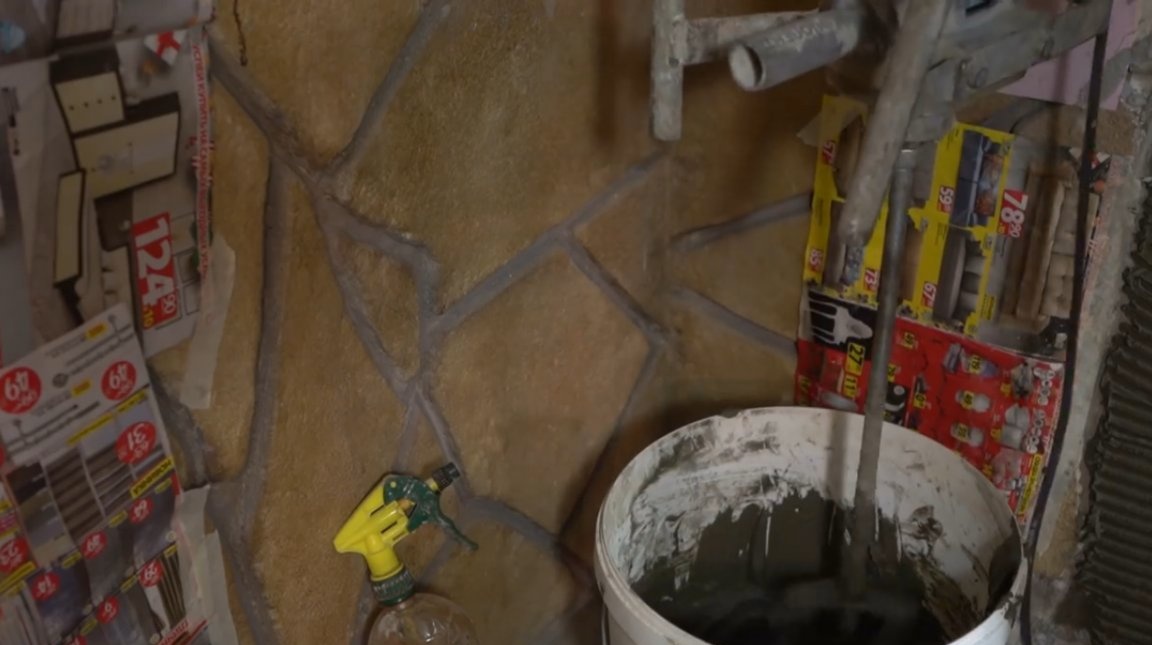
The wall is already pre-prepared, and it needs to be primed before further action. The primer can be applied both with a roller and with a brush.
While the wall dries, the author prepares a solution of tile glue. Such compounds are very flexible after hardening, are not afraid of moisture and frost.
After the primer dries, a layer of tile glue can be applied. If a large thickness is required, then you can use a comb.
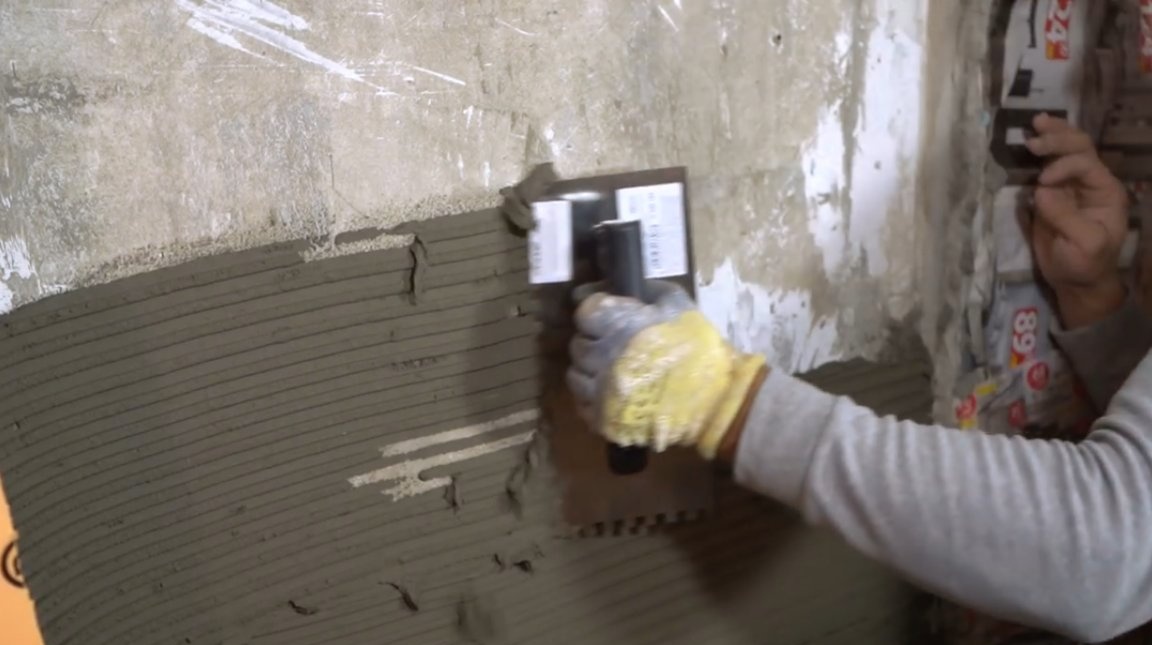

But the master does not have such a task, and he evens a layer about 8 mm thick with a trowel.
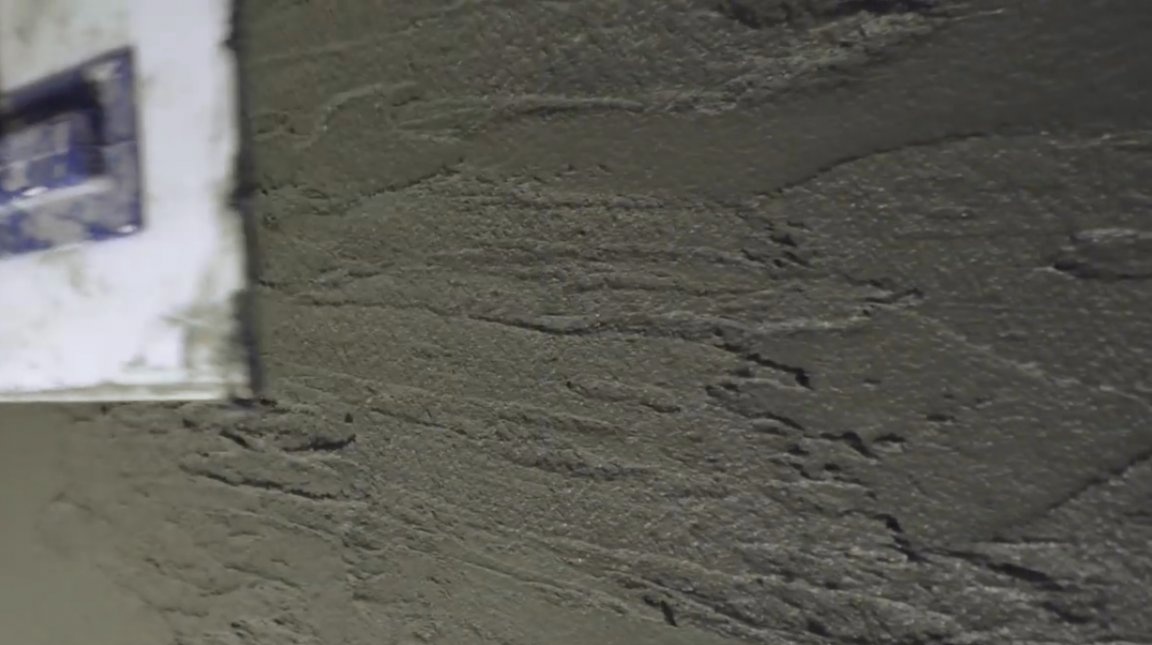
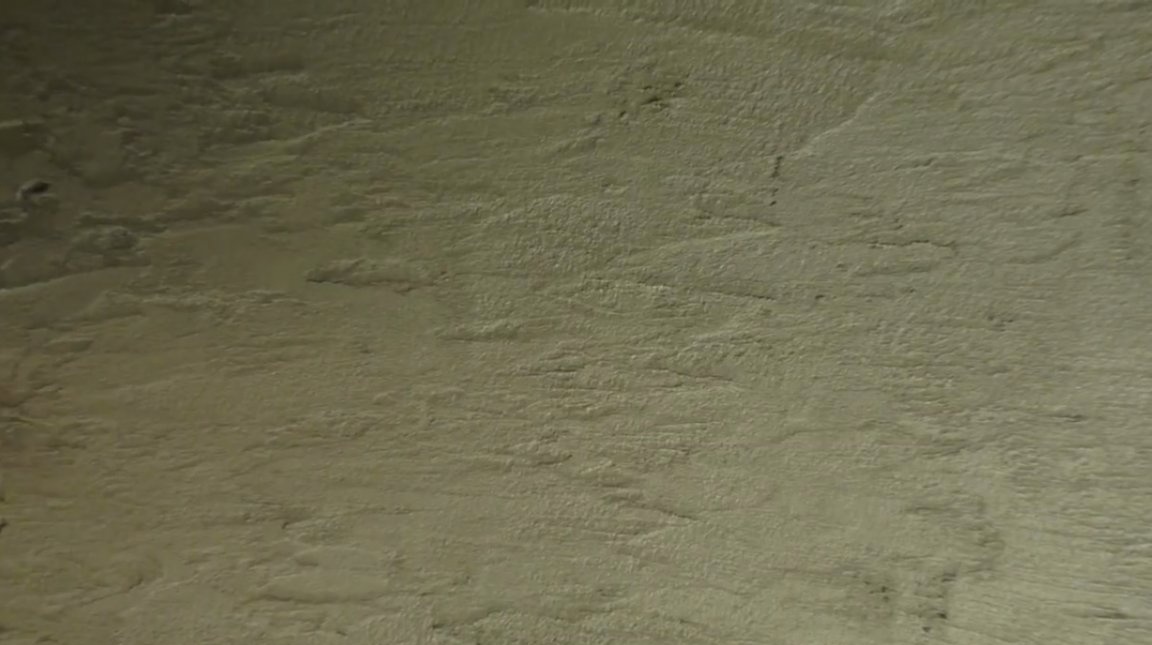
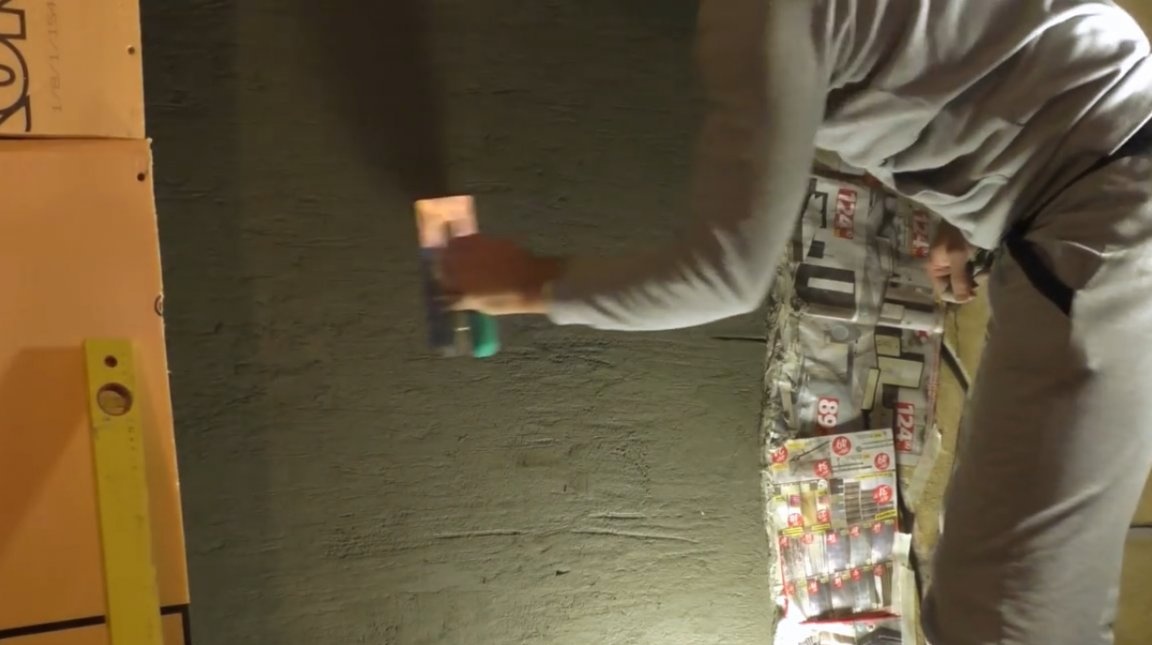
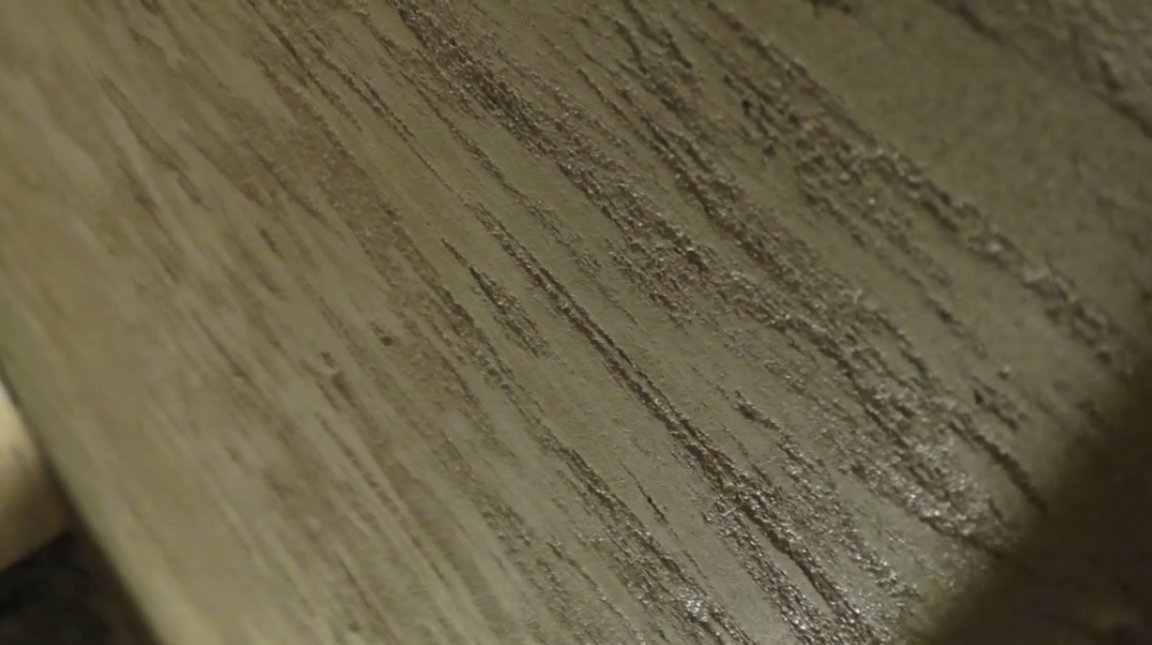
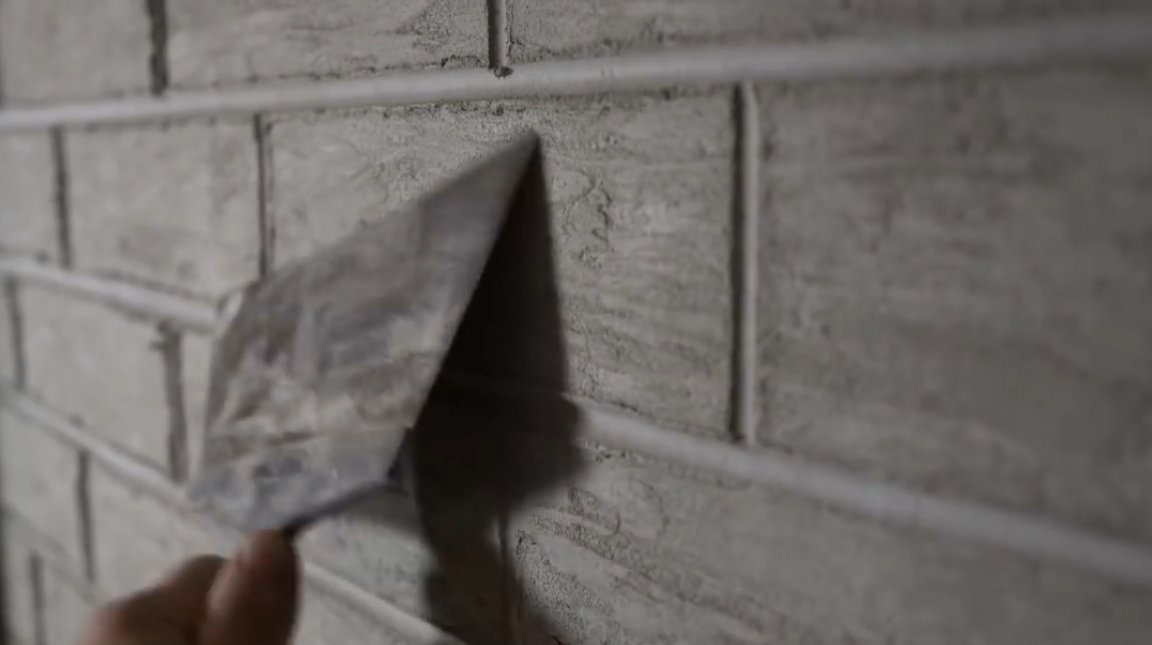
Immediately after leveling, it applies a texture to the surface of the glue. This he does with a plastic trowel with a slightly rough surface.
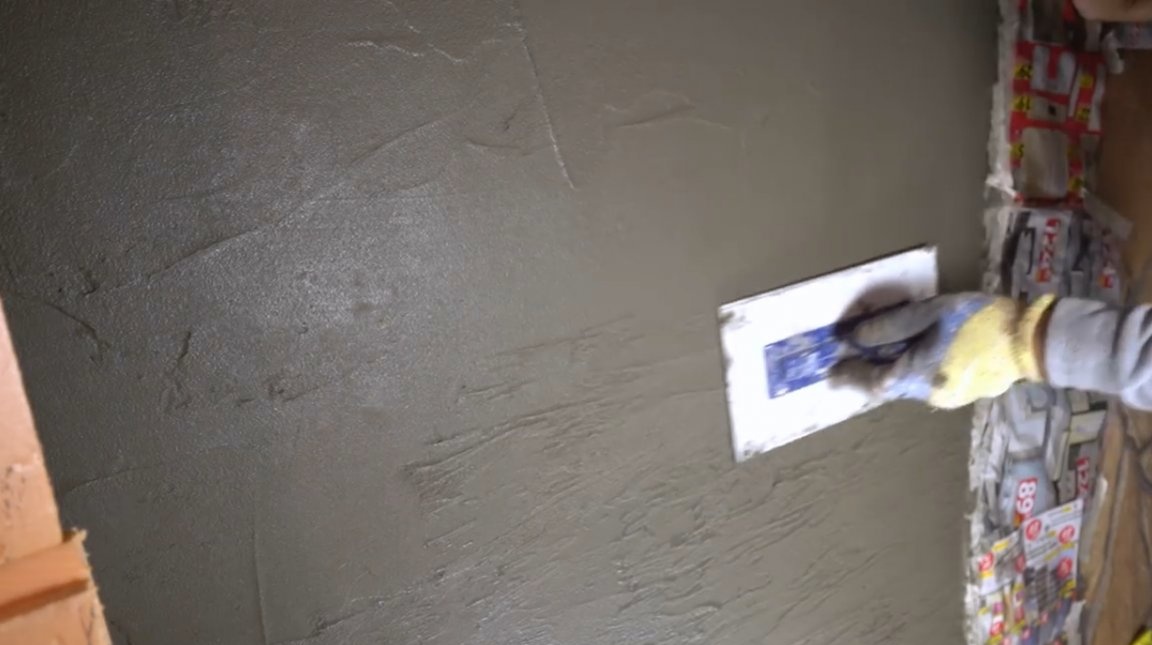
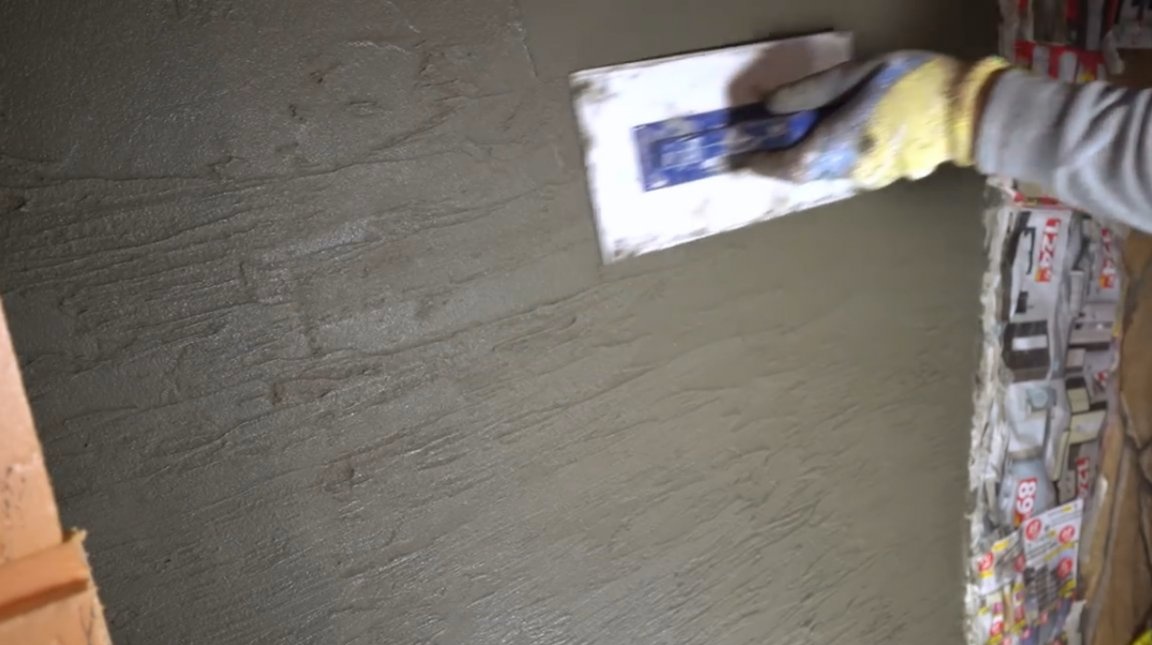
In that case, if you take a steel trowel, then nothing of the kind will come of it, the surface will only level out.
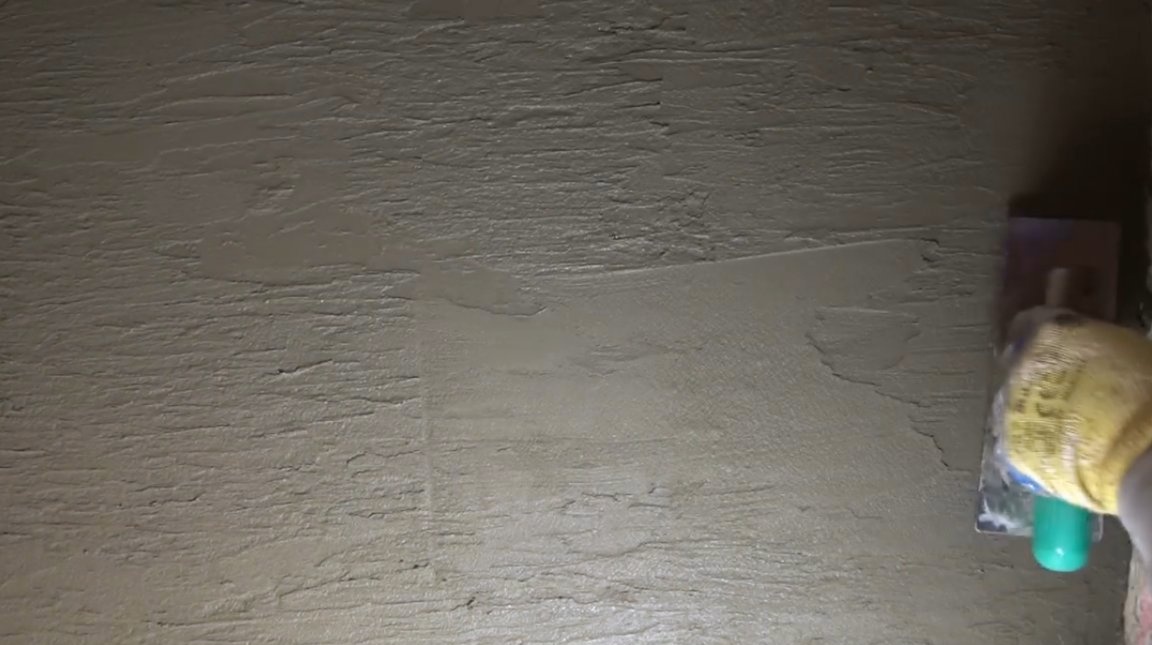
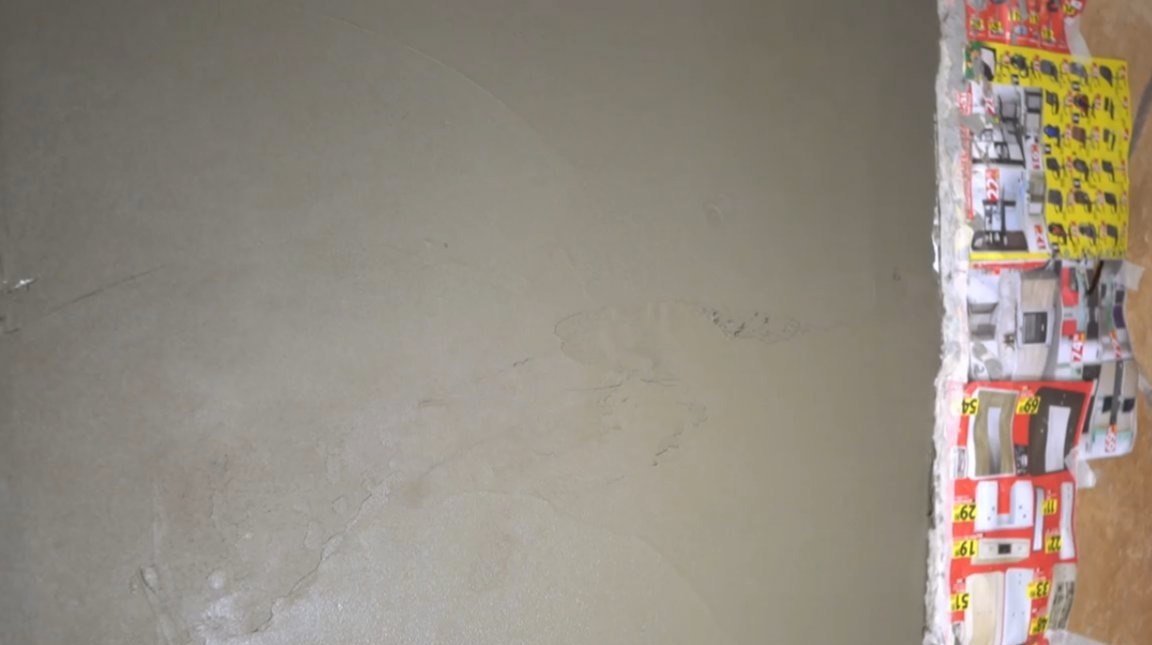
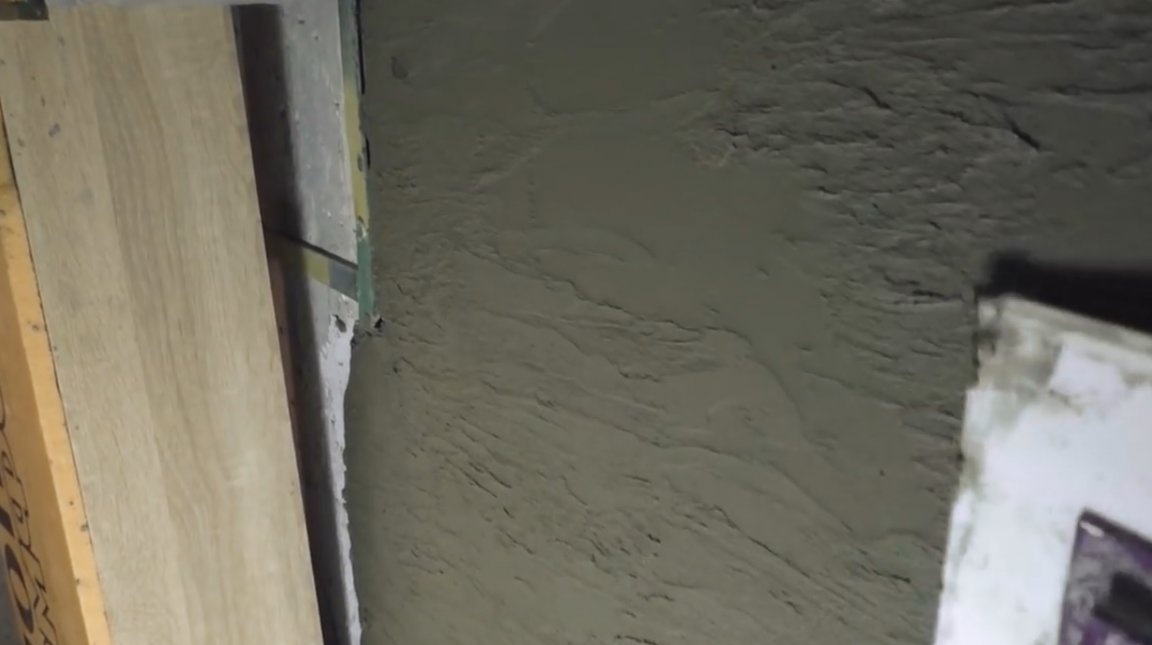
So, the solution should be left to dry for 2-4 hours, depending on conditions and humidity. It is necessary to ensure that he has already begun to grasp, and does not stick to his hands. The surface is leveled with a trowel.
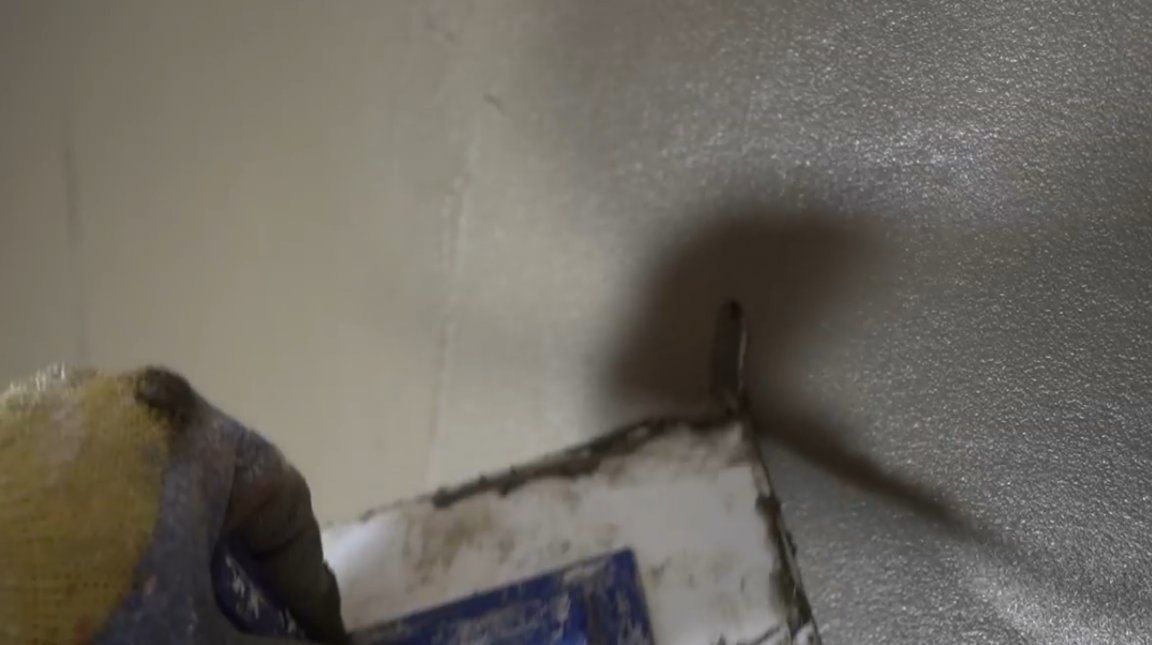
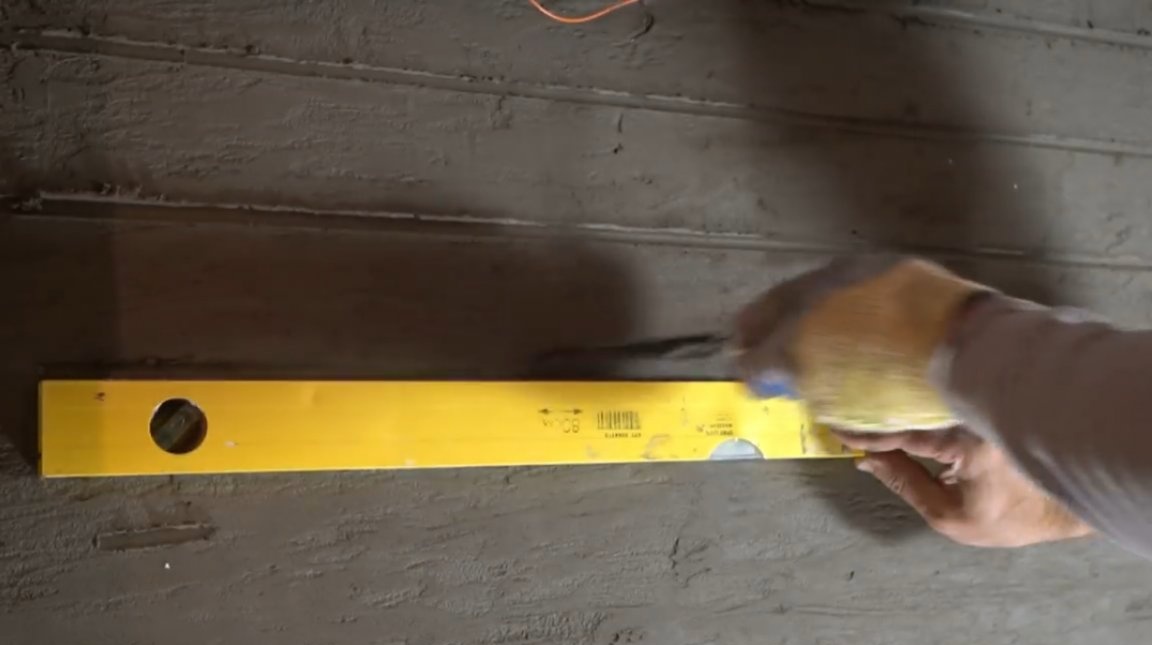
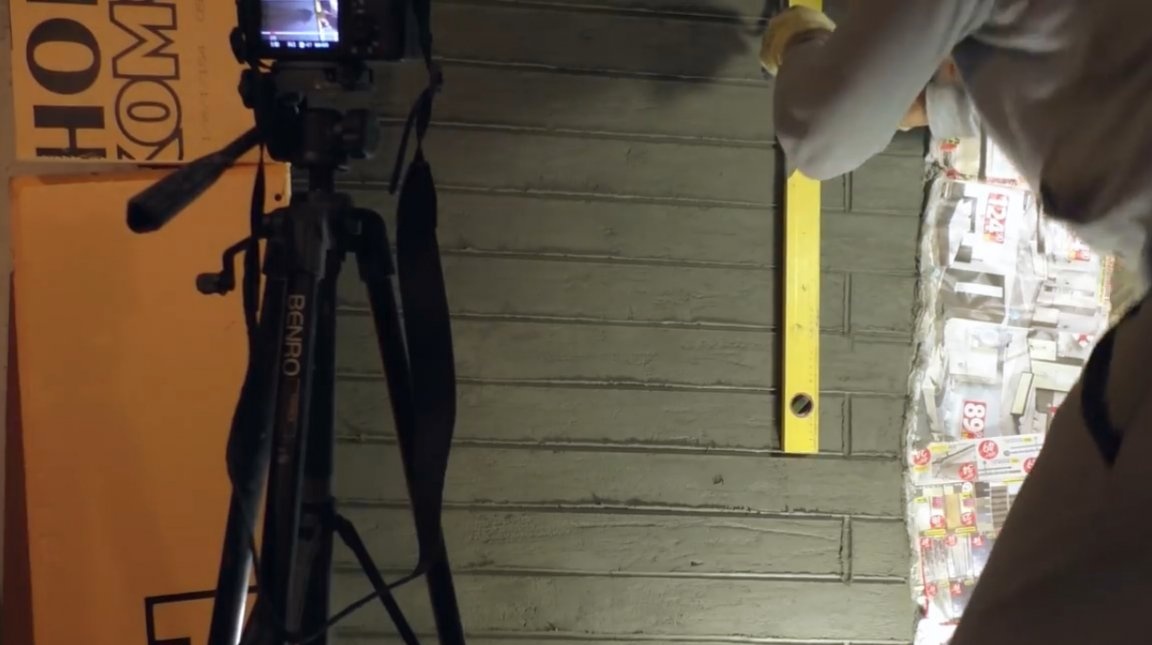
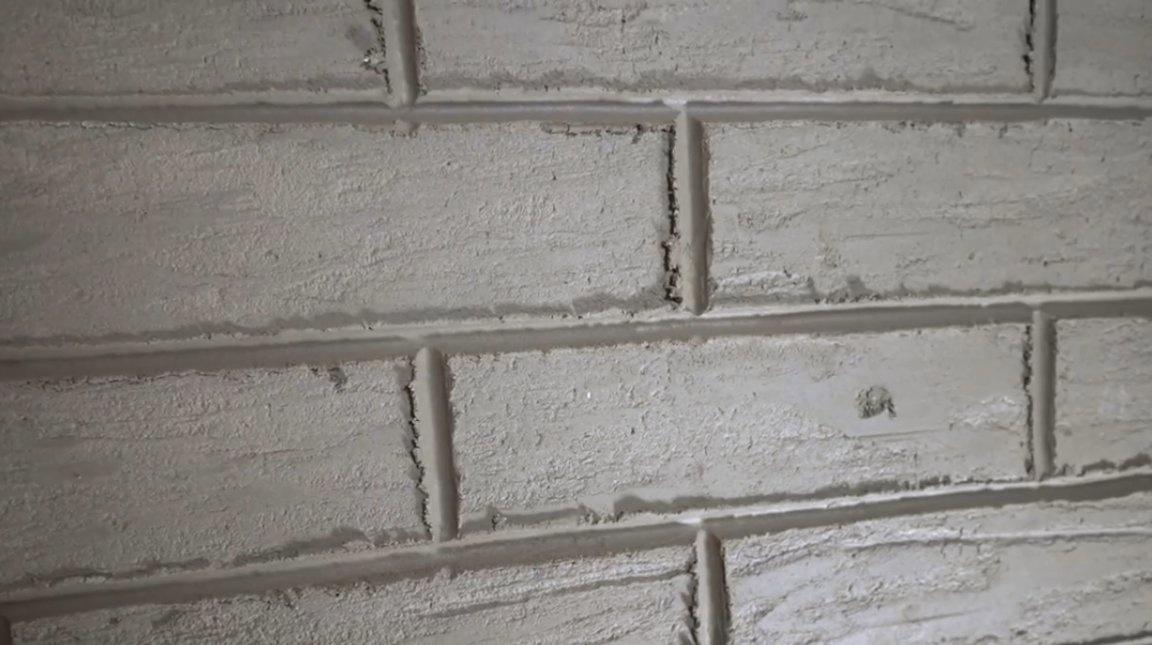
Then the fun begins, namely the implementation of the seams that mimic the brick. The first horizontal line is drawn exactly in level.
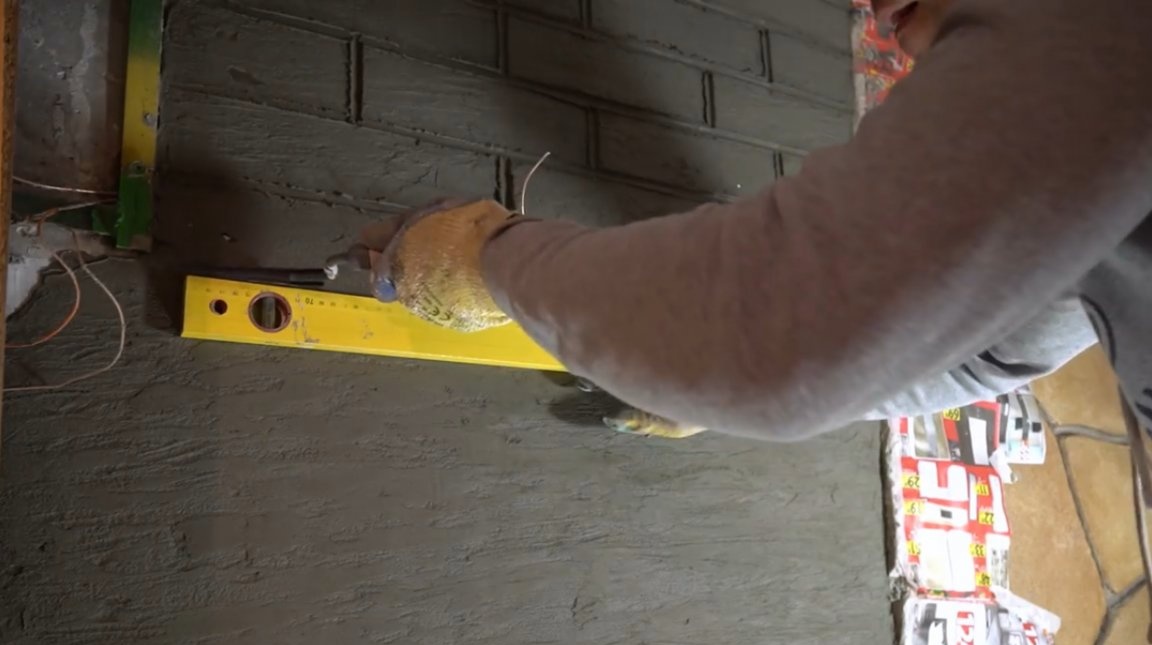
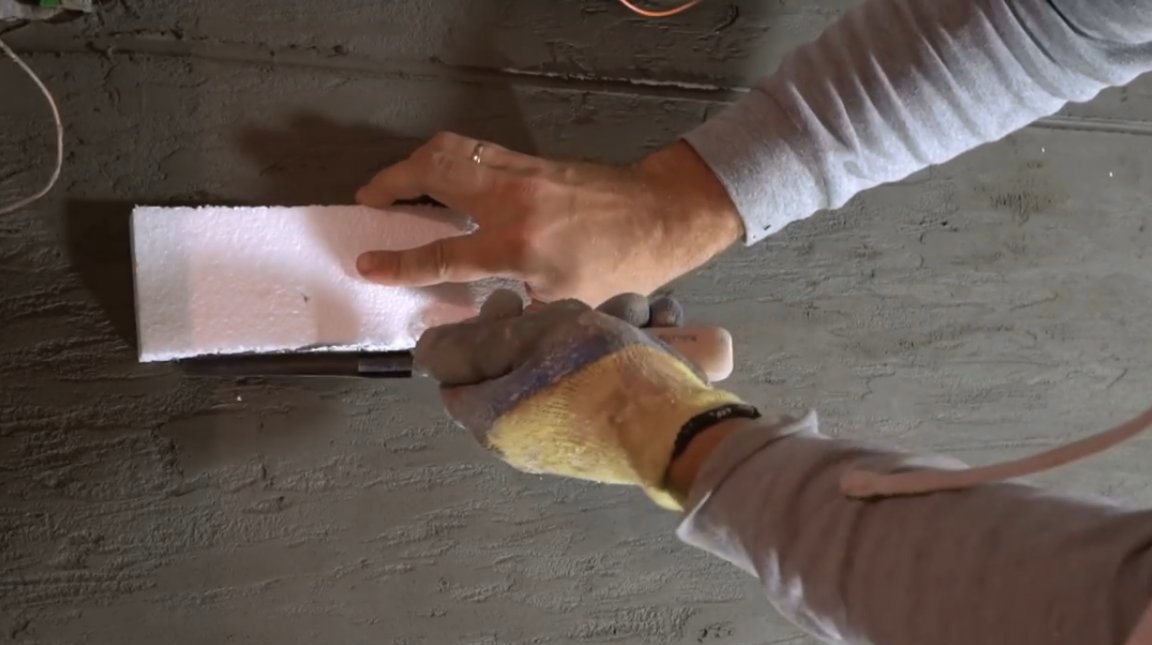
Now you can use a small foam block, the author uses this size 250X75 mm. With it, the edges of the following lines are marked.If there is a level or rule of suitable width (75 mm), then it will be enough for this process.
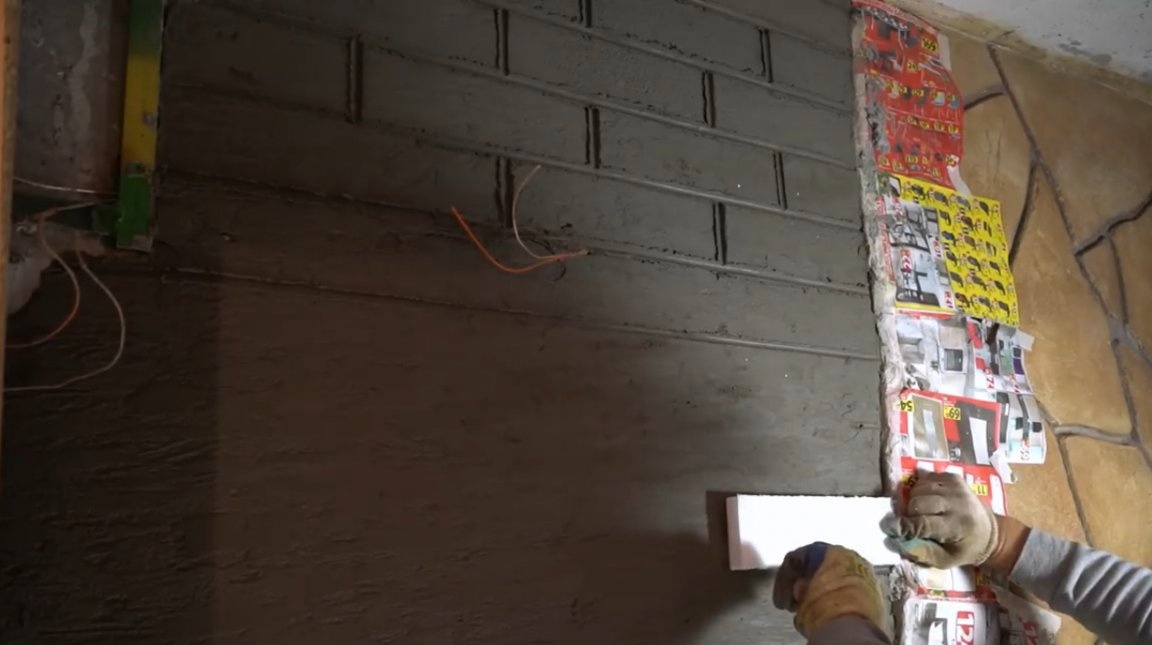
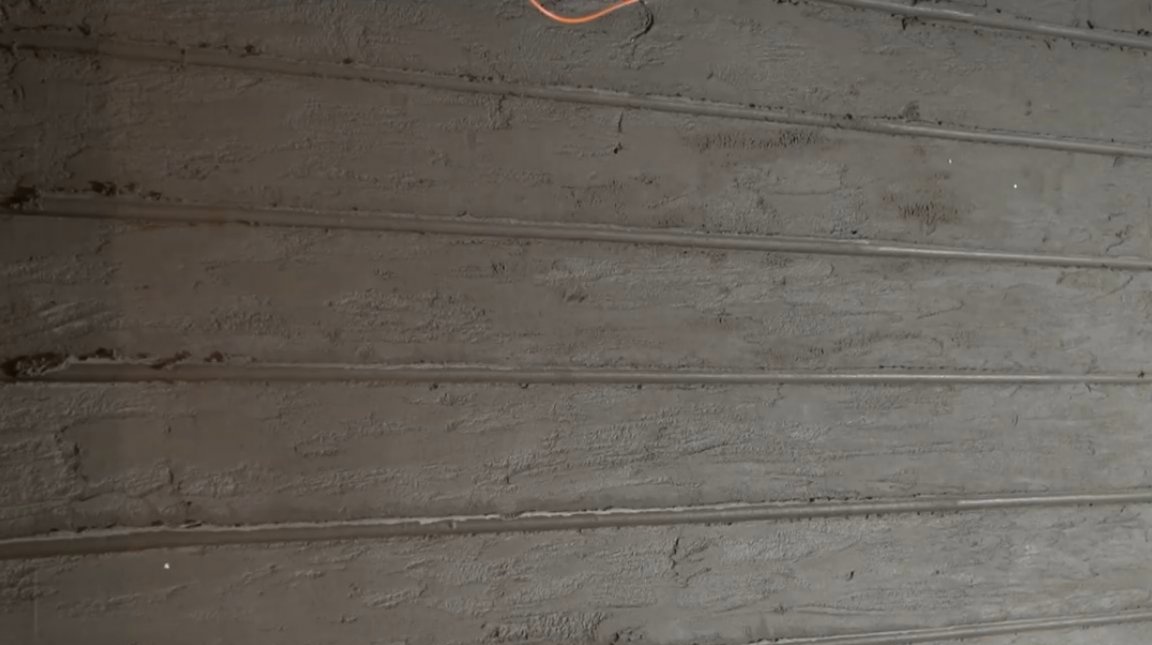
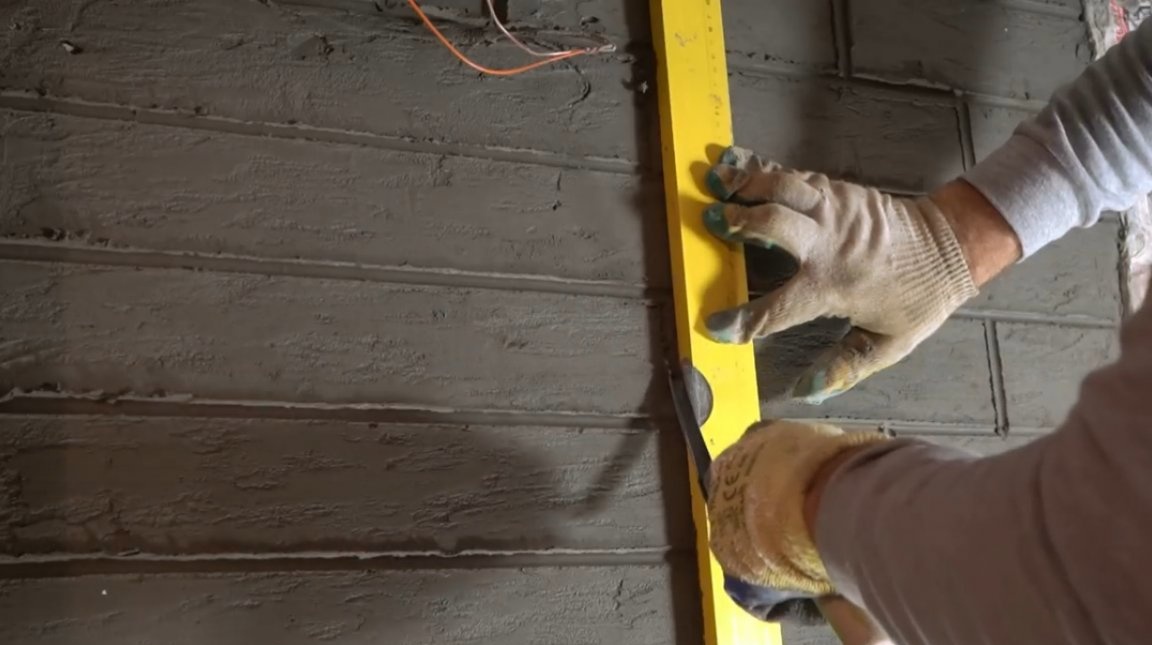
Further, all horizontal lines are carried out according to the markup by cross-linking.
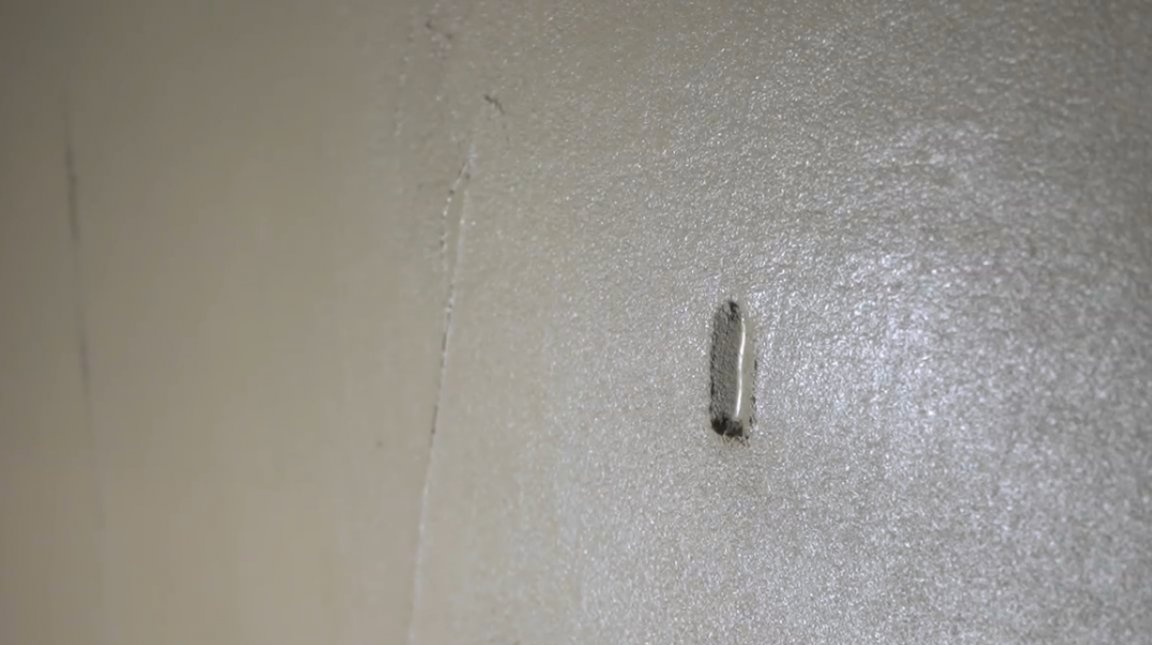
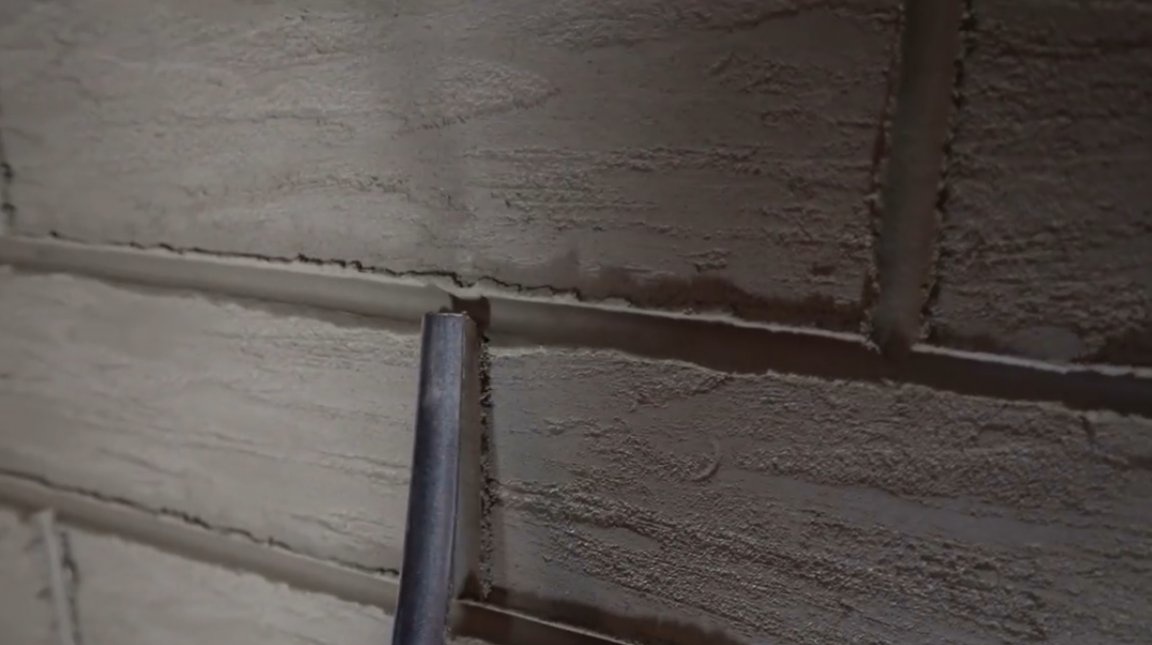
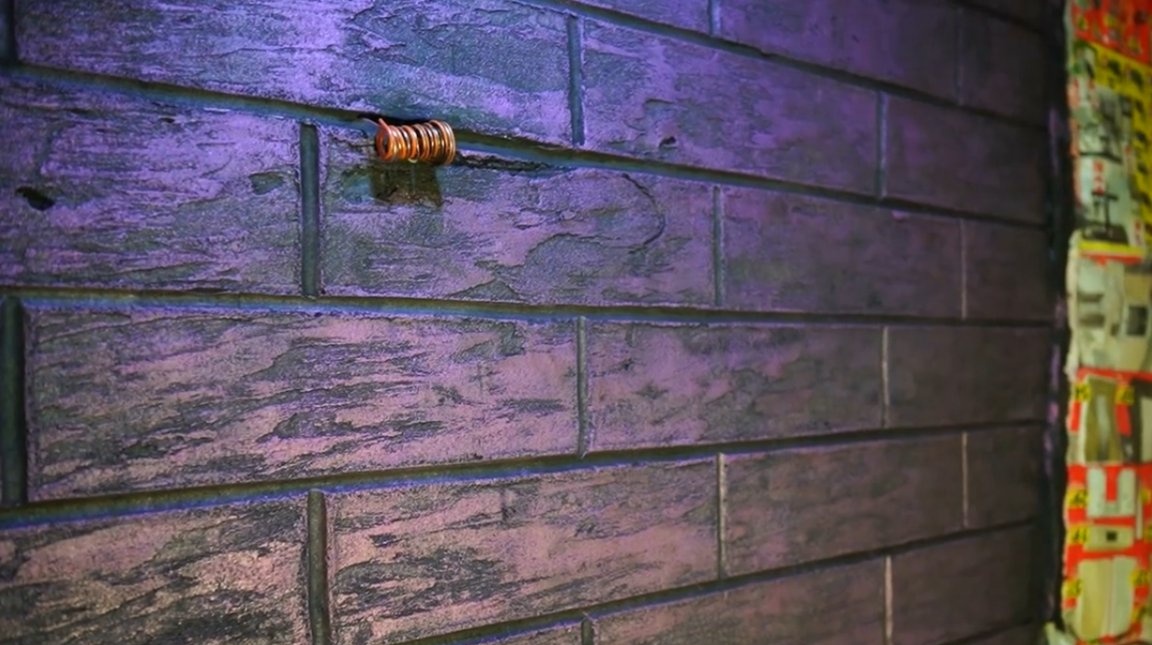
The mason's stitching is such a simple tool, the width of its cutter is 8 mm.
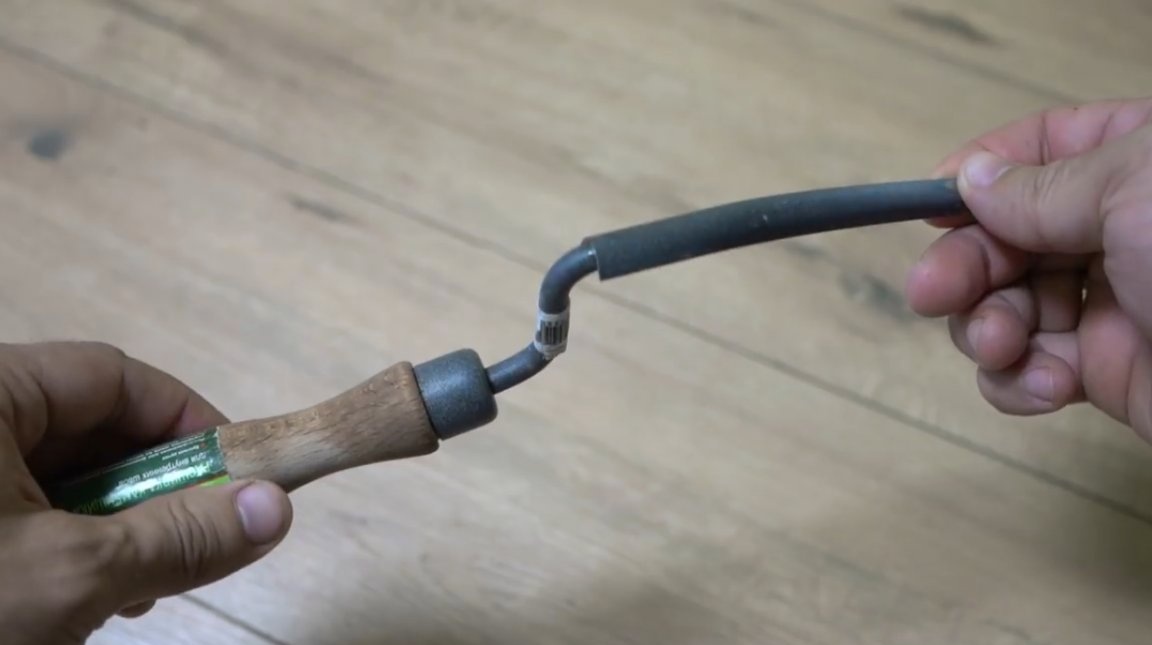
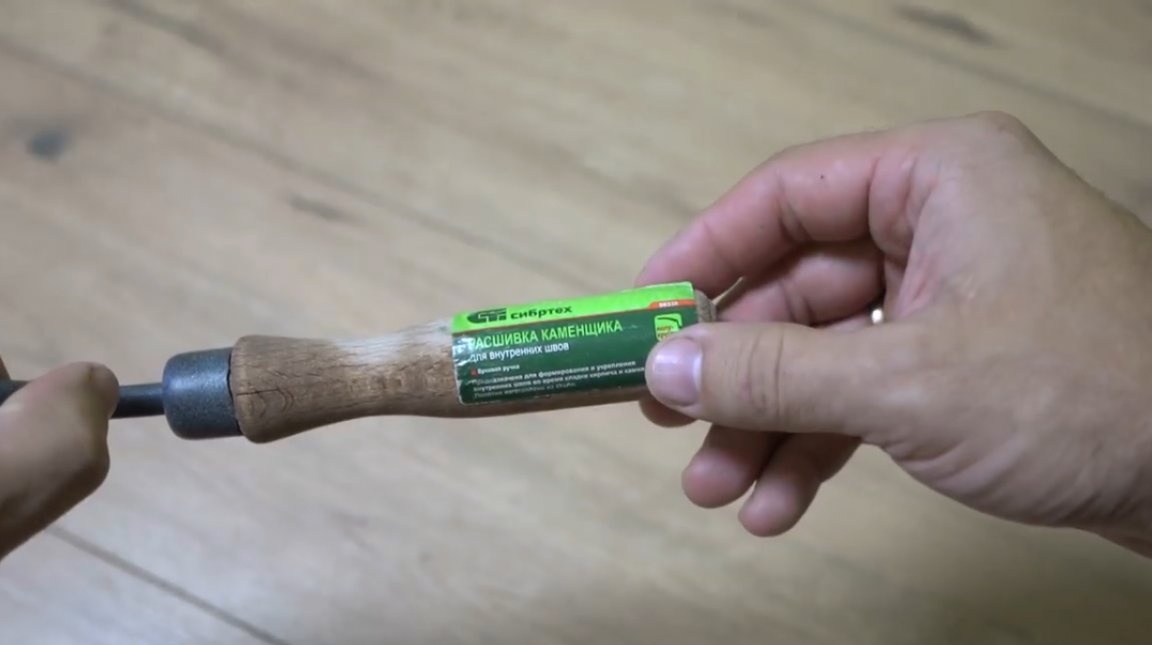
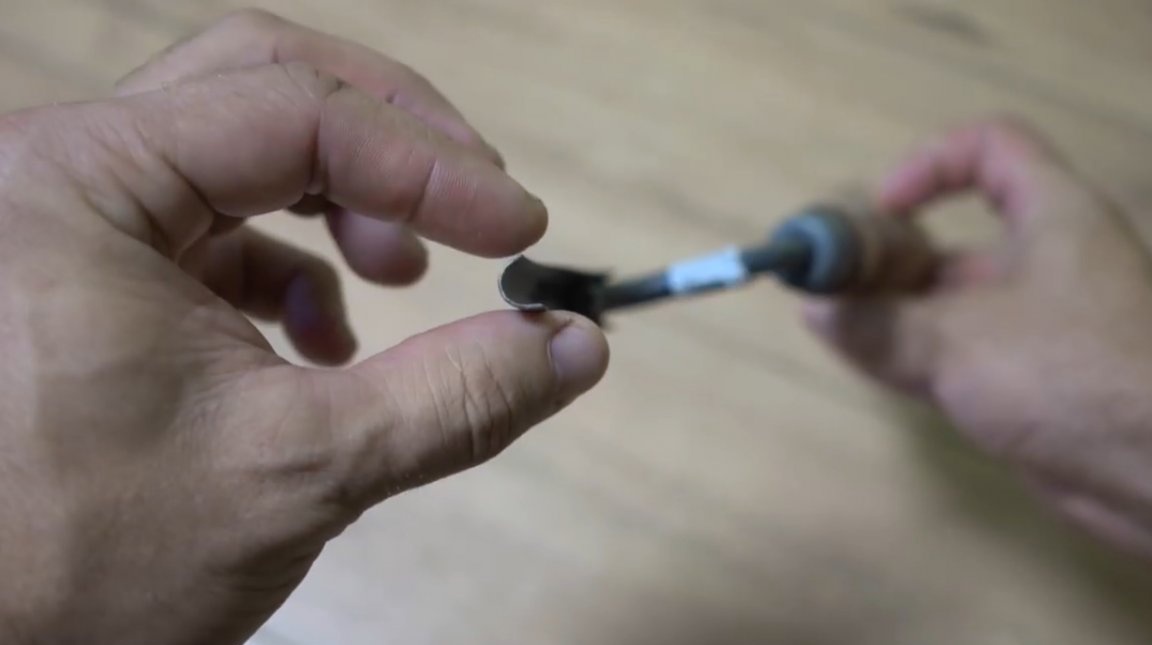
It is cheap enough, and it can be easily purchased, or made independently from an old spatula, or tube trimming.
Vertical masonry seams are made on the same principle.
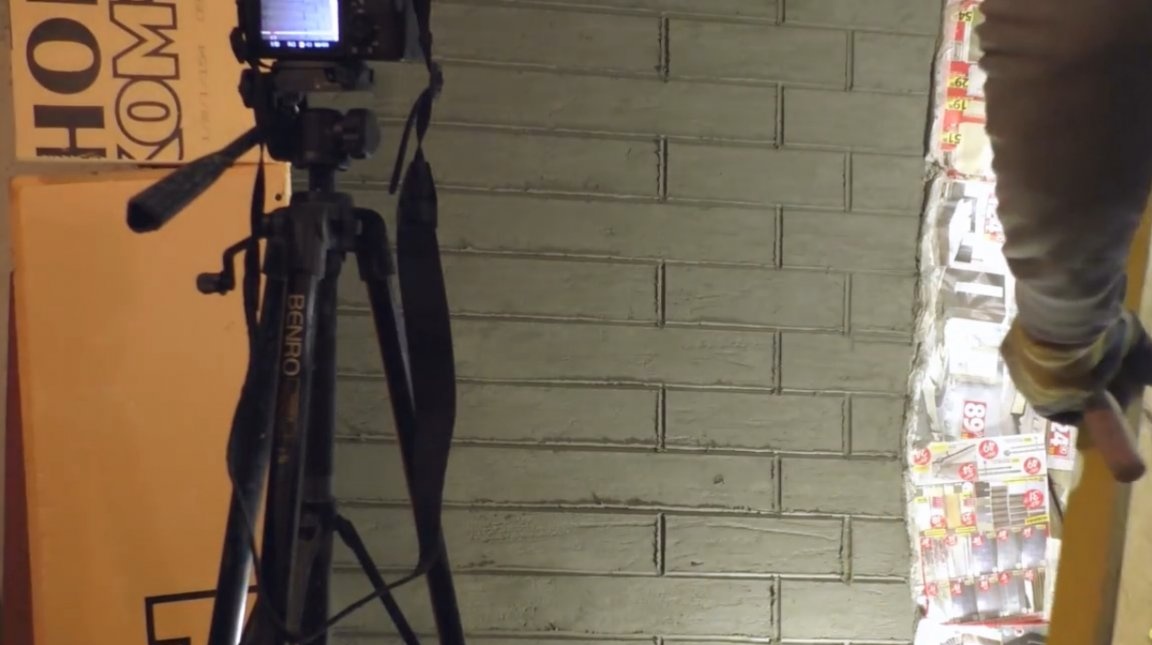
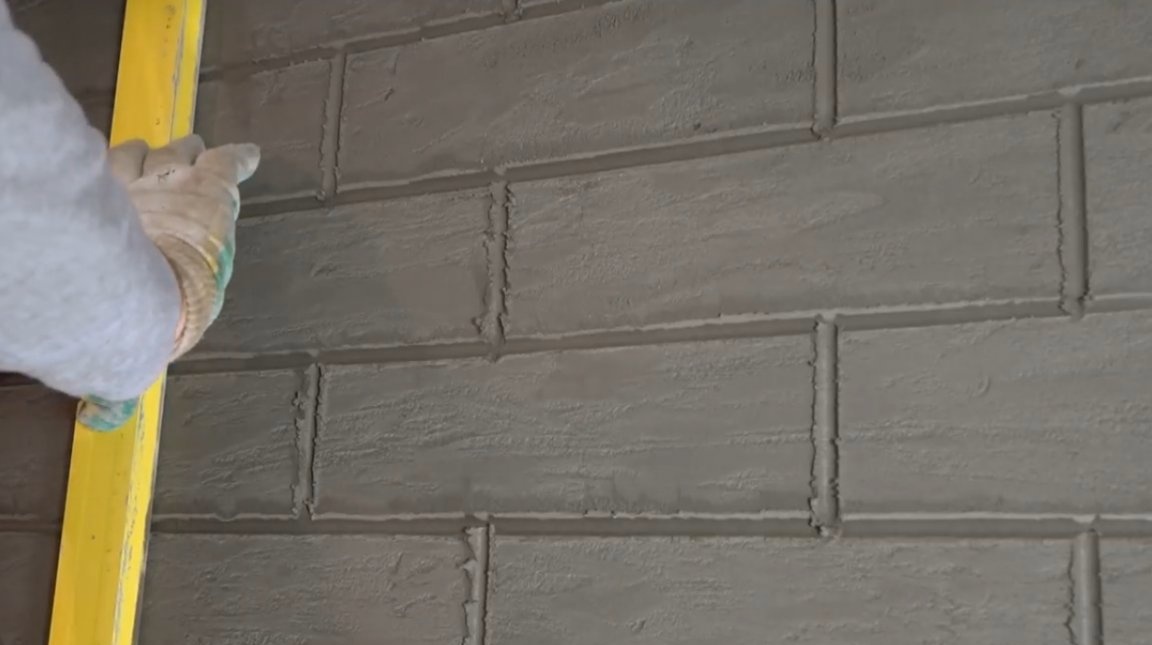
Yes, there will be bumps at the edges of the masonry joints and material leftovers. They can be removed immediately with a wet brush.
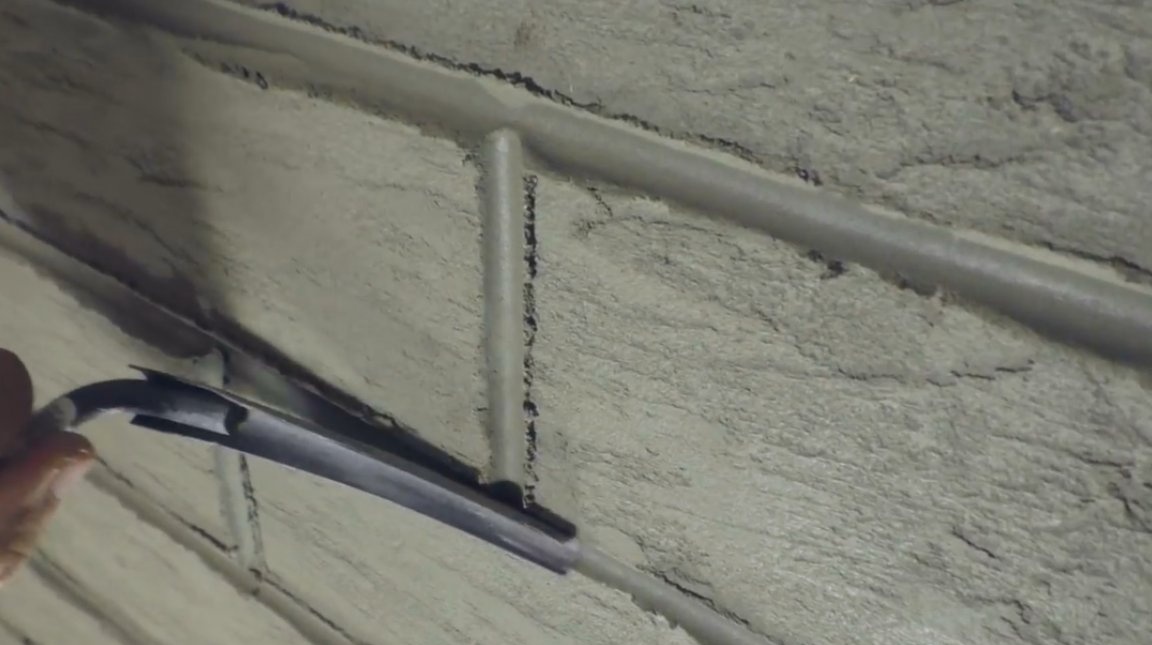
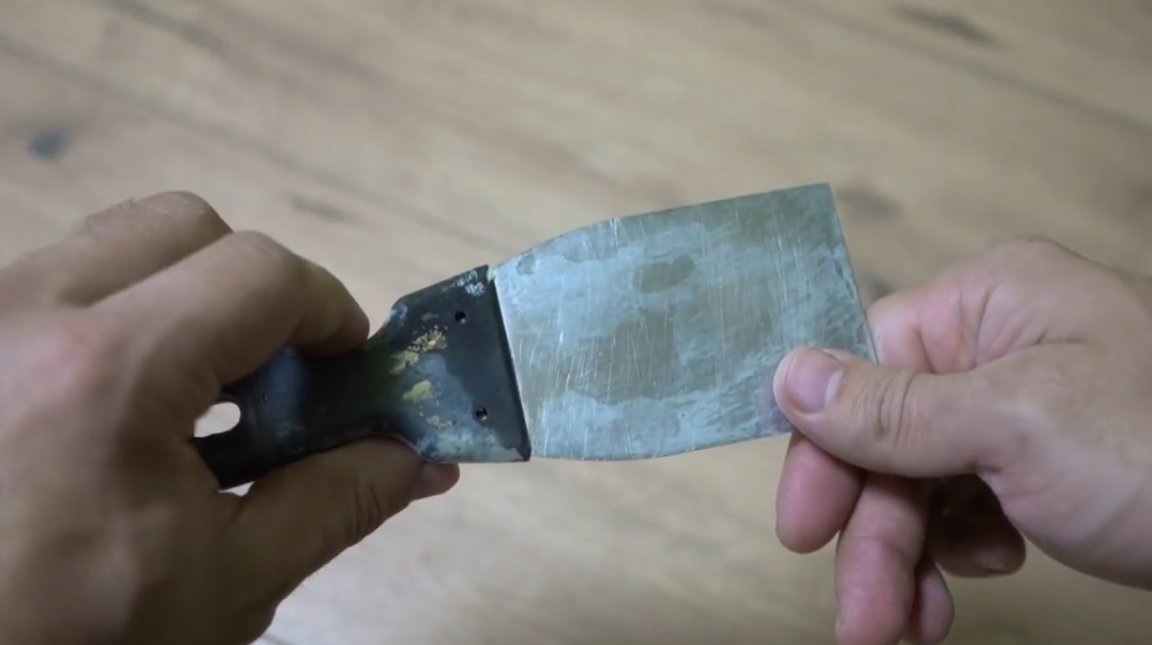
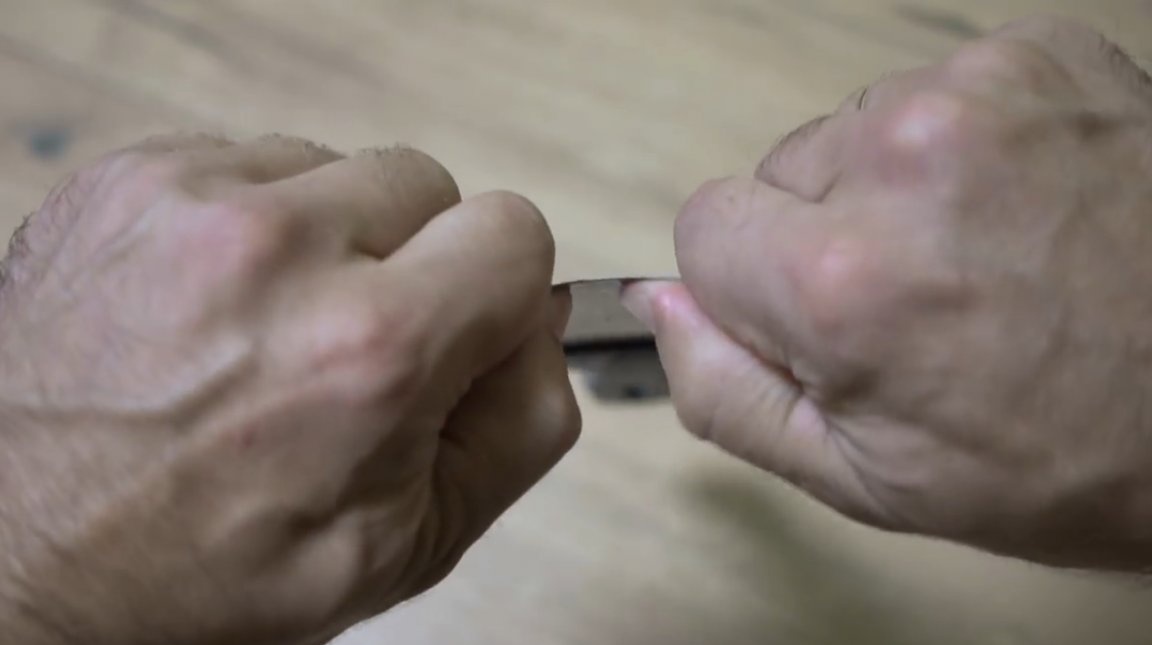
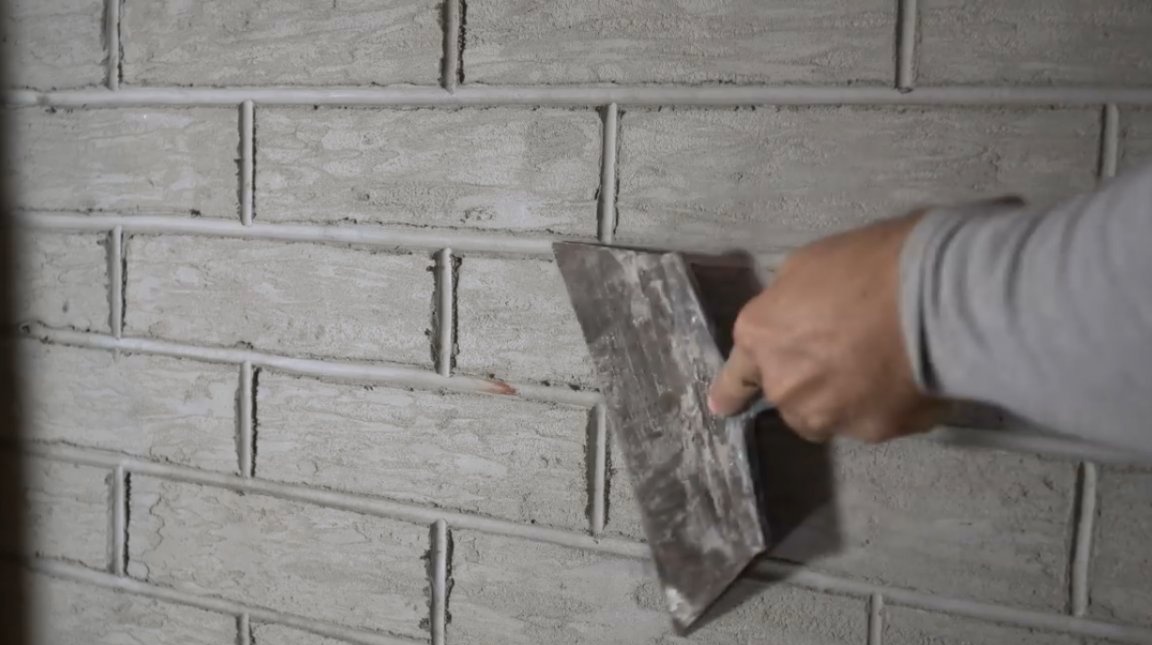
However, the author waited for the coating to solidify completely, and cut off the excess with a spatula.
To add a darker color to the base, he added black dye directly to the primer.
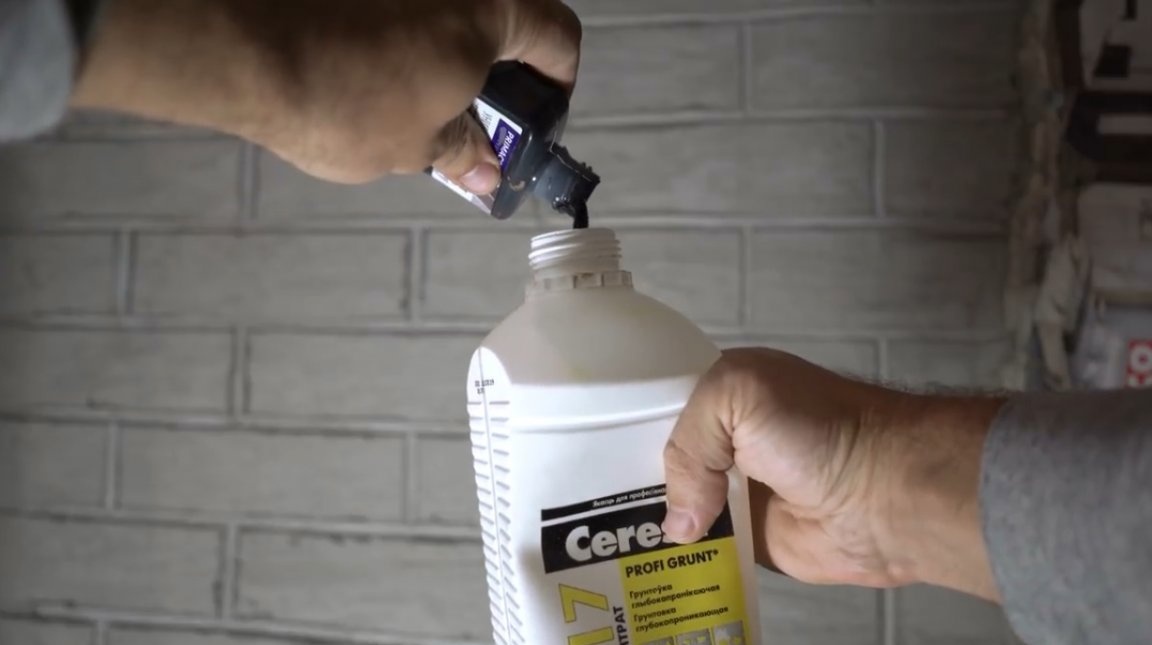
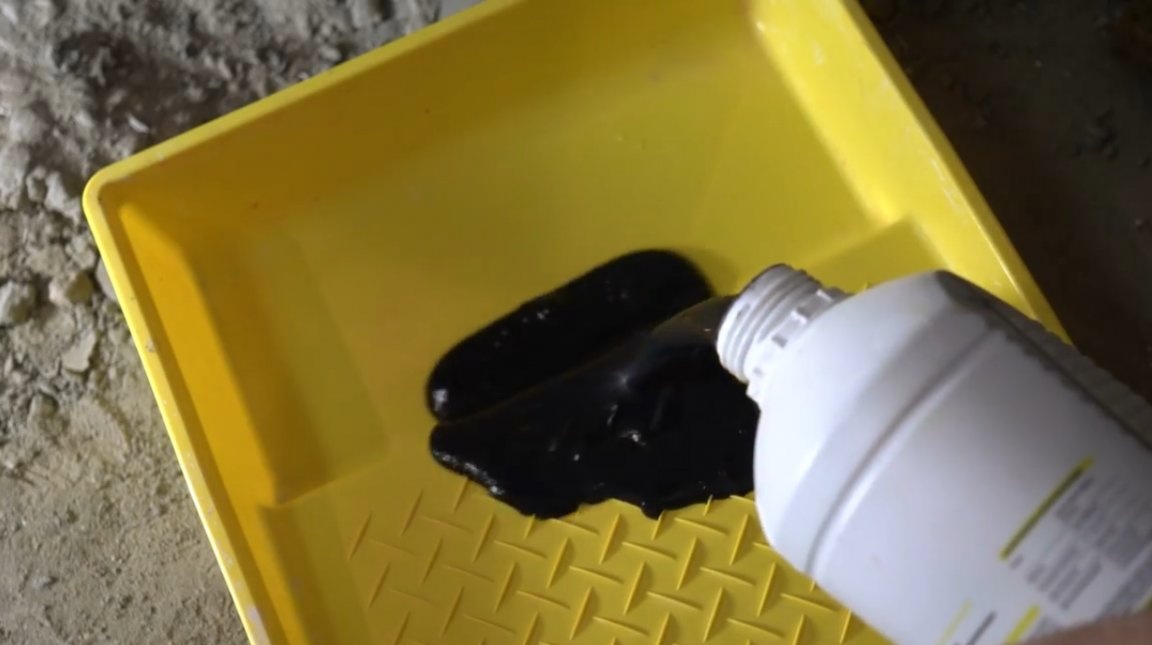
The master needed to apply two coats of primer with a dye to obtain the desired color.
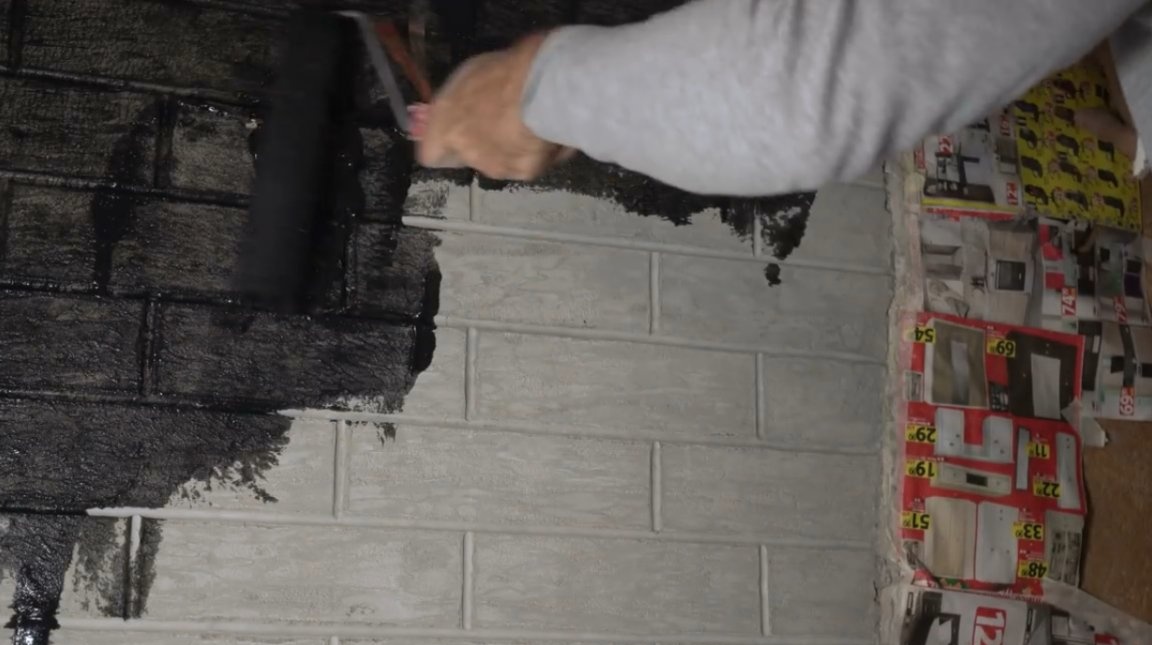
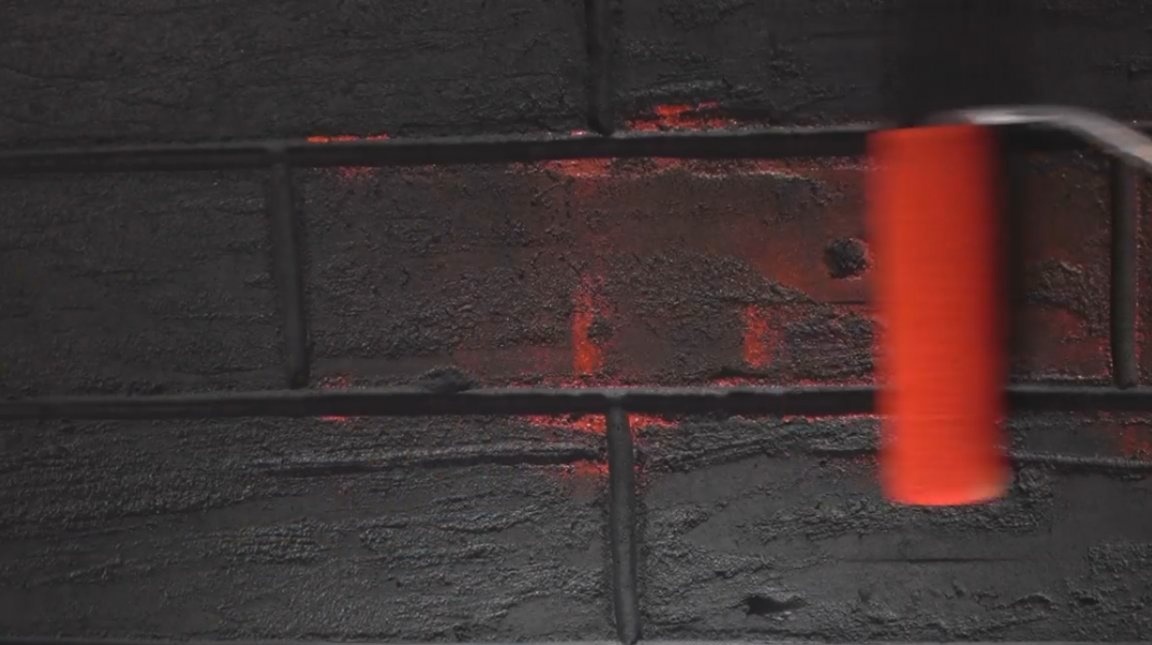
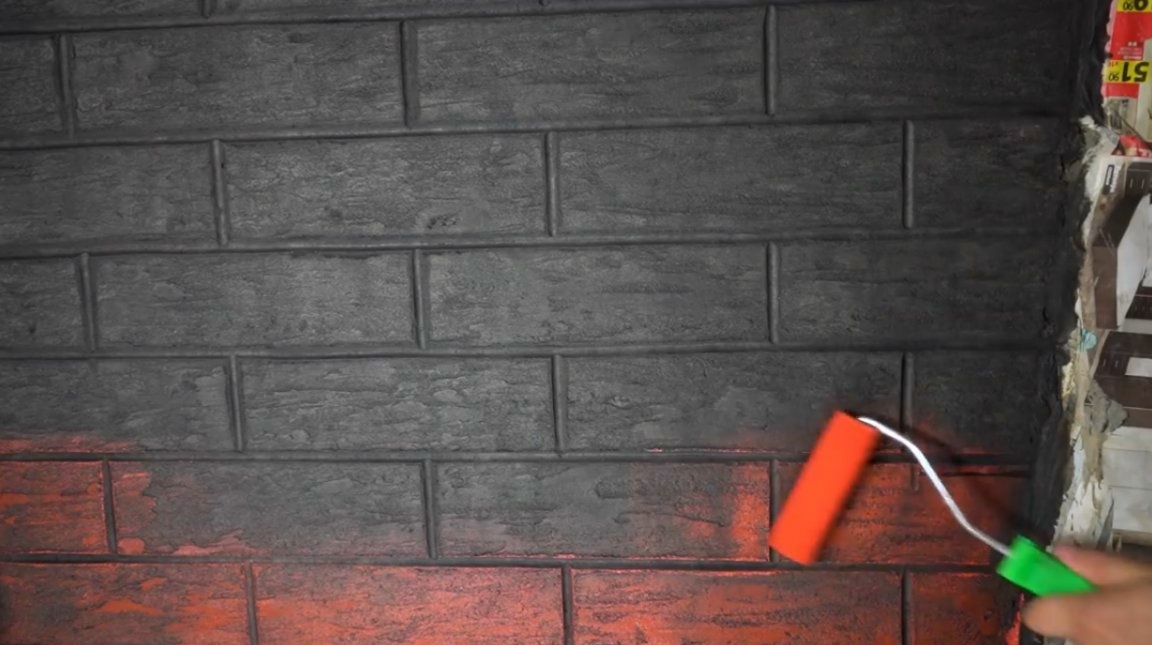
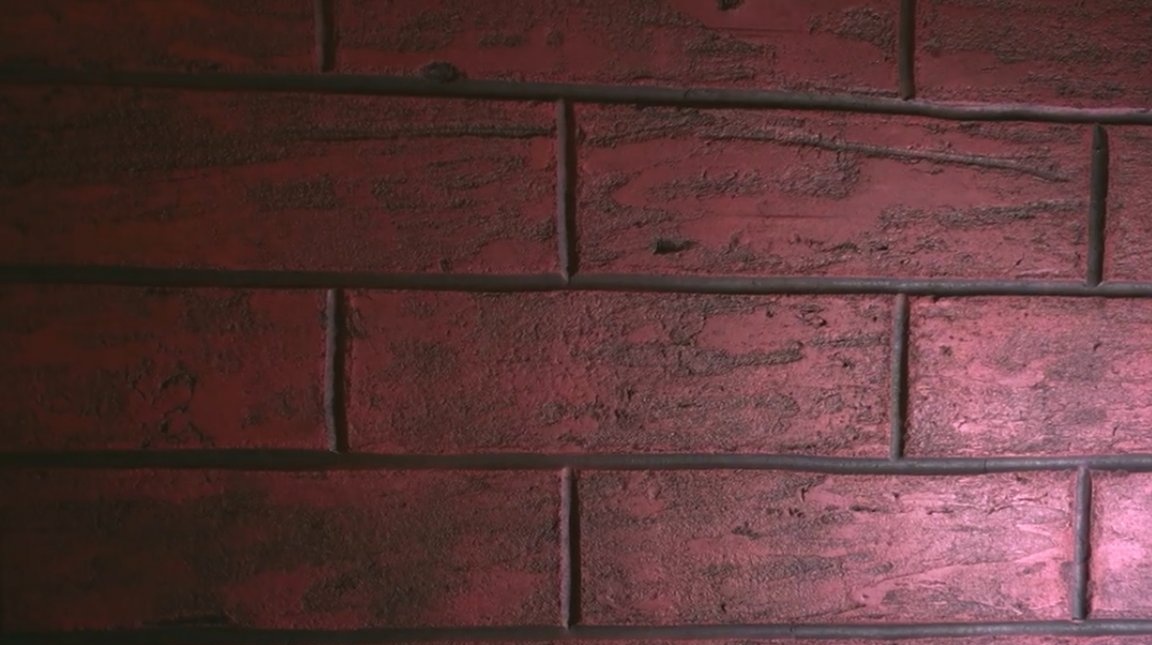
Now pearl enamel comes into play, this is one of the most expensive materials for this project. A liter jar costs about 200 rubles. He colors it in this color.
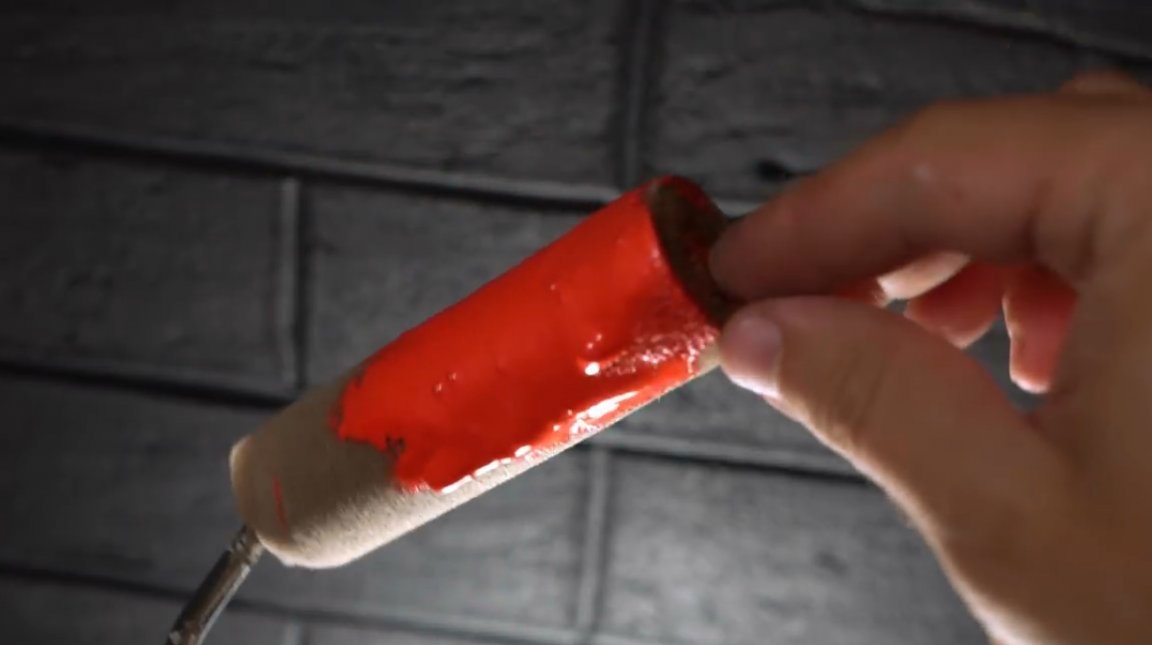
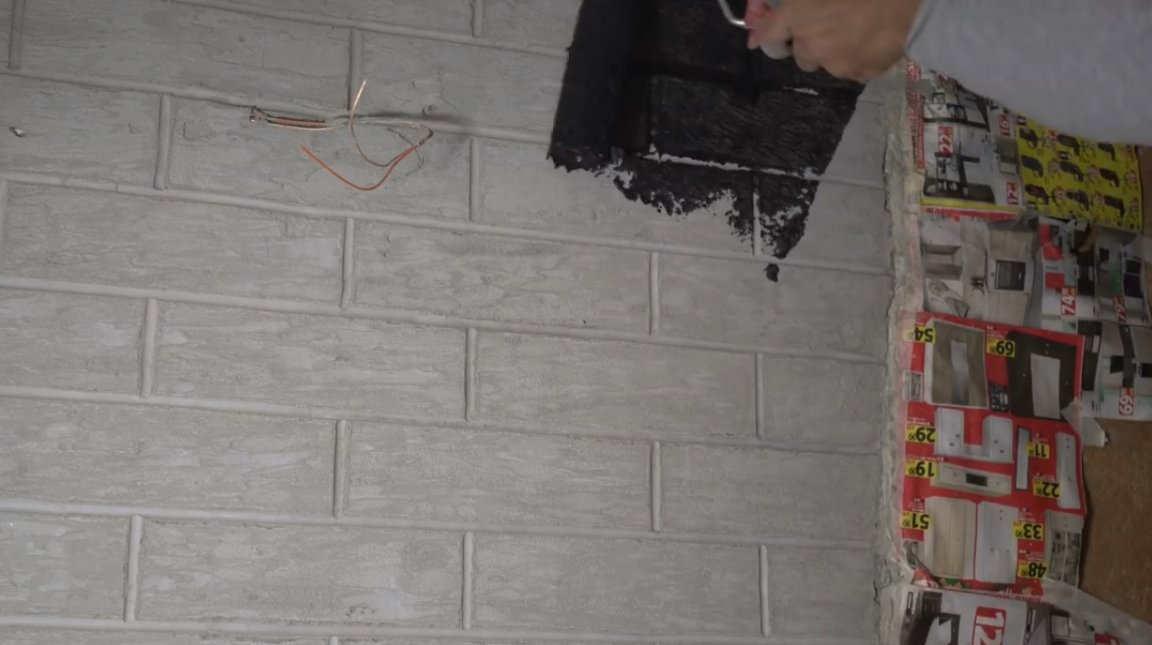
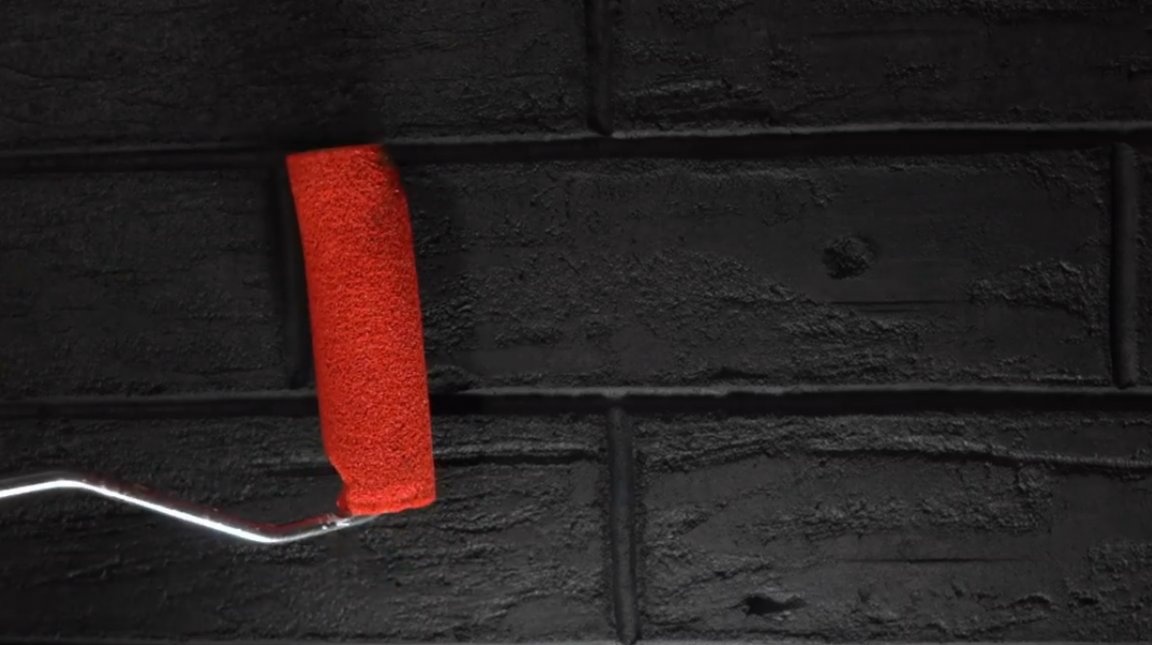
Next, the roller should be rolled out very well, there should be practically no paint in it, and a layer should be applied to the surface. In this way, only the vertices of the texture will be painted, and the lower layers will remain untouched.
It is advisable to use a roller made of fine foam rubber.
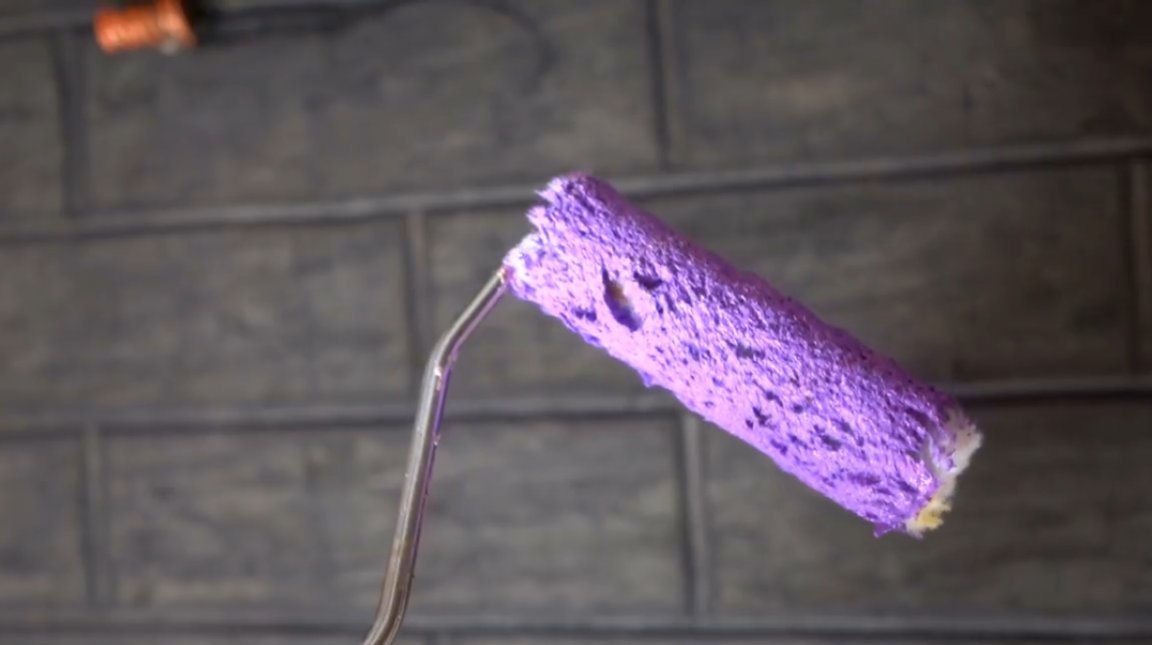
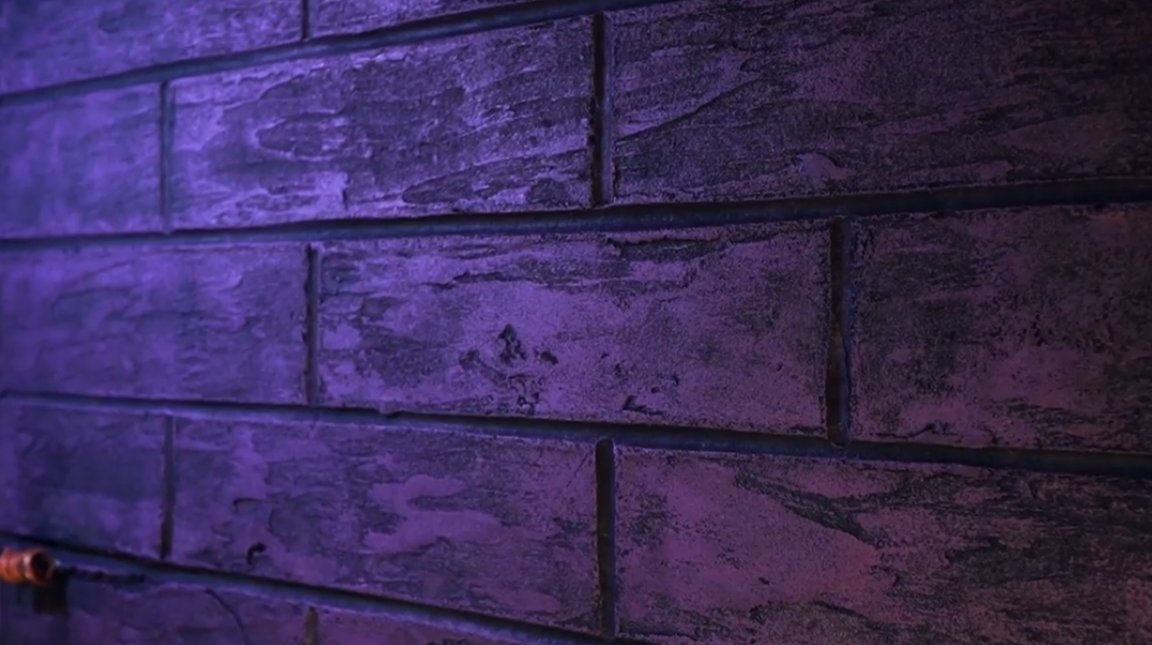
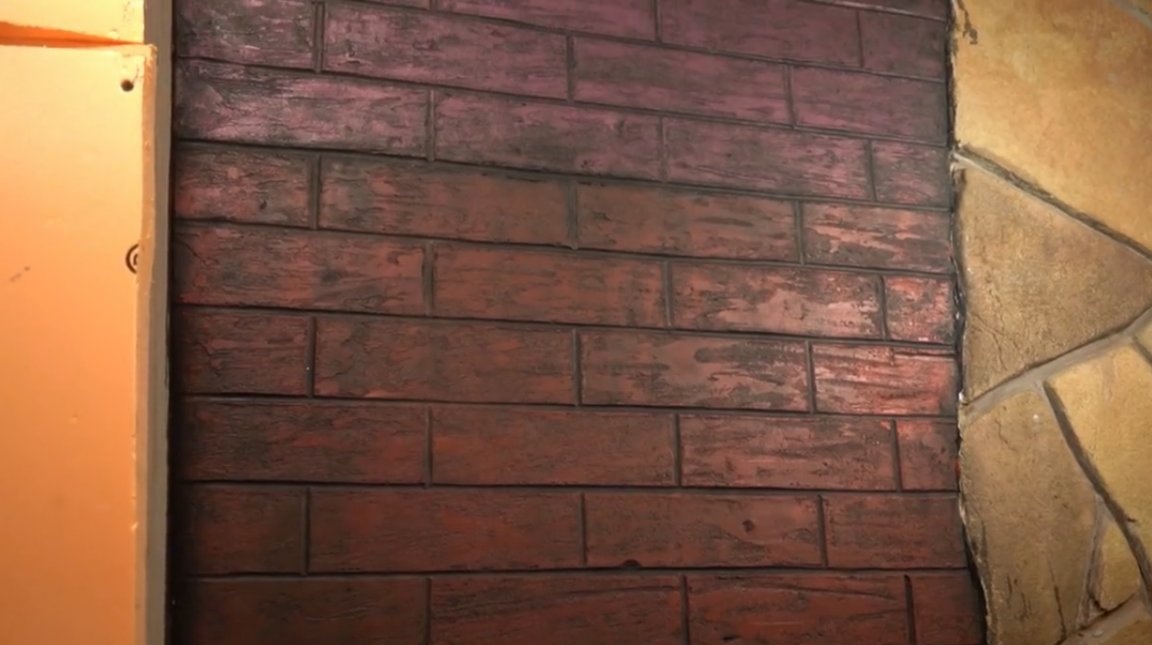
The second part of the wall, it was decided to paint with purple dye.
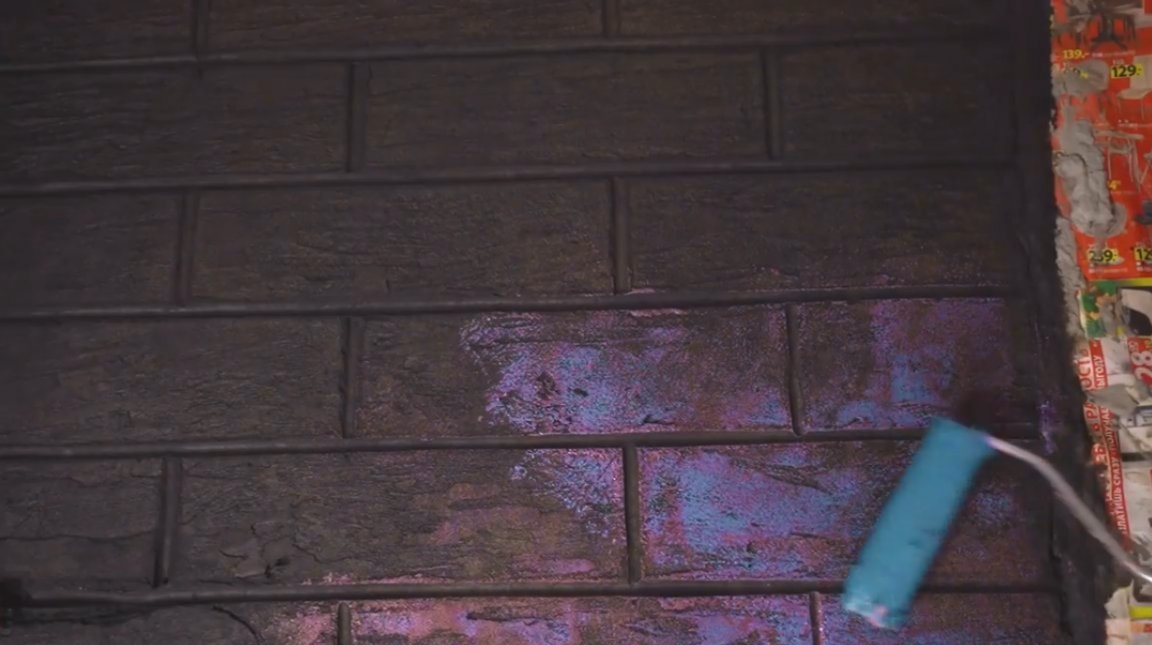
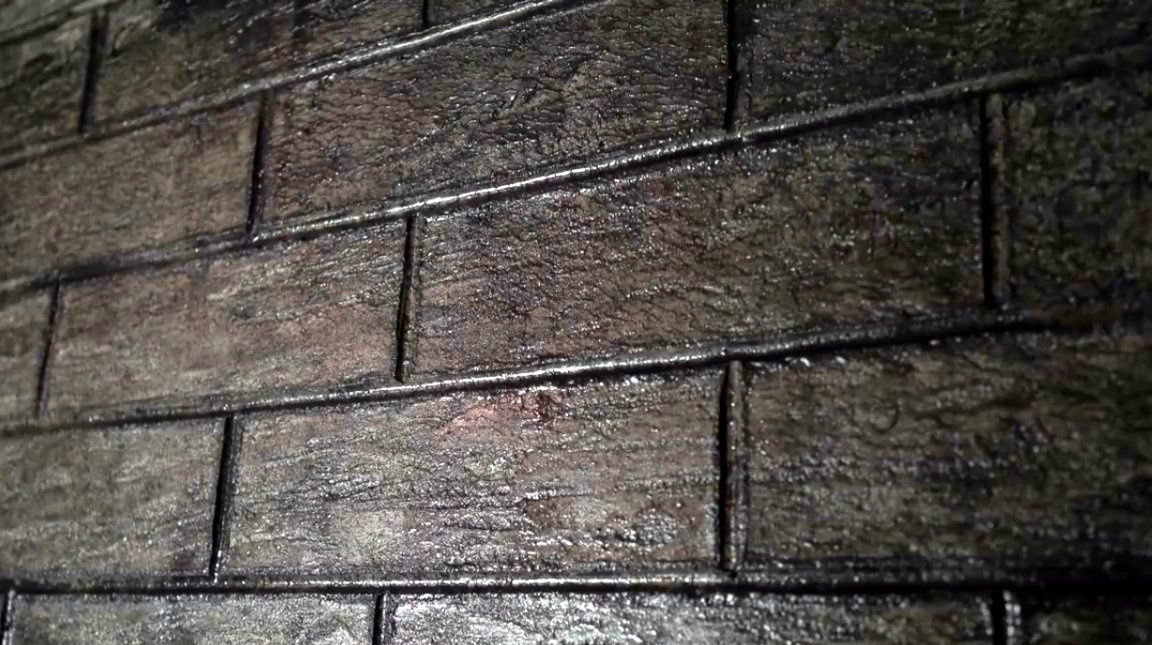
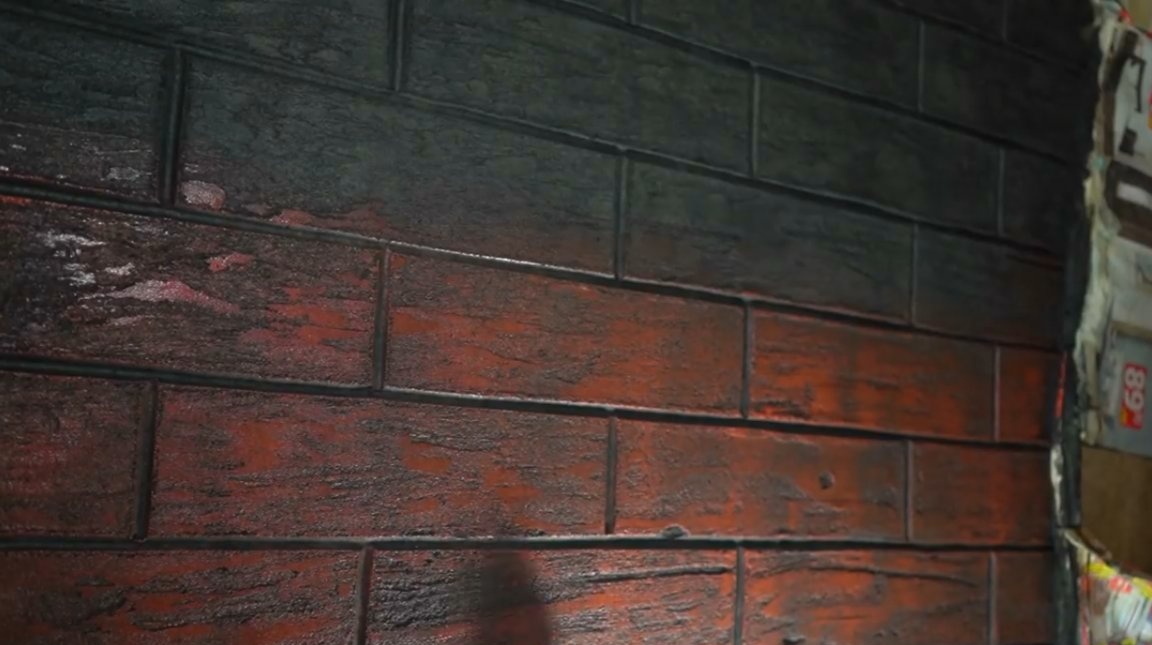
A few hours later, the wall dried up, and has already acquired an interesting and rich shade.
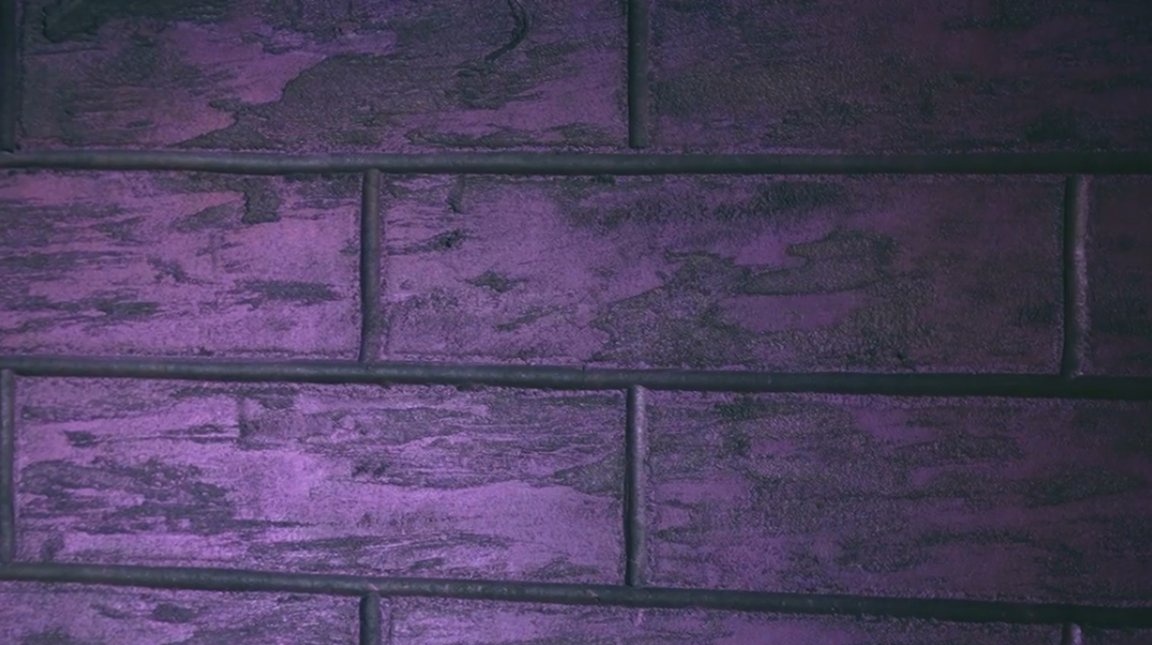
For better moisture protection, and even greater shine, you need to apply acrylic varnish for outdoor use.
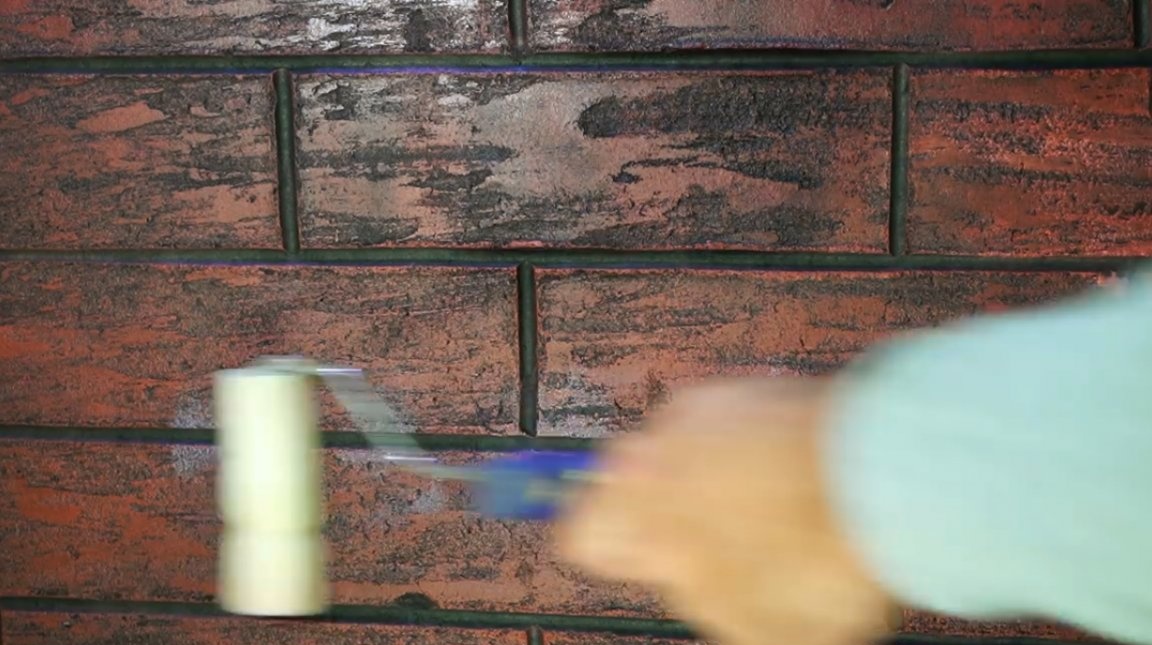
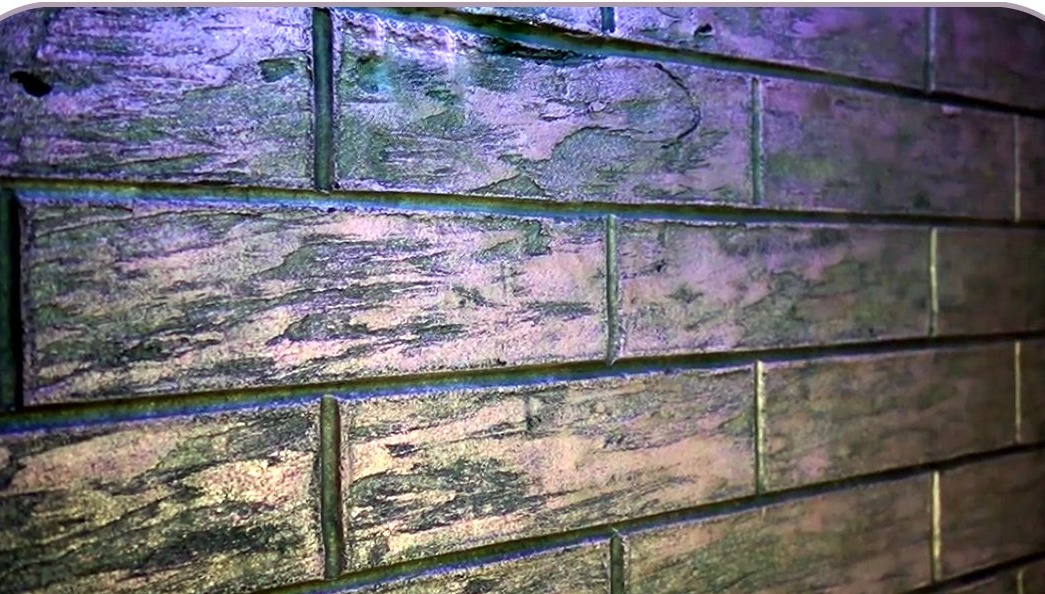
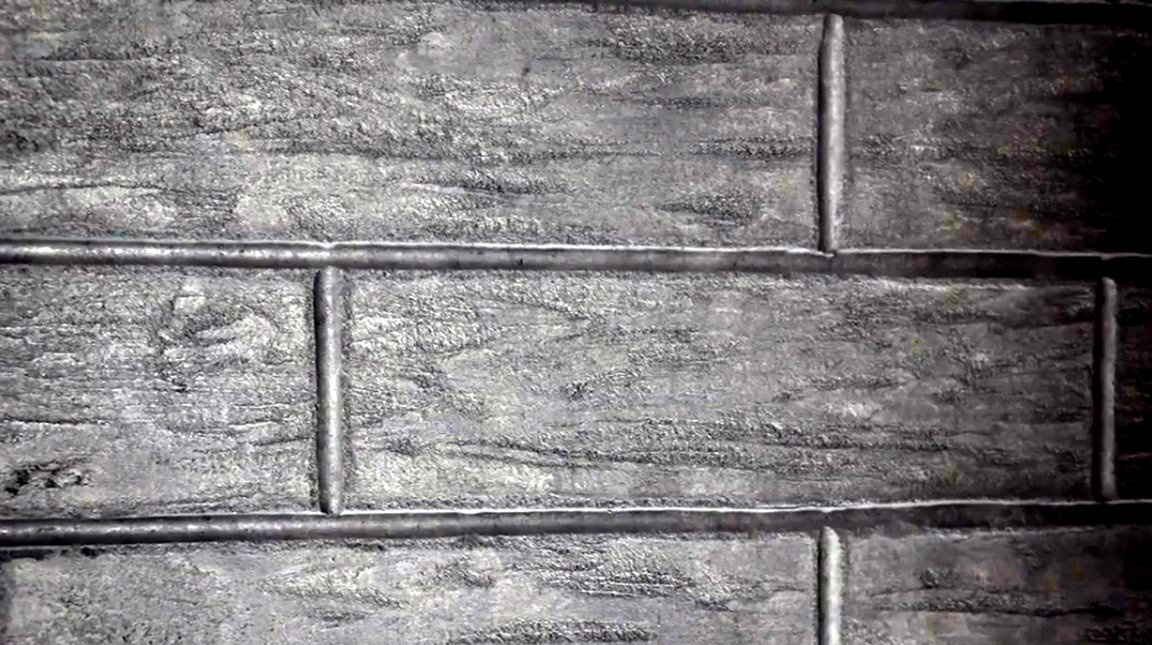
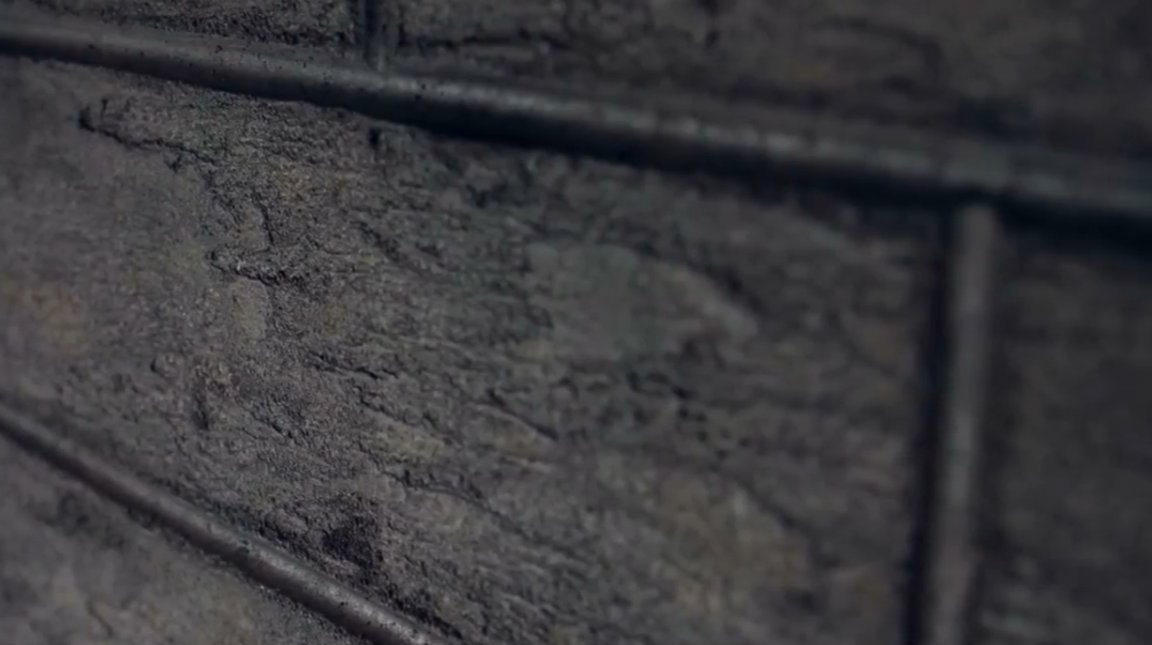
That's all, it looks like a decorative coating after complete drying.
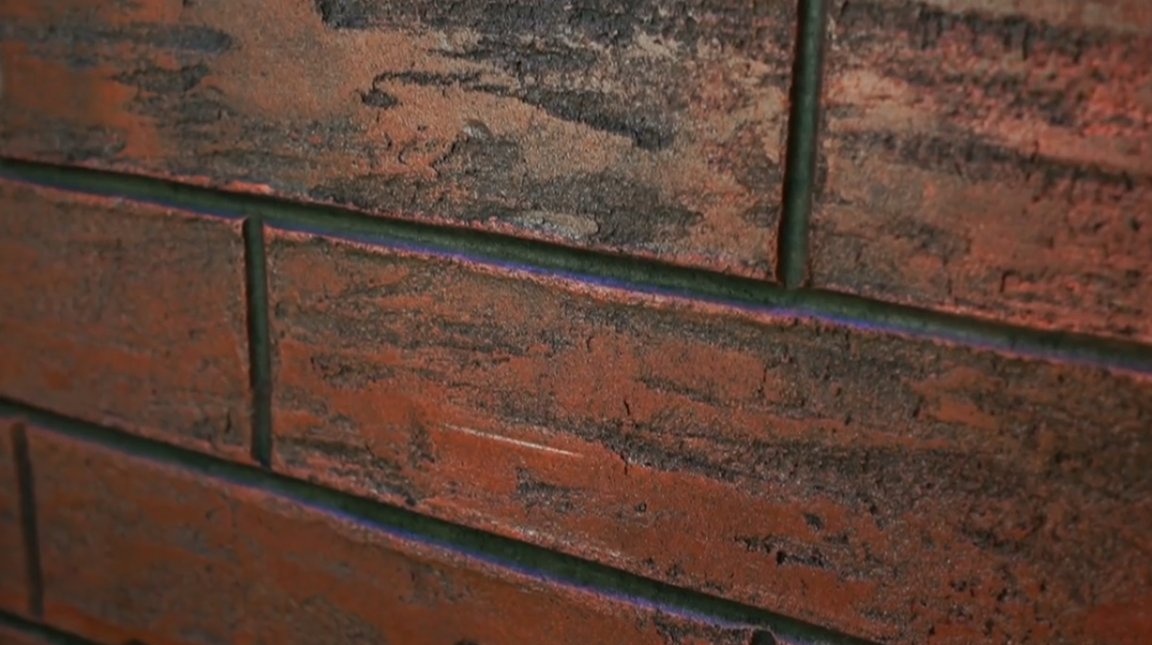
I thank the author for the simple, but very beautiful and high-quality technique of finishing decorative wall covering!
Also recently was interesting article about imitation of wild stone by similar technology.
All good mood, good luck, and interesting ideas!
Author video can be found here.