
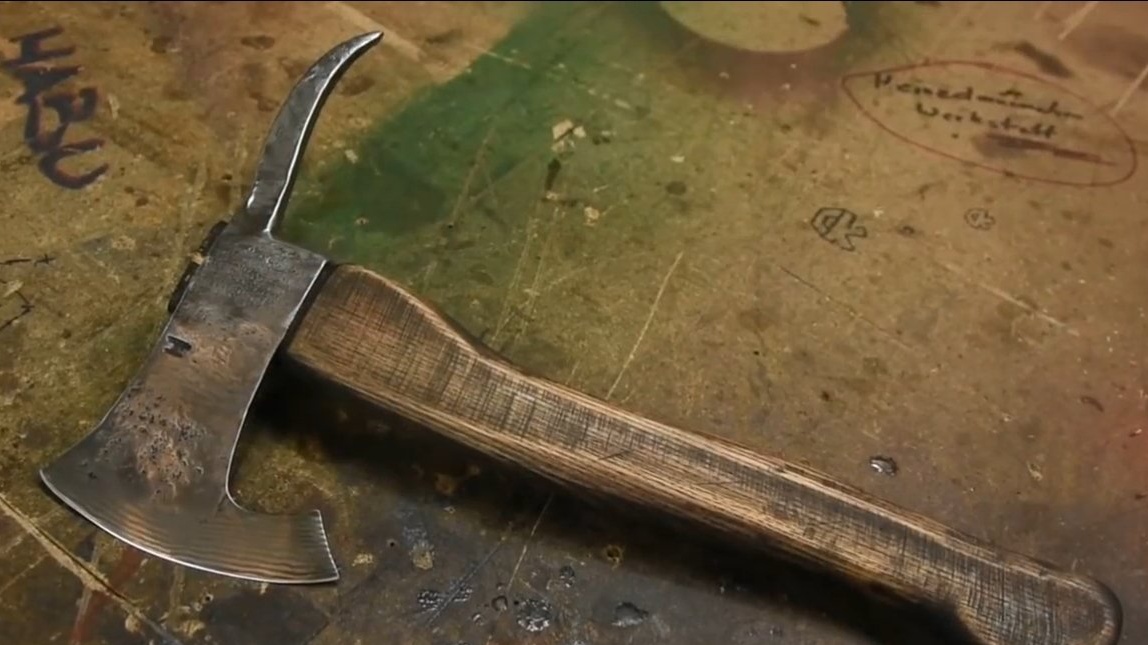
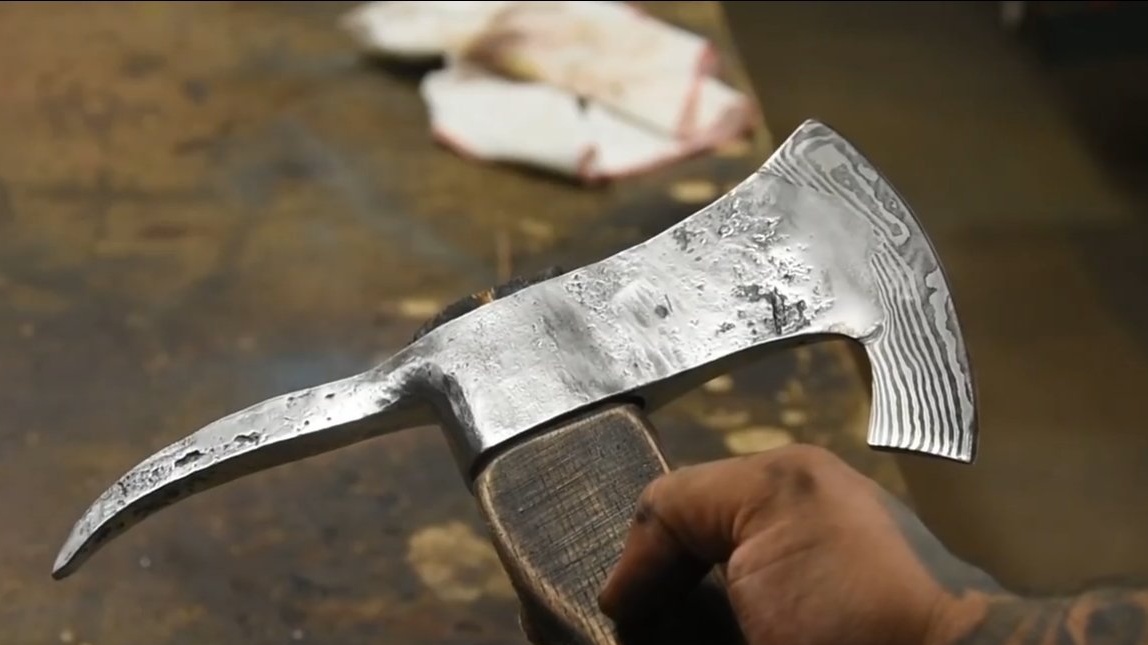
I welcome all fans to craft, I propose to consider instructions for making a small forged hatchet do it yourself. Homemade perfect for chopping wood in the garage or to mine chips for kindling. In the back of the ax there is a point with which you can cling chocks, something to tear off and not only. The author made a hatchet brutally, antique, looks homemade quite interesting. For the blade, high-quality carbon steel was used, which the author hardened. Thanks to the mixing of metals, even a damask pattern can be seen on the ax. If the project interests you, I propose to study it in more detail!
Materials and tools used by the author:
Material List:
- square and rectangular billets of steel for the body of the ax;
- a piece of carbon steel for the blade;
- a piece of steel pipe;
- a thick board for a holder.
Tool List:
- grinder;
- welding machine;
- oven and blacksmith tool;
- oil, oven, oven (for hardening);
- drill;
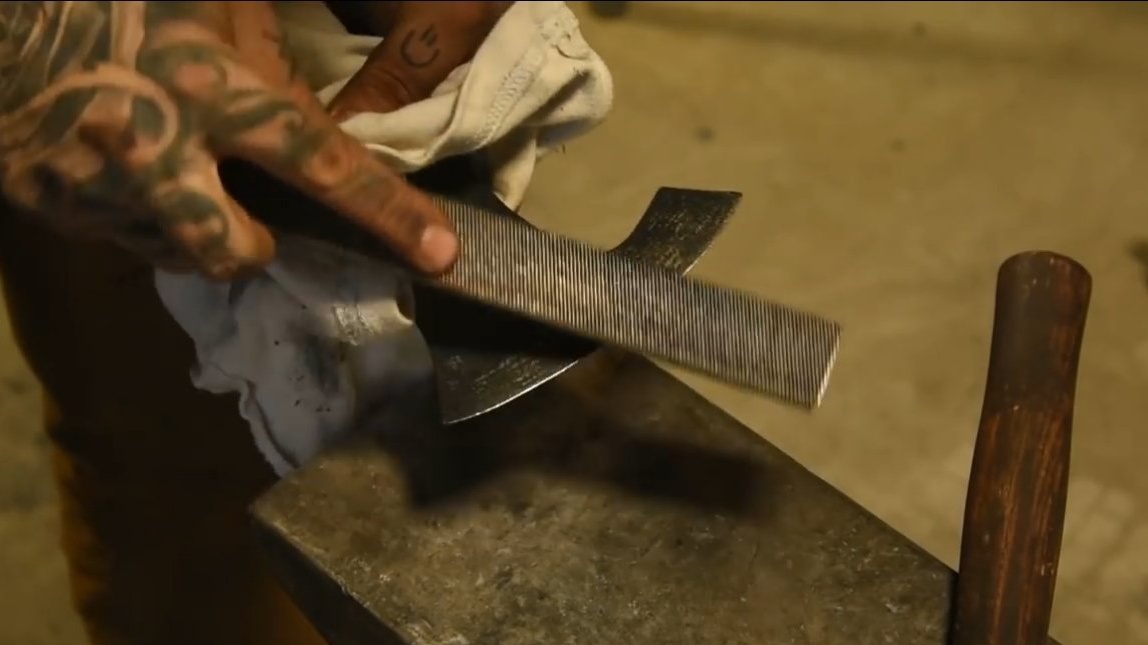
- files;
- sandpaper;
- oil, wood stain.
Homemade manufacturing process:
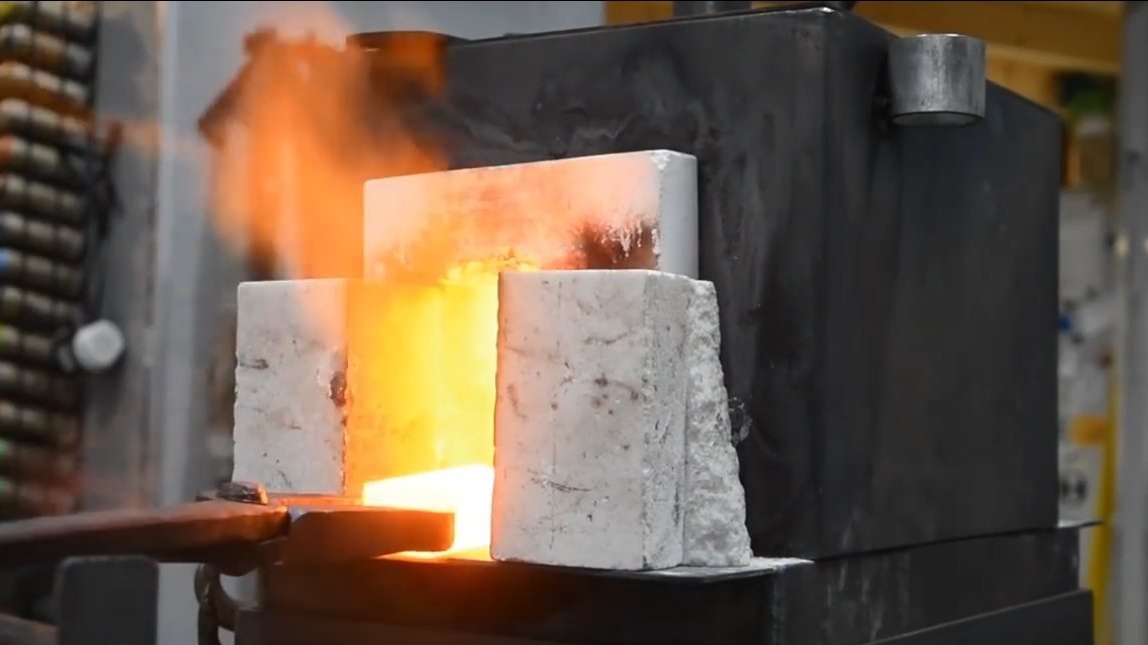
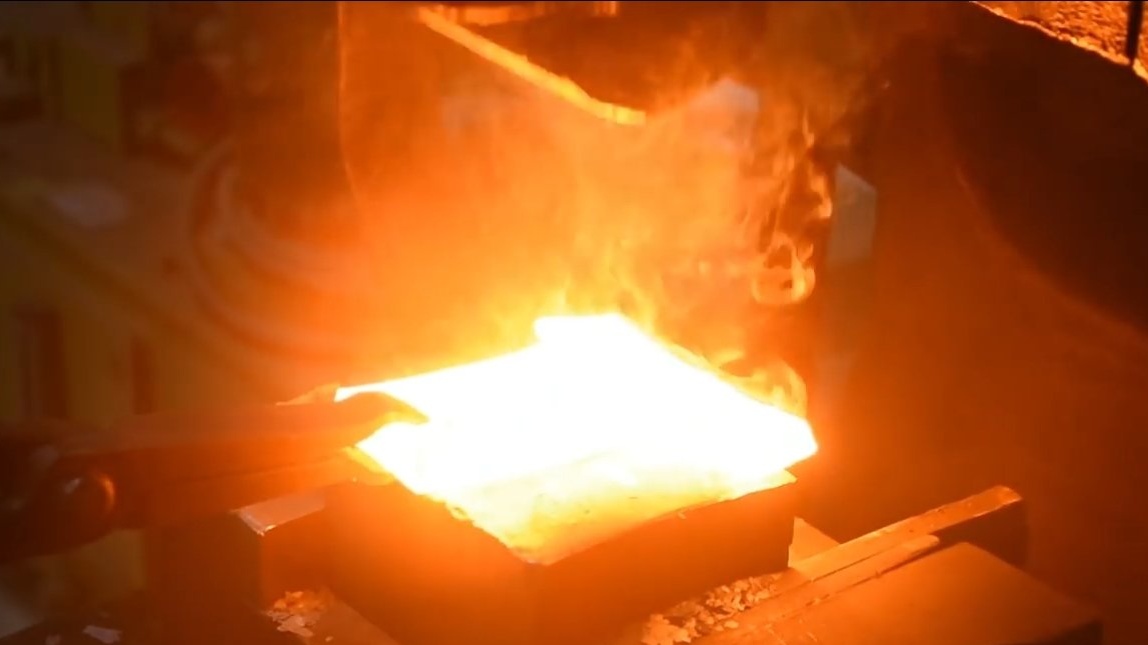
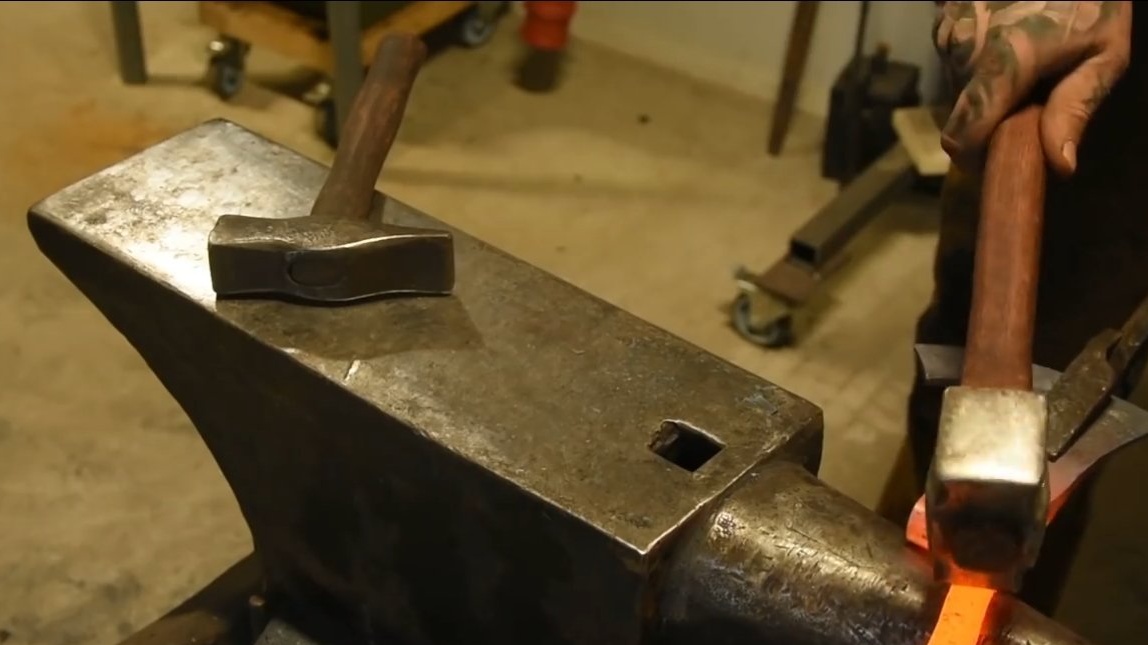
Step one. Blacksmithing work
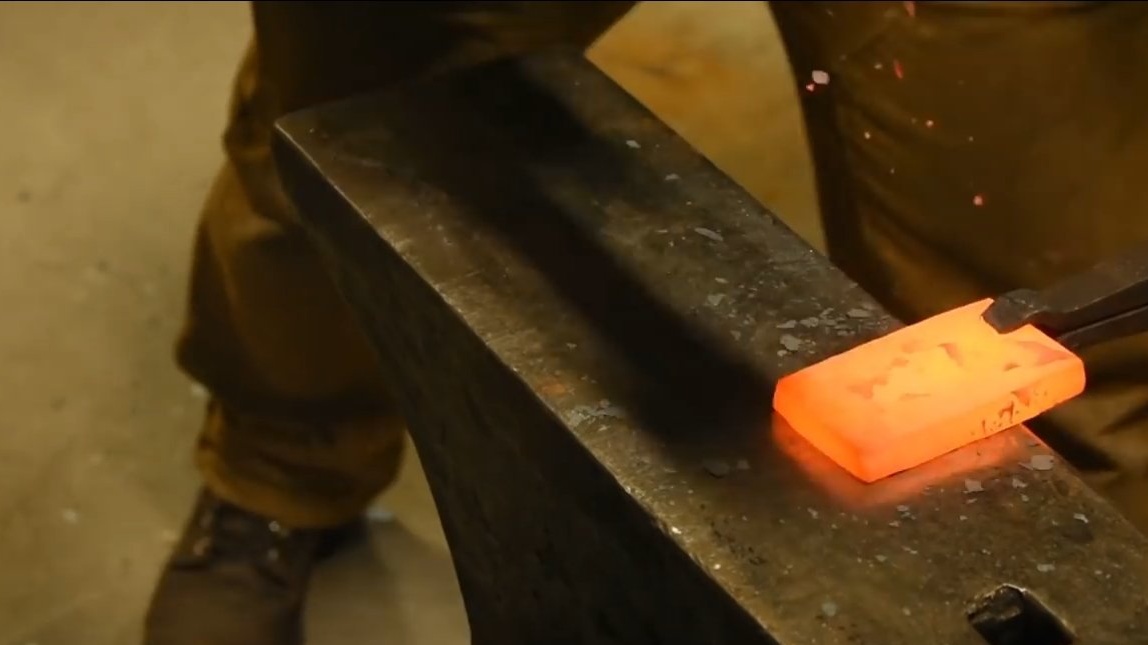
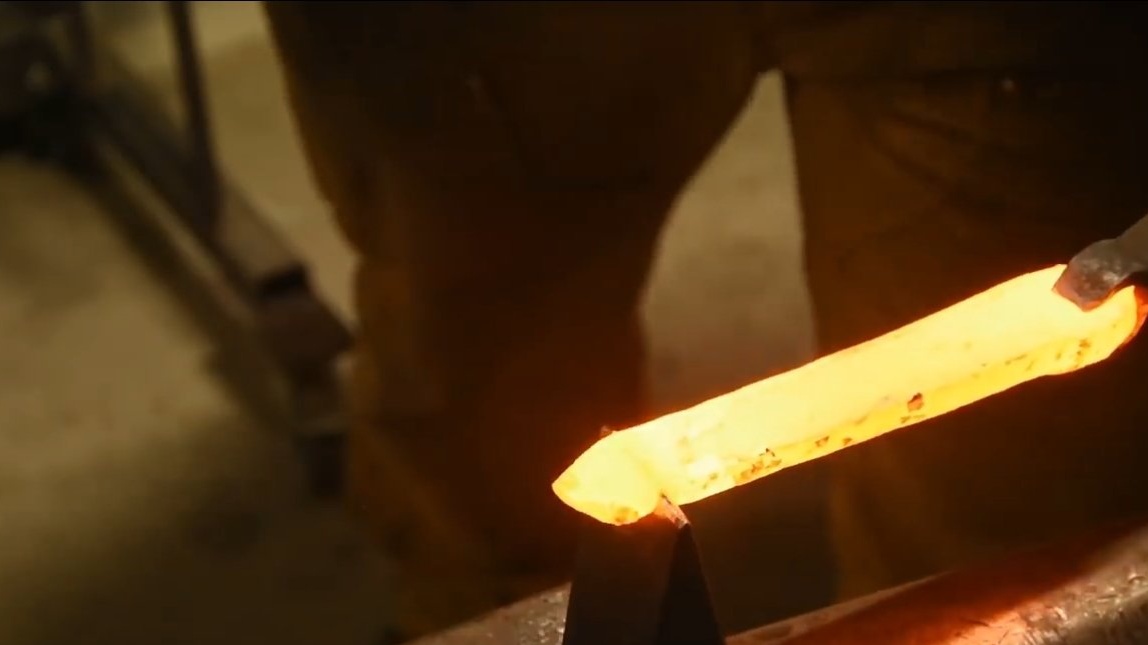
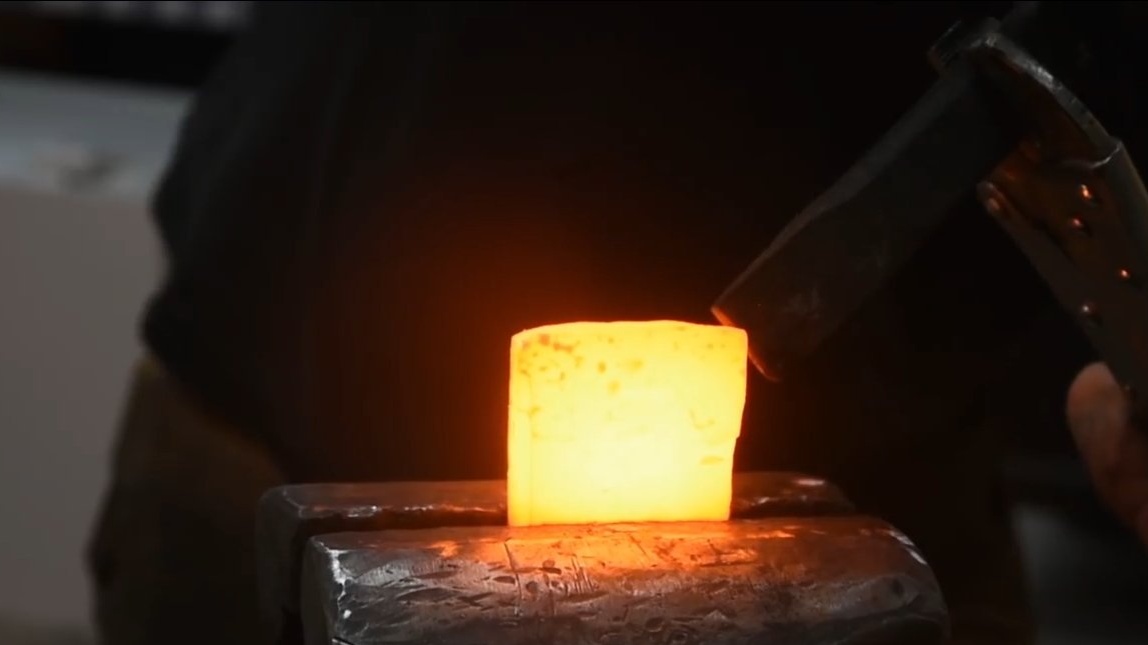
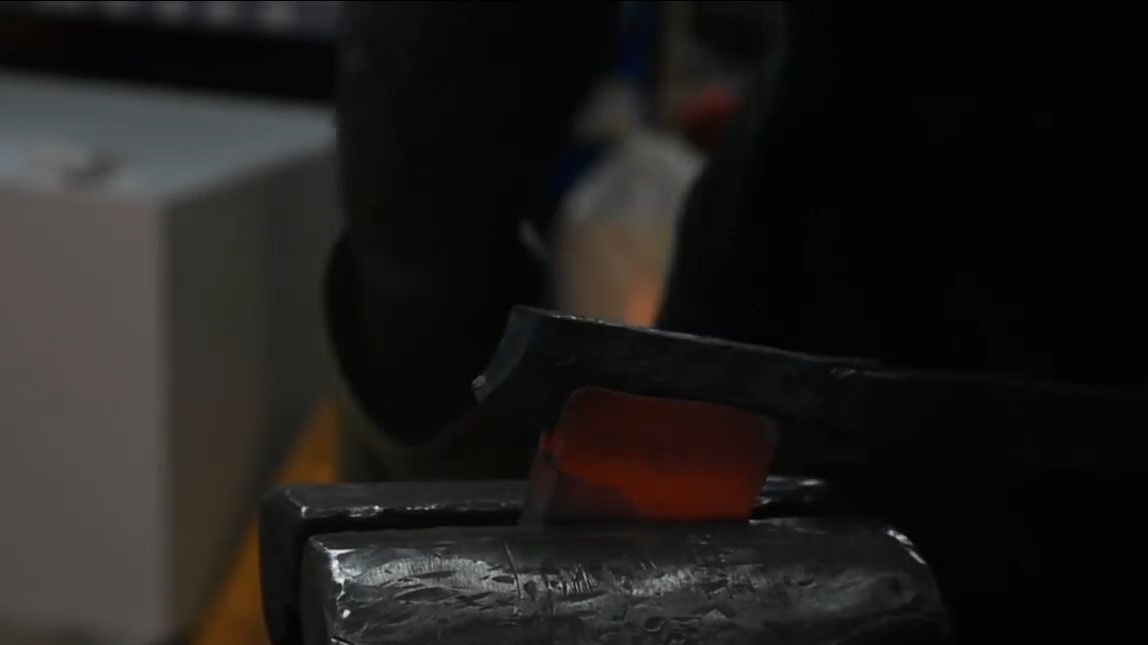
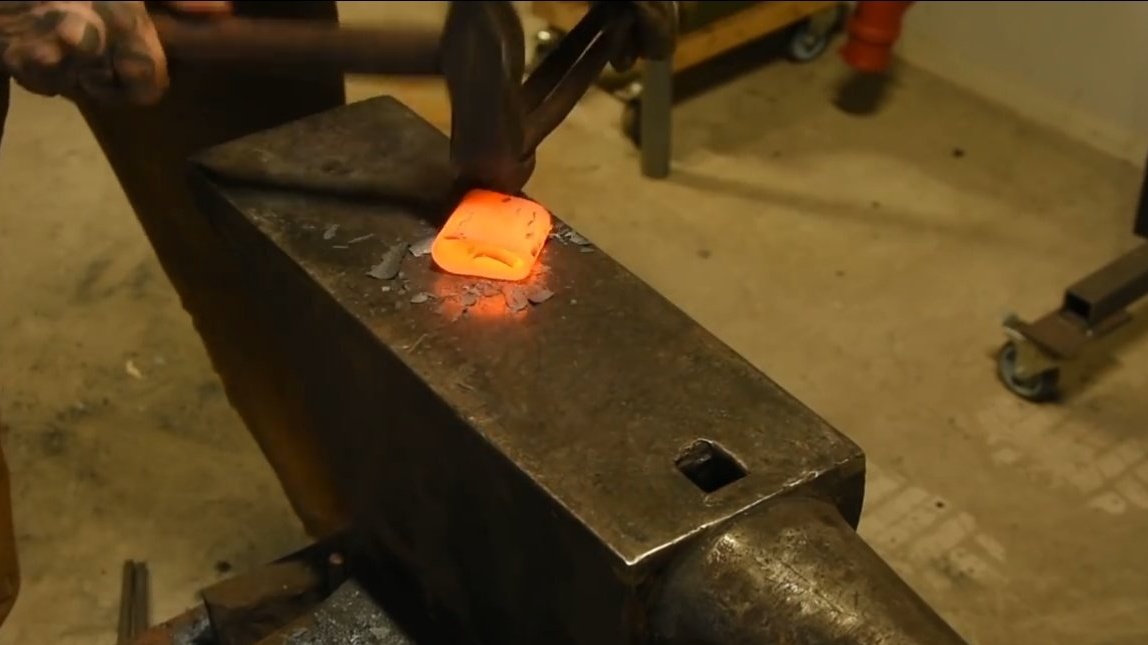
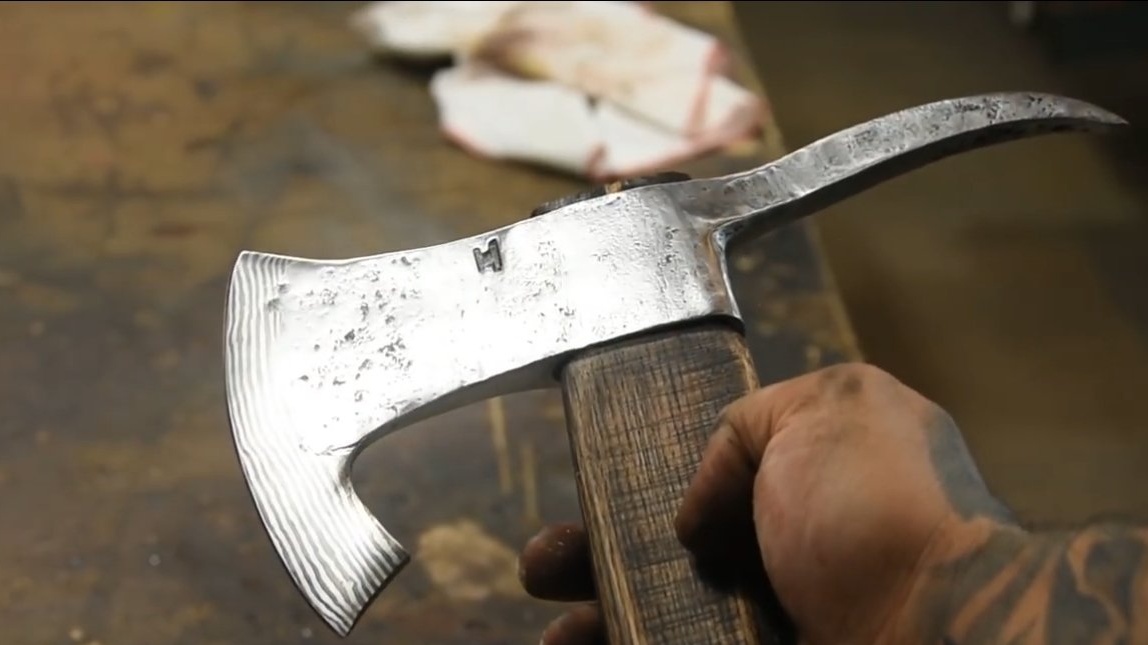
First of all, by forging, you need to make the main components for the ax, it will be his "body". For the body of the ax, we use a steel rectangle or square, unfold it to the desired shape and size.
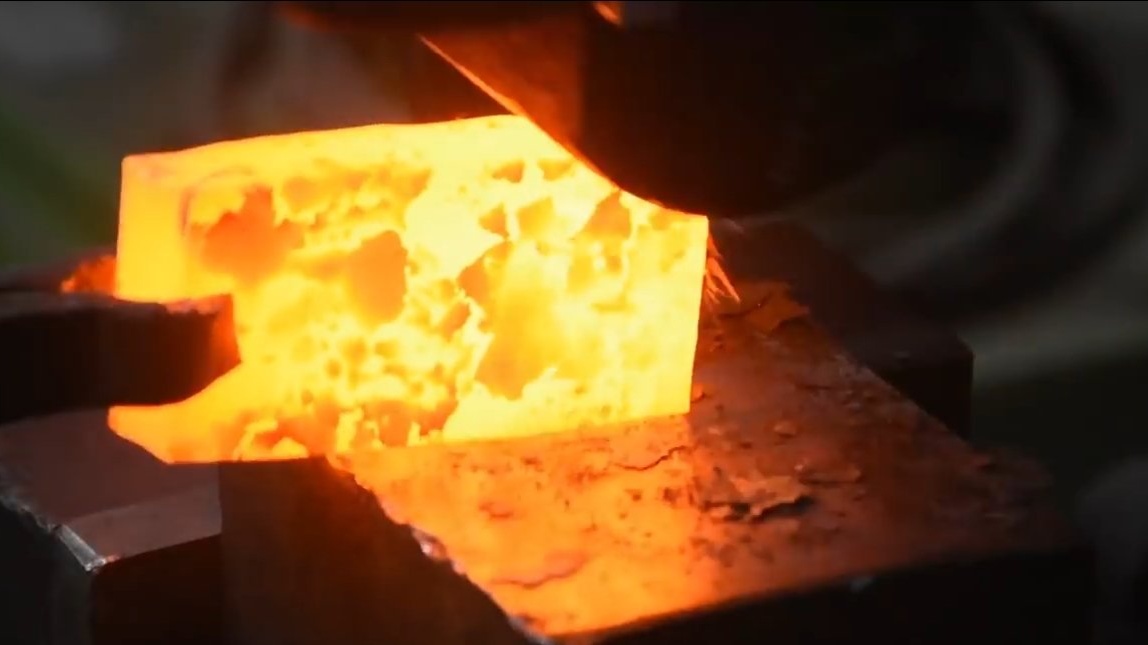
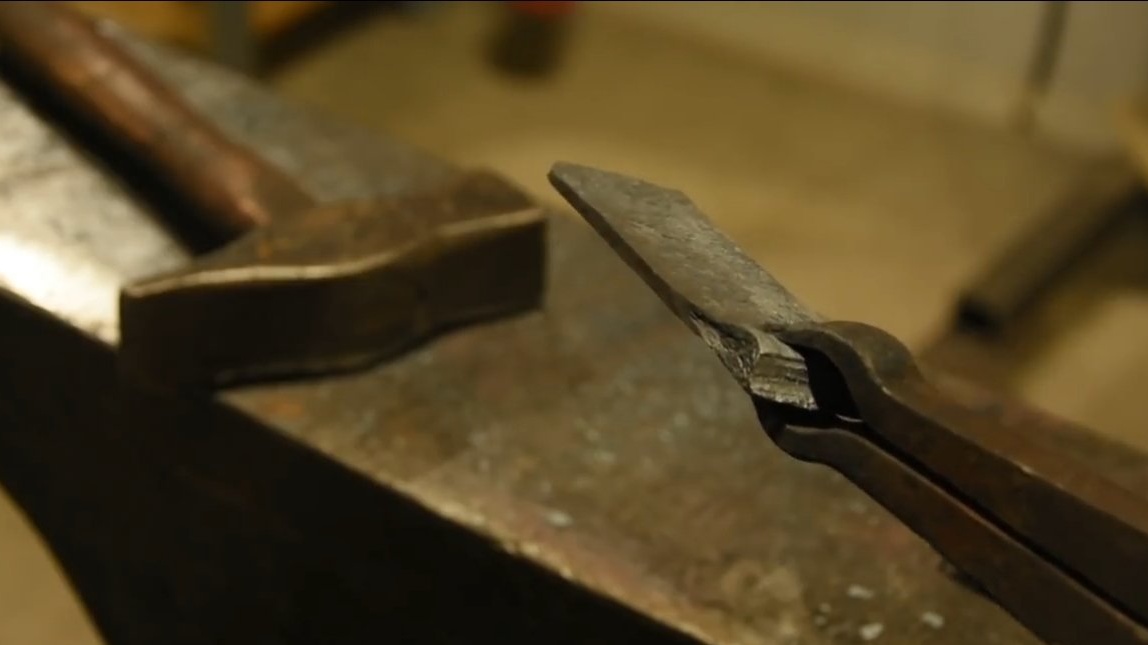
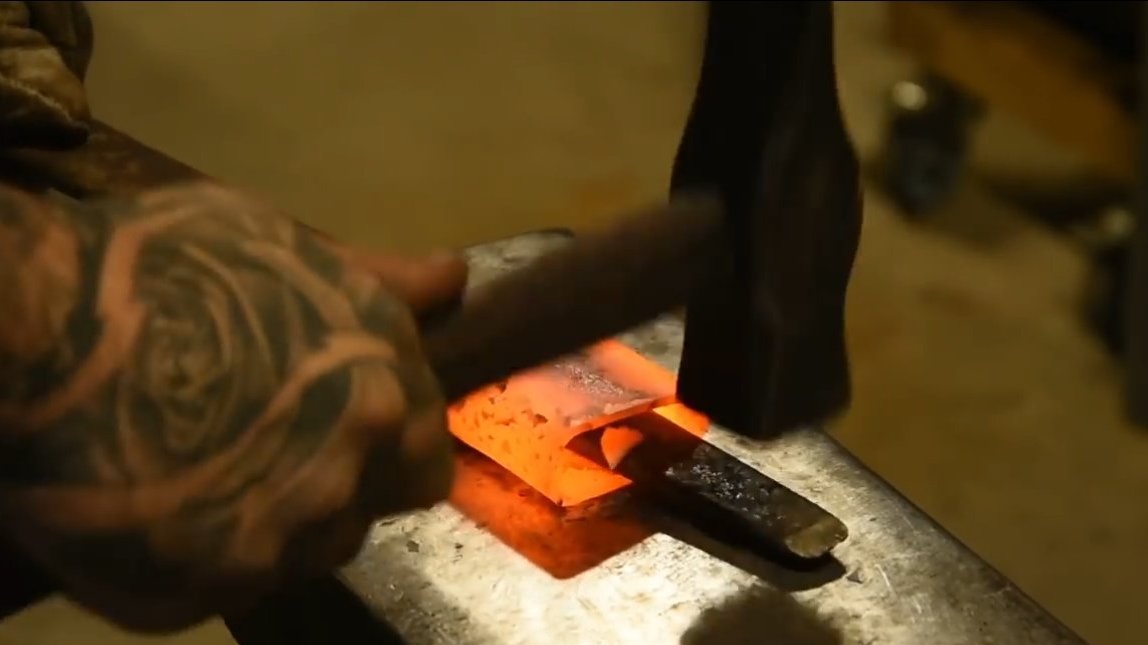
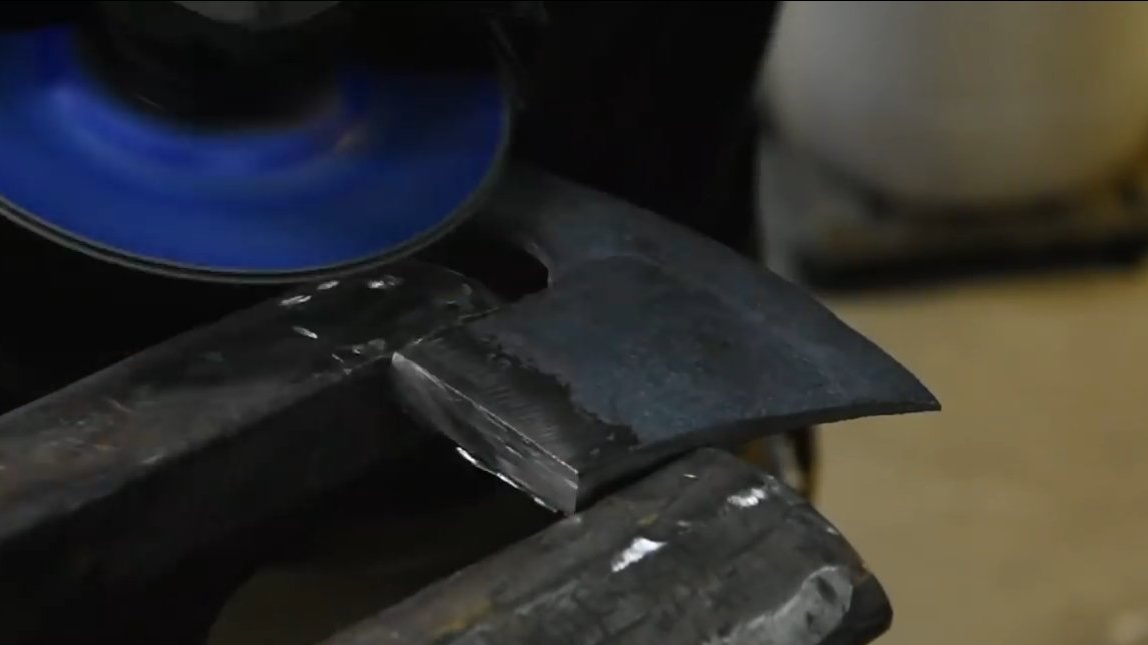
As for the blade, then the author forged a steel plate into the body of the ax, the steel grade is unknown, but it can be hardened. To bind metals together, you will need a borax, it will not let steel oxidize, and it will mix.
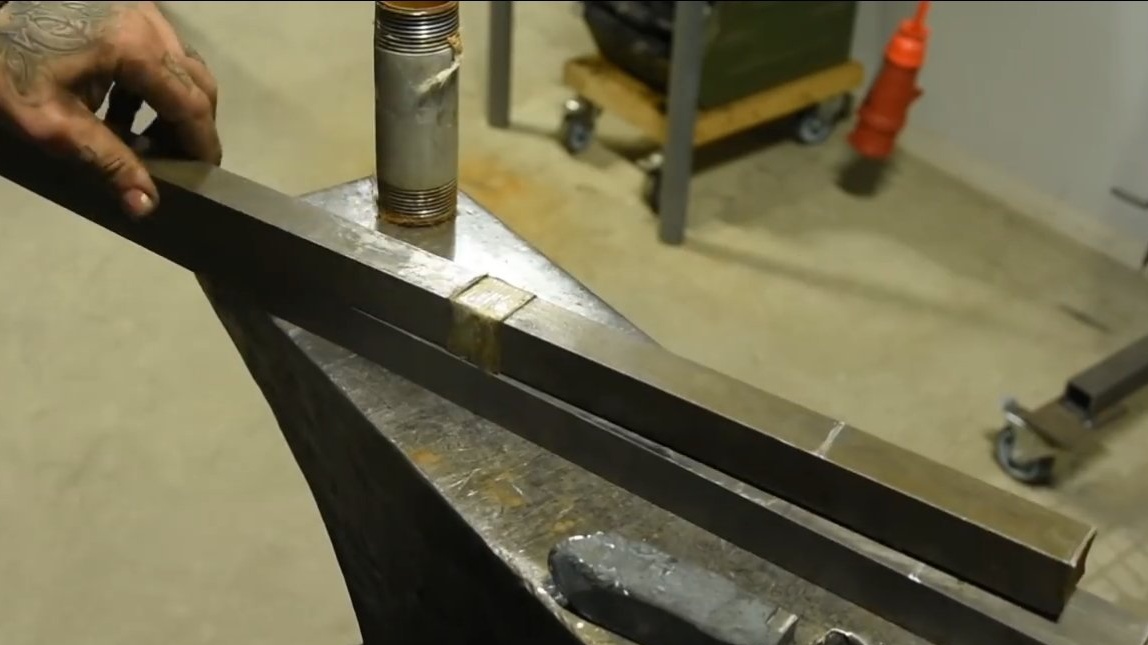
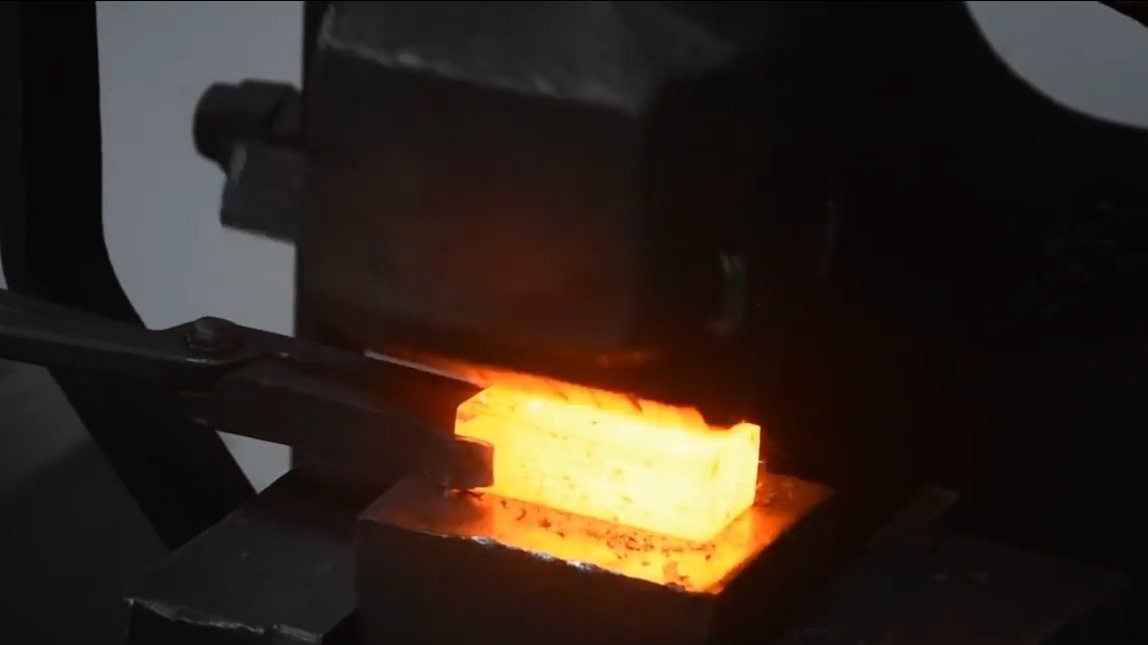
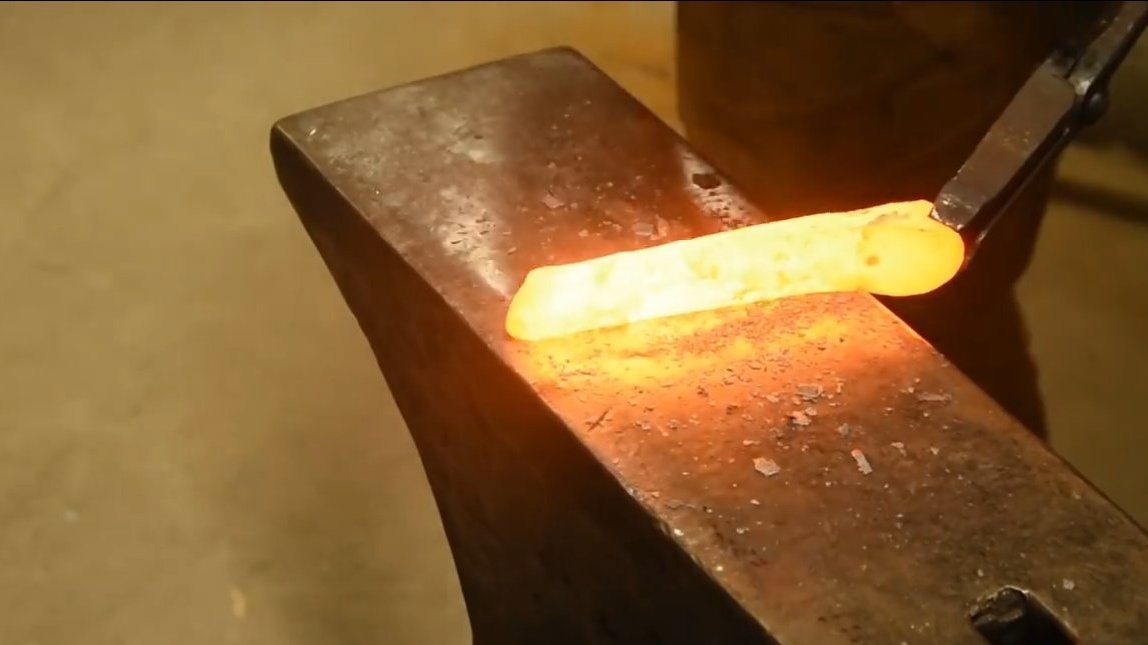
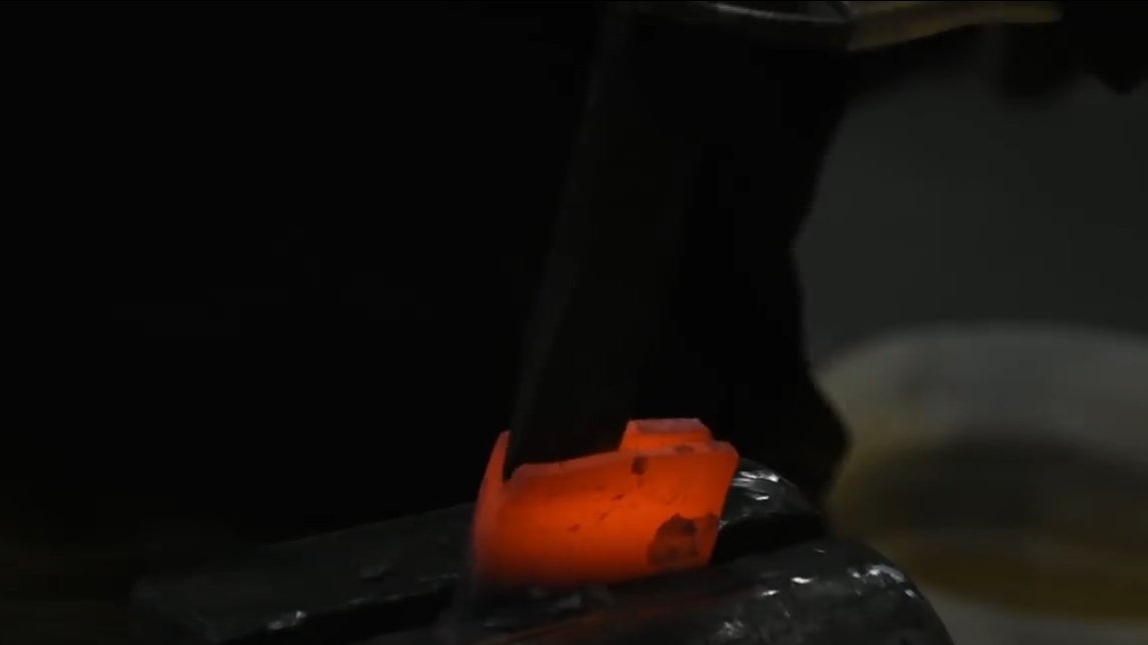
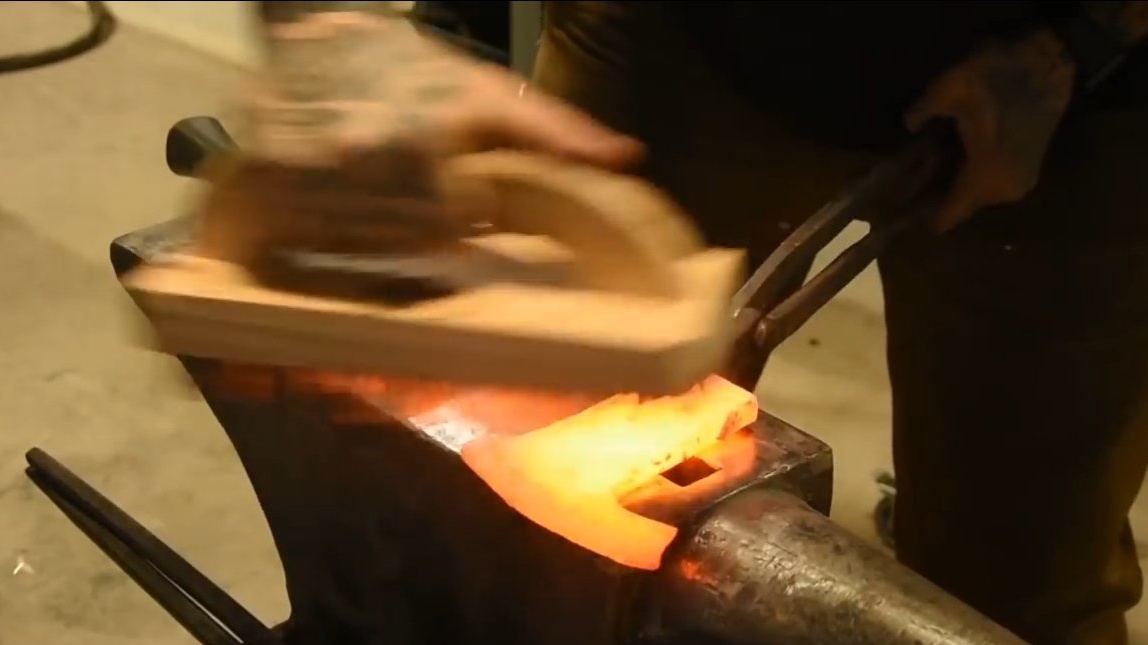
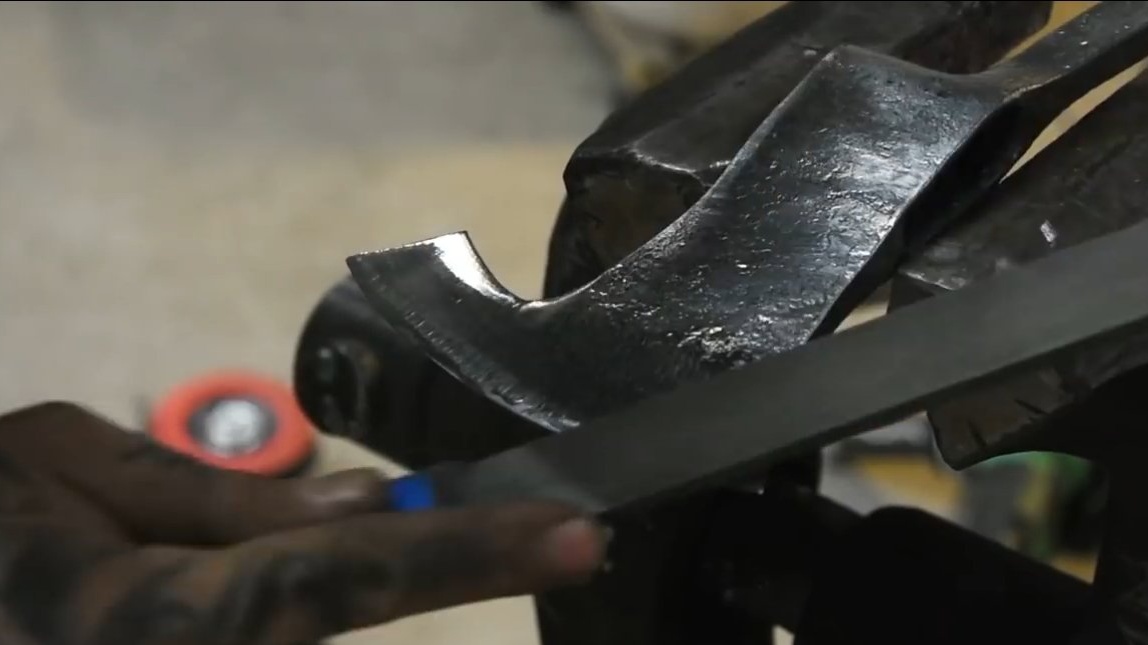
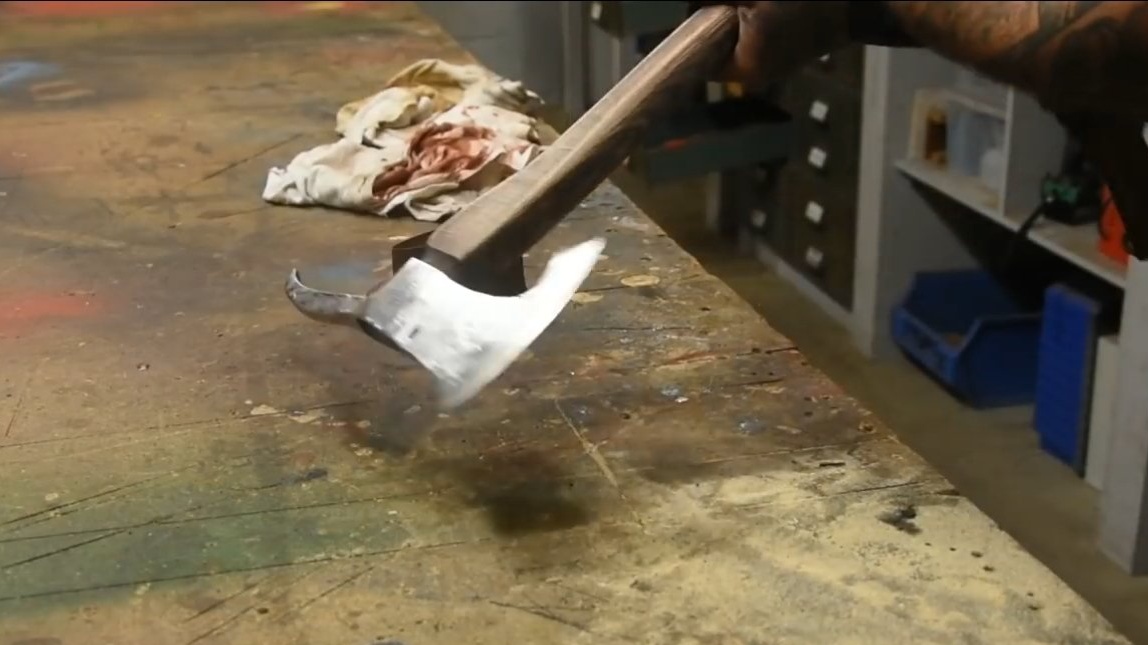
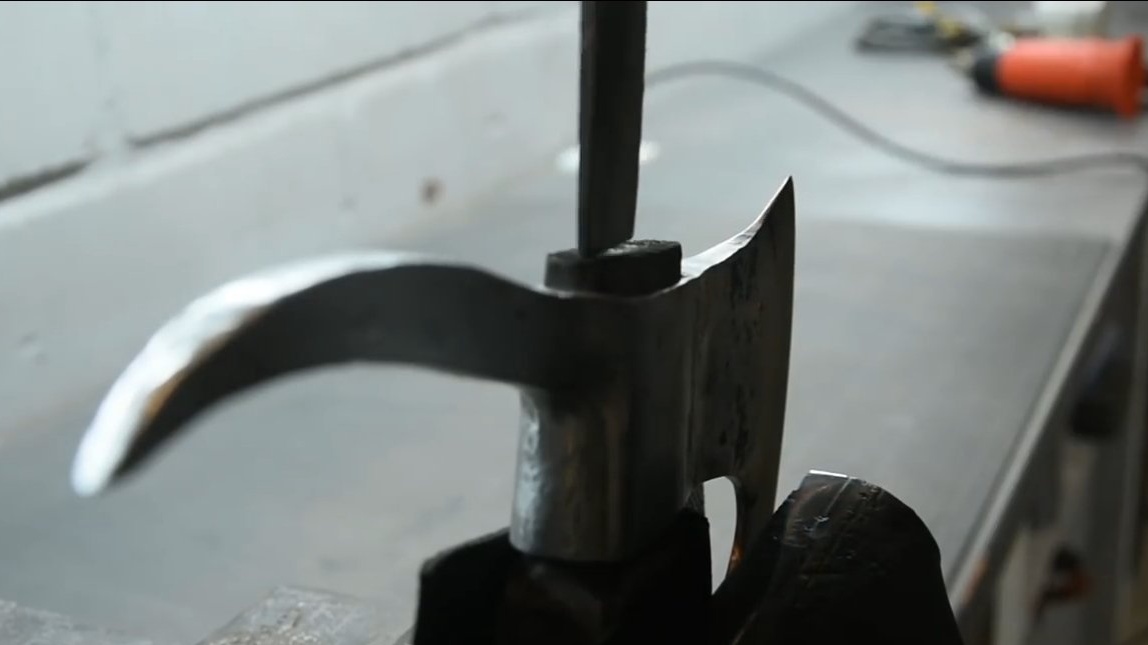
At the back of the ax there is a point, a kind of hook, it also needs to be forged. The end of the tip should also be made of carbon steel, which will not allow the product to quickly blunt. If steel is selected high-quality, you can work with an ax like a pickaxe, it can withstand heavy loads.


Step Two Ax assembly
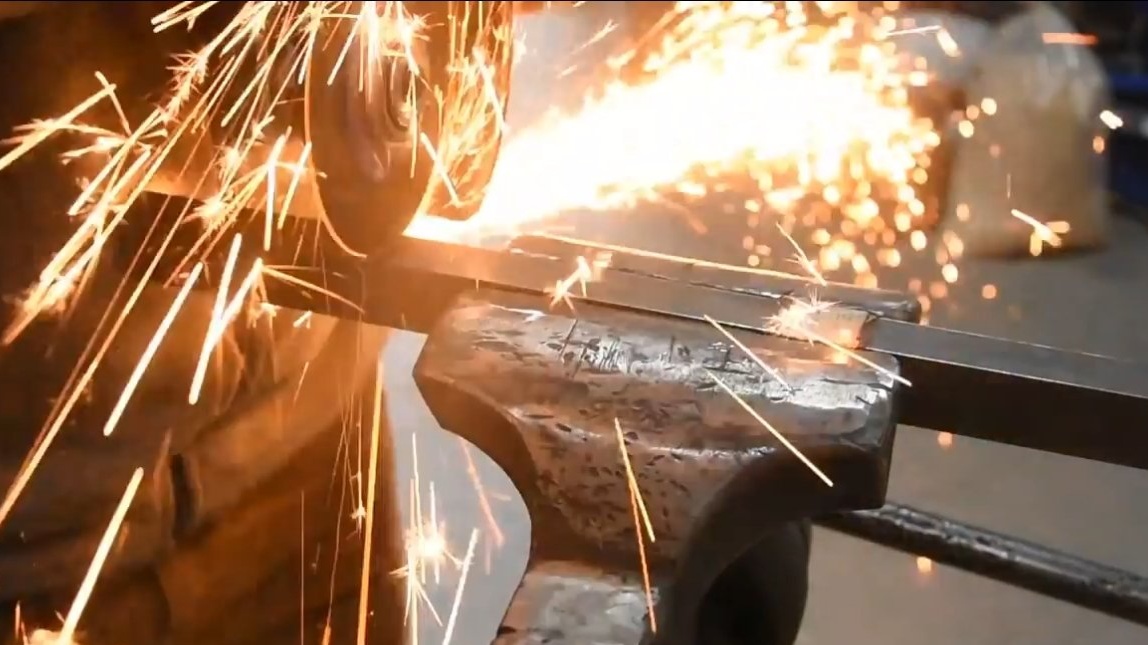
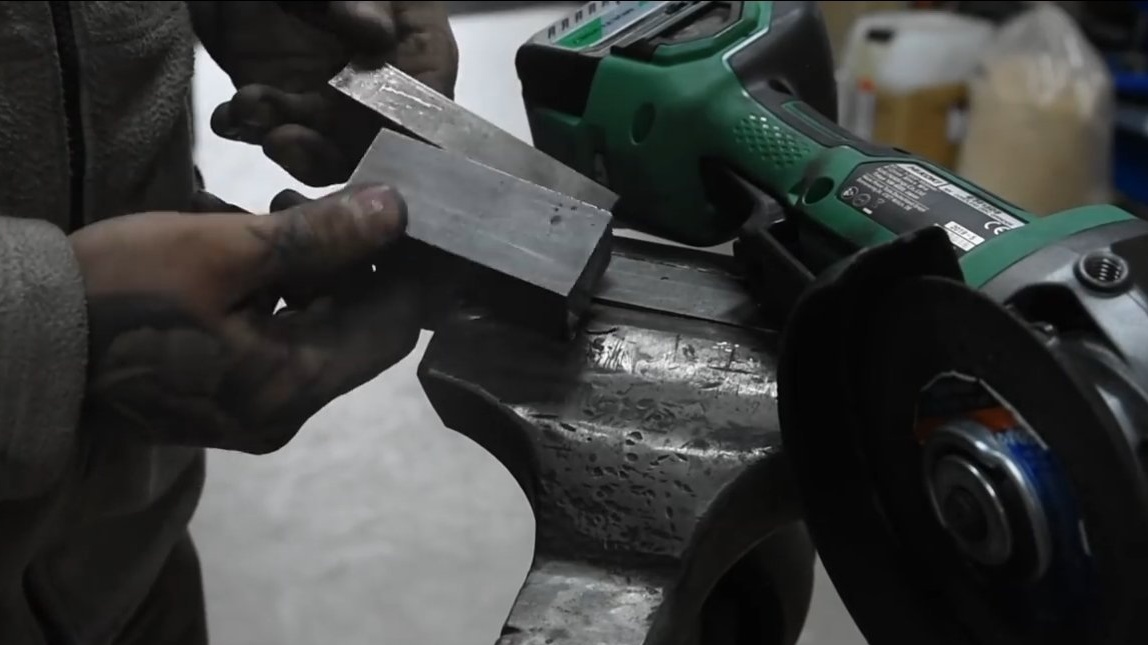
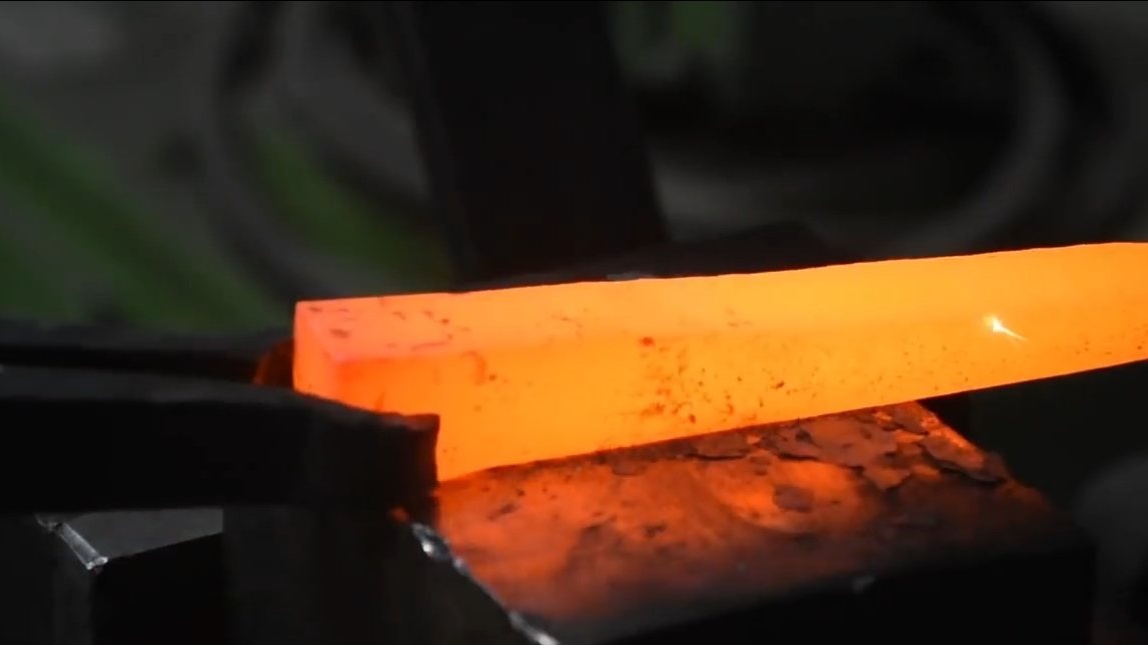
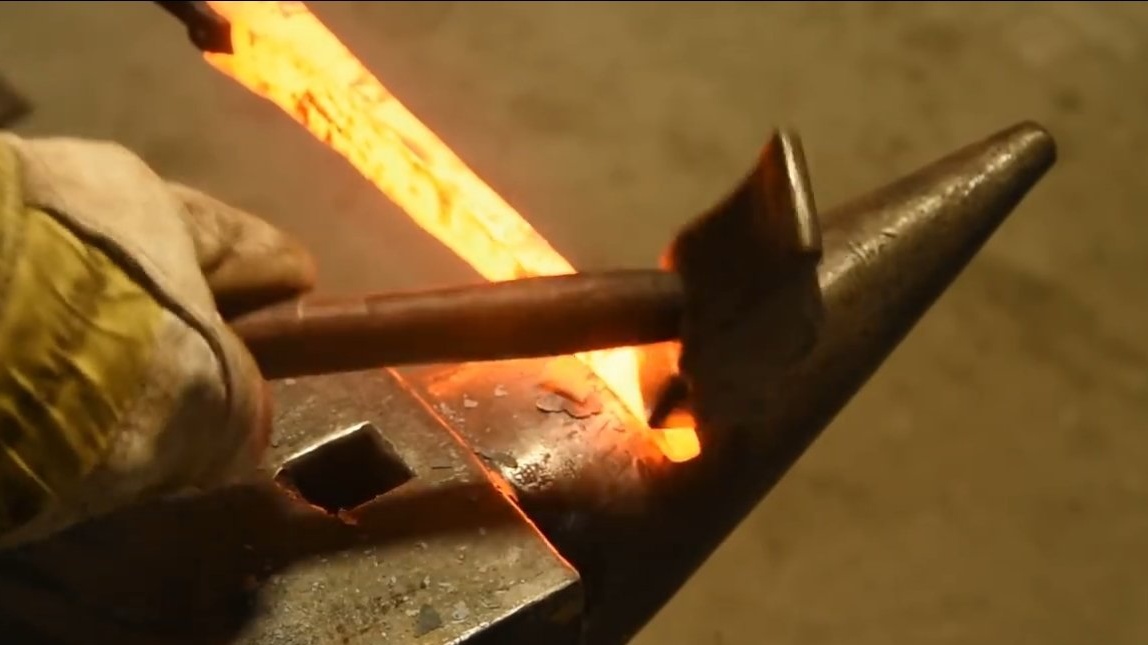
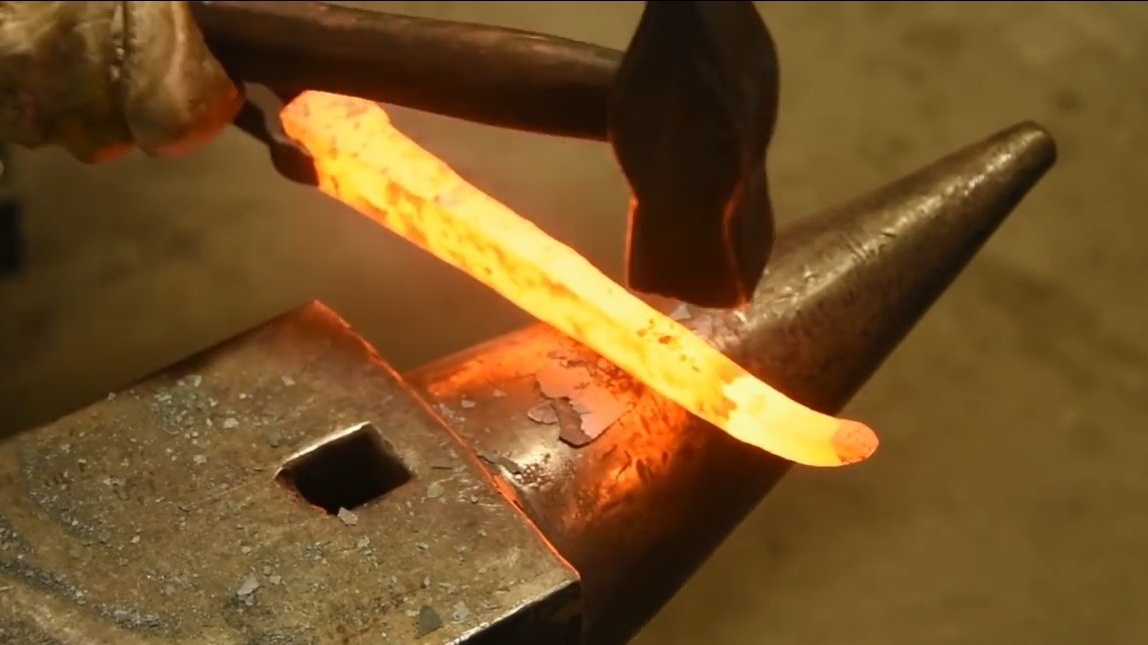
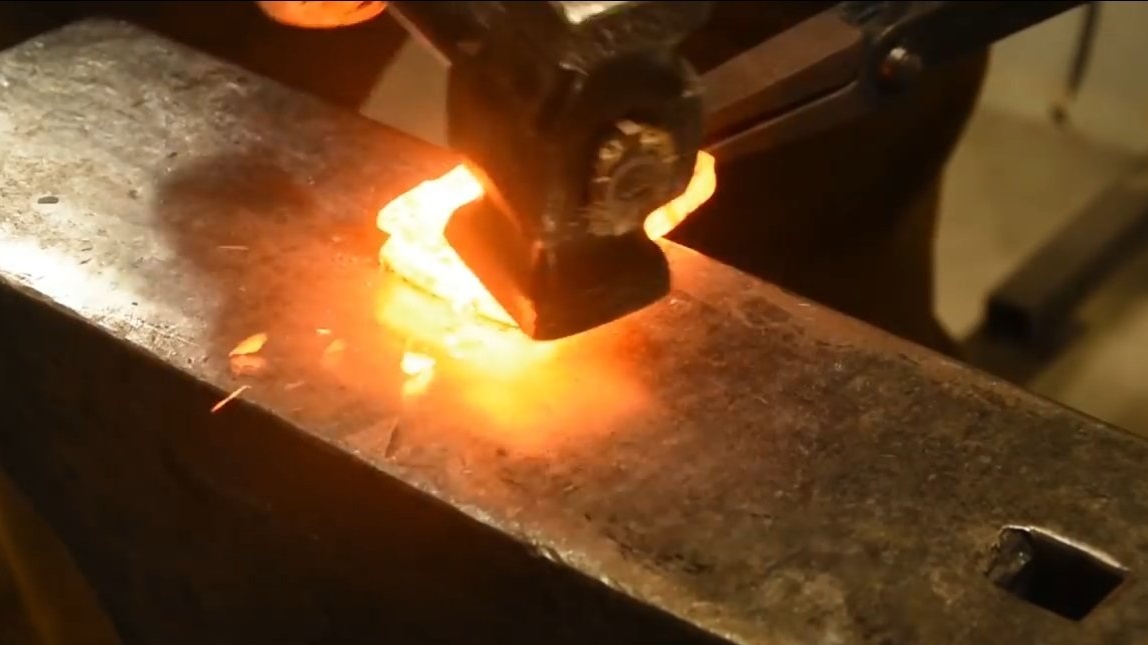
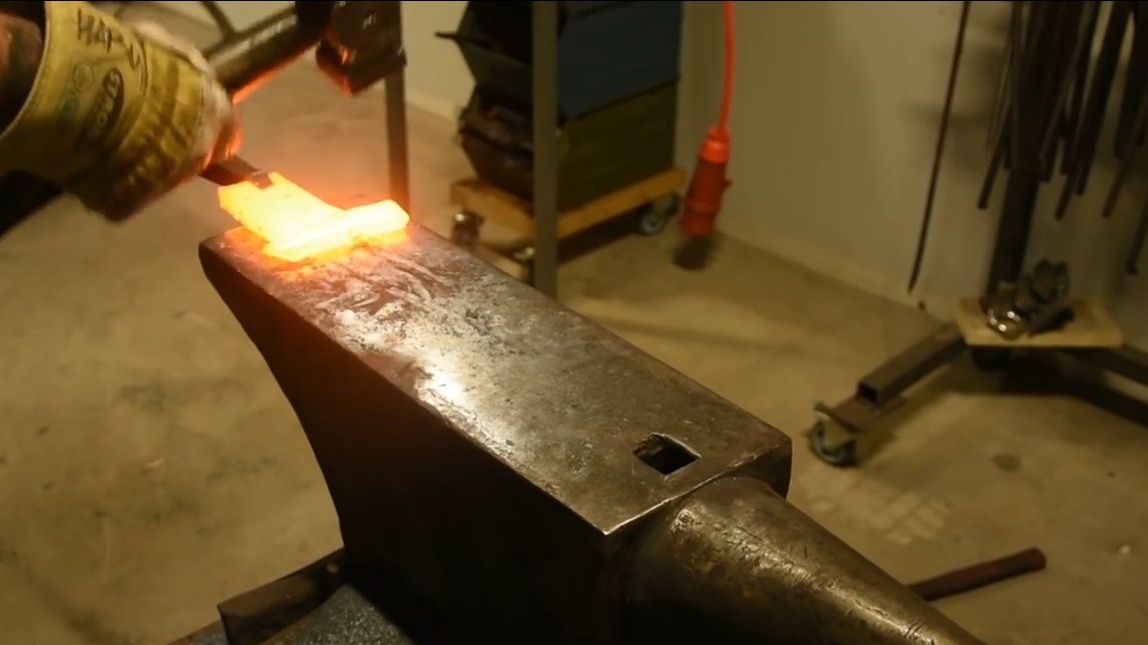
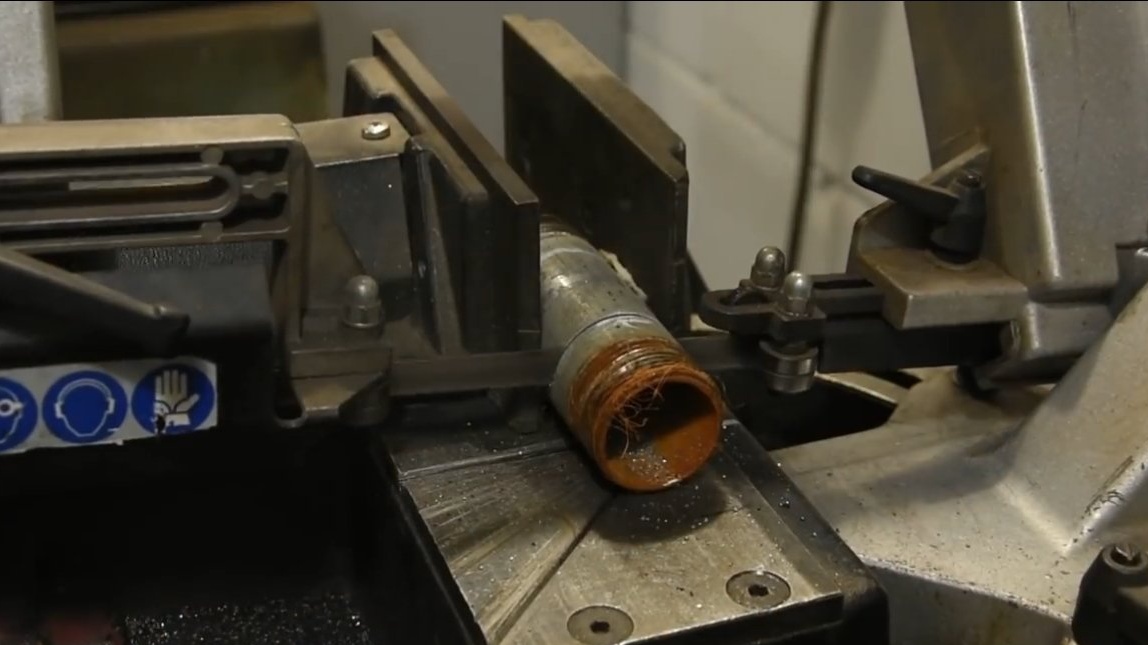
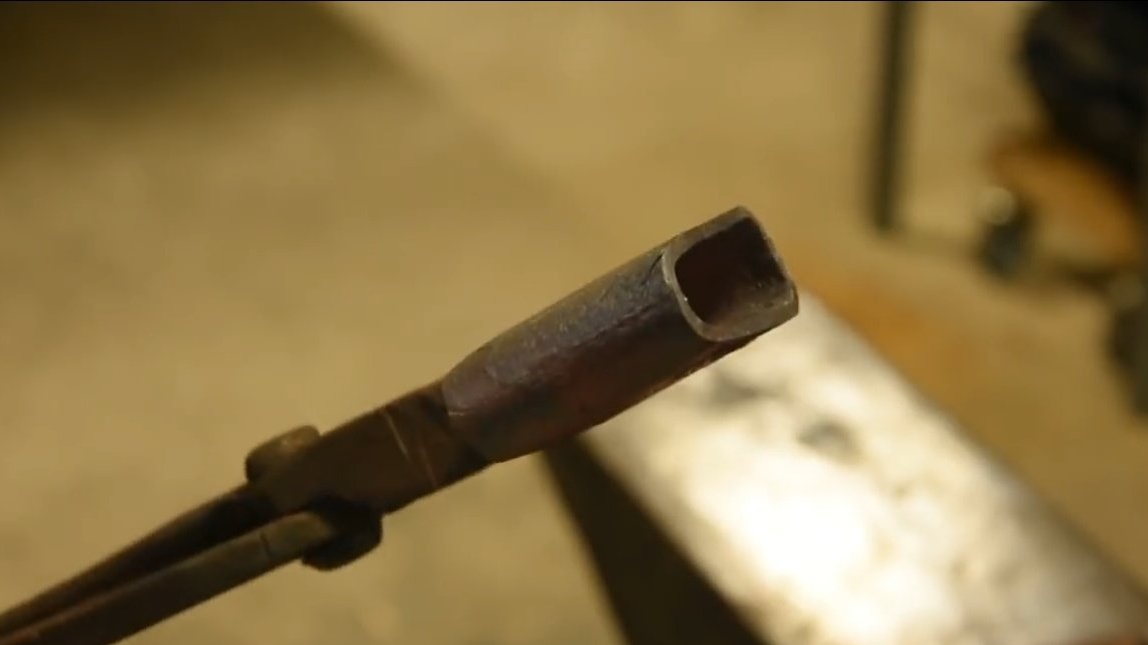
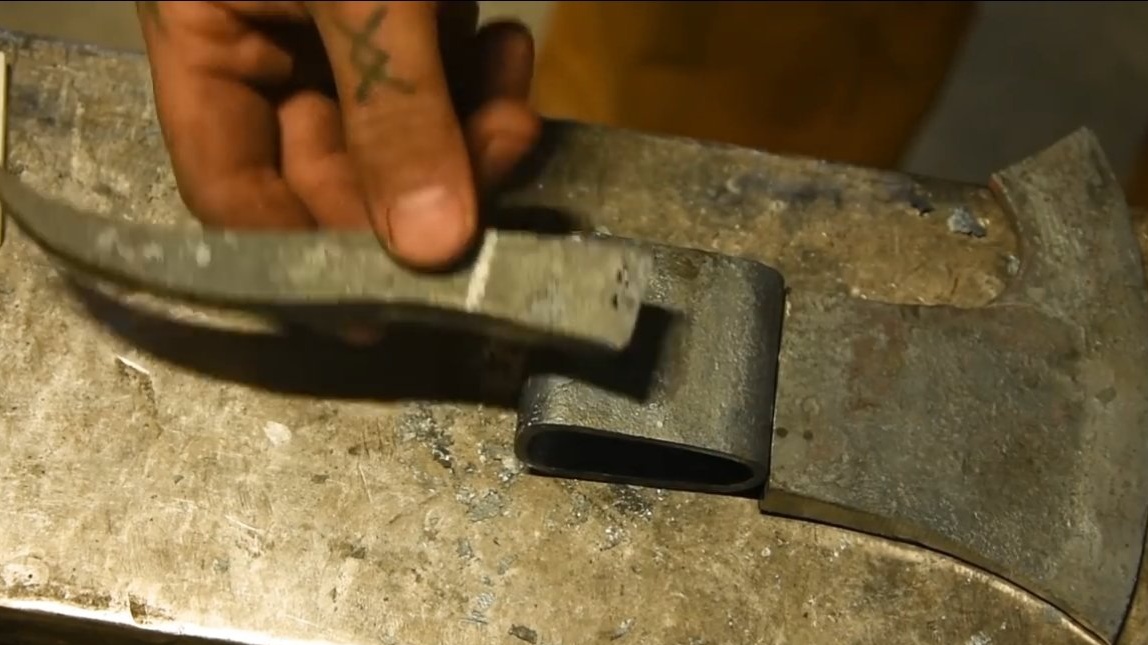
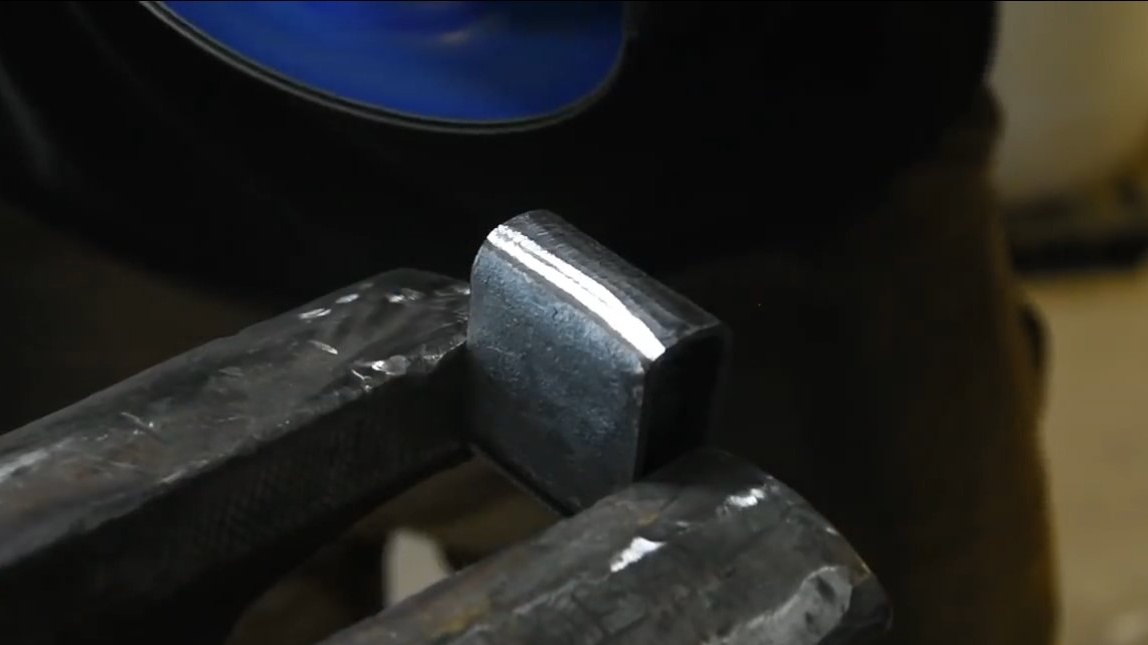
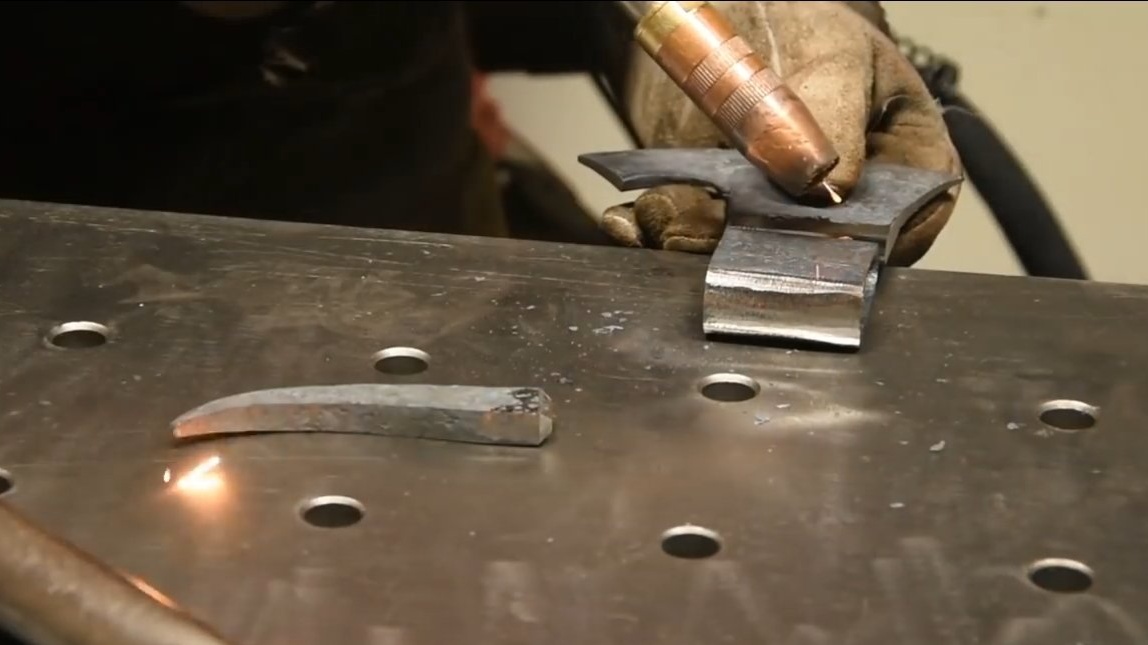
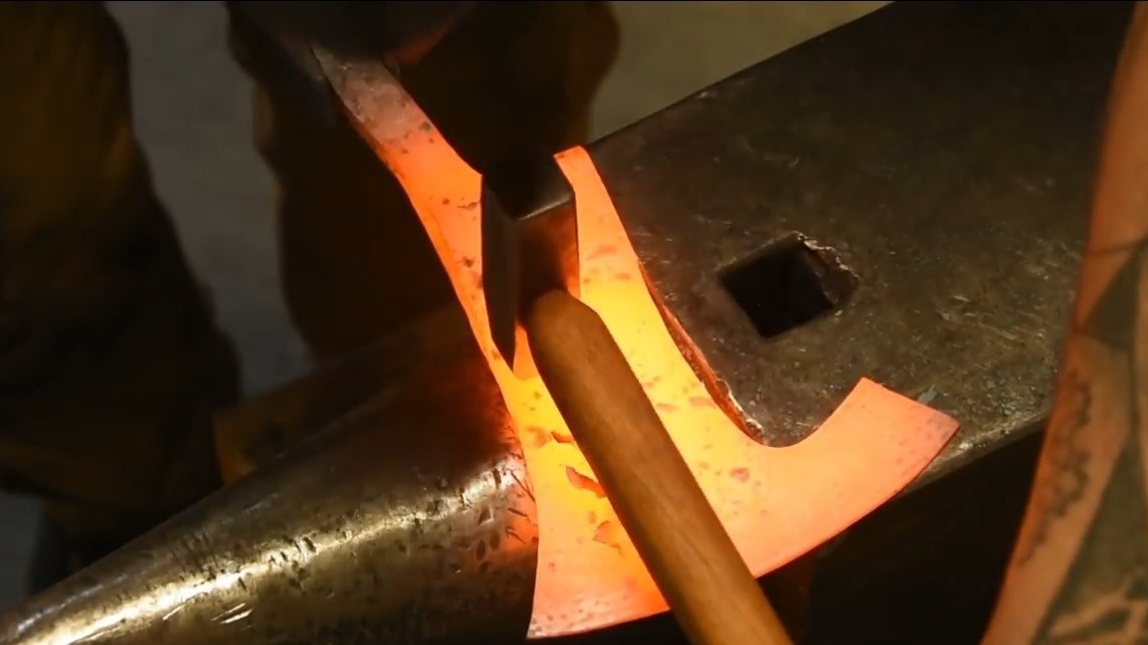
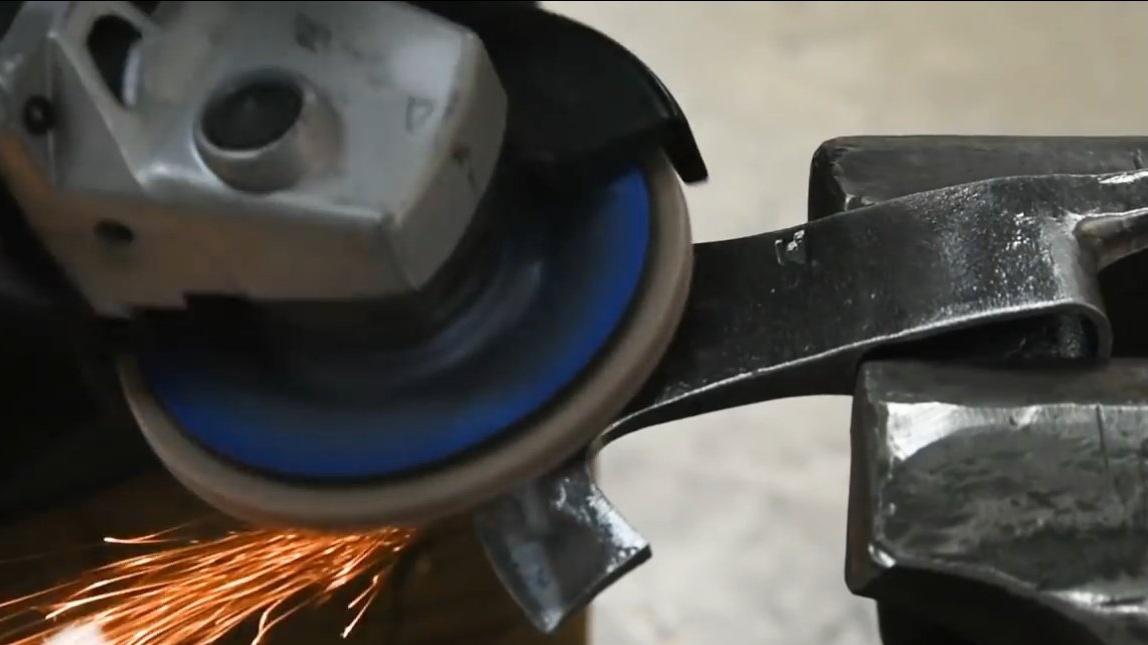
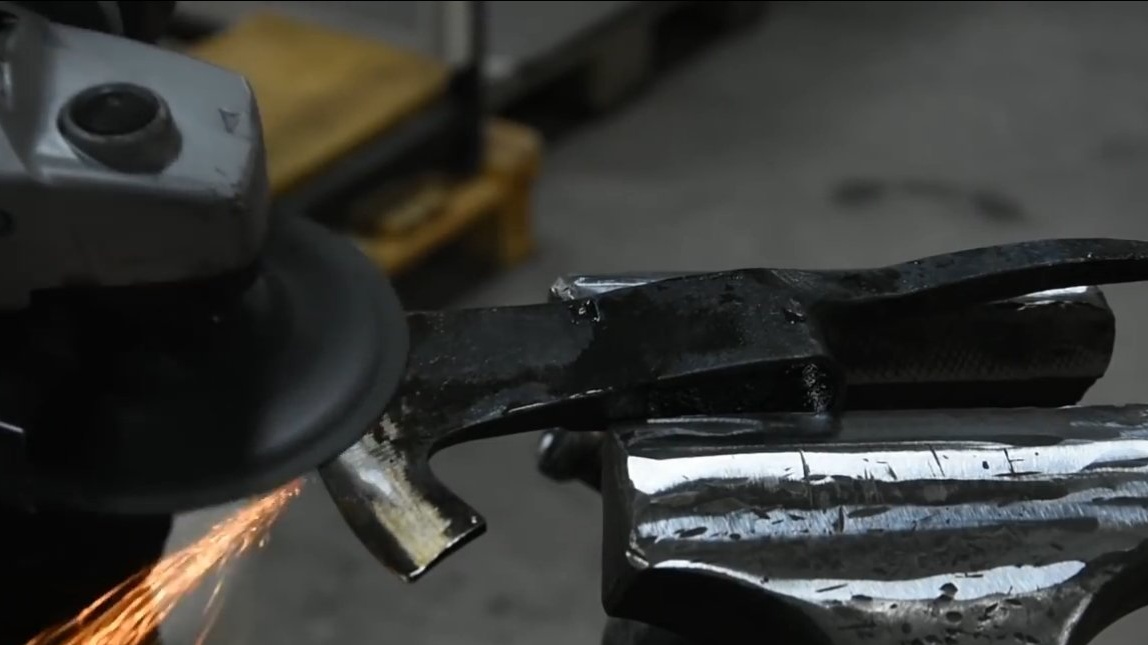
We have two parts for an ax, they need to be connected together. Between these details there should be an ear into which we will insert the hatchet. To make this very ear, we are looking for a piece of steel pipe and by forging we flatten it a little to the desired shape. Next, we weld the resulting part between two parts, cutting off the excess. Of course, the welds must be very high quality, the product as a result should be monolithic. The author chamfered the grinder and boiled well.

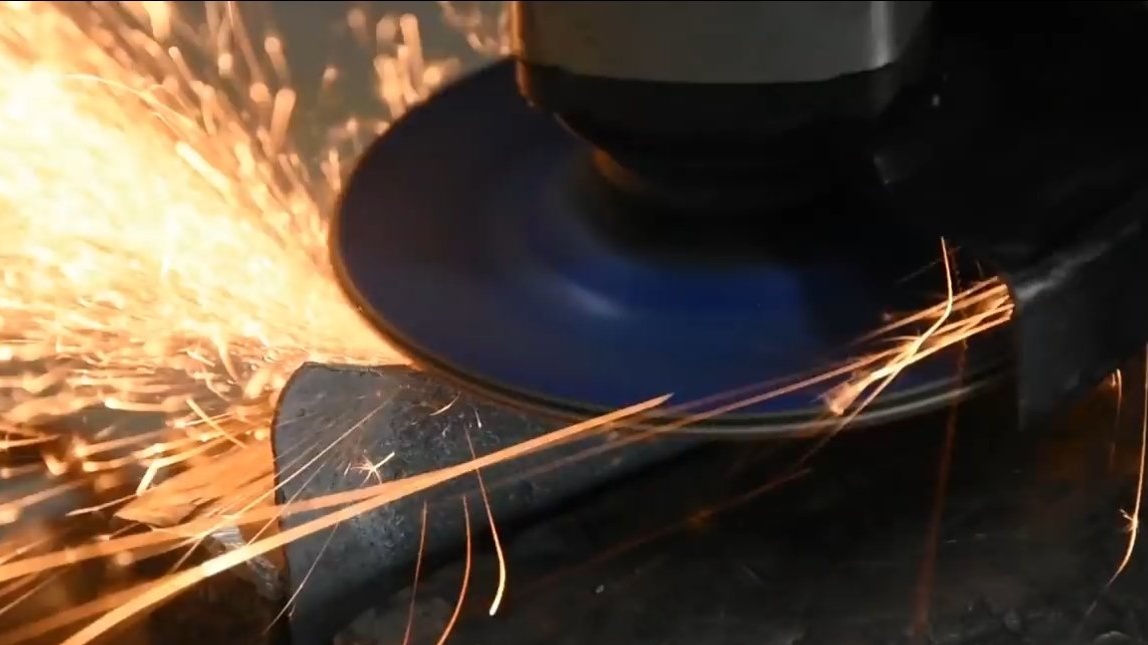
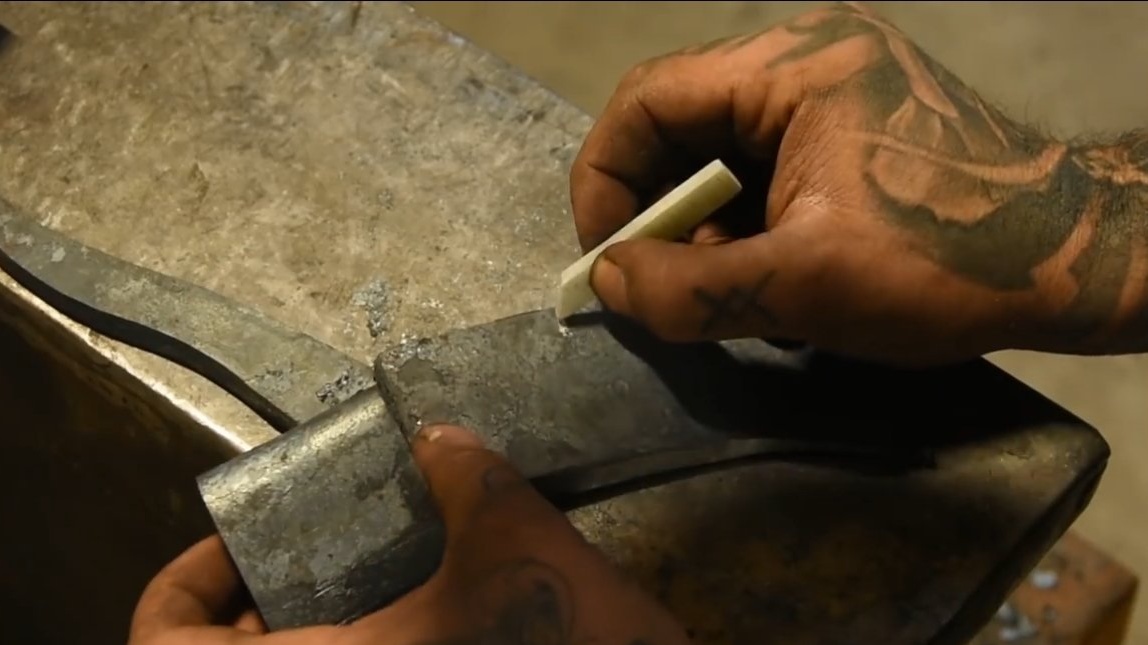
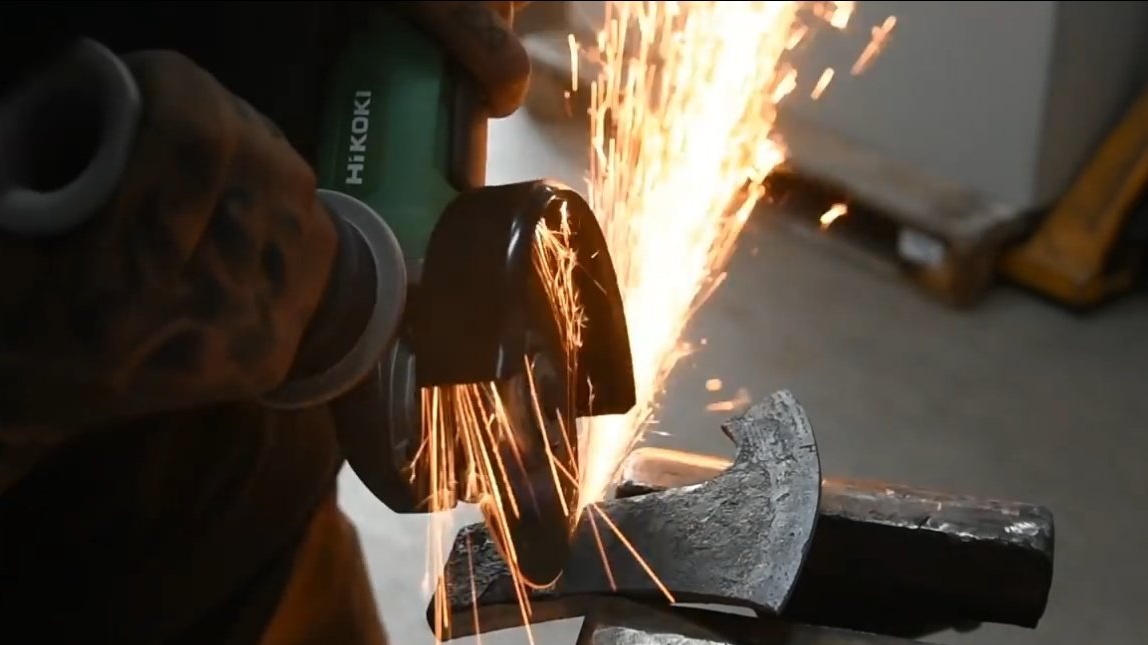
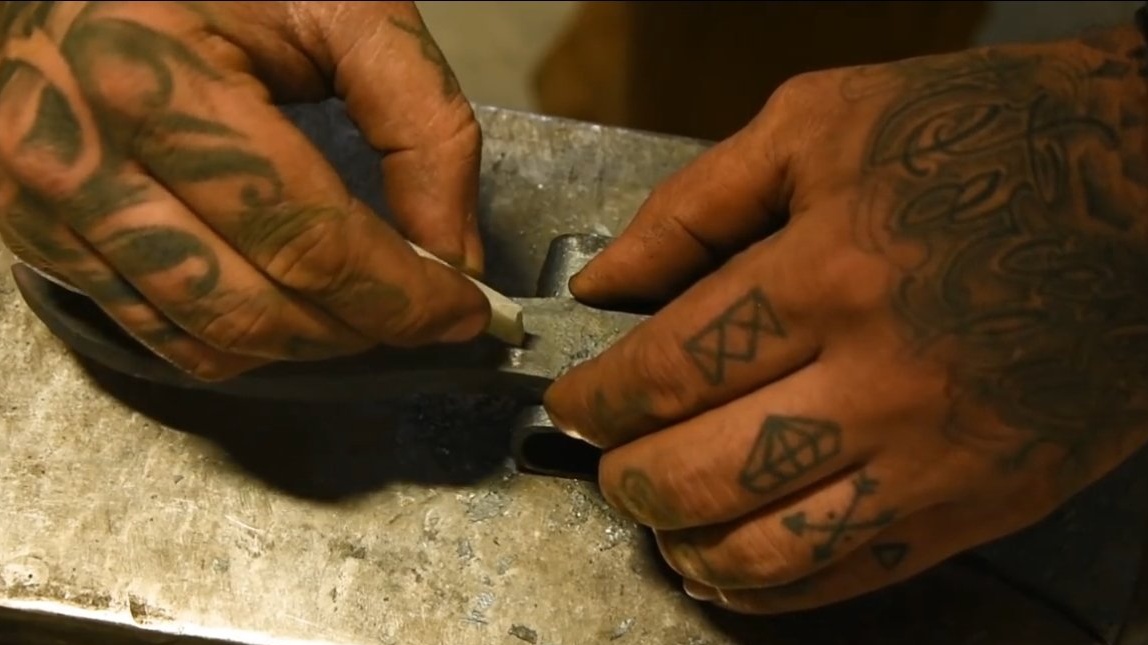
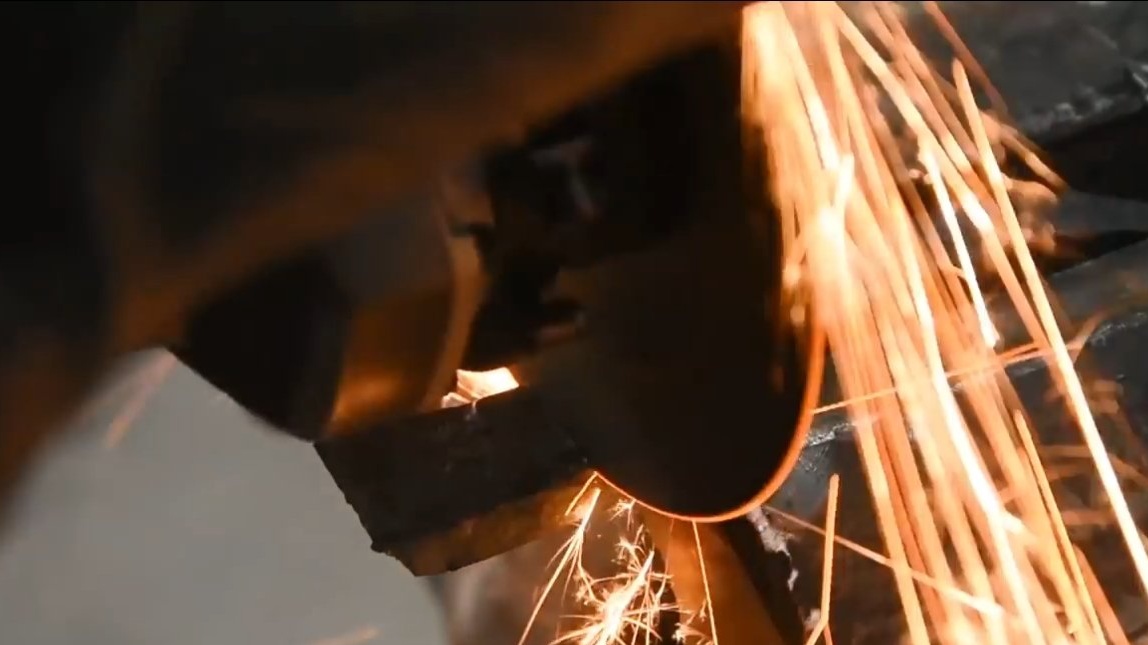
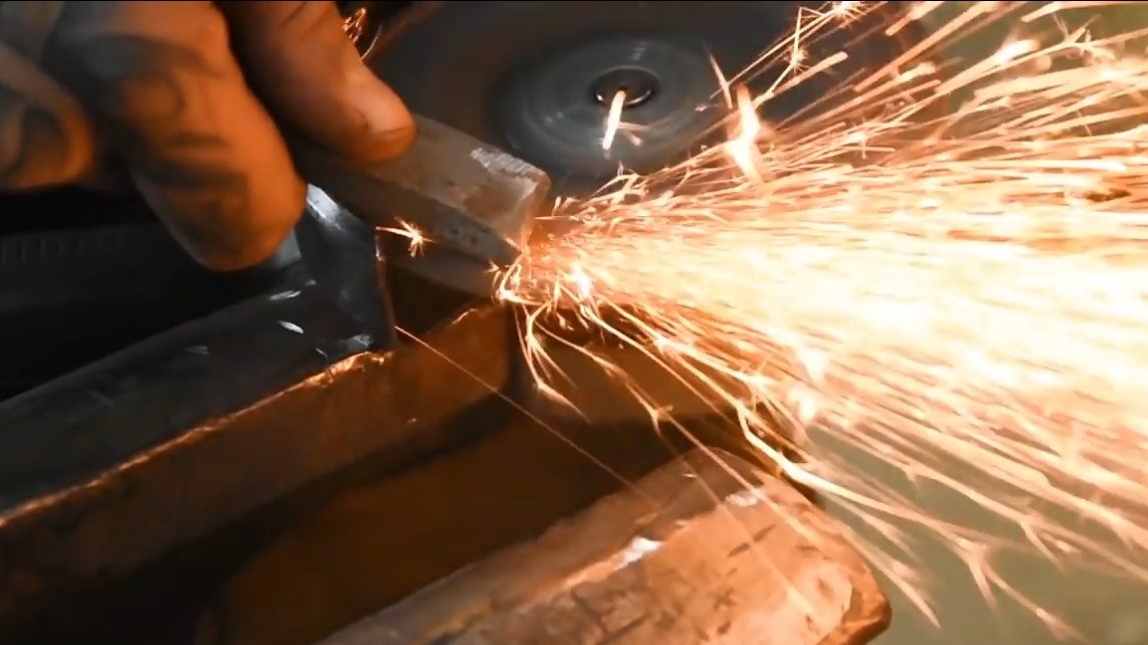
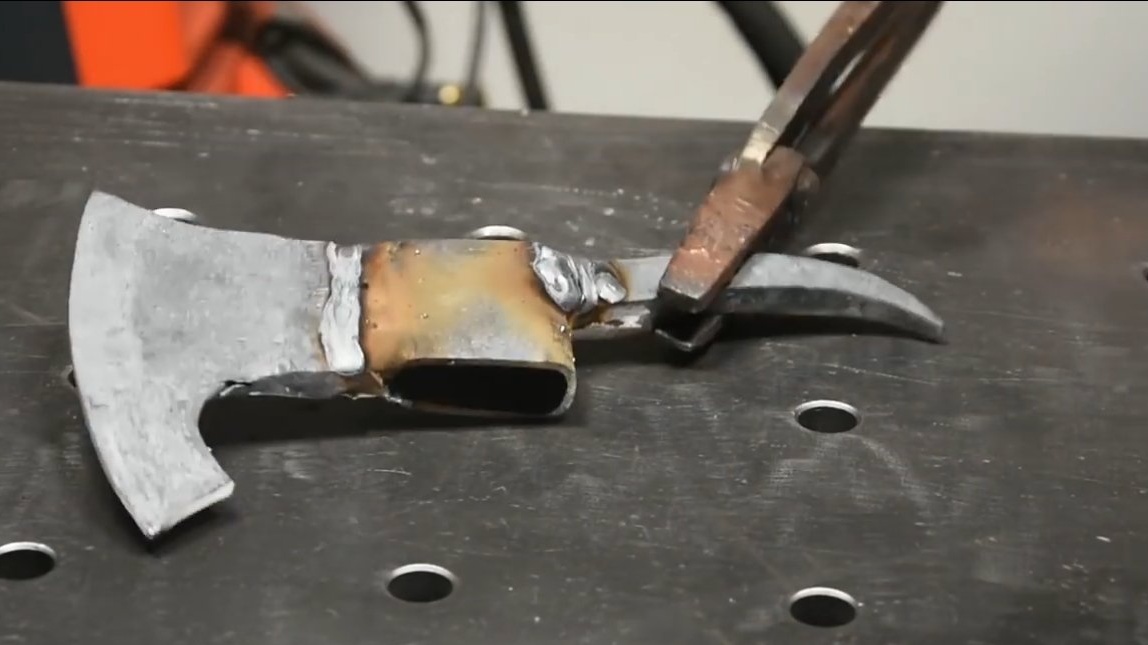

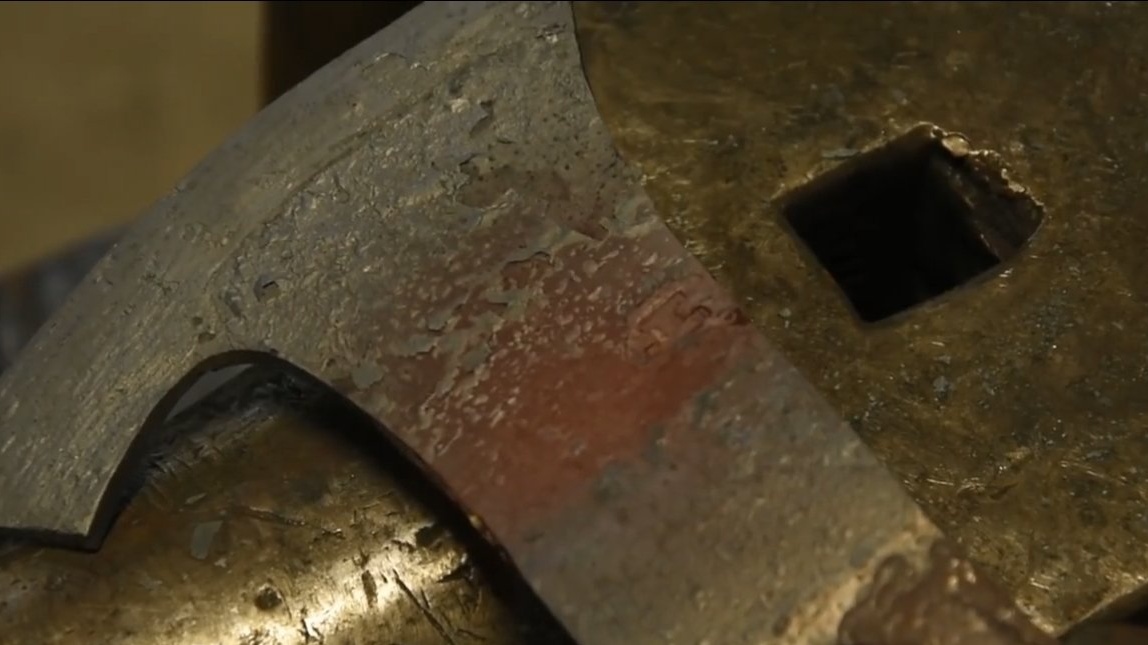
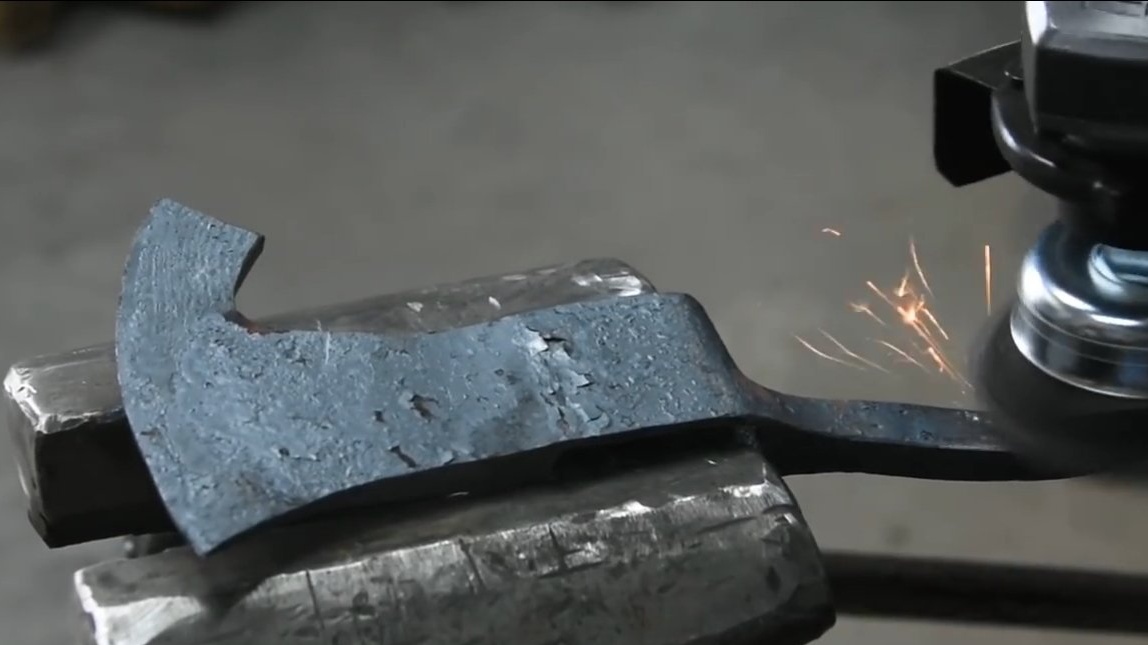
After welding, we arm ourselves with a grinder with grinding discs and clean the welds well. The product as a result should turn out monolithic. Problem areas can be modified with a drill and a file.
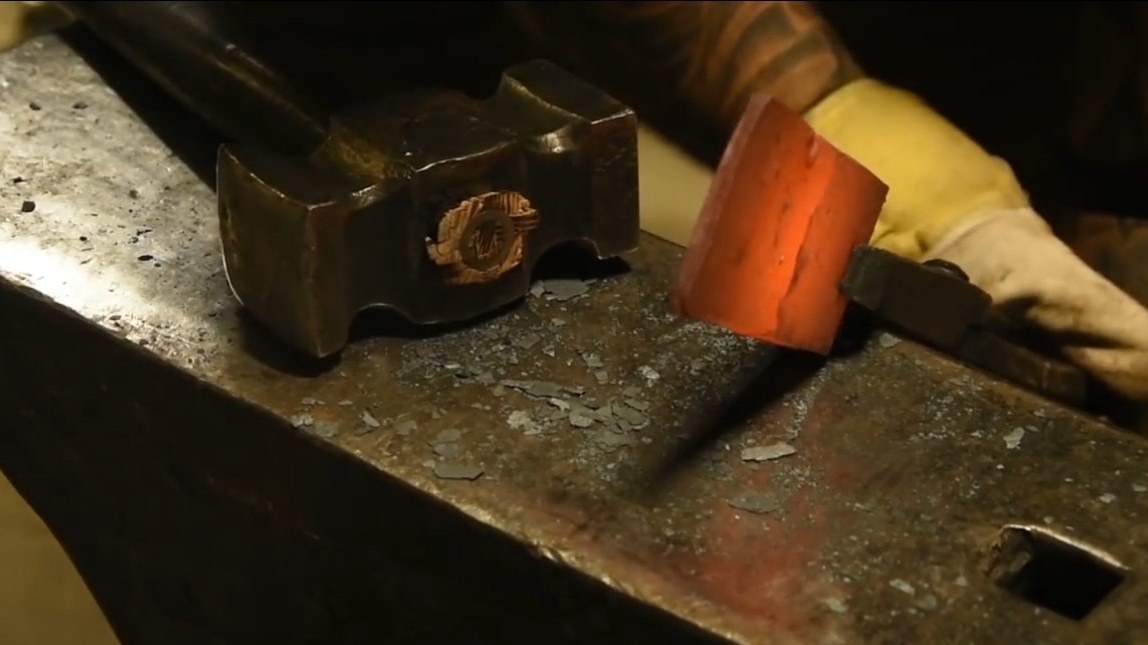
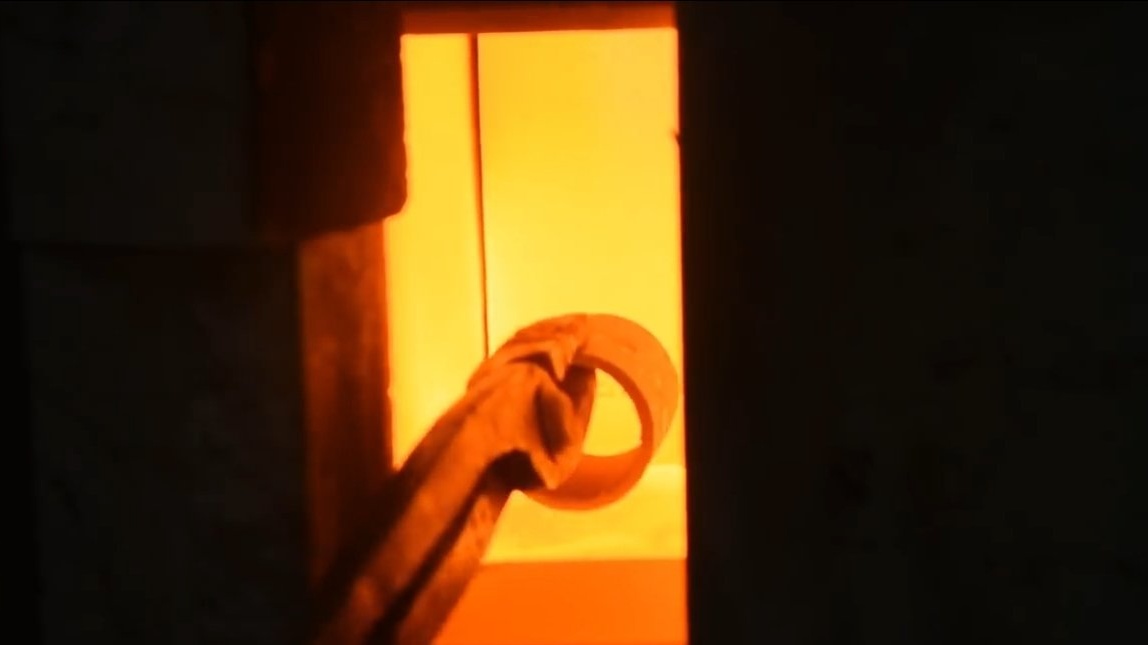
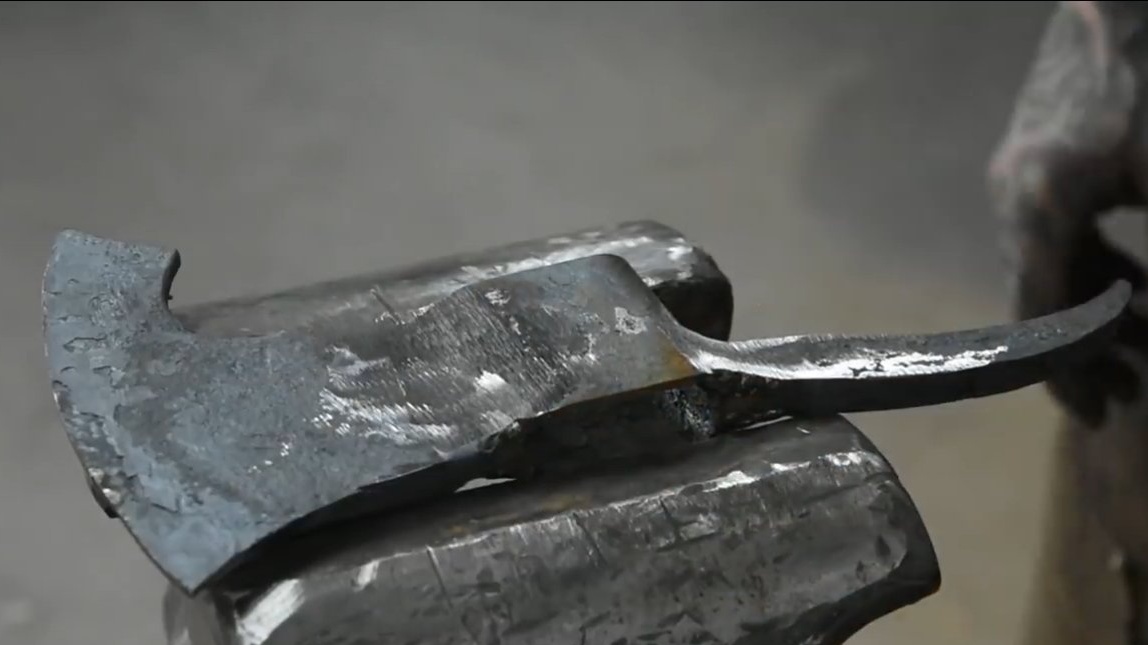
At the end, the author heated the ax in the furnace and put his own stamp on it. It is necessary to warm up the ax after welding in order to equalize the internal stresses in the steel. At the end, we clean the hatchet with a wire brush and form the primary descents.
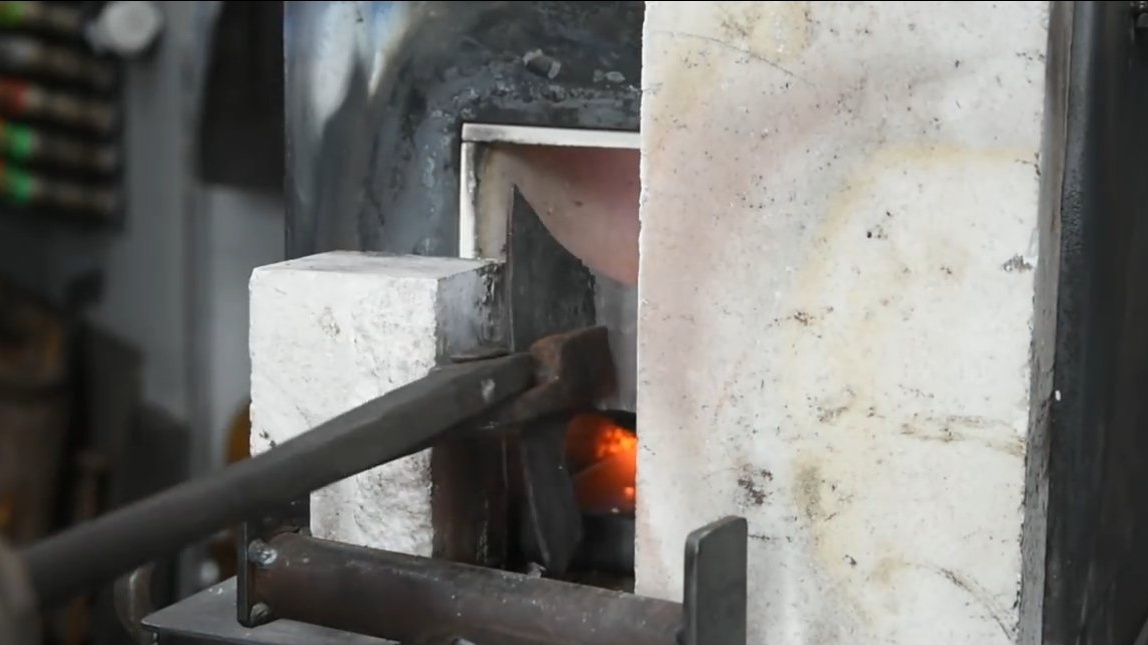
Step Three Quenching
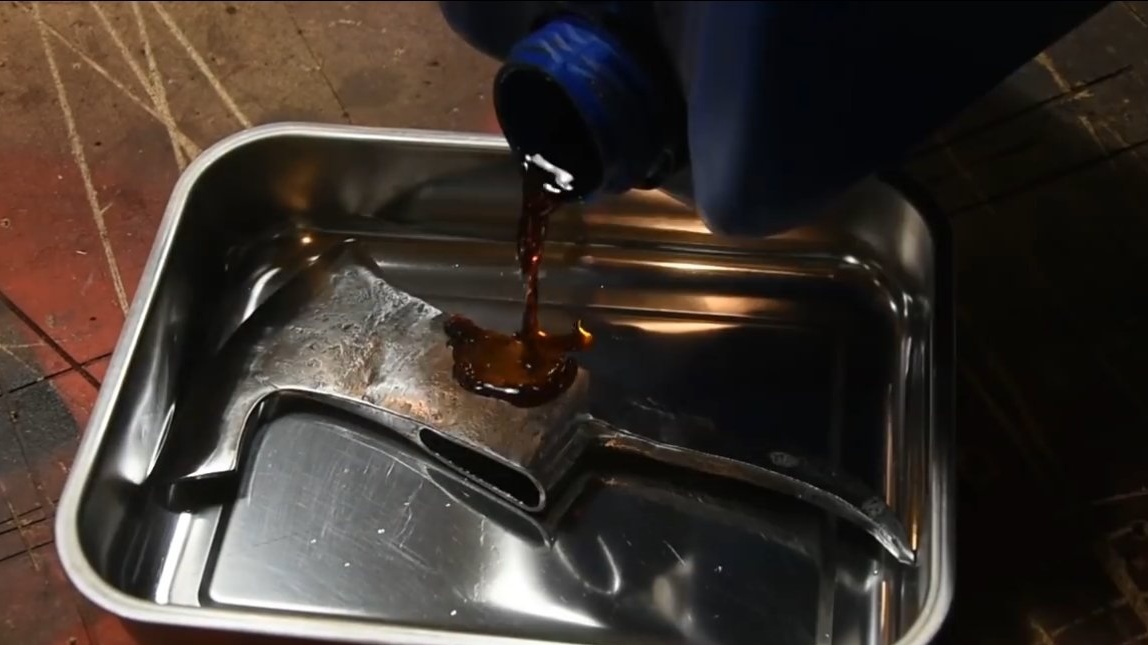
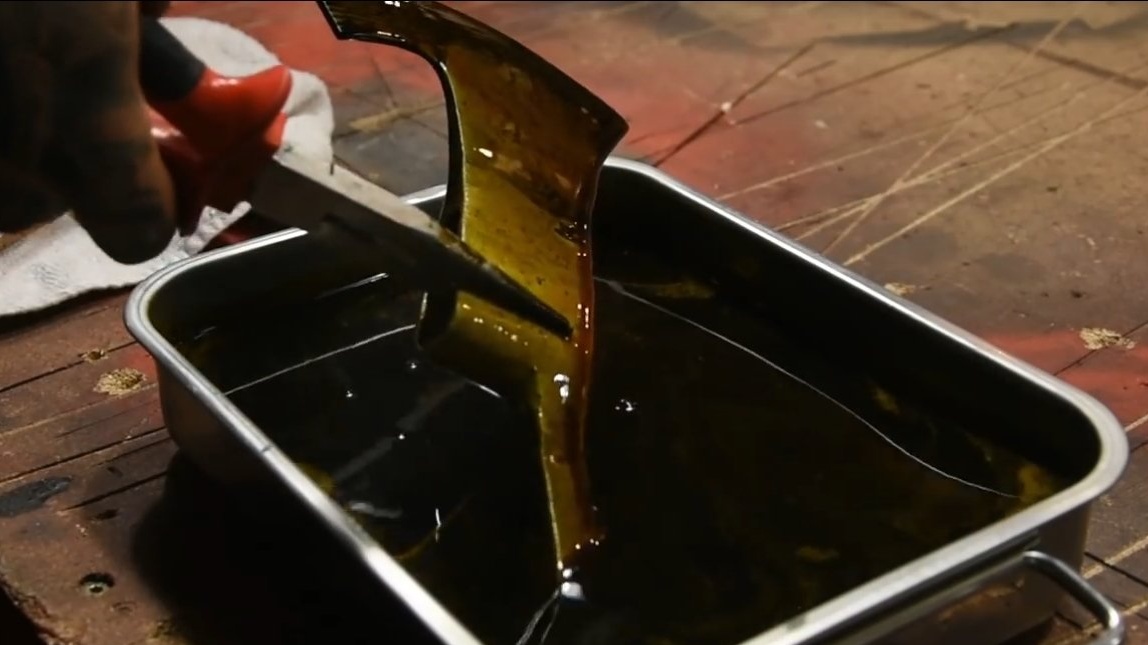
You can begin to harden the hatchet, we only need to harden the blade and tip of the tip. We use heated oil for hardening so that the steel does not deform and does not crack. The author heated oil with a piece of hot iron, the oil temperature can be about 80 degrees.
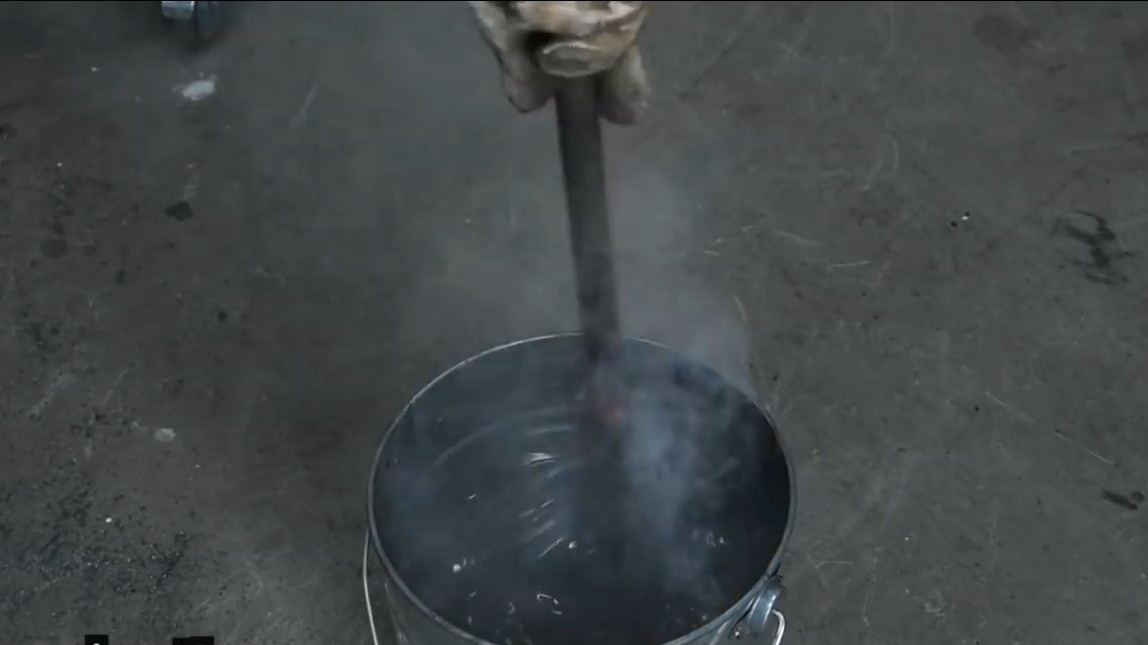
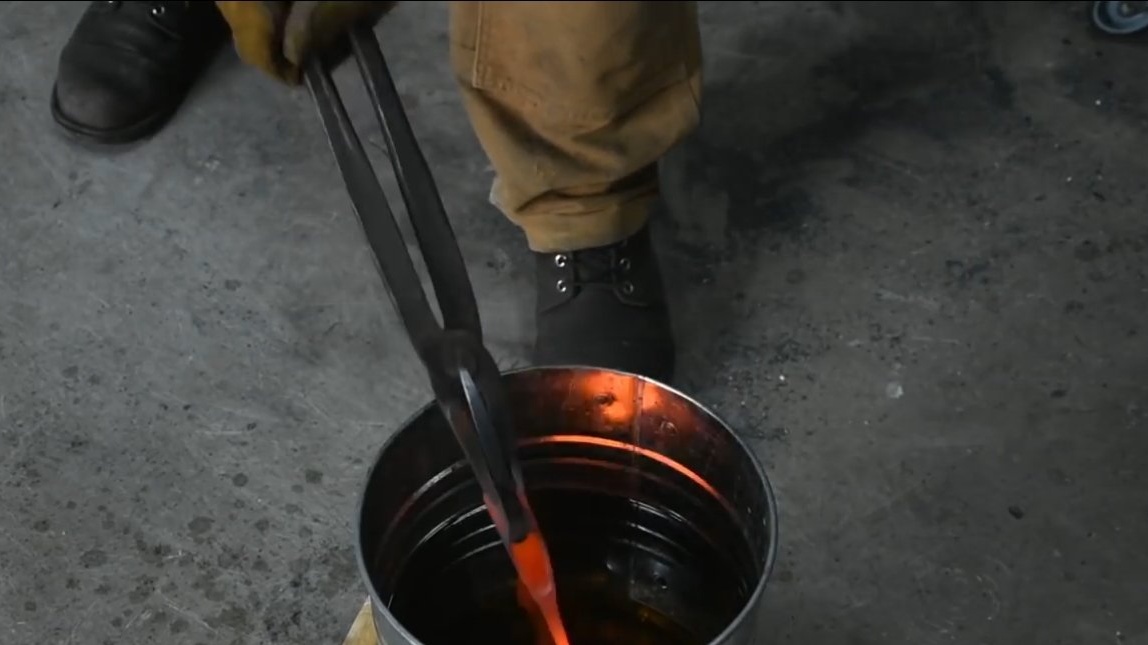
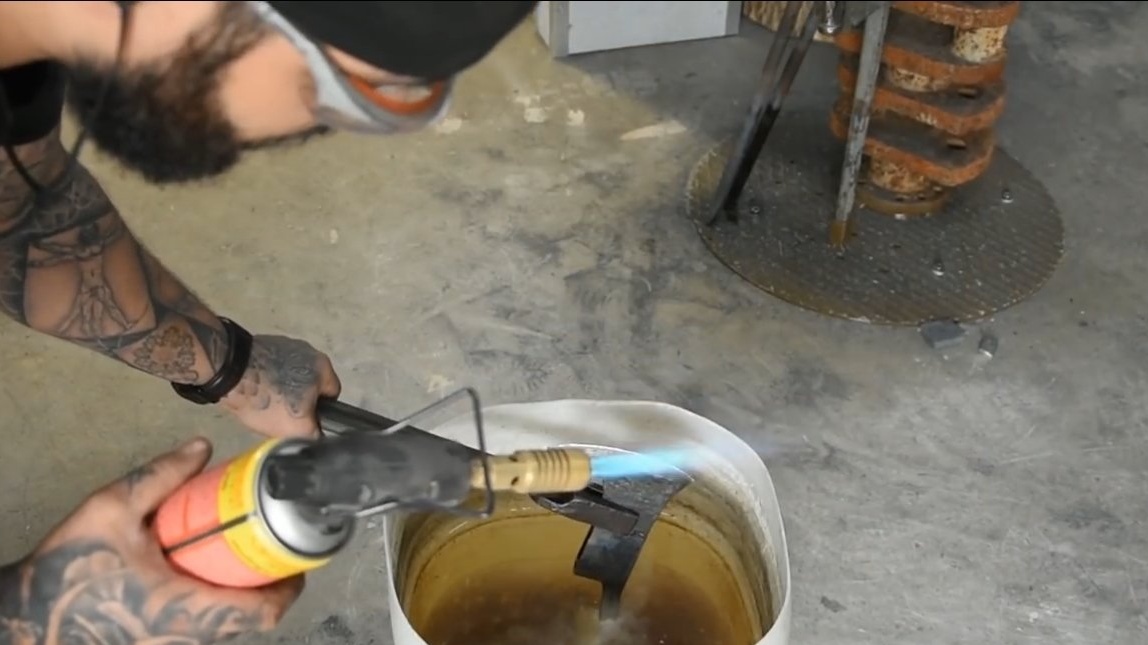

We heat the blade and immerse in oil, if everything is done correctly, the steel will not be taken with a file. We carry out a similar procedure with the tip.
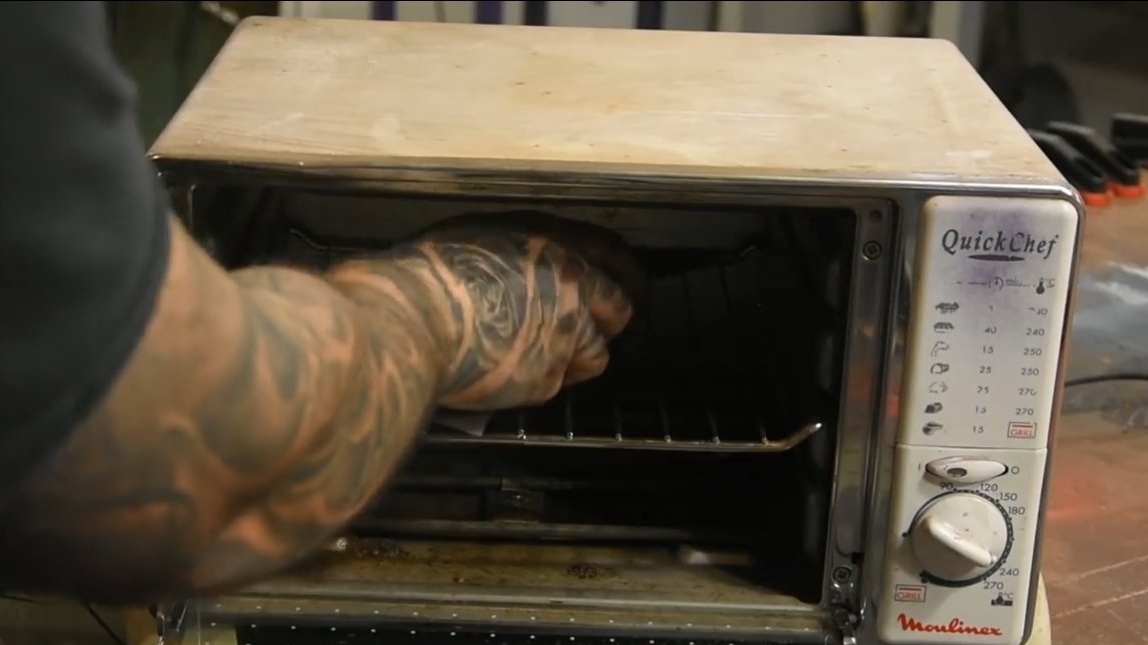
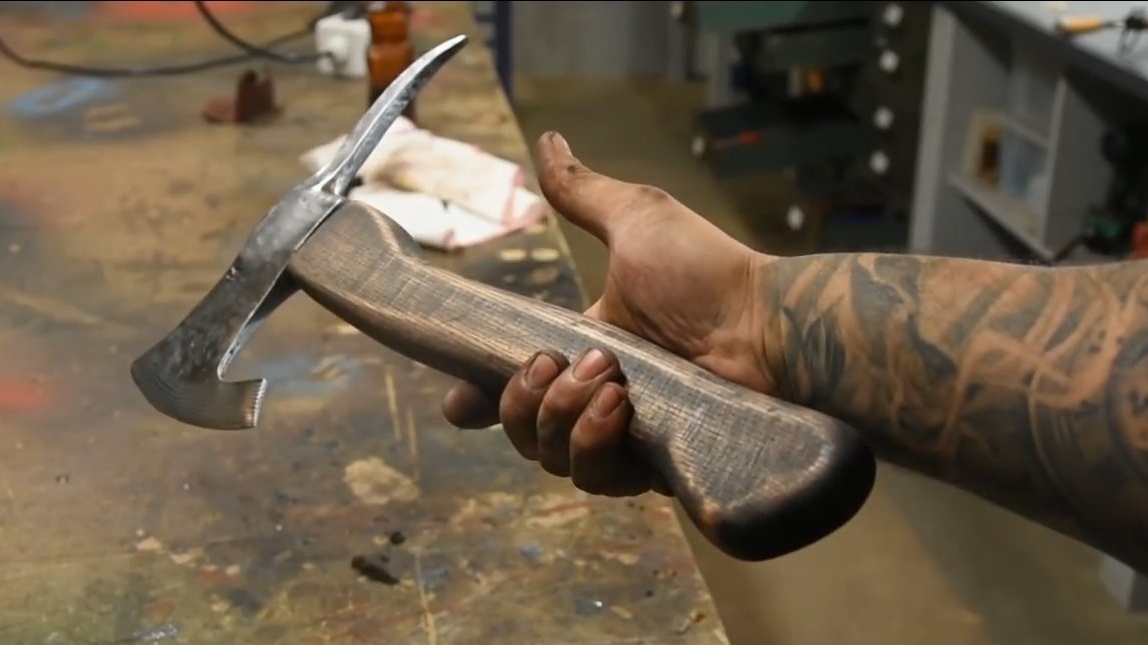
After hardening, the steel must be let go so that it is not brittle. The author does this in the way it is customary for everyone, with the help of a domestic oven. We clean the metal to shine and then follow the oxide film, the steel should become a straw color. The temperature in the oven should be around 200 degrees Celsius.
Step Four Patina
If you want the hatchet not to rust and look more original, you can cover the steel with a patina by etching in ferric chloride. Also, thanks to the ferric chloride, we will highlight the damask pattern on the hatchet.
You can still heat the ax and cover with linseed oil, you get a stable protective coating on steel.
Step Five Hatchet and assembly
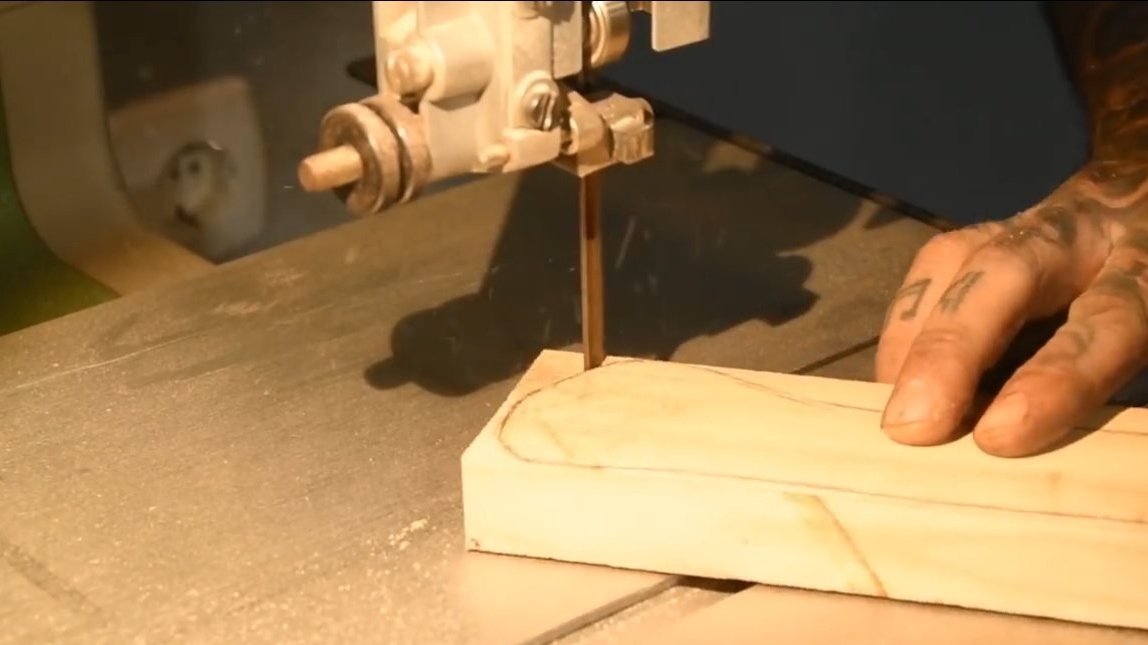
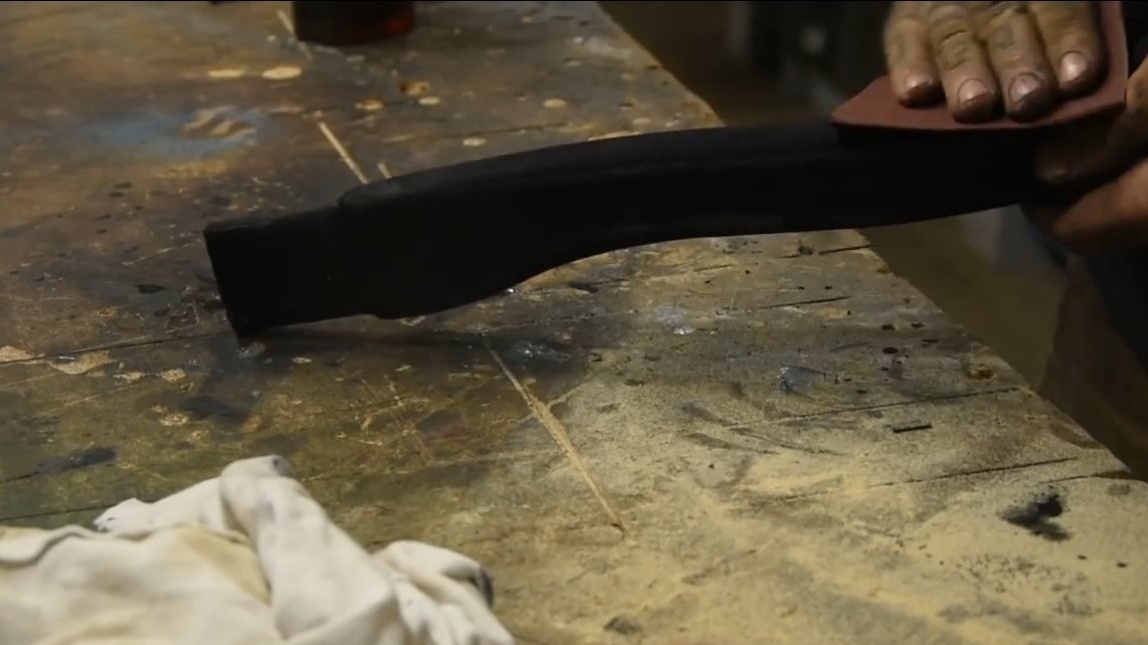
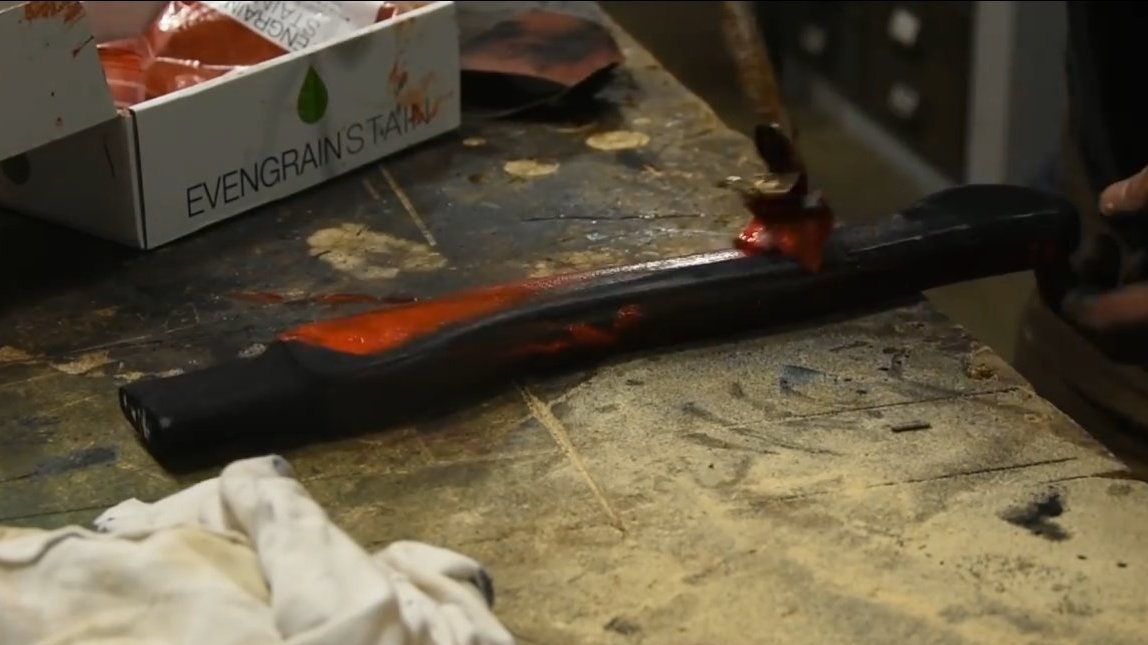
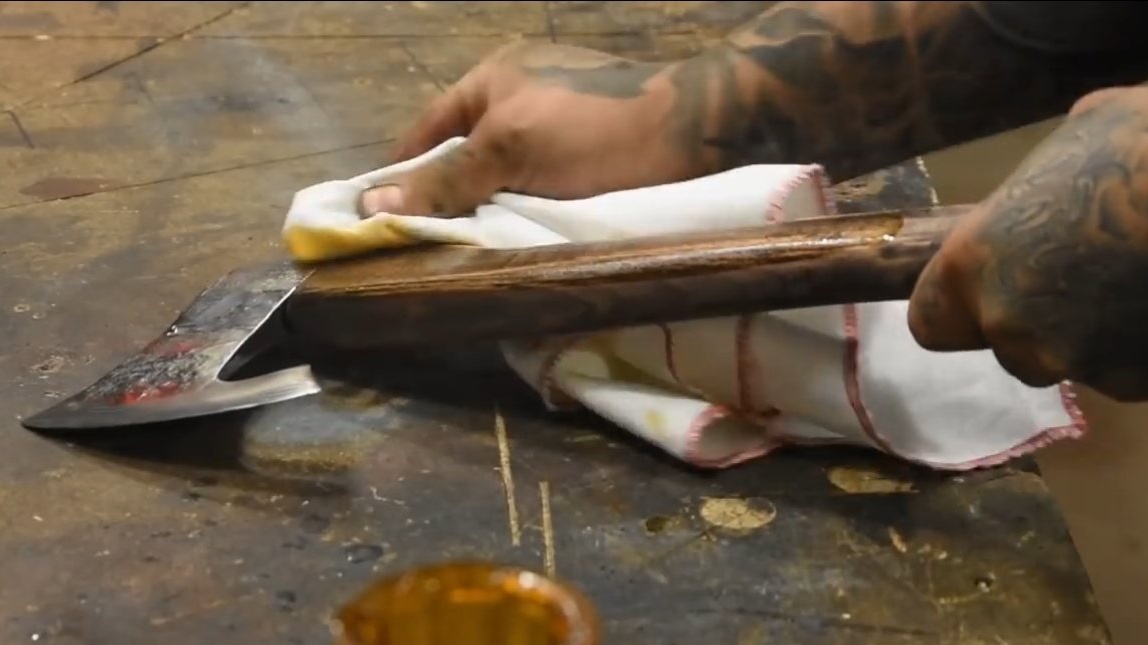
We cut the hatchet for the hatchet, the author cut the main contour on a tape cutting machine from a thick board. We finish the workpiece with files on wood and sandpaper. To make the ax handle look interesting, cover it with a stain to your taste.
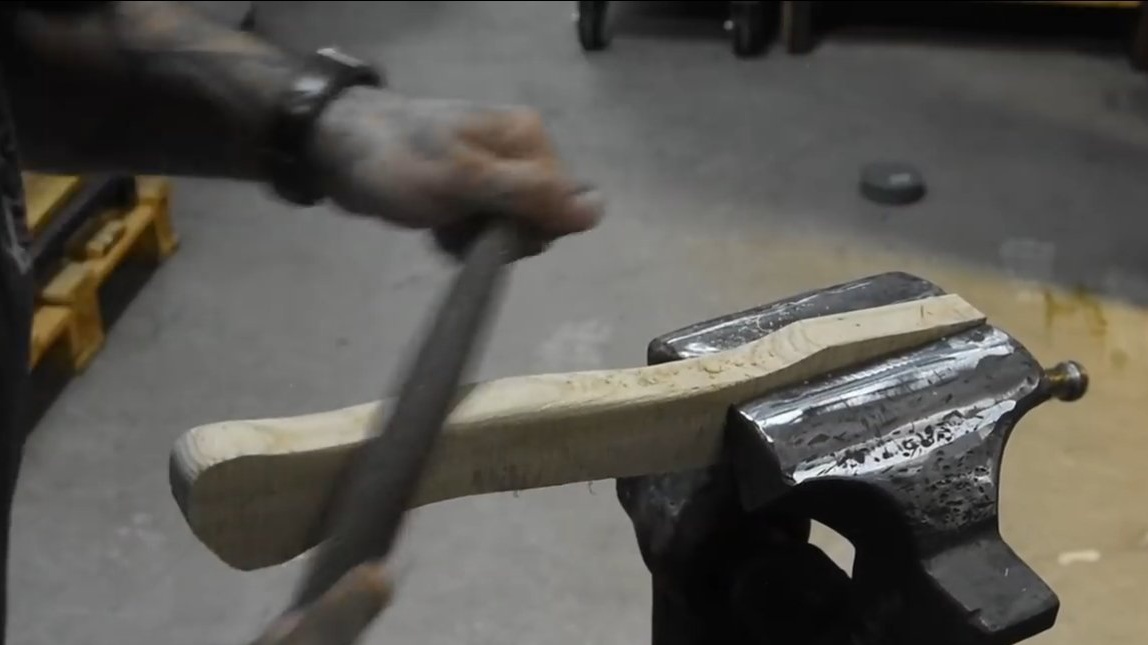
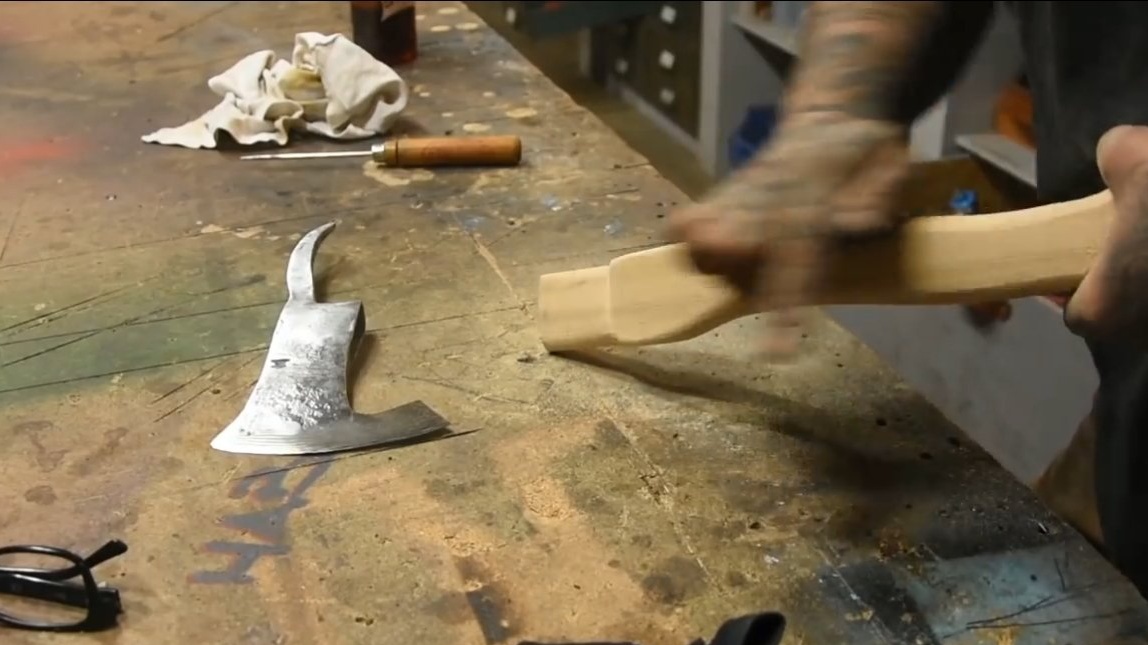
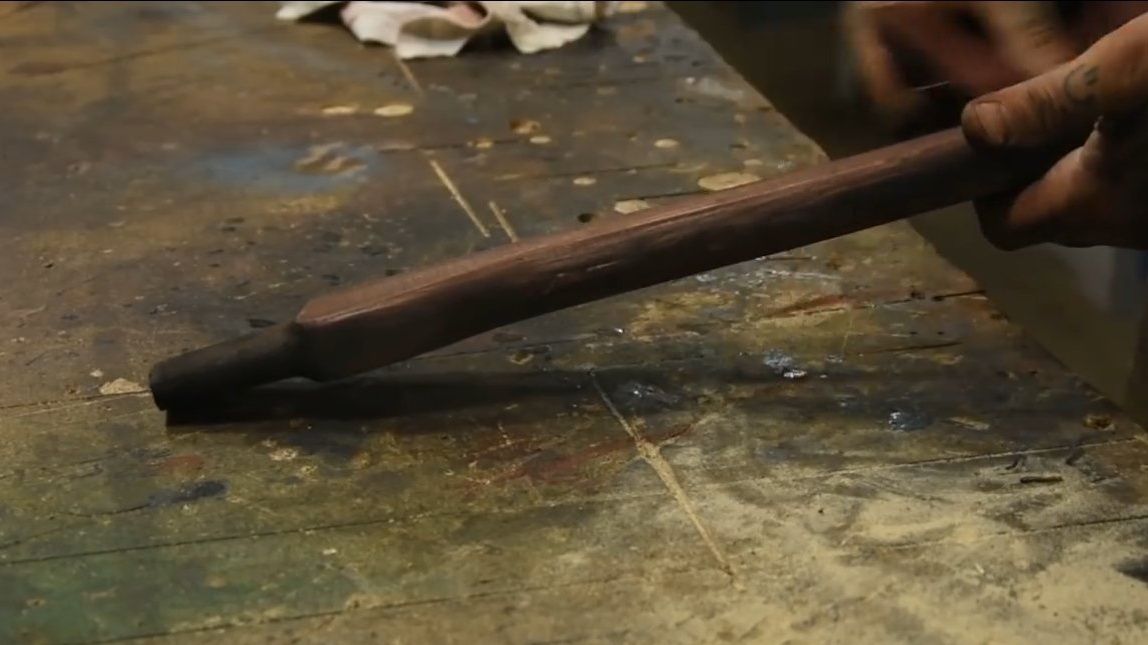

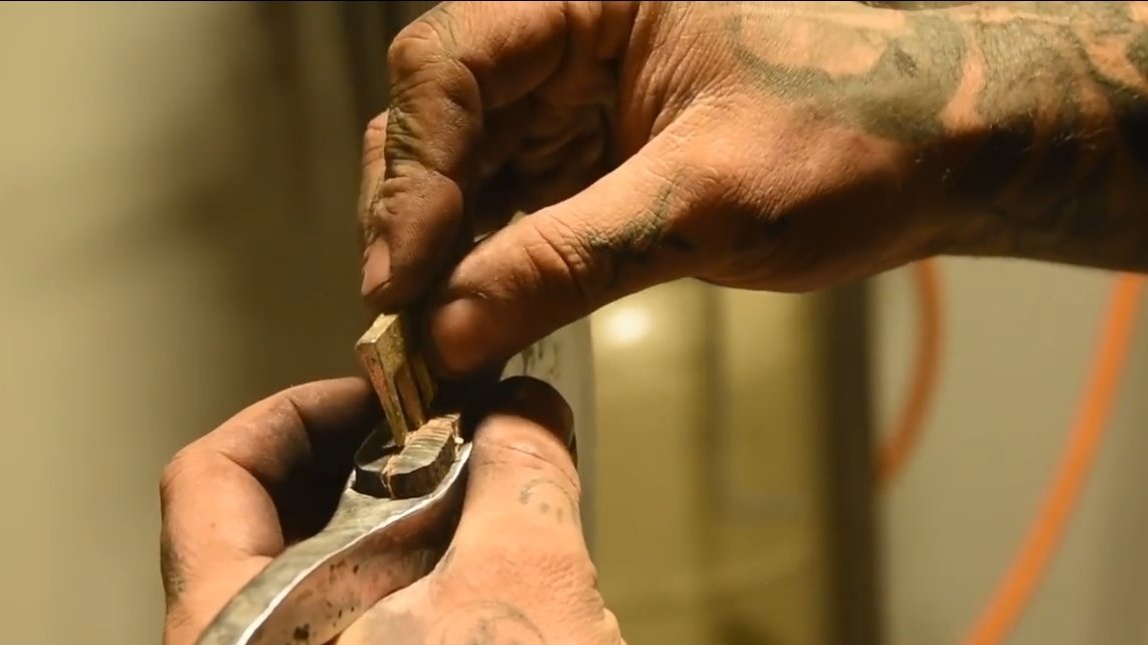
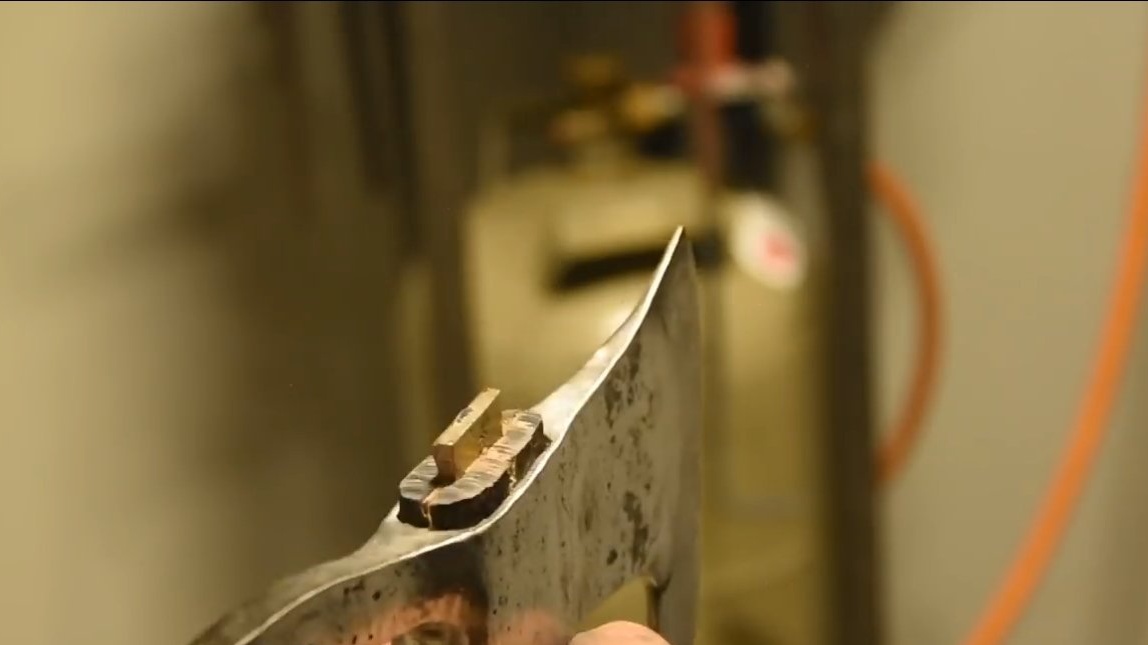
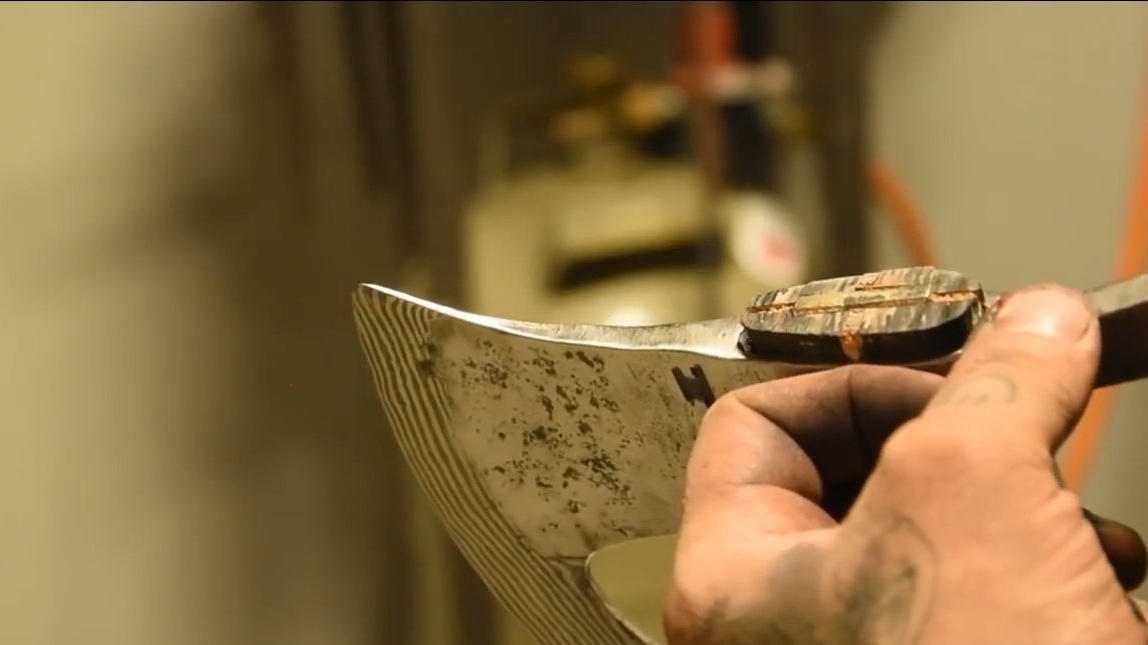
Everything is ready, you can collect the ax, make an incision under the wedge in the ax and stuff the ax into the ax. The wedge can be used wooden, so that everything is held securely, it is advisable to assemble the connection on wood glue. In addition to the wooden one, the author also scored an additional brass wedge.
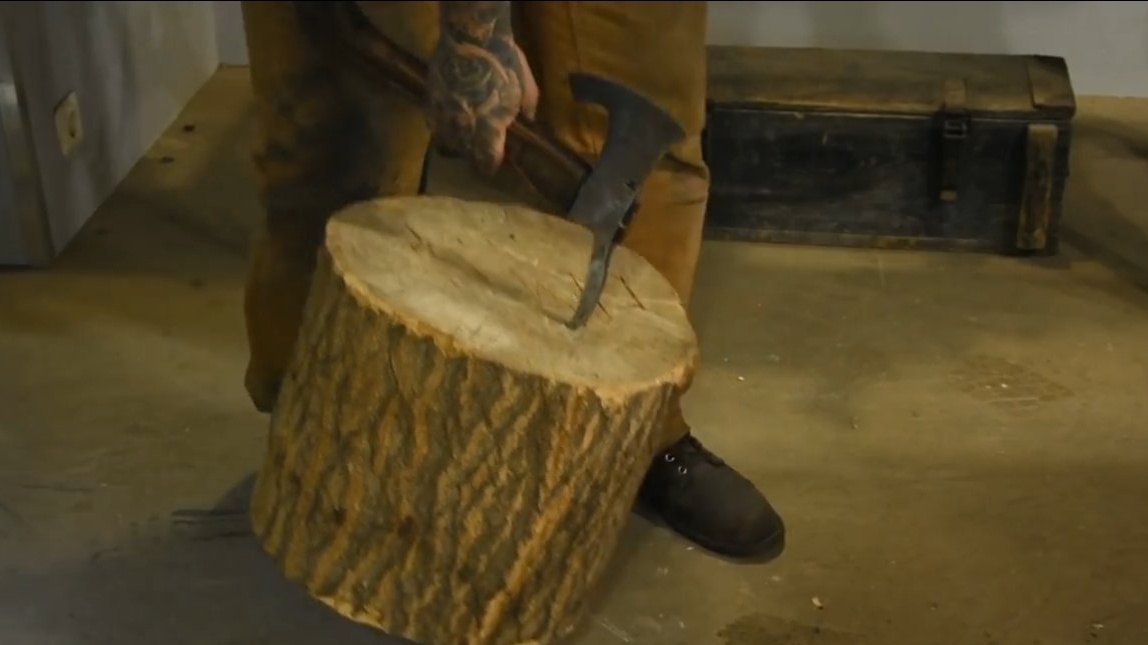
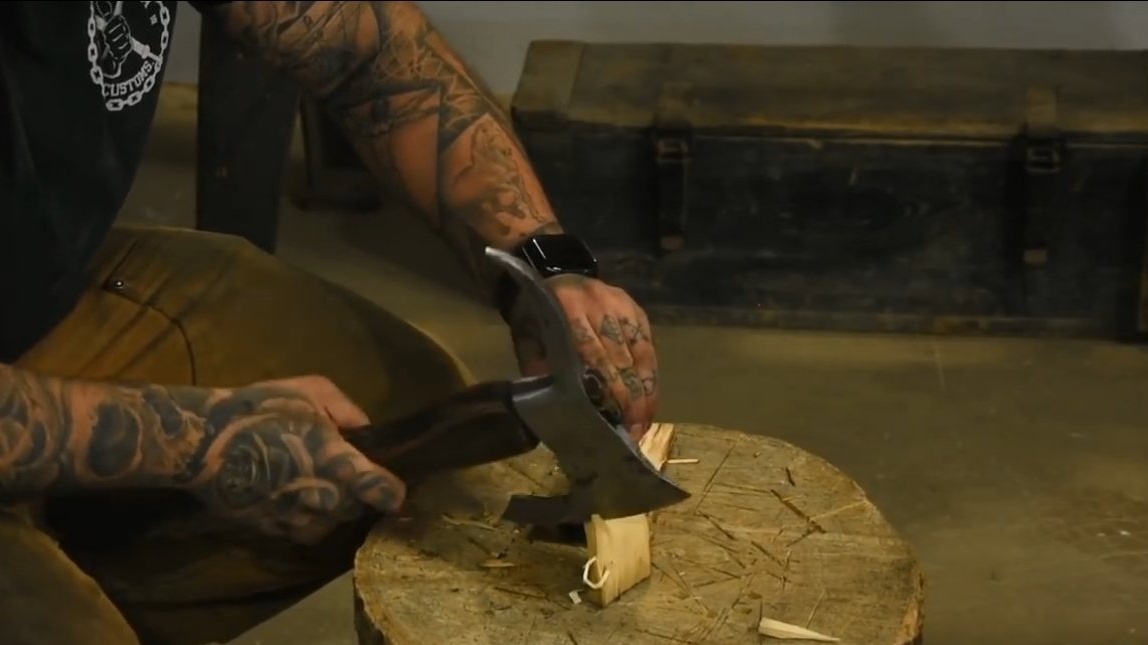
Step Six Test
The ax is ready, after sharpening it is possible to test, the author easily prepares chips for kindling, and on the other side of the ax you can raise a rather heavy stump. The ax looks great, such a homemade product will not go unnoticed by friends and neighbors in the garages.

The project is completed on this, I hope you liked the homemade work, and you found useful thoughts for yourself. Good luck and creative inspiration, if you decide to repeat this. Do not forget to share your ideas and homemade things with us!