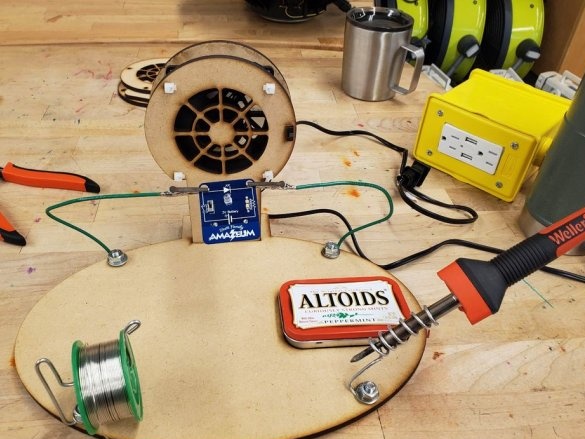
The master made such a workplace for teaching soldering skills of students. Assembling such a board is not expensive, and the materials are easily accessible.
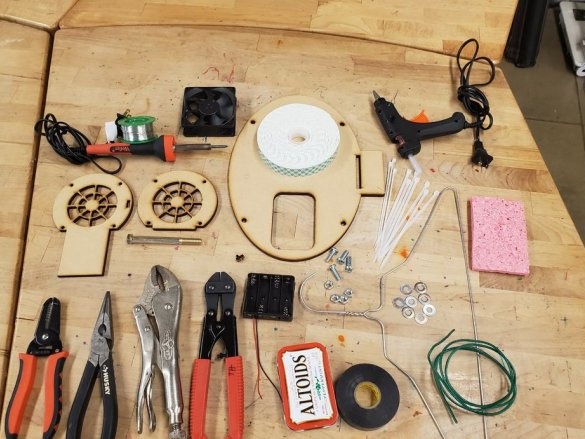
Tools and materials:
MDF 5.6 mm thick;
-Metal clothes hanger;
-Sponge for washing dishes;
-Old computer fan;
-Cable ties;
-Bolts / nuts;
-Tin box;
-The wire;
- Clips like "Crocodile";
-Battery compartment;
-Heat-shrink tubing;
-Switch;
-Soldering accessories;
-Pliers;
-Metal core;
-Screwdriver;
-Key;
-File;
- CNC cutter or jigsaw;
Step One: Foundation
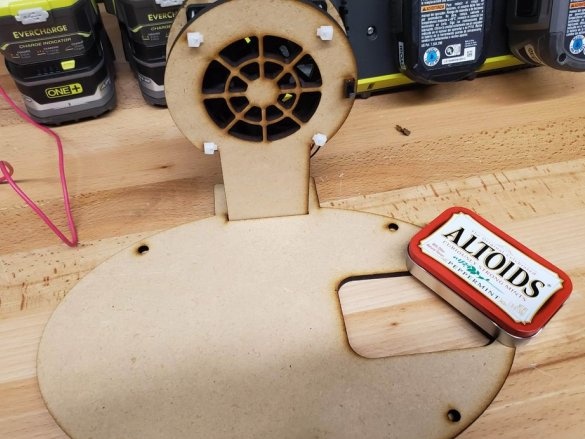
The master cuts out the base from MDF, but if possible, then, according to the master, it is better to use Masonite. This is a type of chipboard made in a special way. Such material is fireproof and smooth.
You can cut the details of the base on the machine or with a hand tool.
Files for cutting, base and additional parts, in PDF format can be downloaded below, and in DXF format on the source site.
Solder Exhaust Back-1.pdf
Solder Exhaust Base-1.pdf
Solder Exhaust Front-1.pdf
Step two: install the fan
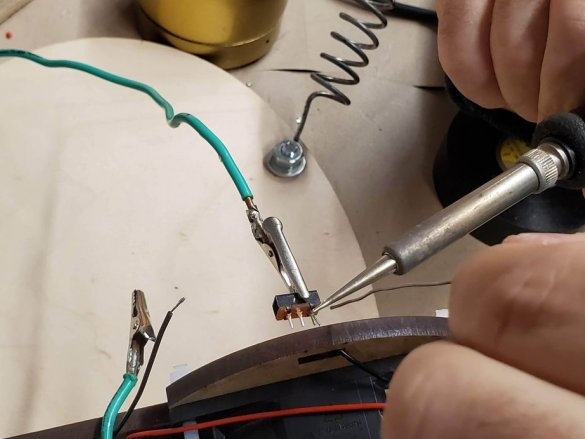
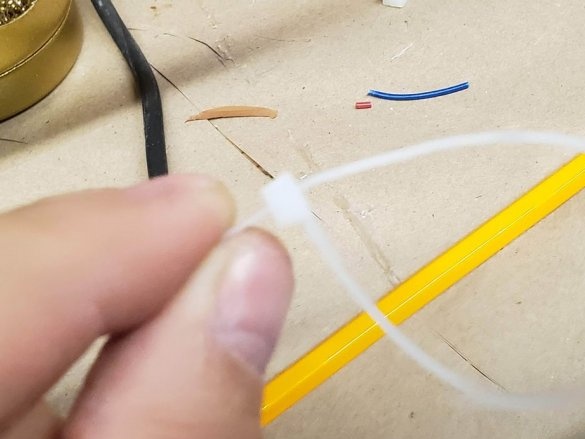
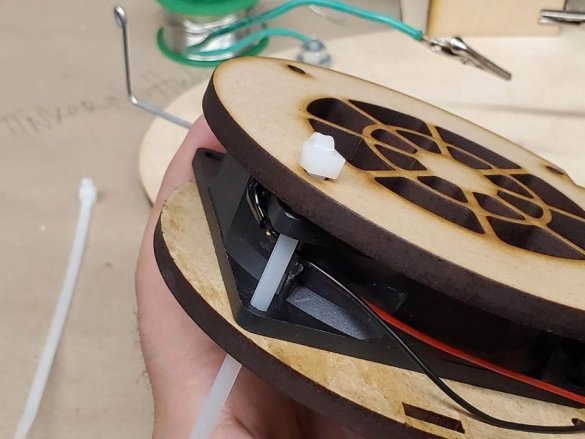
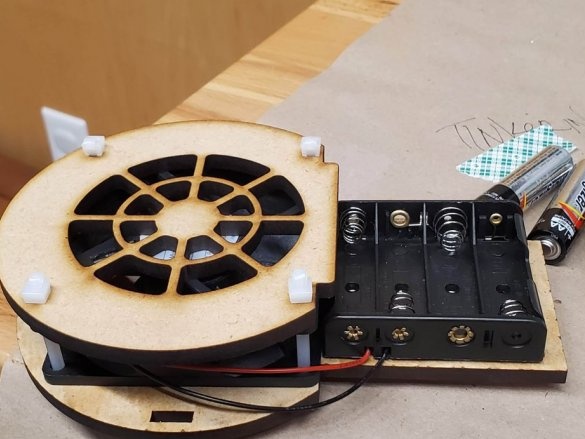
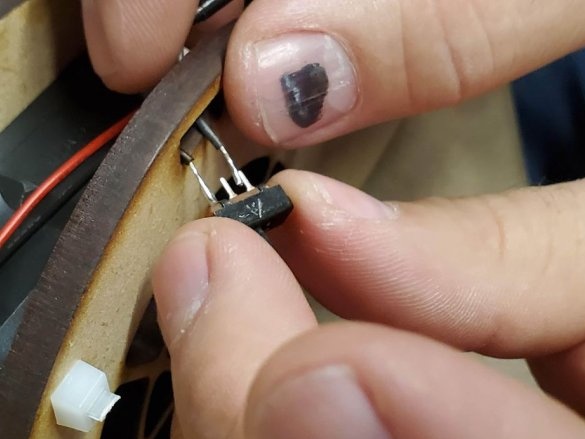
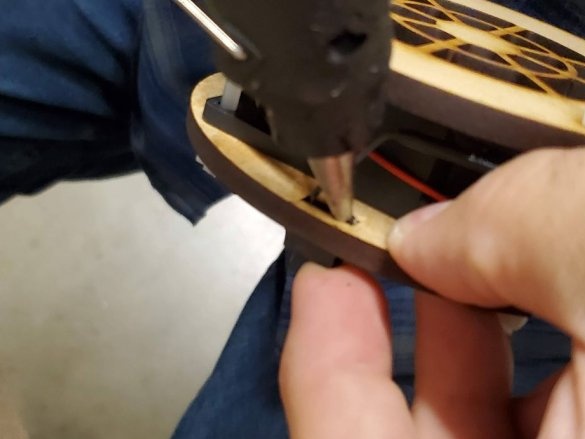
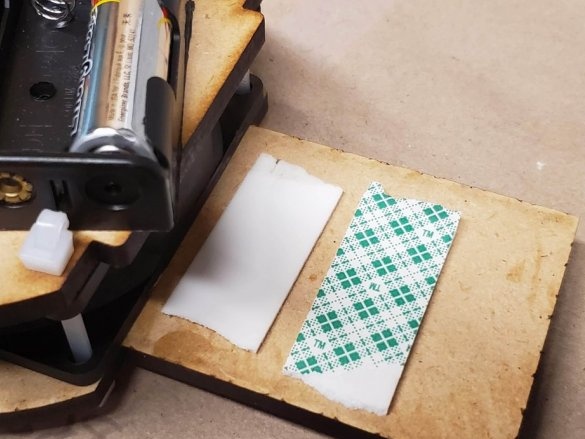
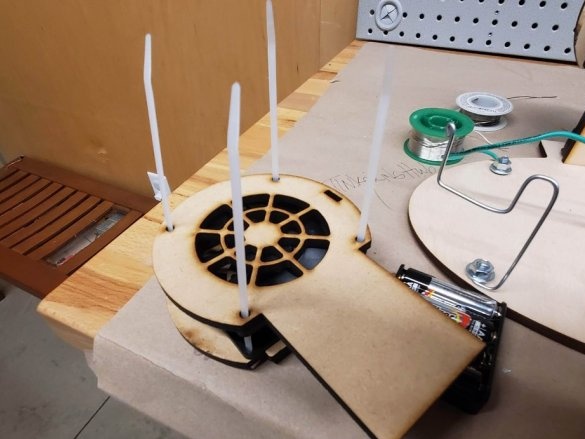
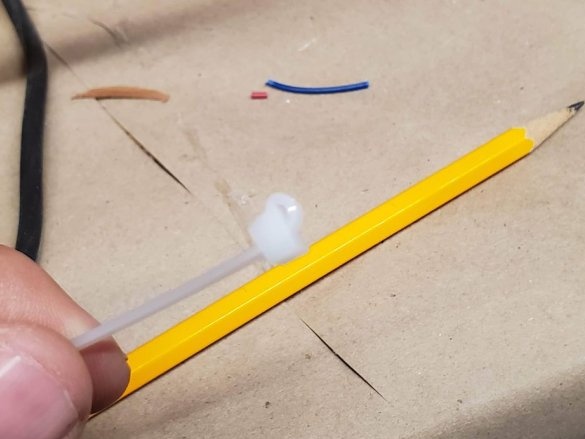
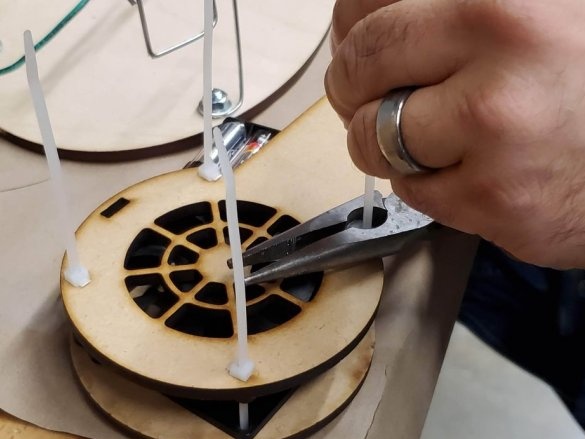
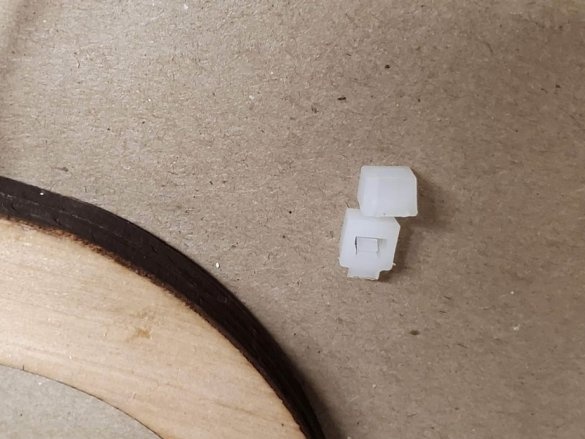
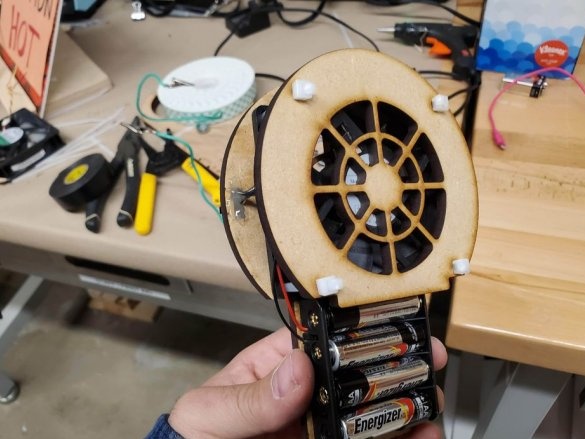
The master collects the hood. The fan from the computer is placed between two plates of MDF. Battery operated fan. To install them, the master attaches the battery compartment. To turn on / off, installs a switch in the circuit. The master uses cable ties as fasteners.
Step Three: Build
Now you need to install accessories.
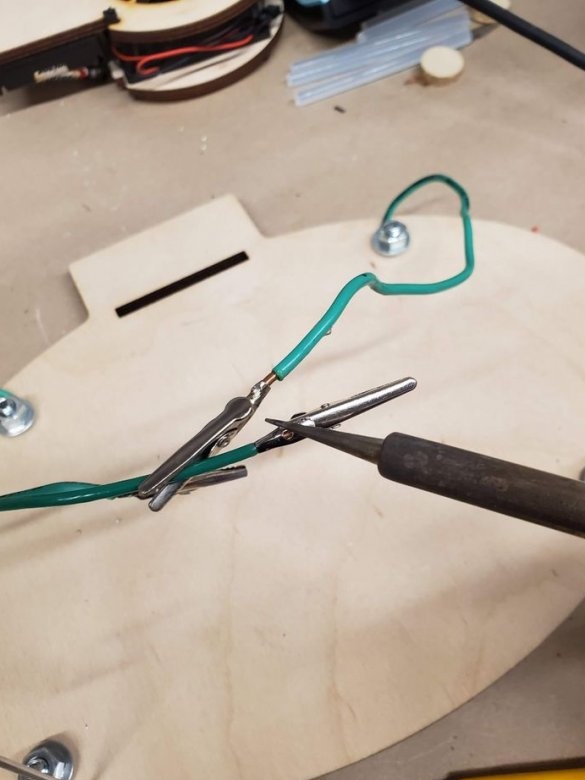
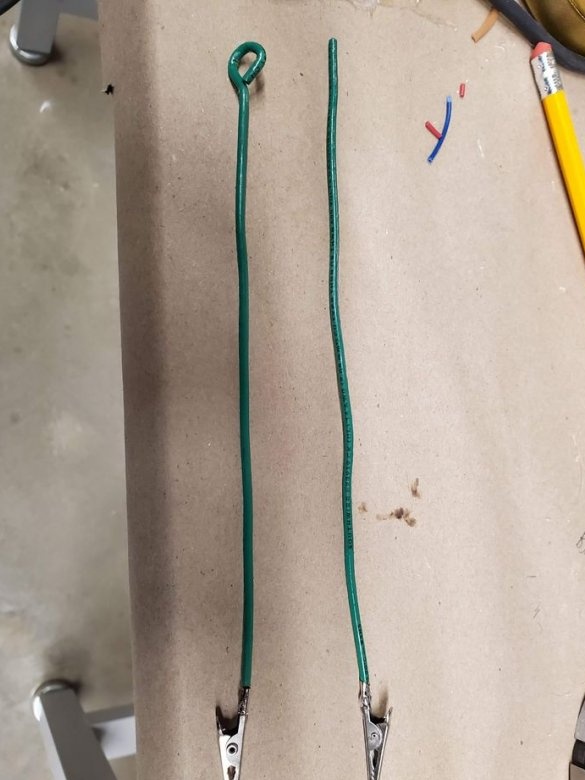
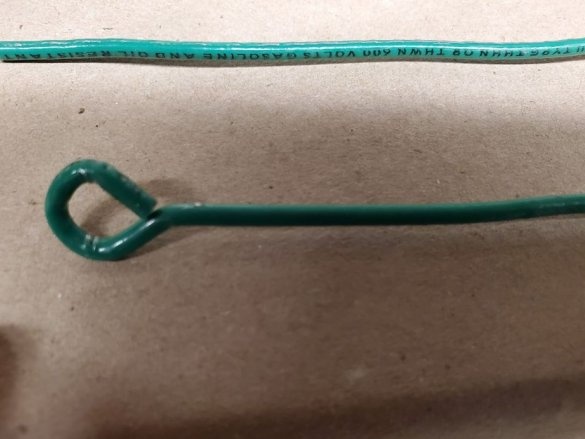
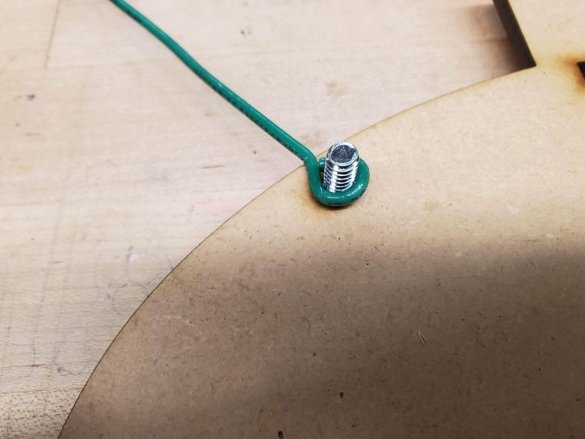
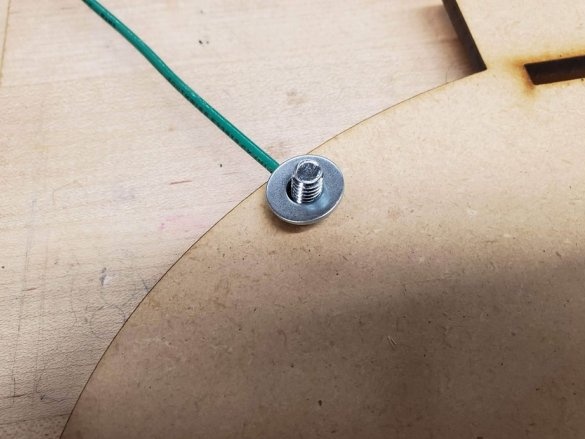
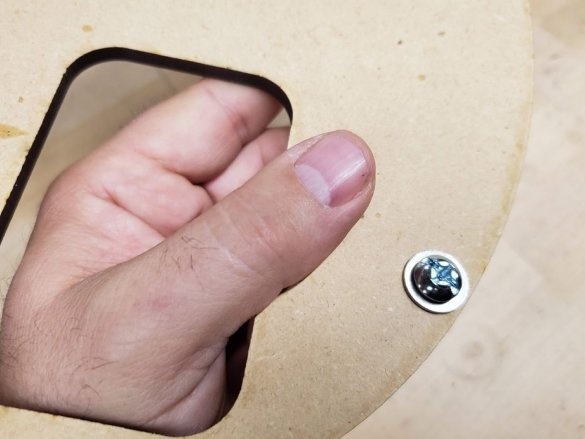
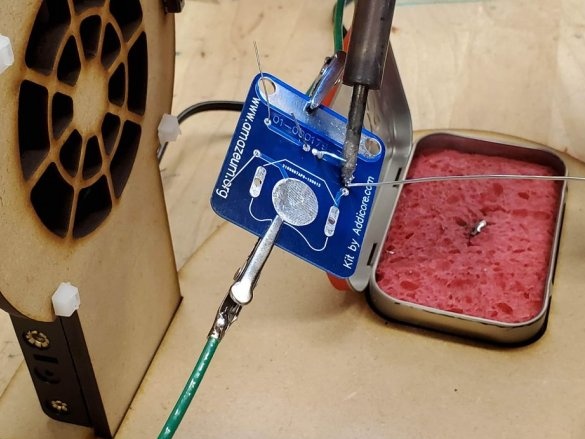
The master solders the clamps to the wire, and screws it to the base.
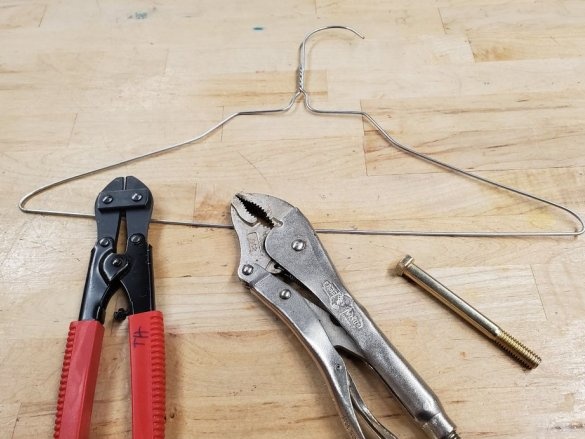
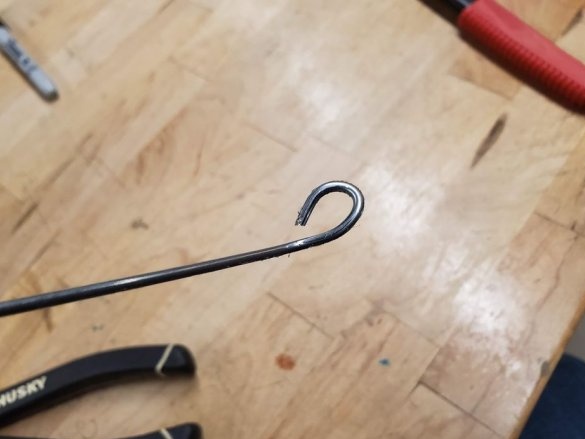
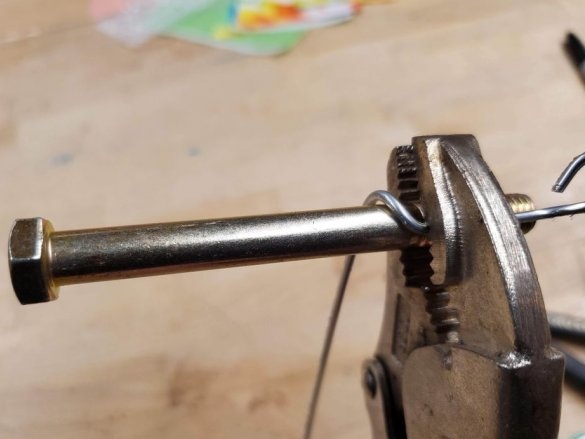
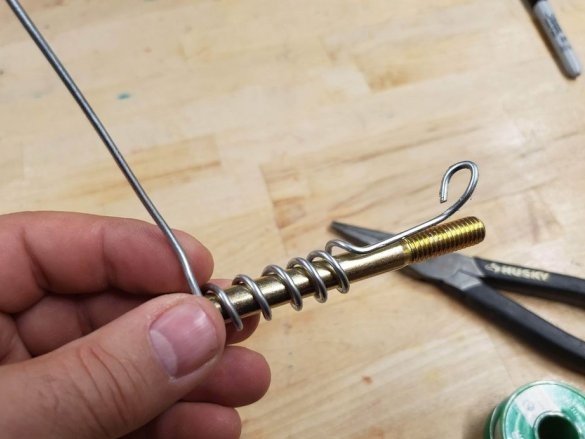
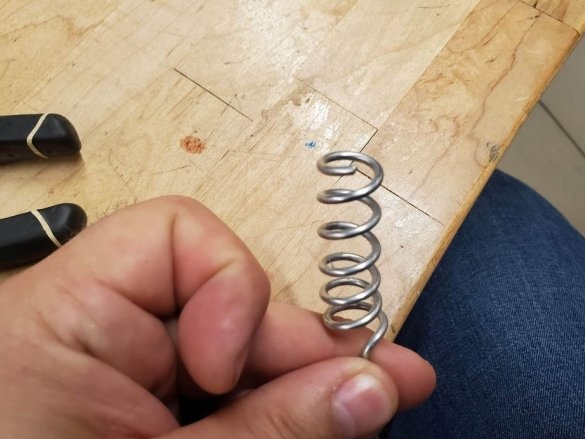
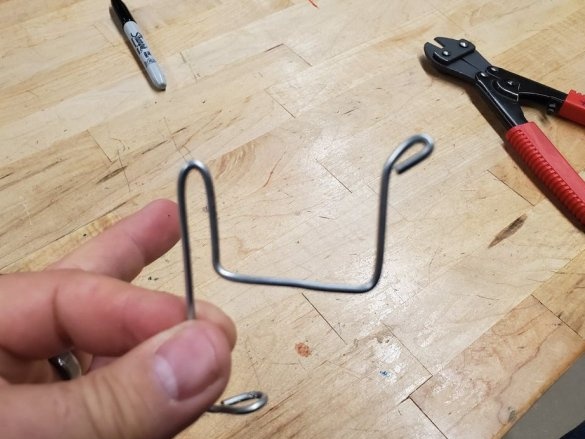
From a metal hanger makes a holder for a soldering iron.
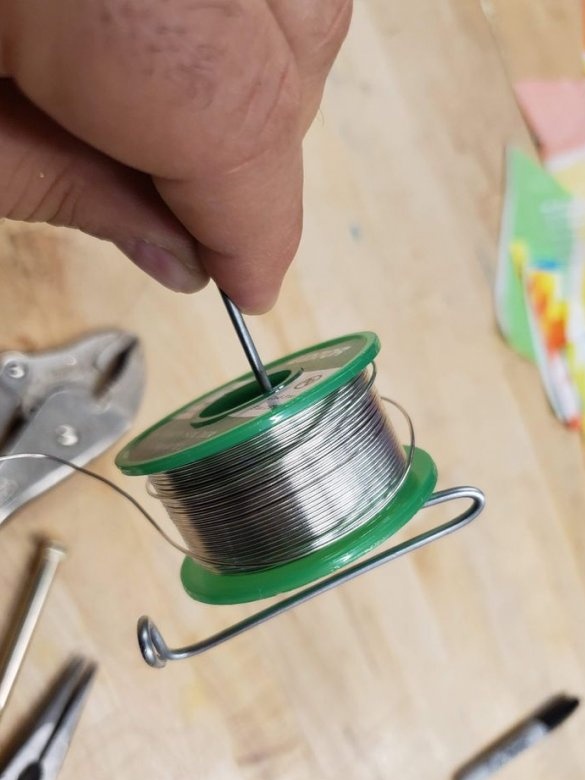
Made a holder for the solder coil.
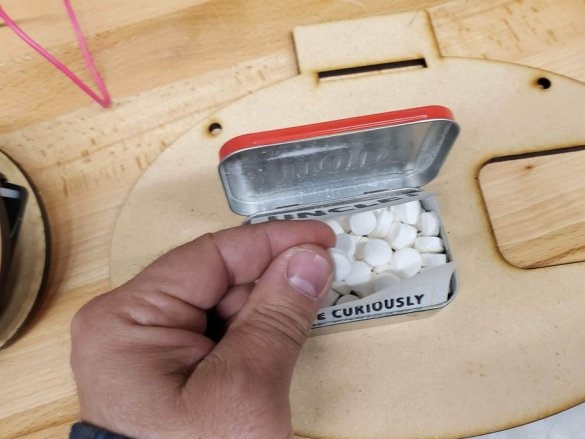
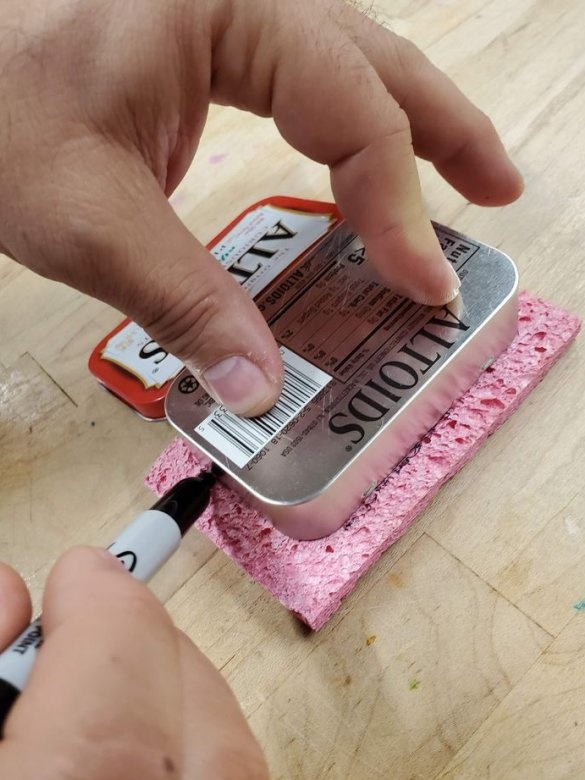
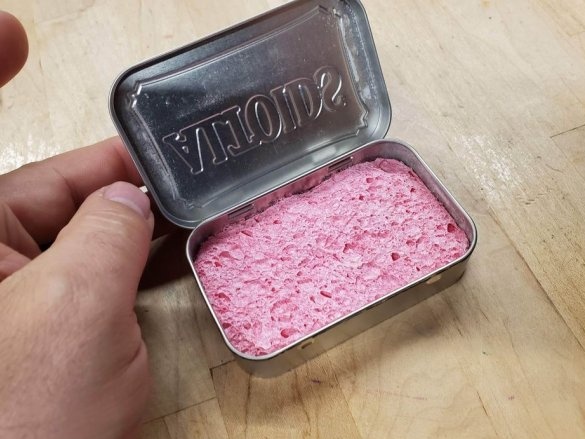
I glued a tin box. I put a sponge in the box.
Everything is ready, now you can start soldering.

