
Many of them have a workshop at their disposal, or equipped garage. And one of the most important tools is a vice. And the cost of even the old, used vise is very high.
In this article, the author of the YouTube channel "Workshop Diy" will tell you how he made simple parallel metalwork vice from the channel, and other available materials.
Materials
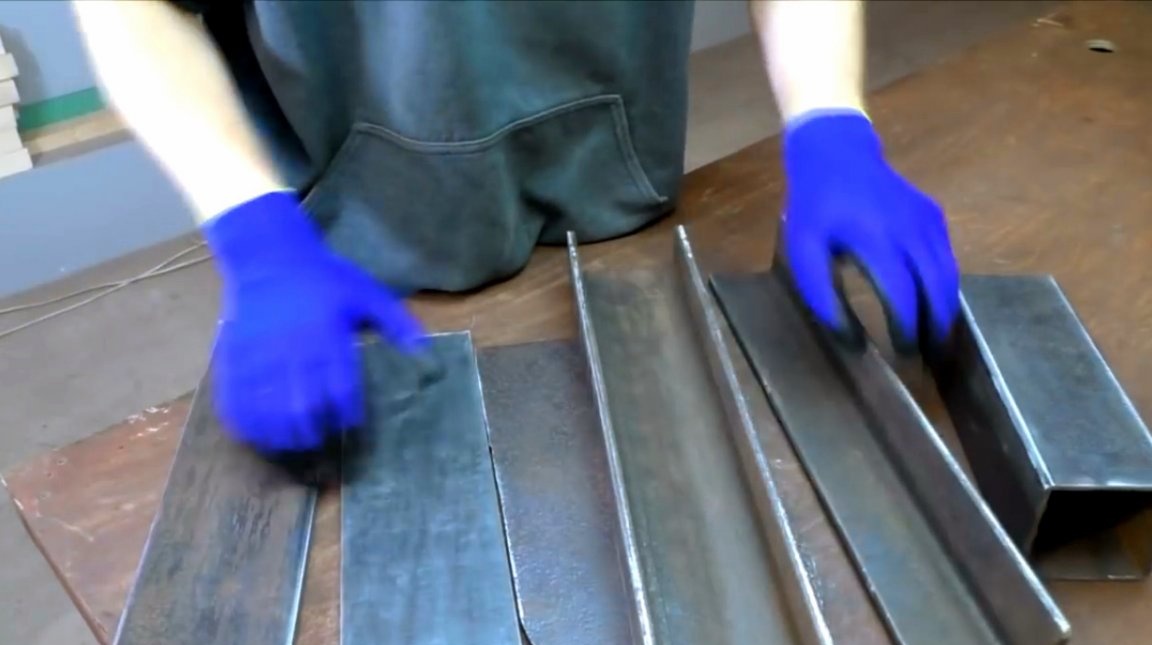
- steel plate
- Channel
- Steel corners, square
- Steel pin, bar
- Bolts, nuts, washers
- Spray paint
- Rubber rings
- Litol.
Instruments, used by the author.
— Bulgarian
- Cutting and cleaning wheels
— Clamps
— Geyfer capture
— Screwdrivermetal drills
— Welding machine
- Square, marker, tape measure.
Manufacturing process.
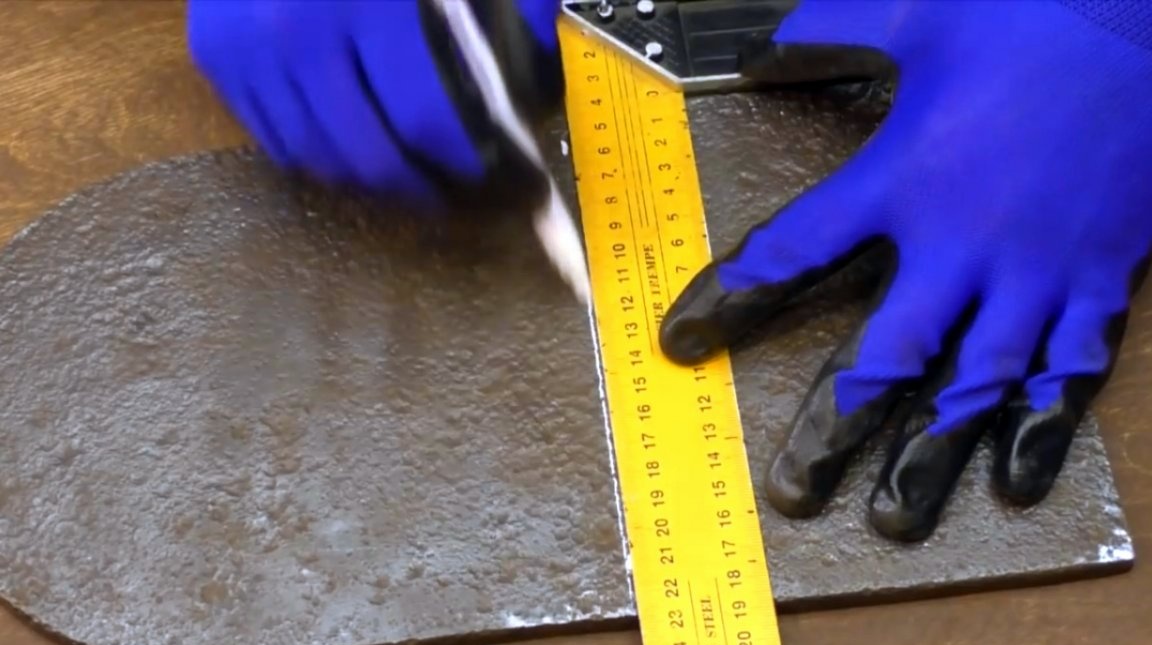
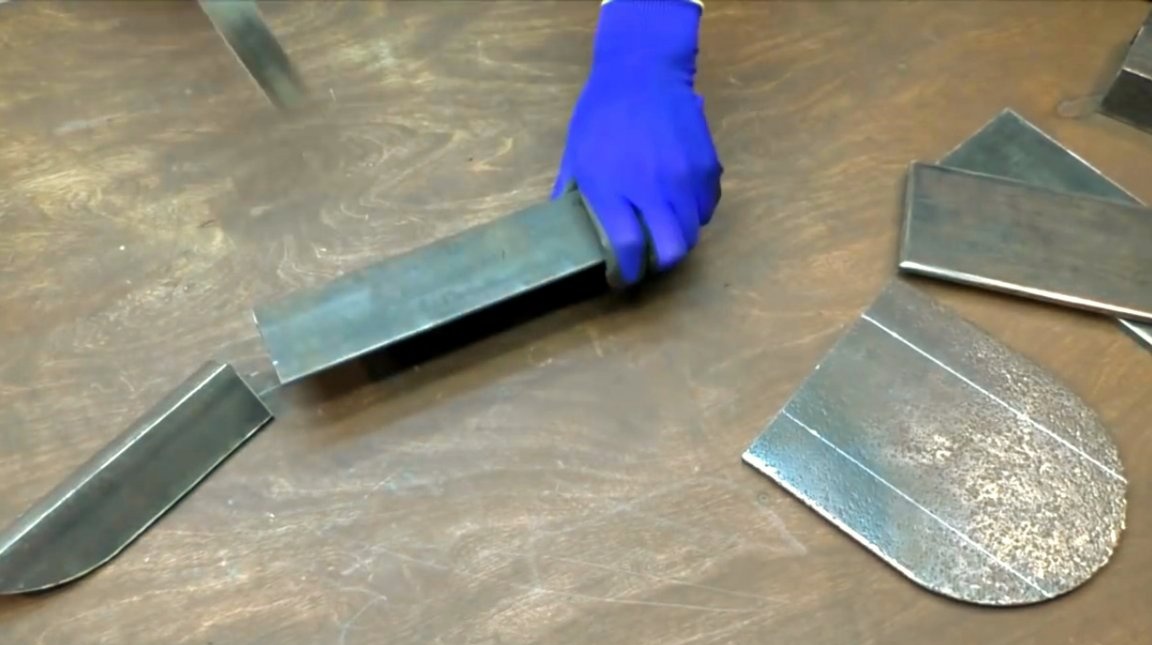
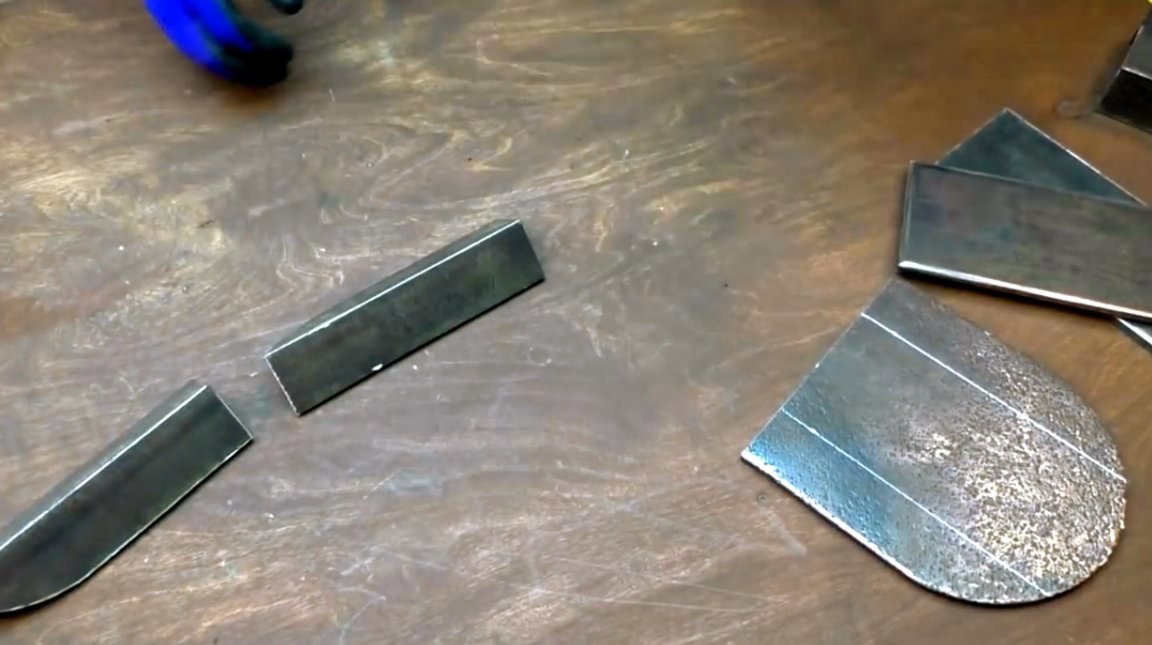
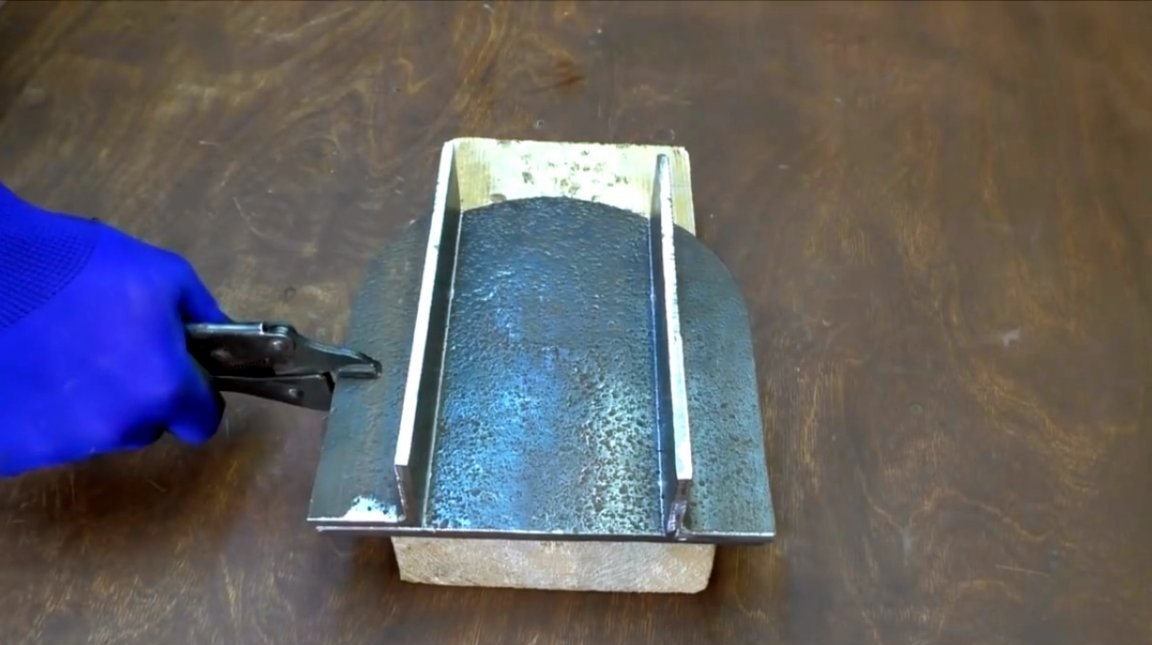
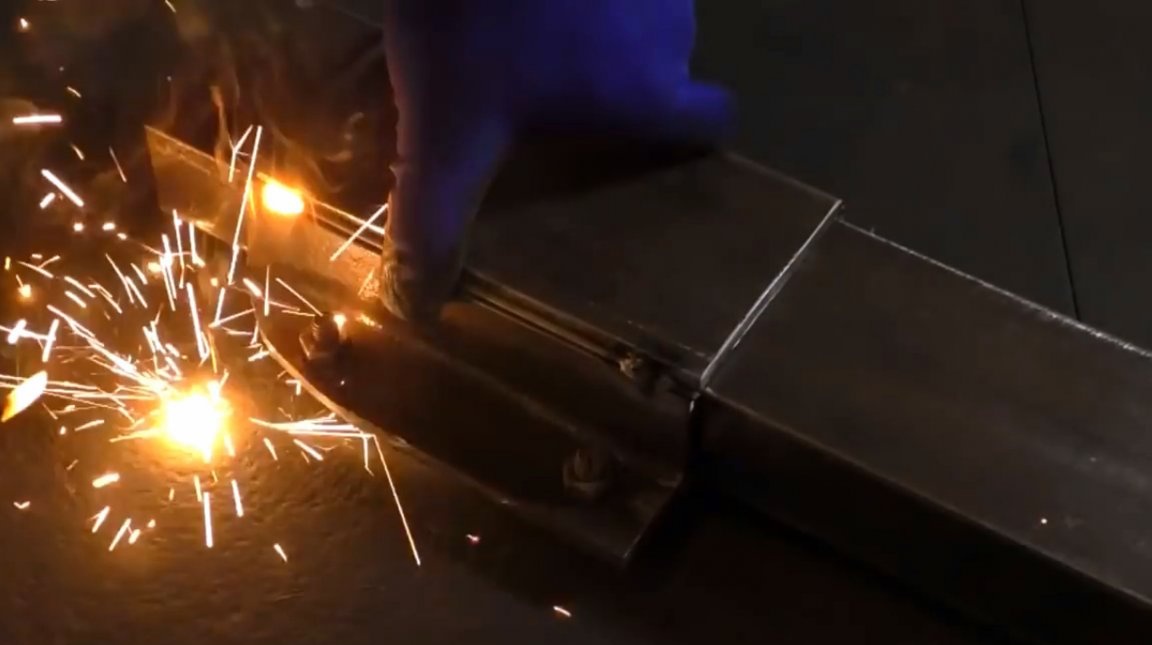
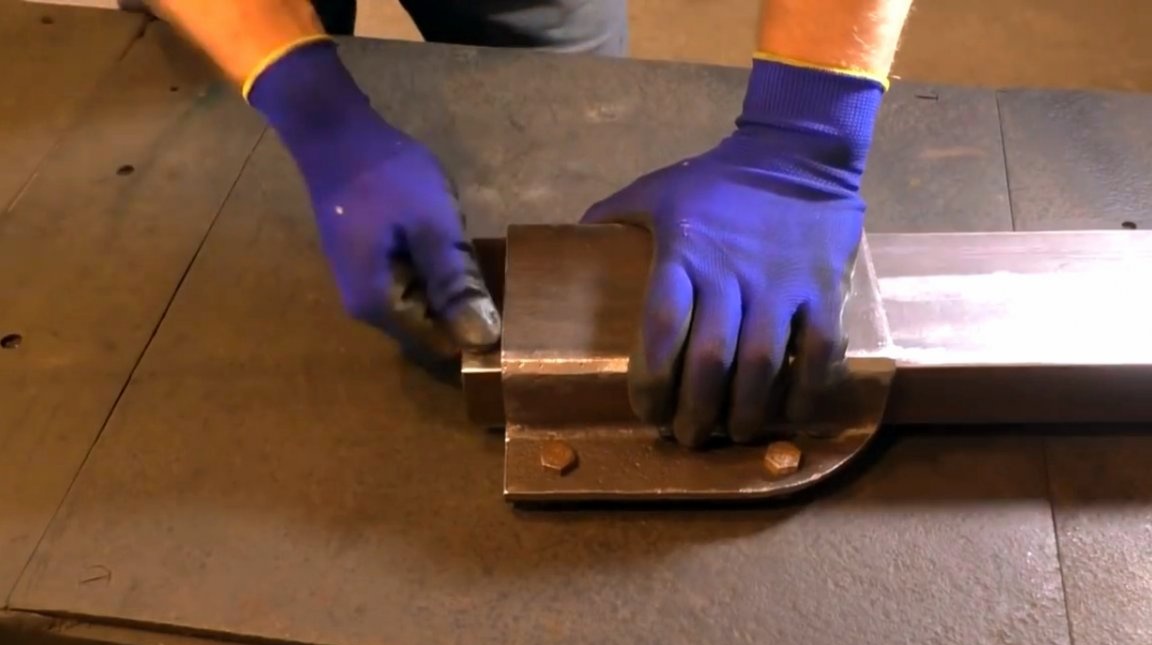
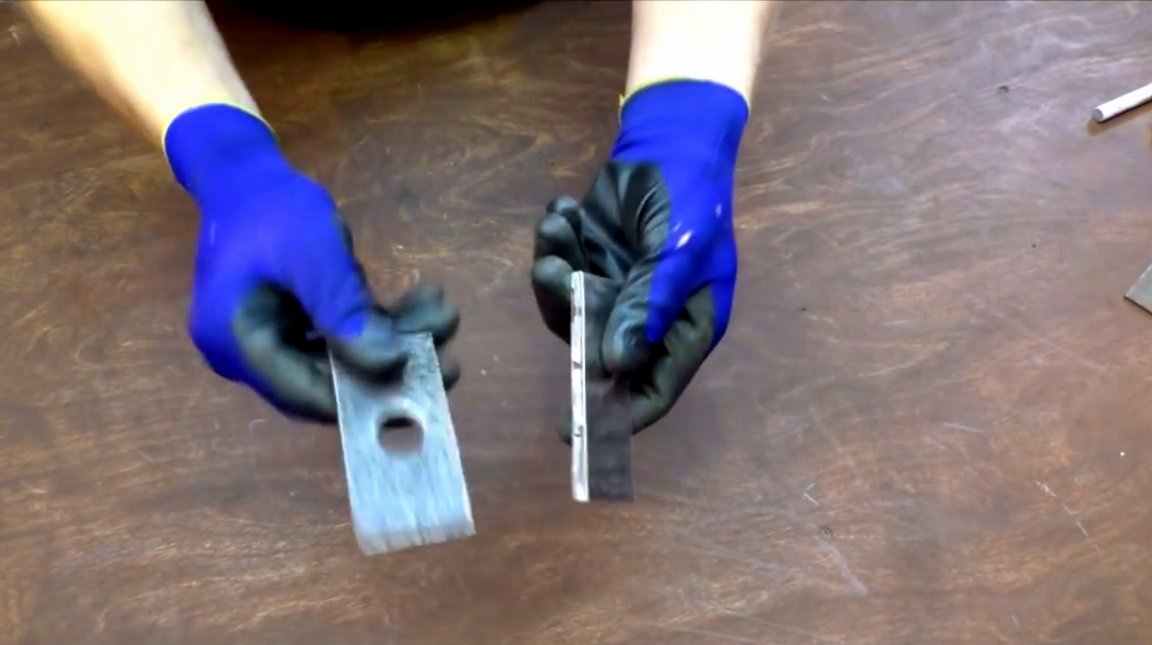
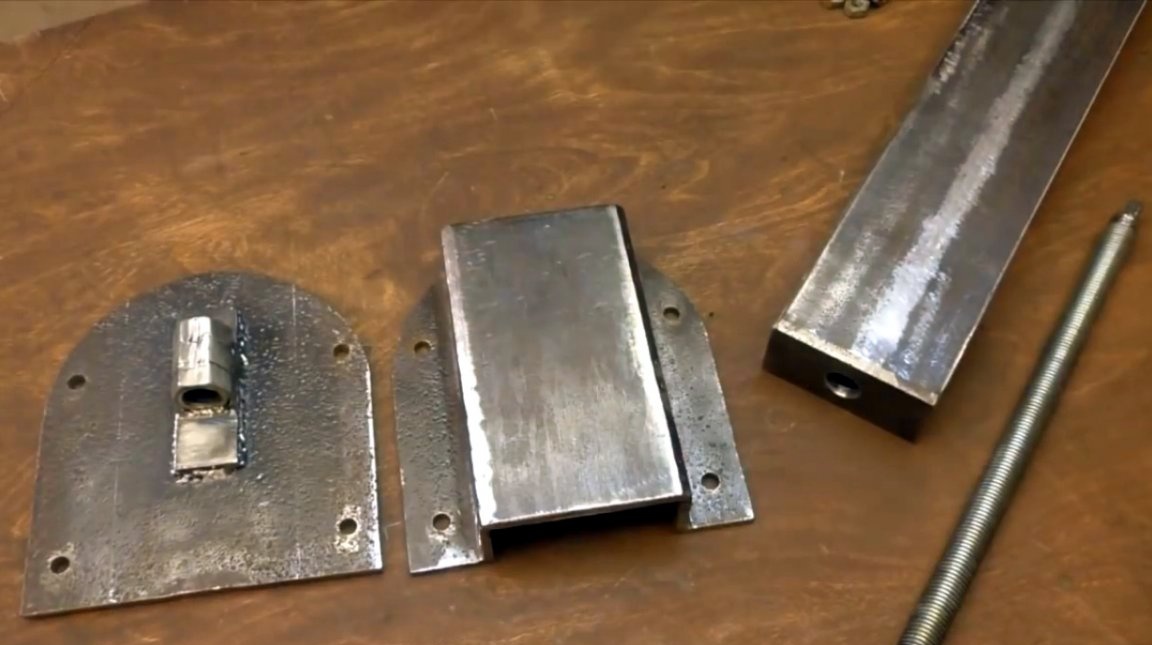
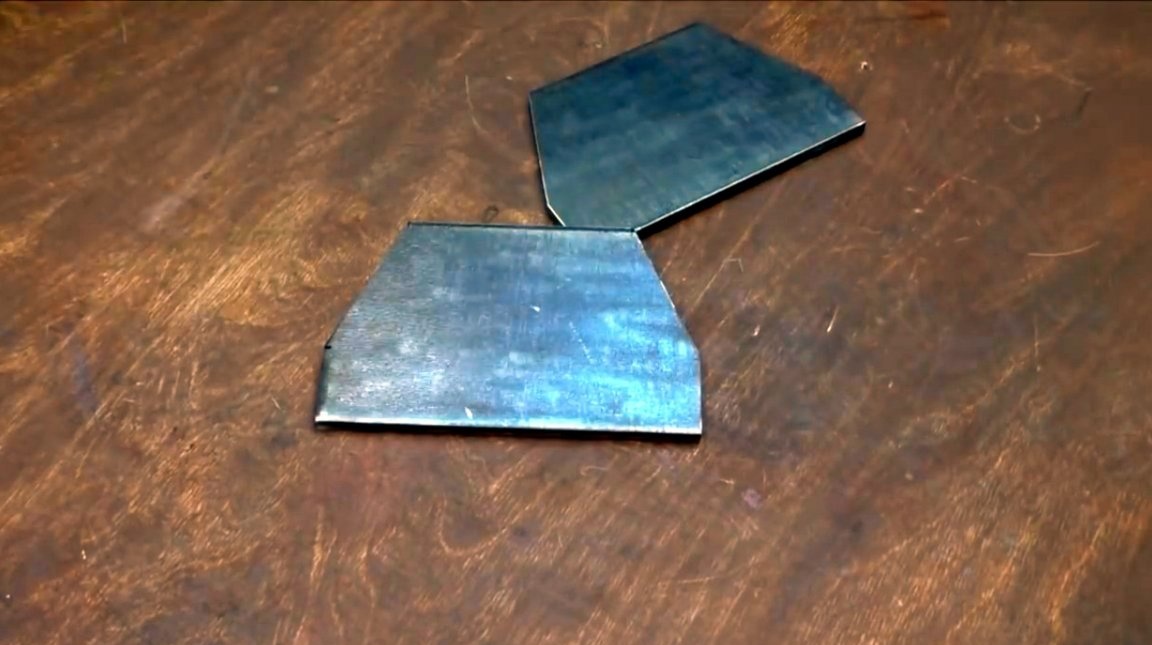
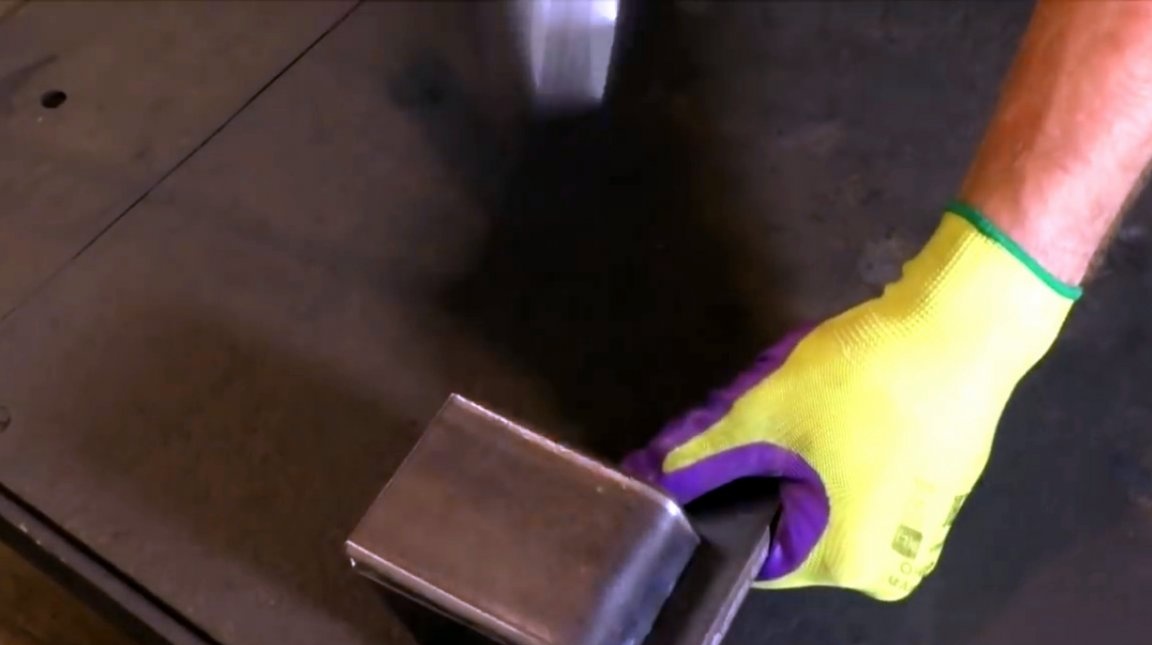
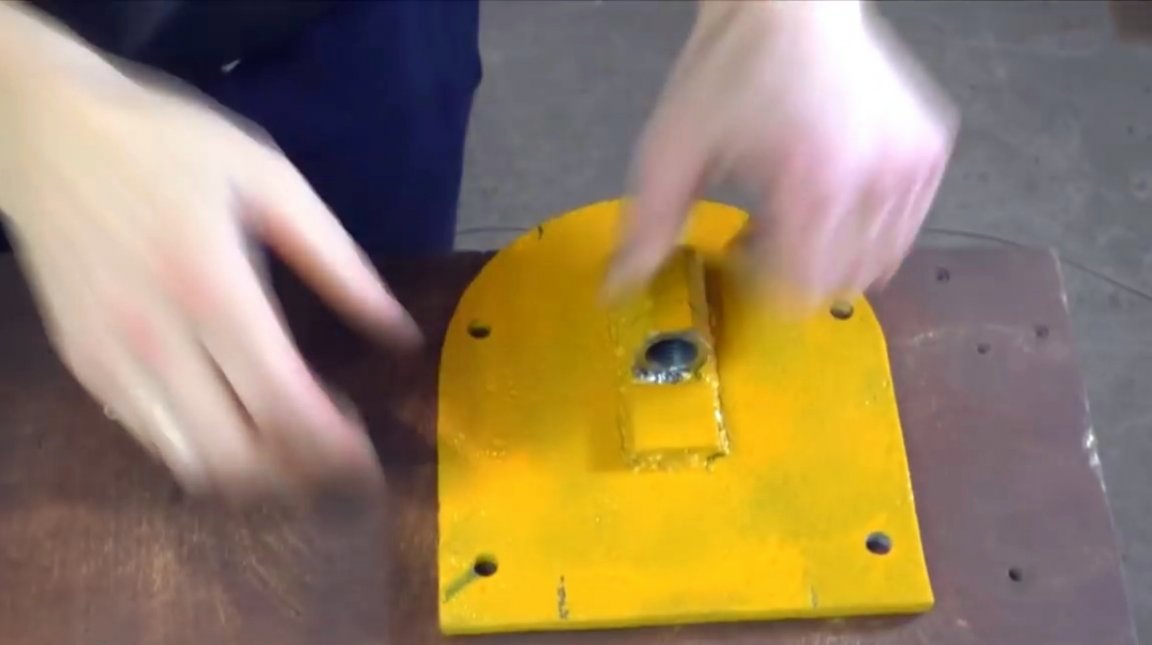
For the lower part of the base, the master decided to use such a steel plate with a rounded edge.
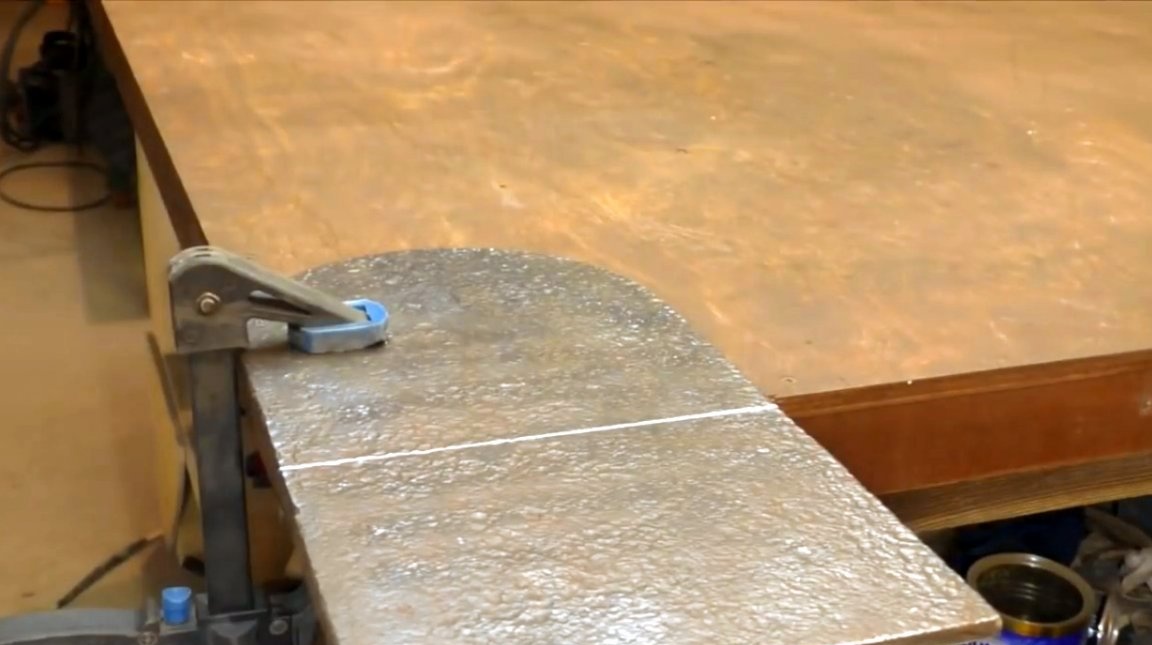
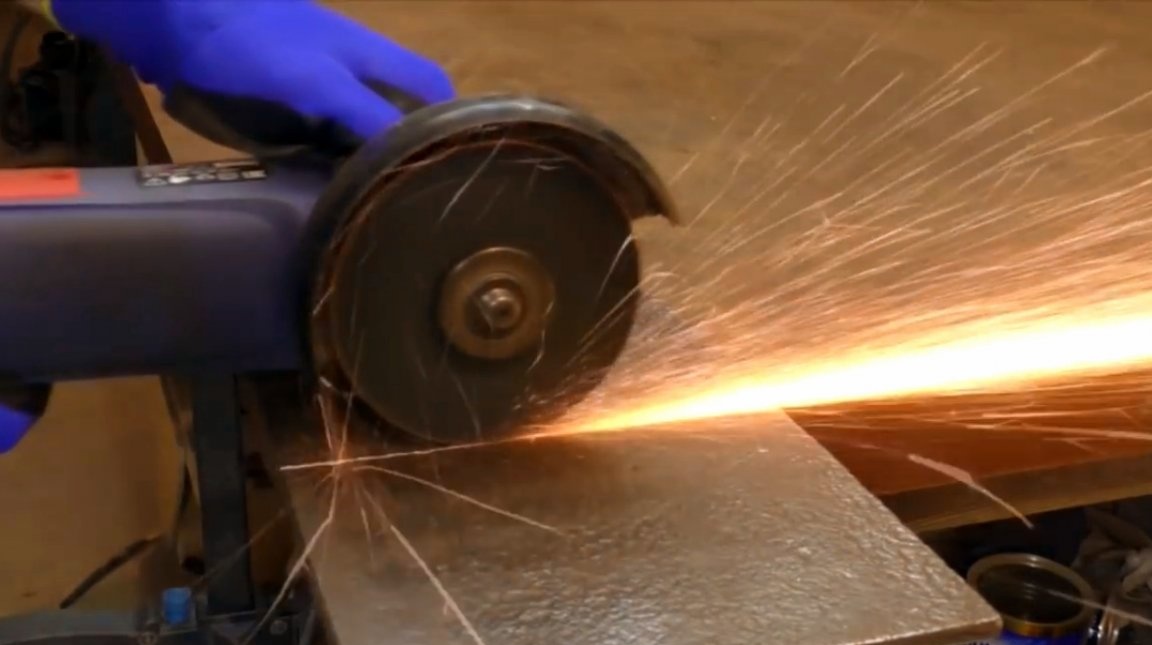
The base itself will have a collapsible design, so the author makes two side guides from a corner, then rounds off the edges.
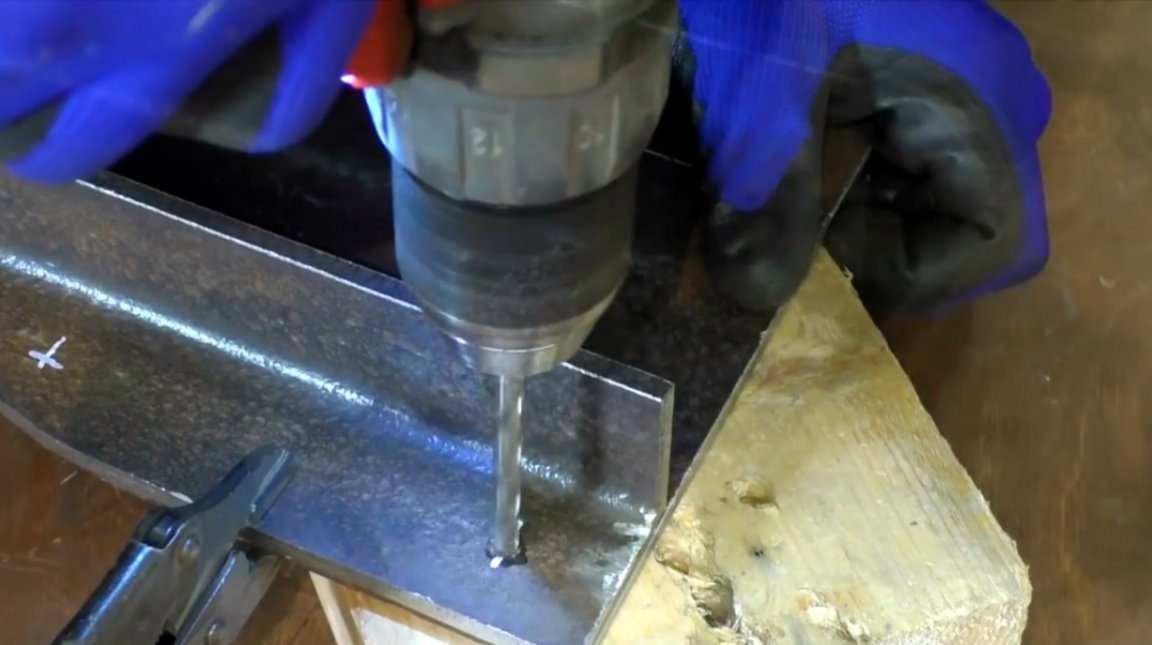
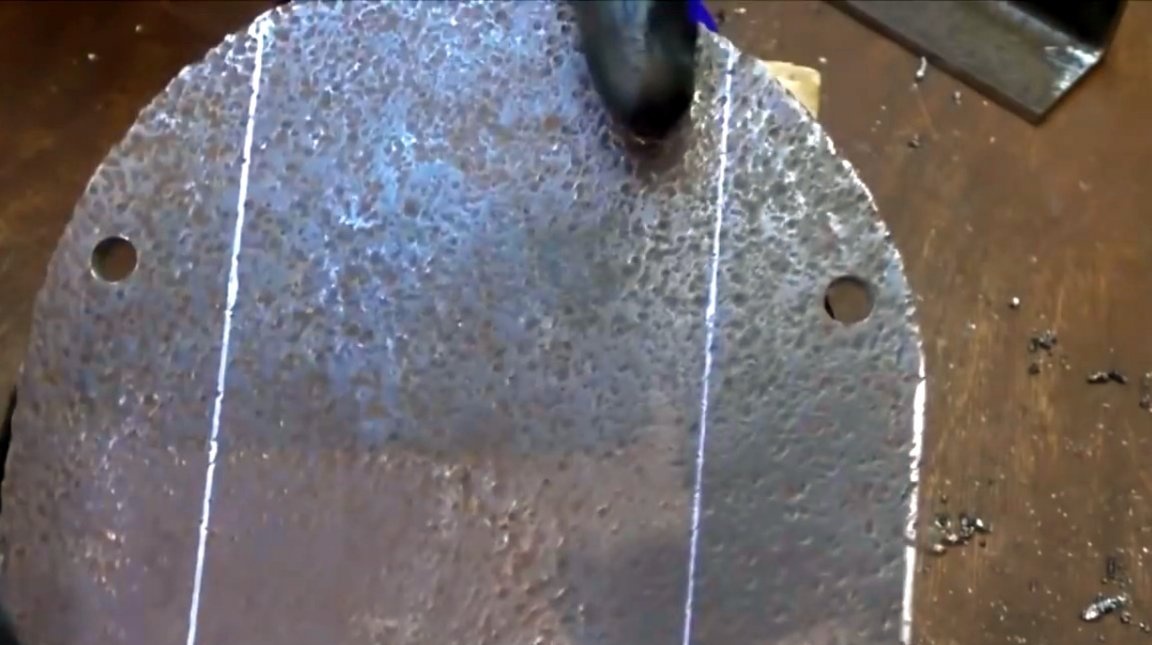
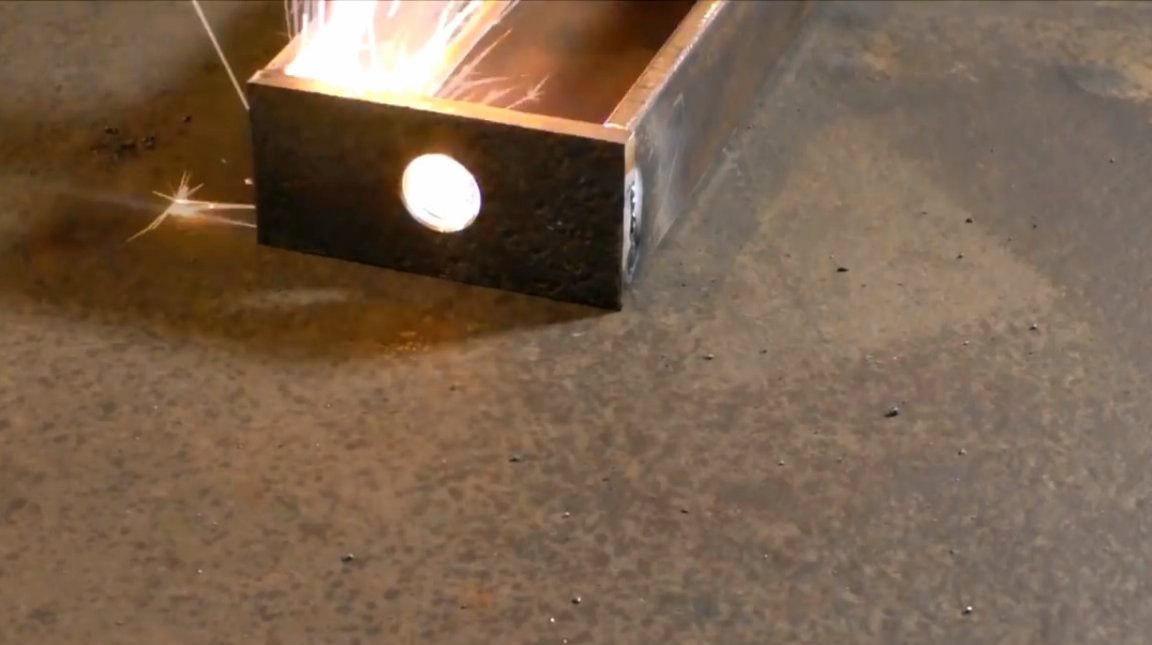
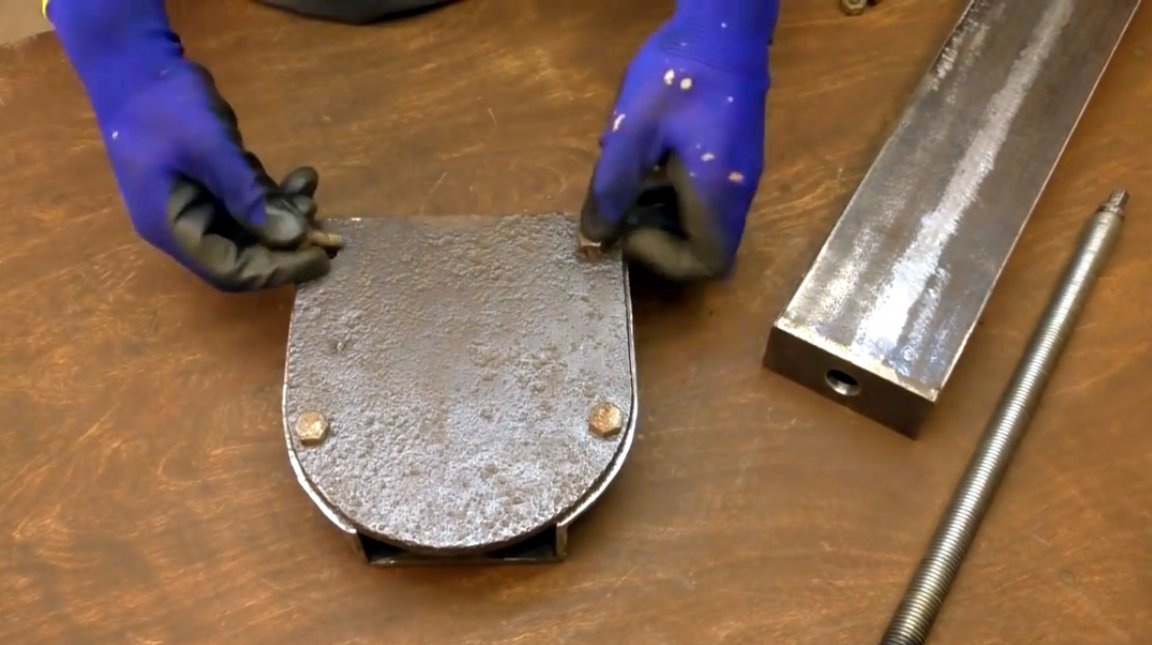
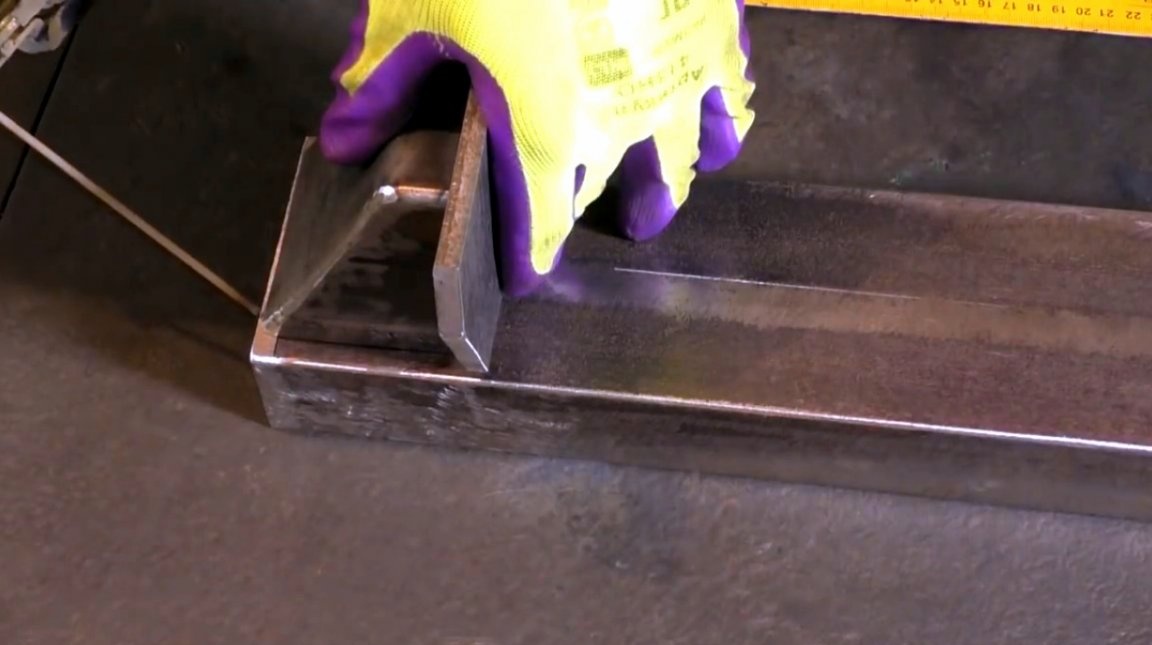
The guides are fixed to the base with a geyser grip, and drilled through a pair of holes in them and the base. They are designed for mounting bolts.
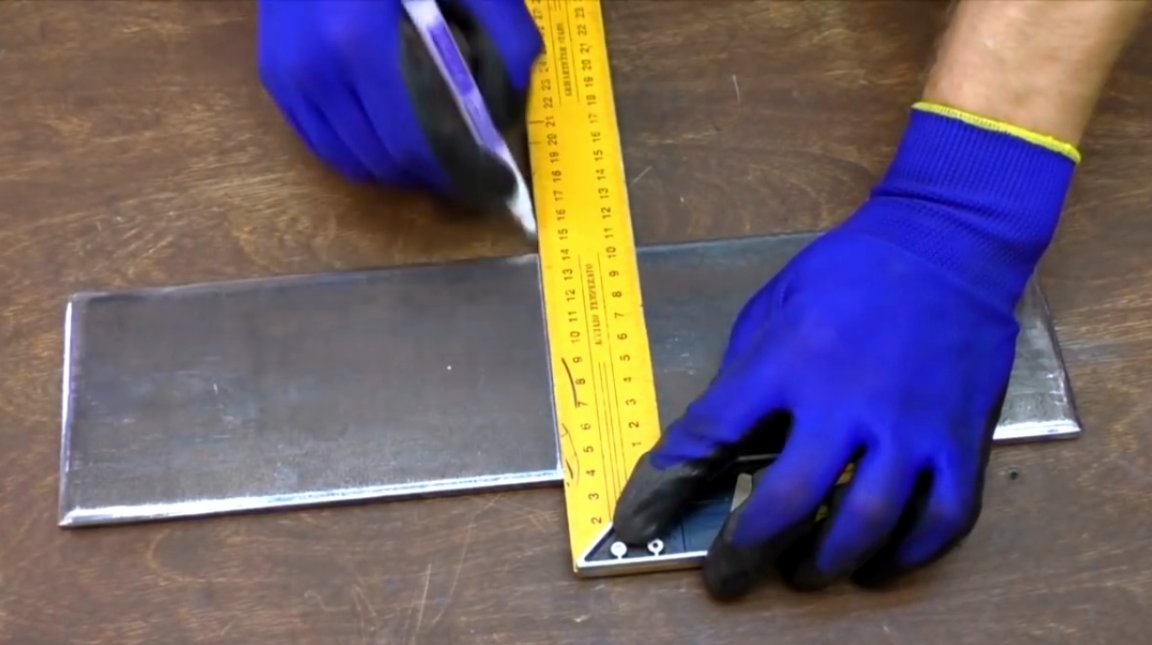
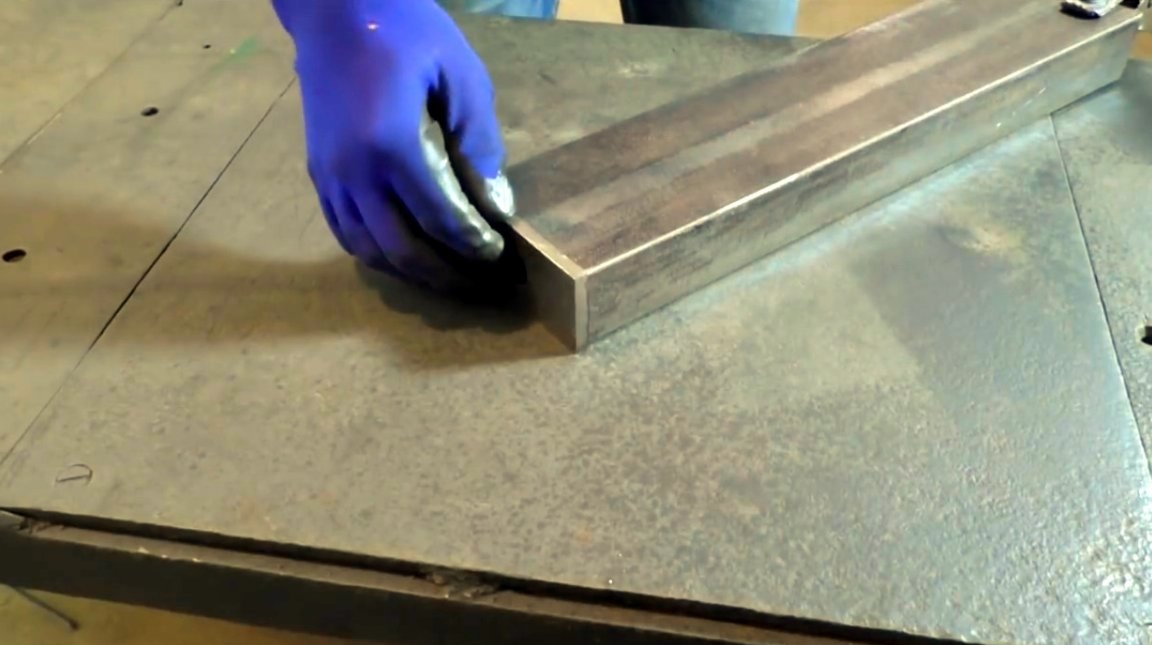
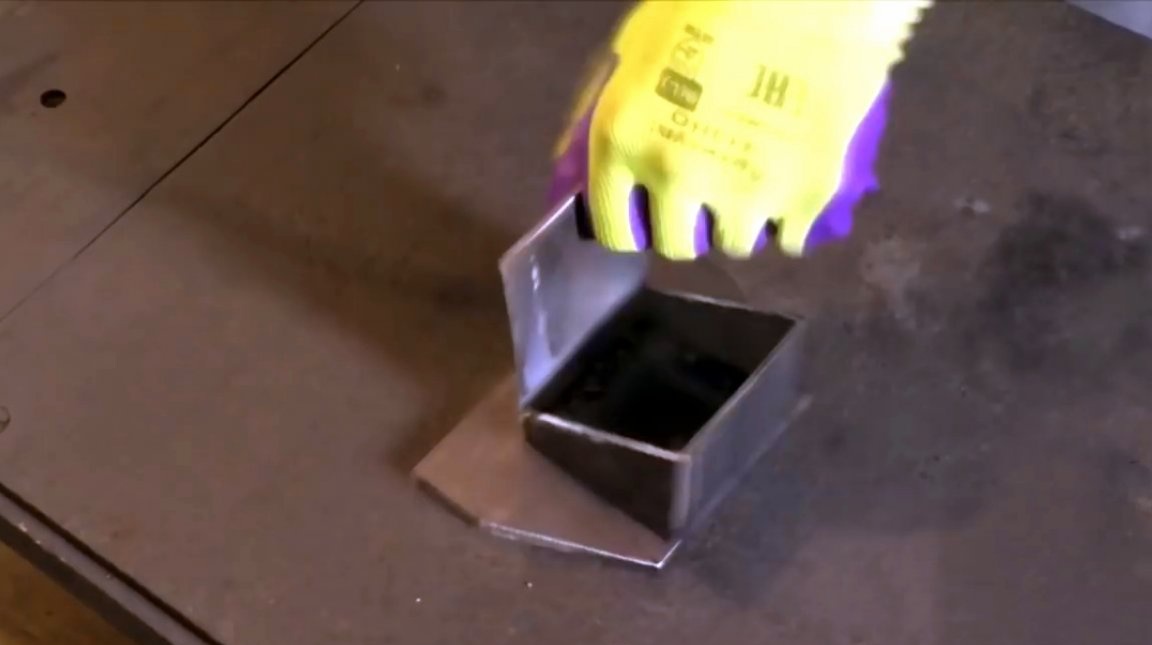
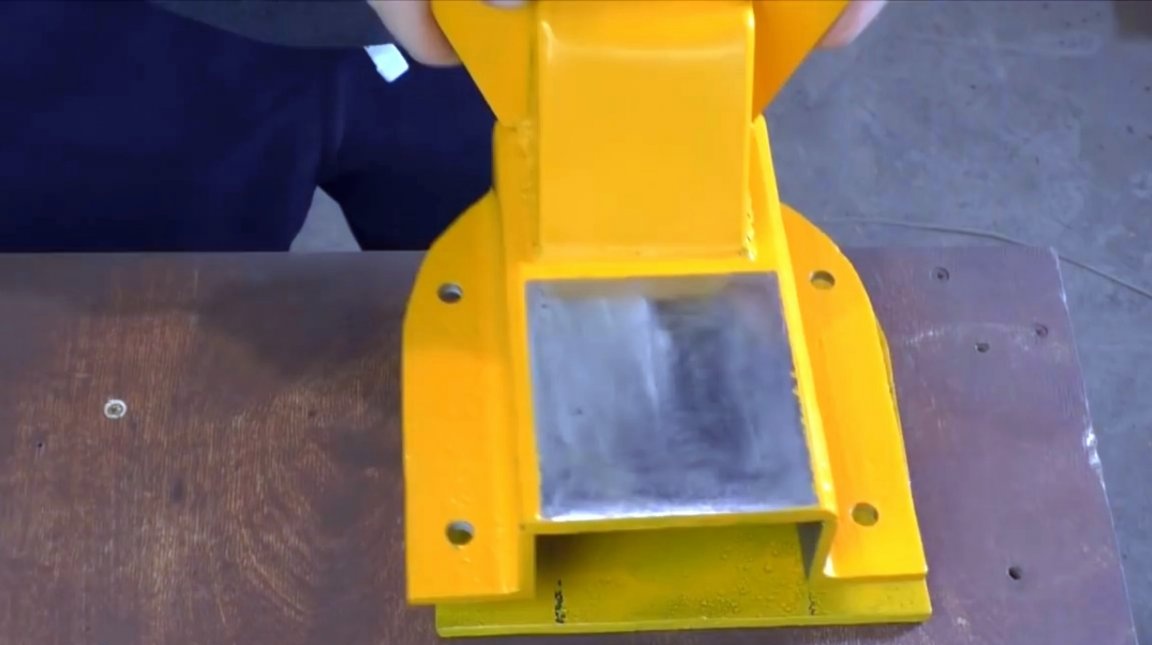
The channel is installed between the guides, and a steel plate is cut, which will be the upper part of the removable base. Next, the plate clings to the guides.
After boiling and cleaning the seams, the author checks for the presence of play between the channel and the base.
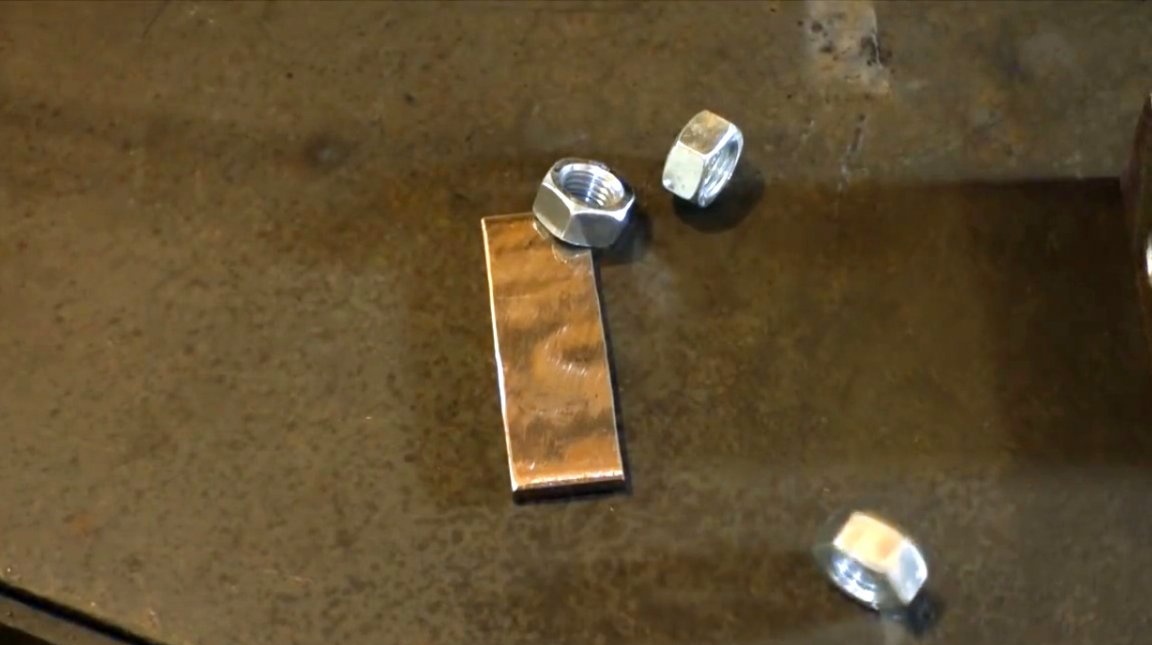
The master cuts out two plates, one of them will be a retainer, a hole for a screw is drilled in it.
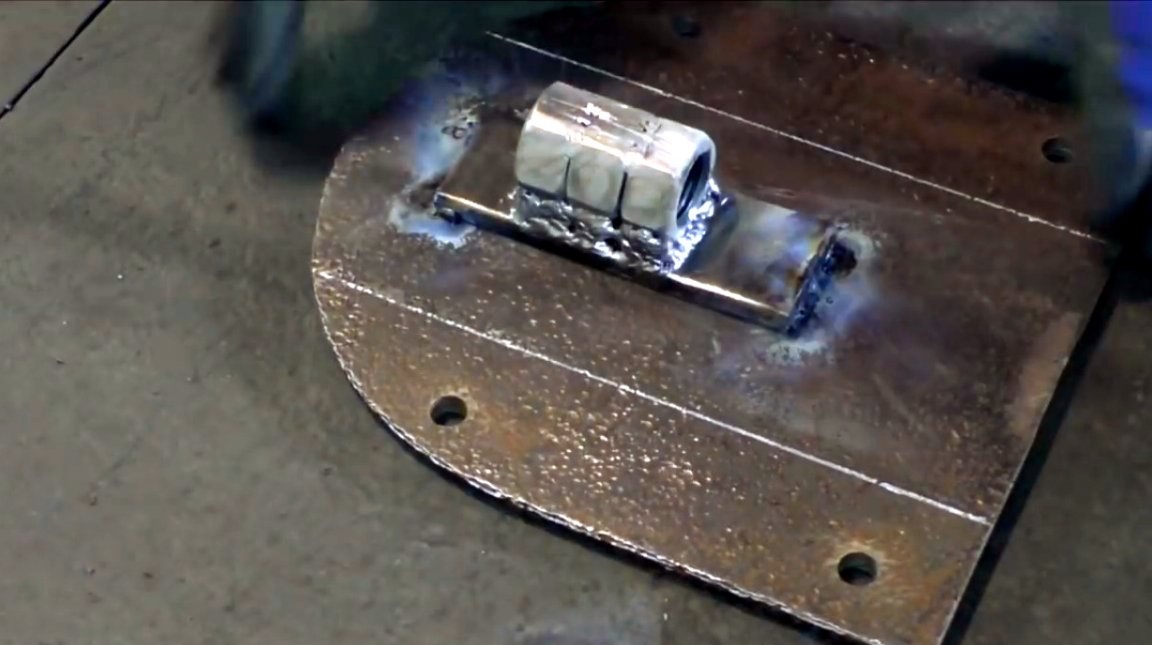
Several nuts are screwed onto a steel stud, and they are welded to the second plate.

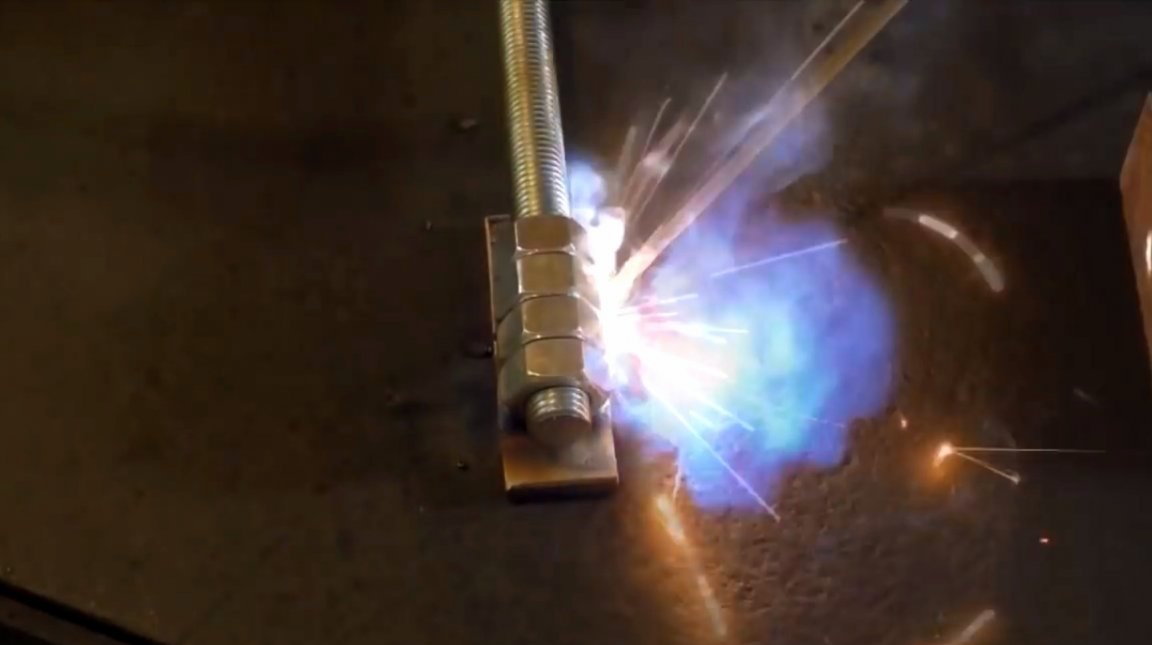
After checking the alignment of the screw and channel, the plate with nuts is welded to the bottom of the base.
So, the main details are ready, the wizard makes a control assembly and a functional test.
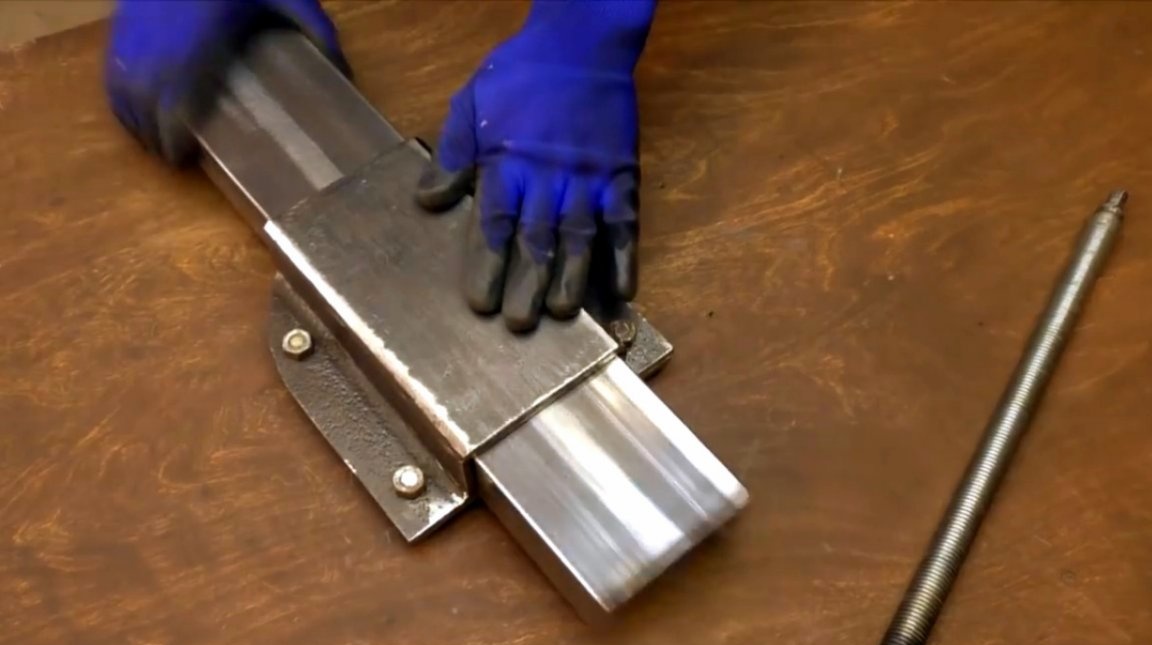
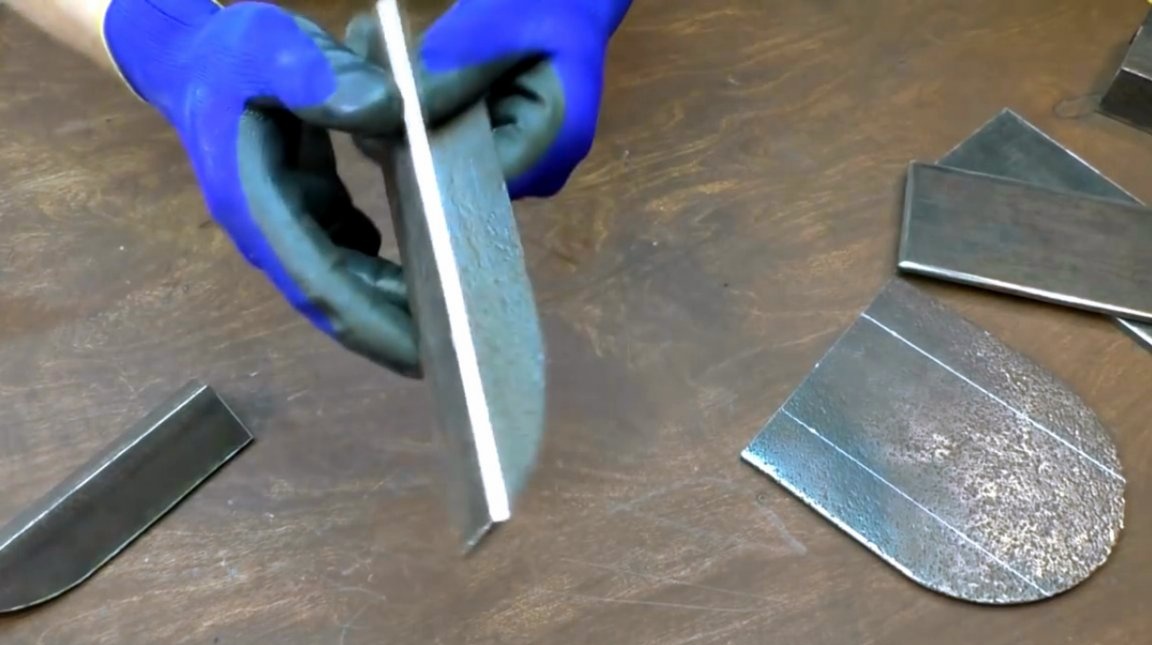
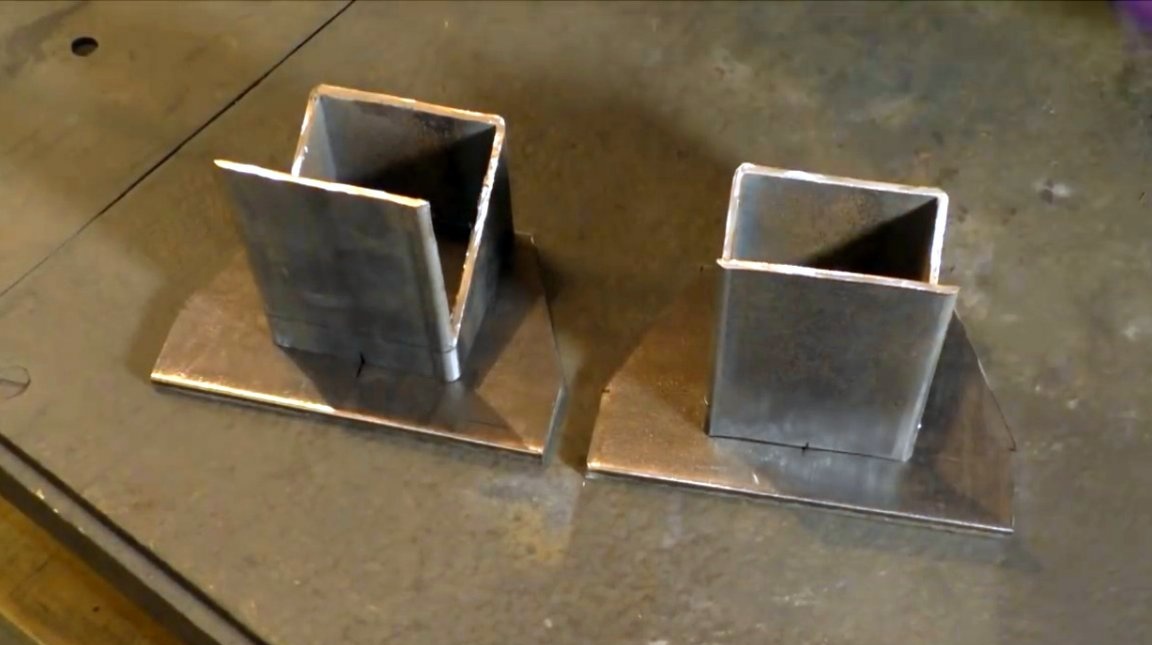
The author makes racks of sponges from a profile pipe.
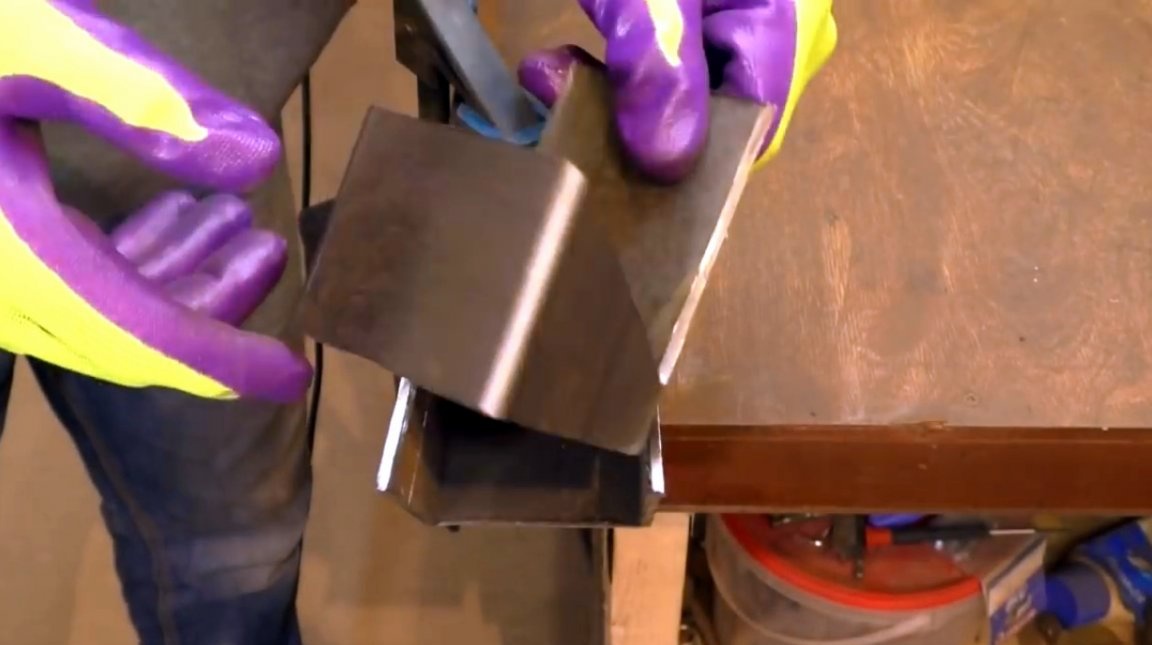
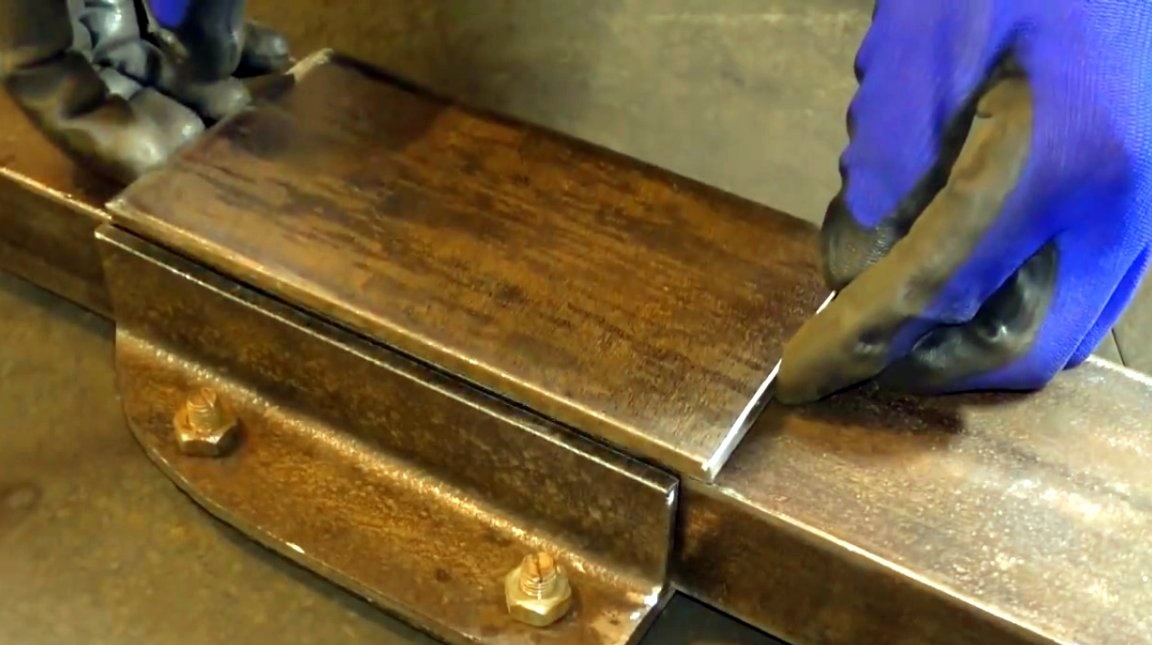
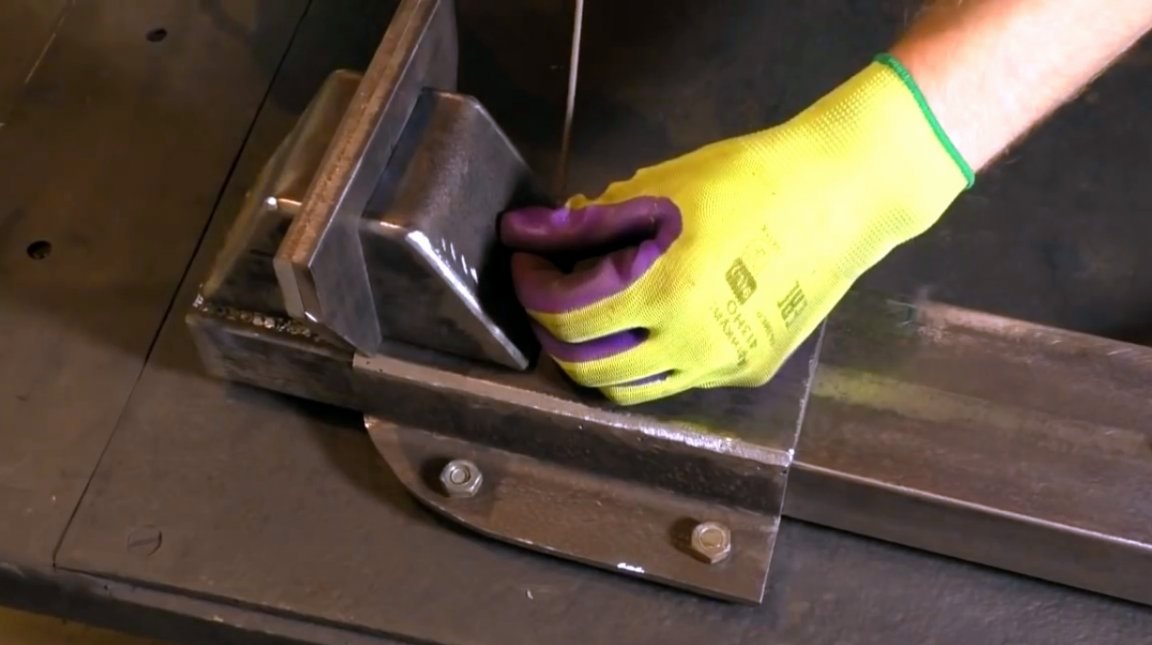
The front parts for sponges are carved from a thick steel plate, the same as in the base.
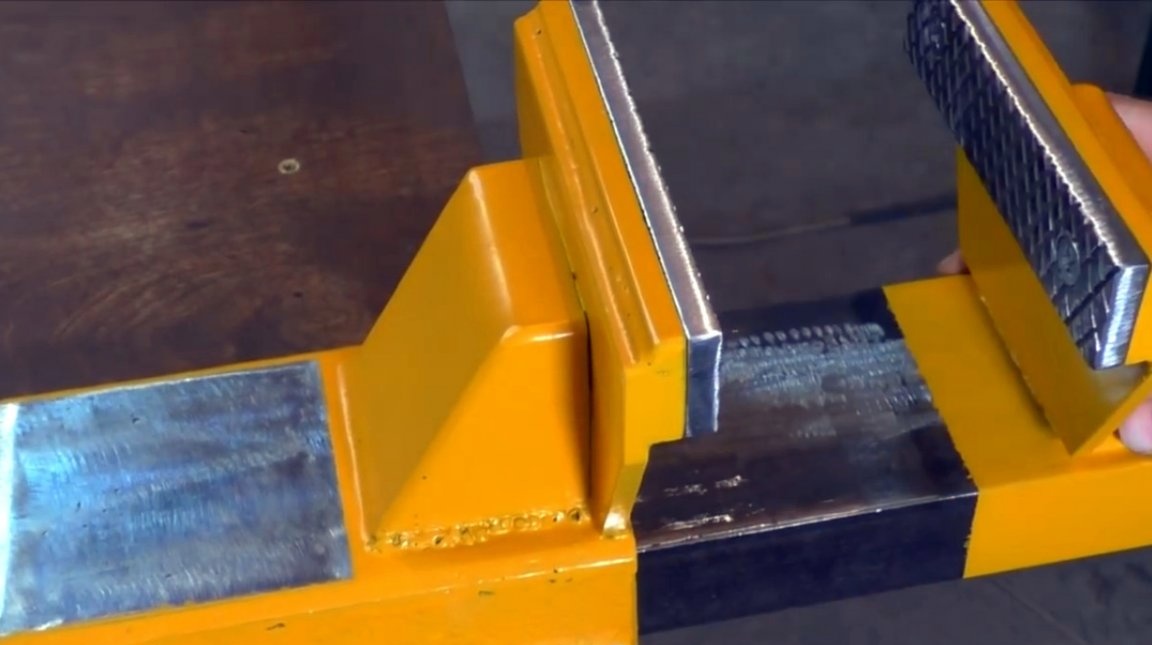
Now he begins welding one of the sponges, and checks the correct location of the planes.
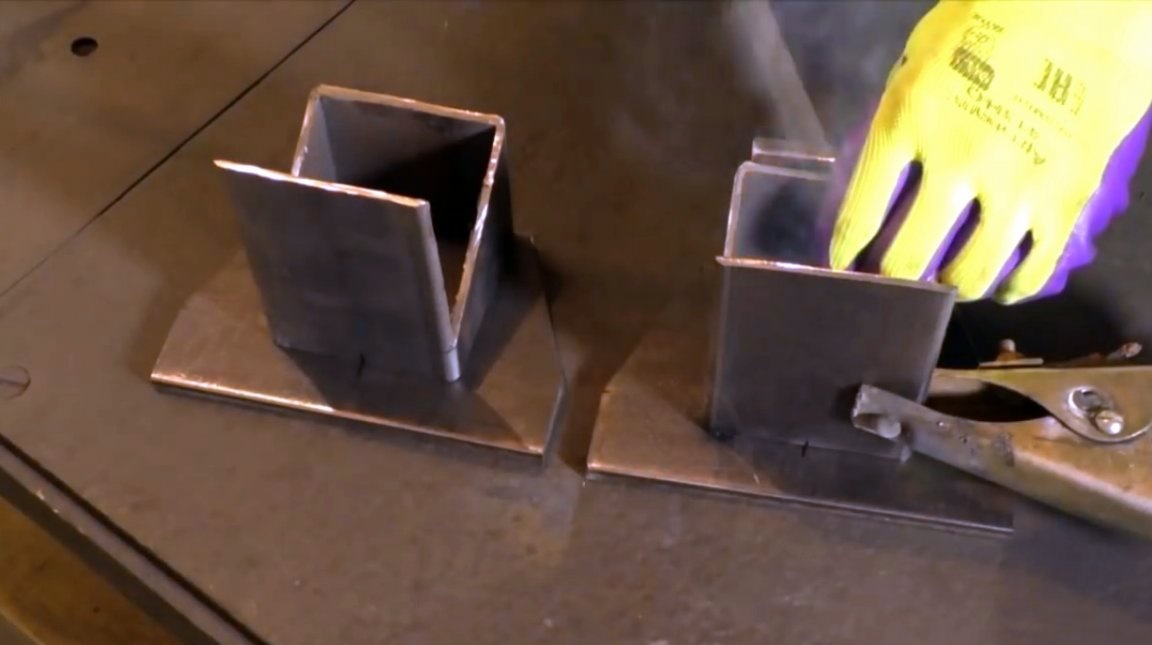

The petal is bent with a hammer, and boils.

The first author decides to weld a movable sponge to the channel.
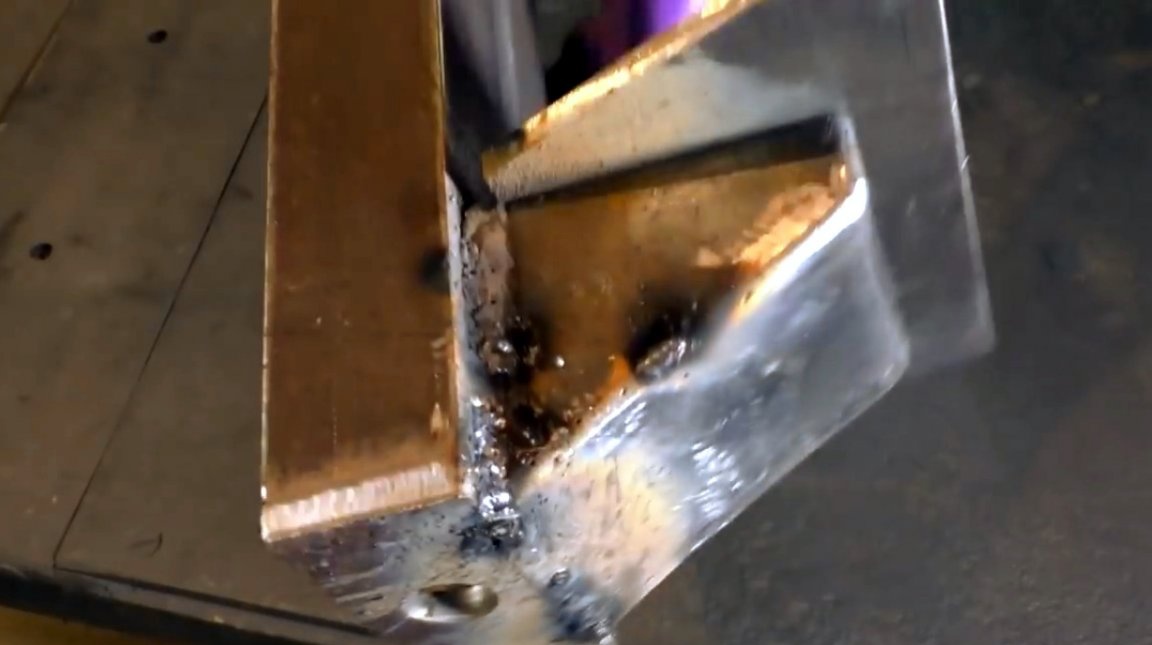
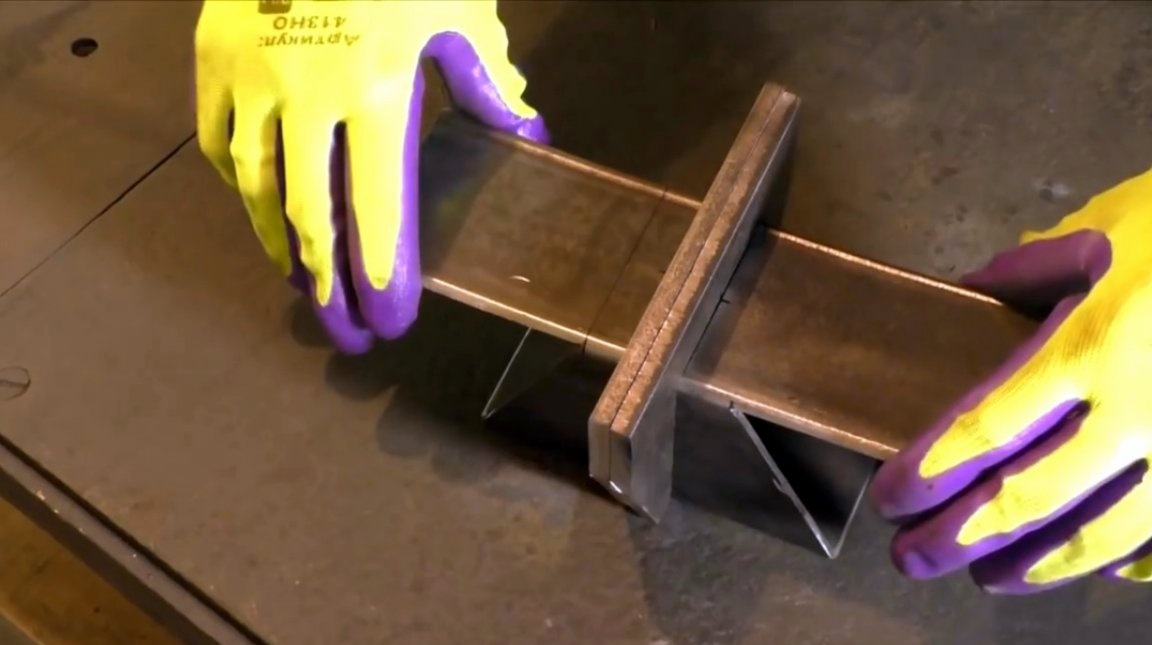
It connects the plane of the jaws with each other, and welds a fixed sponge to the base.So he wants to achieve maximum accuracy.
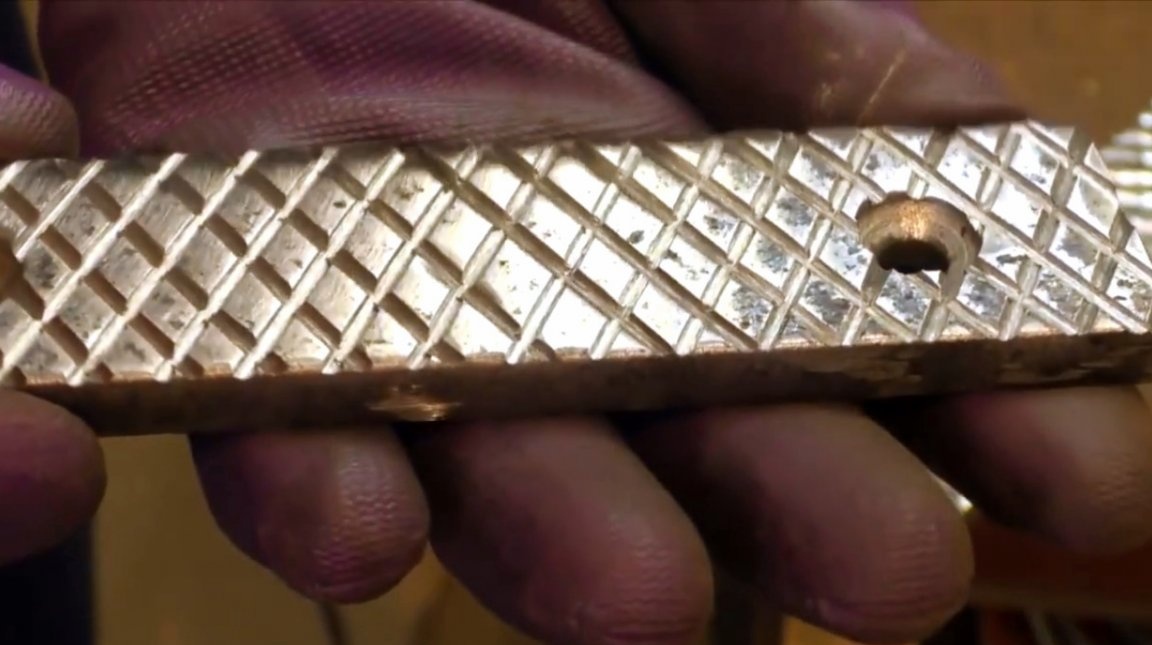
Details for pressure plates are cut from a steel sheet, holes are drilled in them. On two plates in the holes, a thread for the clamping screws is cut, and in the two remaining holes, the holes are countersunk.
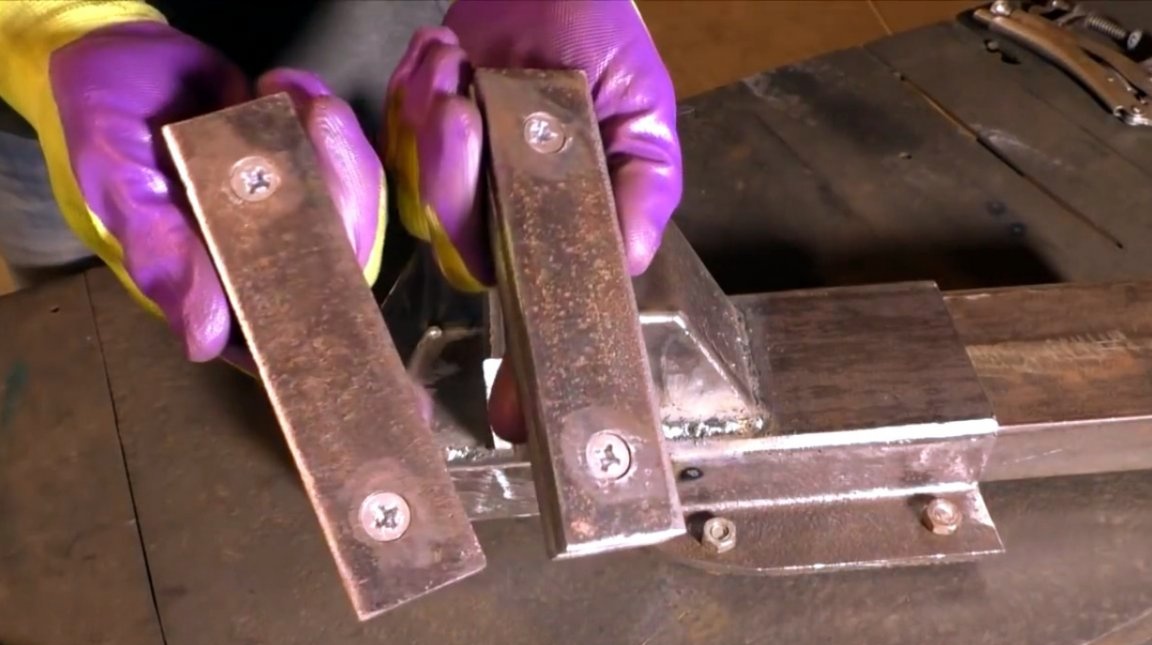
So, the author tightens the structure with a screw, and welds the threaded plates to the upper part of the jaws.
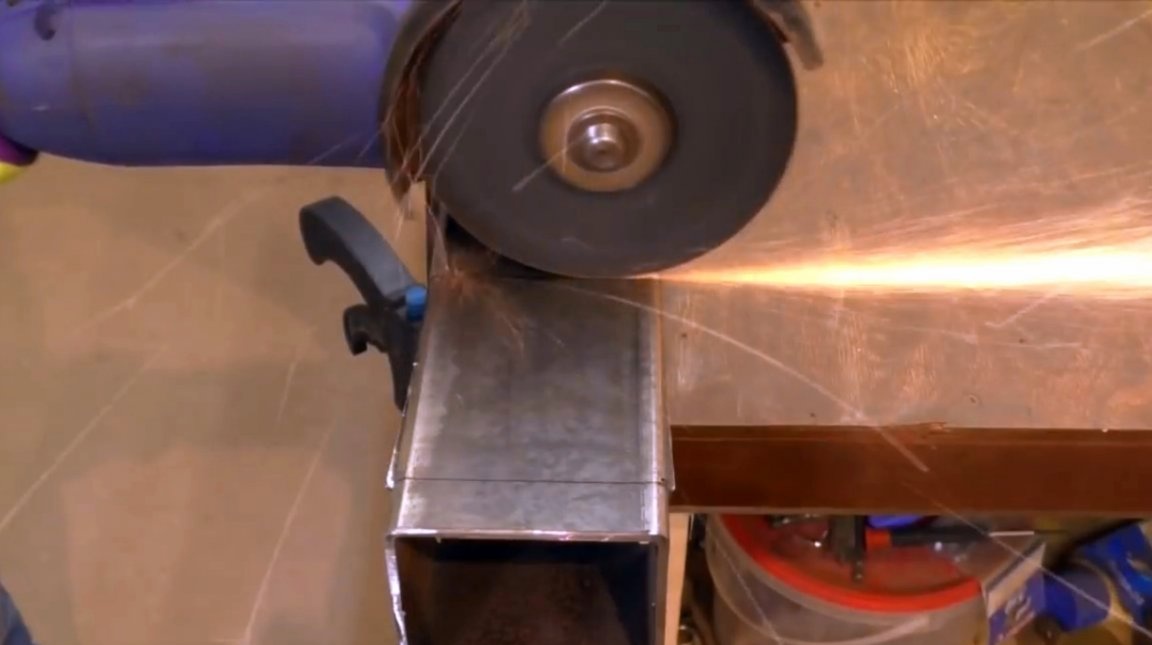
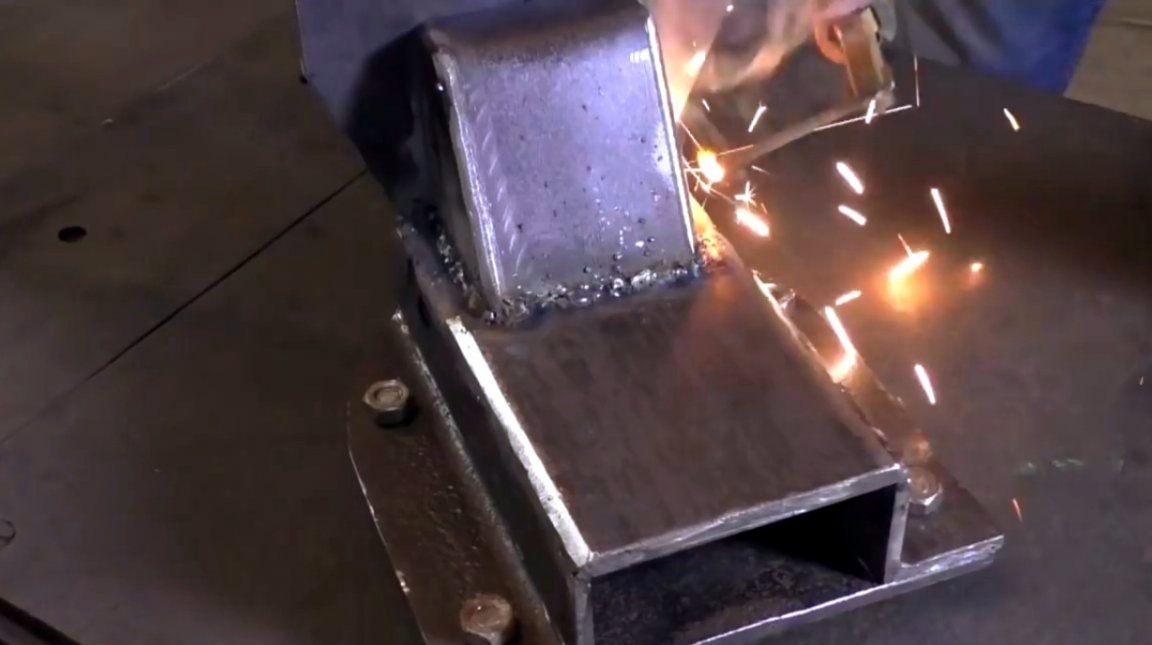
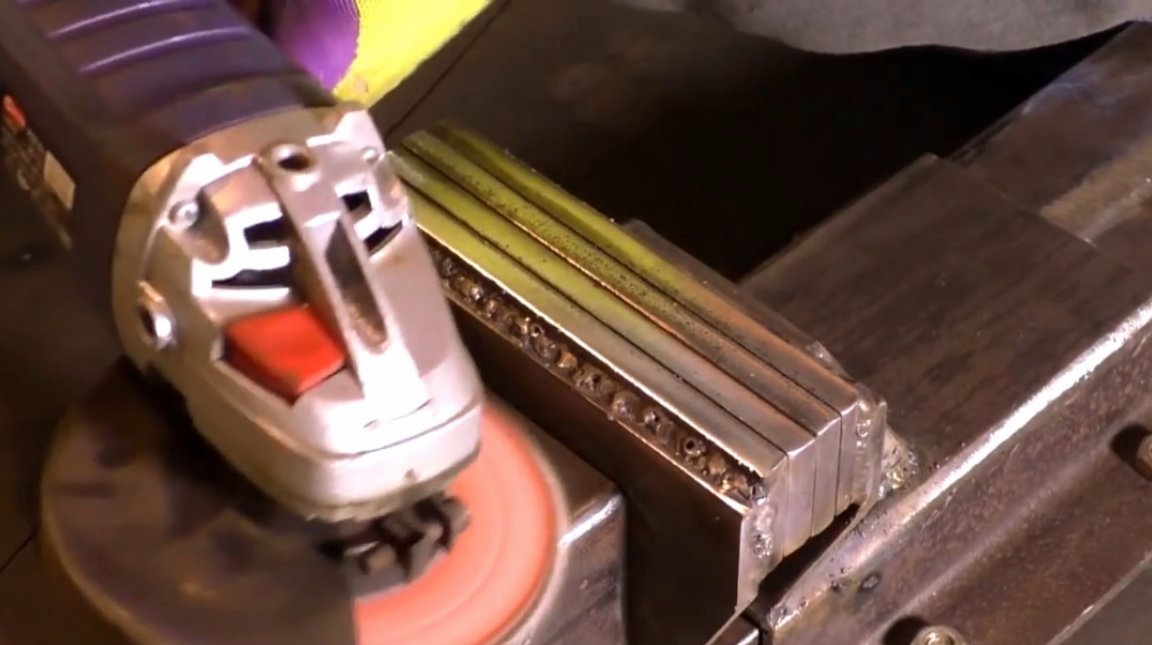
After all welding work, the seams and surfaces of the parts are cleaned with a flap grinding disc.
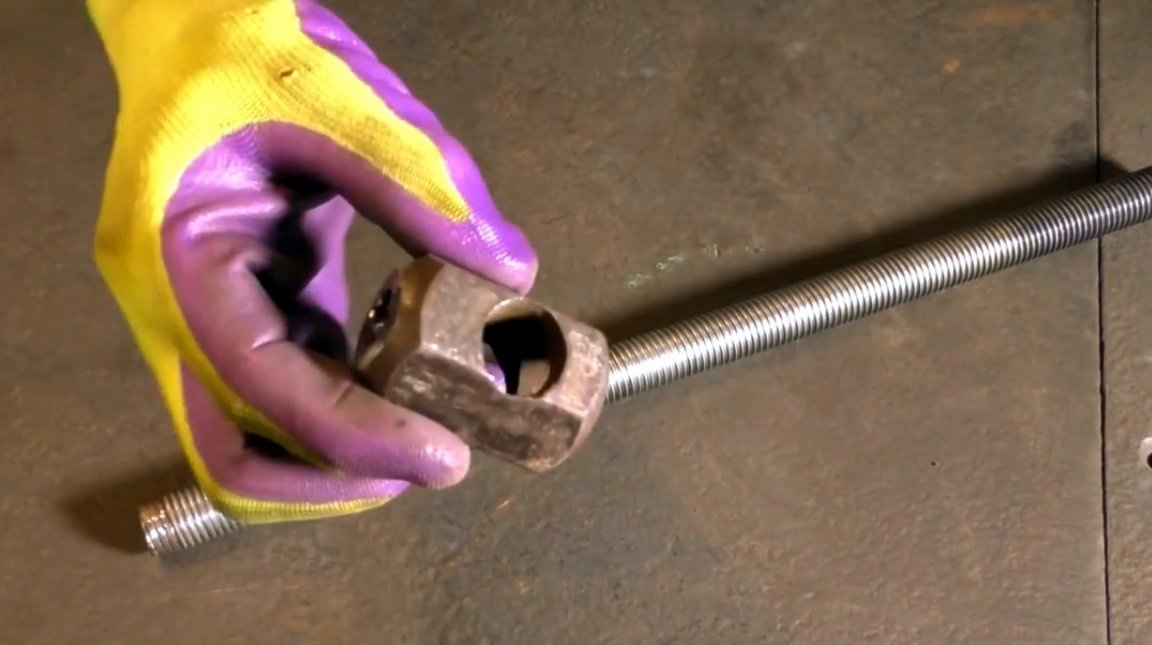
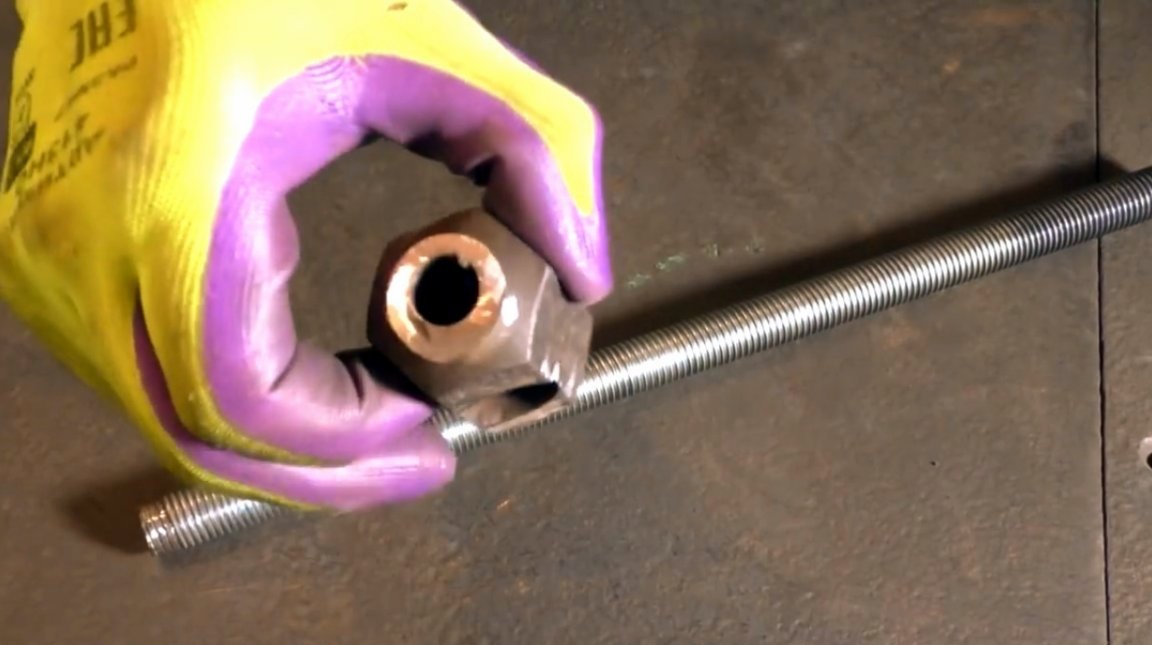
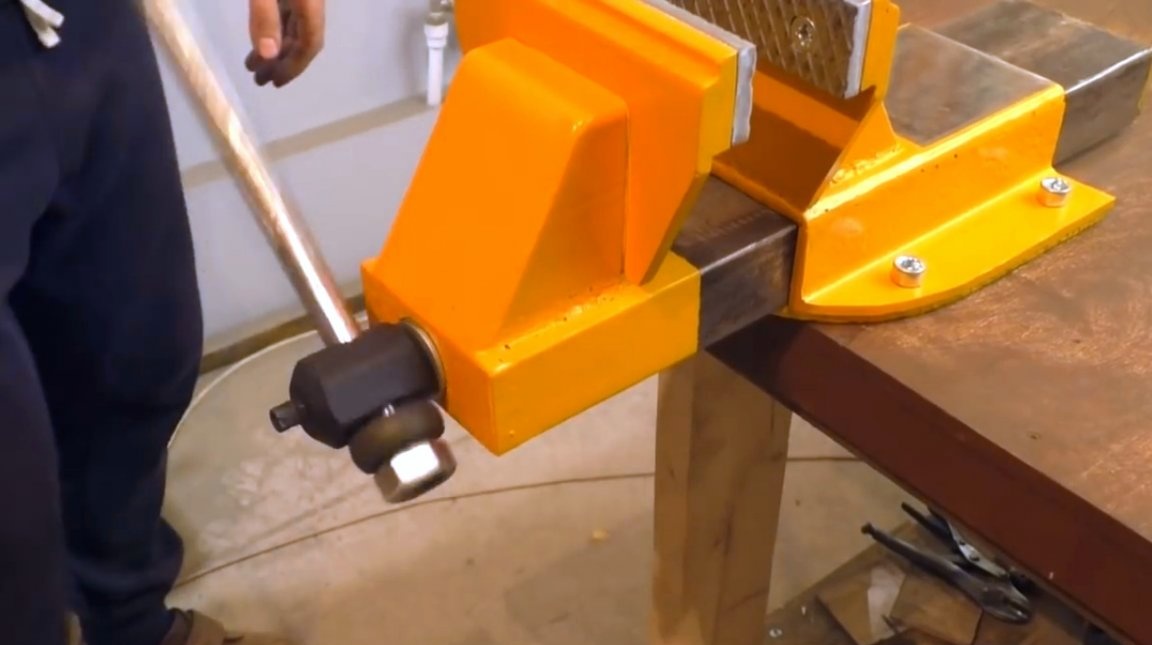
Here, in such a nut, the master drilled a hole for the lever, and welded it to the edge of the screw.
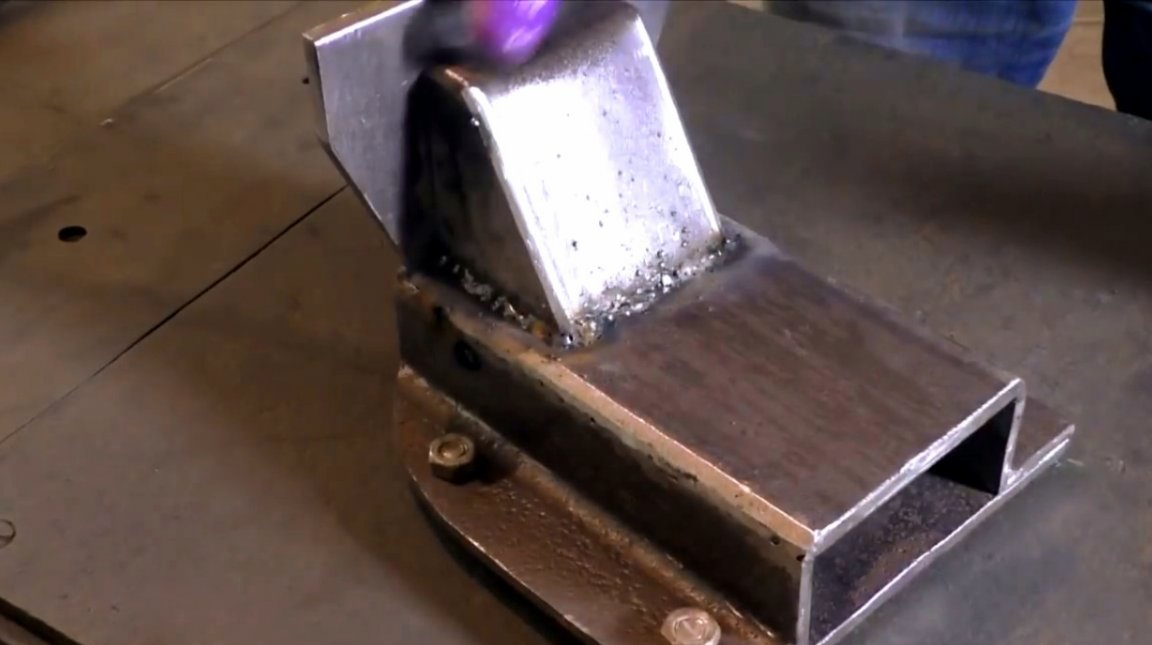
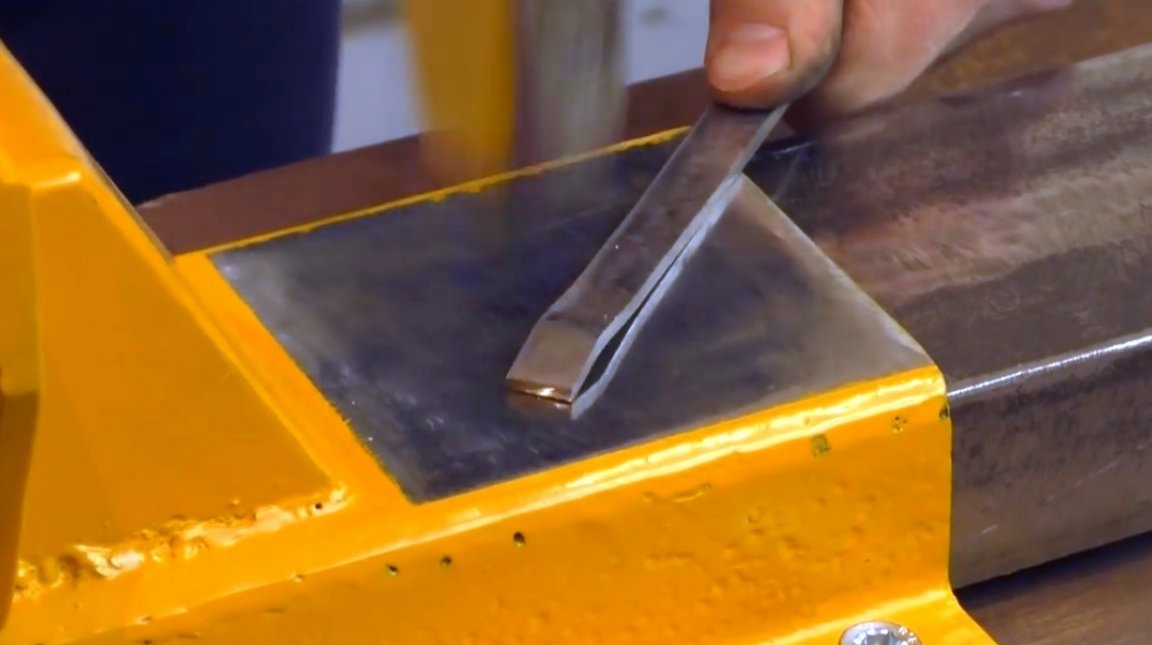
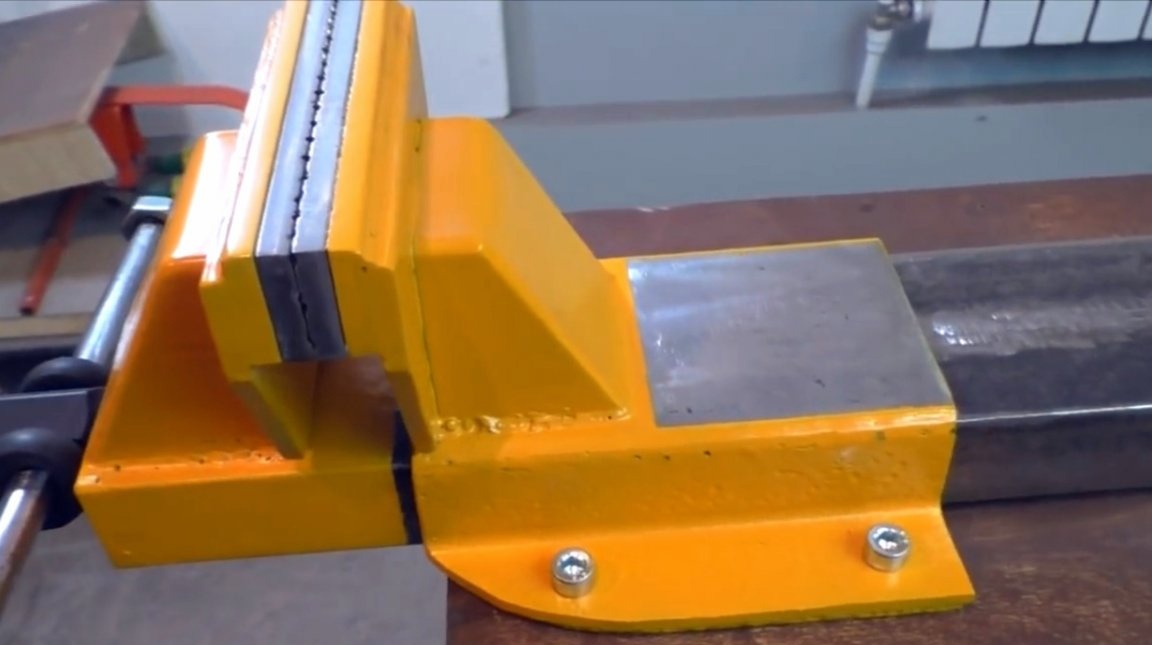
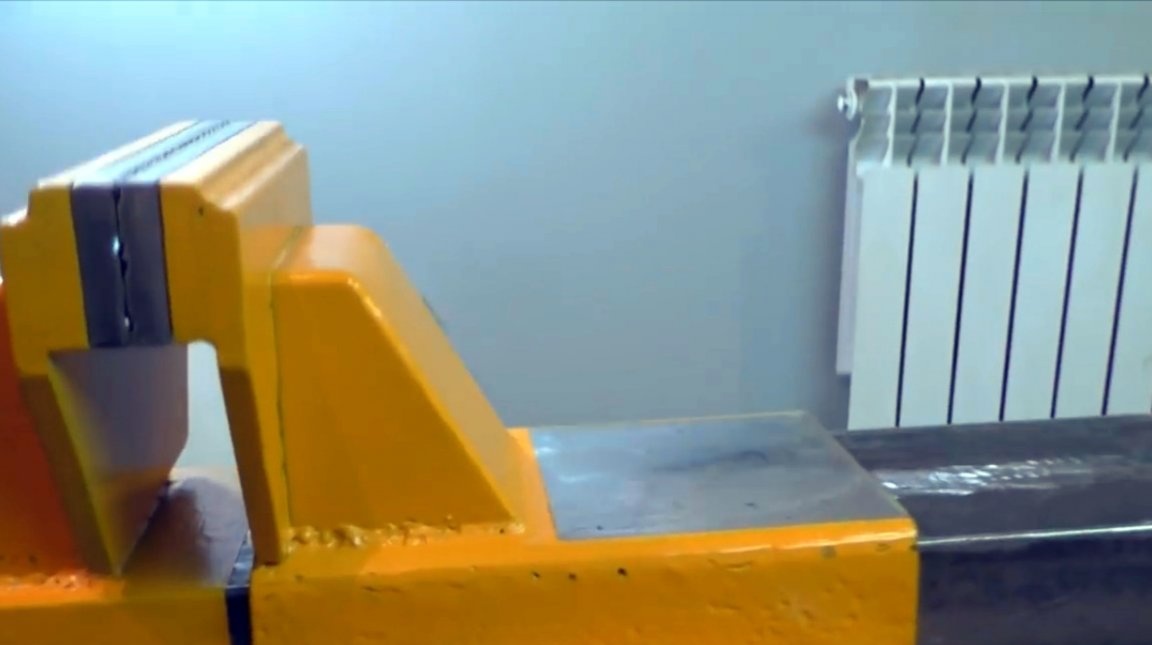
But this plane will serve as a small anvil.
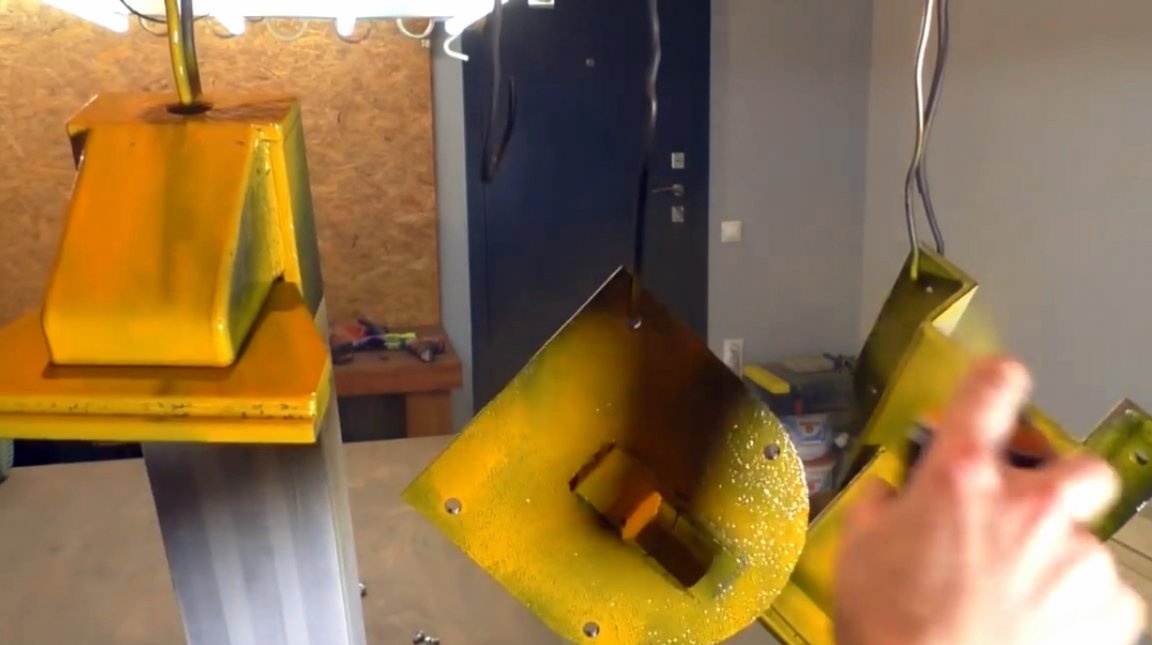
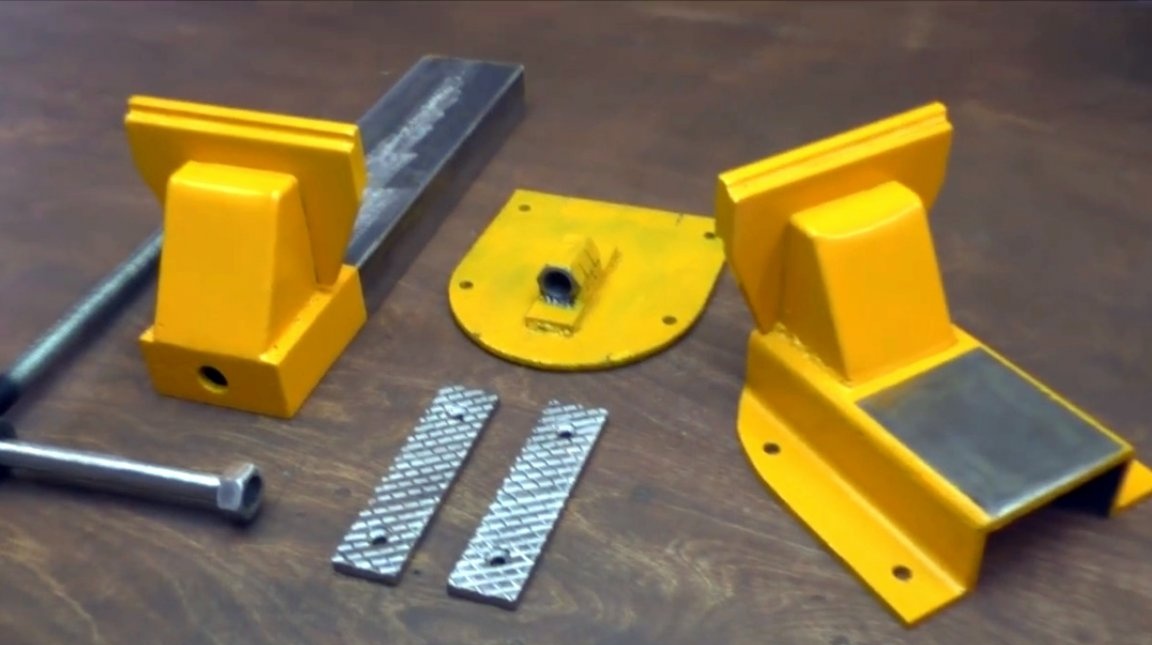
Further details are spray-painted, but not on all surfaces.
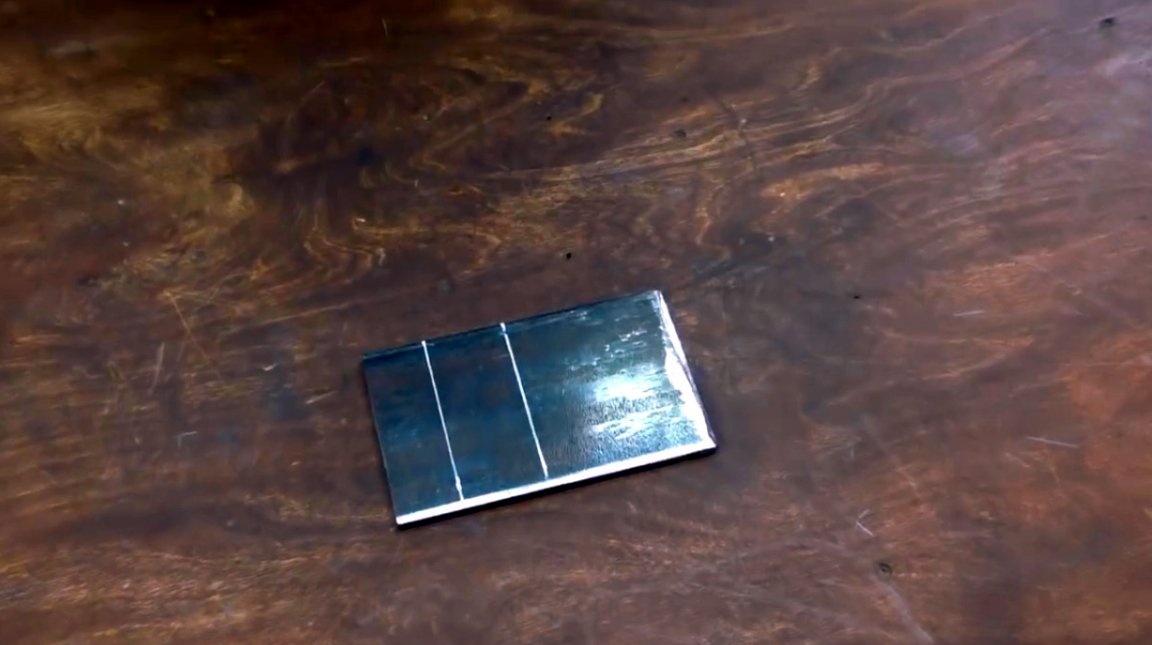
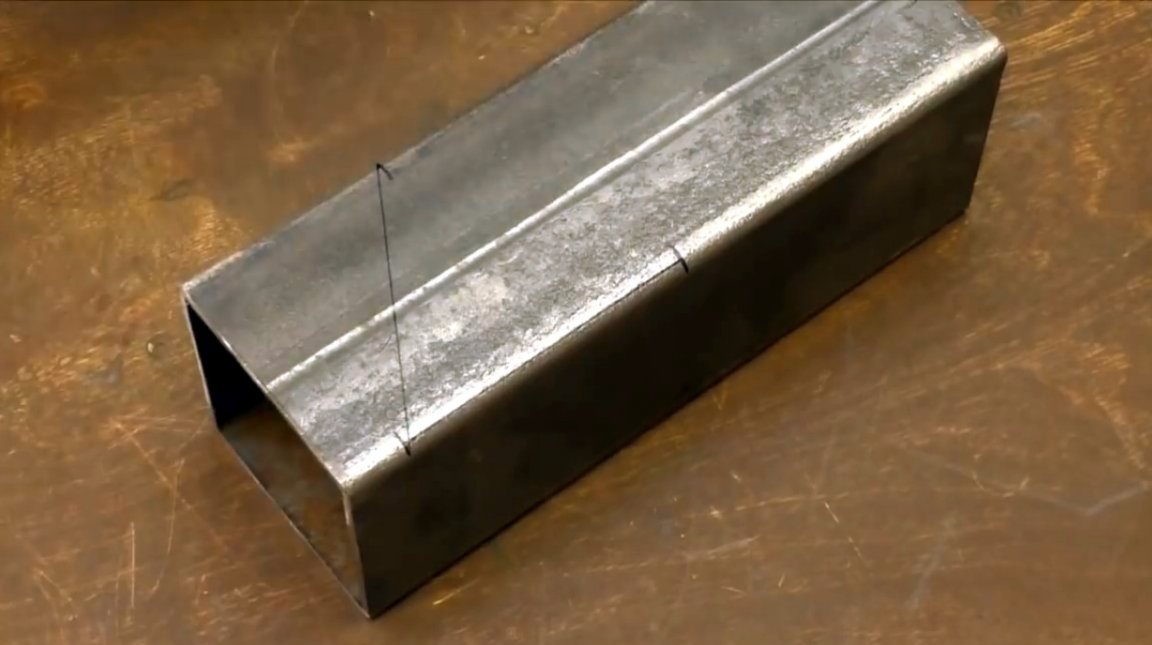
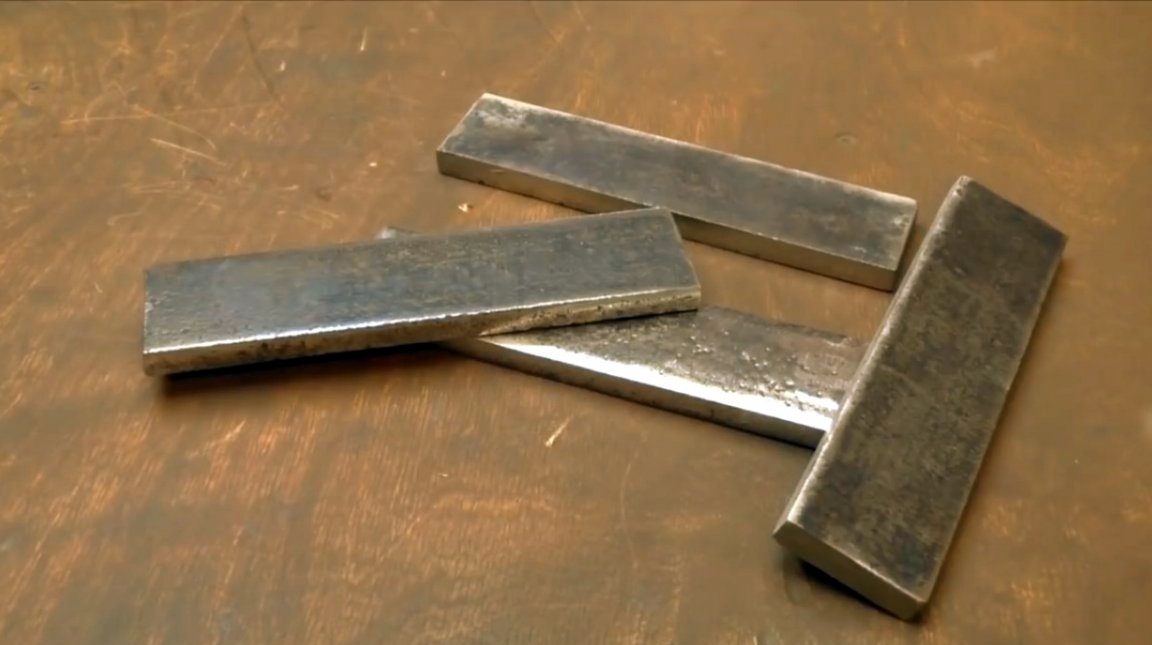
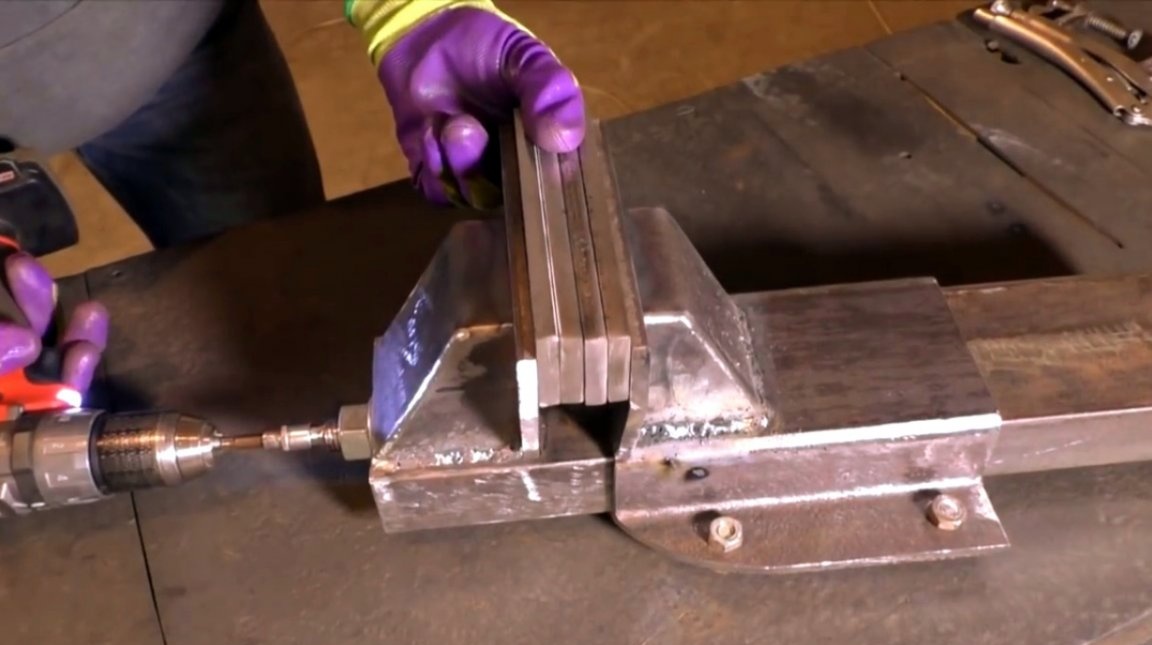
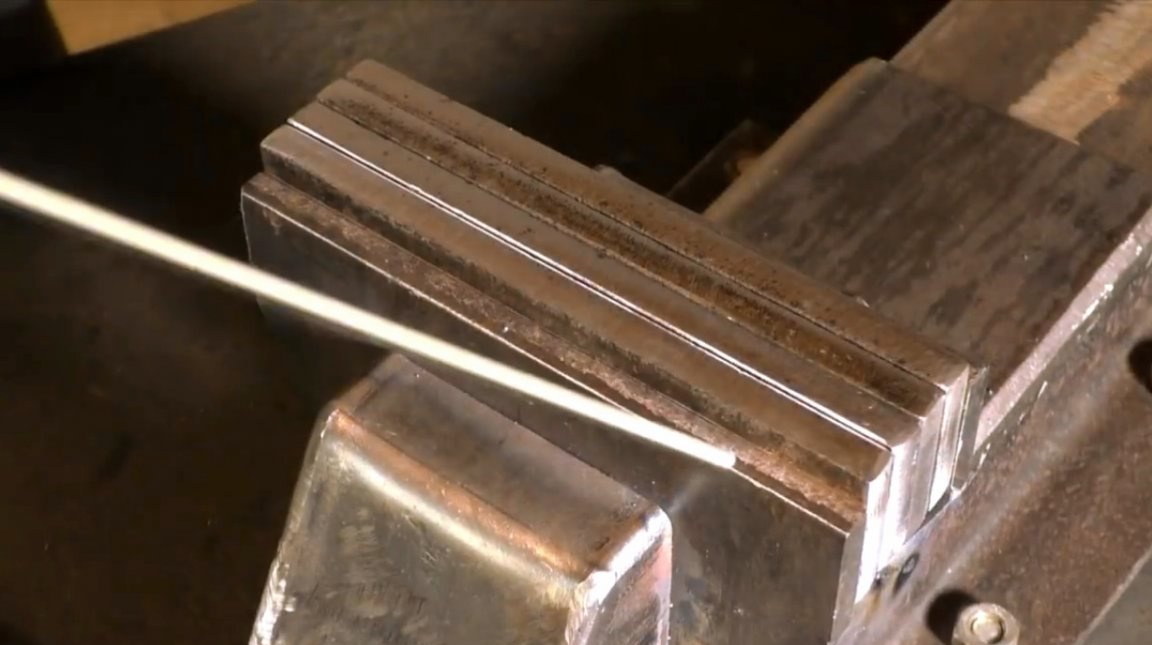
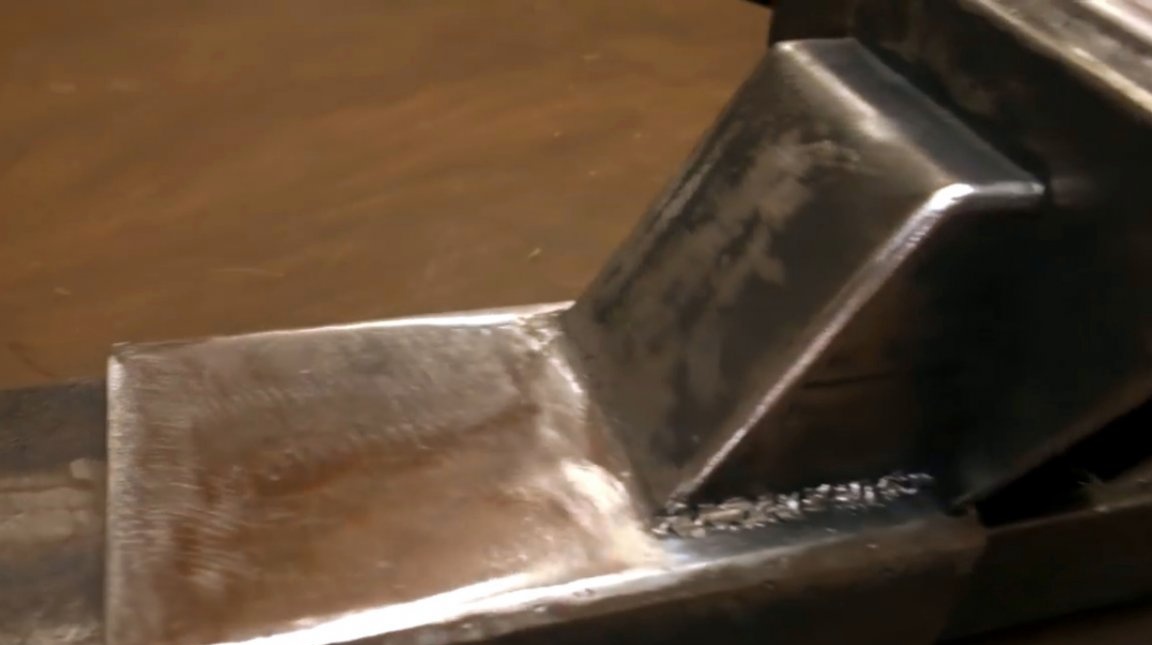
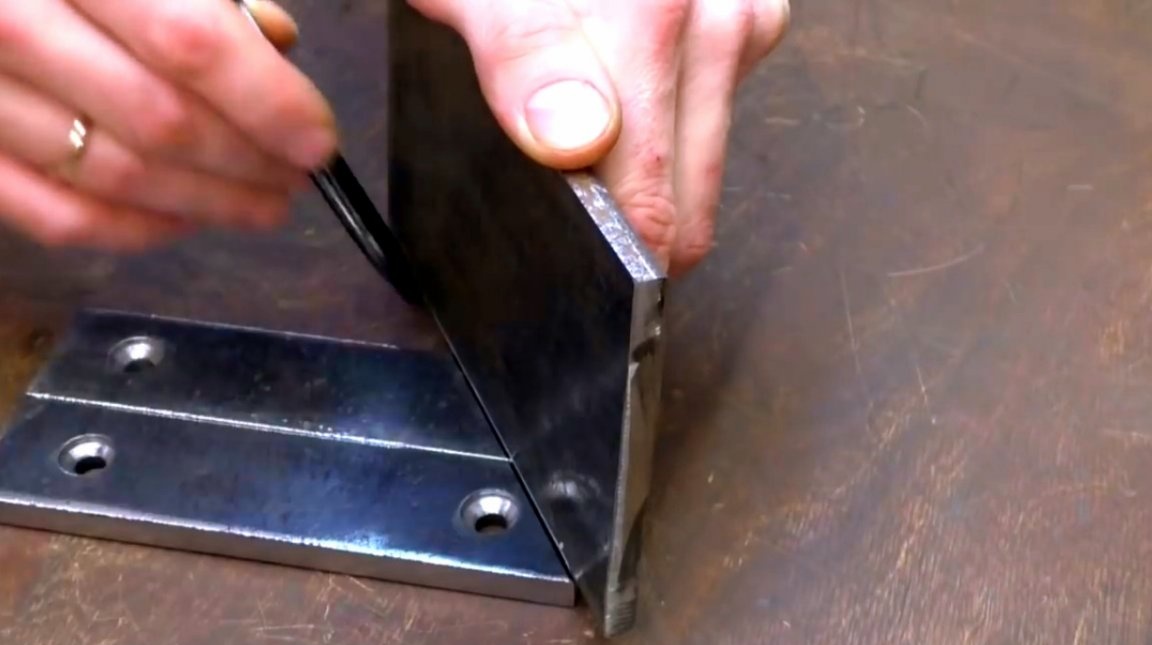
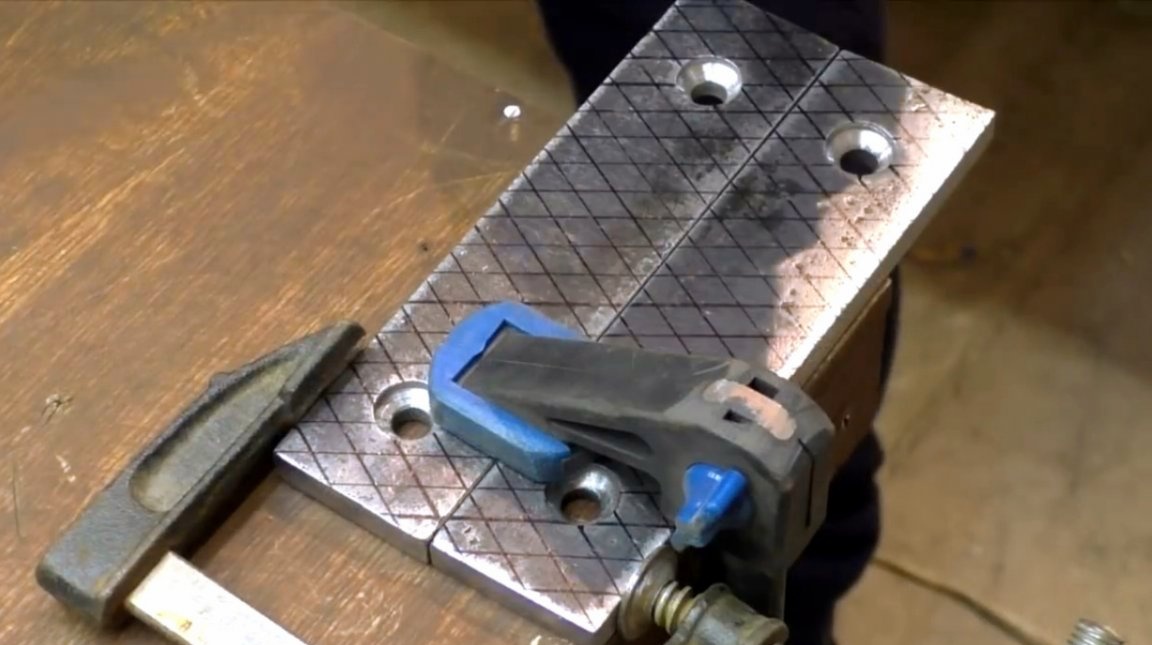
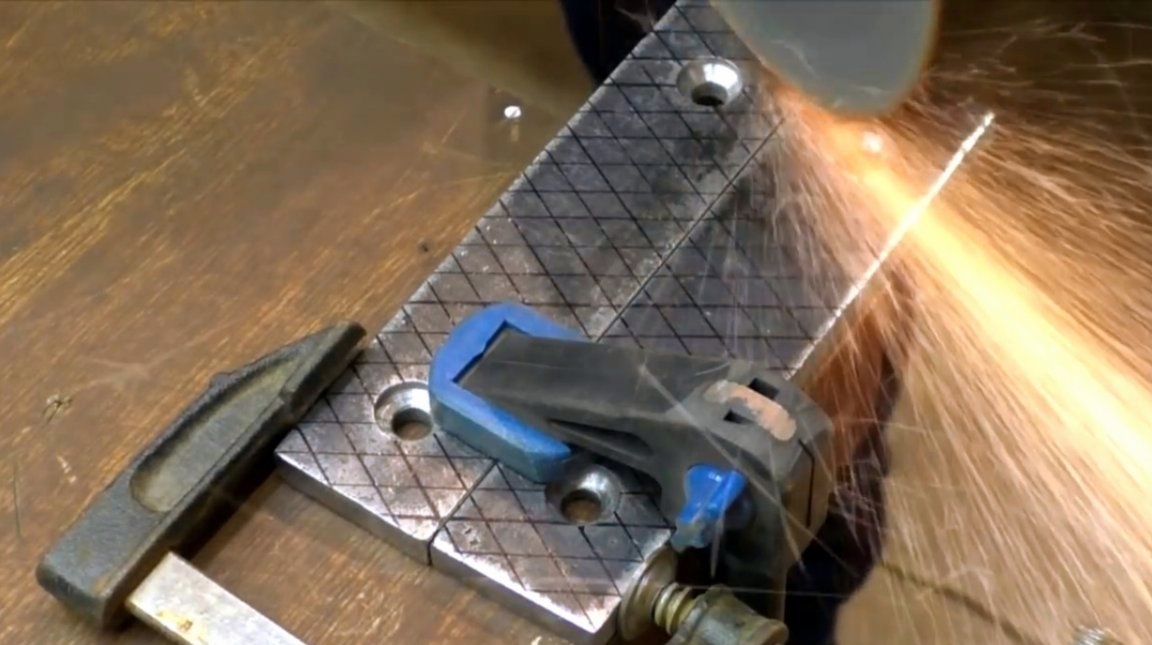
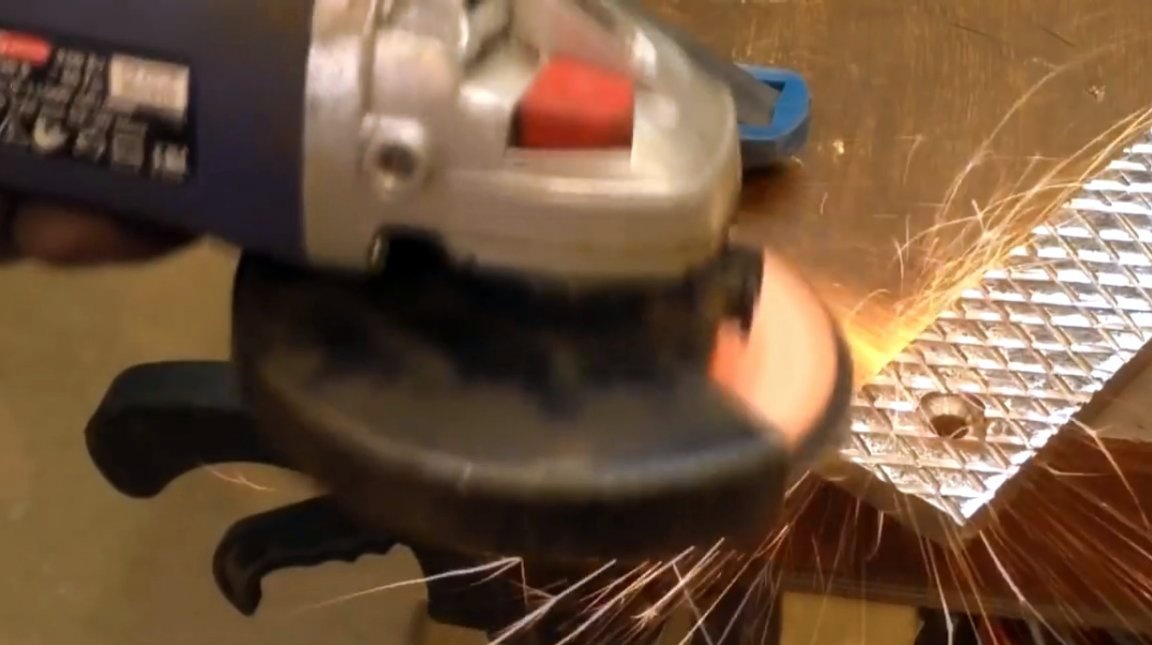
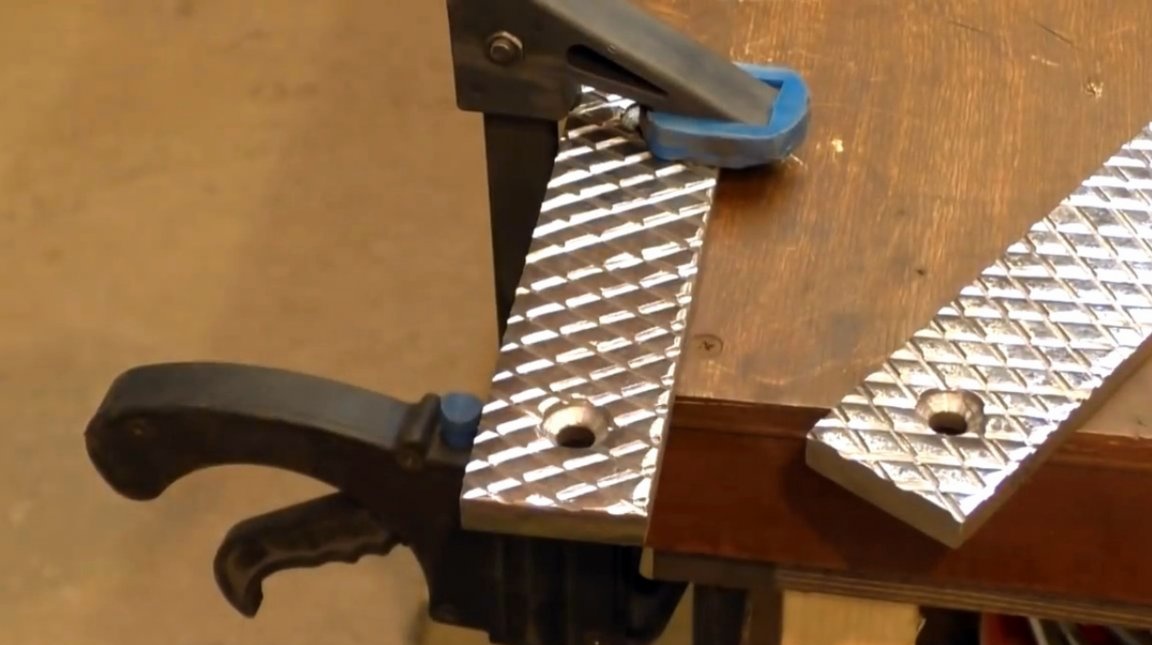
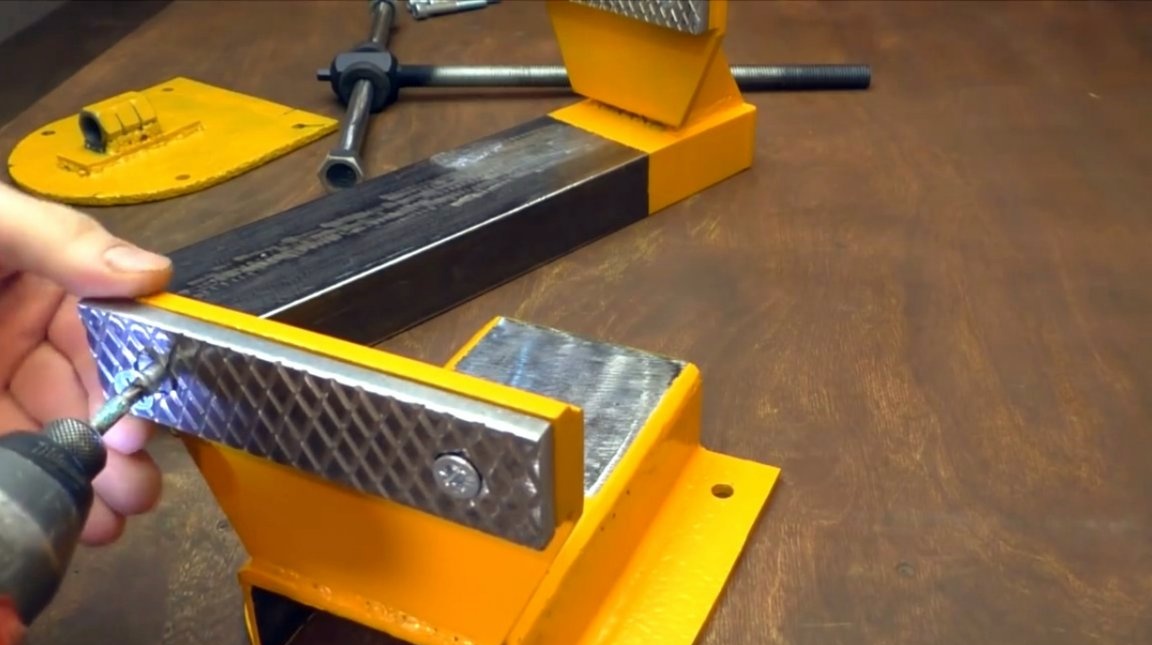
Two removable pressure plates are marked and a diagonal notch is cut.
After polishing, they acquire a familiar look.
So, all the details are ready, and here you can see which of the surfaces the master did not specially paint.

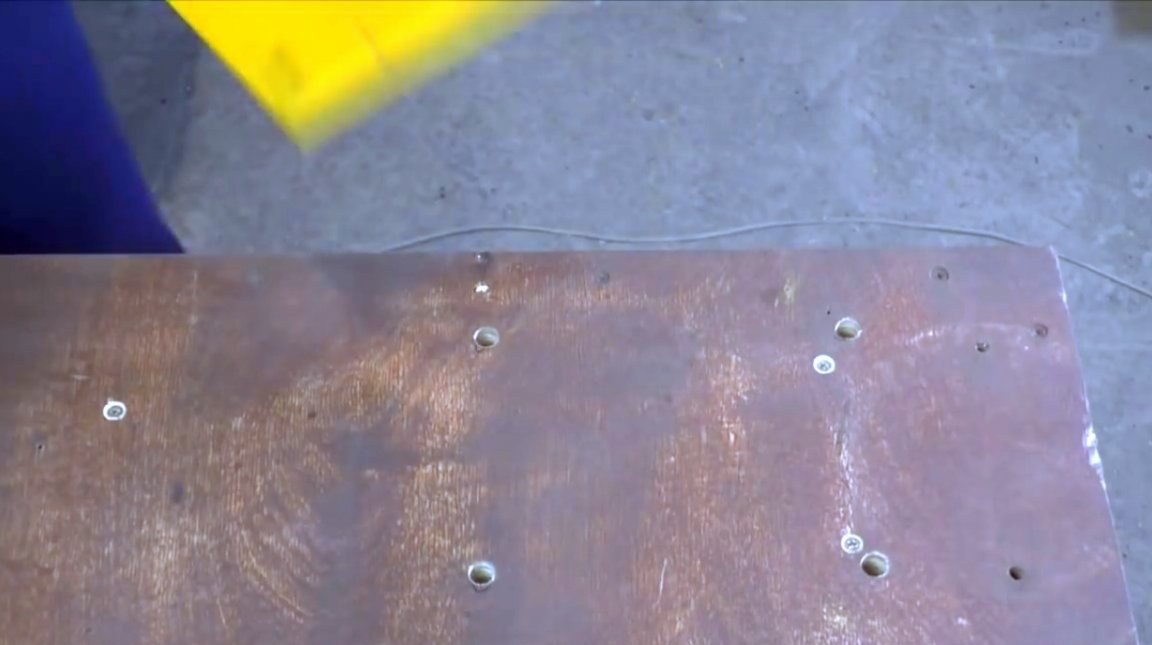
In the workbench, he drilled the necessary holes for the mounting bolts. They will be simultaneously pulled together, and the vise is fixed to the table.
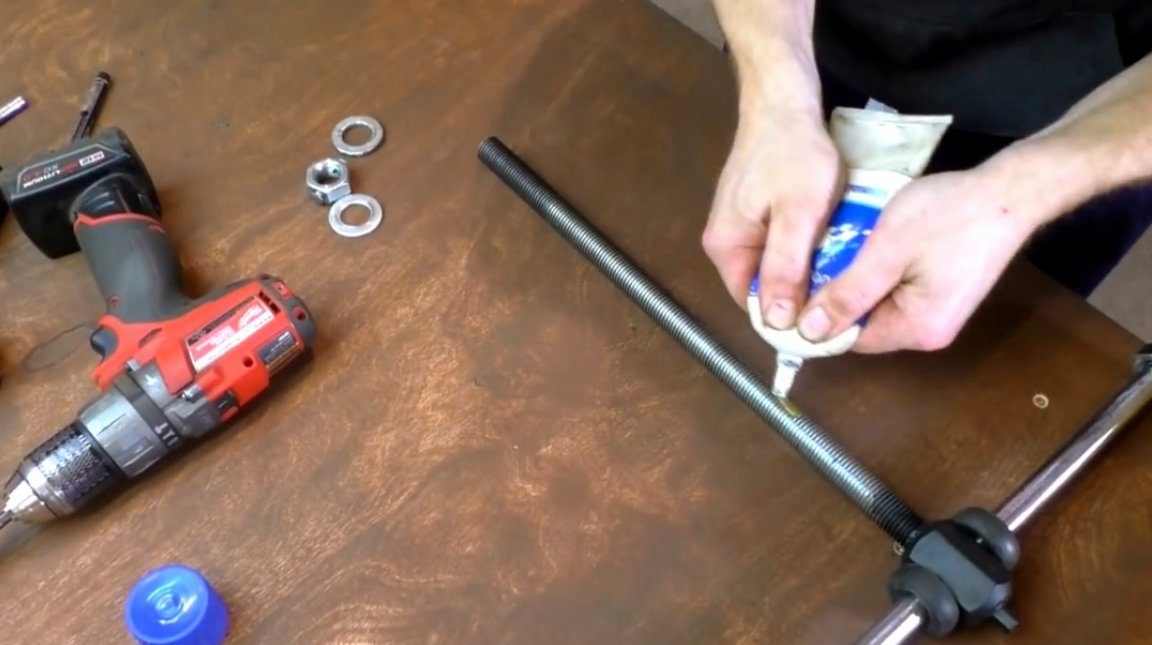
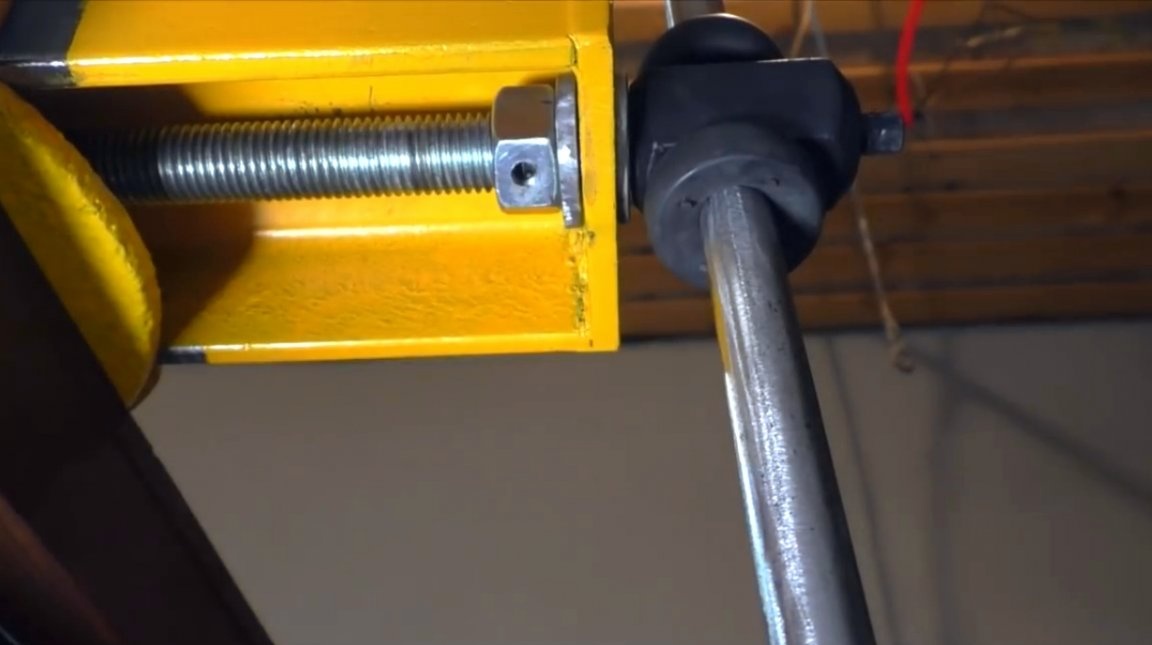
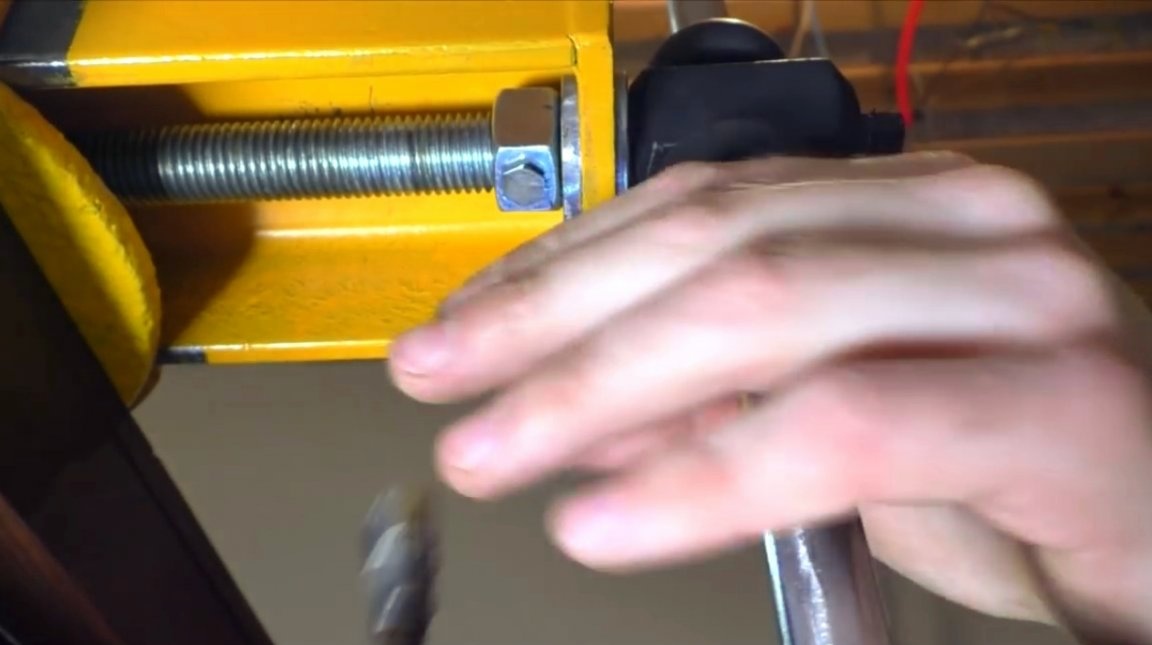
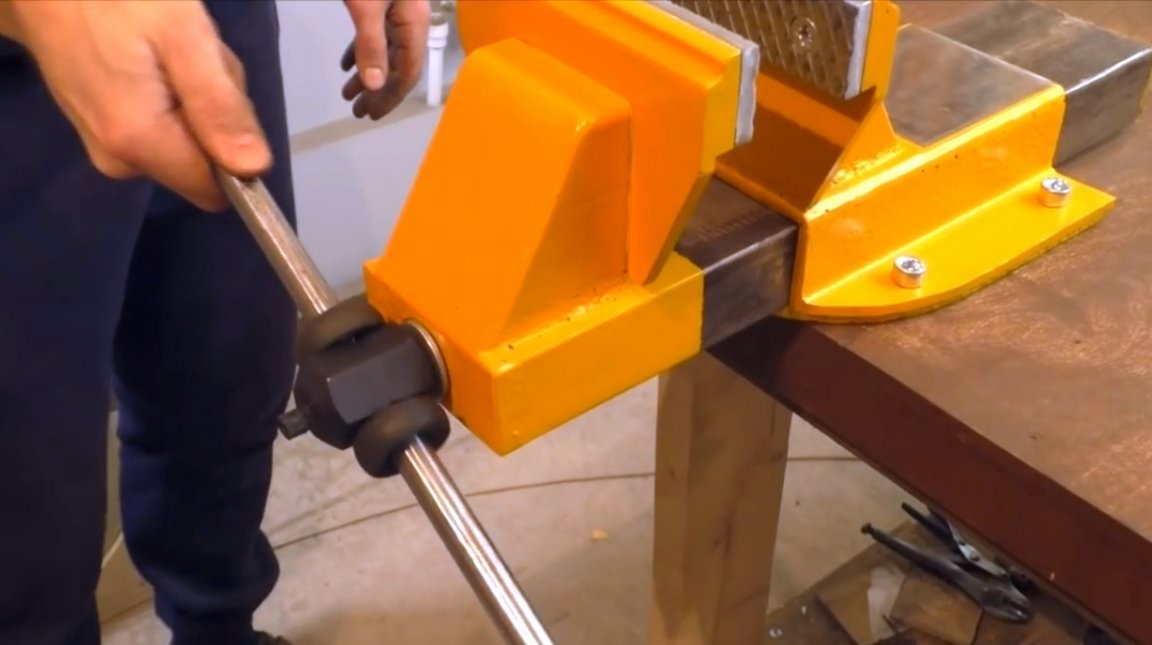
The author inserted a lever into the screw head and applied grease to the thread.
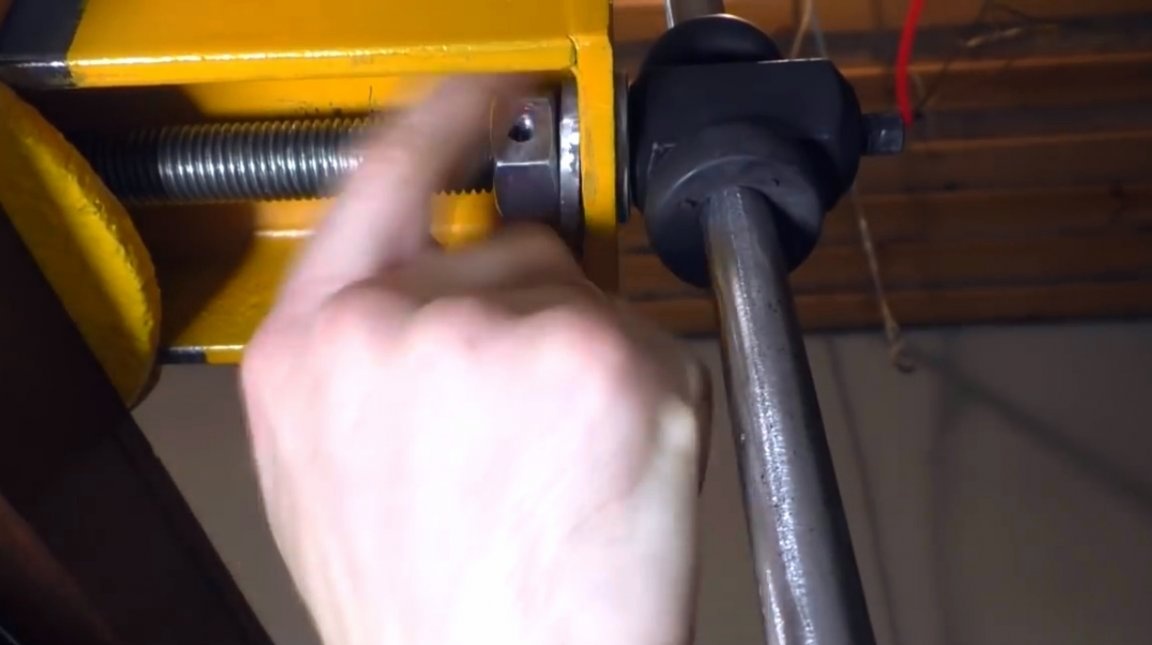
Before screwing the screw into the nuts of the base, the author made two holes in the same nut and cut the threads in them. Washers are put on the screw on both sides, and this nut will hold the screw in the retainer plate.
The nut is pressed on both sides of the screw by small bolts.
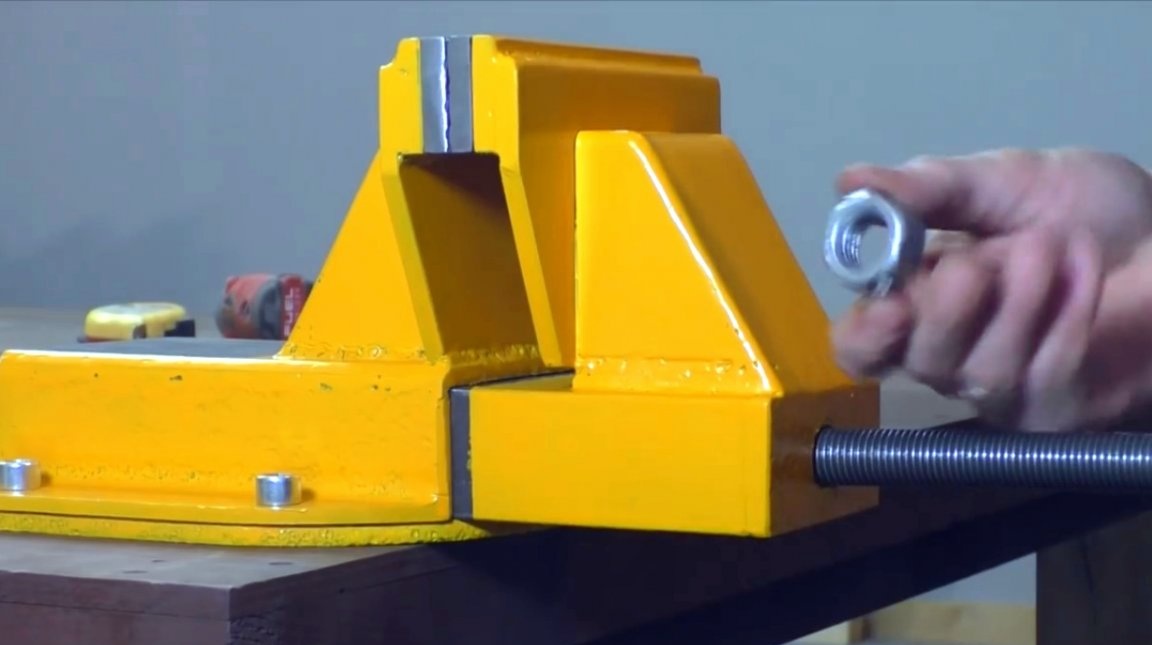
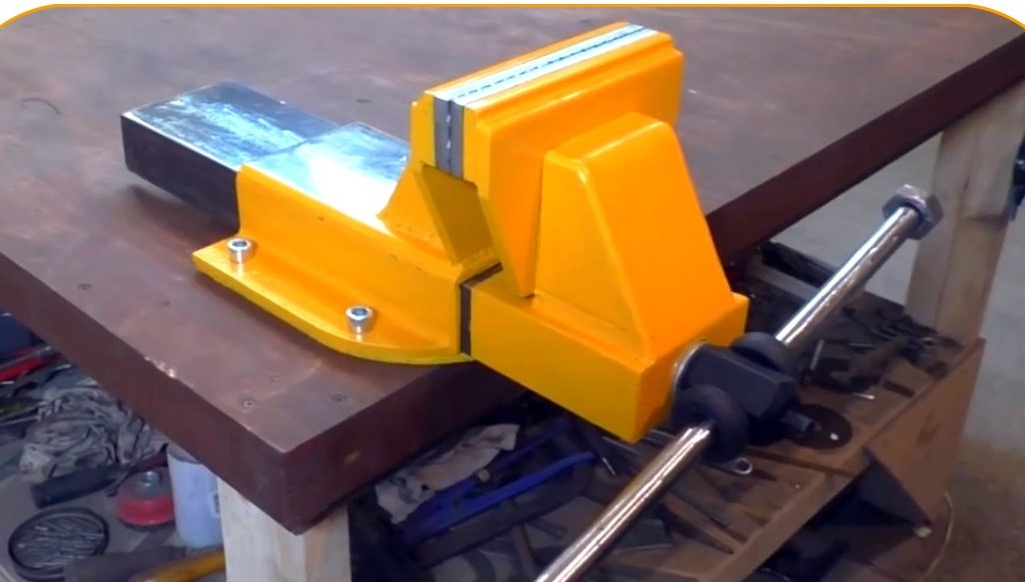
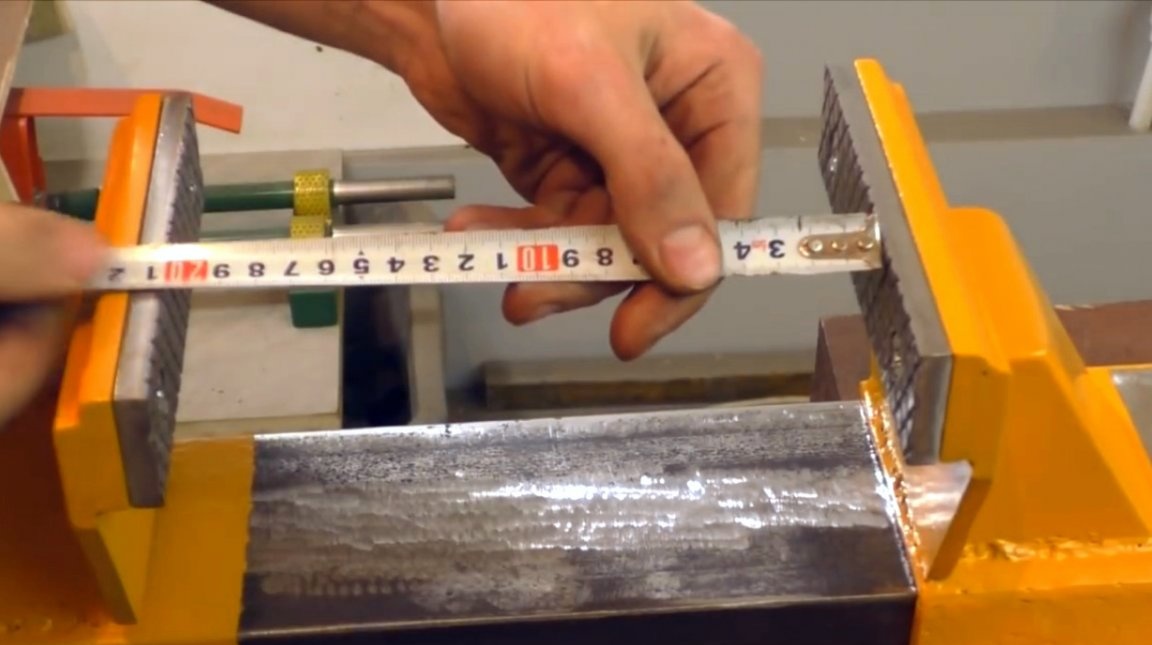
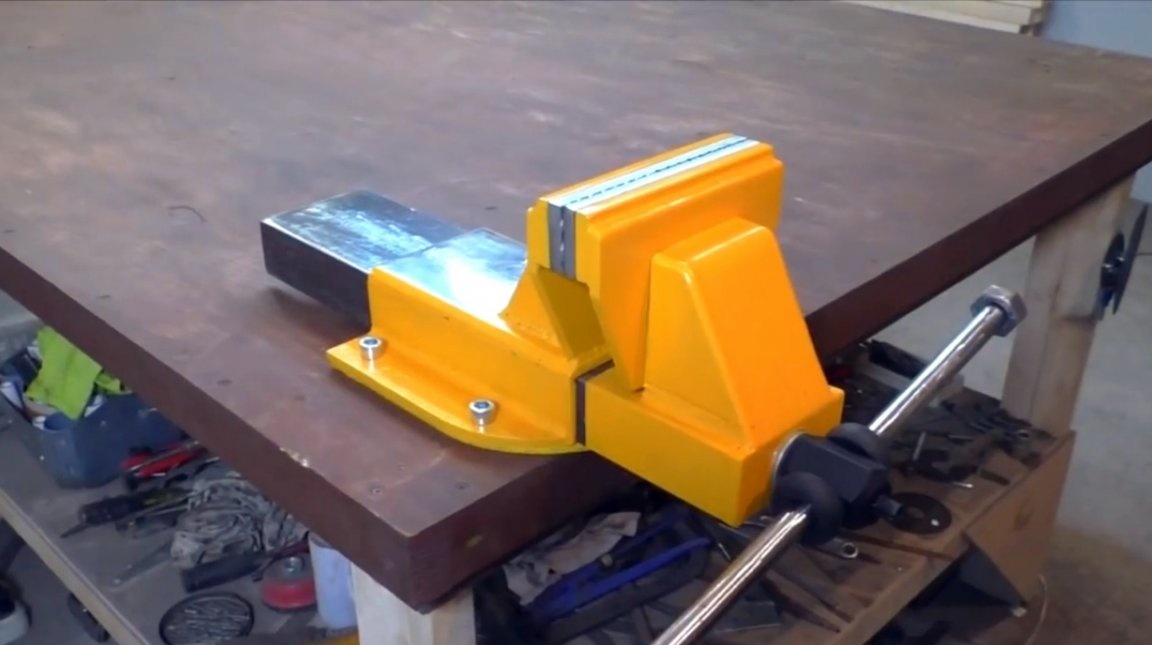
So, the maximum working distance between the jaws was just over 200 mm.
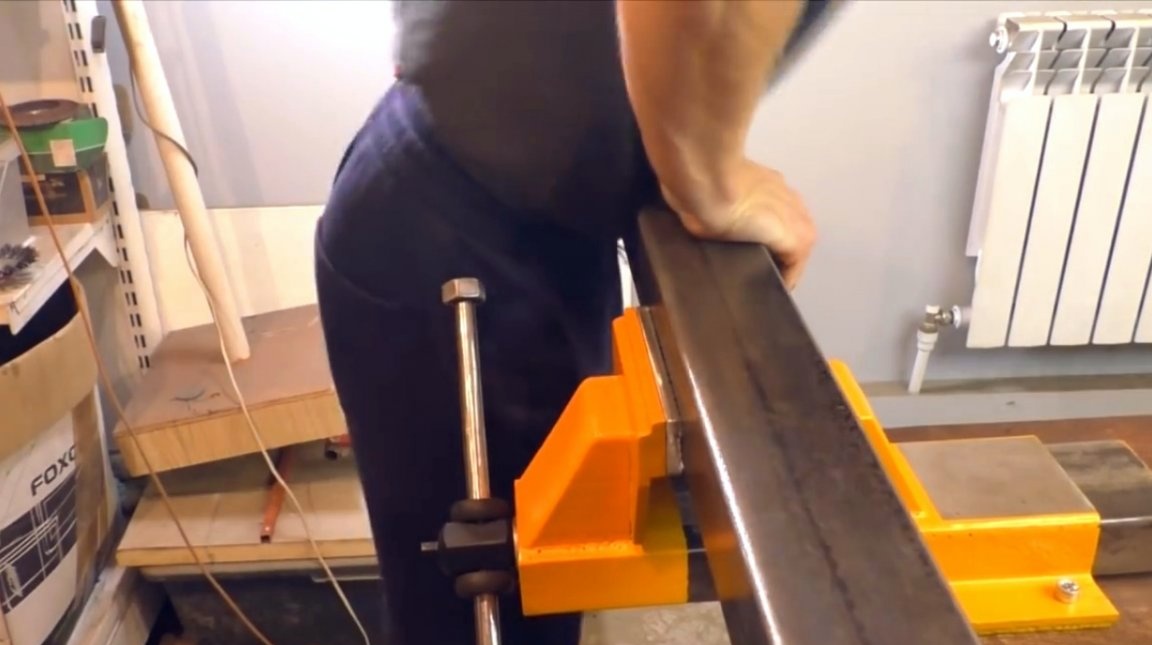
Having clamped a profile pipe in a vice, the author checks them for reliability, they maintain even its weight.
This small area will serve as a small anvil. Of course, you can’t forge a horseshoe on it, but for small details it’s quite suitable.
The master also made a small revision of the lever, he tightly put on him two rubber bands on both sides of the screw head. They allow you to fix the lever in the extreme position, which is necessary to create maximum clamping force. And you can also lock the lever in a central position, it is convenient for quick rotation.
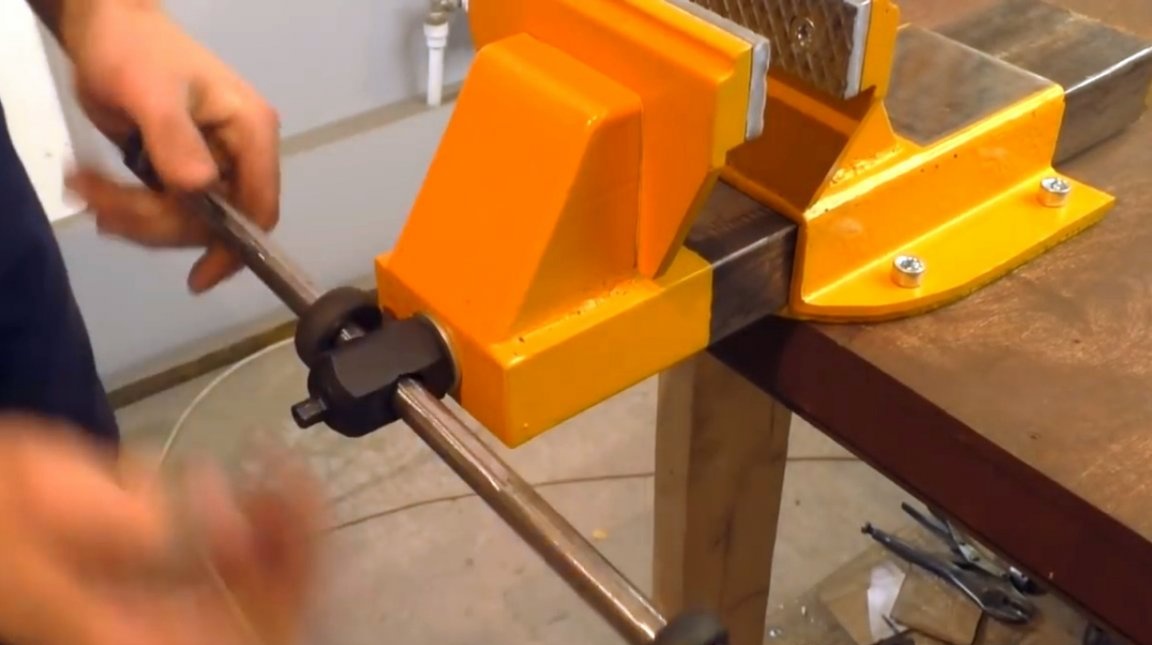
These are such beautiful, and rather serious parallel vices, turned out by the author. If desired, they can be made rotary by adding a turntable to the base. In addition, the author made the base collapsible for the reason that it would be so easy to get to the nuts, and replace them with more serious ones along with the screw.
The dimensions of the details of this vice can be changed at your discretion, for example, the width of the jaws, or the length of the screw. You can also reduce or increase their dimensions.

I thank the author for the simple design of one of the most necessary tools for the workshop!
All good mood, good luck, and interesting ideas!
Author video can be found here.