

Cotton candy is a very tasty treat, but it is expensive and it hardly makes sense to buy a vending machine home.
To make a home automatic machine out of an ordinary kitchen pot and a heap of garbage, which almost every house has, takes a little time and does not require large expenses. But you can make cotton candy from regular sugar, when you want and in any quantity!
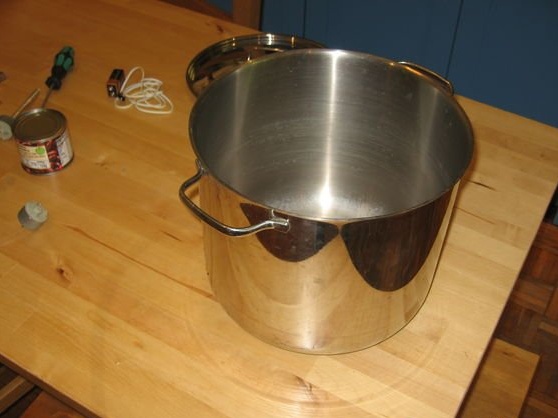
For this machine you will need a container with sugar, covered with small holes. This container will heat up (and sugar melt) and rotate (to throw away small sweet threads). We will place this container inside a large pot so that sugar does not sweep throughout the kitchen during the preparation of cotton wool.
Step 1: What You Need
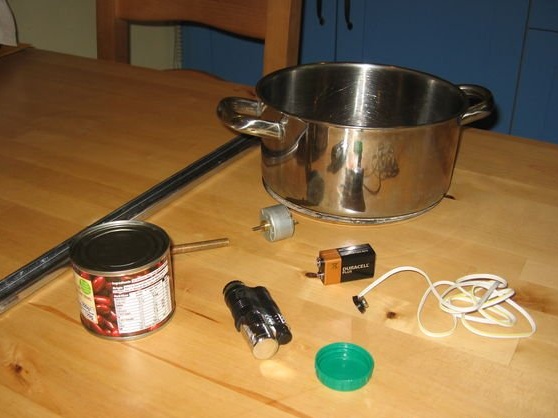
Elements of construction:
Products:
Instruments:
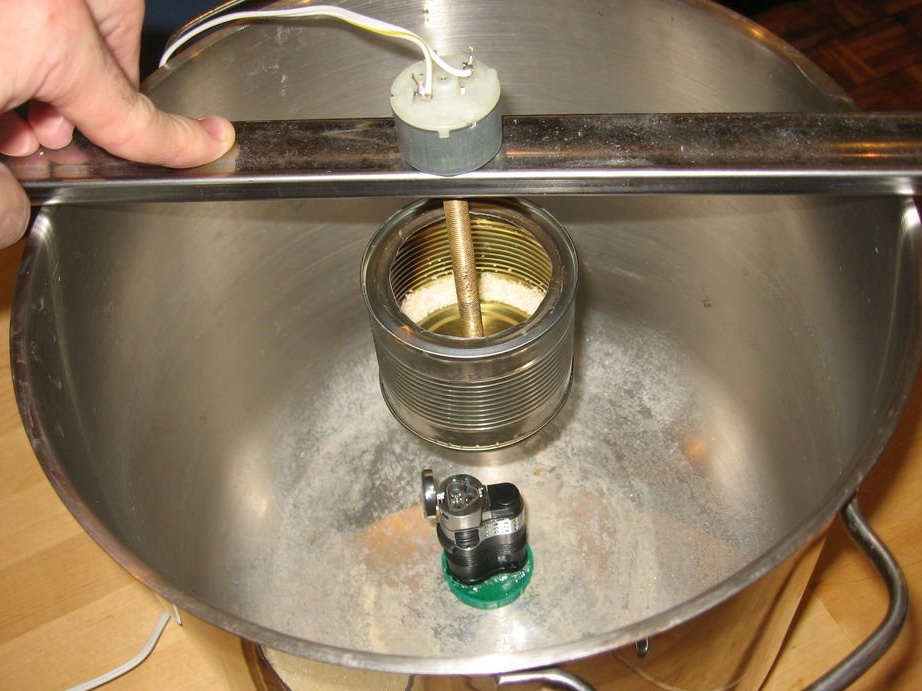
Step 2: Fasten the lighter
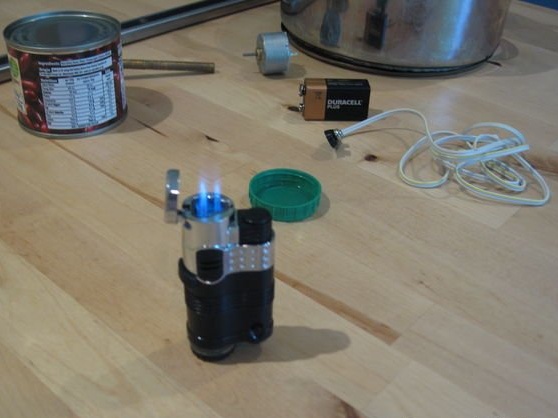

My jet lighter couldn't stand upright at all without my help. But I could not just glue it with epoxy, as it was refueled just below.
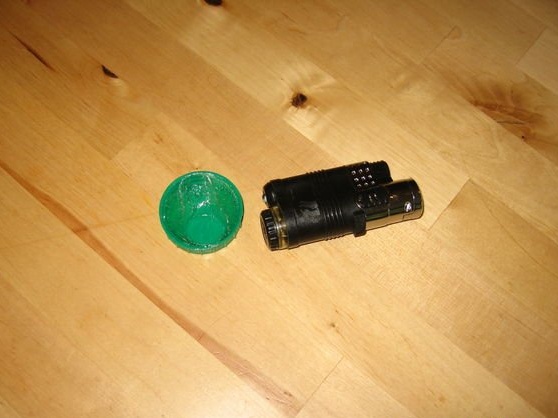
Therefore, to fix the lighter at the bottom of the pan, I made a stand under it.You need to wrap it at least twice with cling film, knead a little quick-drying epoxy glue, fill it with a lid and place the lighter inside. After a few minutes, remove the lighter, cut off the remnants of the film, and you get a removable stand for the lighter.
Step 3: Mount the motor and rod
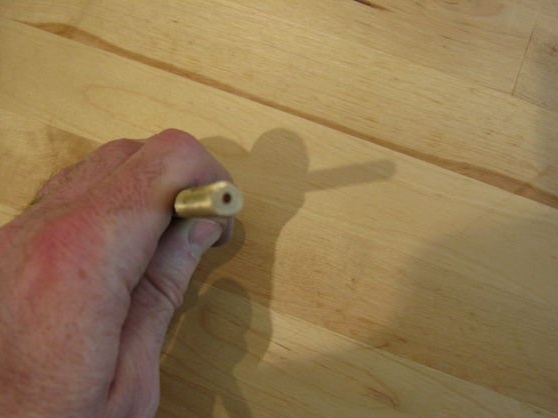

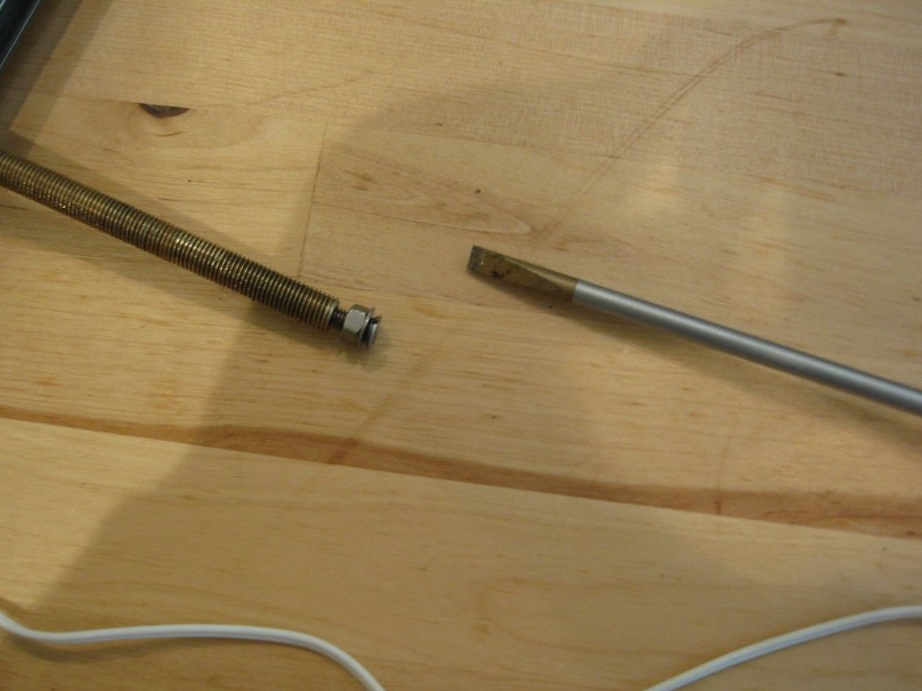
The motor connects to the can with a brass rod, so you need to drill a hole at one end of the rod. The hole diameter should be sufficient to accommodate the shaft. A drilling machine will facilitate the task, but I drilled “by eye”. When the hole is drilled, put it on the motor and scroll to check the connection.
You also need to drill a hole at the other end of the rod, slightly smaller than the steel bolt (or screw) that you will need for the next step.
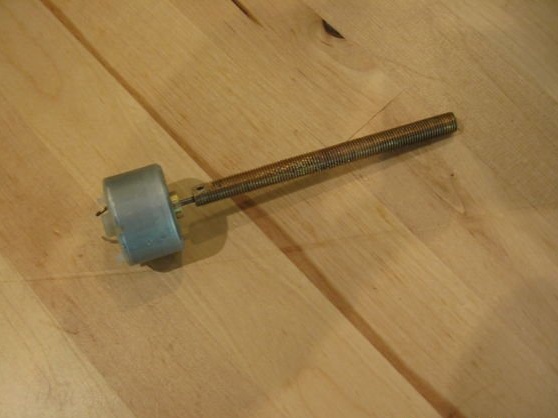
A drop of superglue is enough to fix the motor and the rod. I was going to use a slotted screw to easily remove the motor, but my motor was so cheap that I decided not to bathe.
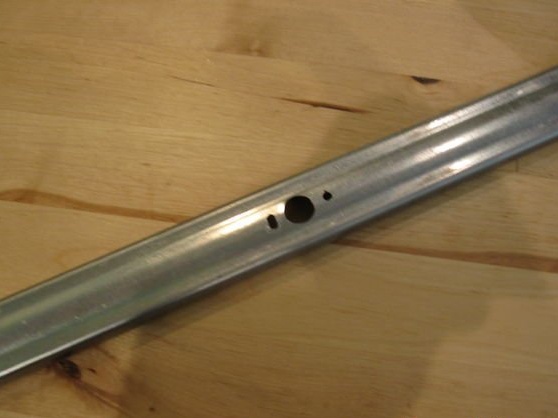
Next, you need to attach the motor to the cross bar. My stainless steel profile already had a hole in the middle, which I just had to expand a bit with a file. I added two small holes for the screws, and secured the motor.
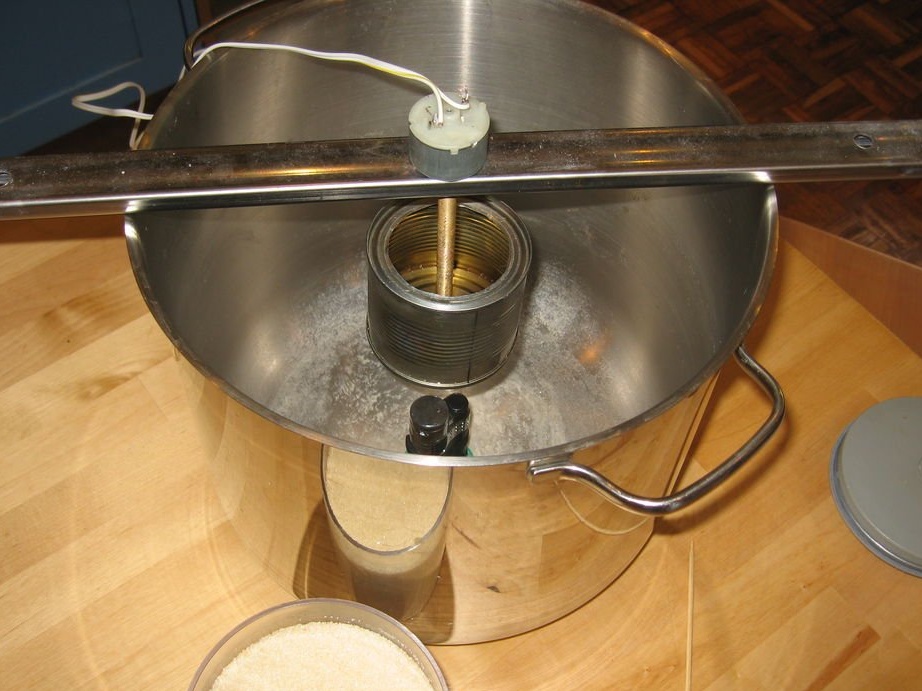
Step 4: mount the jar
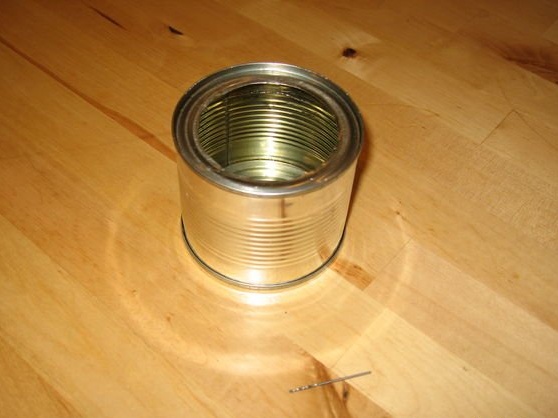
The can will be our tank for melting sugar, so we will pour sugar inside, hang the can over the fire and spin it so that it gives out sweet threads from the side openings.
First you need to cut a hole at the top. I used an opener and a file, left the edge so that sugar could not run upstairs. But in practice, it turned out to be an unnecessary precaution, so you can simply completely remove the top cover of the can using an opener. In any case, you need to cut sharp edges so as not to get injured during operation.
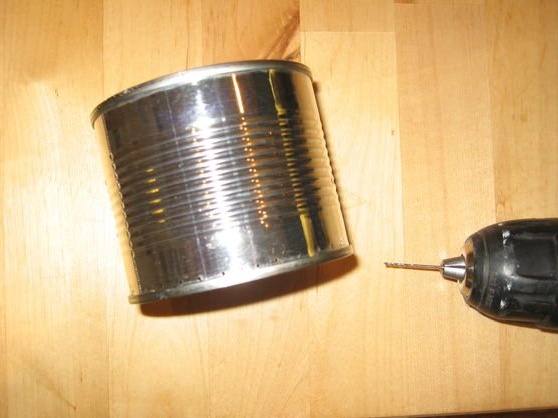
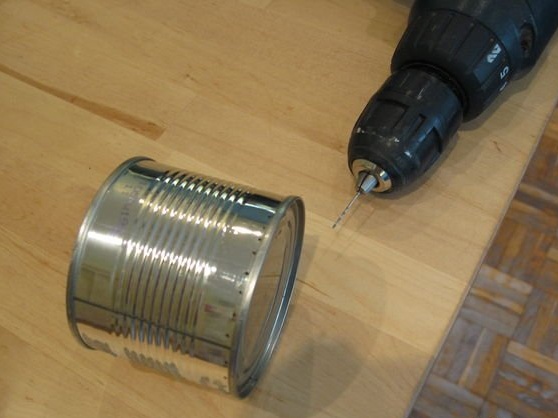
Then you need to drill a series of holes at the bottom edge of the can on the sides. The thinnest drill I had was 1 mm, and this is a bit too large in diameter, as some saccharines fell out before they had melted. Use the thinnest drill you find and drill holes just above the bottom seam. I drilled mine at about 1 cm.
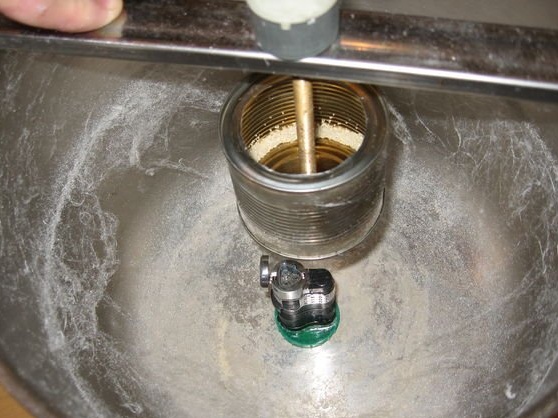
Step 5: Fix the jar
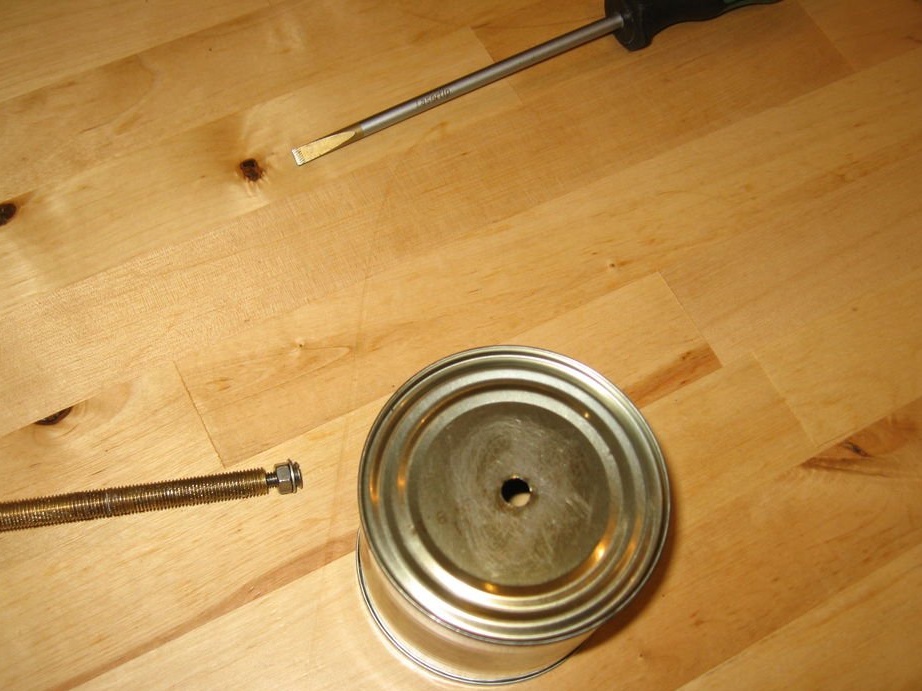
Insert a steel screw into the bottom hole of the brass rod that was previously drilled. Brass is a soft metal, so no difficulties should arise.
Drill a hole in the can to attach it to the brass rod. A blind nut inside will provide the can with constant rotation along with the rod.
We could just stick or solder the jar, but what if you want to remove it to wash or replace, so the bolt-and-nut mounting option is better.
The can attached to the pin should be conveniently located above the lighter inside the pan.
Step 6: Cooking Cotton Candy!
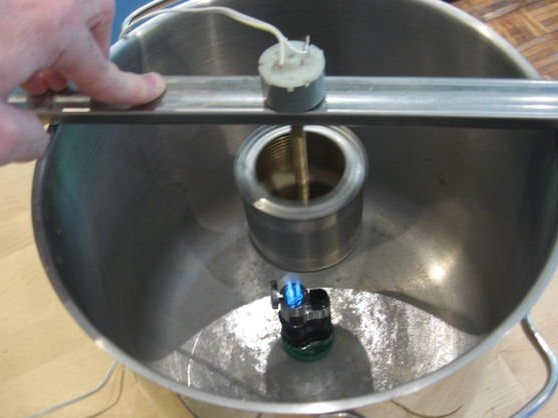
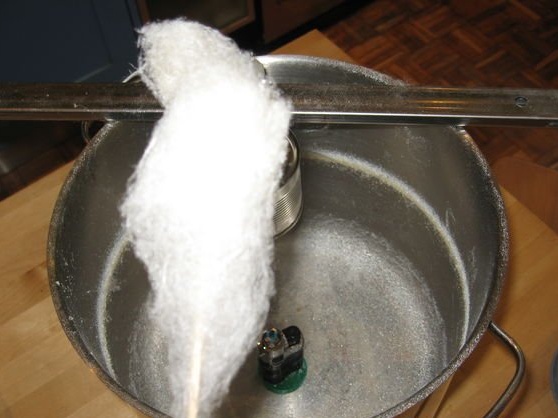
We just had to light a lighter, add a couple of teaspoons of sugar in a jar and start the engine.
Place the lighter inside. As the can is heated, the sugar will melt and fly out into the side holes in the form of cotton candy. As soon as a certain amount is collected, collect cotton wool with a bamboo stick. Bon Appetit!