How often you have to endure hard hot days in the absence of electricity. Fortunately, with a few wiring and a couple of simple parts that often lie close at hand, you can make a small air conditioner that will create a comfortable cool around.
Necessary materials:
Instruments:
Step 1: Making holes in the first box
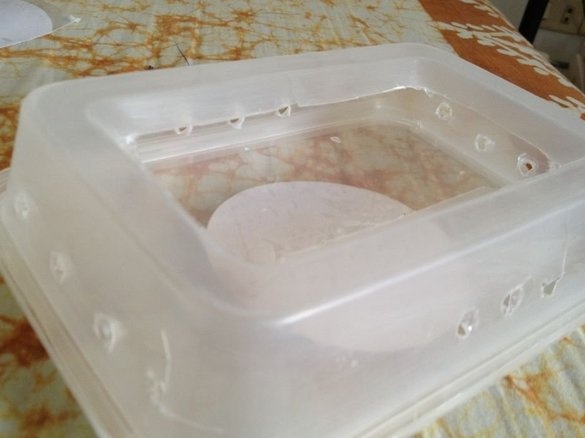
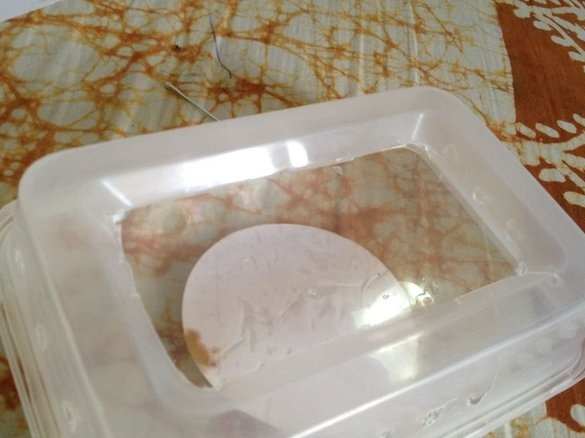
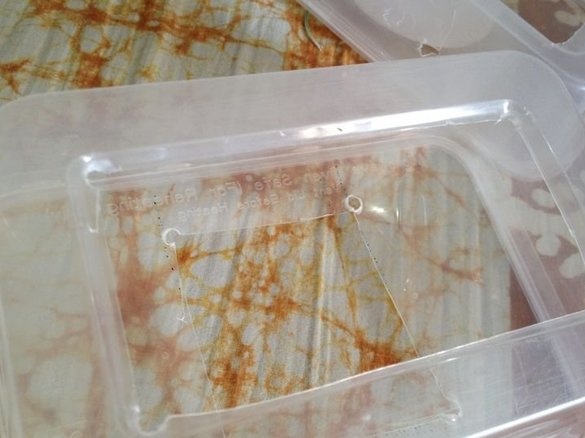
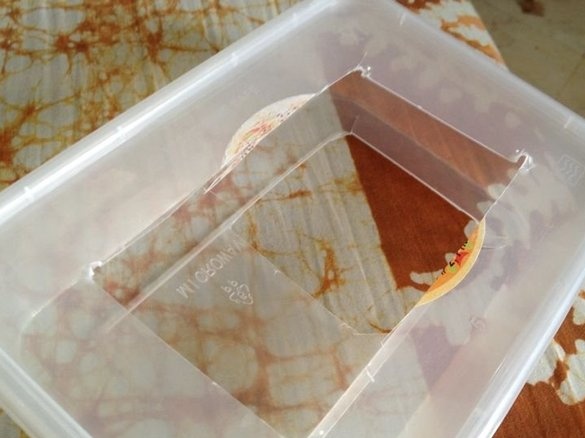
Take one plastic box and make several holes on each side. Warm air will enter through these openings (and with the help of a fan this air will accelerate). Then cut a rectangle in the bottom, as shown in the photo.
Step 2: Cooking the second box
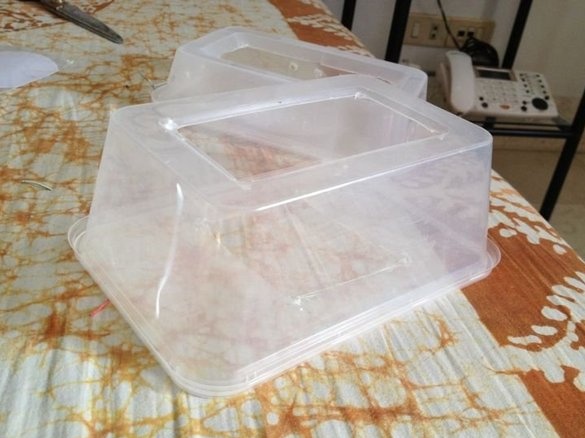
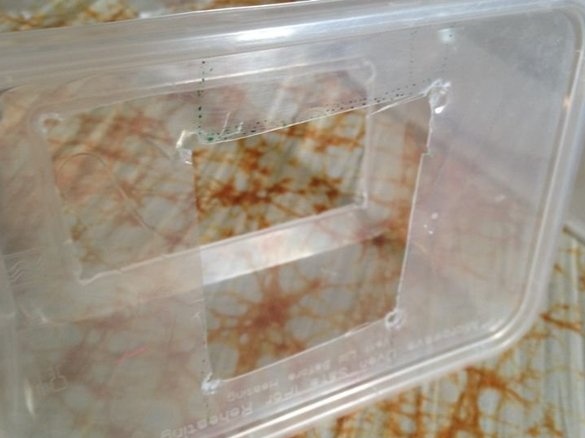
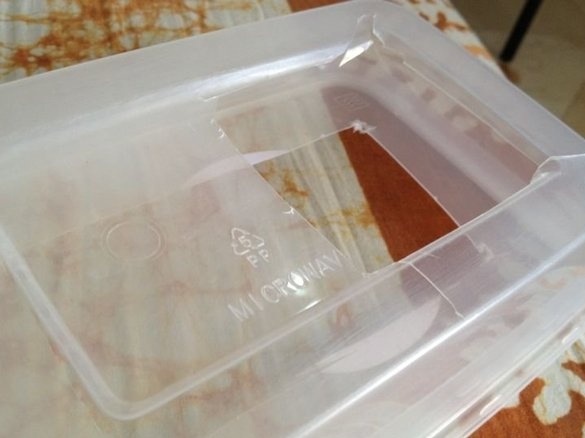
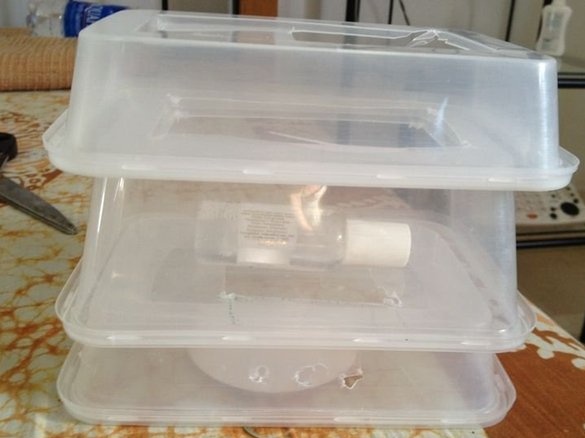
Take the second box (it is desirable that it is larger than the others, as this is a box for our ice containers) and cut a rectangle in the bottom, as in the first case. And at the top (wider side) cut a smaller square. This is to ensure that the ice container does not fall into the first box. Then put the second box on the first, with the big sides down.
Step 3: Cooking the Third Box
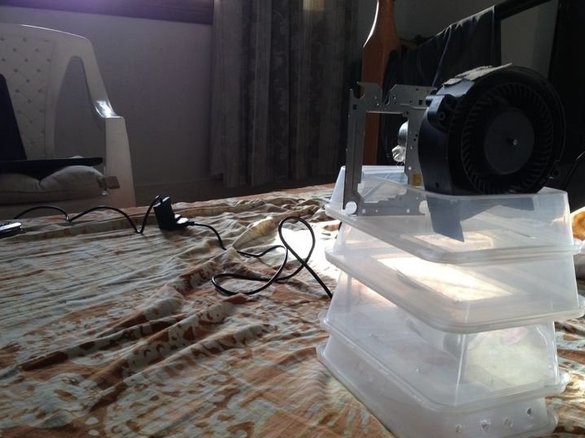
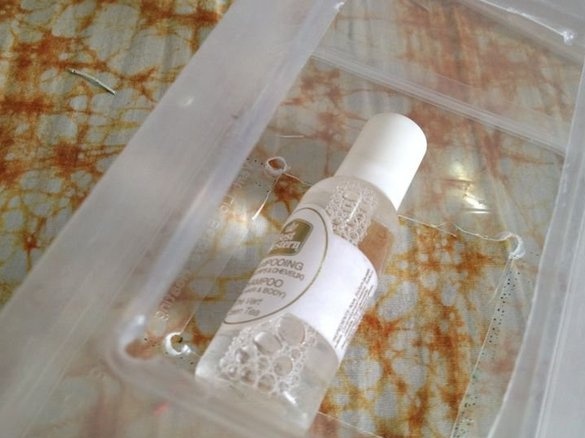
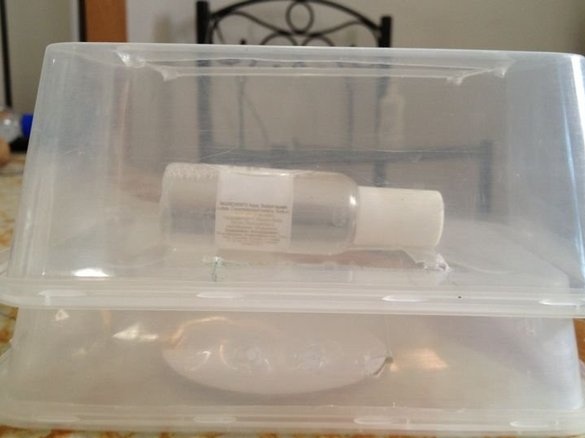
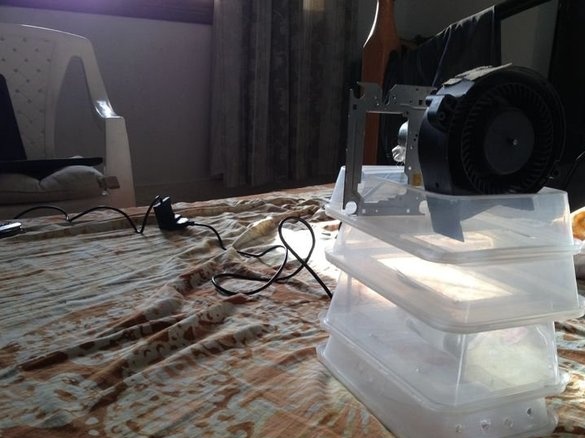
Cut a rectangle in the bottom, as you did in the previous two boxes. The shape of my fan and the way I decided to place it required a small square hole for support, but if you use a computer fan, you can cut a larger hole. (If I confused you, just look at the photos at the end of the post, which shows the final assembly of my air conditioner).Also put the third box on the two previous ones, with the larger side down.
You can glue these containers together to strengthen the structure, but I found this unnecessary.
Step 4: Fourth and Last Box
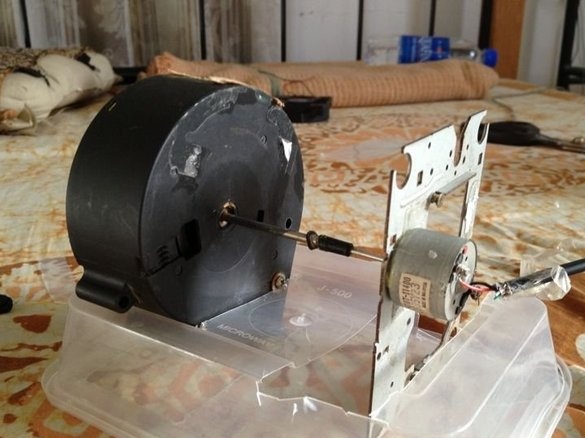
This container is not as simple as the others, and the design depends on the fan. As you see in the photo, in my case I had to tinker. If you have a computer fan, all you need to do is cut a small hole in the bottom of the container so that the fan just doesn't fall out. I also needed to cut a small square in the third container to mount the fan more firmly.
But, depending on the shape and size of the fan, you will have to make various holes for a specific case.
Place the fourth container on the other three.
Step 5: Posting
Now you need to connect the fan to a power source. As soon as it is connected, air will begin to circulate from the very first box, where the warm stream enters, then it will go through the second box, where it will cool with ice and fall into the third, and finally blow into your face.
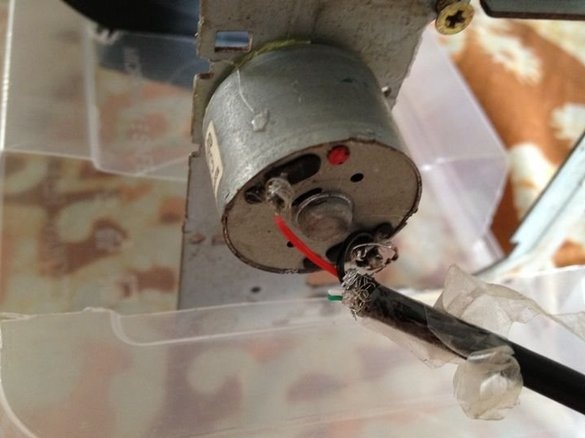
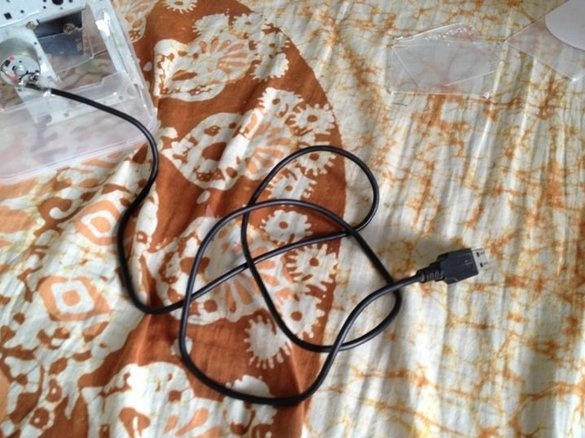
You need to take a USB cable, remove the winding at the end without a connector. Inside there will be four wiring - red, black, green and white. We don’t need green and white, we need to strip the red and black wires and connect them to the motor or to the contact of the computer fan.
Step 6: Turn On
Now just plug the USB cable into the port of the computer or power supply with such a connector. If done correctly, you can enjoy a light cool breeze on a hot day. Here's how our device works:
[media = http: //www.youtube.com/watch? v = Fa_hGJjDe3w]
Do not forget to unsubscribe under the article!

