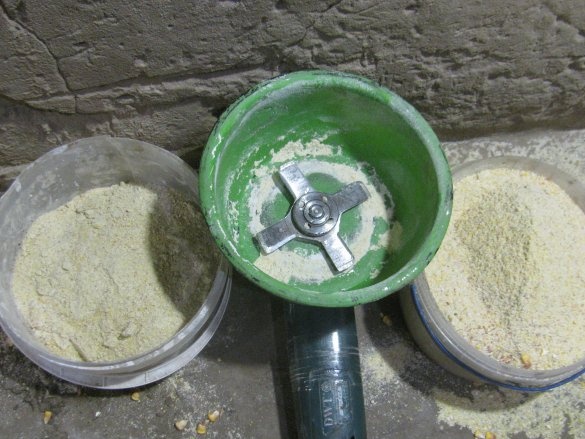
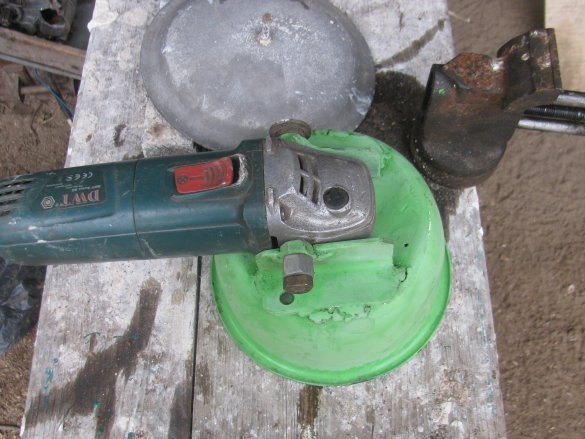
I welcome all fans to craft, I propose to consider instructions for the manufacture of a small mill do it yourself. Homemade collected on the basis of the Bulgarian 125 as an experiment. Everything works perfectly, there is enough productivity for domestic purposes, the mill easily grinds corn, wheat, oats, millet and any other cereals. He did everything as simple and quick as possible, because I don’t like to mess with something for a long time. The knife was made of concrete disc, it is light and strong.
The grinder works almost without load, does not heat up, so you will not ruin your darling with such homemade goods, do not worry. If the project interests you, I propose to study it in more detail!
Materials and tools used by the author:
Material List:
- diamond blade for concrete or circular at 125;
- a suitable saucepan (I prefer steel);
- two corners;
- optional dimmer;
- two bolts for mounting the grinder;
- paint optional.
Tool List:
- grinder;
- welding machine;
- drill and drill for 10 (or more).
Homemade manufacturing process:
Step one. Housing
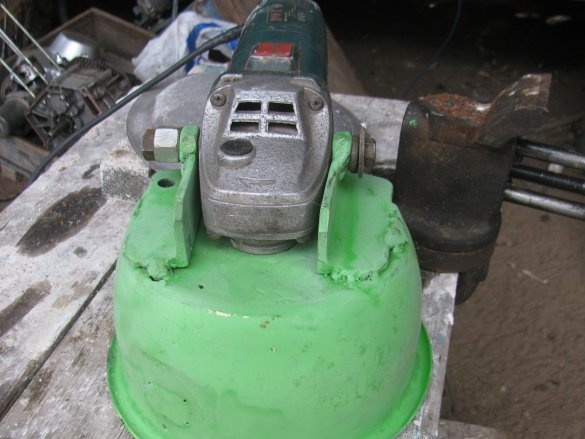
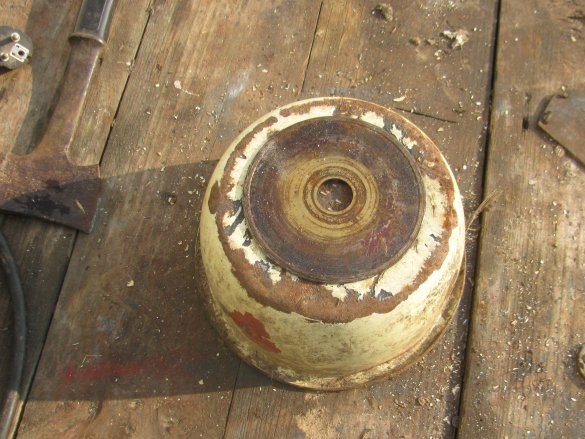
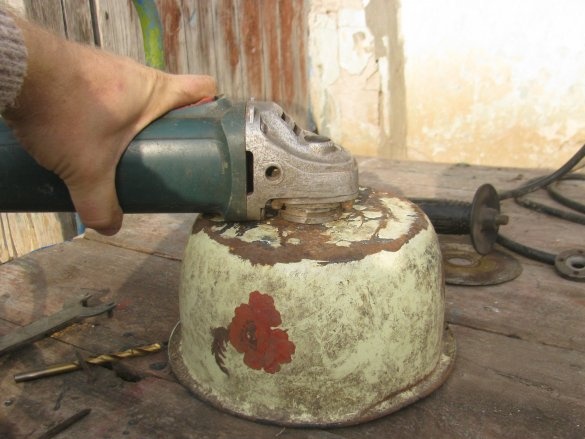
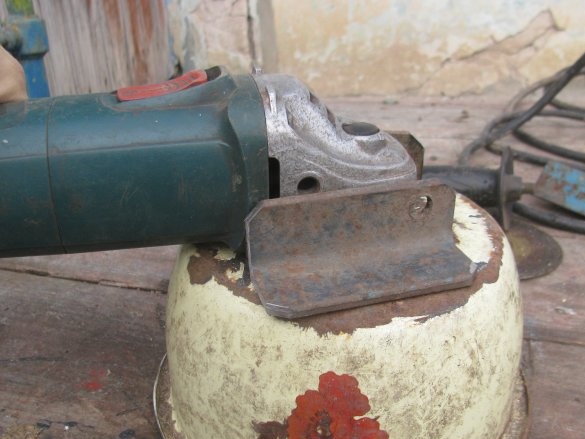
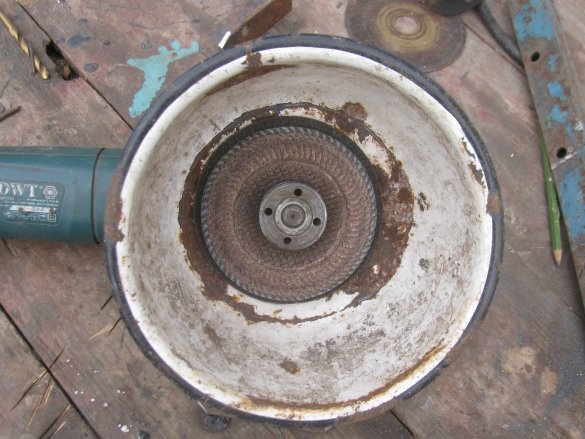
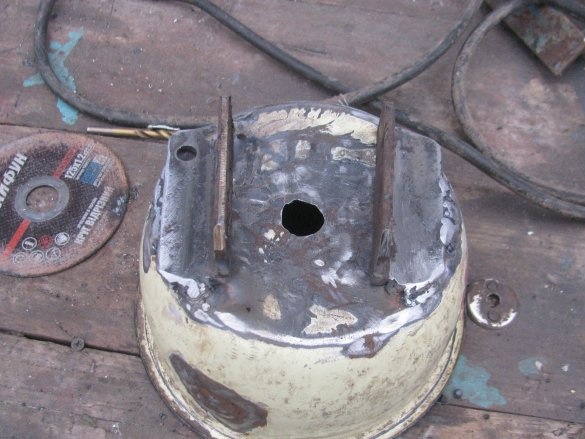
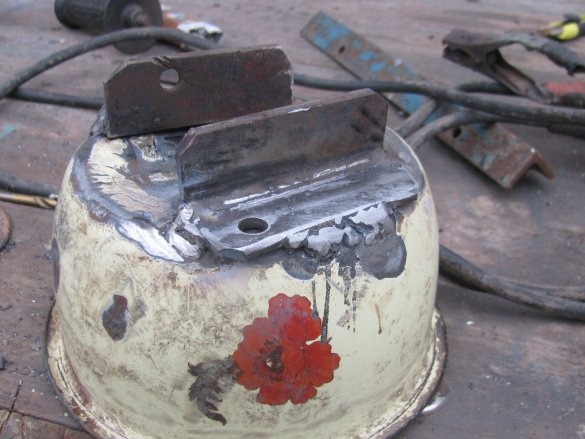
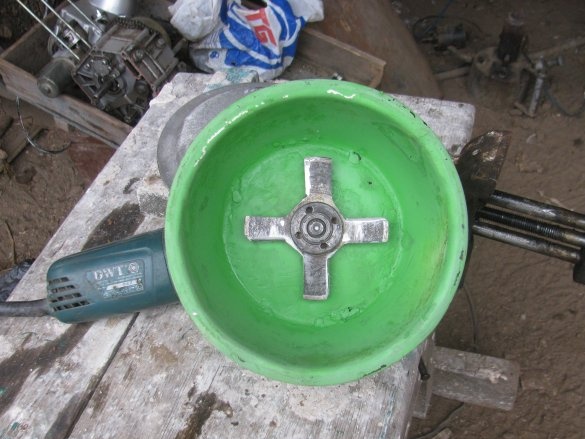
I used a steel “scoop” as the body, I liked it in depth and approached in size. I choose steel, since it is strong, it can be welded to it, and even steel will not be so quickly rubbed, unlike aluminum.
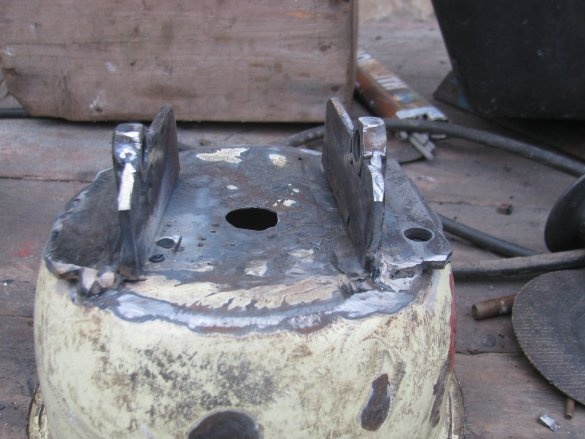
In the bottom I found the center of the eye and drilled a hole under the shaft of the grinder. He drilled with a drill and a drill for 10, and then worked as a drill with a milling cutter, drilled it to the diameter I needed.
Step Two Fasteners
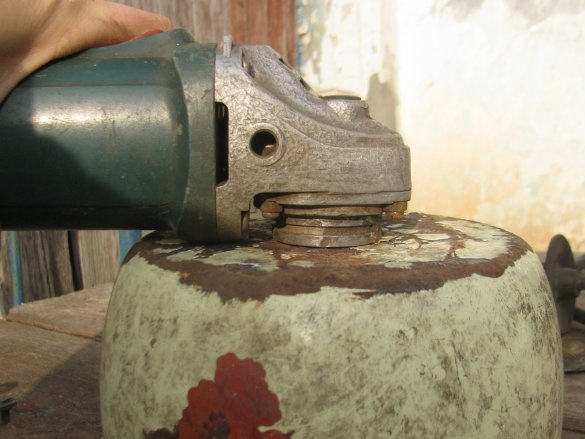
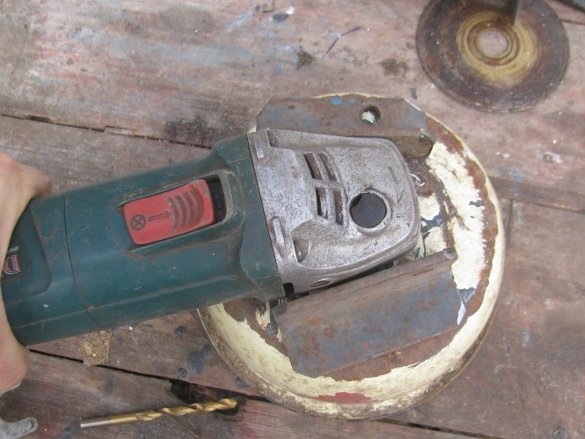
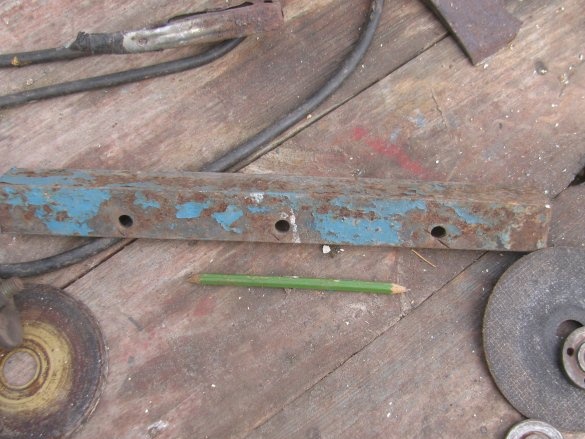
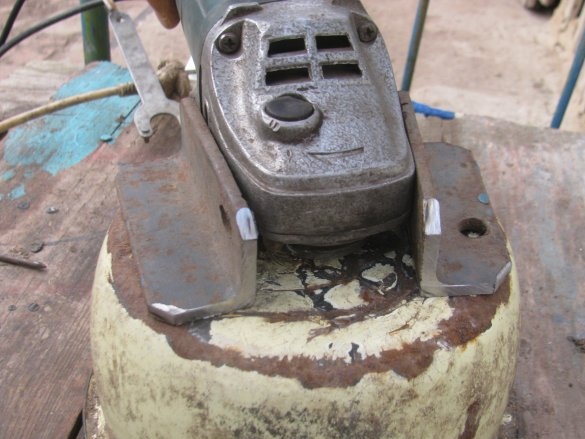
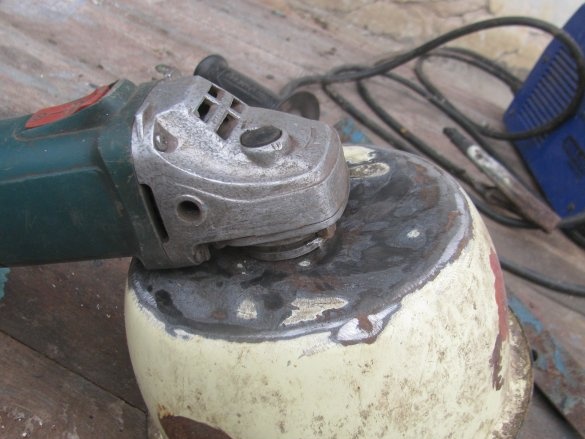
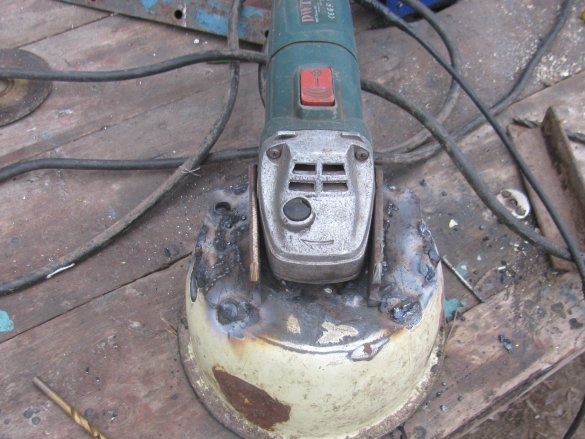
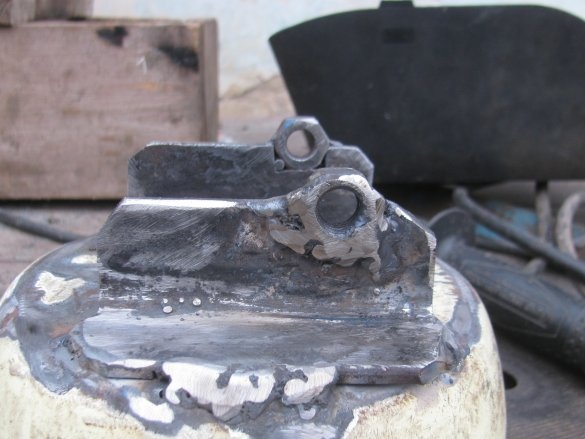
I found pieces of corners from the old bed as fasteners, they turned out to be narrowish, so I welded nuts to the corners, into which the bolts would be inserted. I welded corners to the scoop with a conventional inverter welding machine and a three electrode. The steel there is very thin, just by briefly touching the electrode you weld the dots, and so you can easily weld the corner to them.
You can use bolts with nuts for fastening, but you need to look for them, so it’s easier for me to weld.
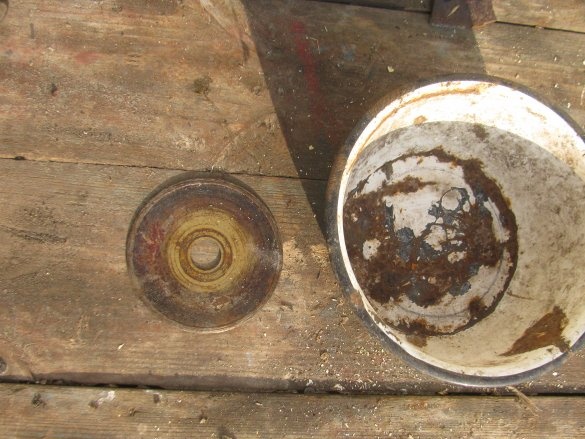
To temporarily fix the grinder on the scoop, I threw the disks into the scoop and pressed it with a nut.
Step Three Knife
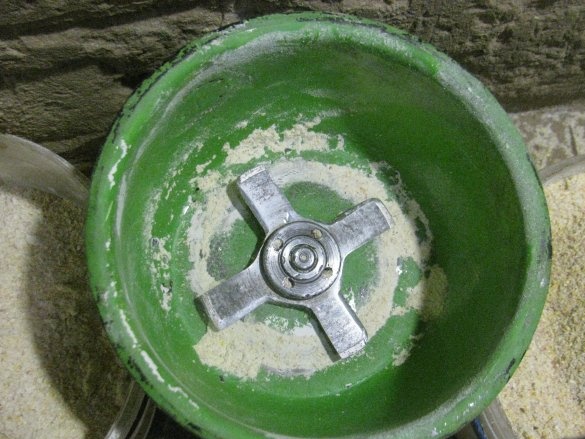
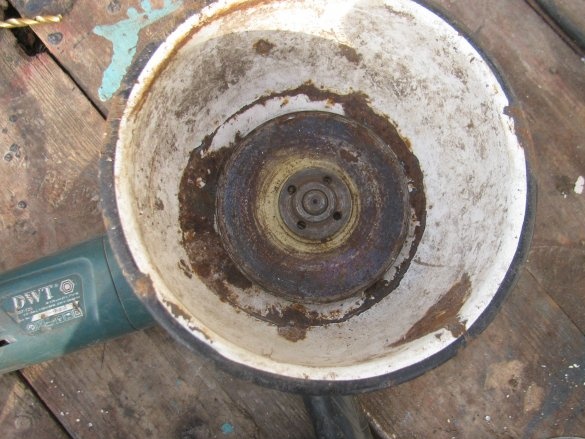
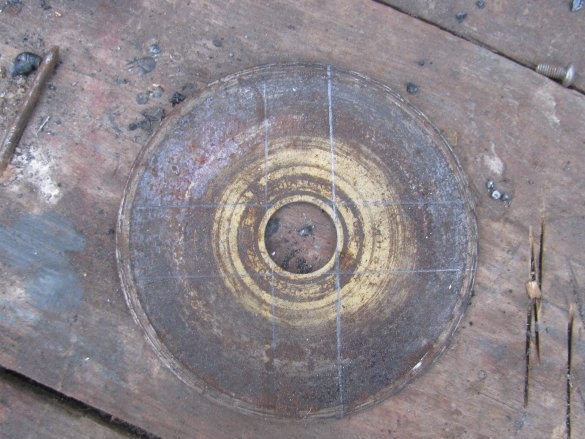
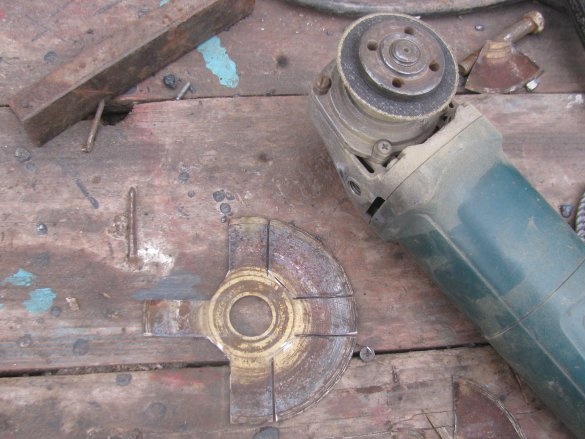
I decided to make a knife from a finished steel disk, this will eliminate the need to drill a hole, look for a center, and so on. In addition, the disc is quite light and strong, which minimizes vibration.
My disk had a diamond disk for concrete on 110 or something like that, it is small, you can put a disk 125 from the circular with victorious teeth.
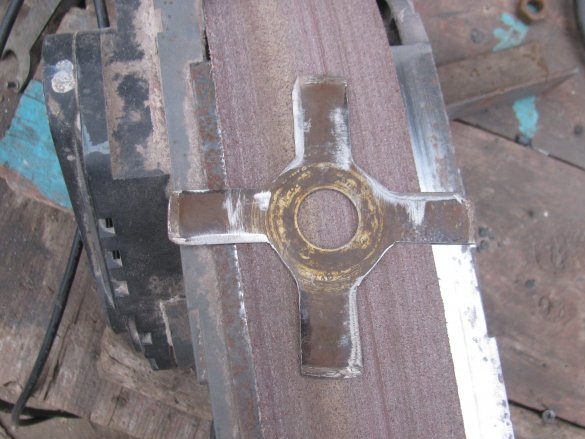
Of course, the plus of the concrete disc is that it has a strong edging in a circle. When the knife is working, the edge usually wears out and the edge becomes dull, and here we will have a very hard surfacing. It is very difficult to cut and grind this composition with diamond crumbs, the metal disc immediately grinds off, and the grinding belt too. After a little torment, I still cut everything and sharpened the knife.
Step Four Painting, assembly and testing
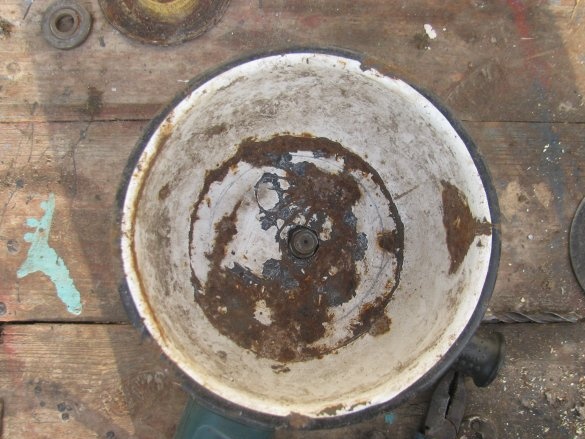
He painted the whole thing so that it doesn’t look so scary and does not rust. Inside, of course, the paint will quickly wear off, but in any case, most areas will be painted over. We collect the nozzle and can be tested. To start, I use a 2 kW dimmer, it’s more convenient for me, because these strange Germans (DWT Bulgarian) made a very uncomfortable button in a very uncomfortable place, considering it safe ...)))
The lid for the mill is not needed, you just need to experimentally understand how much grain to pour into it. The knife should be completely covered, then nothing flies. If the grain mixes slightly during operation, you can bend the blades a little, lower two, and slightly raise two.
In general, the car is useful. You can thresh not only grain, but also chalk, glass and various other materials.
The project is completed on this, I hope you liked the homemade work, and you found useful thoughts for yourself. Good luck and creative inspiration, if you decide to repeat this. Do not forget to share your ideas and homemade things with us!


