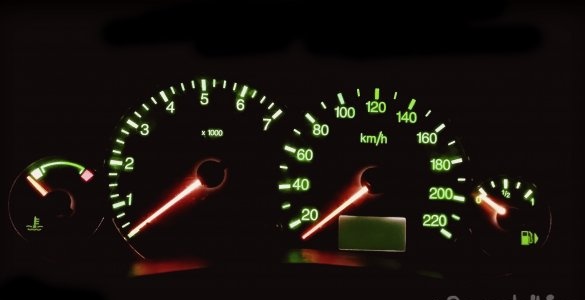
I had to do ...
I won’t write in detail how to remove the tidy, everything is as simple and clear as possible: 3 screws for the frame and 4-5 screws hold the tidy itself. Disconnect the block with wires and take out the tidy.
Important: you cannot turn the tidy upside down
On tidy there are three bulbs of the main backlight and a bunch of bulbs of illumination of the indicator indicators.
Main light bulbs: 12v3w base T7
I decided to immediately replace the lamps with LEDs, because incandescent lamps do not suit me in principle.
I did not want to buy ready-made products for certain reasons (not financial)).
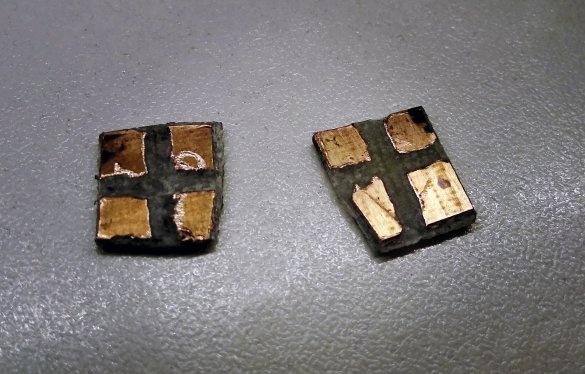
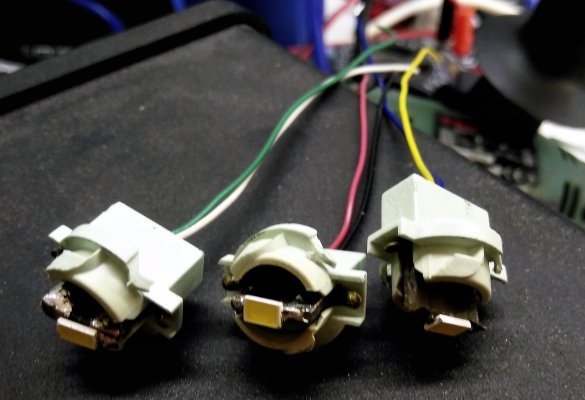
On tidy such peculiar cartridges with paws into which bulbs are inserted. The paws are in contact with the nickels on the board. I did not want to change the board engineering much, so I decided to make adapters.
He took small pieces of foil fiberglass and made the "paths" as in the photo ↓
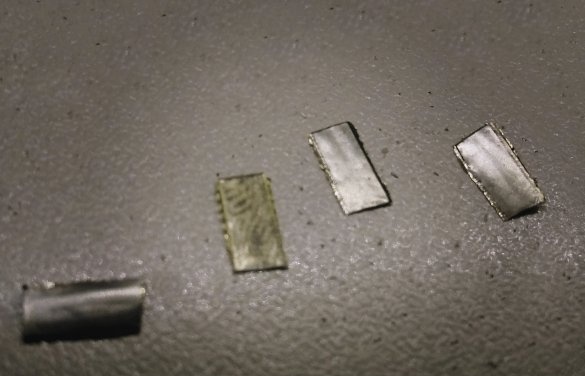
He brought out the contacts for the LED using the plates ↓
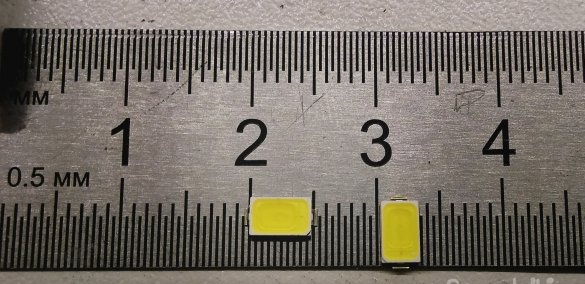
LEDs used 5040
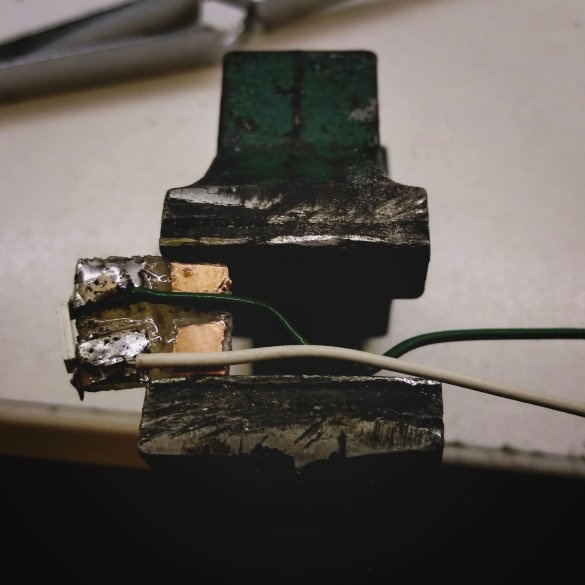
Solder two pins to the upper heels to power the LEDs.
Next, insert the new lamps into the standard cartridges, removing the wires through the regular holes at the bottom of the cartridge.
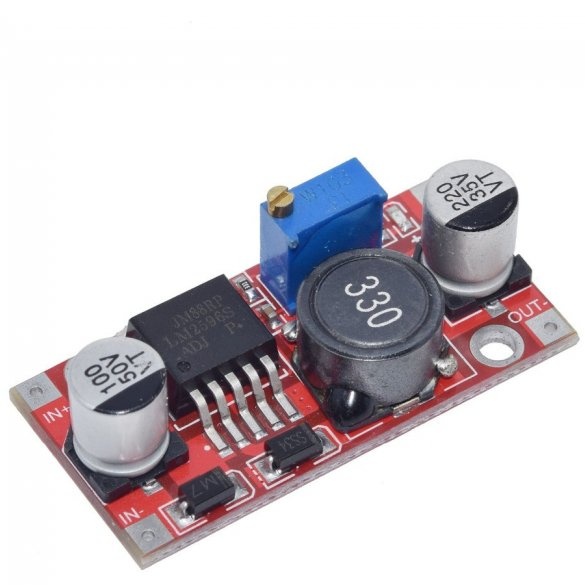
Because In cars, the voltage jumps a lot, and the LEDs really do not like this, you need to use a step-down converter. I took on mikruha LM 2596.
[The LM2596S converter (module) is a step-down voltage regulator that has a wide input voltage range from 3.3V to 35V and an output voltage of 1.25V and 37V. This voltage converter can produce current up to 3A, operates at a frequency of 150 kHz and has a high efficiency of 90%. ]
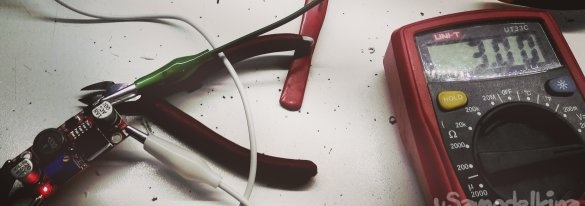
These LEDs work normally from 3V, consuming about 0.25A all together, so on dc-dc we set the voltage to 3V, turning the screw of the potentiometer and using a multimeter.
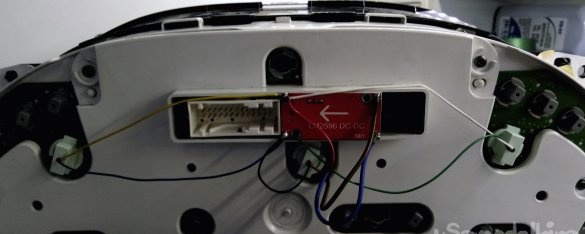
I did not look for where the voltage comes from for the backlight, so I just soldered to the contacts of the central bulb.It would probably be more correct to solder to the three contacts of all three lamps to distribute the load, but the load there is so small that it left it that way.
I don’t know if it is the same everywhere, I personally had a positive contact at the bottom, negative at the top. But if someone decides to do something similar, be sure to check with a mult.
This DC-shnik very clearly gets into the standard plastic back panel.
We collect everything, put it in place, turn it on and ...

