
Many craftsmen like to make plates of various shapes from wood, but when turning, almost 90% of the material often turns into sawdust. But what about the valuable species of wood?
In this article, the author of the YouTube channel “Mikhail Demin” will tell you how to make a deep plate from the board.
When doing this homemade, only 30-40% of the wood will become sawdust.
Materials
- Thermal ash boards 20 mm thick
- PVA glue
- Adhesive tape, masking tape
- Sandpaper, double-sided tape
— Linseed oil.
Instruments, used by the author.
— 3M Professional Respirator
— A circular saw
— Safety pusher
- Lathe
- Reer, Meisel, Chisel
— Clamps
— Band-saw
— Screwdriver
- Ruler, compass, awl
- Square, tape measure, pencil.
Manufacturing process.
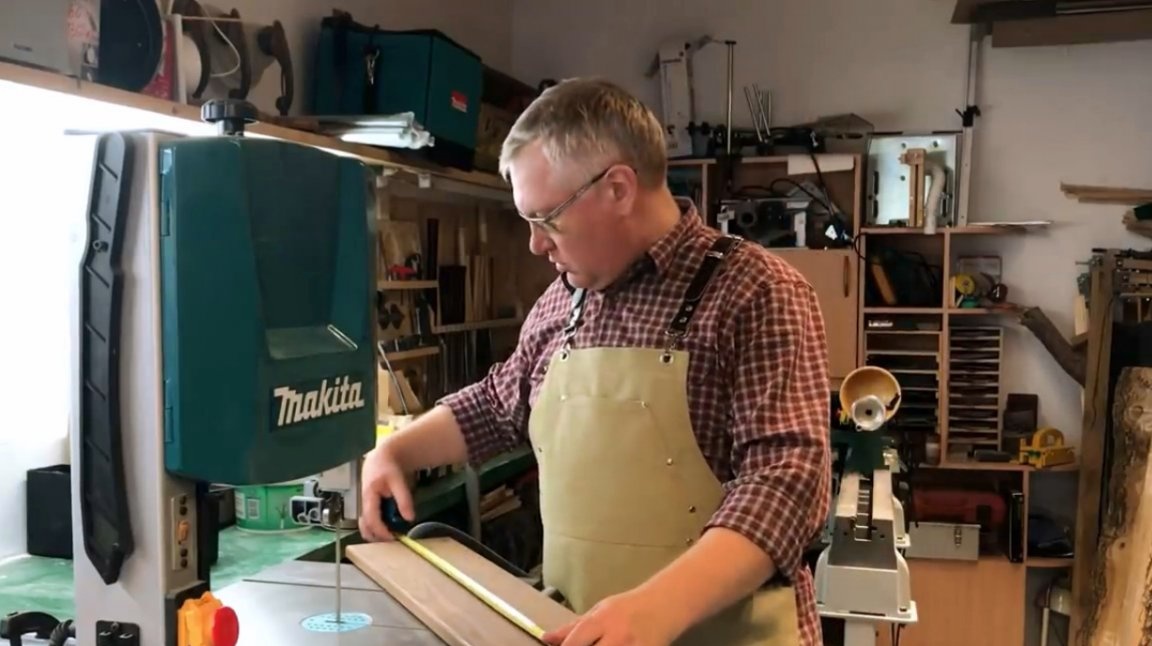
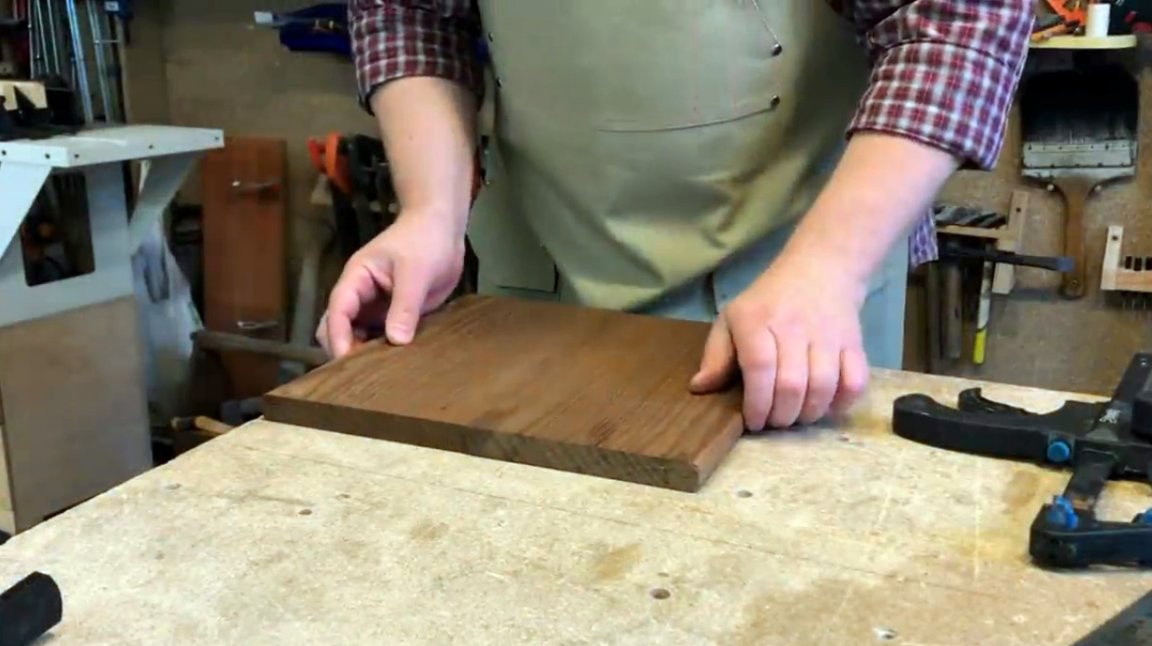
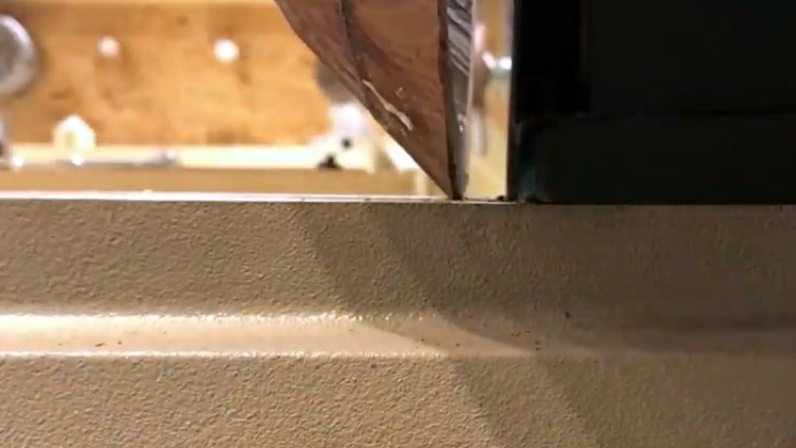
So, the author purchased a thermo-ash board with a thickness of 20 mm and a size of 605X165 mm. However, it has already been chamfered, and the author needs one even edge. Therefore, he will joint one edge of the workpiece on a circular saw. At the same time he uses adjustable safety pusher.
This type of wood is very beautiful, solid, and in appearance it is no worse than various exotic types of wood. It has excellent moisture resistance, and is quite simple to process. With all these qualities, it is not resinous.

Now he cuts this board into two equal halves.
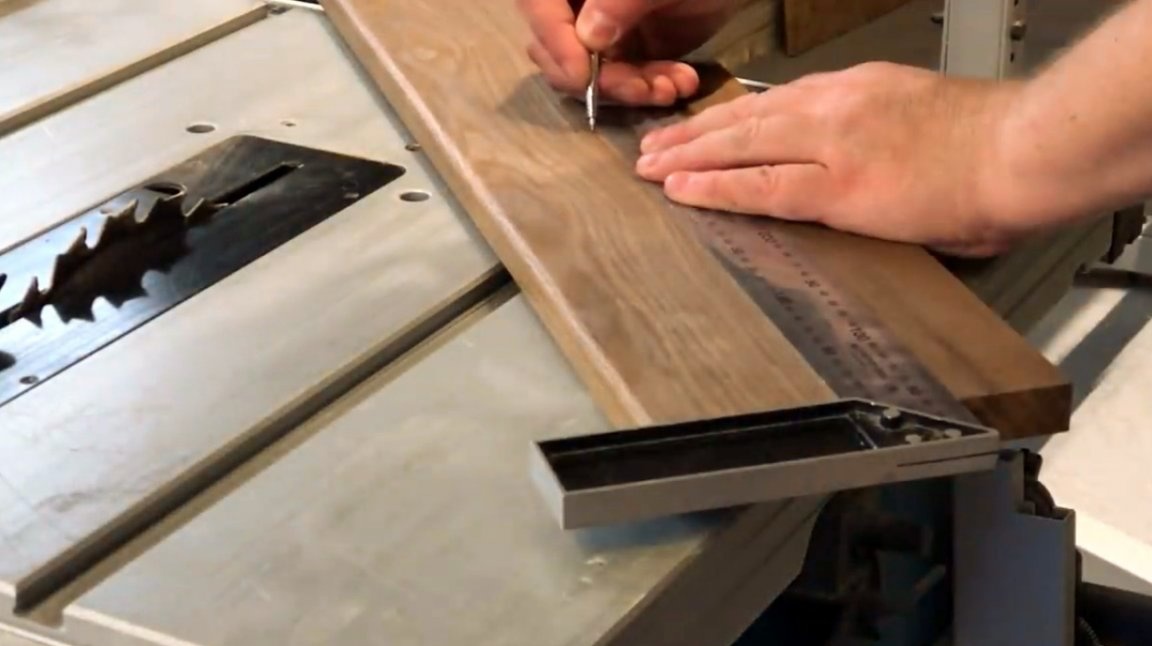
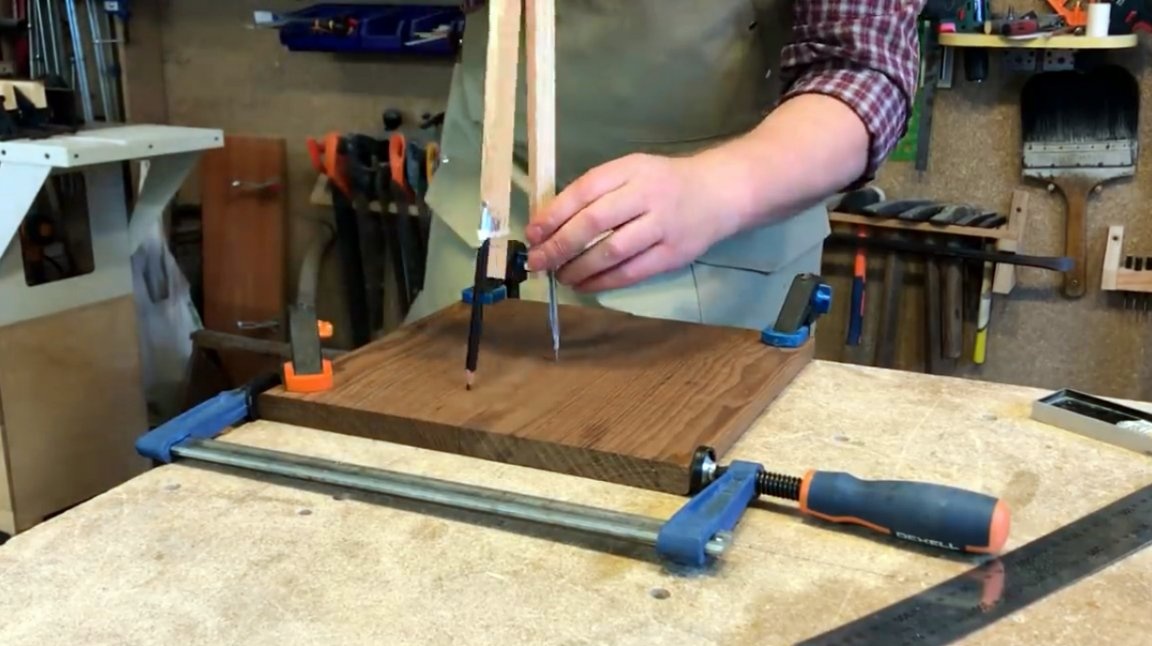
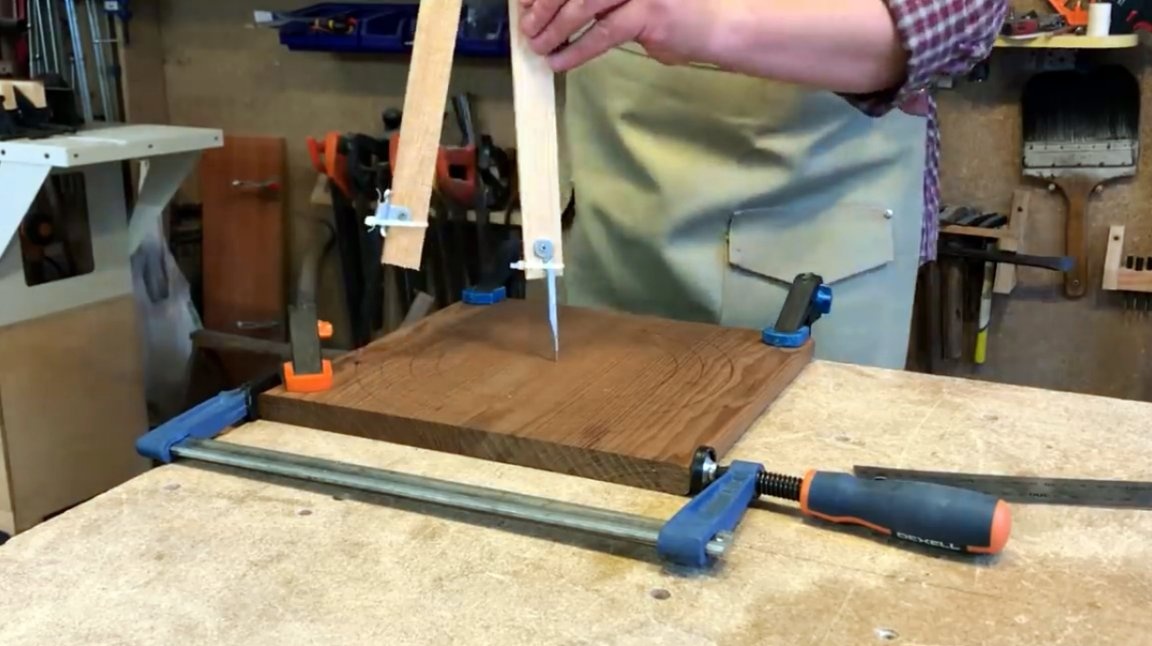
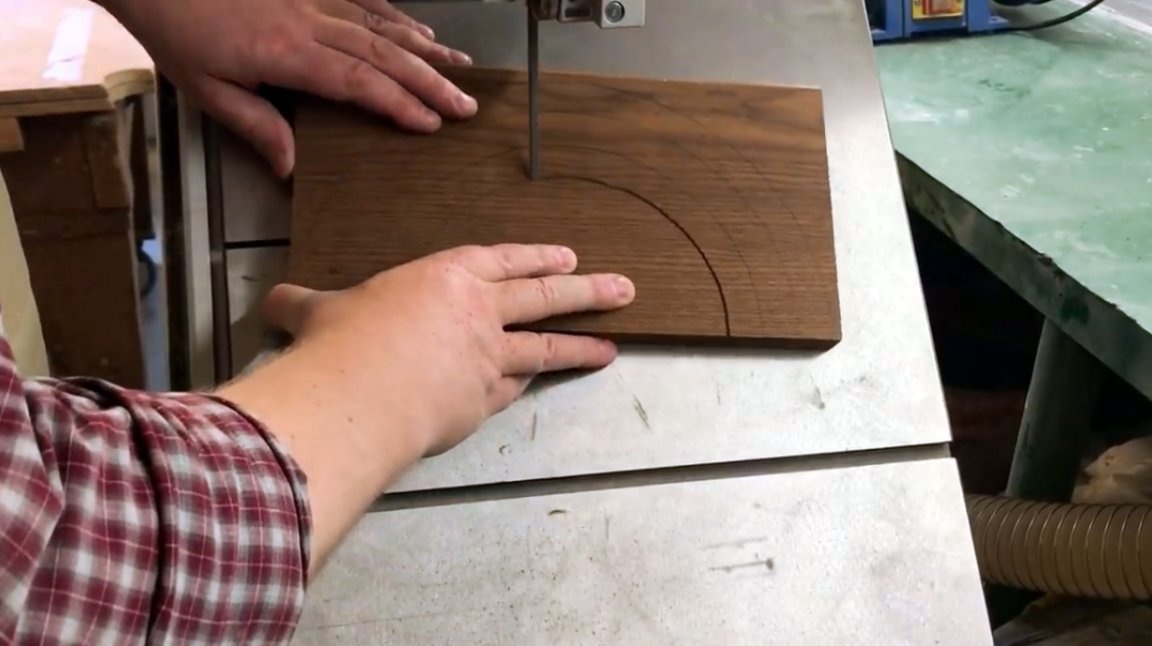
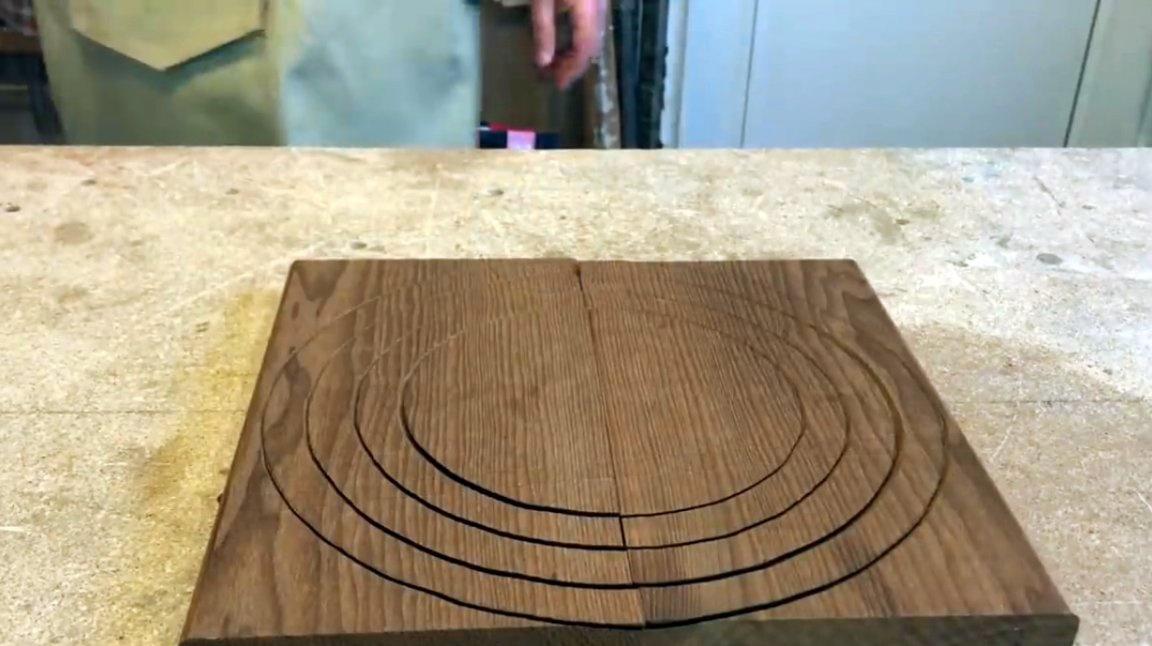
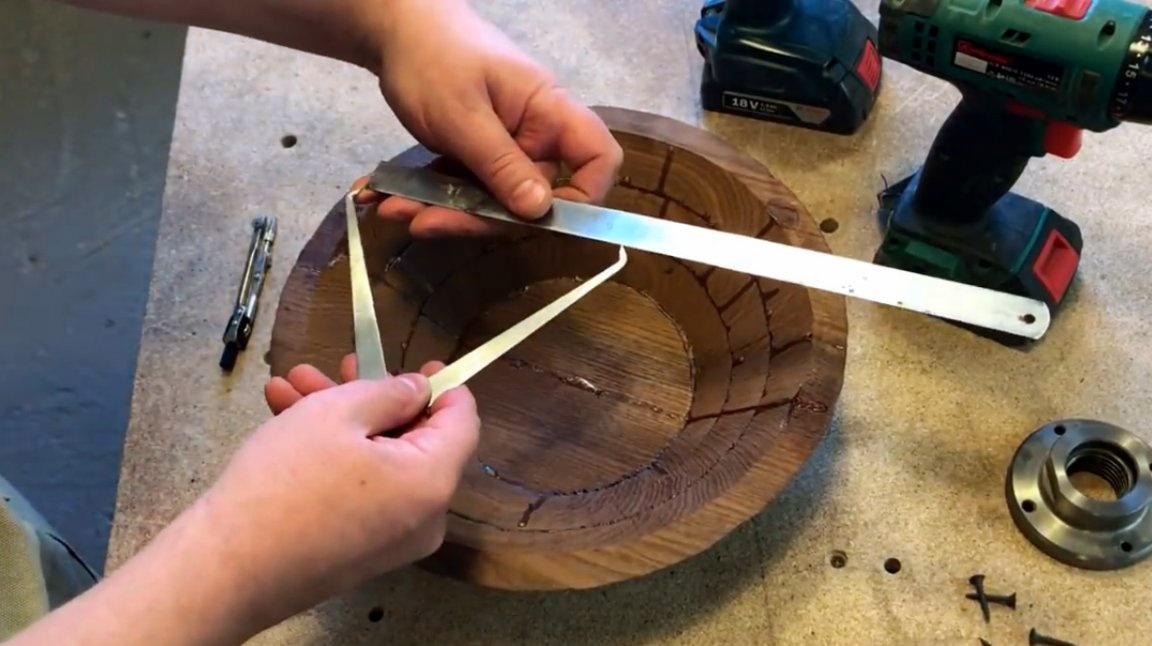
Next, the boards are joined with an even end to each other, on them is the center. Now the author marks four circles with a compass, the step between them is equal to the thickness of the board, and is 20 mm. The central circle will be the bottom of the plate, and its size can be selected individually. At the master, he amounted to 230 mm.
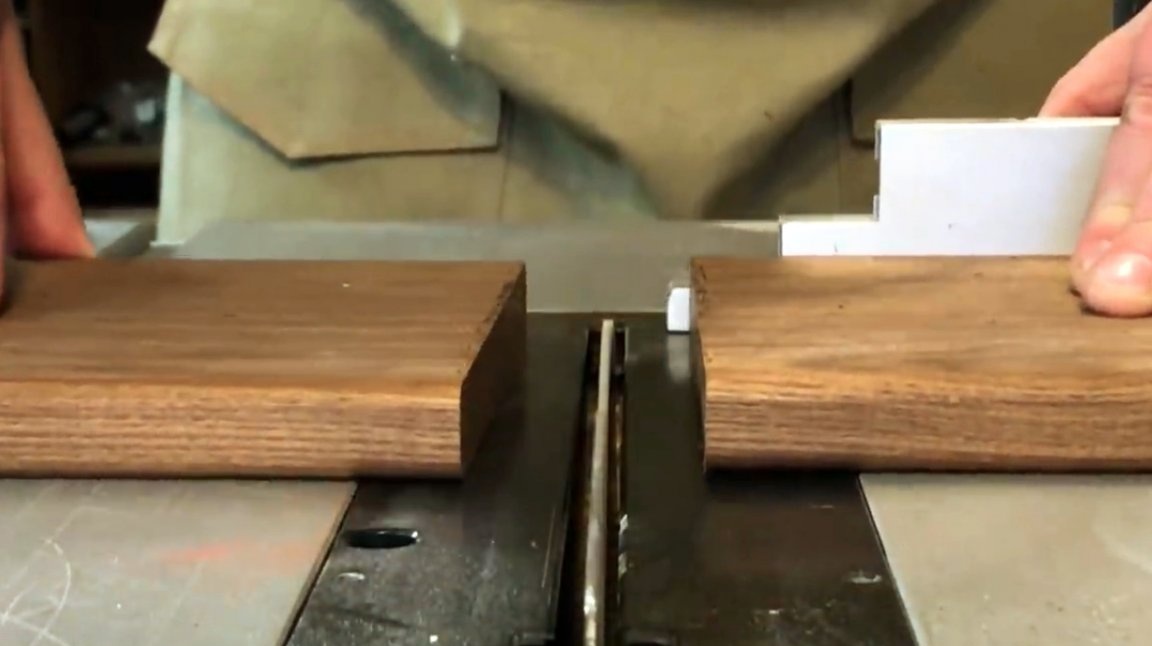
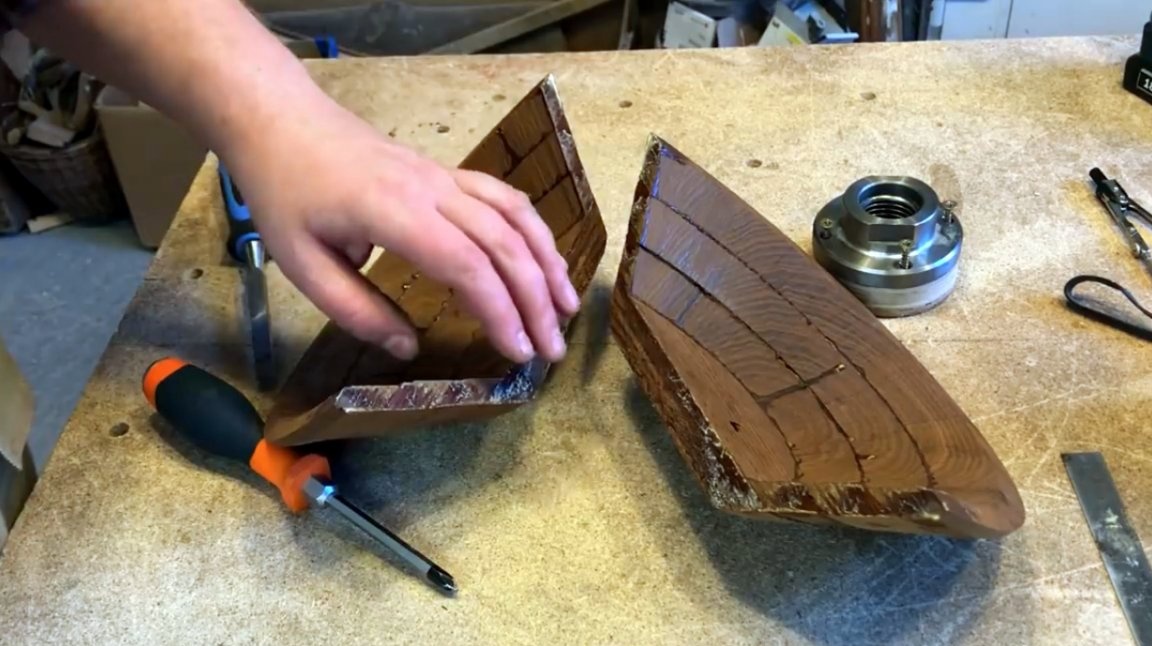
Then Michael sets the table of the band saw at an angle of 45 degrees, and cuts the workpieces according to the marking.
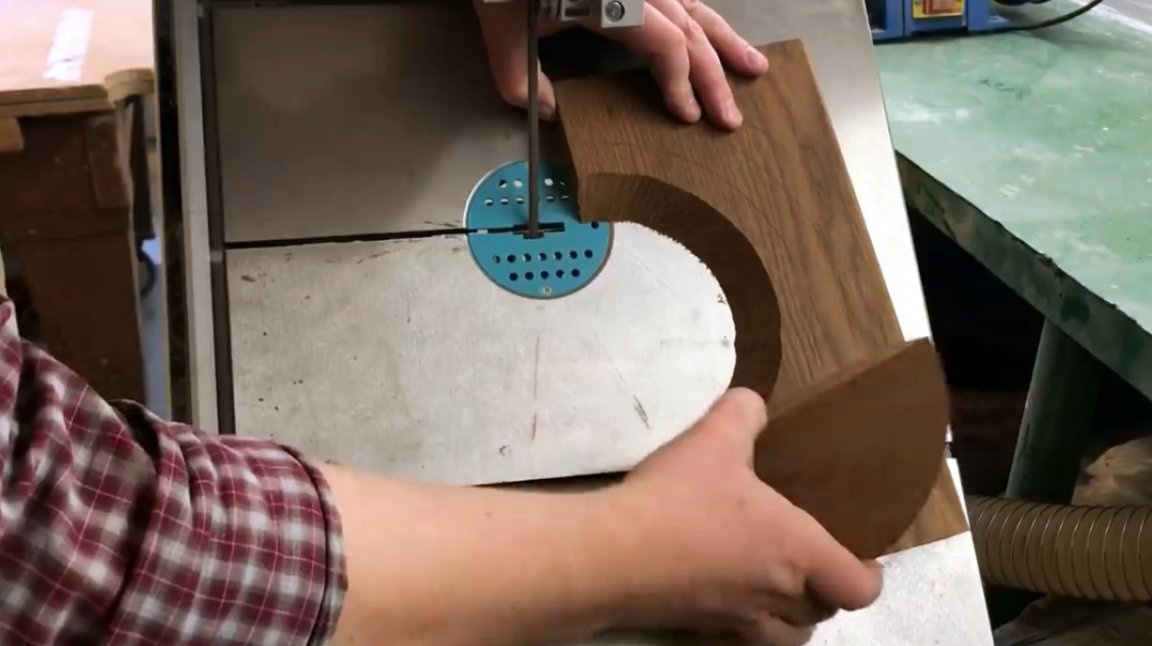
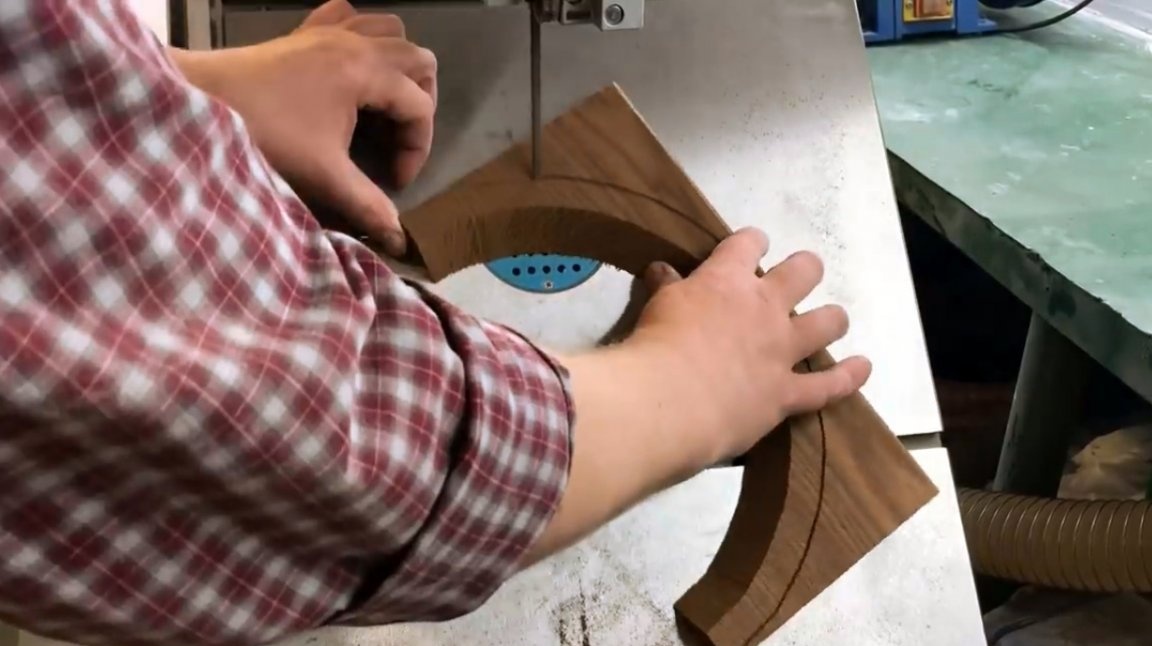
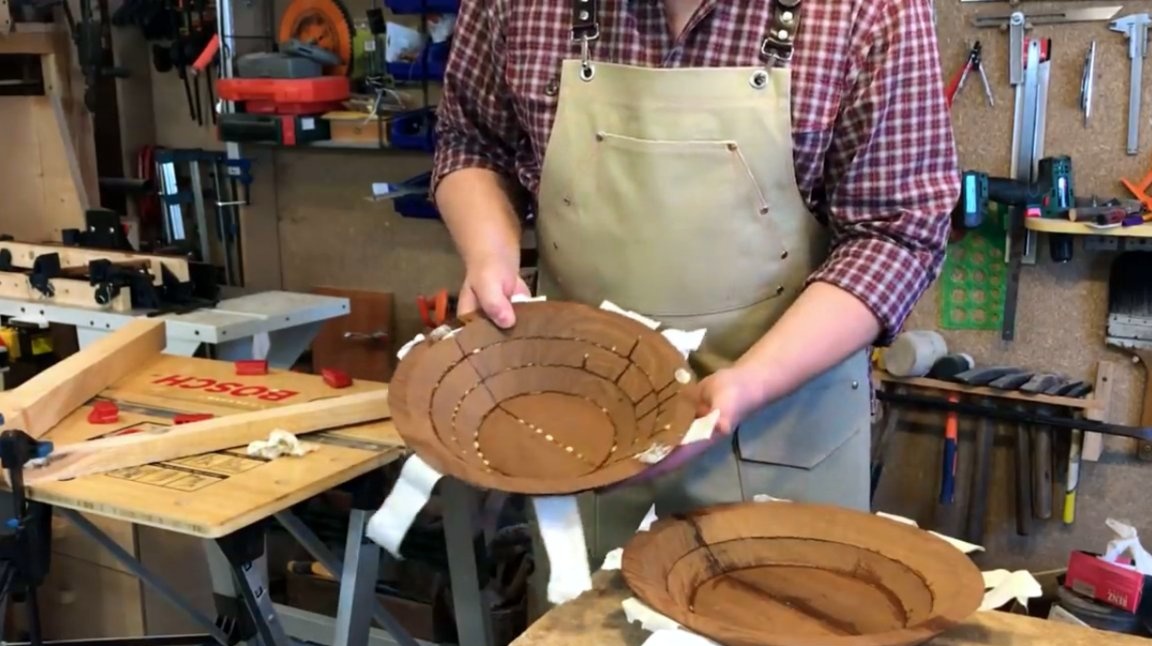
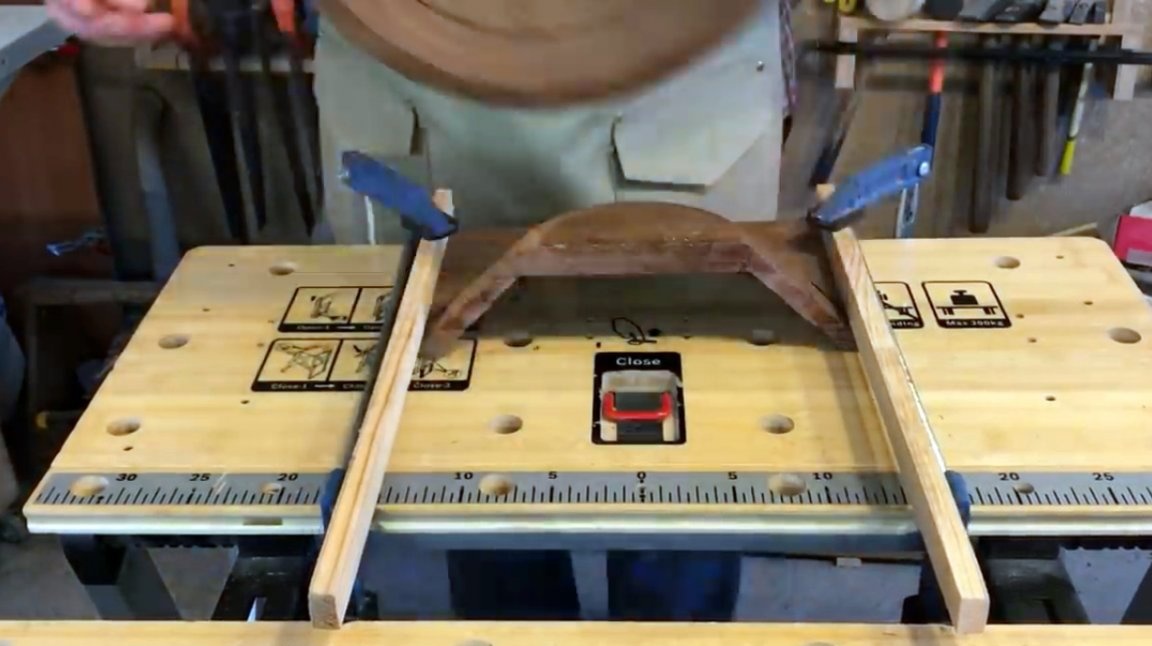
These are the details that, when turned upside down, gather in a cone. Initially, he expected to make a plate with a total height of 60 mm, but he forgot that there is also a bottom. As a result, the plate turned out to be 80 mm high.
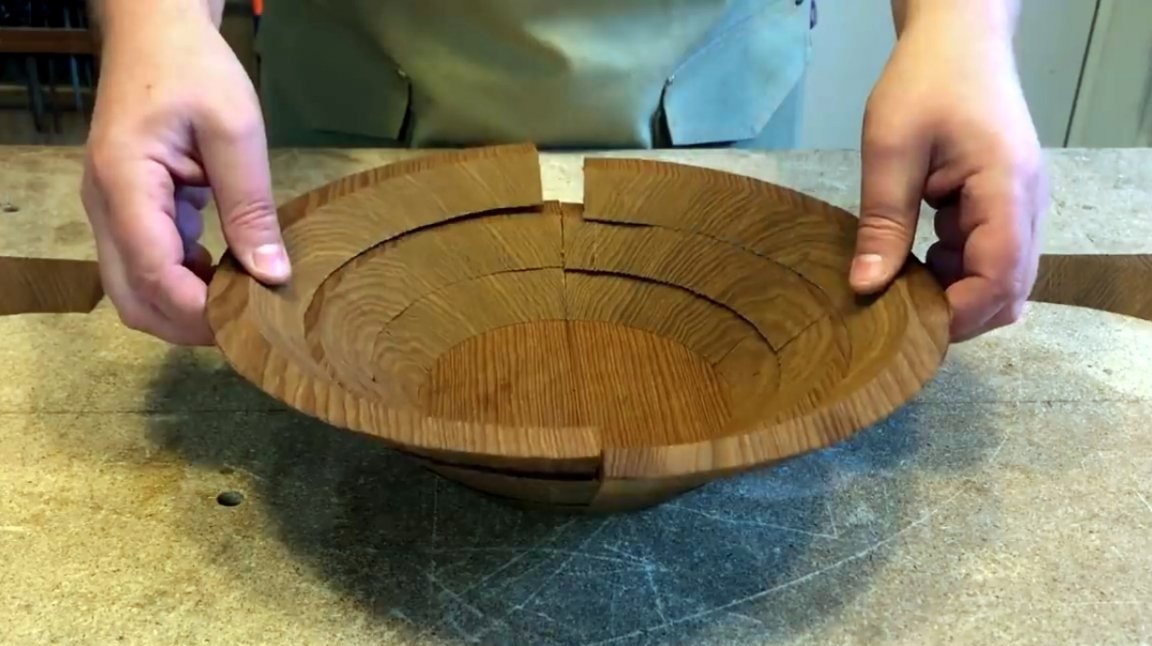
He was not very upset, and made blanks for the second plate with a wider bottom, but with the same external radius of 300 mm.
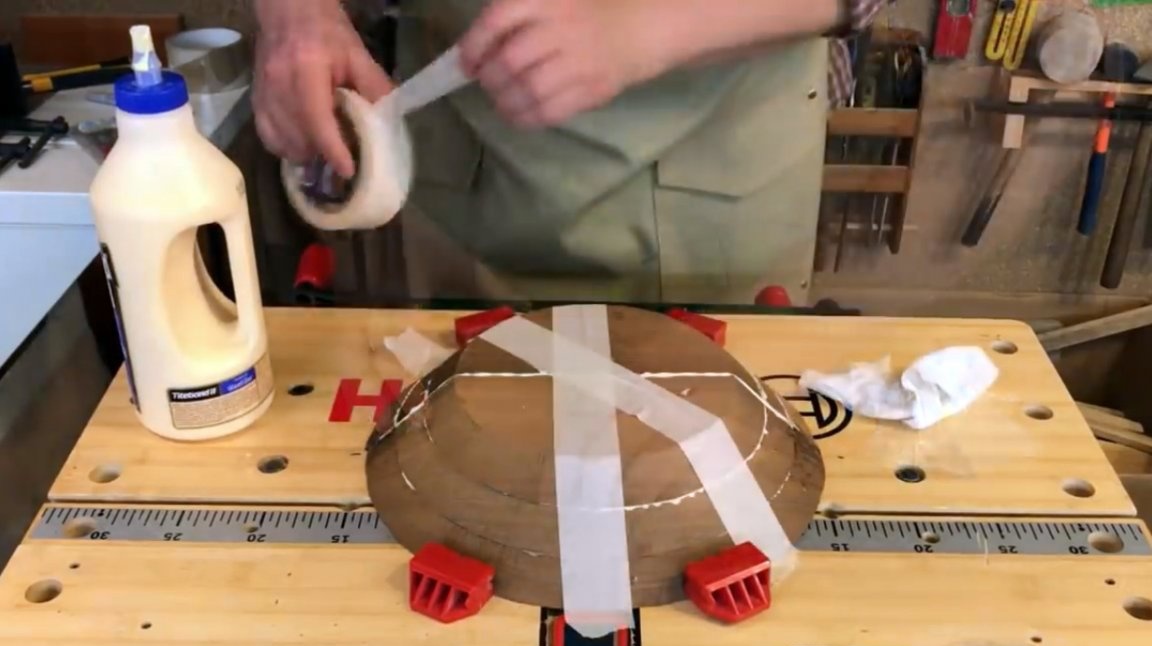
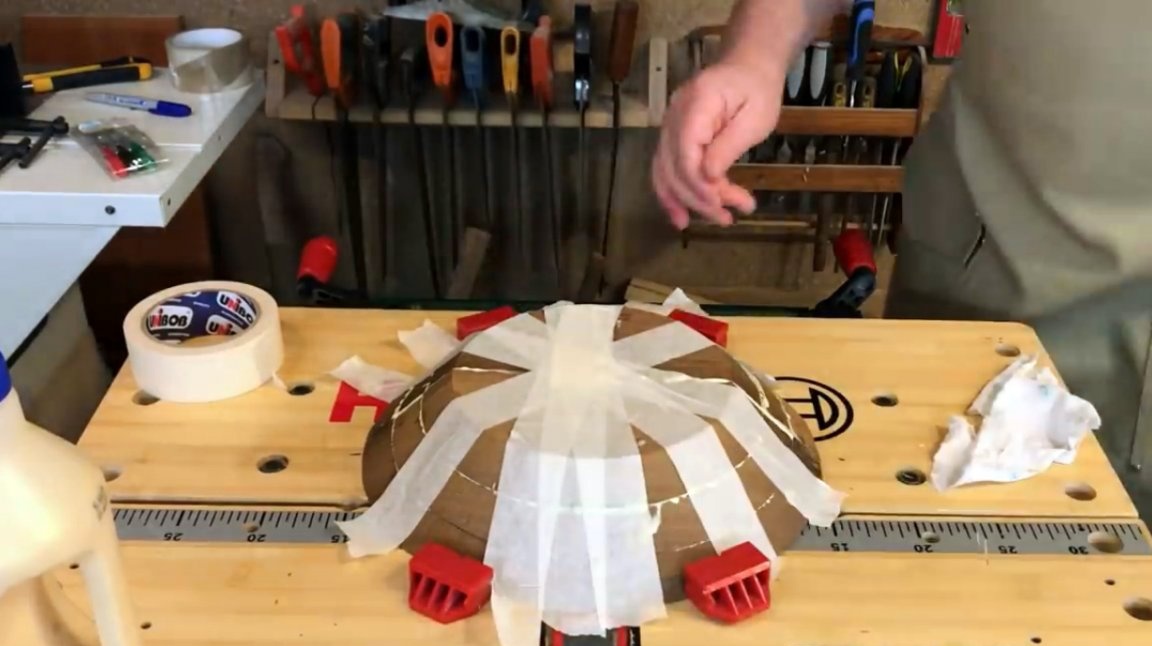
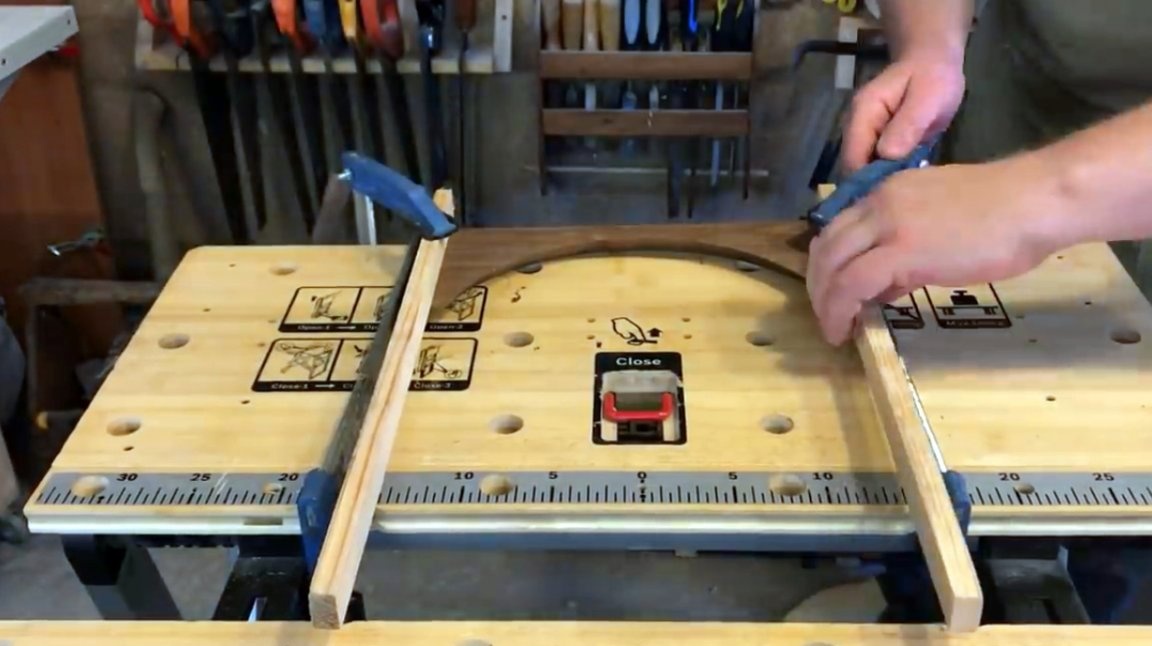
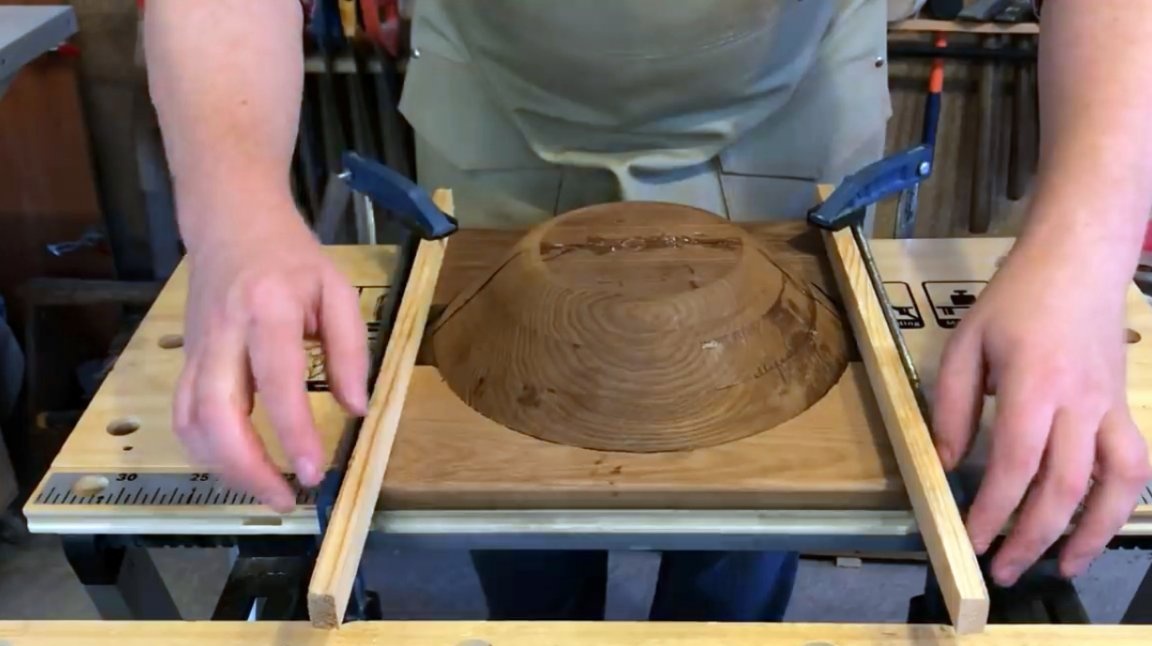
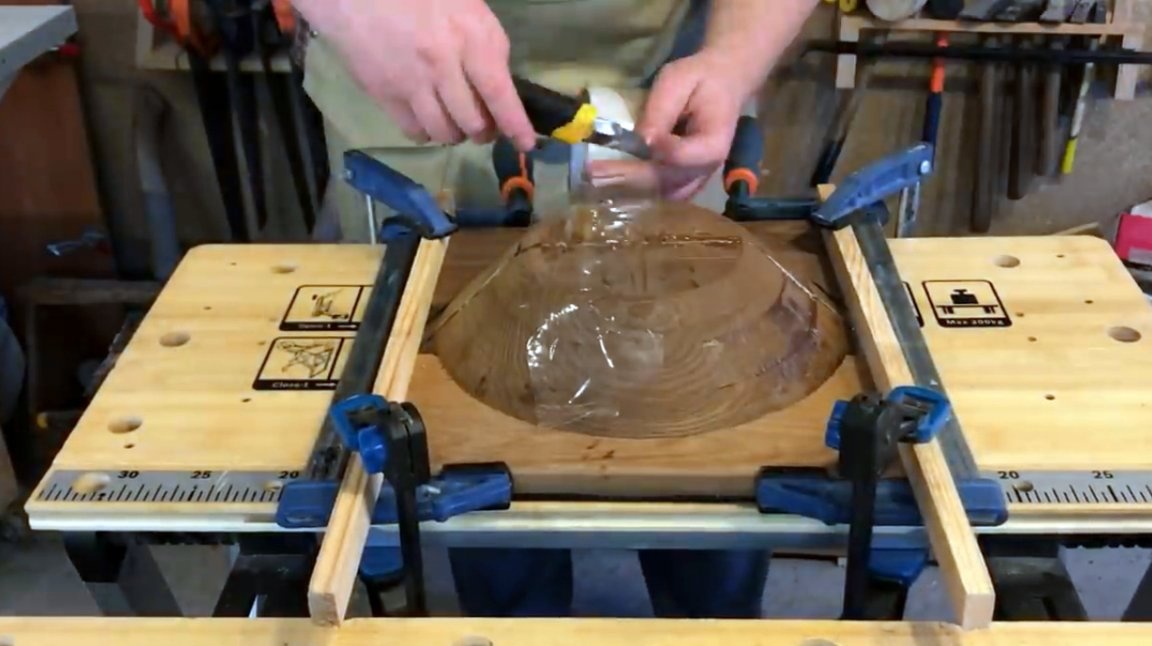
The next step will be the gluing process.In order to prevent the product from sticking to the workbench, it protects its surface with ordinary adhesive tape. Then all the joints of the parts are lubricated with glue, the lower two half rings are pulled together on the workbench, and the upper are fixed with a masking tape.
Here the author makes one mistake, it was worth gluing the segments with an overlap, and not create one common joint.
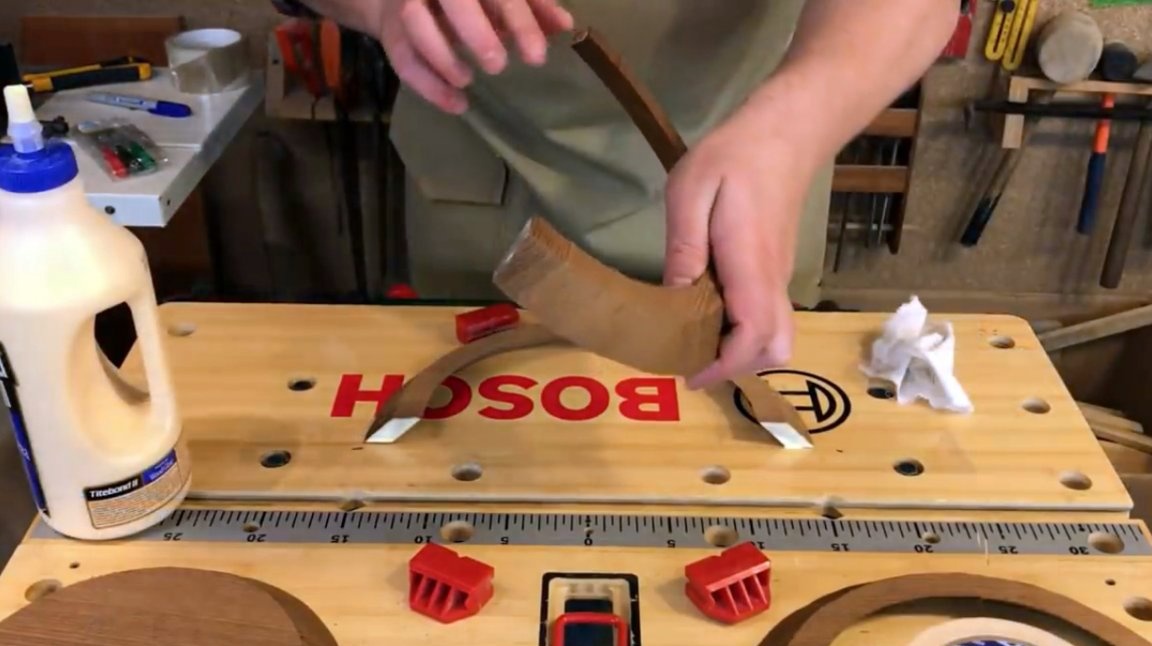
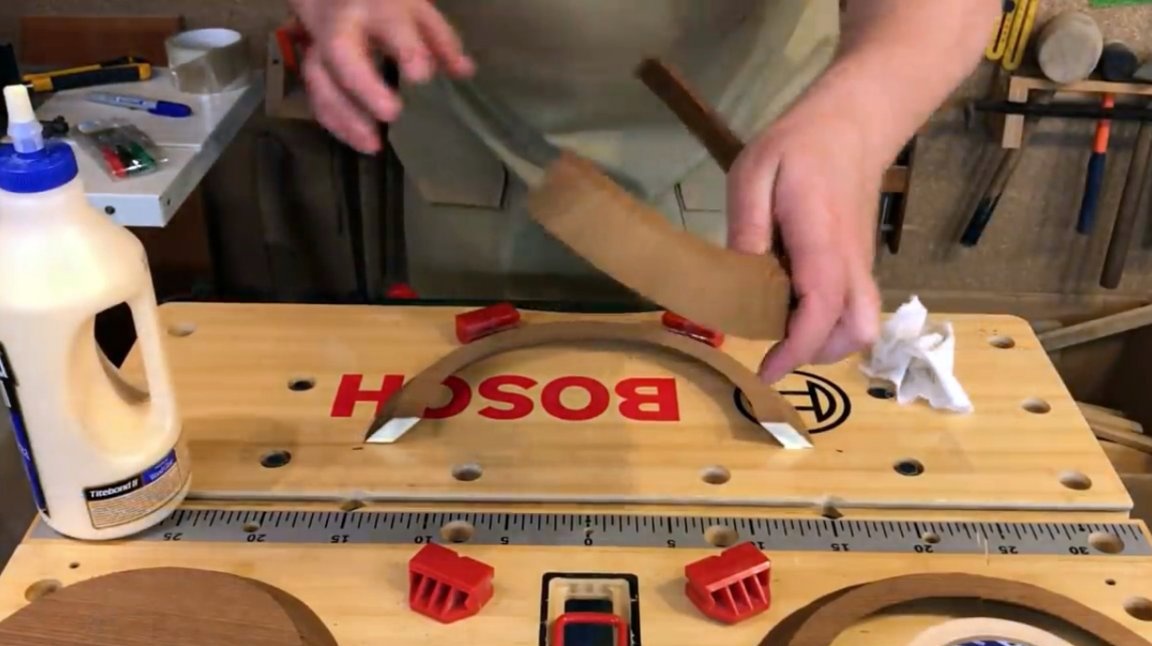
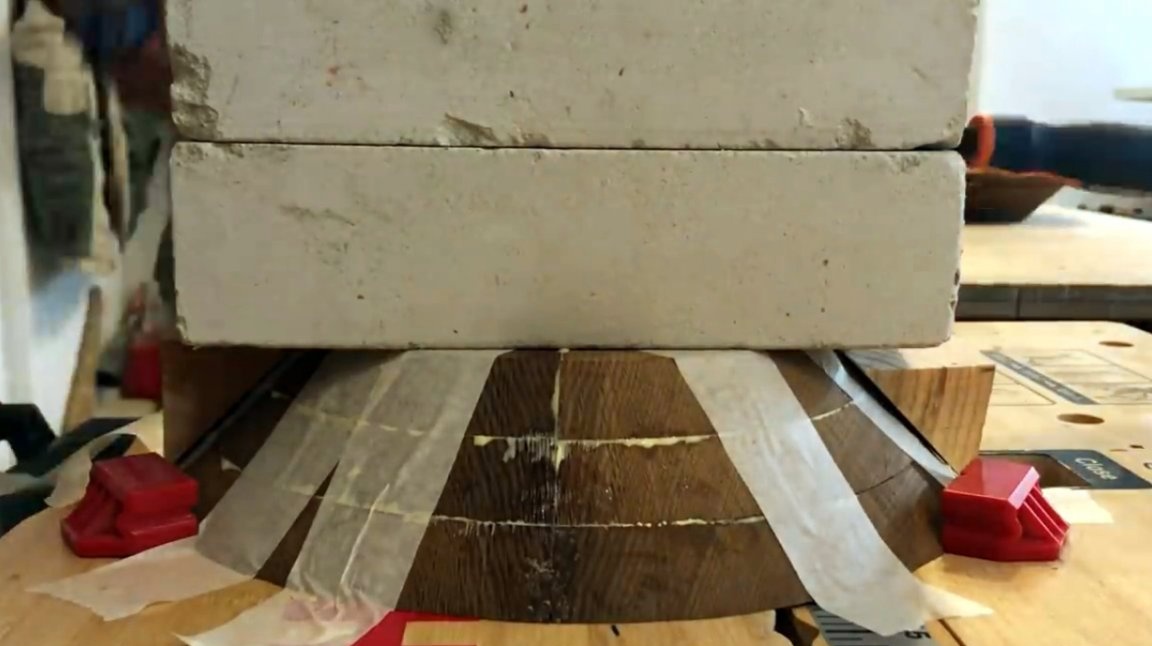
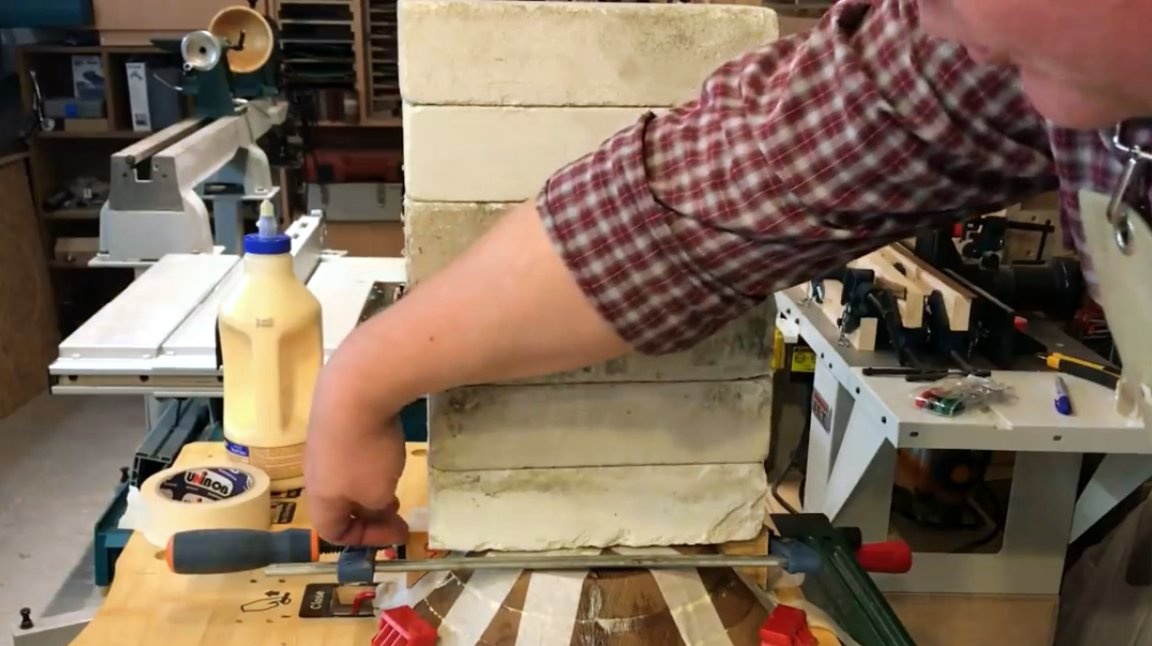
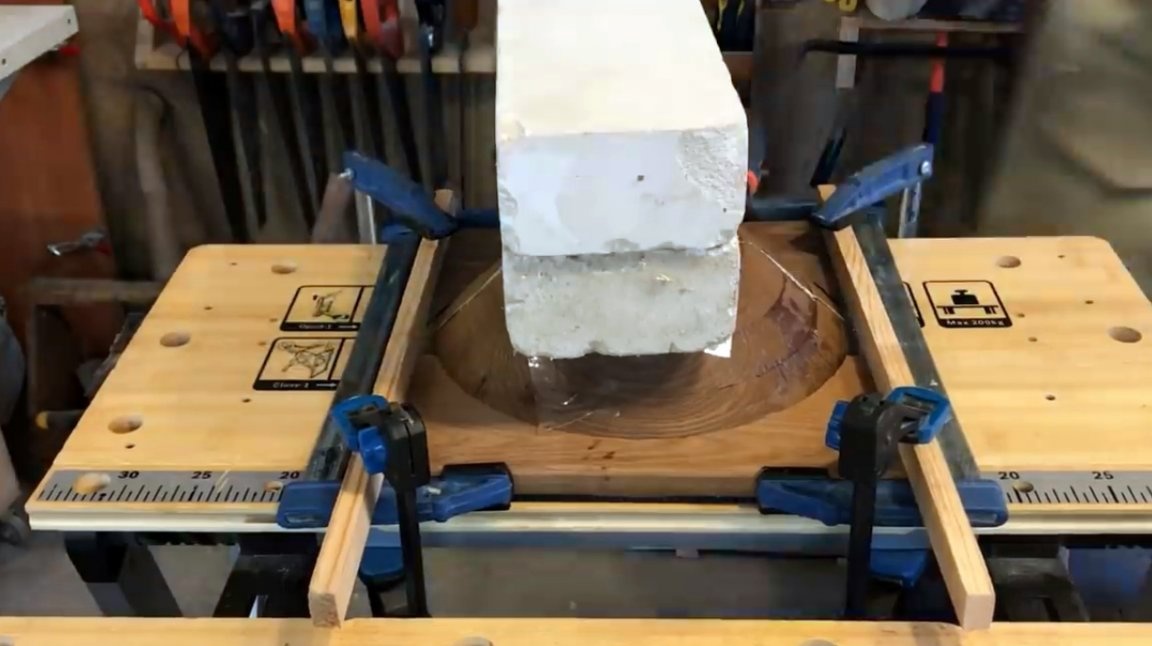
Additionally, on top of the product is loaded with bricks, and pulled together with a clamp, with corners placed under its lips.
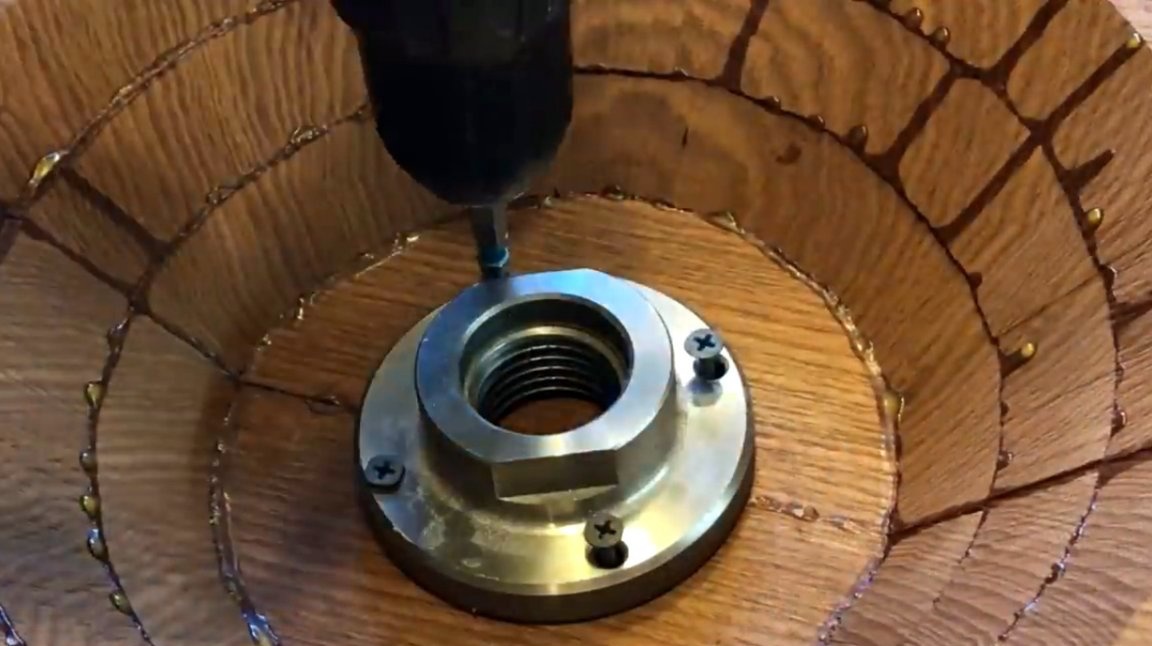
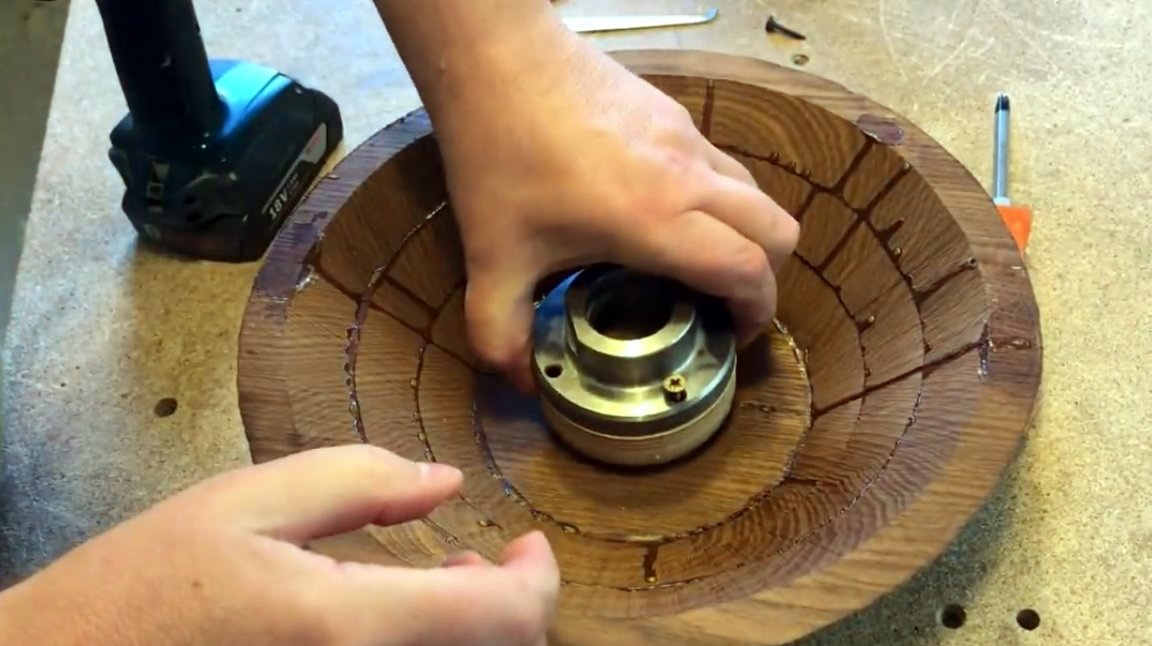
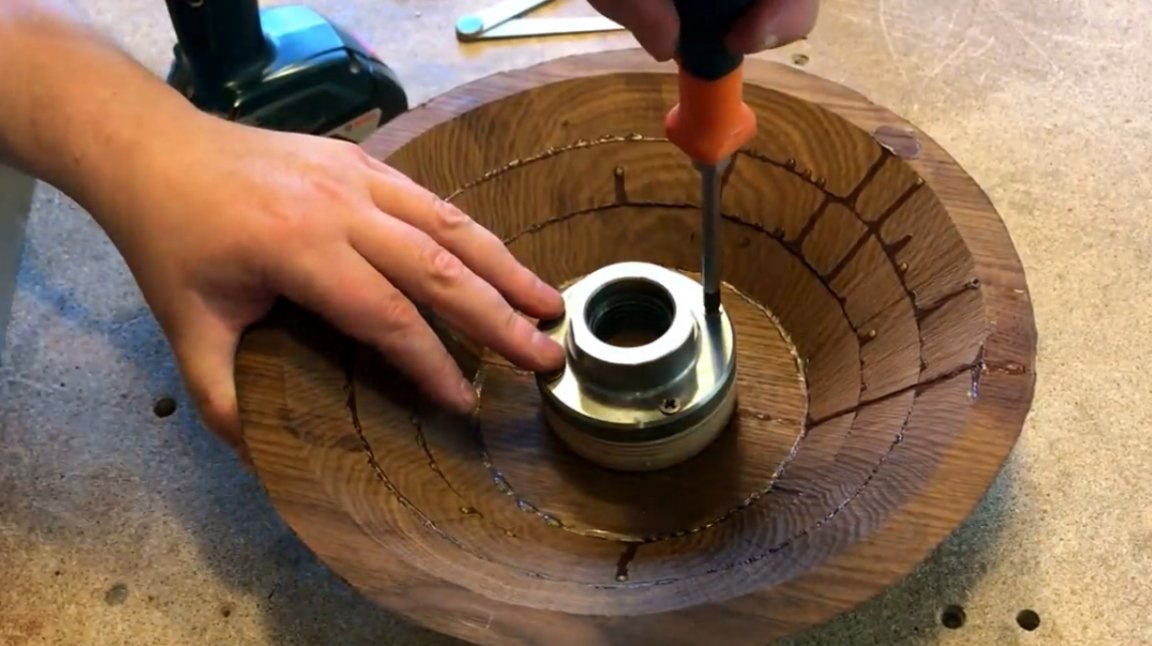
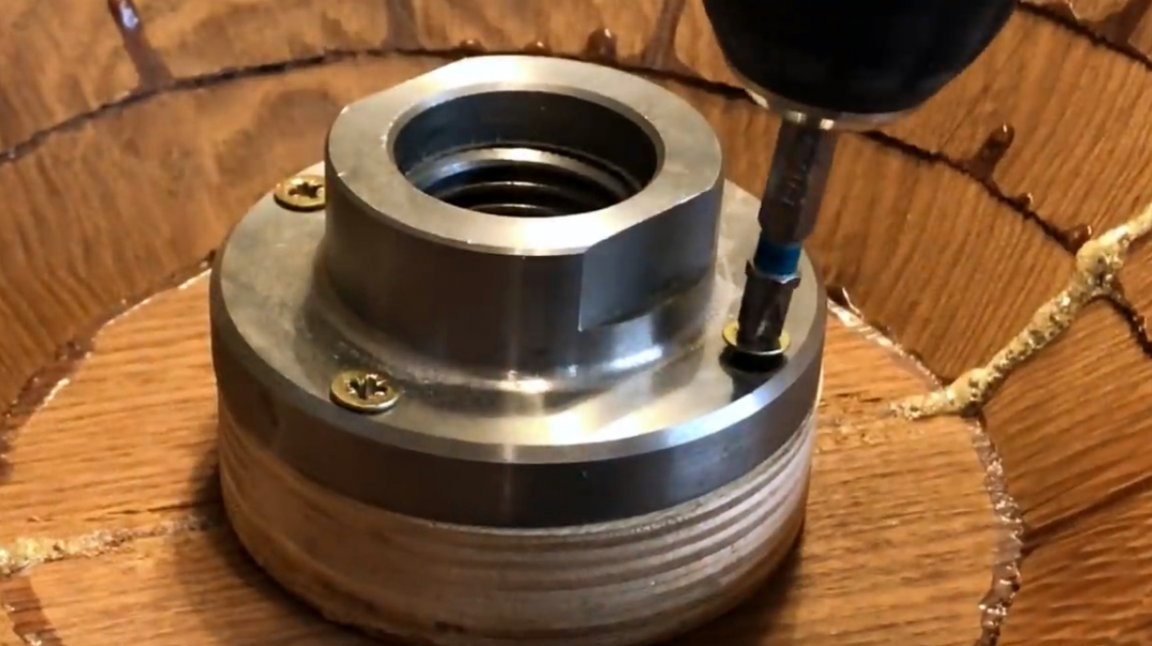
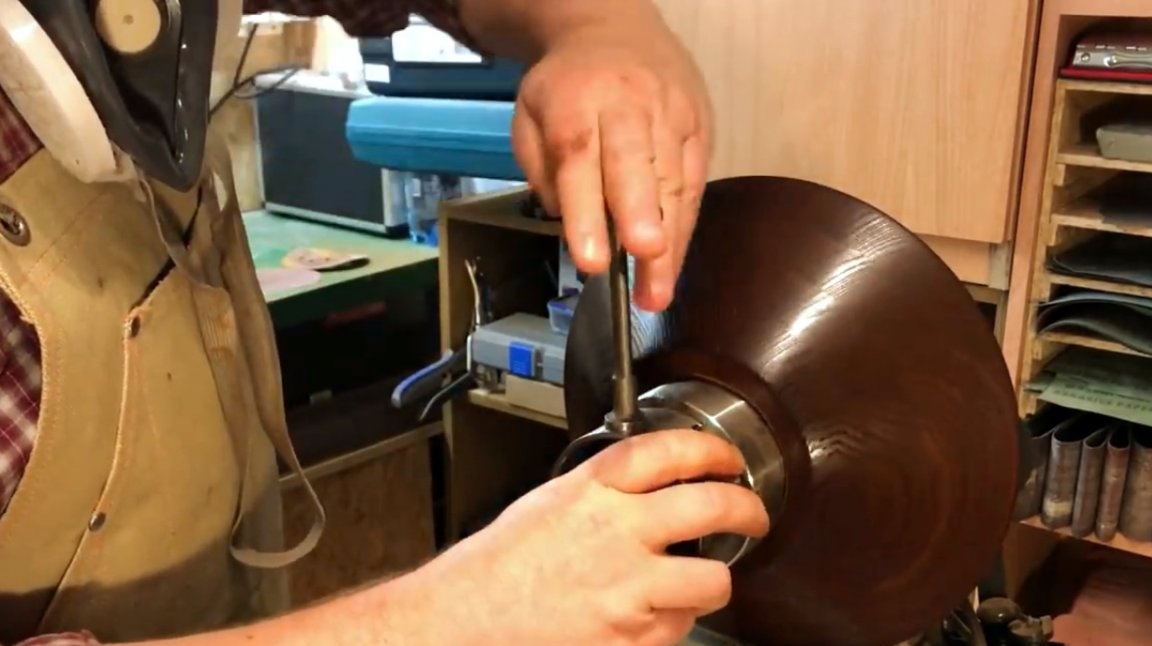
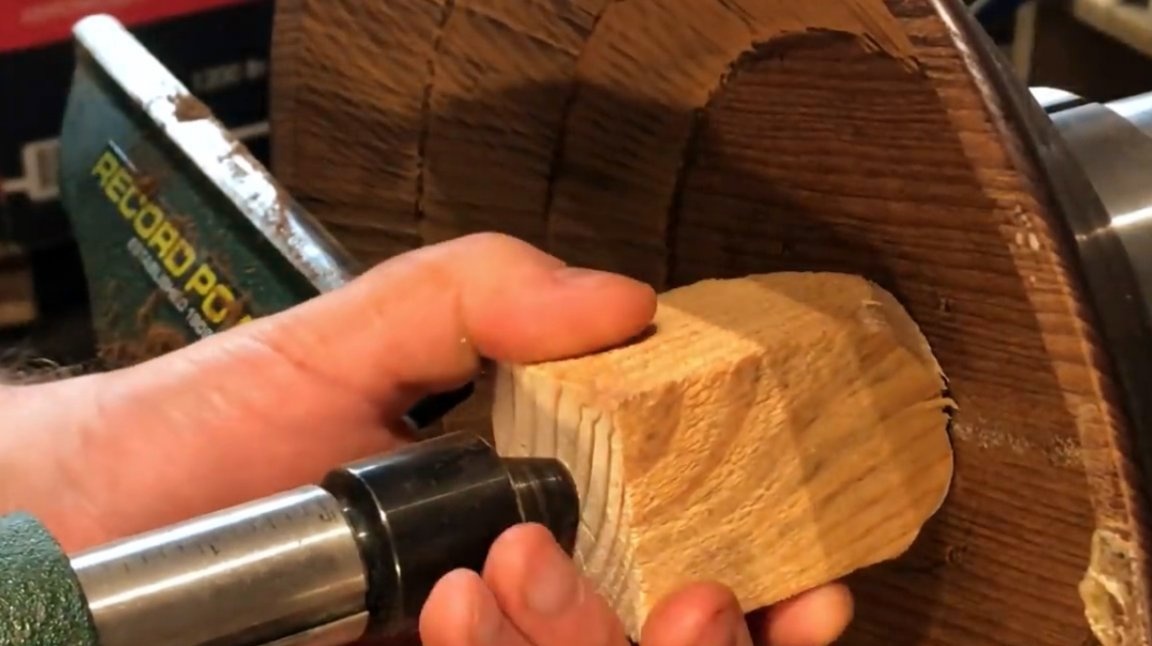
So, it's time to attach the plan washer, this must be done with maximum accuracy
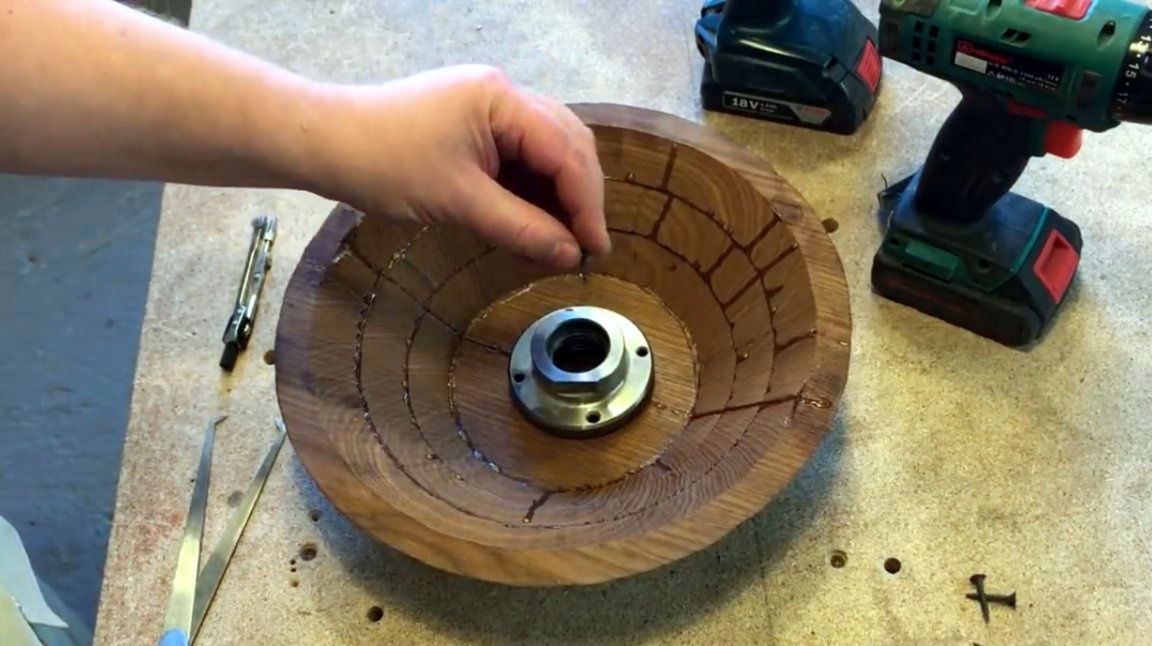
The fastening points of the screws are marked with an awl, pilot holes are drilled, and the washer is screwed to the inside of the bottom. The author tried to pick up self-tapping screws of such a length that they go into the wood by a maximum of 8 mm.

There was a small problem. The edge of the workpiece rests on the machine. The author had to make a lining for the faceplate.
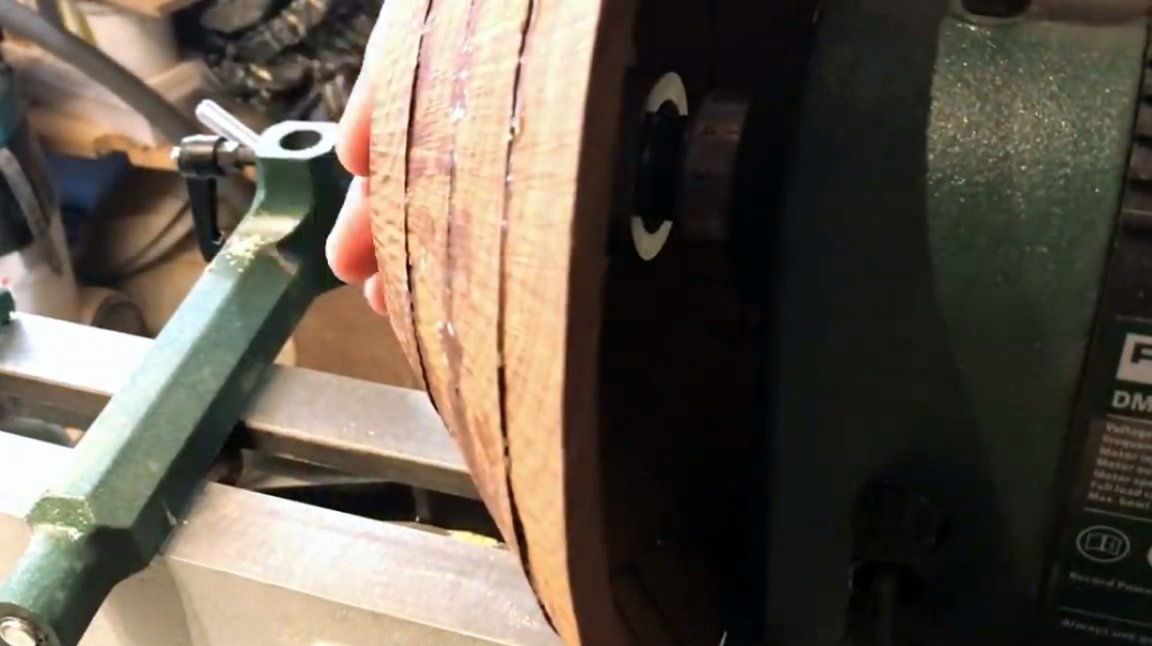
Also, the outer edge slightly clings to the bed, it also had to be slightly sharpened with a file.
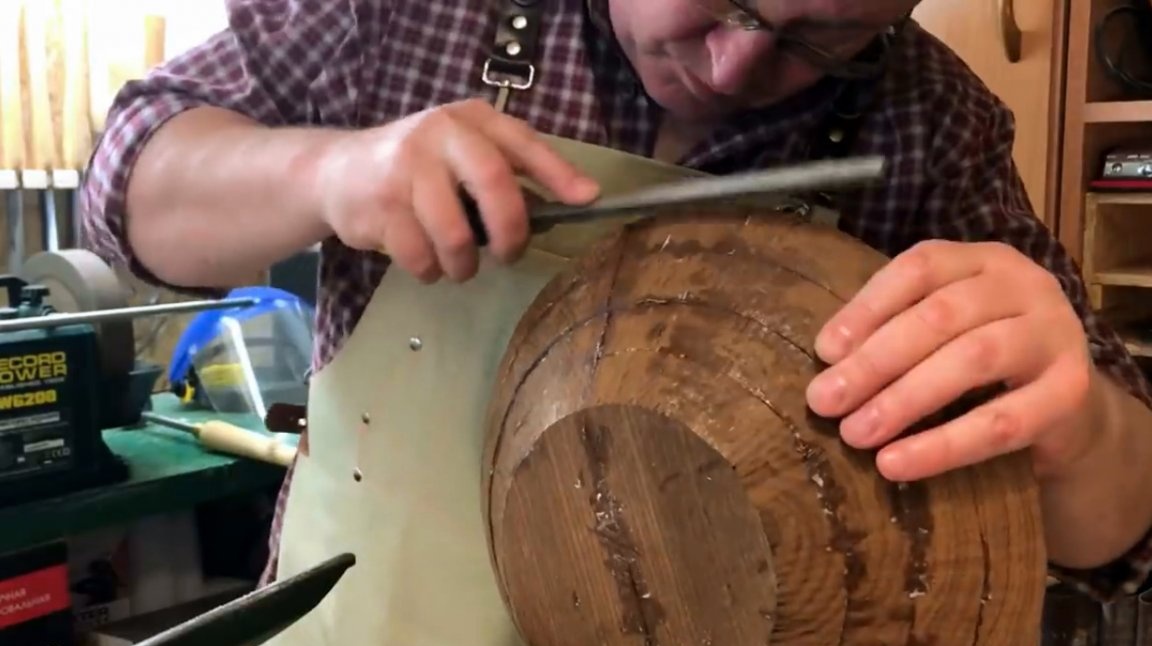
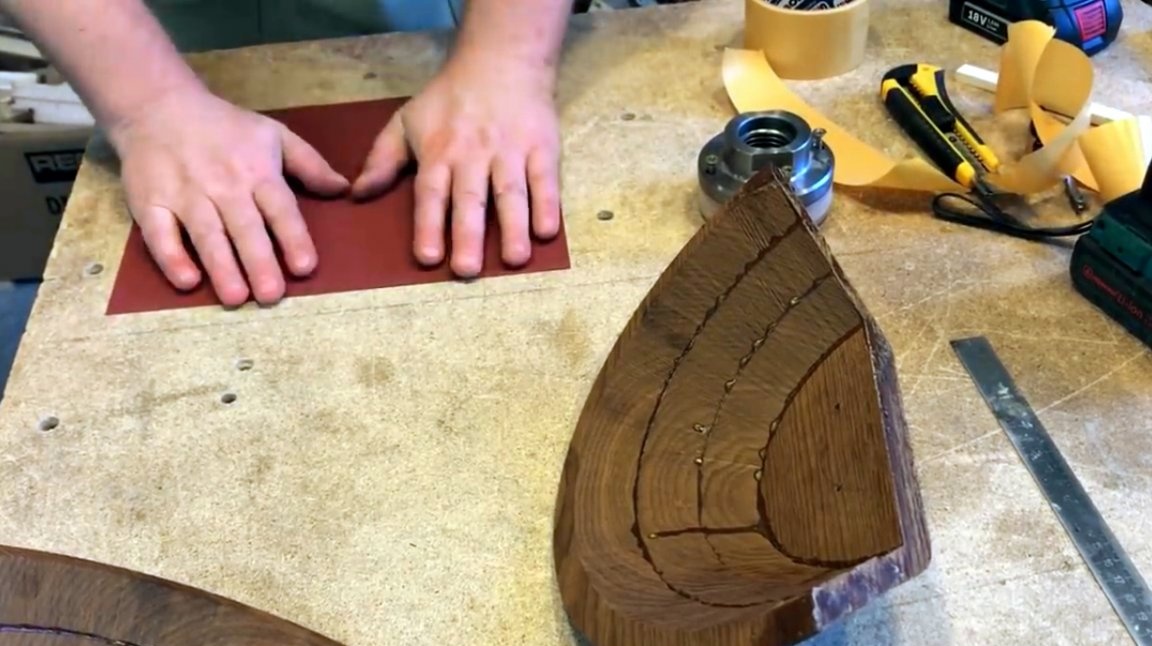
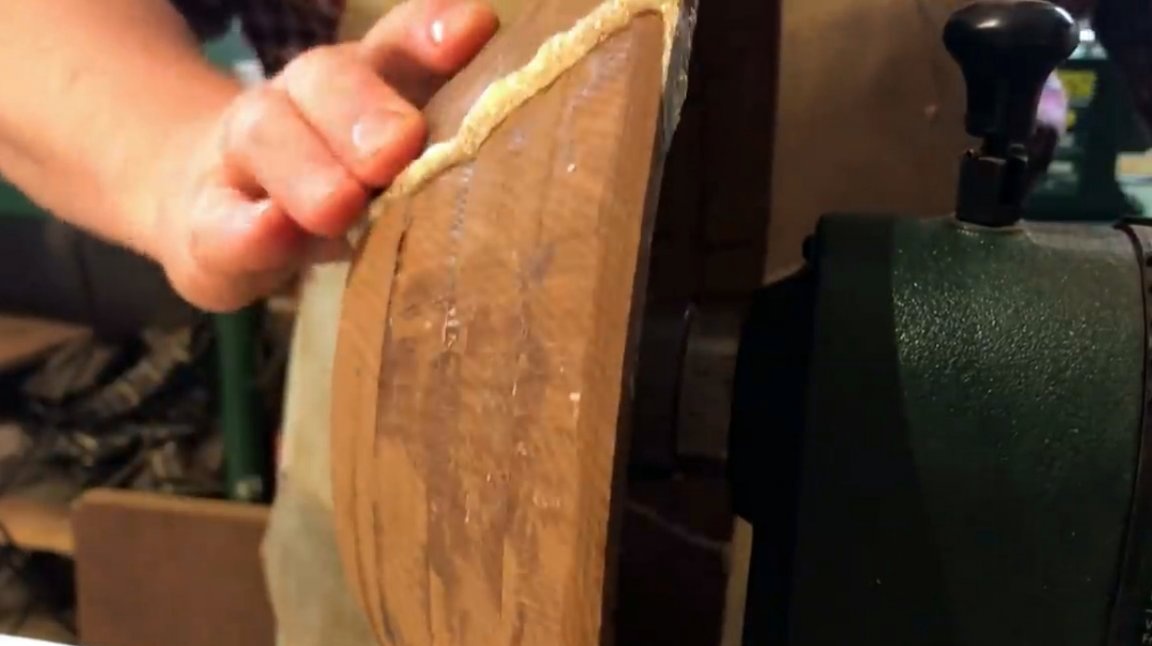
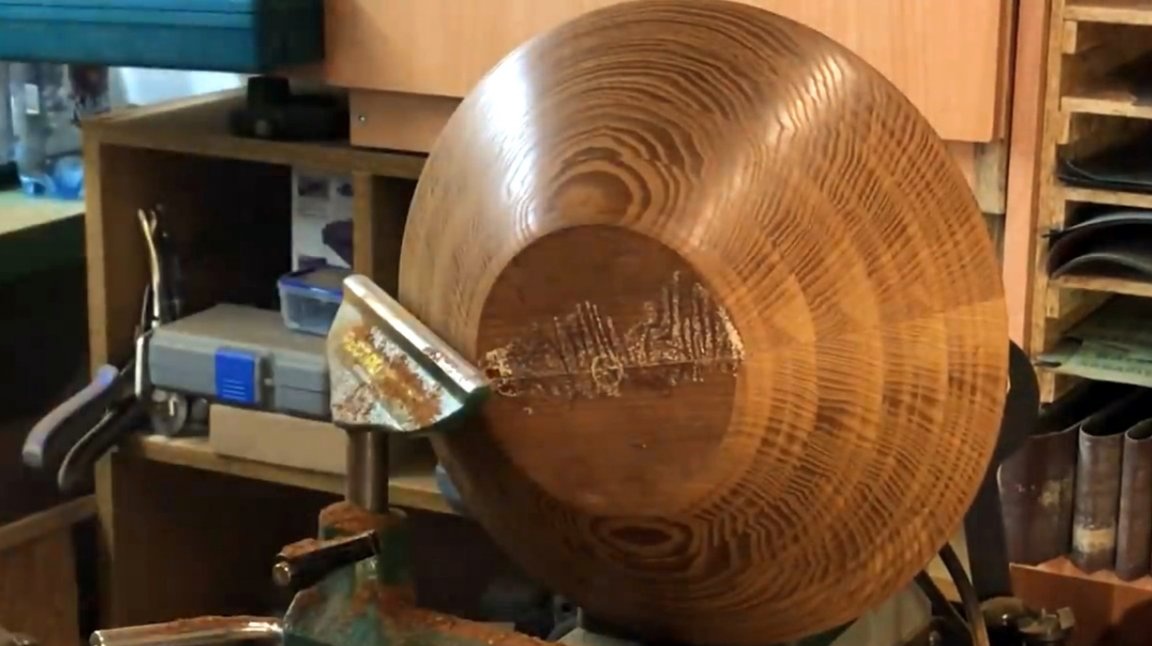
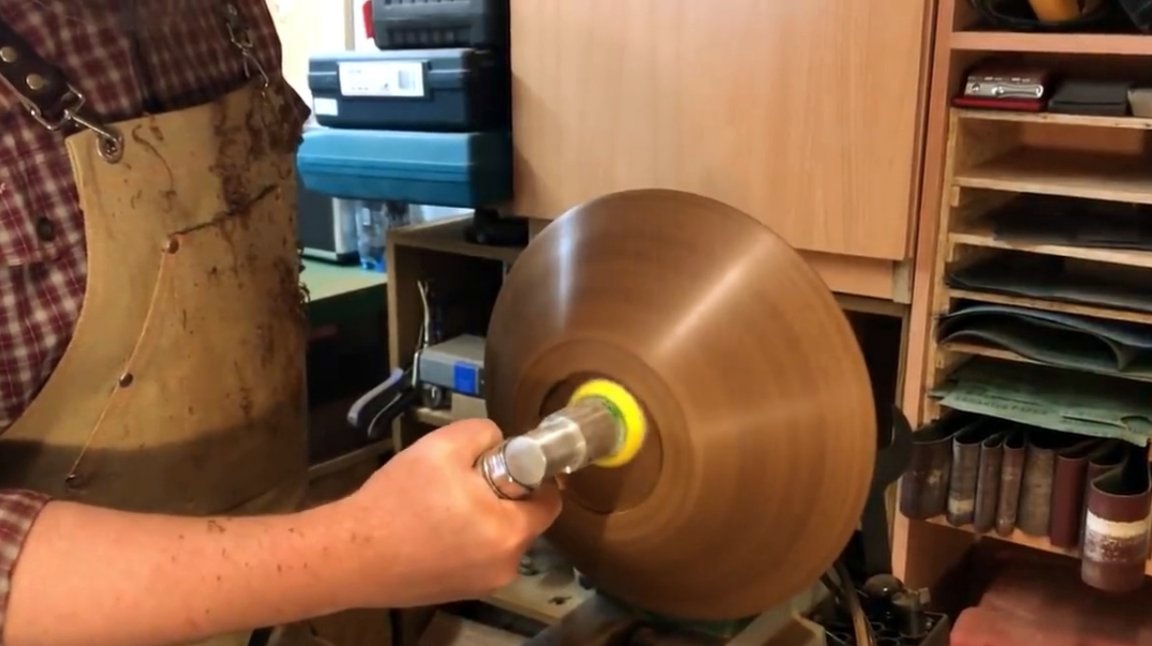
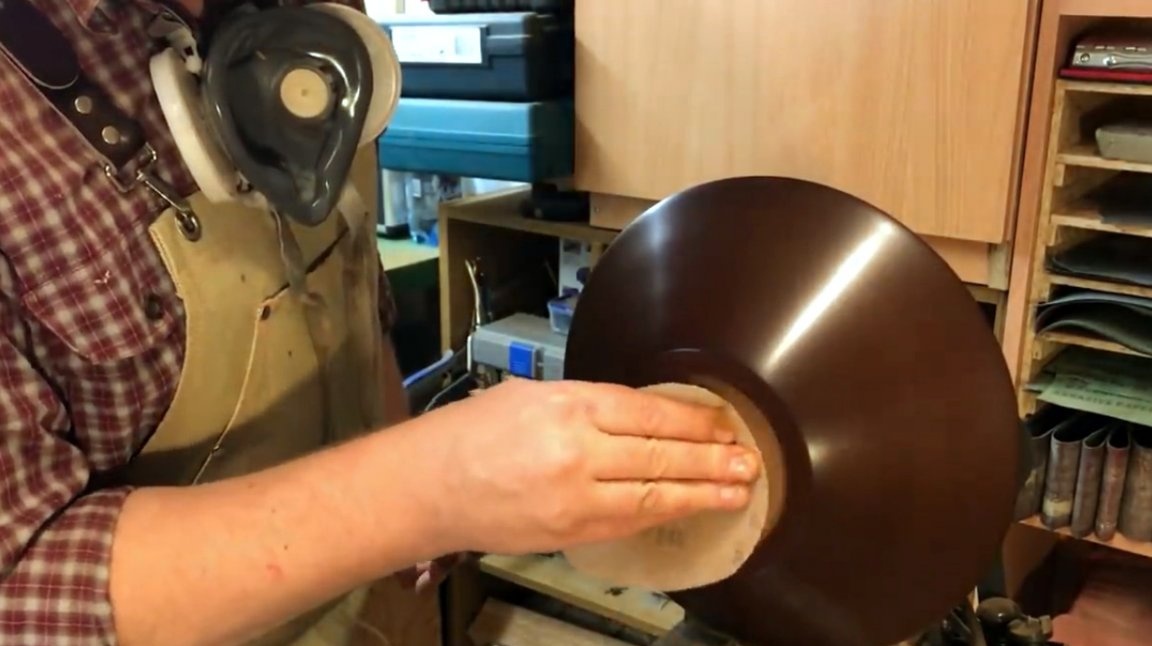
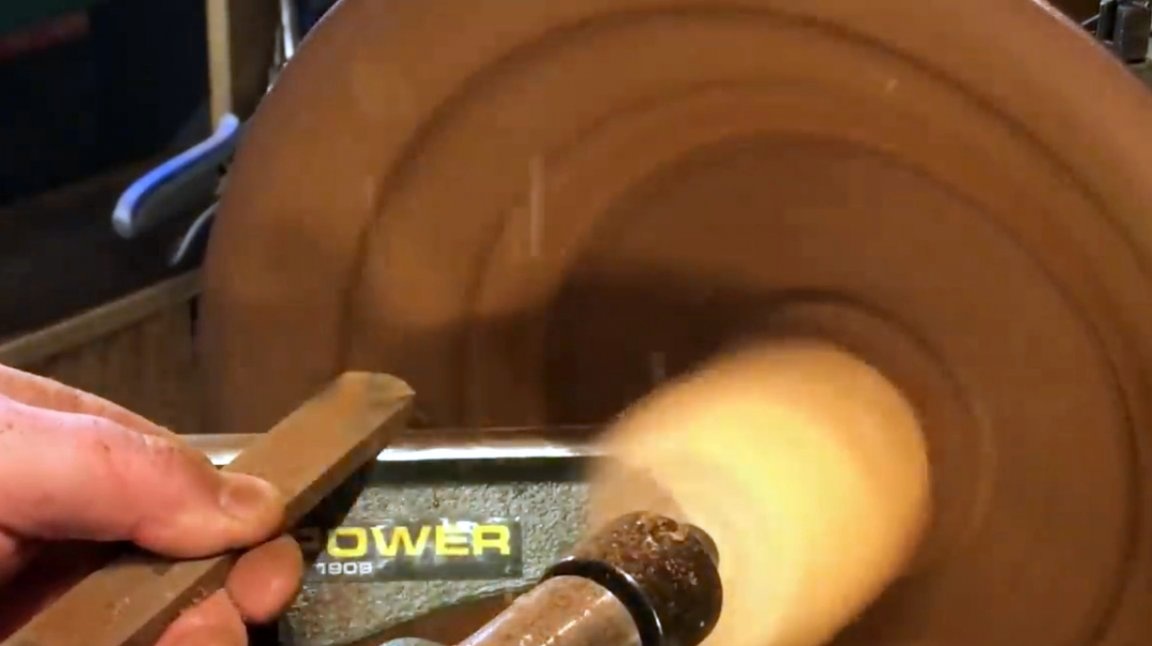
First, the author grinds the outer part of the walls of the plate.
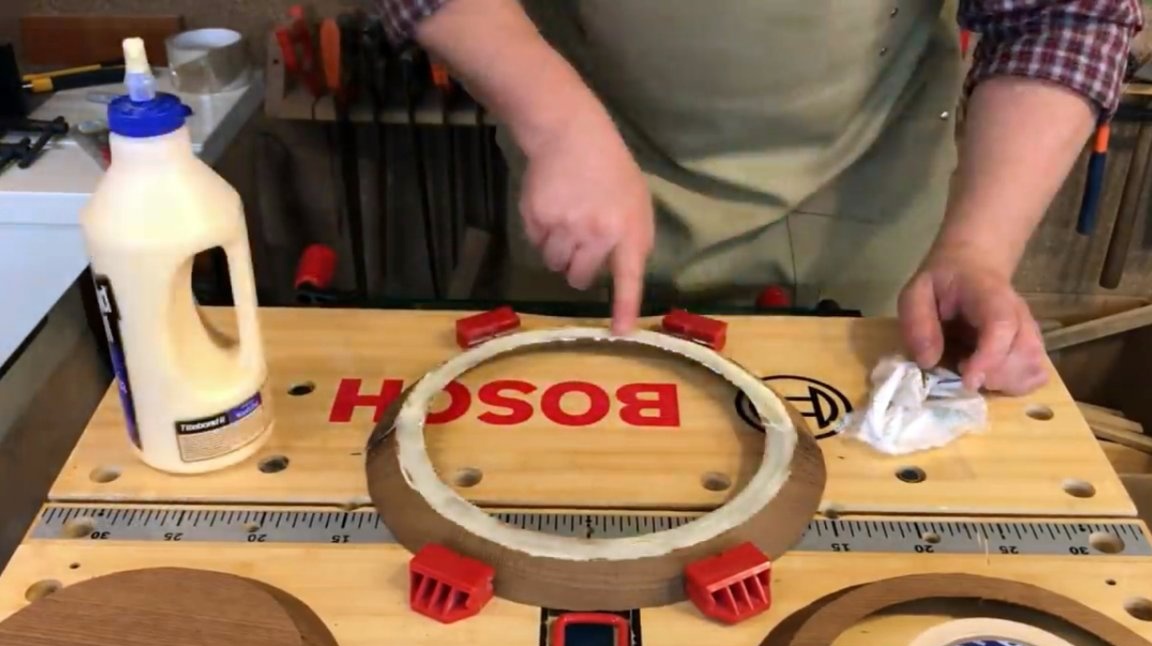
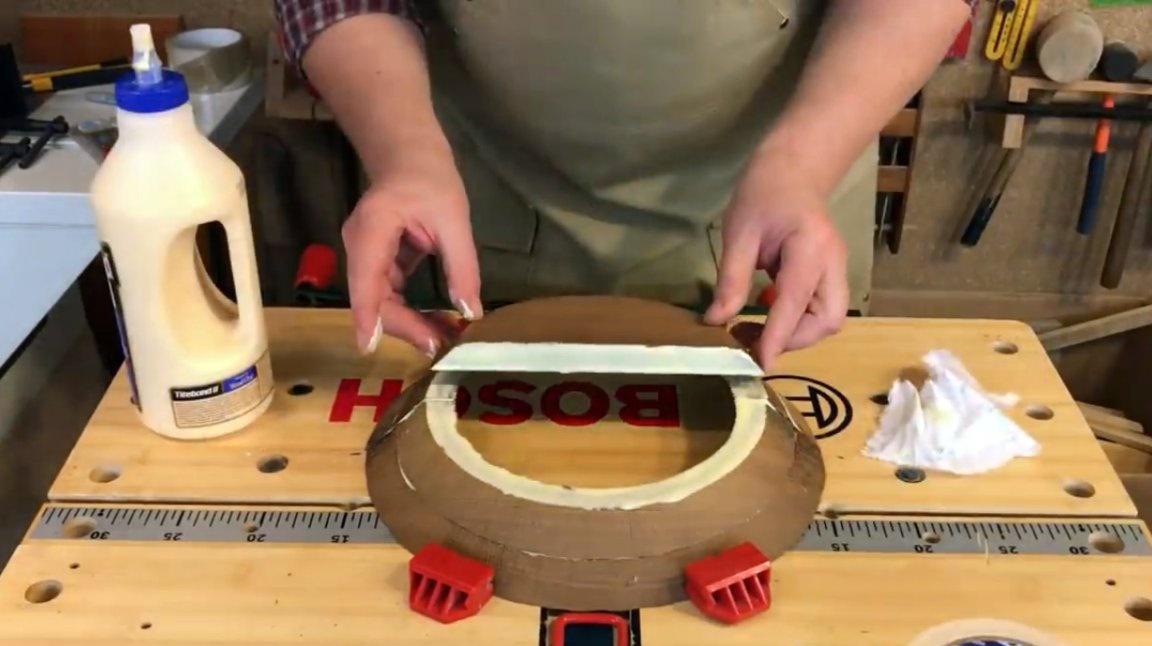
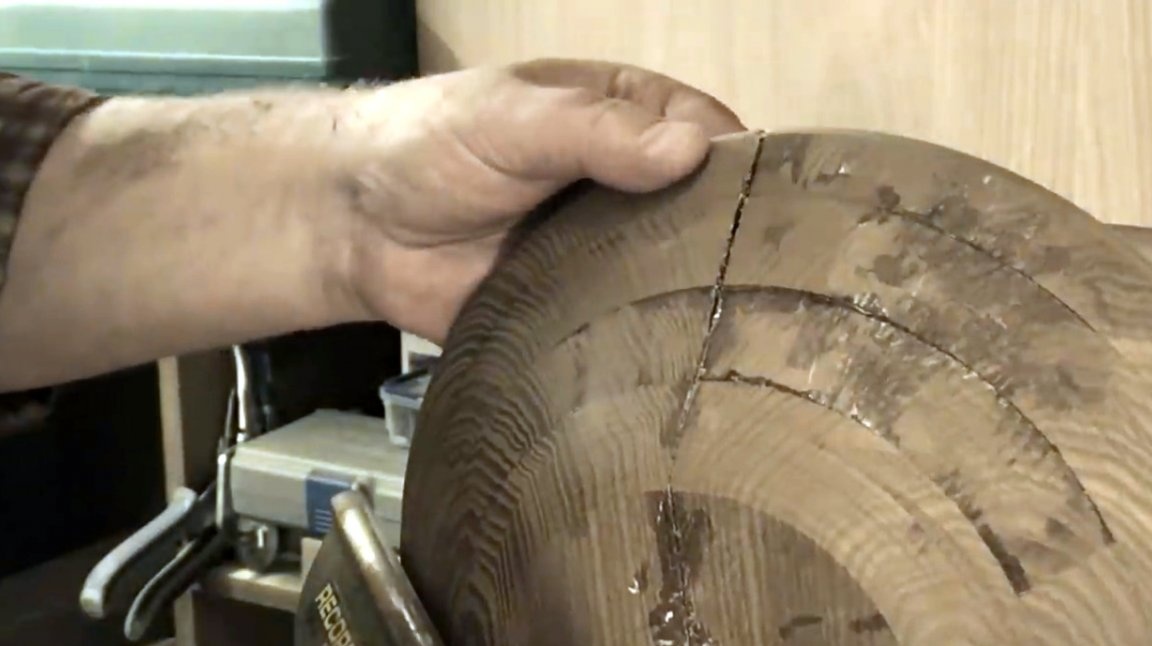
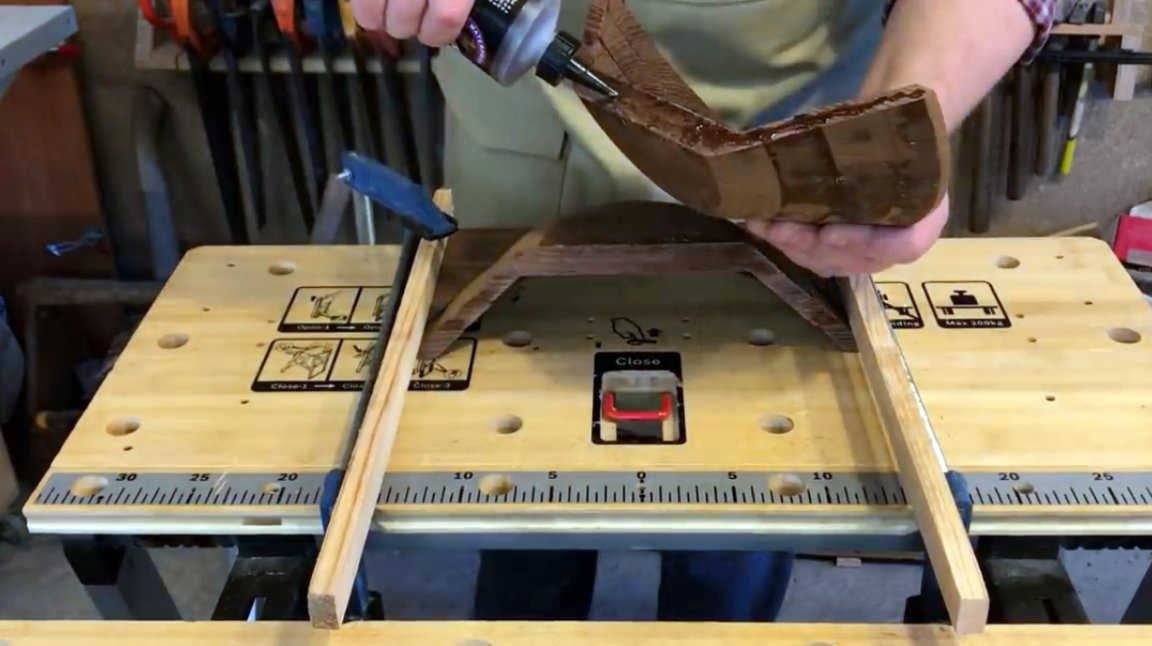
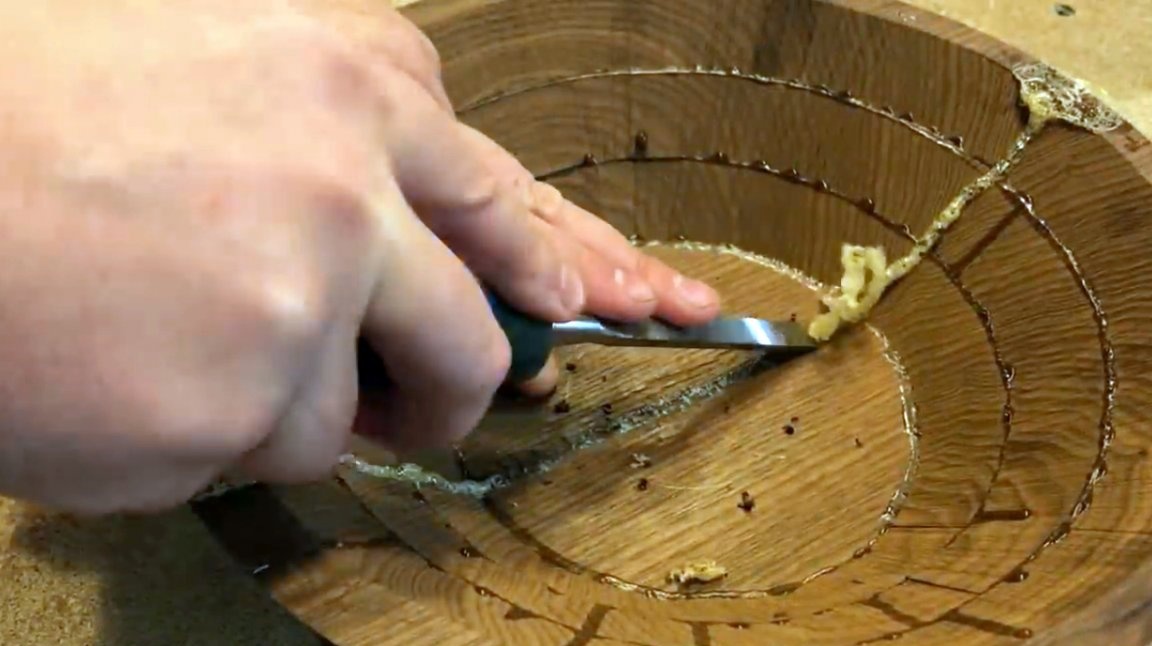
And again trouble, the glue did not have time to dry in a day, and the workpiece burst at the joint. This would not have happened if the arcs were overlapped. But the master was more chasing after the correctness of the wood drawing.
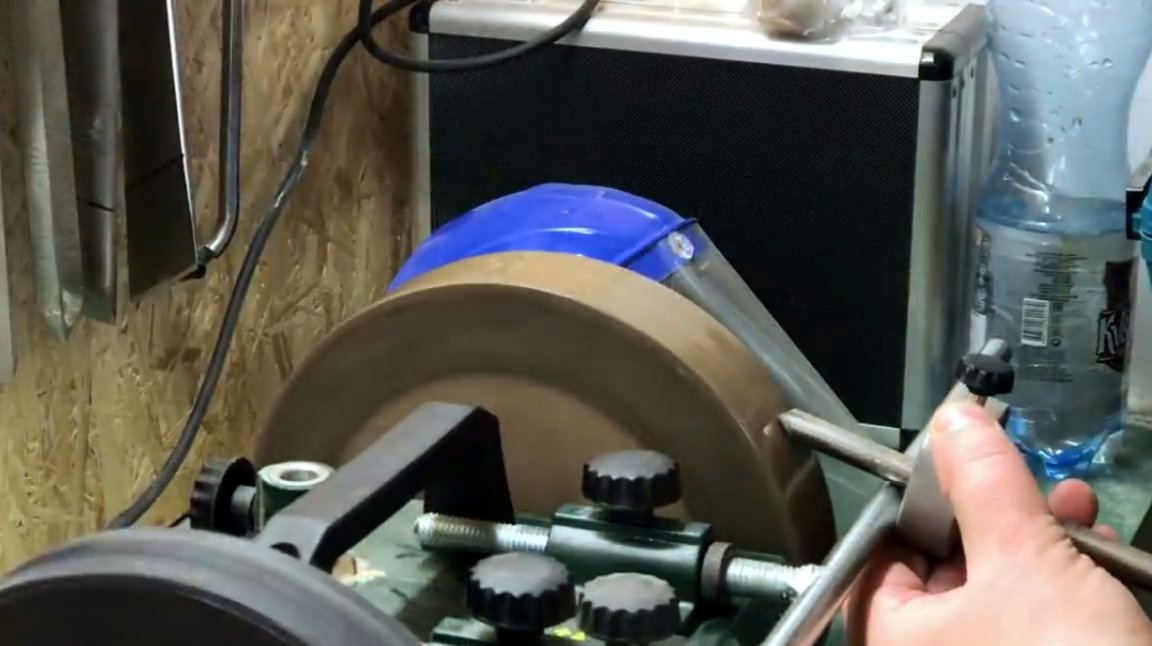
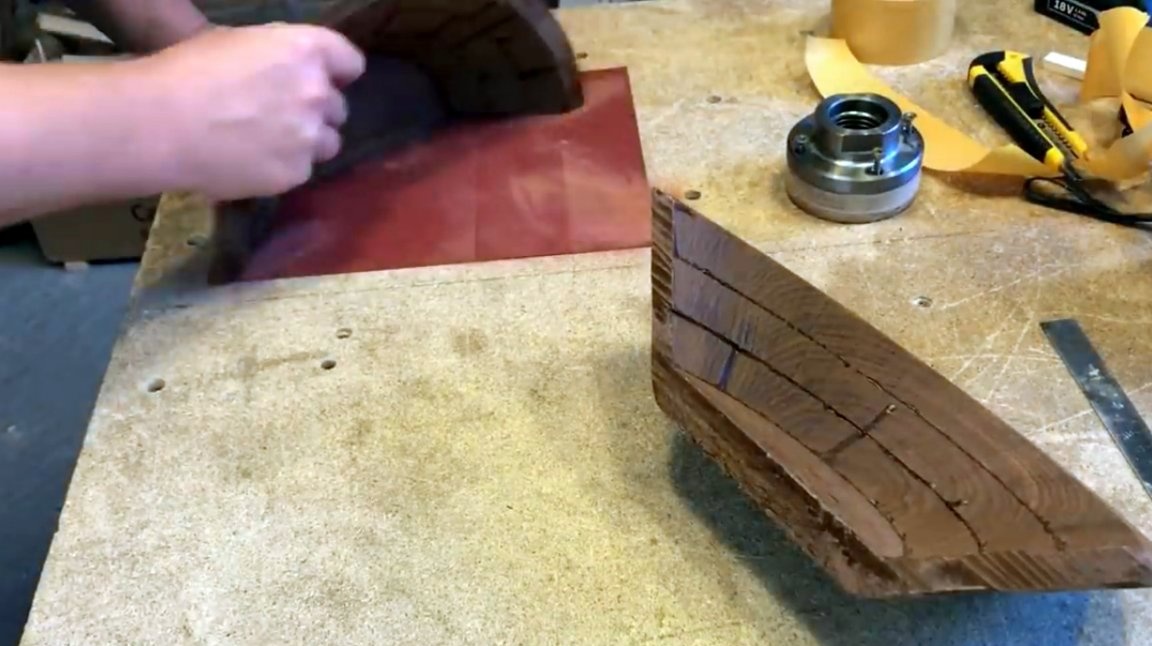
He glued a sheet of fine sandpaper to the workbench using double-sided tape, and polished the joints of the workpieces.

Now, as the clamps, it was decided to use the radial trim of the board. The whole structure is fixed for gluing as follows. In this case, two transverse bars are needed so that the clamps do not turn up.
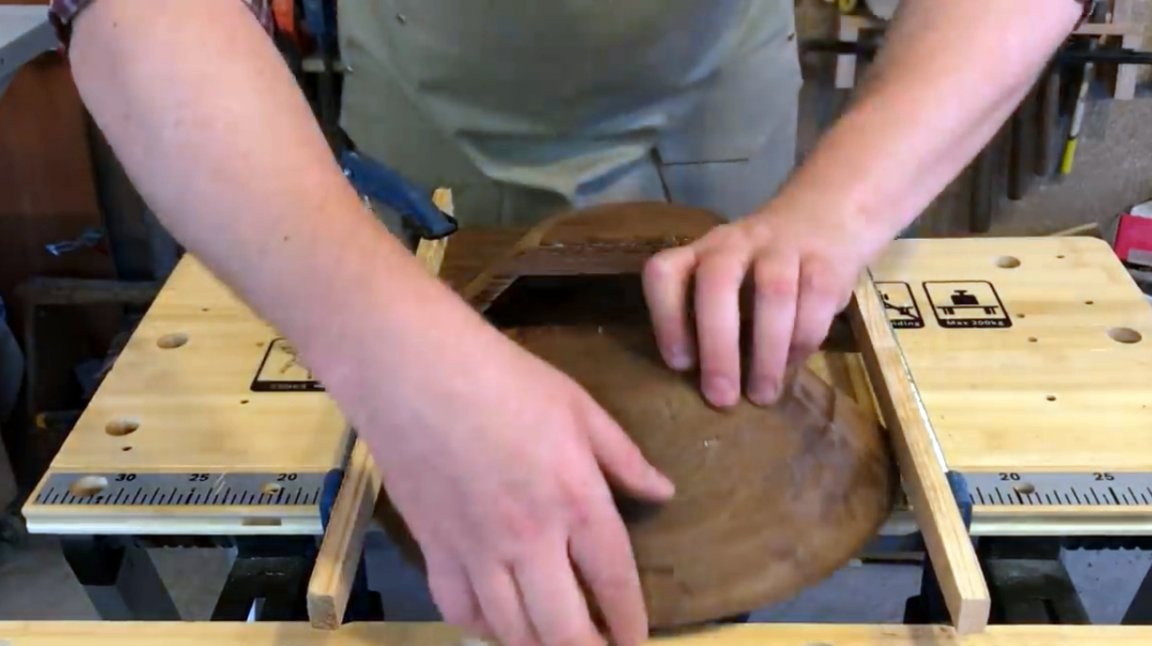
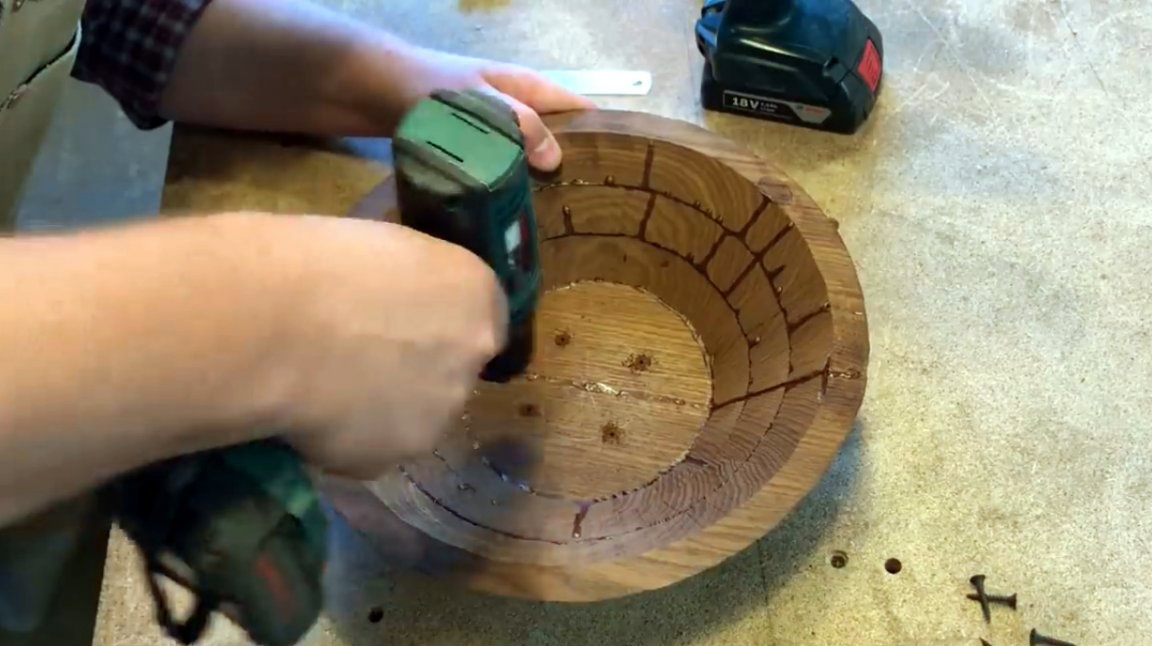
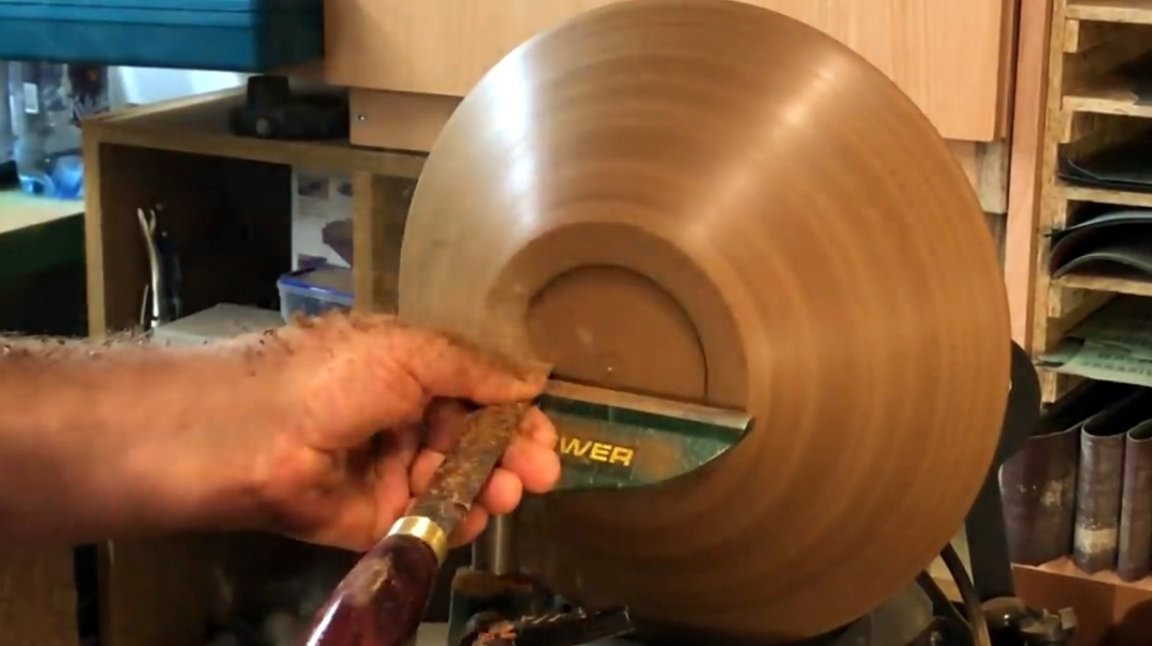
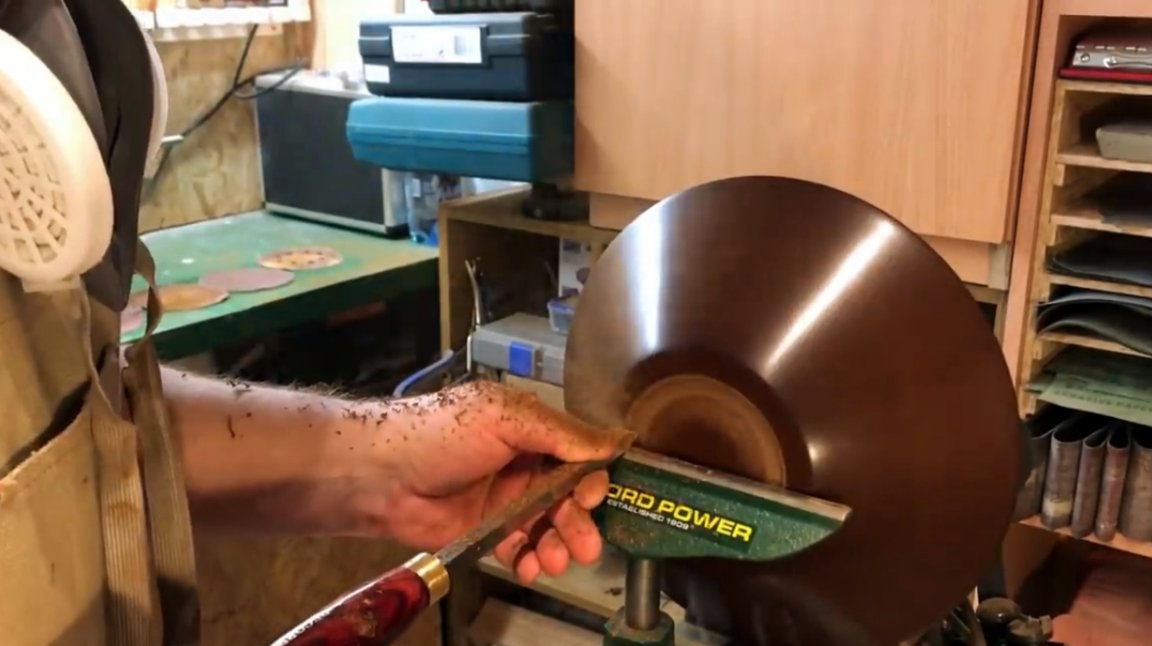
Excess glue is removed with a chisel, the faceplate is installed in its place, and you can continue processing.
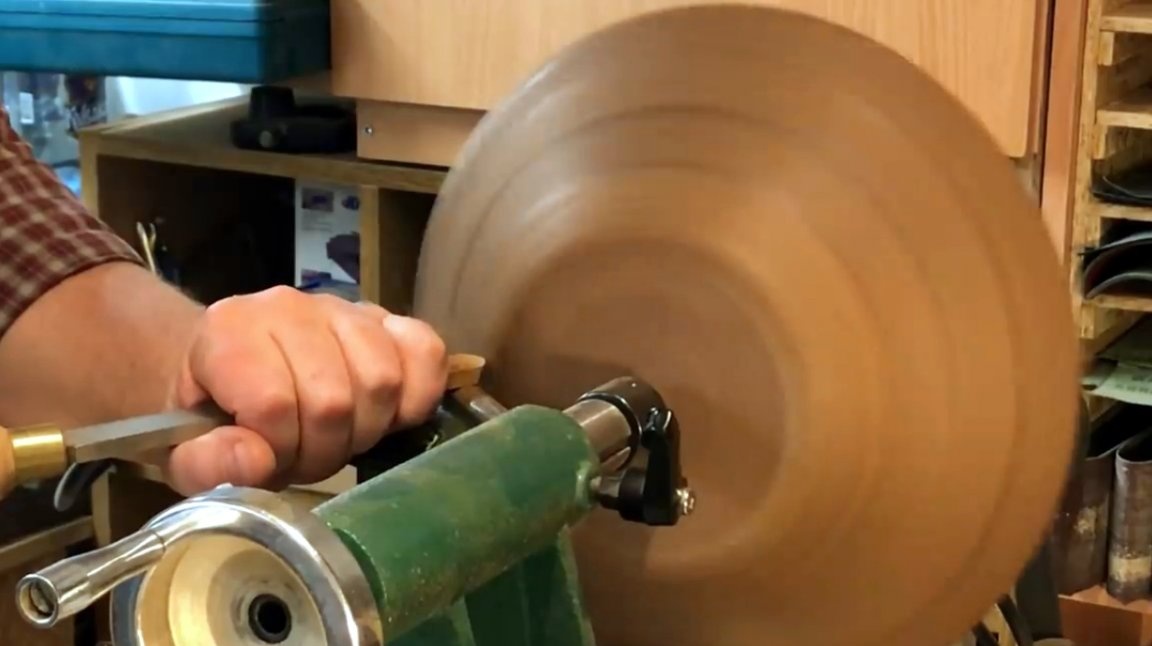
Since the wood of thermal ash is very sharp, and the author will not grind, but rather cycle the walls. After that follows grinding.
Next, a groove under the cartridge is made in the bottom.
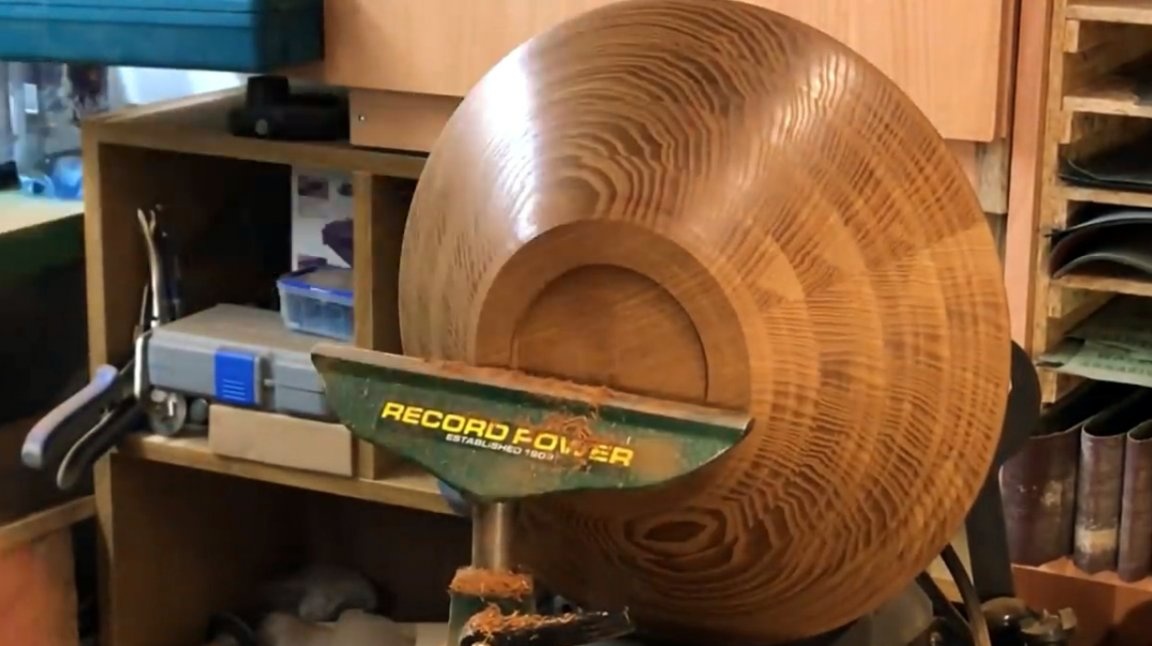
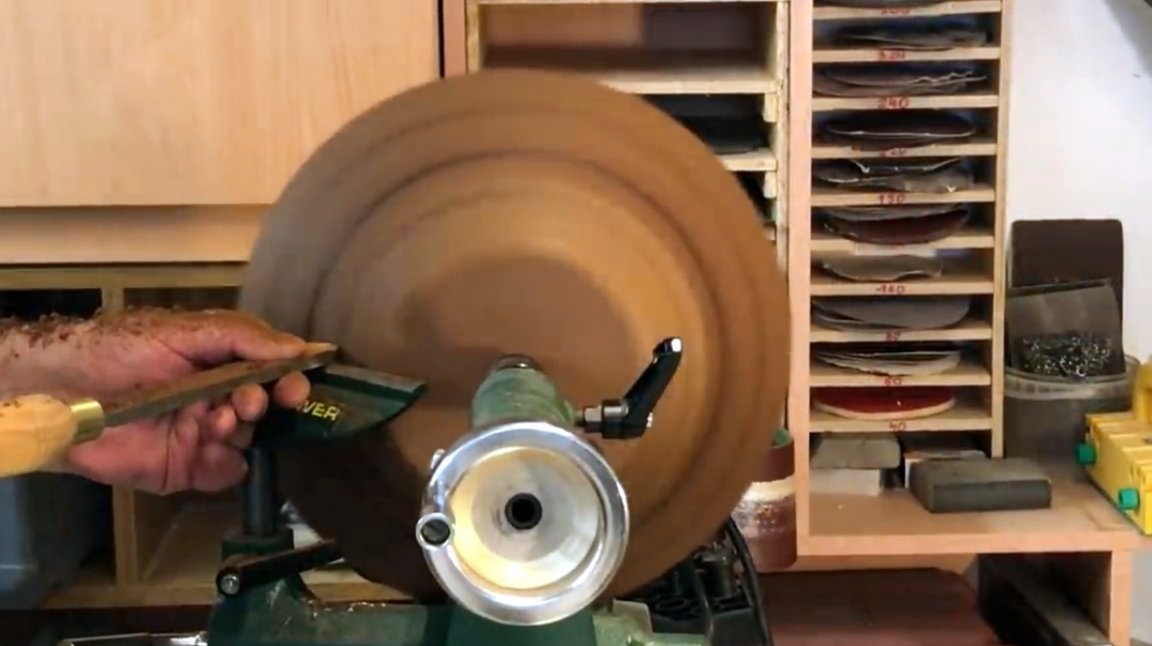
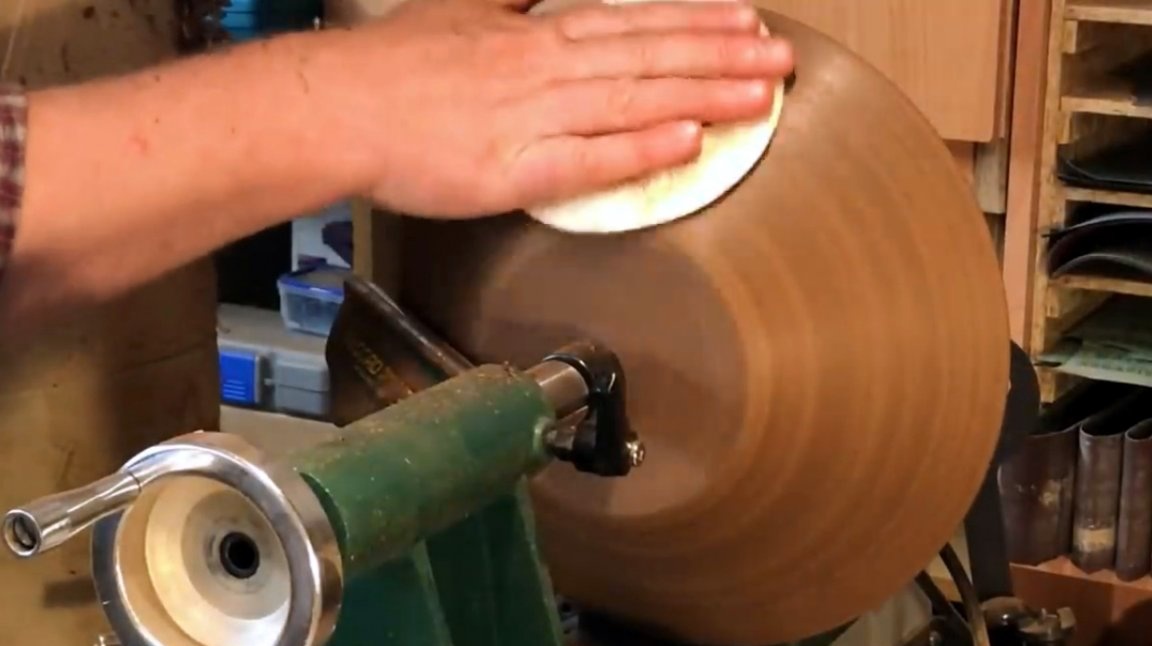
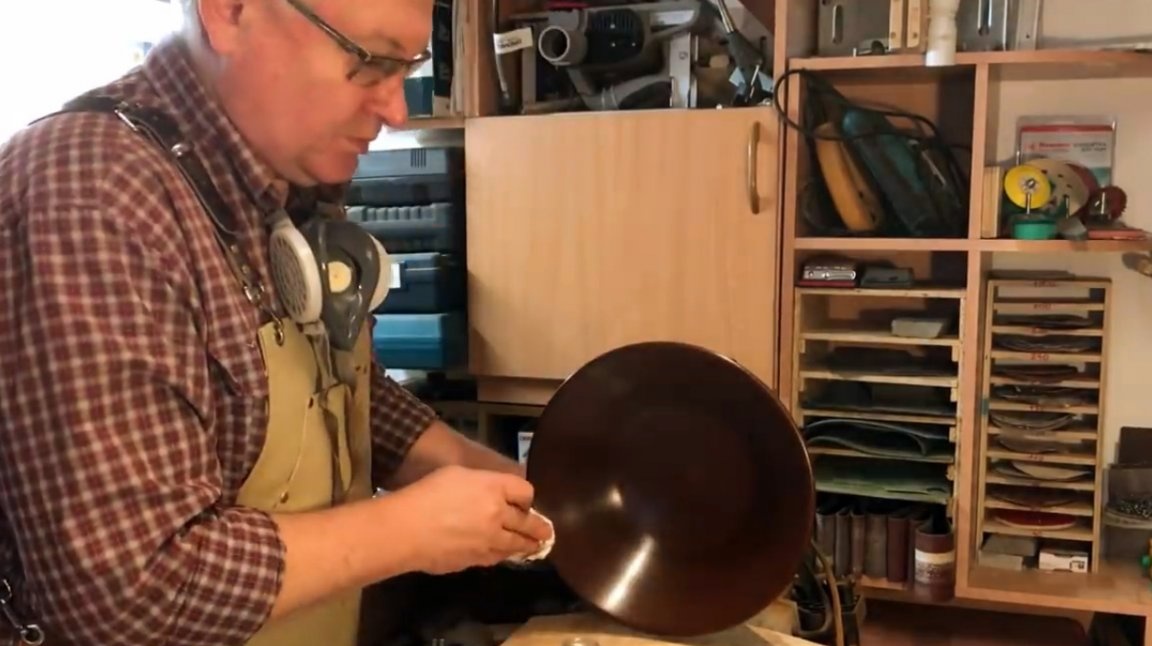
All the outer surfaces of the plate are ground, polished, and rubbed with linseed oil.
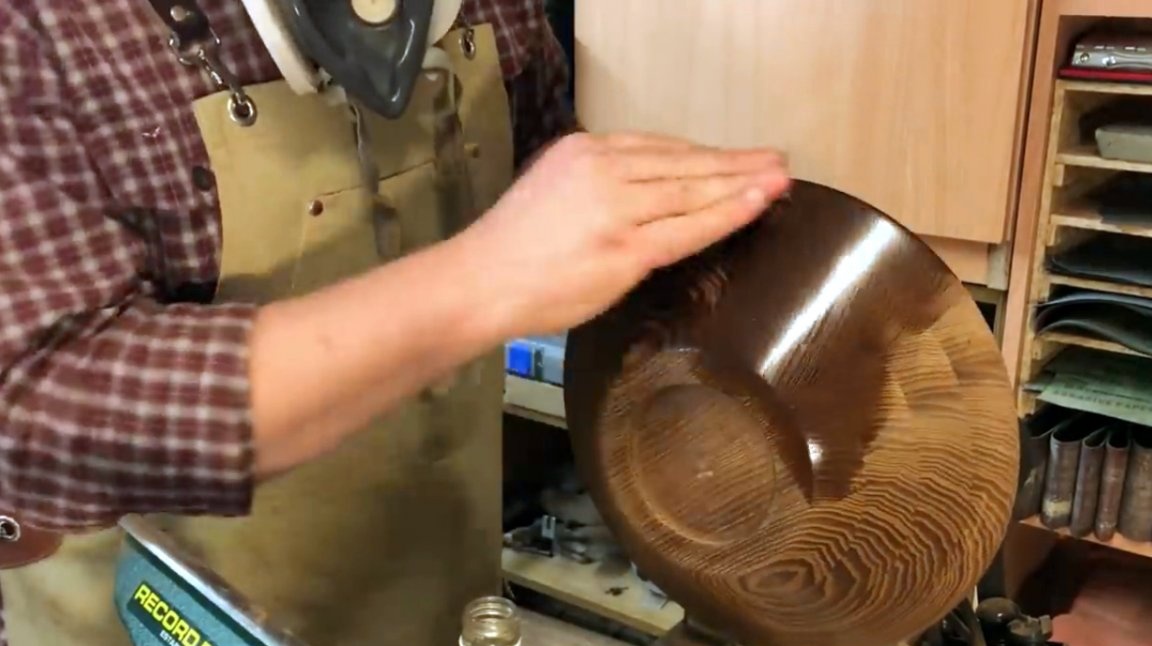
The author was mistaken with the diameter of the groove under the cartridge, and he had to slightly expand it.
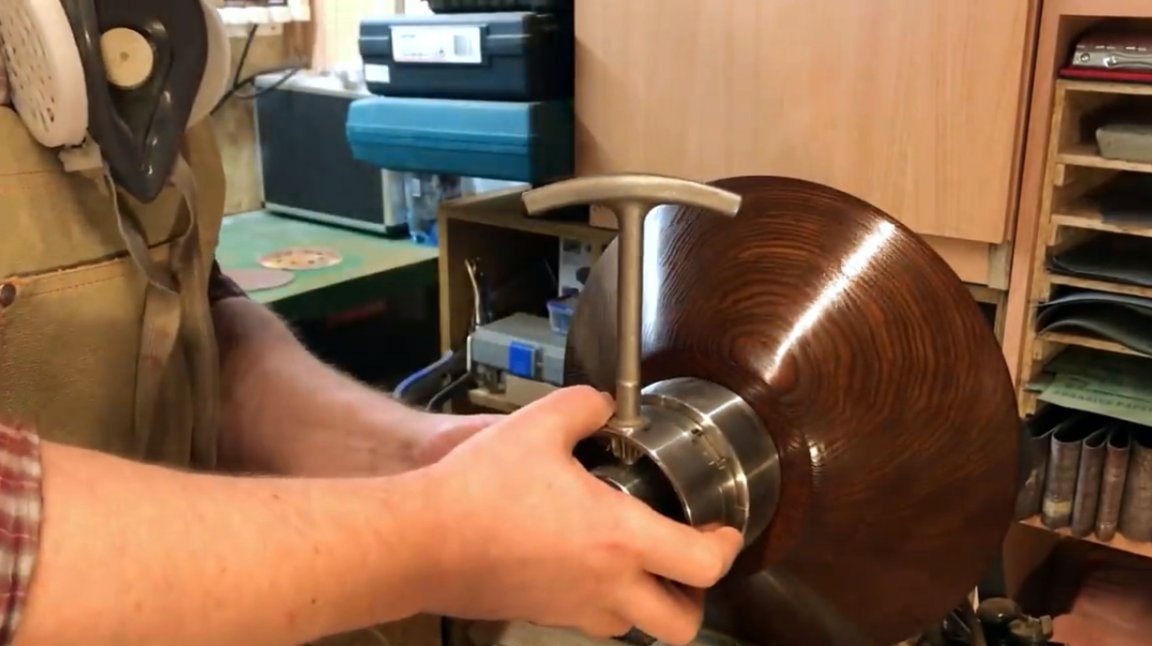
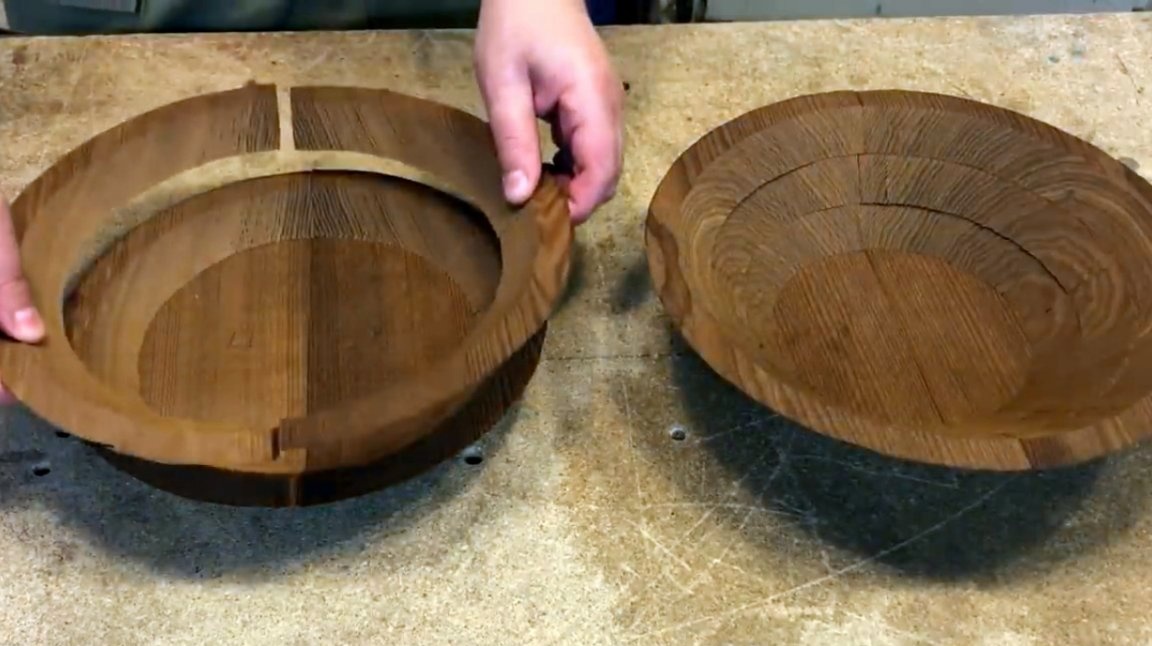
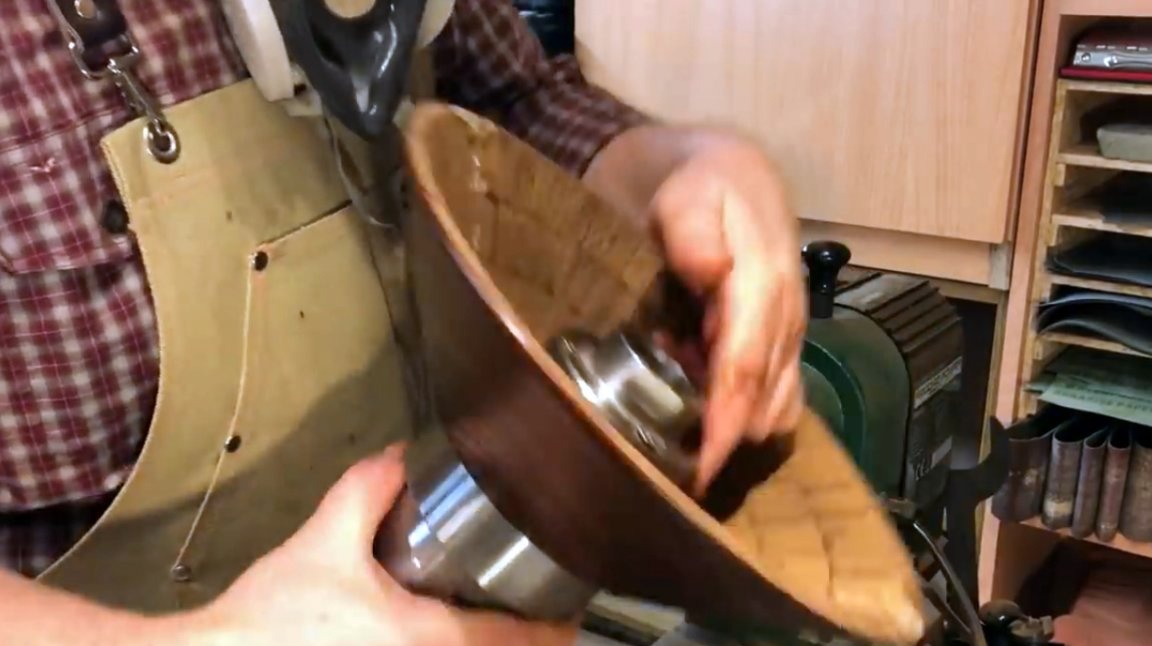
The workpiece is turned over and the lined faceplate is removed.
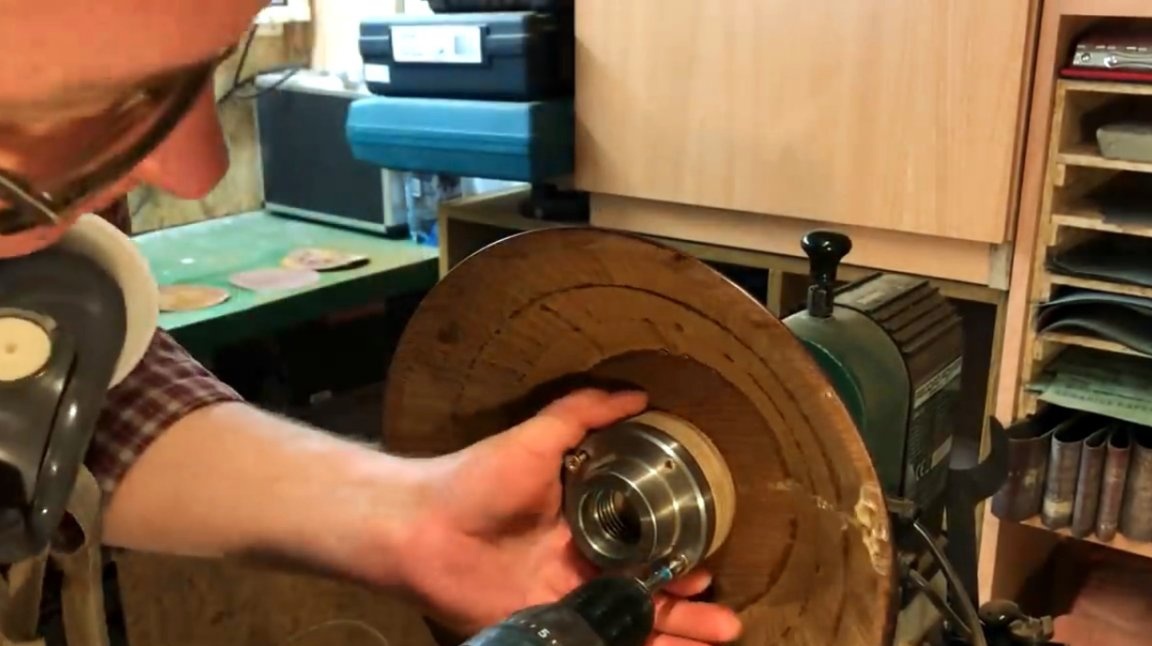
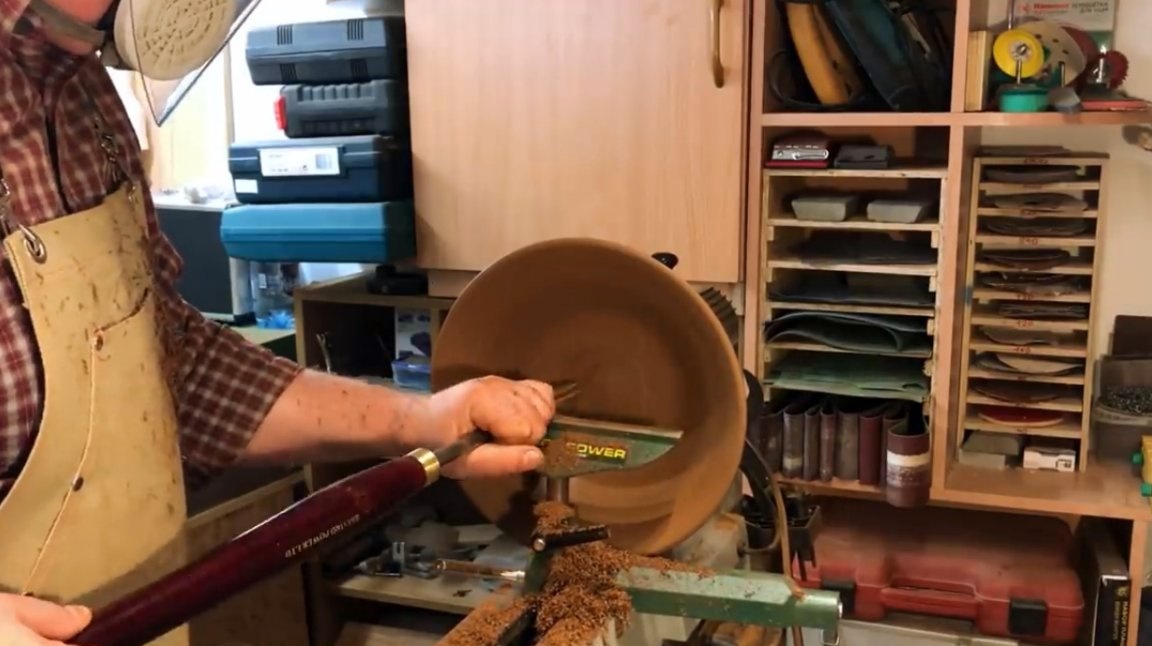
Until the walls are turned on the inside, it is necessary to additionally press the product with the back headstock with lining.
Now the walls have the same thickness and the product is balanced. You can grind the bottom until the holes remaining from the screws are removed.

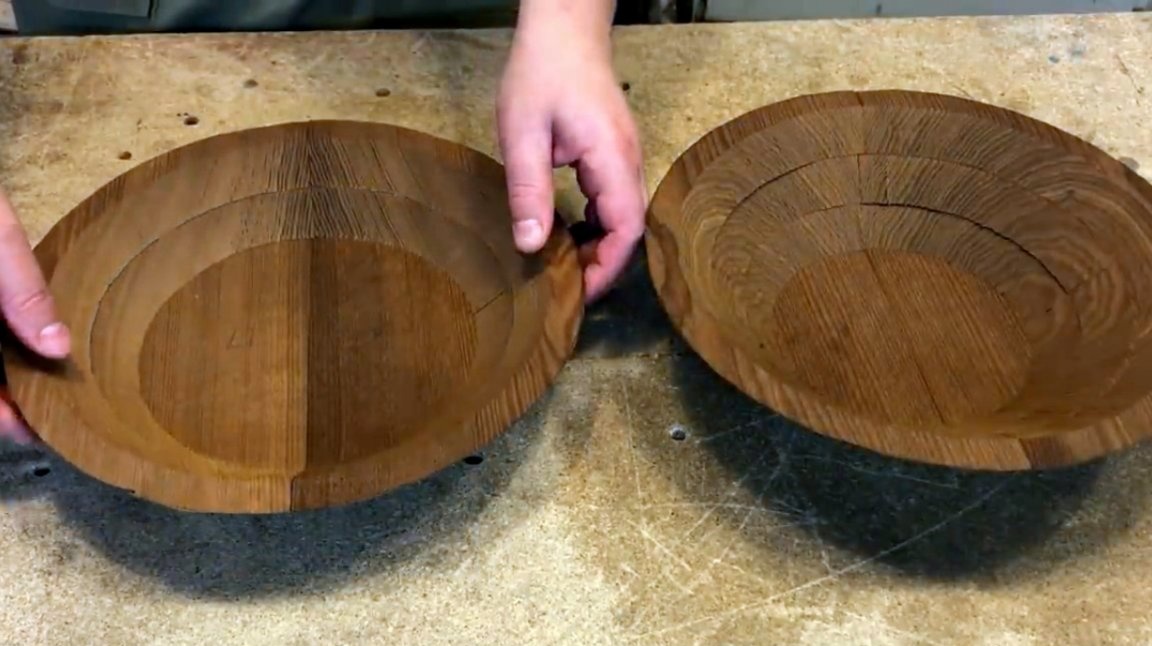
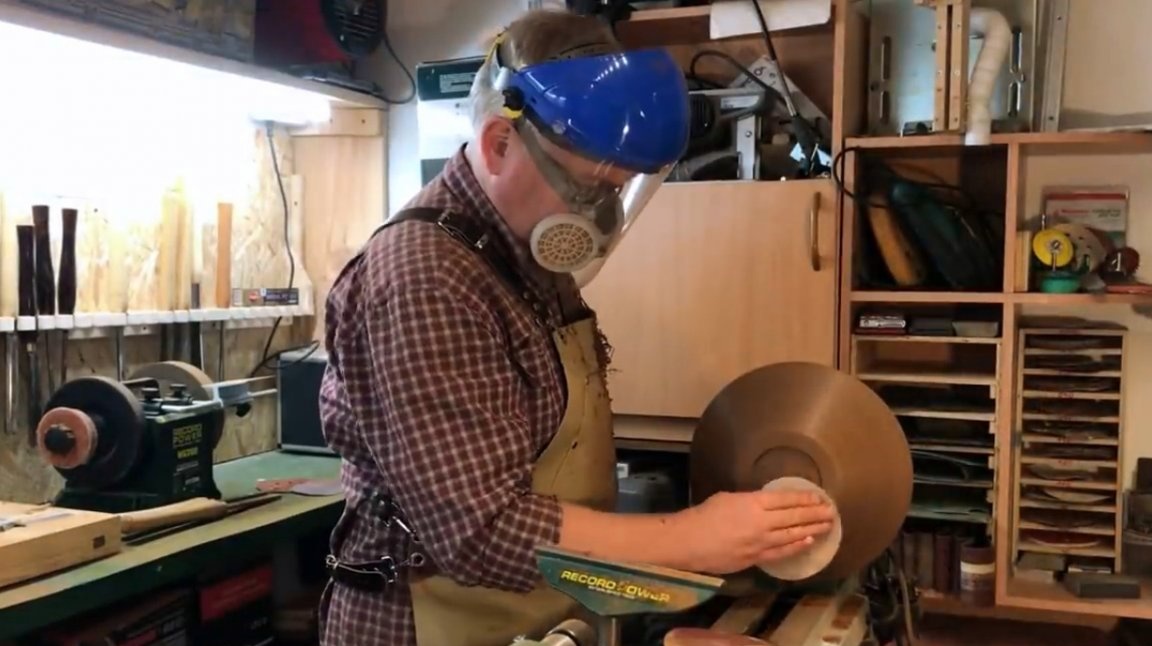
Almost everything is ready, standard grinding of surfaces follows in the following sequence of sandpaper grit: 80 - 120 - 180 - 240 - 320 - 500.
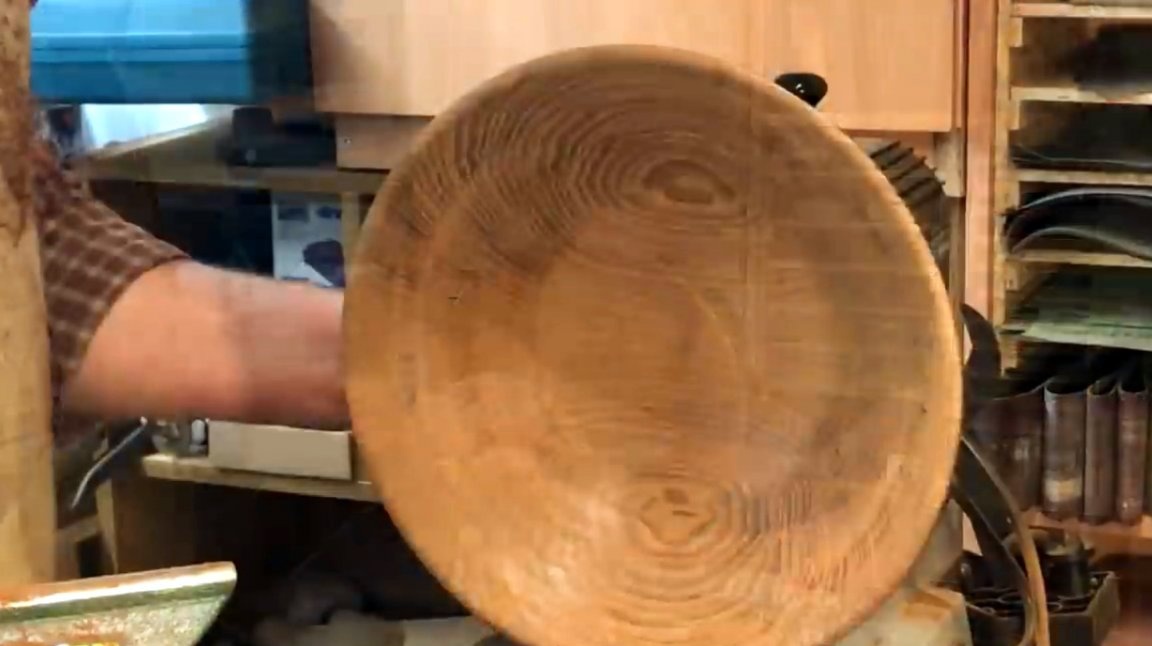
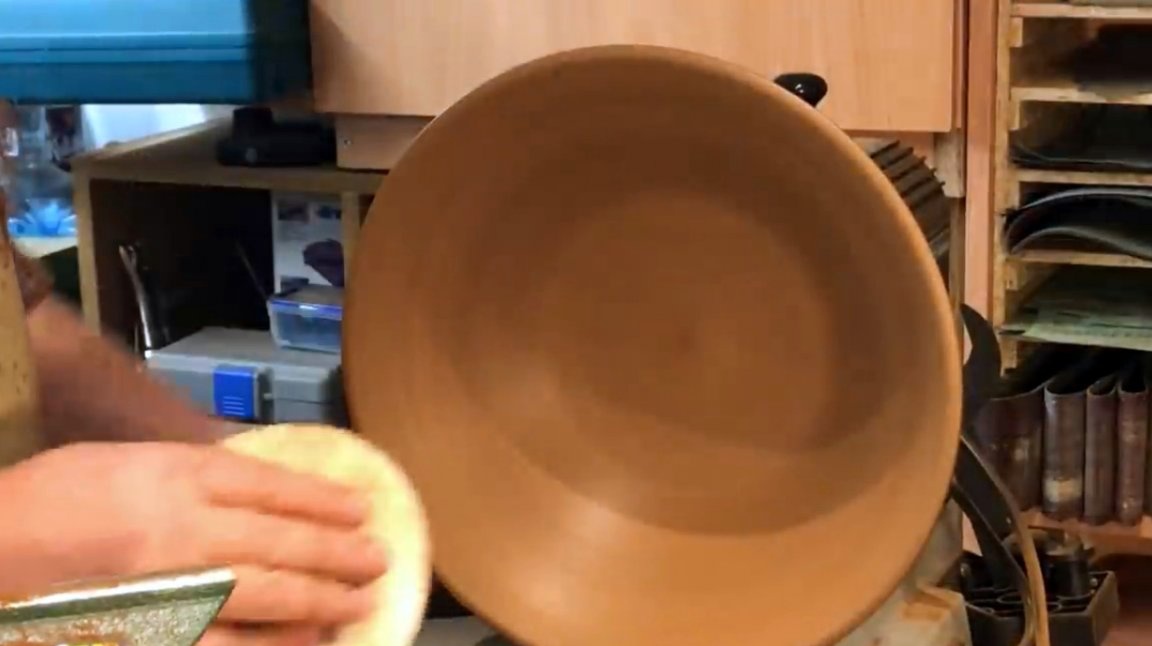
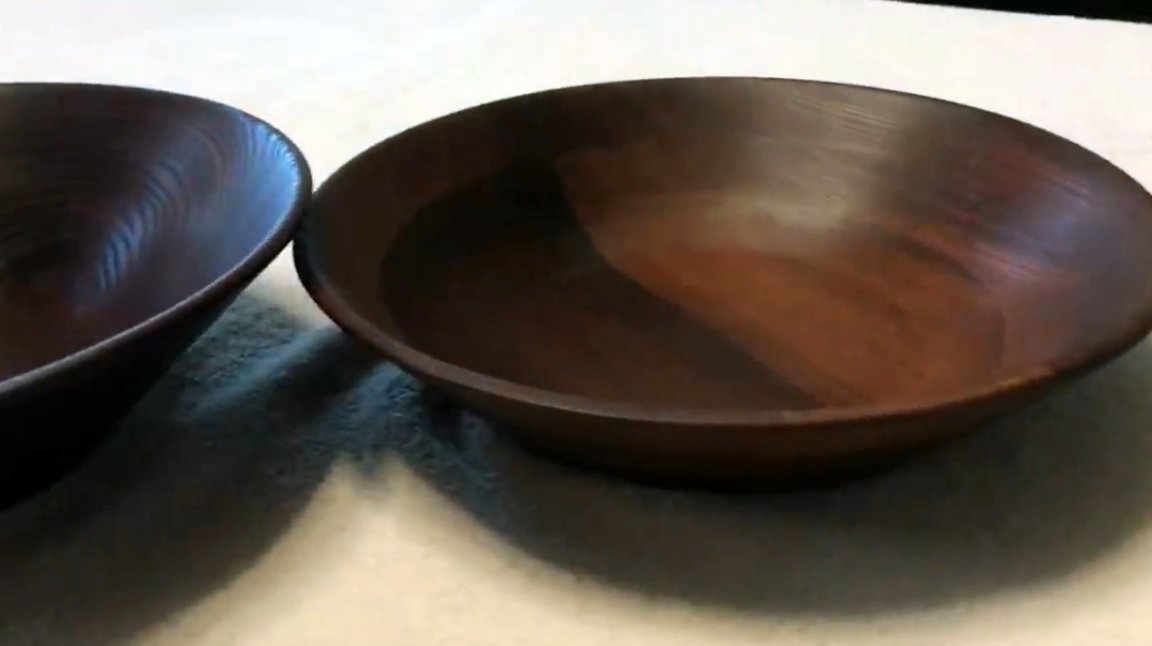
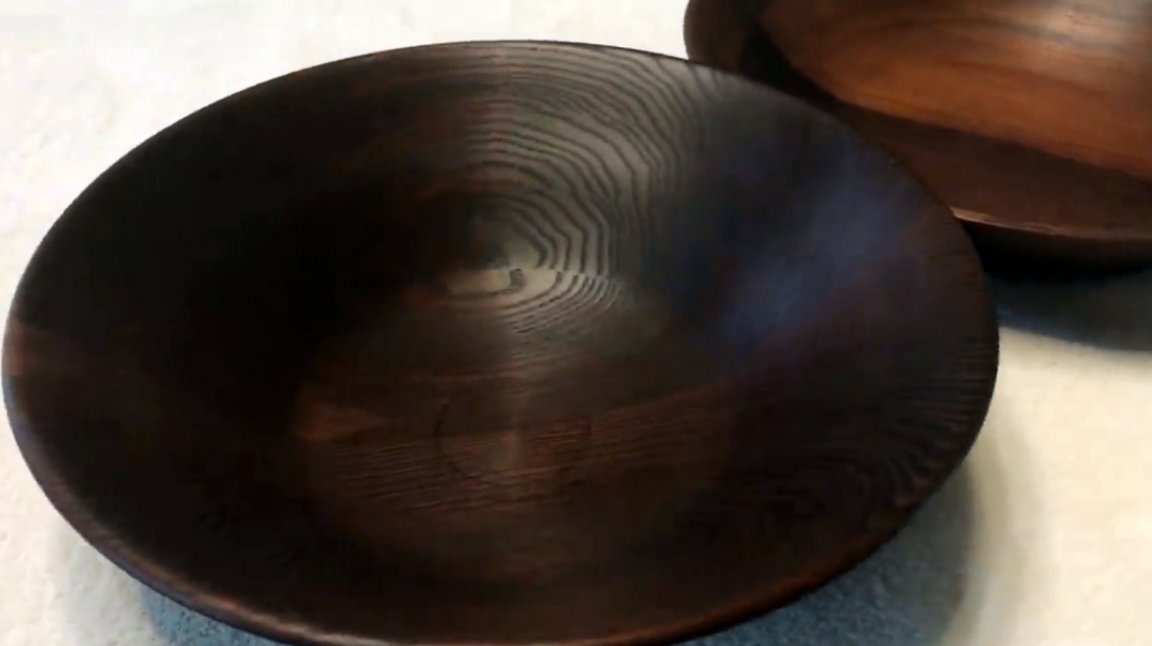
Final oiling, and the plate is ready! Instead of linseed oil, which does not have a very pleasant smell, it is better to use wax oil, which can be made independently from rosehip oil and natural beeswax. This mixture is absolutely safe in contact with food, and reliably protects wood from moisture. When applying it is worth using a household hair dryer, pre-heating the surface. Apply in several layers.
About the recipe for this impregnation can be found inthis article.
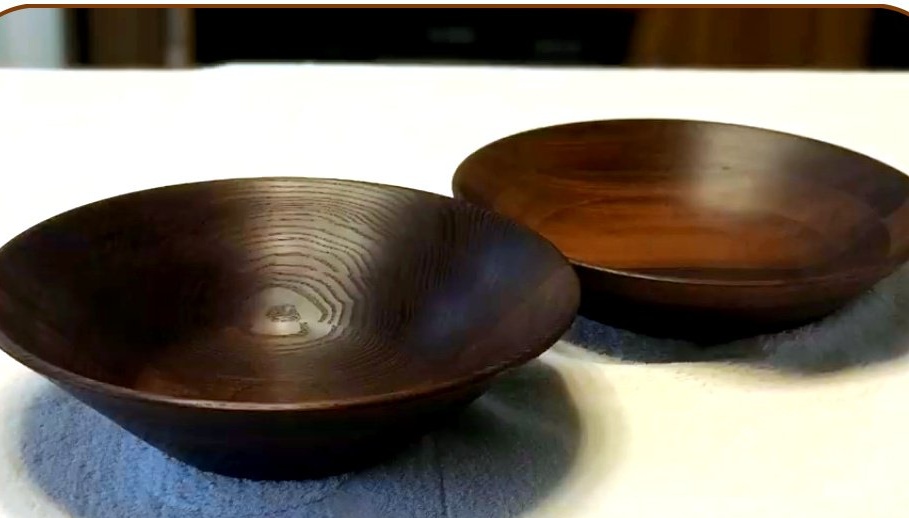
These are the beautiful plates that Mikhail got. They have a fairly dark shade, but this is the natural color of the thermal ash.
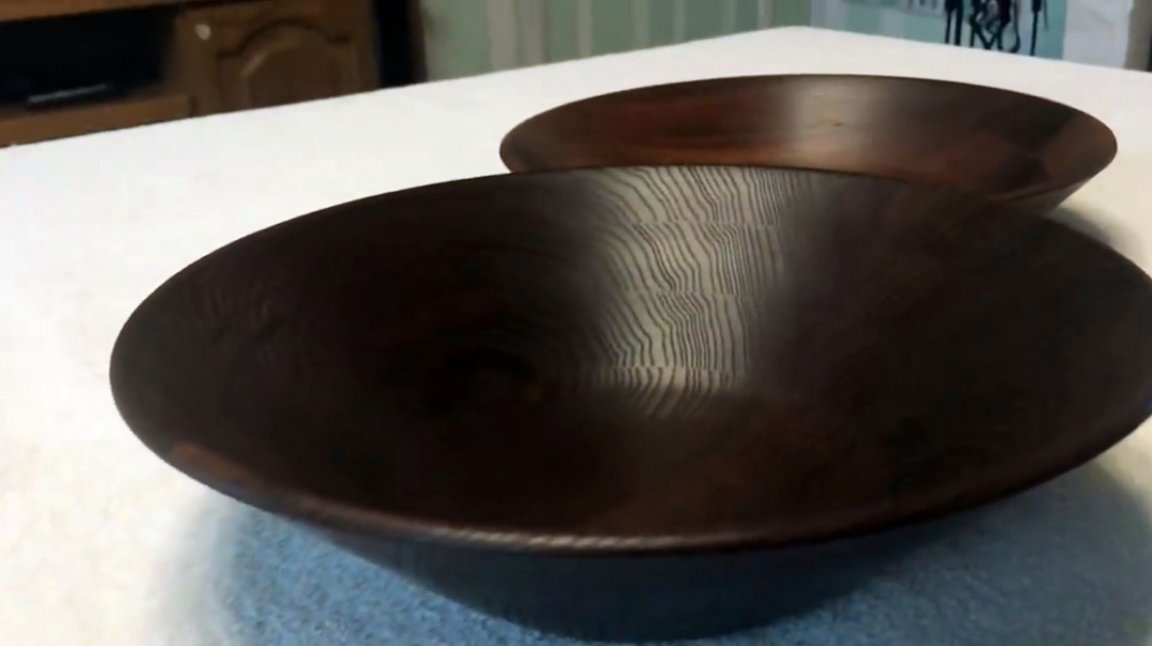

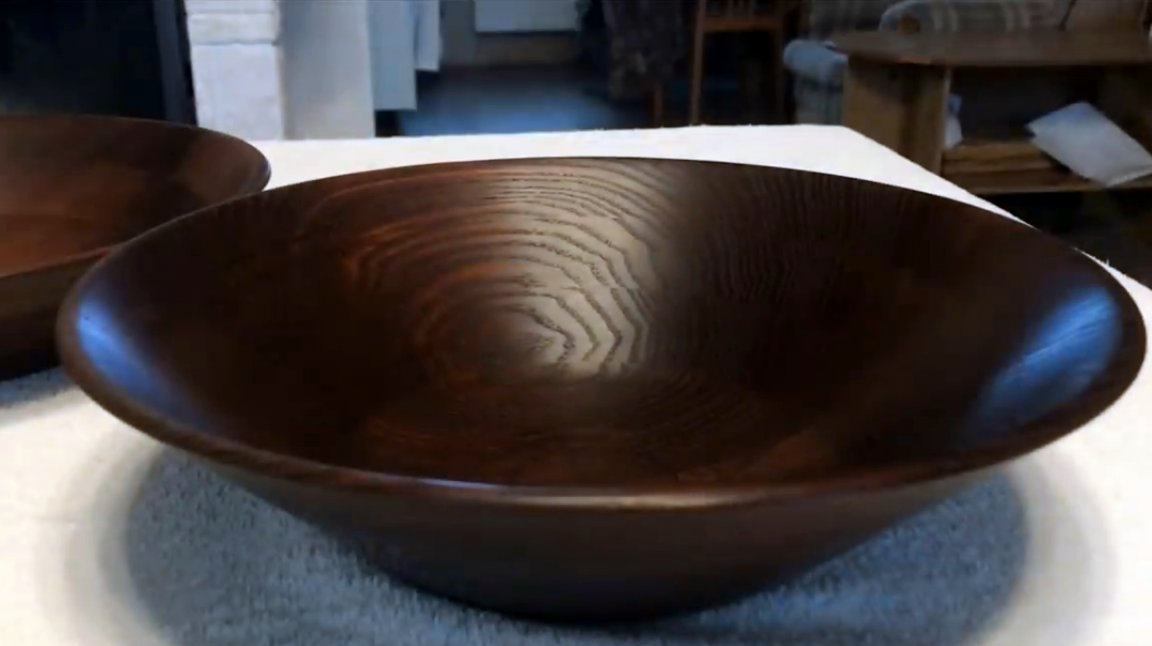
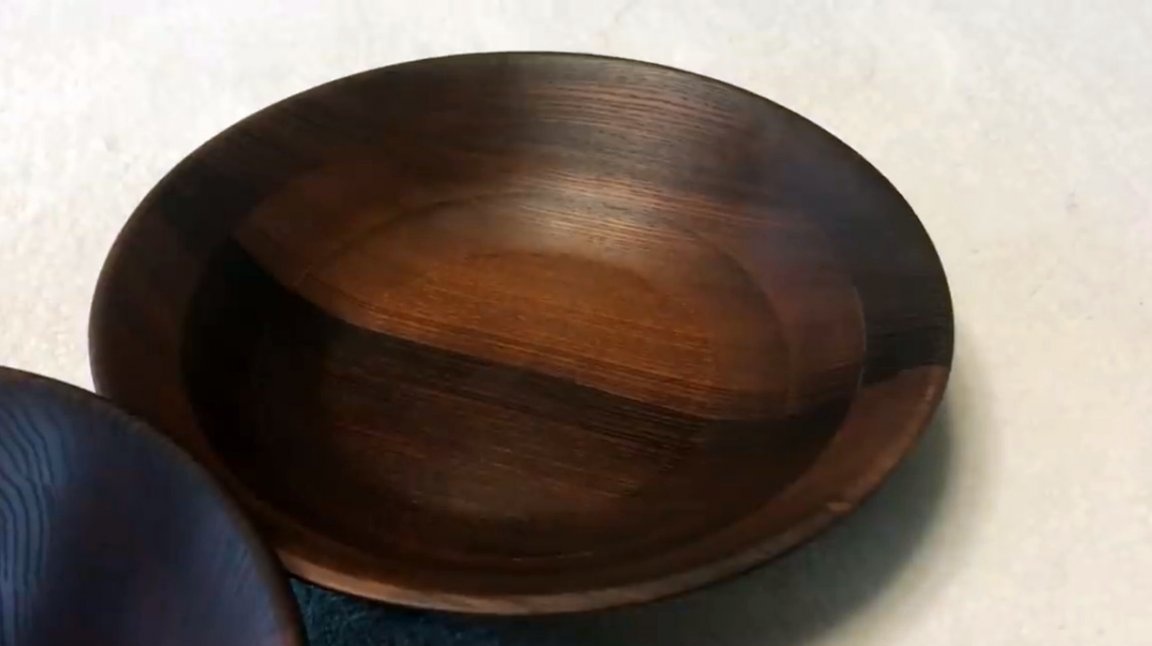
I thank the author for a rather simple but effective technique for saving wood and making plates!
All good mood, good luck, and interesting ideas!
Author video can be found here.