Each of you has knives in the kitchen, and they should be given a special place, if you certainly appreciate their sharpness.
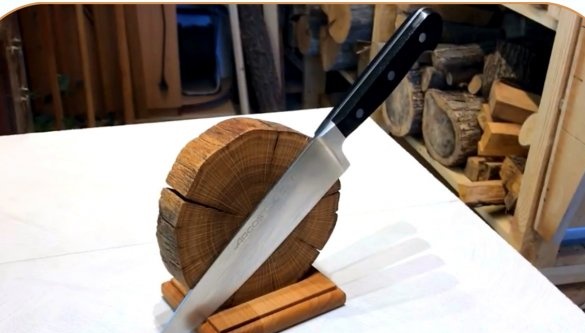
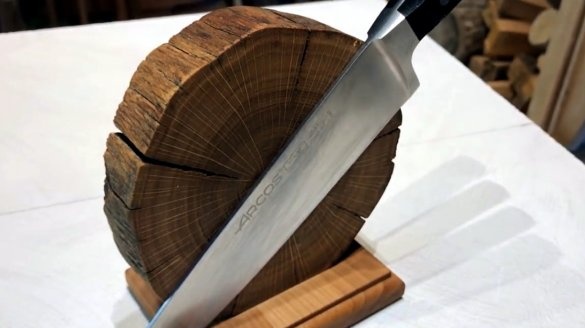
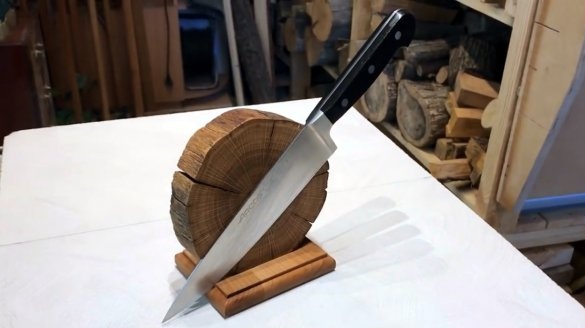
In this article, the author of the YouTube channel “Mikhail Demin” will tell you how he made an unusual magnetic stand from old oak wood.
This homemade product is simple enough to repeat, and it is not necessary to make it perfect.
Materials
- Old oak pillar
- Beech boards
- Dowels
— Neodymium magnets
- Sandpaper
- PVA glue
- Double-sided tape.
Instruments, used by the author.
— A circular saw
— Clamps
— Manual frezer
— Orbital sander
— Screwdriver
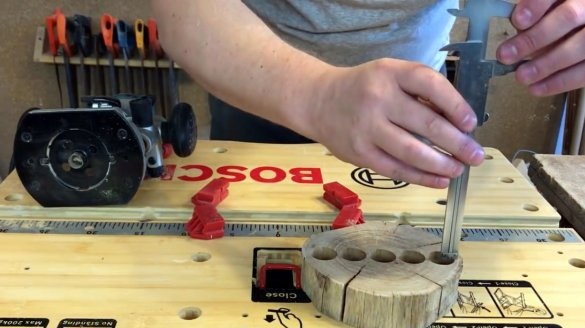
— Electronic caliper
— Digital height and depth meter
- Drilling machine
— Forstner Drills
— Glue gun
— Milling machine
— Radius Mill with Thrust Bearing
- File, awl, ruler, pencil, brush.
Manufacturing process.
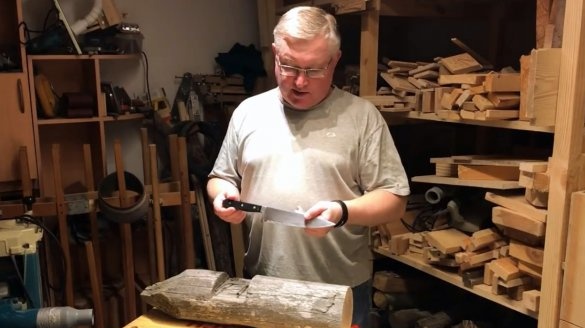
The author very often uses one universal cook knife, and he does not like that his favorite knife is often put together with the others in a drawer, and the knife loses sharpening.
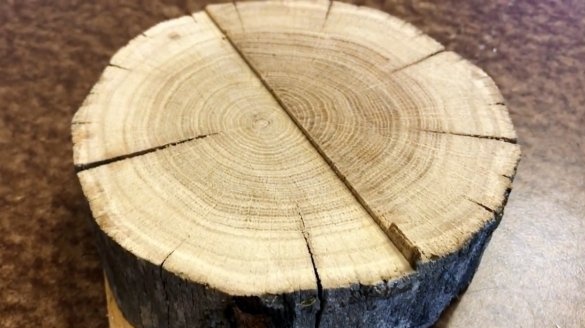
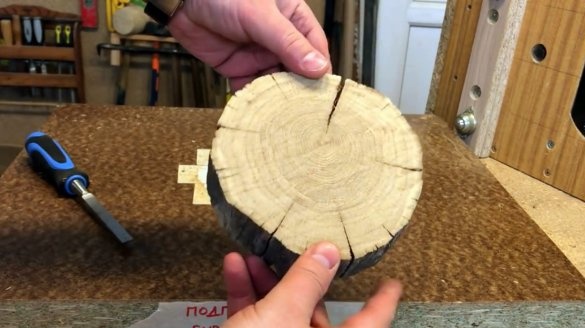
Just recently, Michael sawed off oak poles, which stood in the open for almost two decades. It was precisely such material that he decided to use and make a stand for a knife out of it.
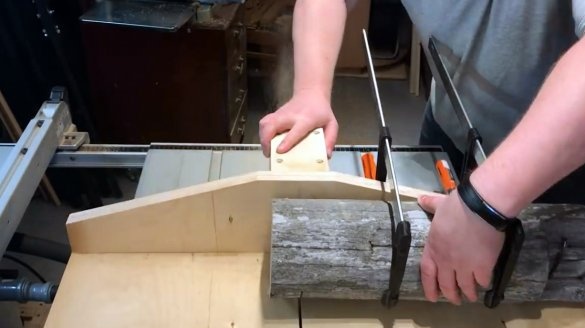
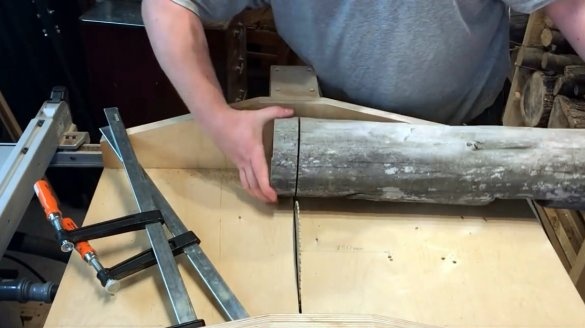
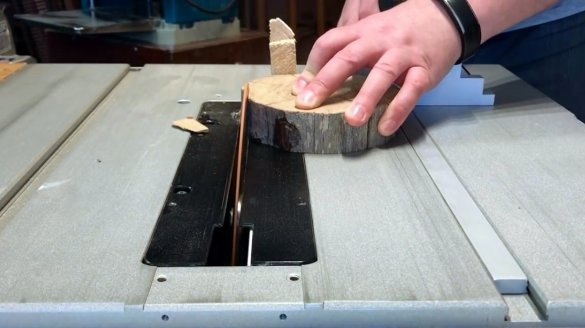
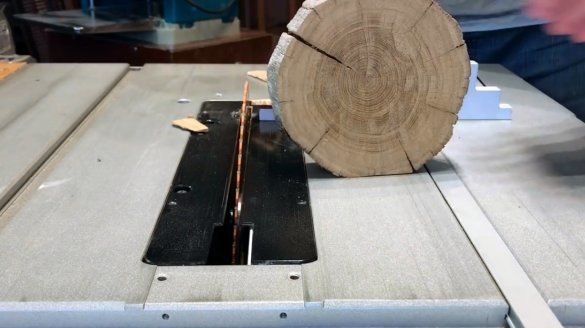
For several passes of the circular saw, gradually raising the saw blade, the master makes a cut on one side of the log, then turns over, and cuts from the second.
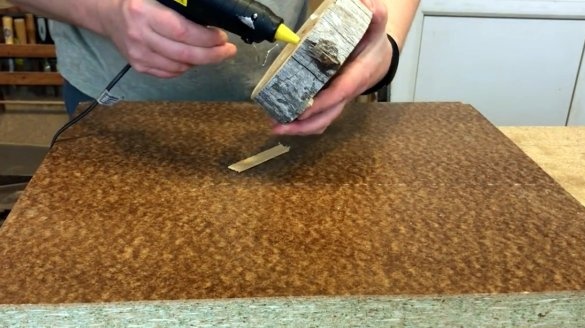
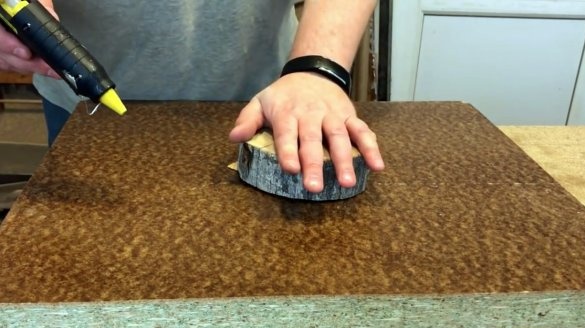
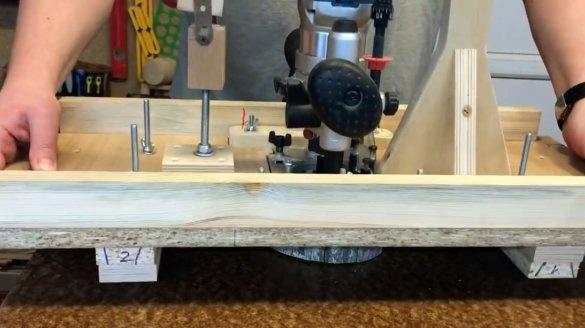
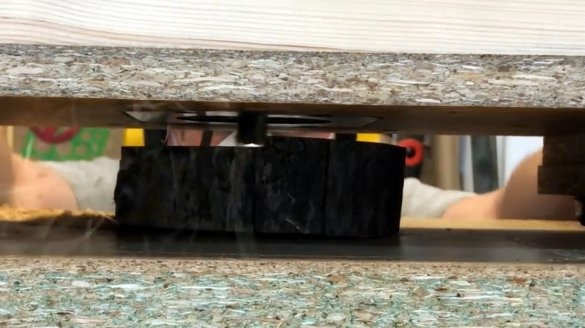
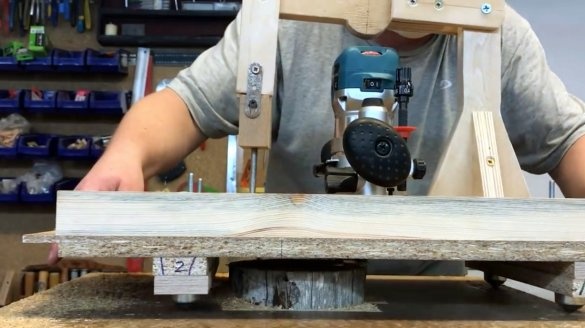
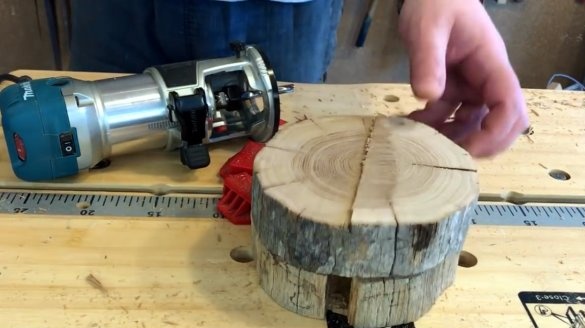
Initially, the end face was fairly even, and if it was worth using the emphasis on the carriage, it would be smoother. In general, the author has a step of about 2 mm. To eliminate it, he fixes the workpiece on a flat surface with hot glue.
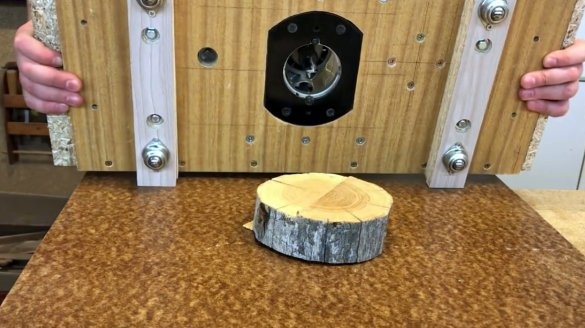
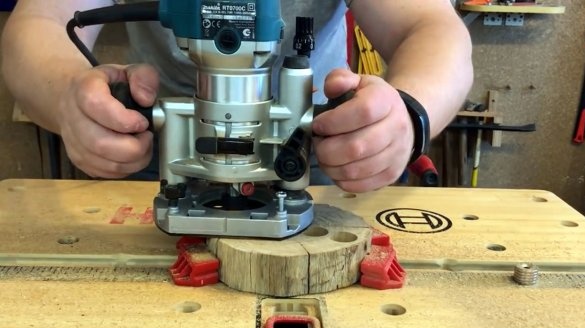
Now, with the help of such a carriage for manual milling, he aligns the upper part of the workpiece.
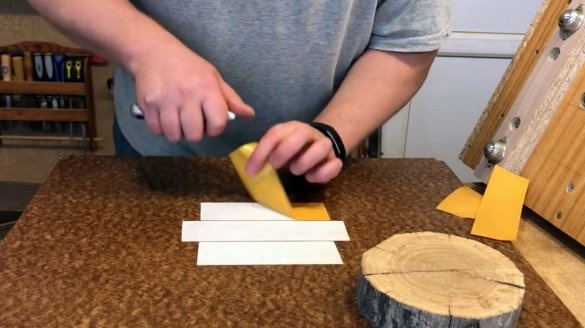
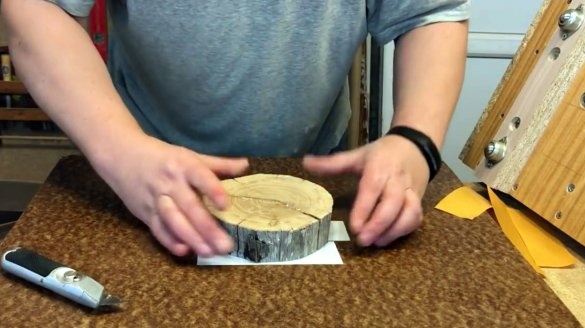
One side is already flat, and it can be attached to the surface of the table with double-sided tape, and then processed in the same way.
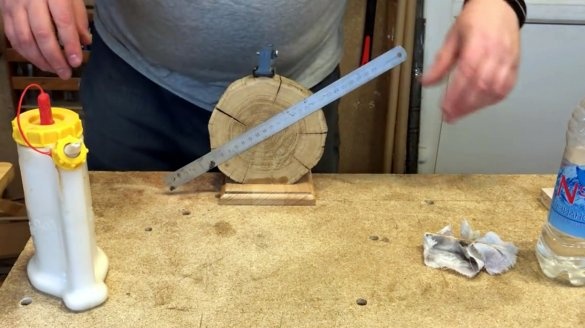
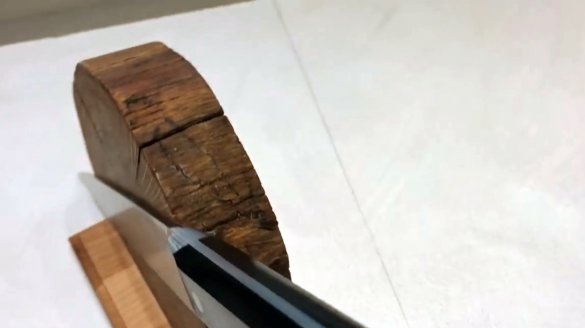
To fix this part of the stand to the base, slightly cut one of its edges. Michael wanted the holder to be slightly inclined relative to the vertical. To do this, he tilts the saw blade at an angle of 5 degrees, and makes an incision.
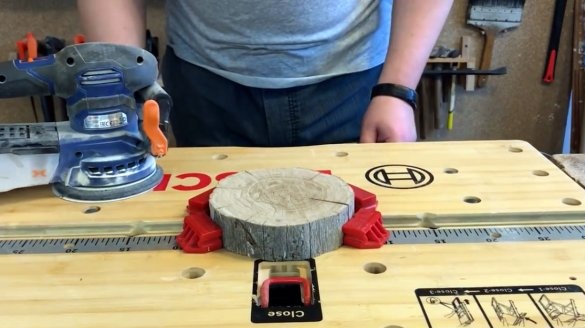
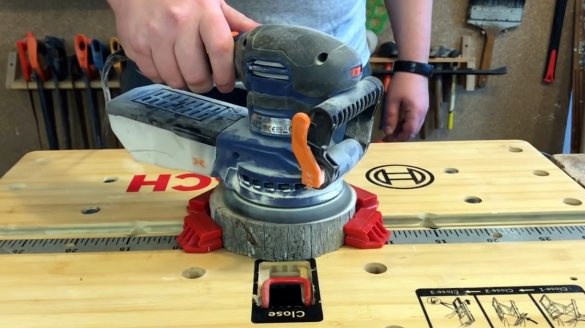
The workpiece is fixed on a workbench, and both of its surfaces are ground by an orbital machine. After that, the external sides are processed with a screwdriver with a brush nozzle.
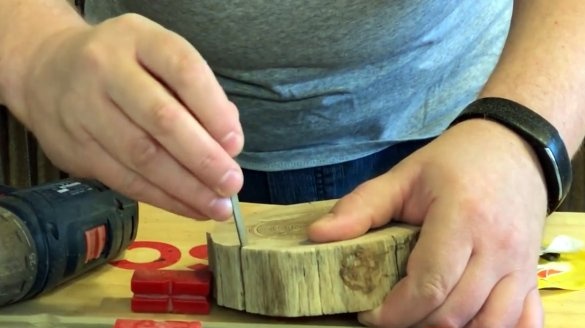
Cracks are cleaned of dirt and chips with a file, and sanded with sandpaper.
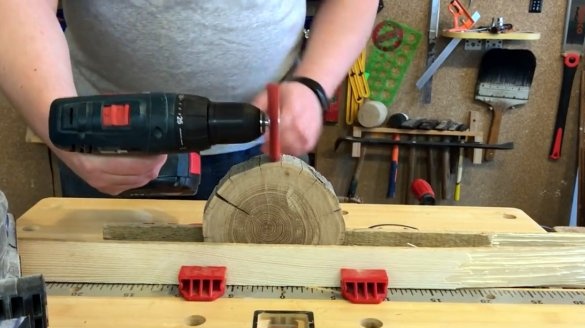
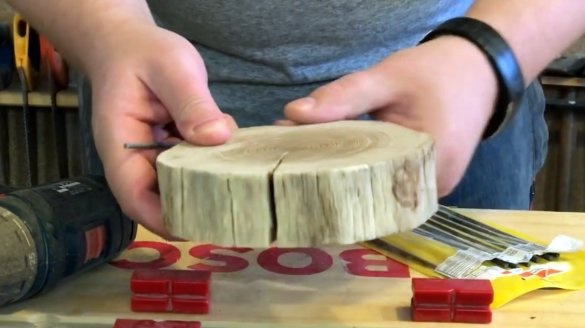
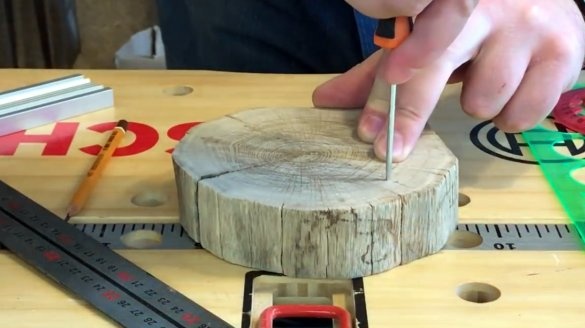
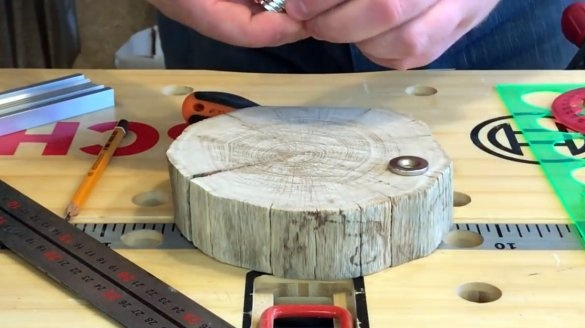
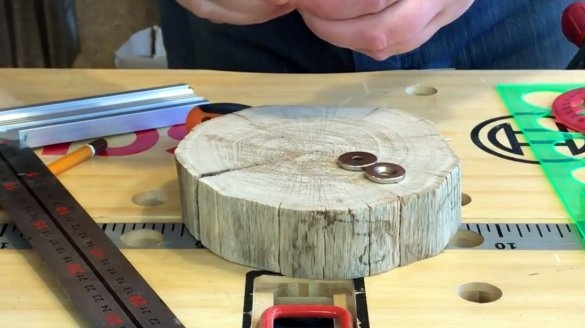
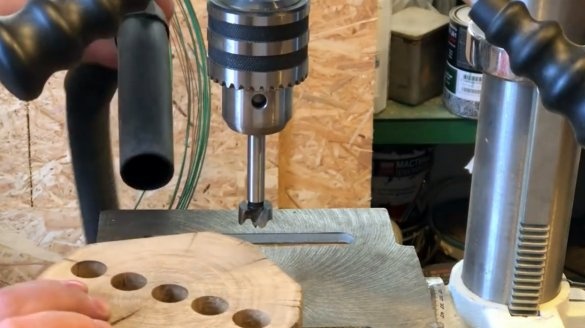
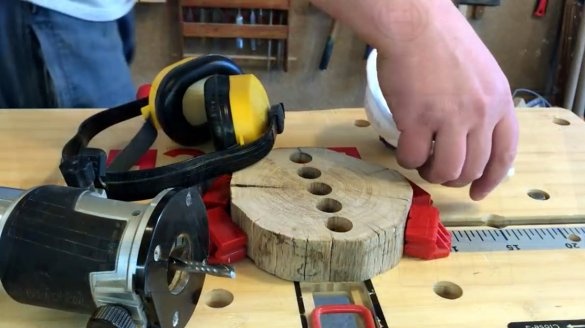
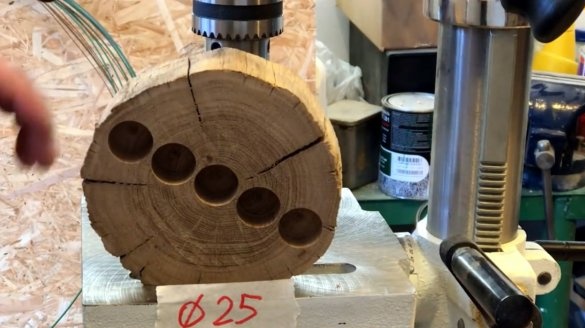
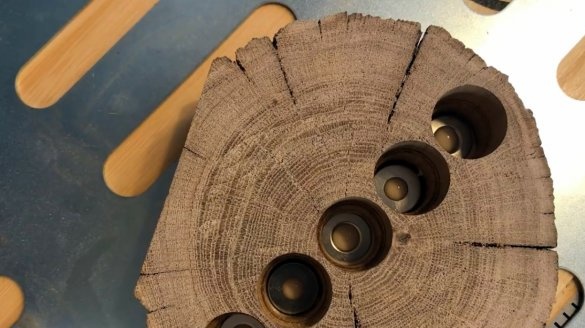
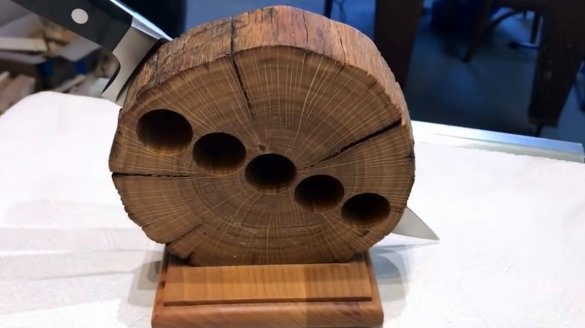
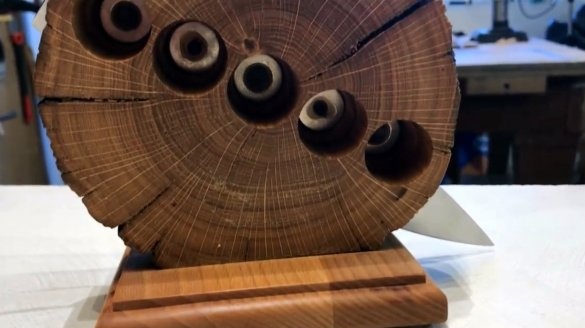
The first part of the holder is processed, now it is necessary to fix ring neodymium magnets with a diameter of 20 mm in it. Michael marks the drilling points with an awl.
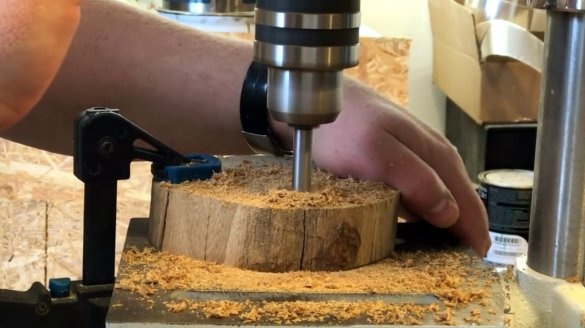
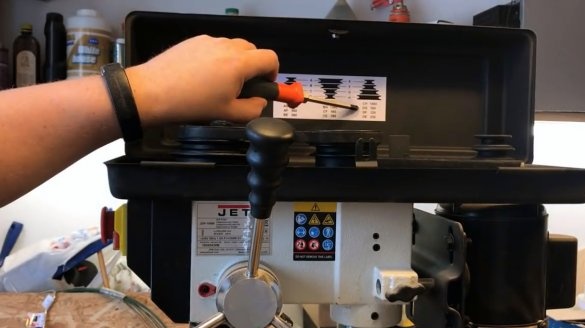
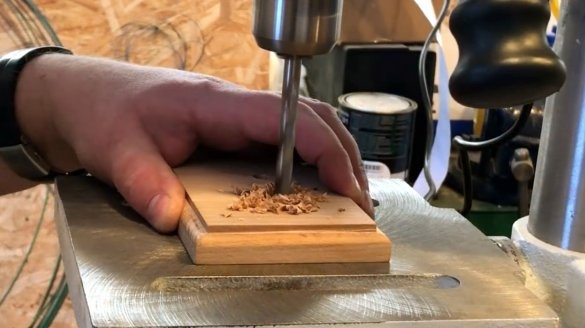
When drilling holes in the workpiece, a Forstner drill went smoke. A small mistake came out, the machine was set to revolutions of 1500 rpm, the author reduces them to 560.
In order for the magnets to hold the knife securely, it is necessary to make the distance between them and the holder surface minimal. However, the Forstner drill does not allow this, since it has a centering spike.
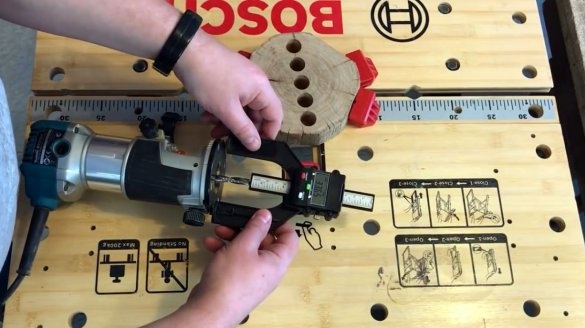
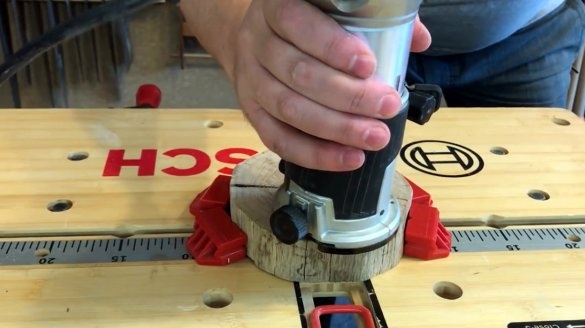
With help digital milling cutter the master sets the desired distance with the expectation that 2-3 mm of wood remains to the surface. By the way, this device can measure not only the milling cutter, but also the height of the saw blade, as well as the depth of the groove or hole made.
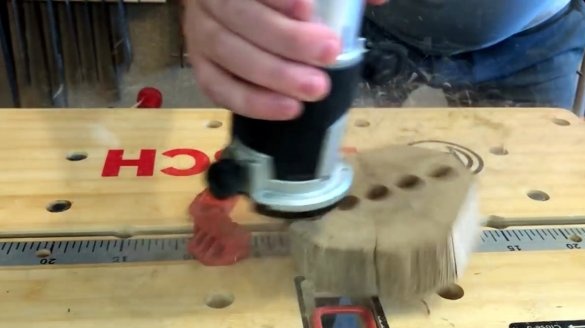
With this method of milling without a limiter, attempts to deepen the hole led to jamming of the cutter and destruction of part of the workpiece.
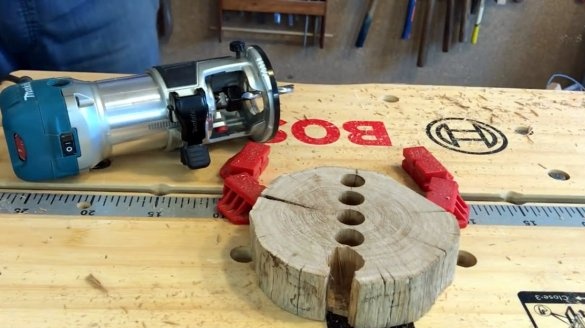
The master repeated the manufacturing process of this part, but now he drilled holes with a diameter of 25 mm.
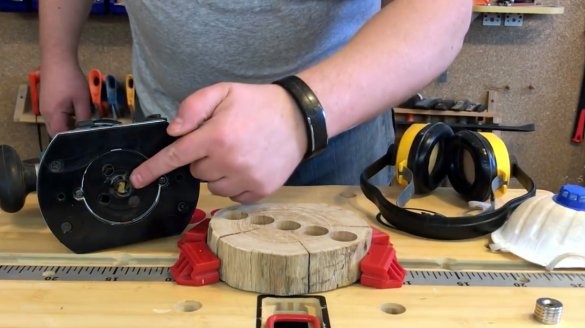
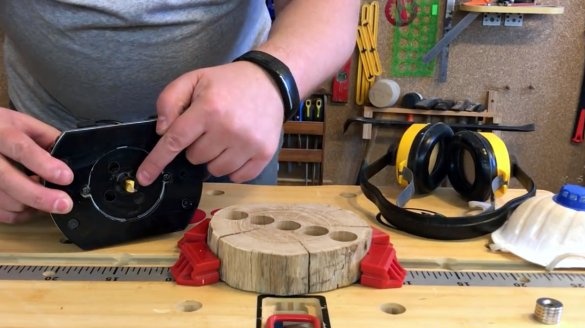
I installed a copy sleeve on the milling cutter, which slightly pushes the cutter 2 mm from the edge of the hole. The result is another inner recess with a diameter of 21 mm. This is 1 mm larger than the diameter of the magnet, but it is not critical at all.
As a result, the thickness between the magnet and the surface will be 2 mm of wood.
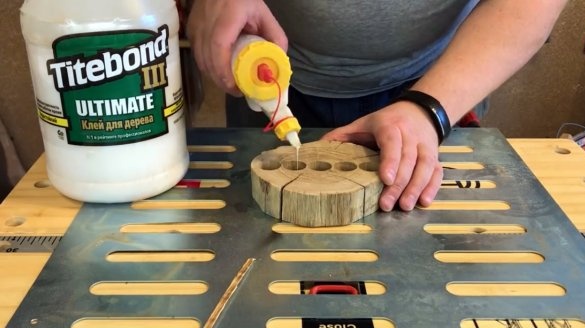
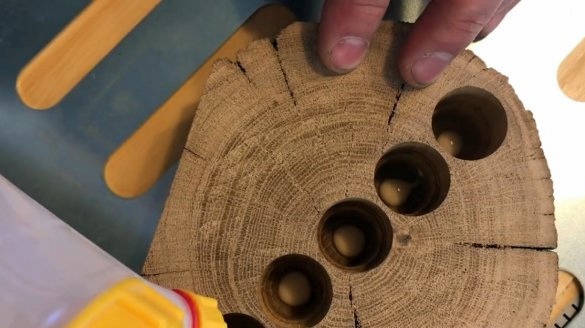
To fix the magnets, it would be possible to fill them with epoxy, but the master decided to attach them using ordinary PVA. After all, there will not be loads on the gap.
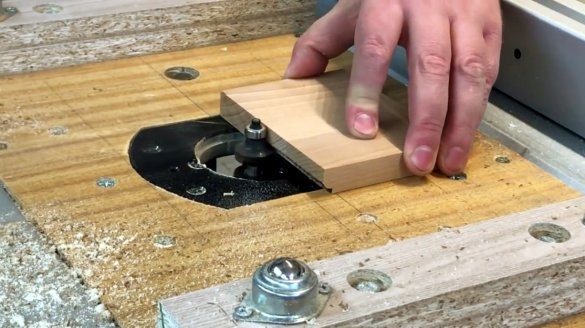
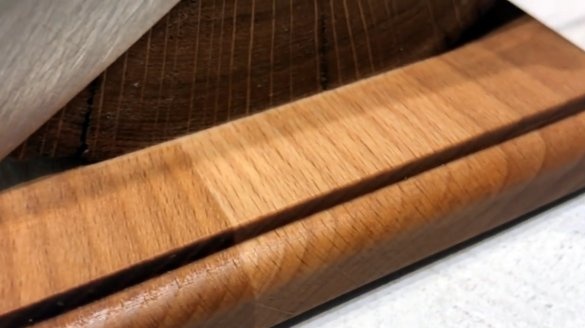
For the base, such a piece is selected, glued from beech boards. Its edges are milled by a radius mill with a thrust bearing.
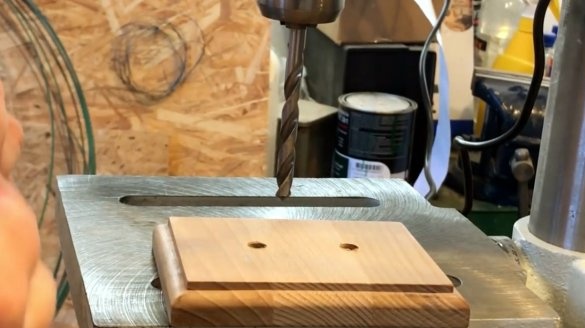
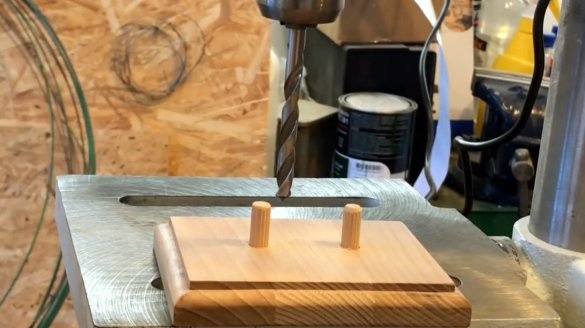
Two holes for dowels are made in the upper part of the base.
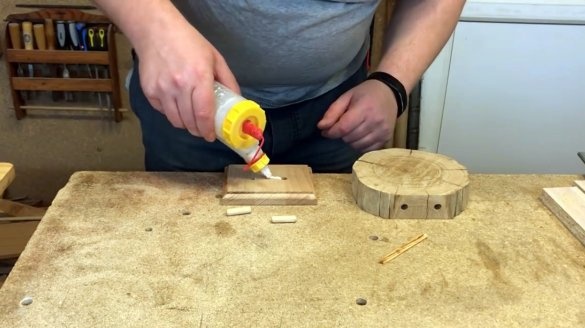
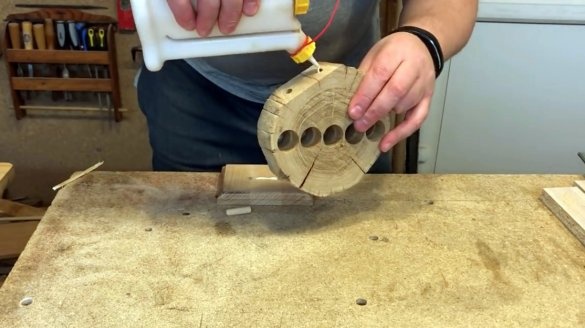
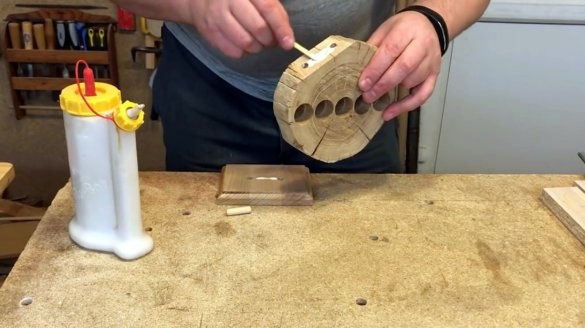
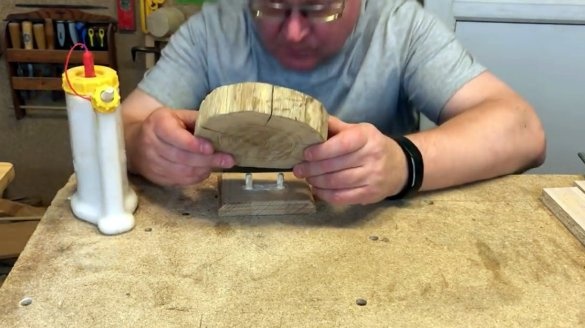
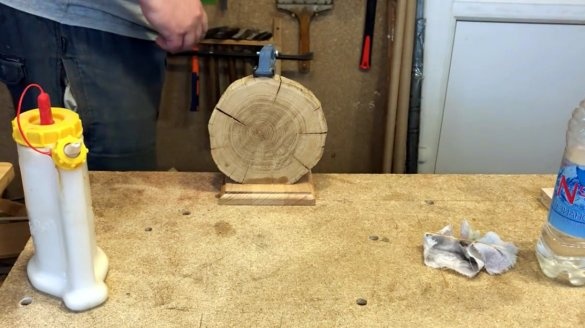
Then, glueing dowels and holes with glue, both parts are interconnected.
While the glue is drying, it is better to fix the product with a clamp.
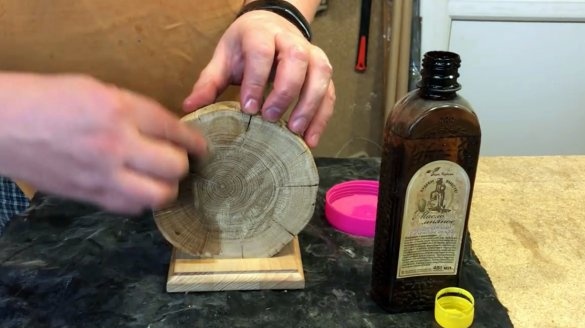
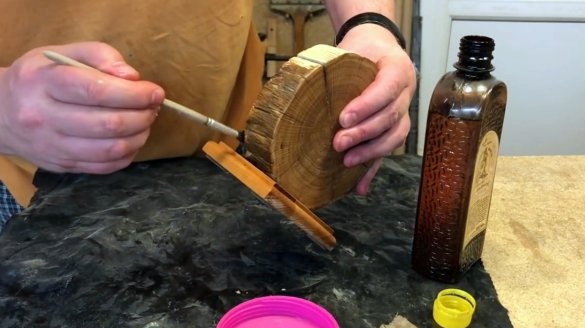
So, the magnetic holder is almost ready, it remains only to cover all its surfaces with linseed oil, and leave to soak. After some time, the oil must be reapplied.
As I have said many times, linseed oil does not have a very pleasant smell; it is better to cover wooden kitchen items with a mixture of natural beeswax and rosehip oil. About the preparation of this impregnation was described inthis article.
A feature of the use of wax oil is the heating of the treated wood to the melting point of the wax. This topcoat has a very high moisture barrier and is completely harmless in contact with food. In addition, it is odorless.
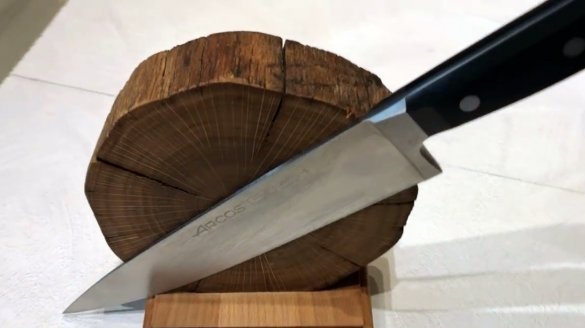
This is the kind of beauty that Mikhail got.
You can fix several of these holders not on the base, but directly on the wall, so it will also be very interesting. The base itself can also be made from half of such a cut, or other untreated part of the wood.
In addition, it is possible to install magnets in it not in one line, but on the entire surface, then even a small cut can accommodate several small knives at once.
I thank the author for a simple, but useful and aesthetic device for kitchen!
If you have interesting homemade products, share them on this site. Here you will get a real reward, not a “bunch of green stuff" at the entertainment forum.
All good mood, good luck, and interesting ideas!
Author video can be found here.

