
In this article, John, the creator of the Woodworking Tips and Tricks YouTube channel, will tell you how to quickly and reliably strengthen your furniture drawer and other wooden structures.
This method is very simple, and does not require complete disassembly of structures, or changes in its geometric parameters. Also, this technique does not involve the use of steel reinforcing elements.
Materials
- Hardwood slats
- Sandpaper
- PVA glue.
Instruments, used by the author.
— A circular saw
— Orbital sander
— Battery Neiler
— Clamps, manual planer, mallet.
Manufacturing process.
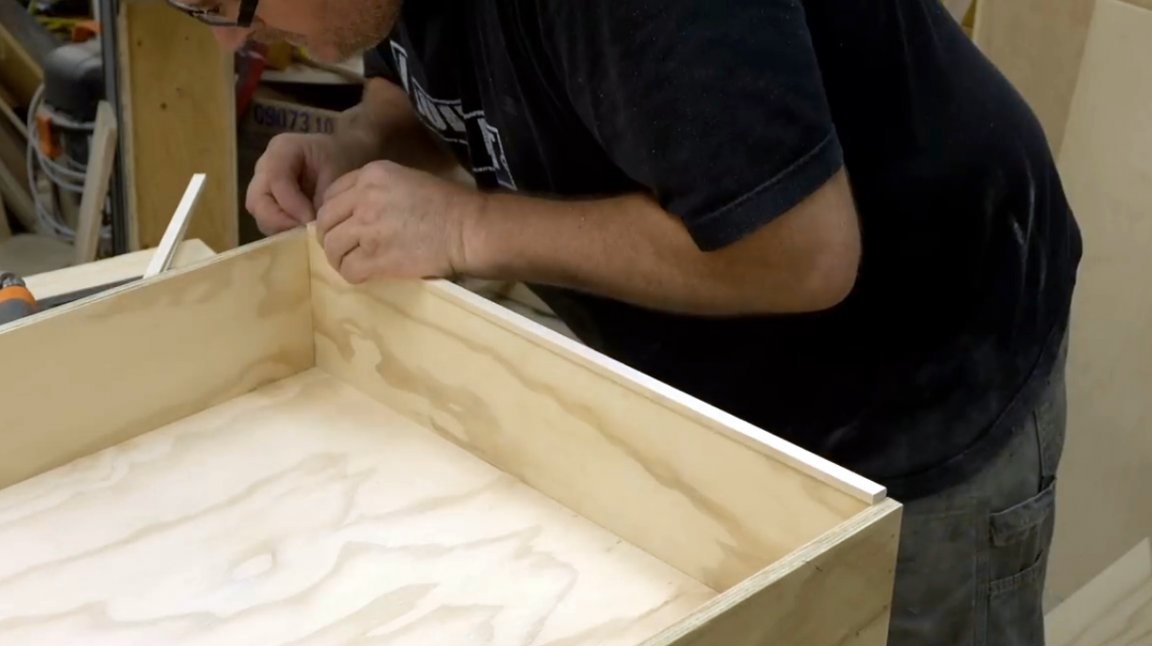
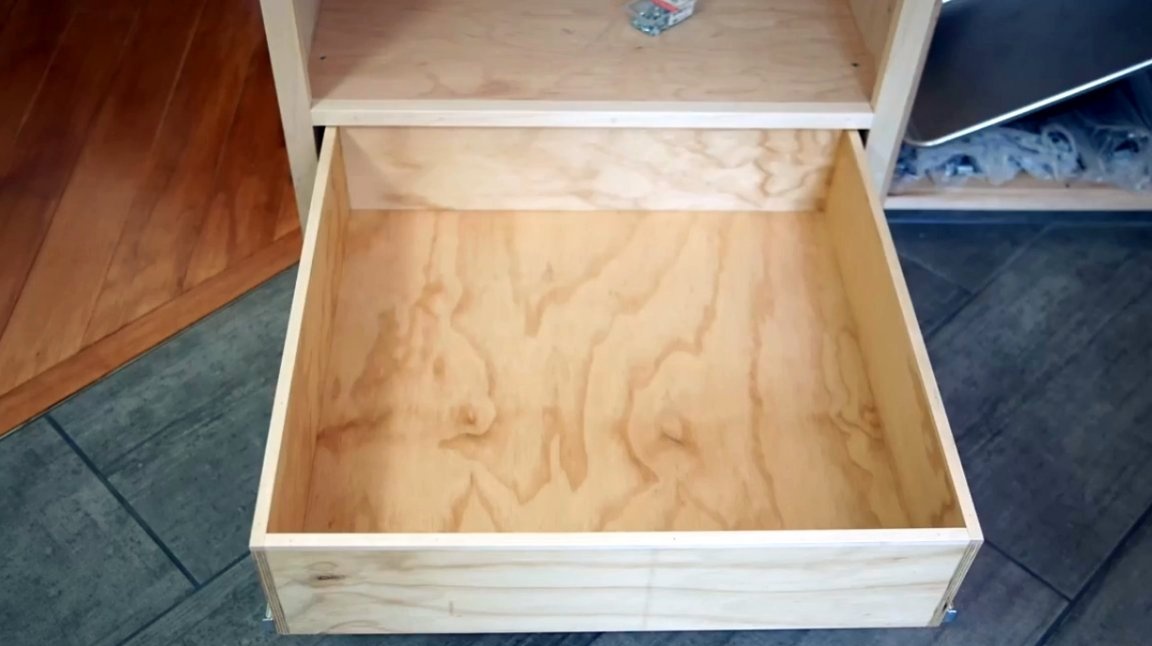
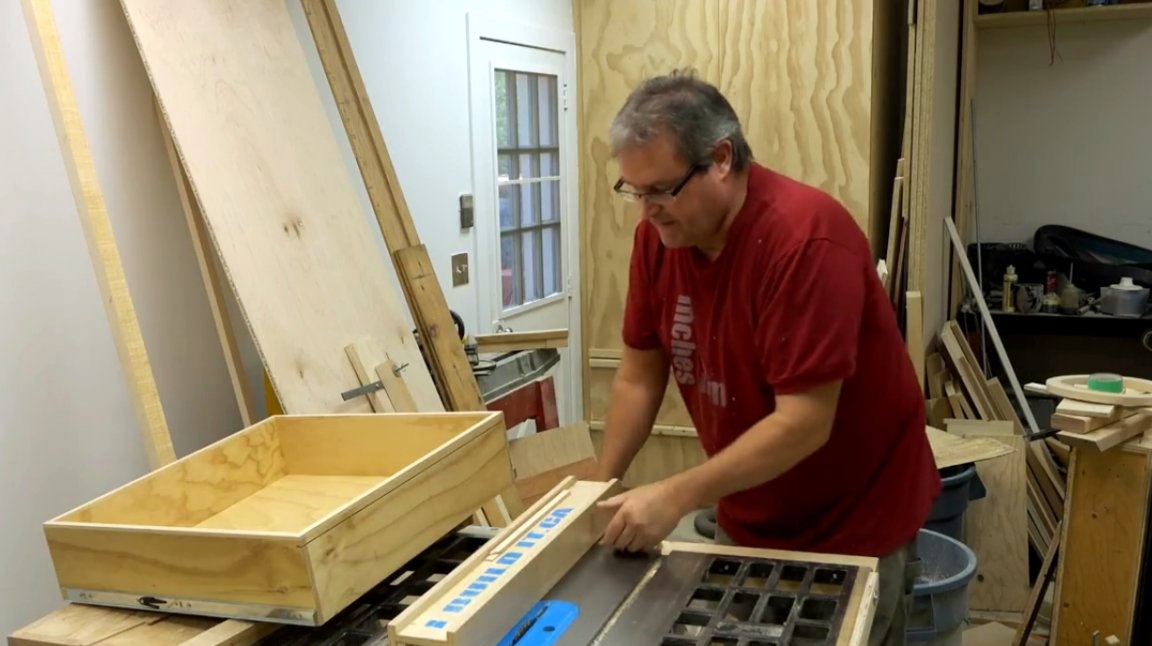
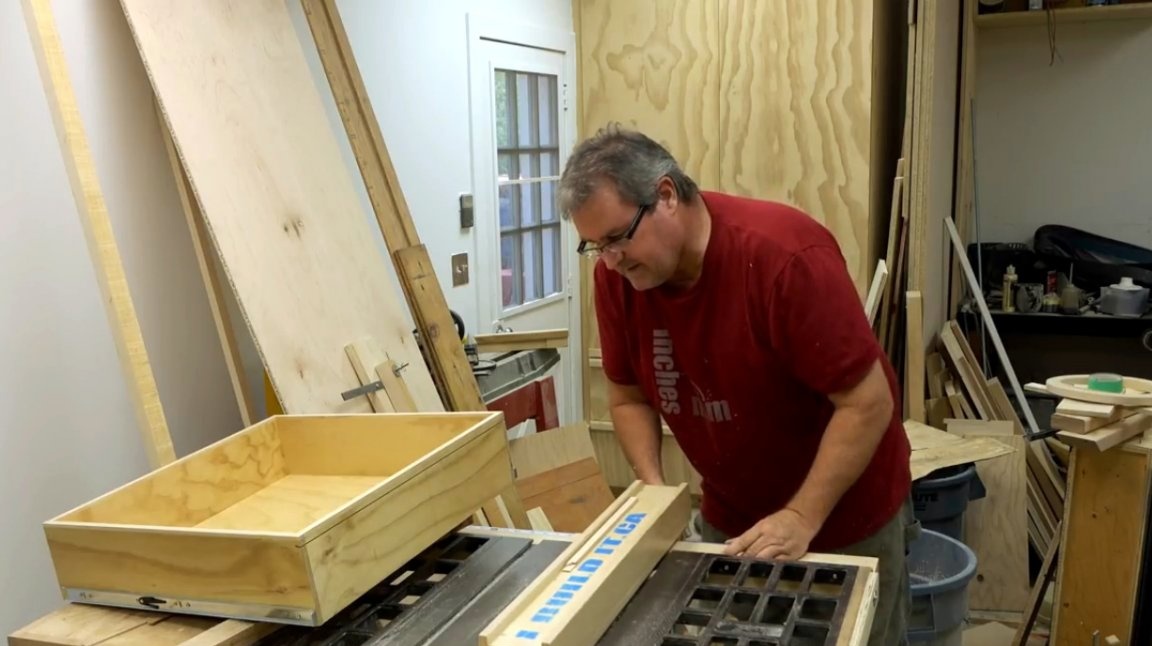
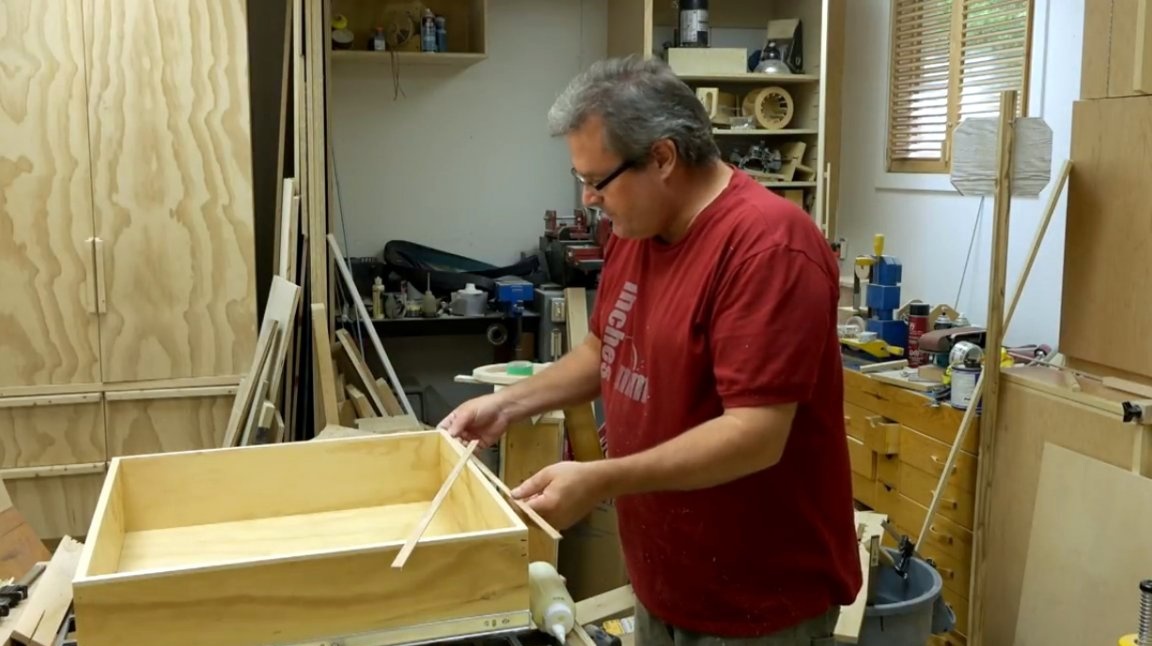
Here is the simplest design of a drawer for a table.
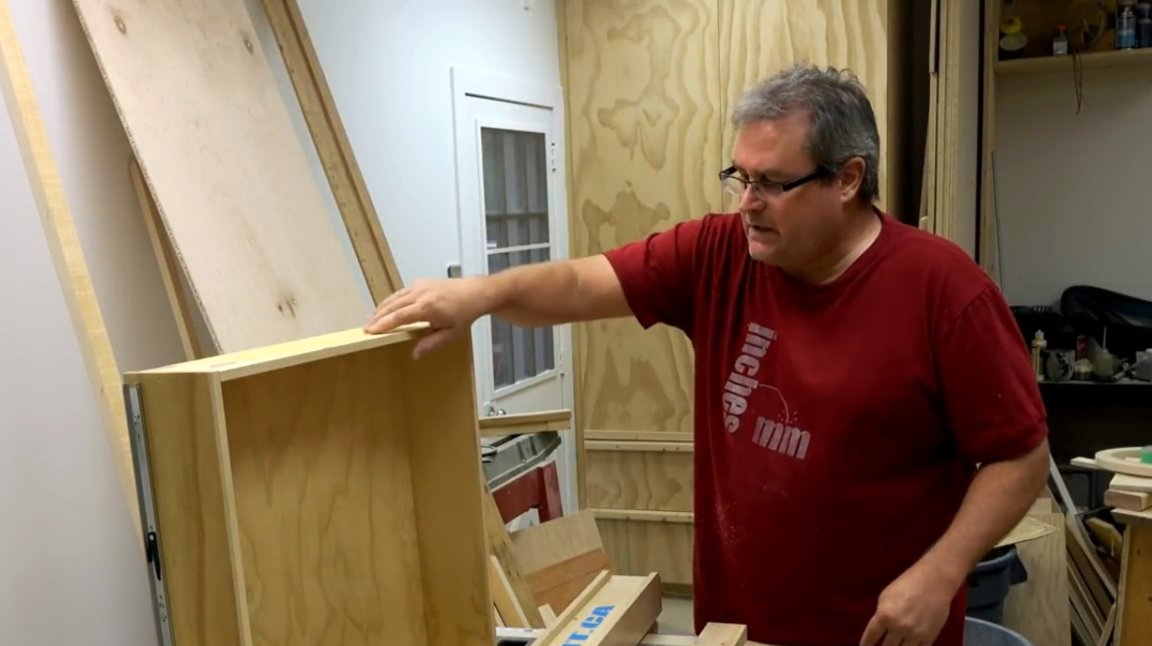
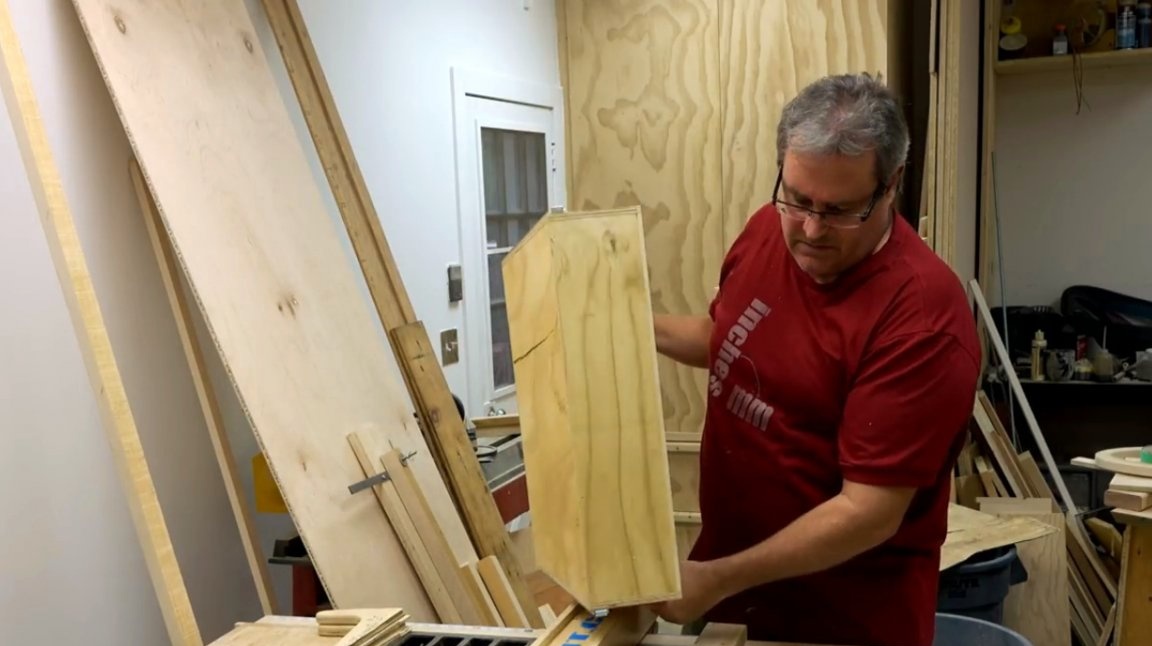
It is made of plywood and wood linings quickly enough.

Such a box can serve for years, provided that you do not constantly pull it. But what if this box is used in the workshop, is in active use, and the weight of its contents is very large?
At the same time, you do not want to bother with dovetail connections and the like. There is a solution! And the author is ready to share it with you.
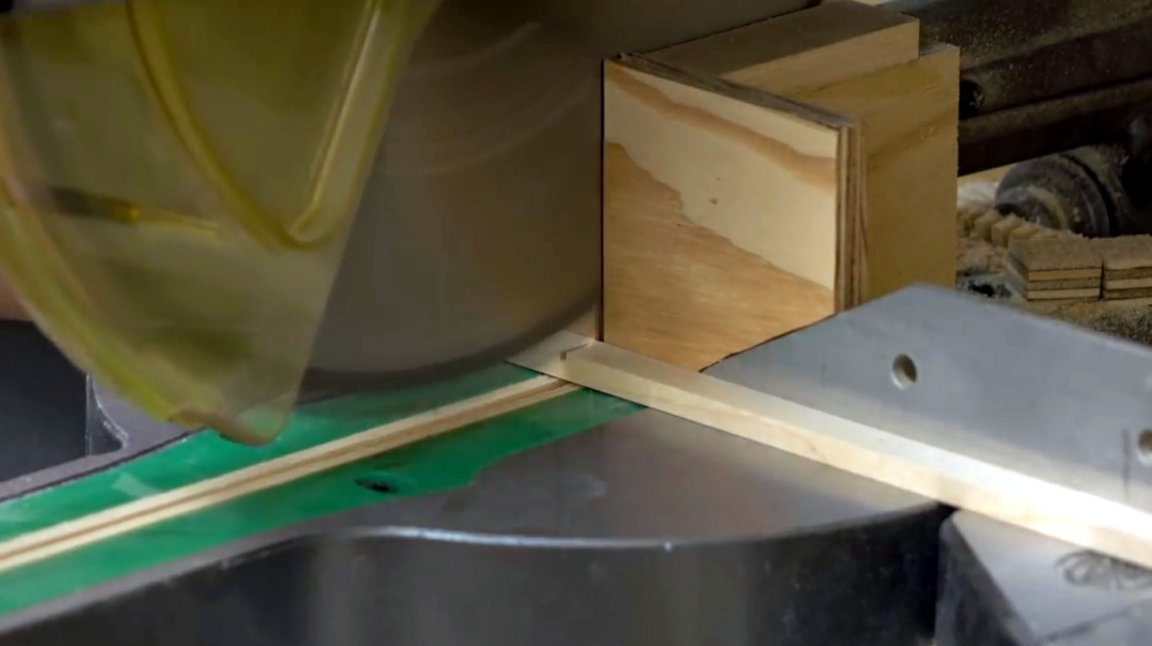
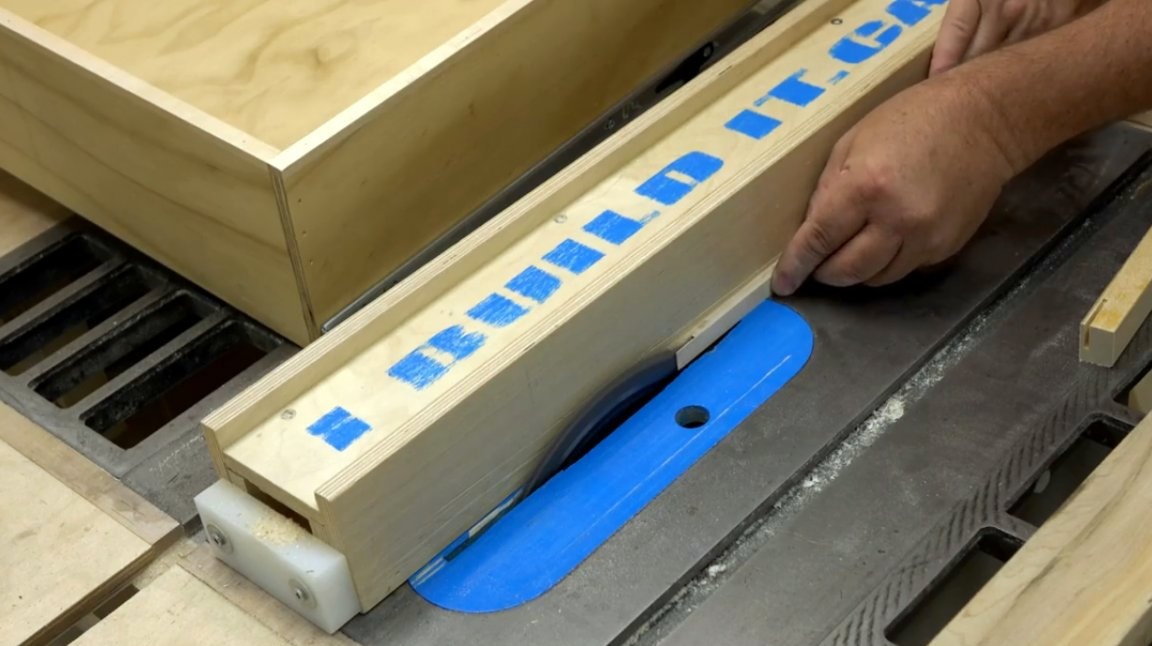
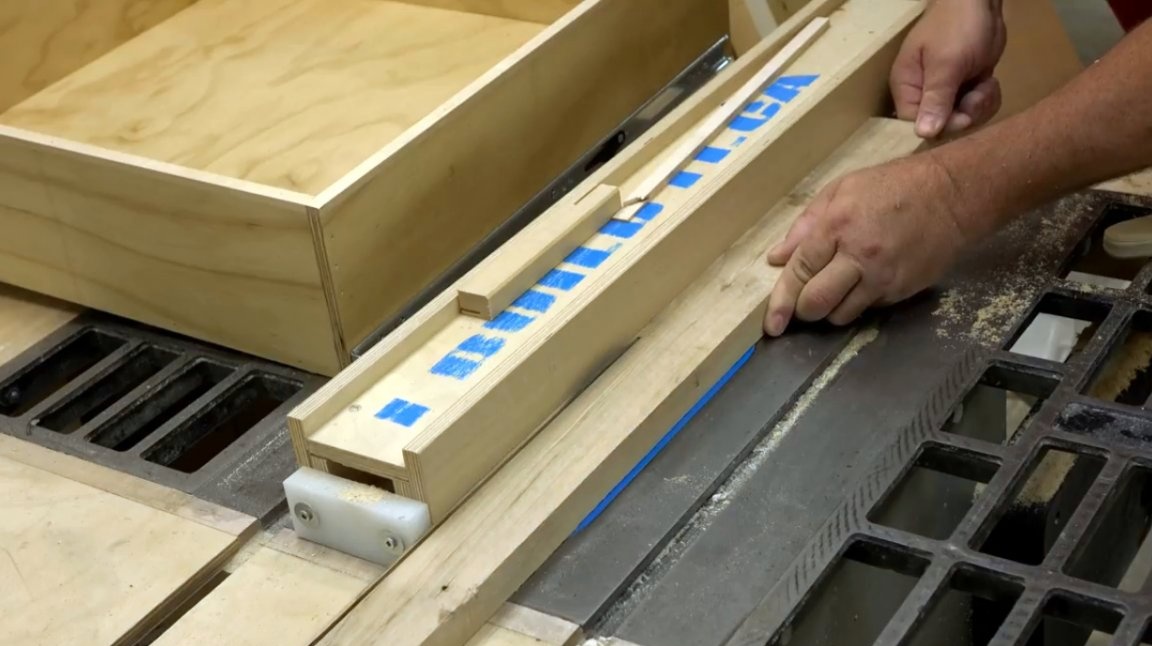
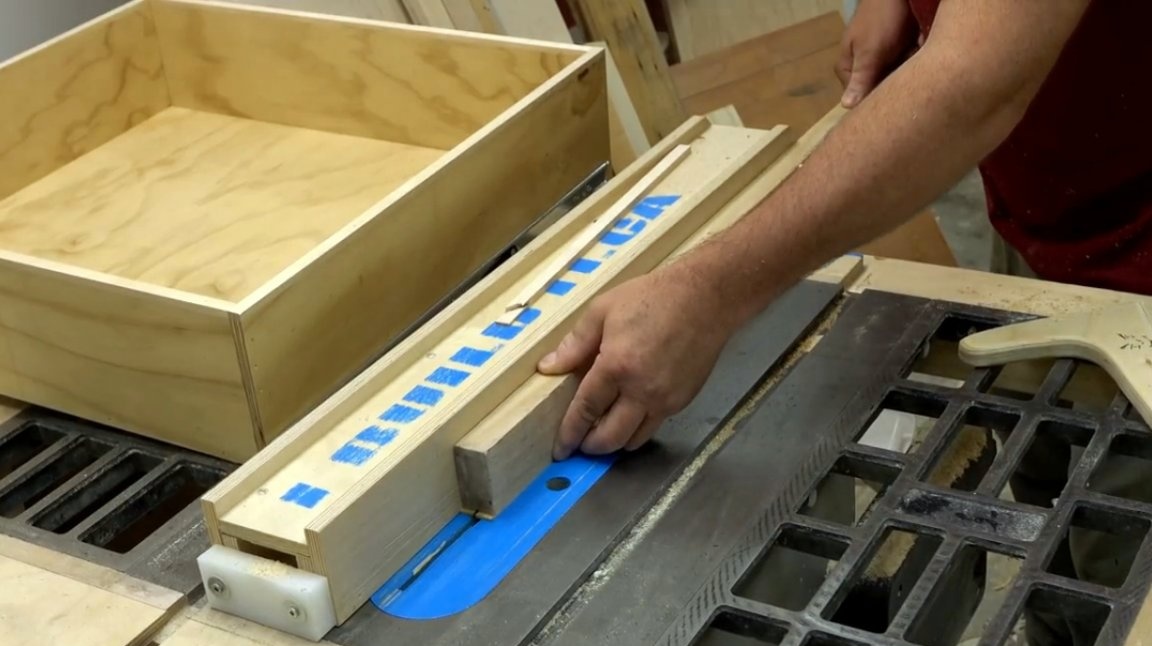
To strengthen the box you will need long wooden planks. To do this, the master first makes a test connection on the circular table. In an experimental bar, he cuts a groove.
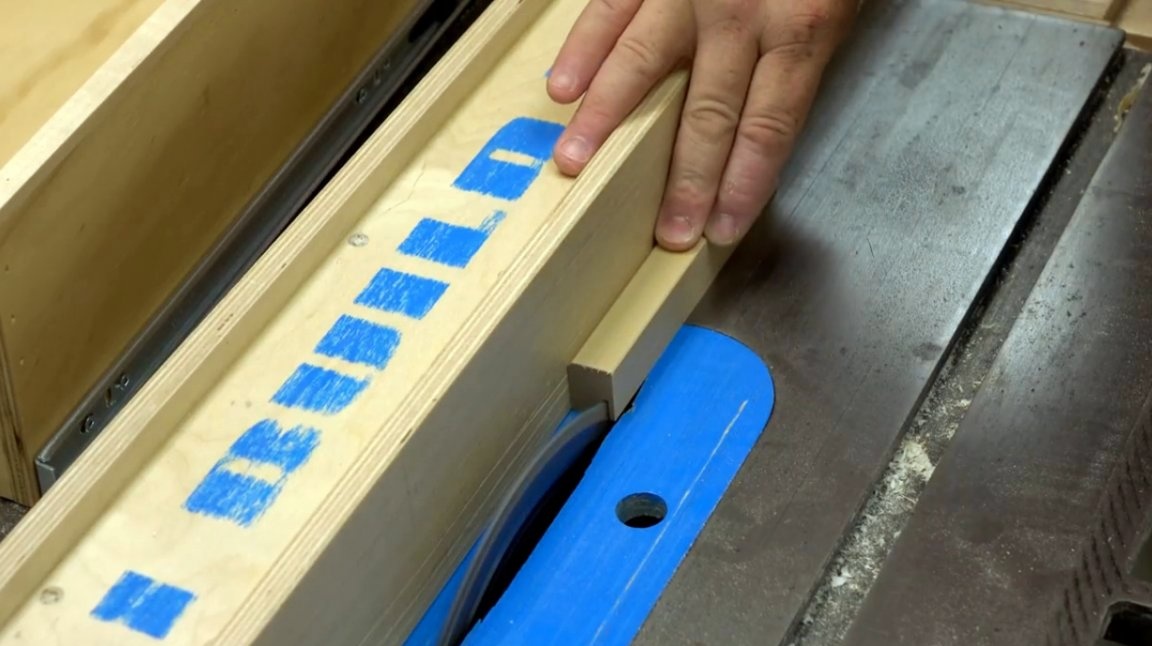
And then at the end of a thin board makes a reciprocal cut, simulating a spike of the desired thickness (it should exactly match the thickness of the saw blade). Gradually shifting the emphasis closer to the saw blade, the master achieves the desired size.
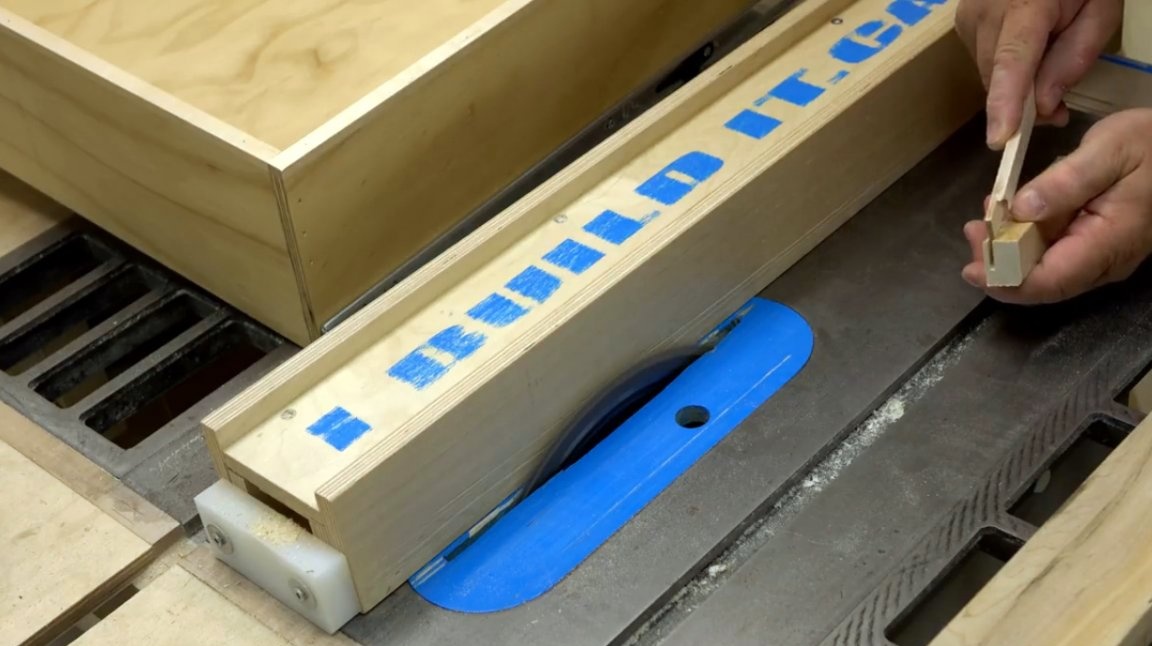
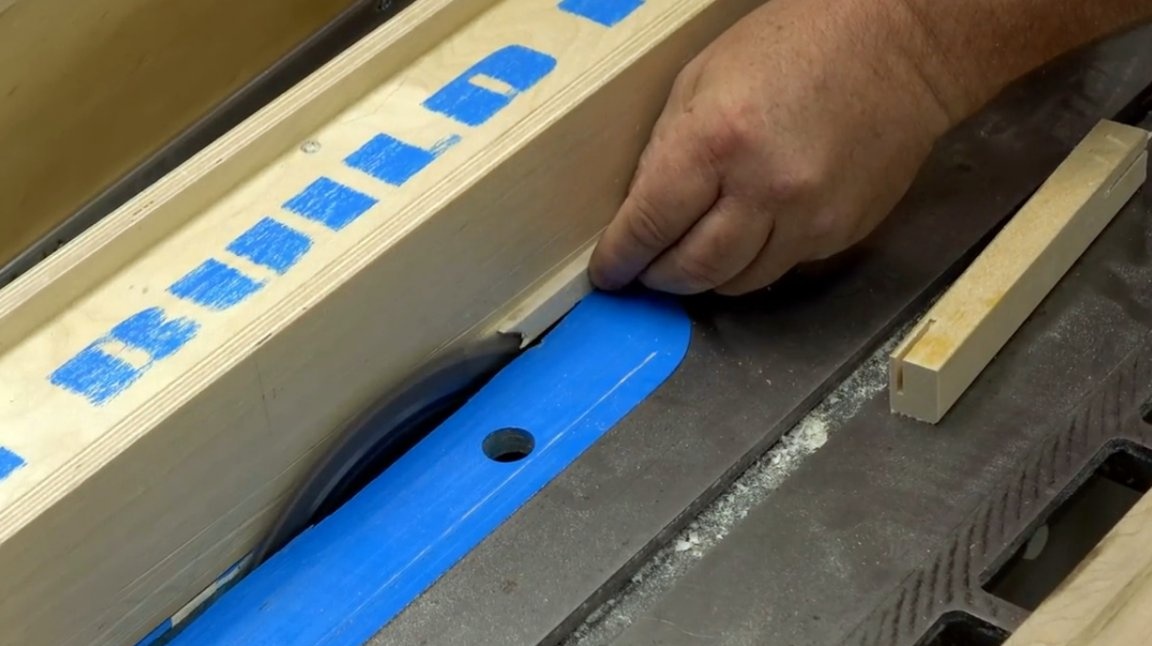
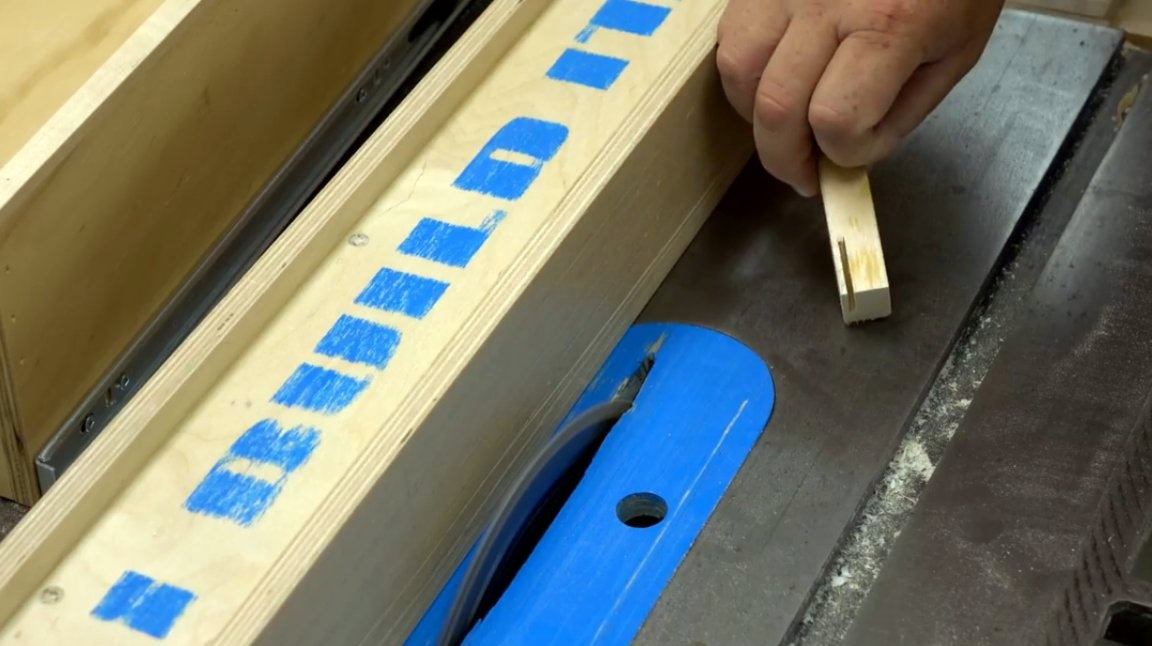
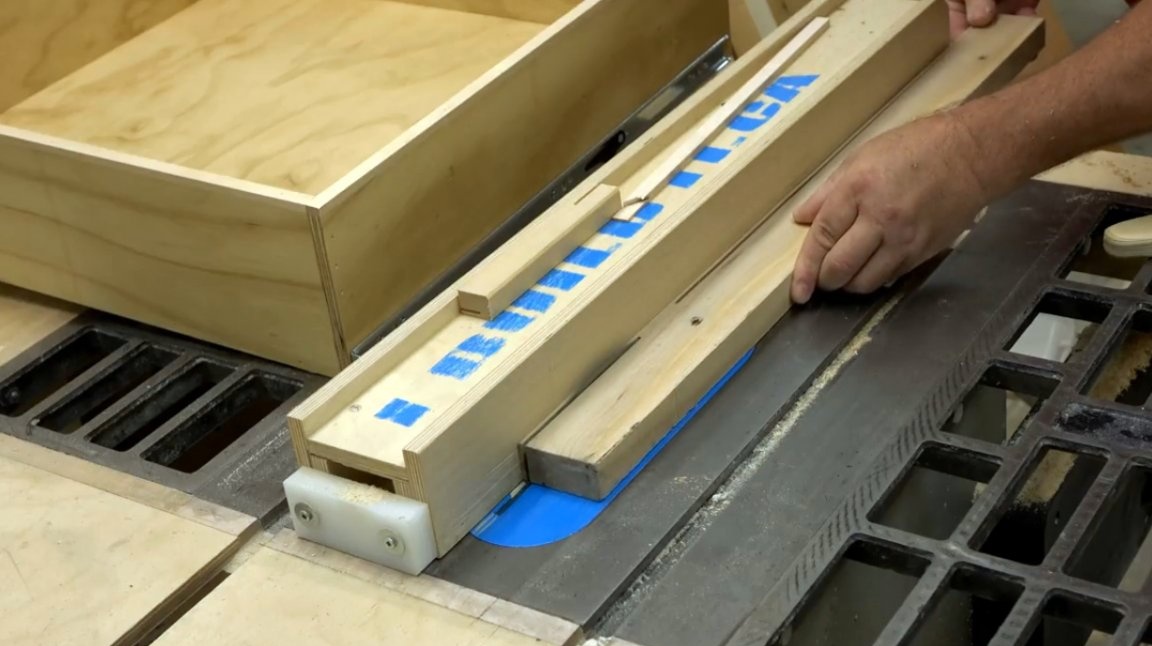
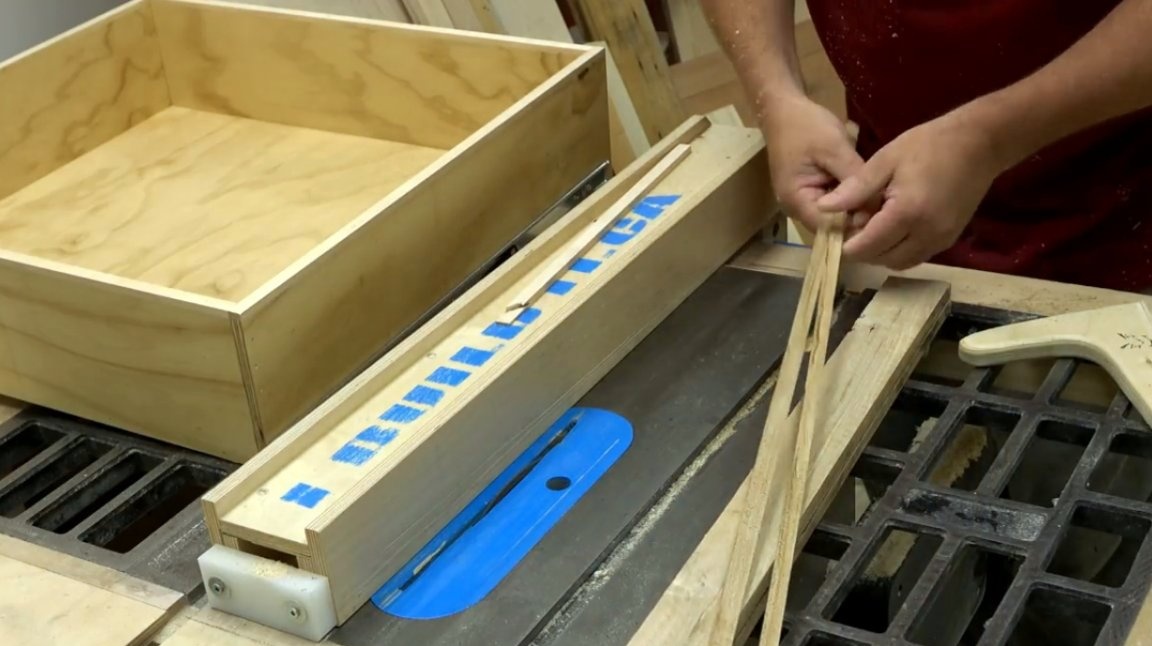
After making sure that the slot fits perfectly into the prepared cut, not sitting too tightly in it, but also not hanging out, John easily cuts the bar of the required thickness, maintaining the previous position of the stop.
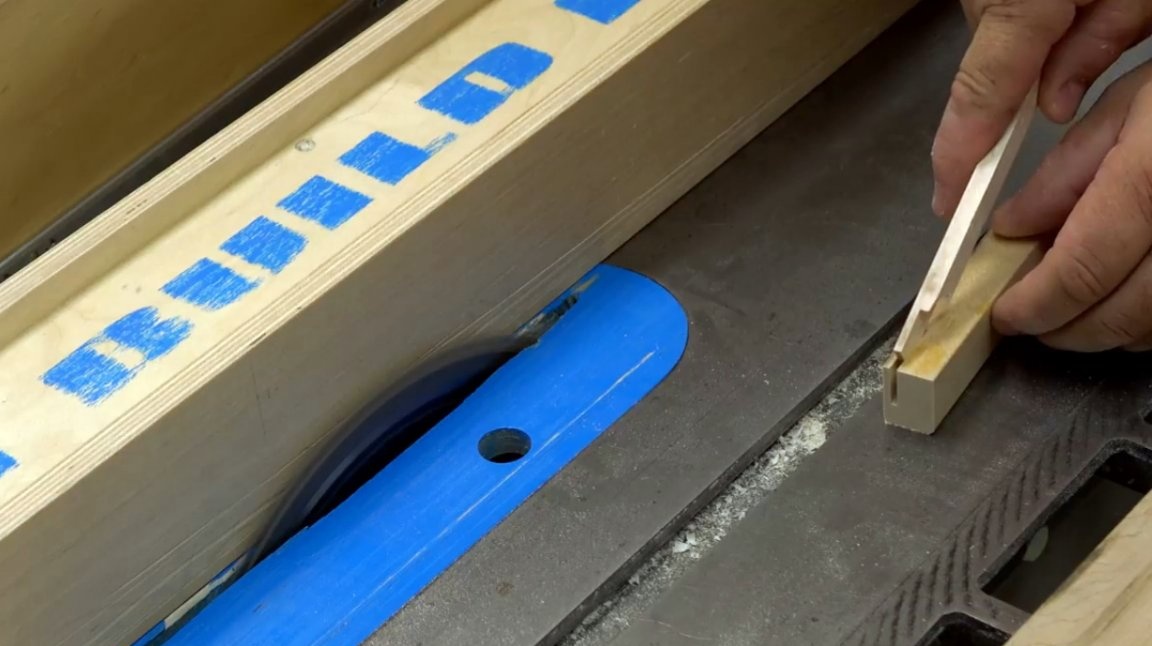
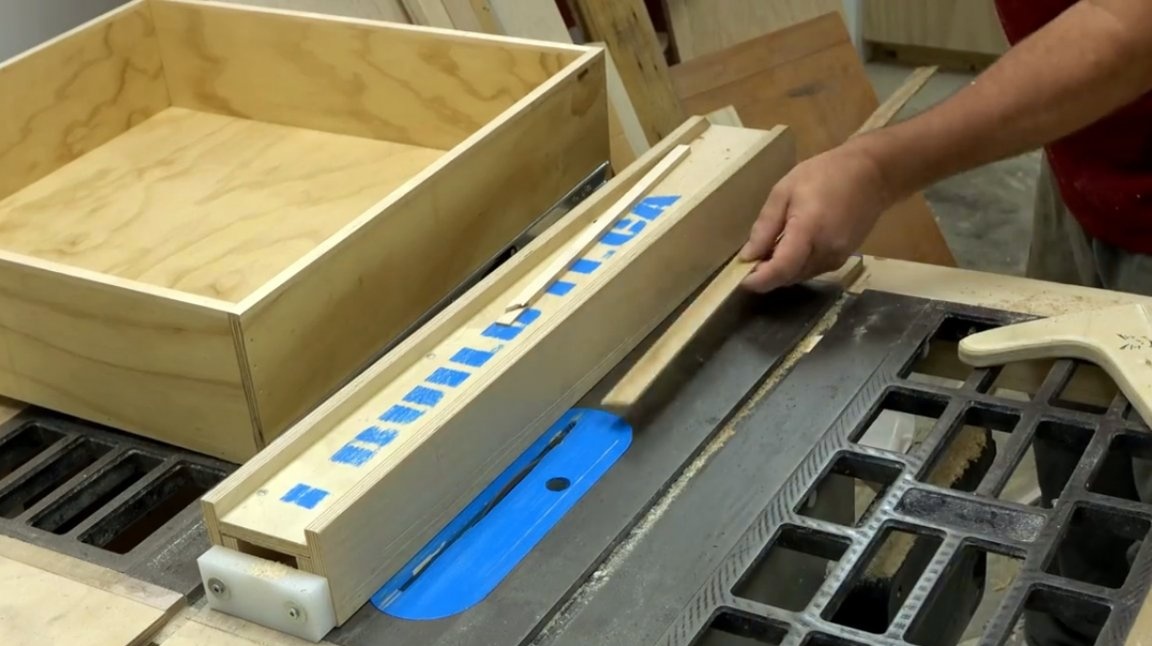
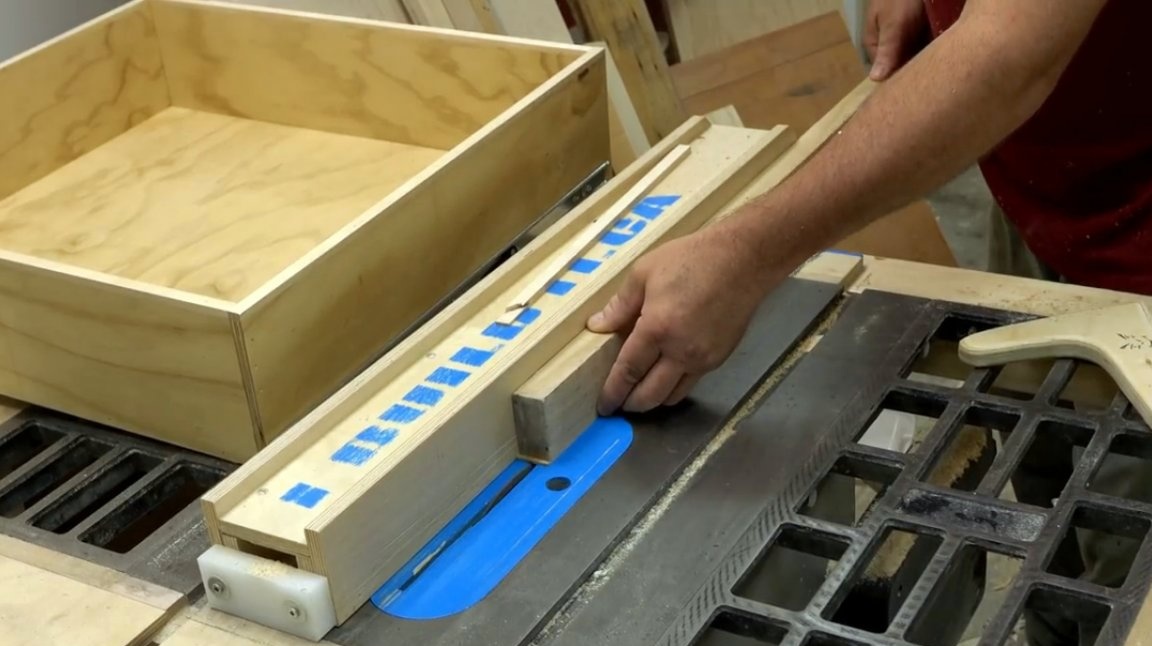
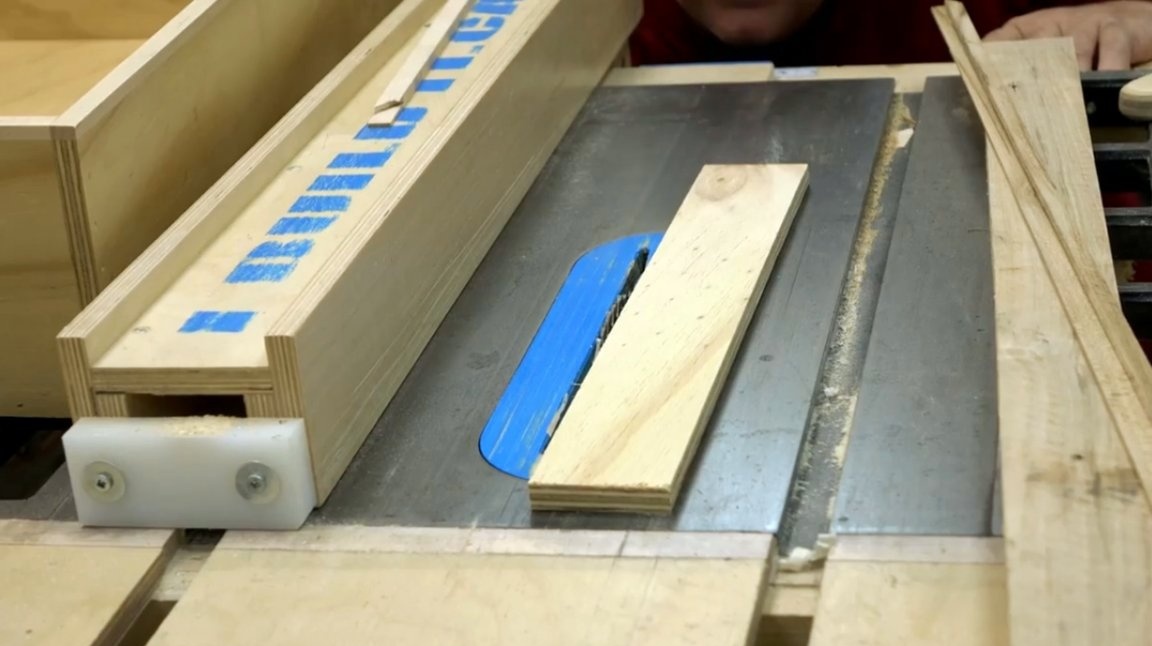
The result was a wide strip, which now needs to be divided into two parts. The bar is pressed against the table of the circular saw with an unnecessary bar, and is cut in half.
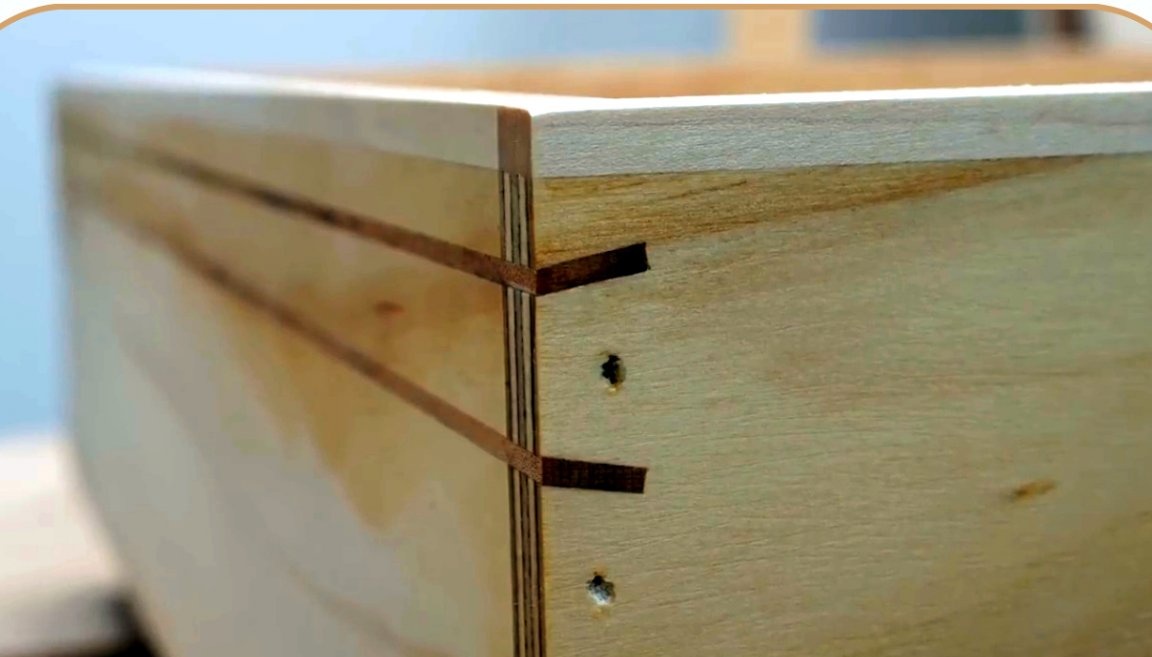
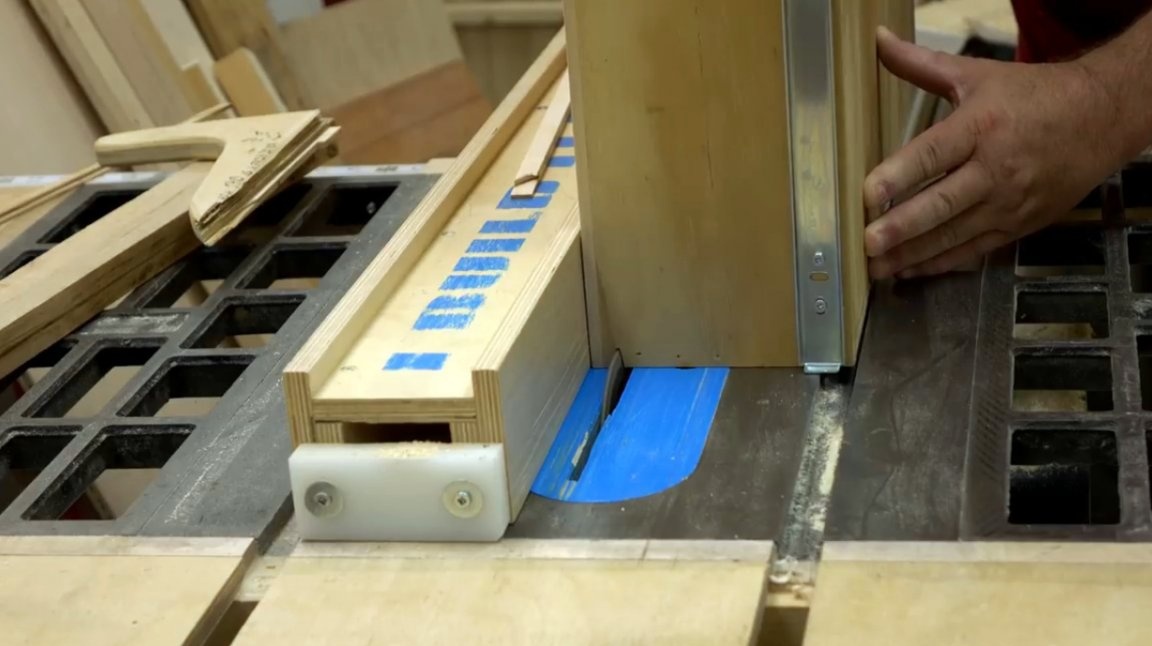
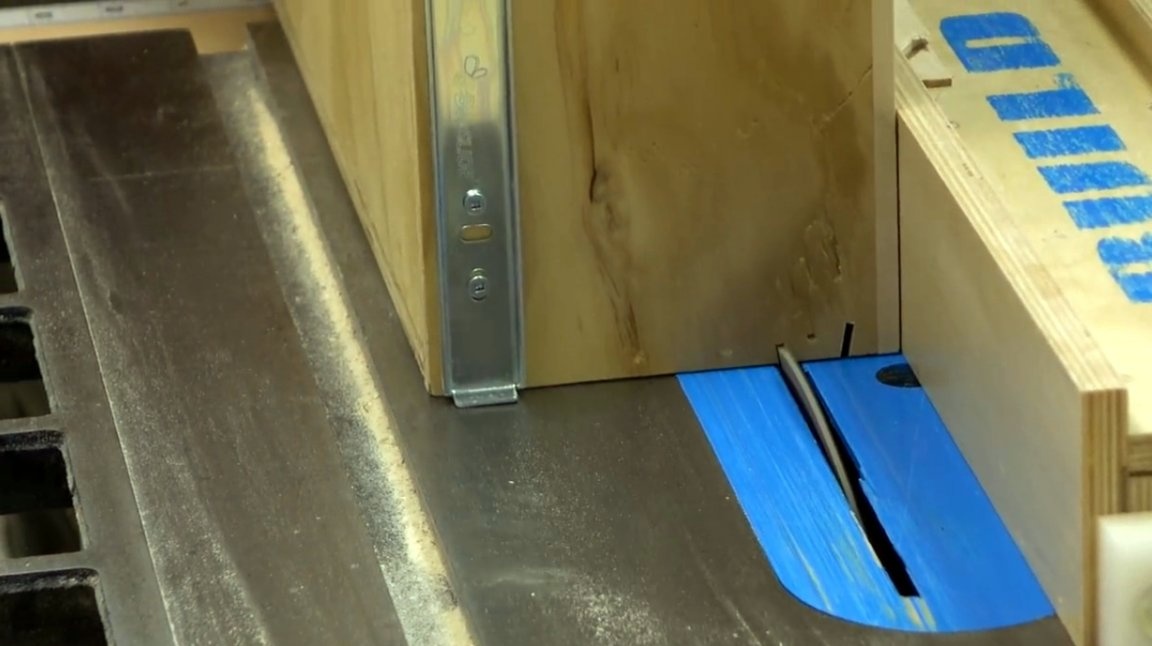
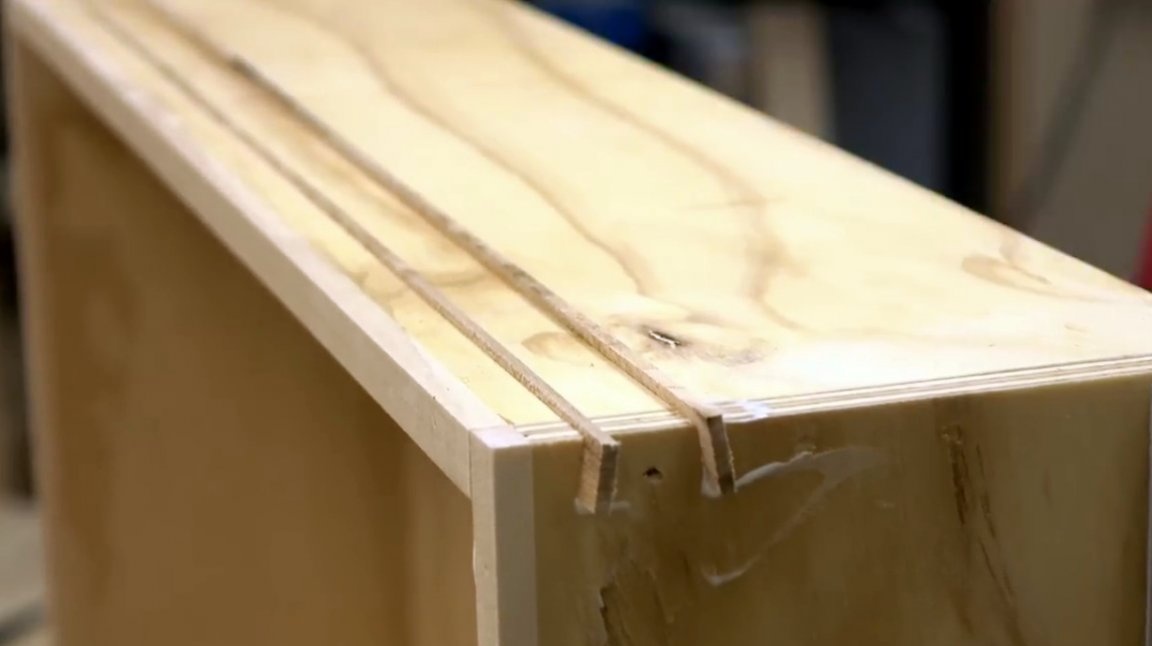
When the planks are ready, the author tilts the saw blade 10 degrees to the side. The height of the disc relative to the sheet plywood is also adjustable. It should be lower by 1.5 - 2 mm.


Now John makes the first cut in the front panel of the drawer. However, the blade does not cut through the thickness of the plywood. First, he cuts the front panel on one side. At the same time, he presses a plank against the opposite side of the panel with a plank so that the blade does not leave chips on the edge of the box.
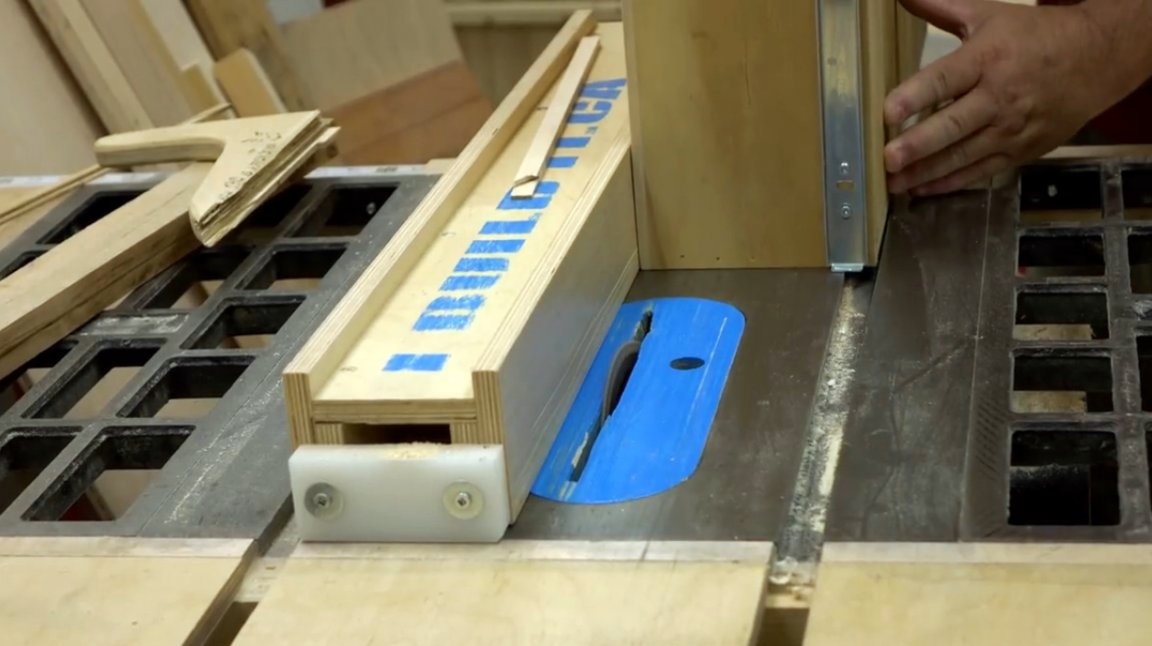
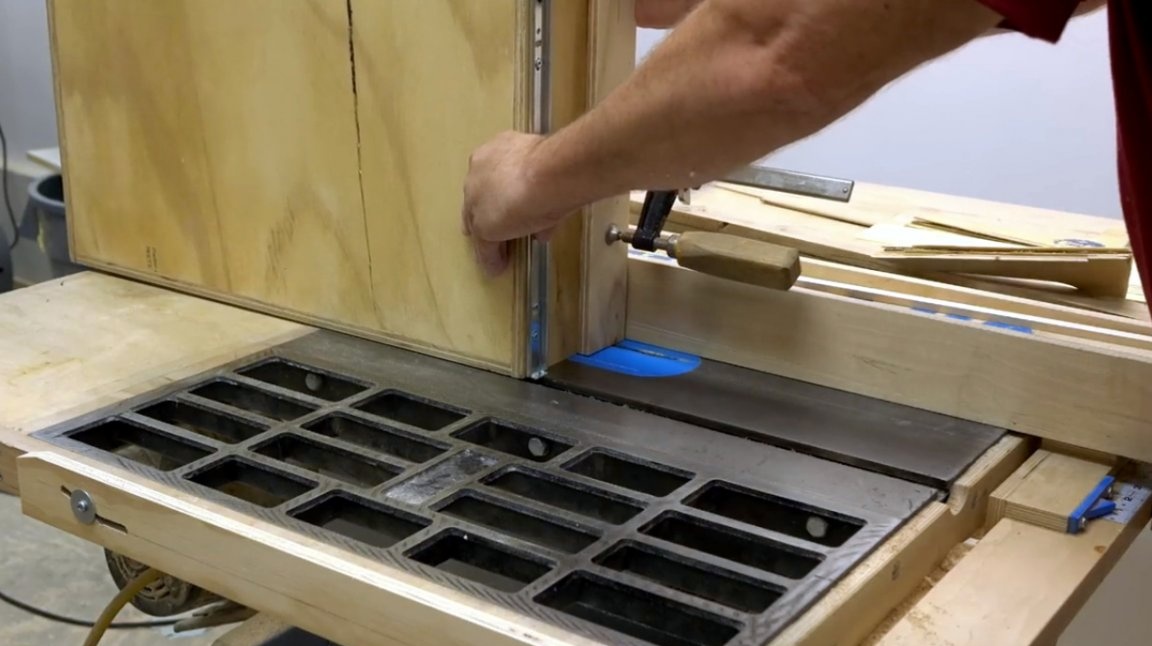
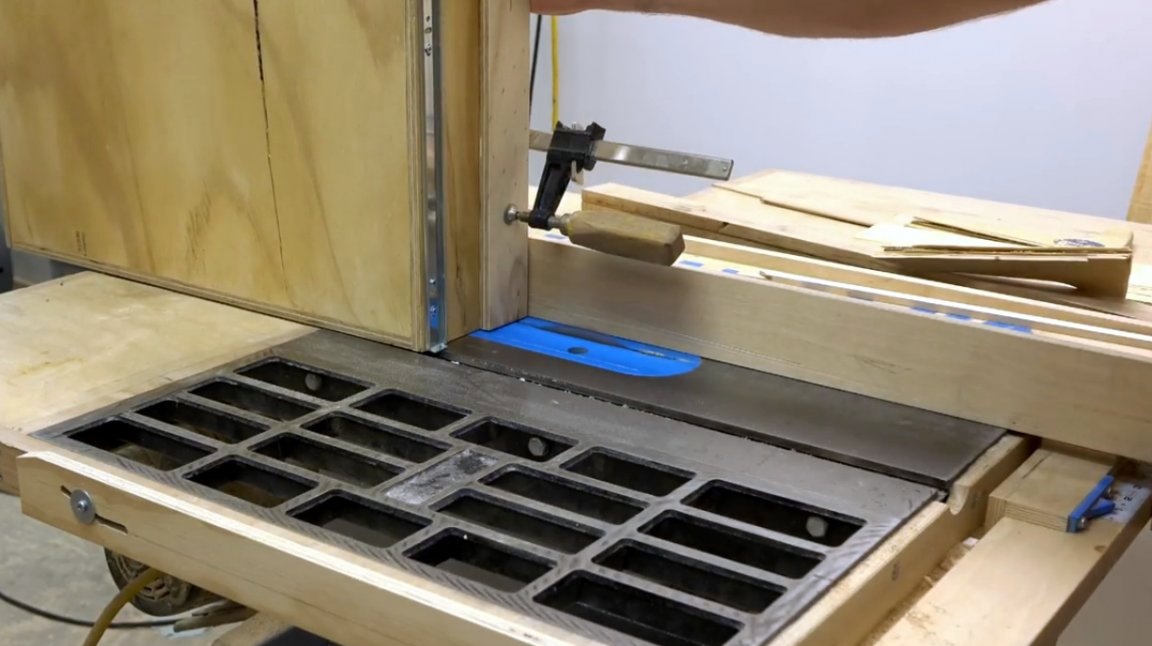
Then the master shifts the emphasis to the opposite side of the table, turns the box over and makes a cut at a different angle, going in the opposite direction. At the same time, he again applies and draws a supporting board with a clamp, only this time on the other side of the box.

Perhaps you should not focus on the fact that when choosing places for cuts, you should carefully avoid nails! And both of them were ready to drink. You can make them larger along the entire height of the facade. But for the demo version, these two are enough.
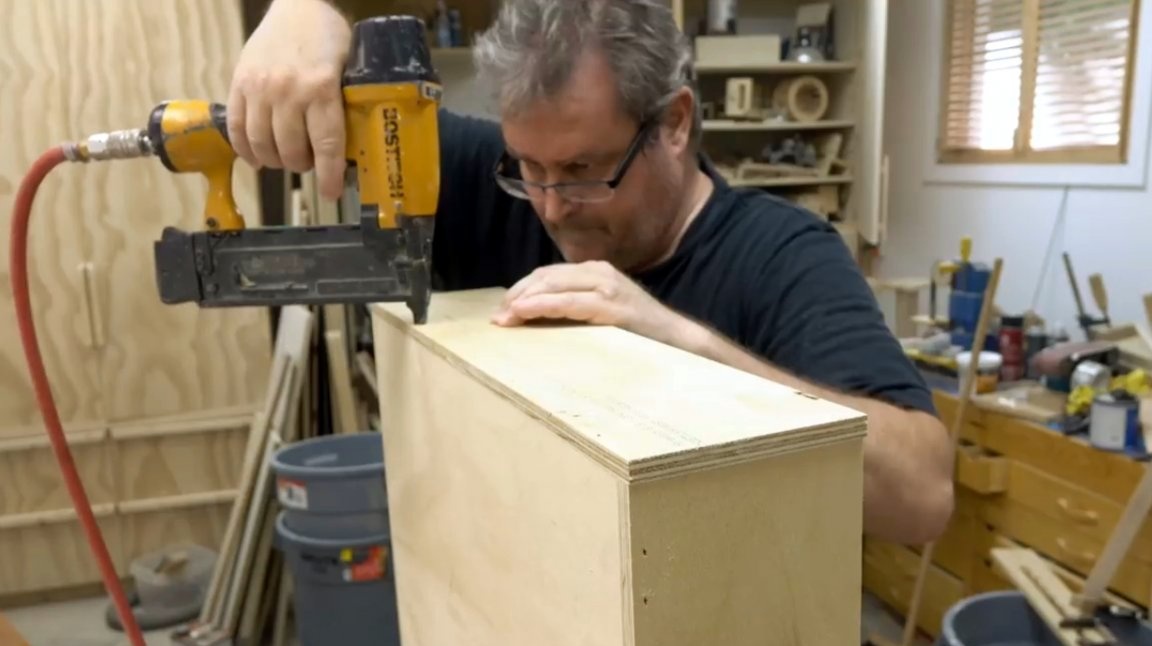
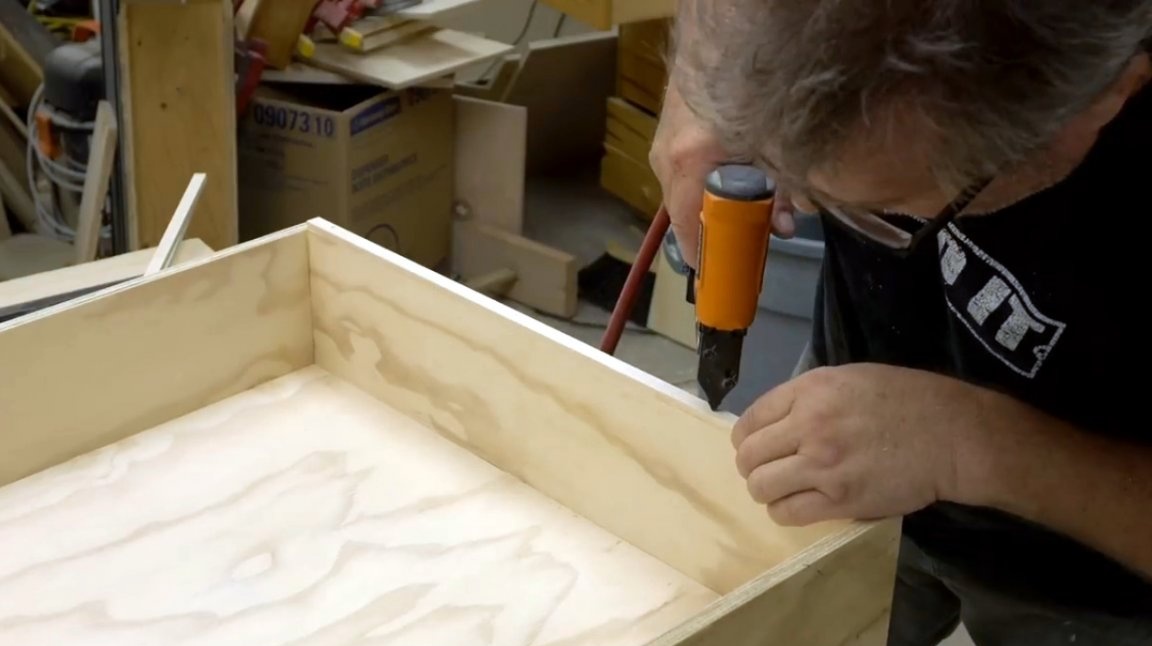
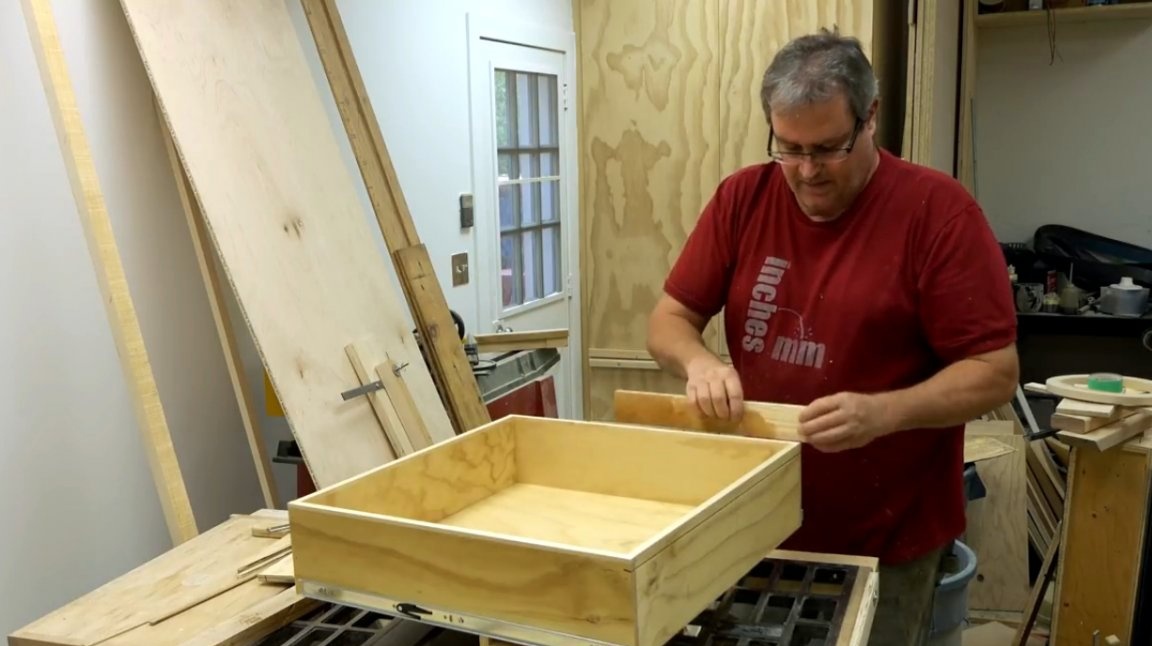
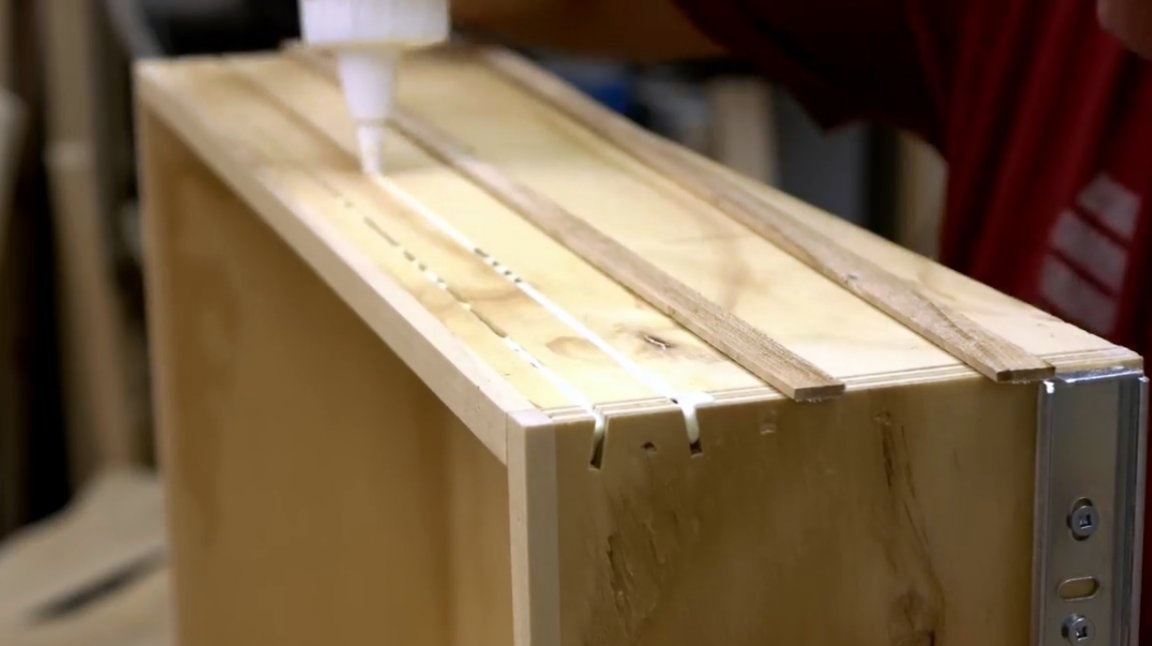
As a remark, the author clarifies the technology of fastening the elements of this box. So, all its panels are glued with wood glue and additionally knocked down with nails, the bottom is also glued around the perimeter and nailed with nails (the assembly process is briefly shown at the beginning of the article).
Now John checks the width of the strips, and the readiness of the structure for assembly.
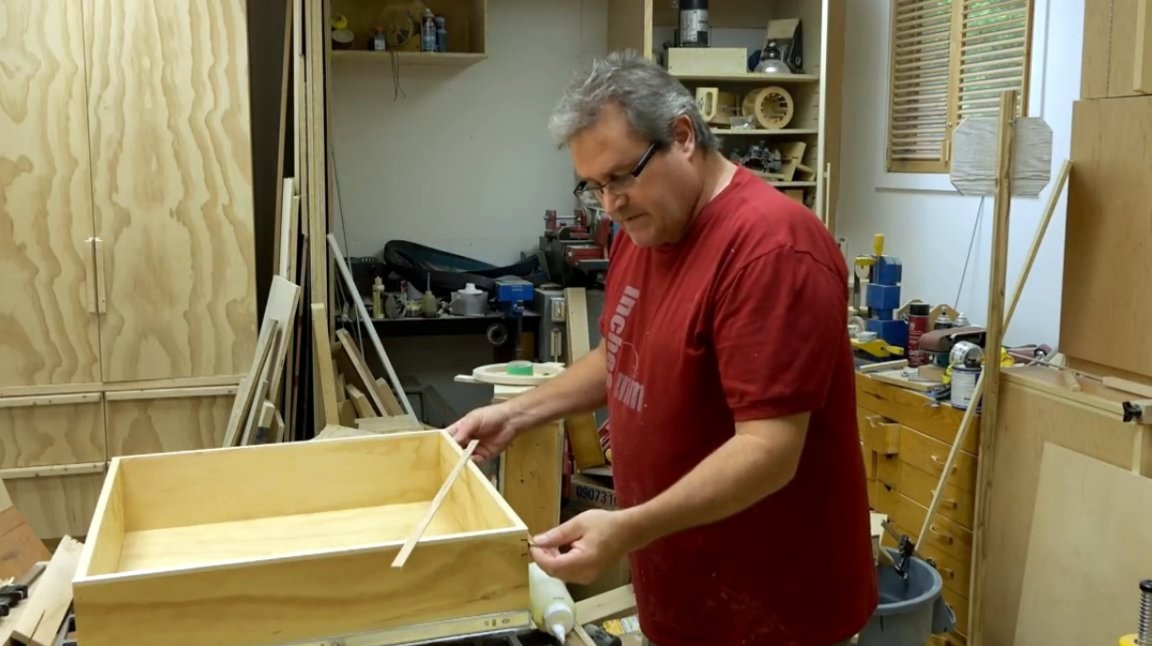
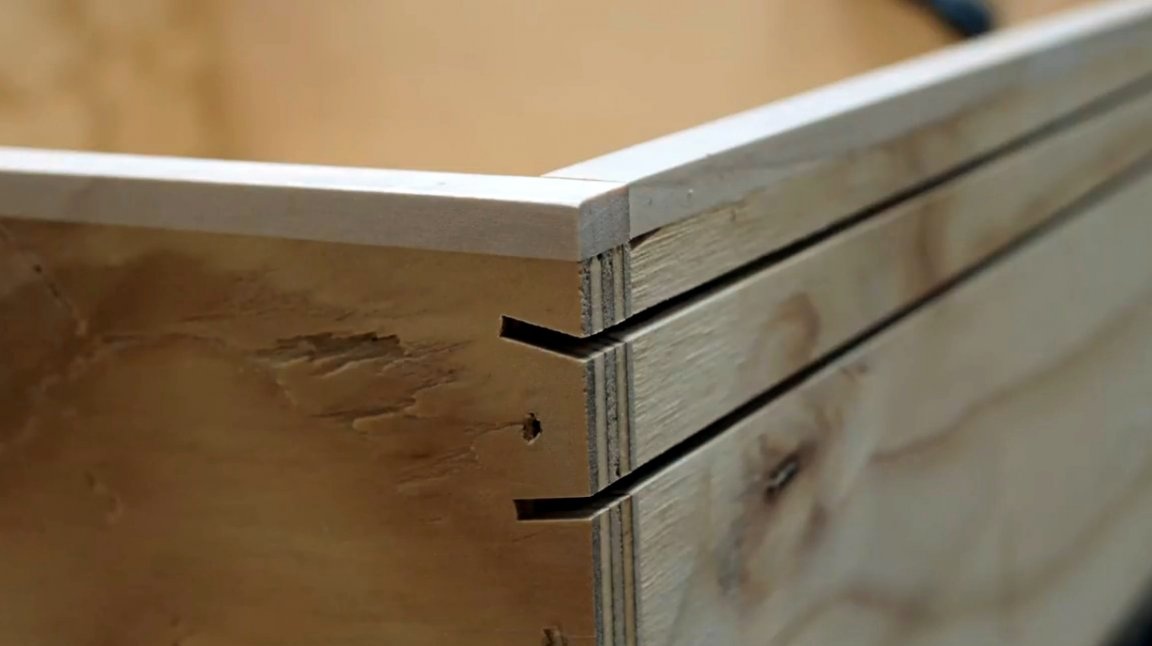
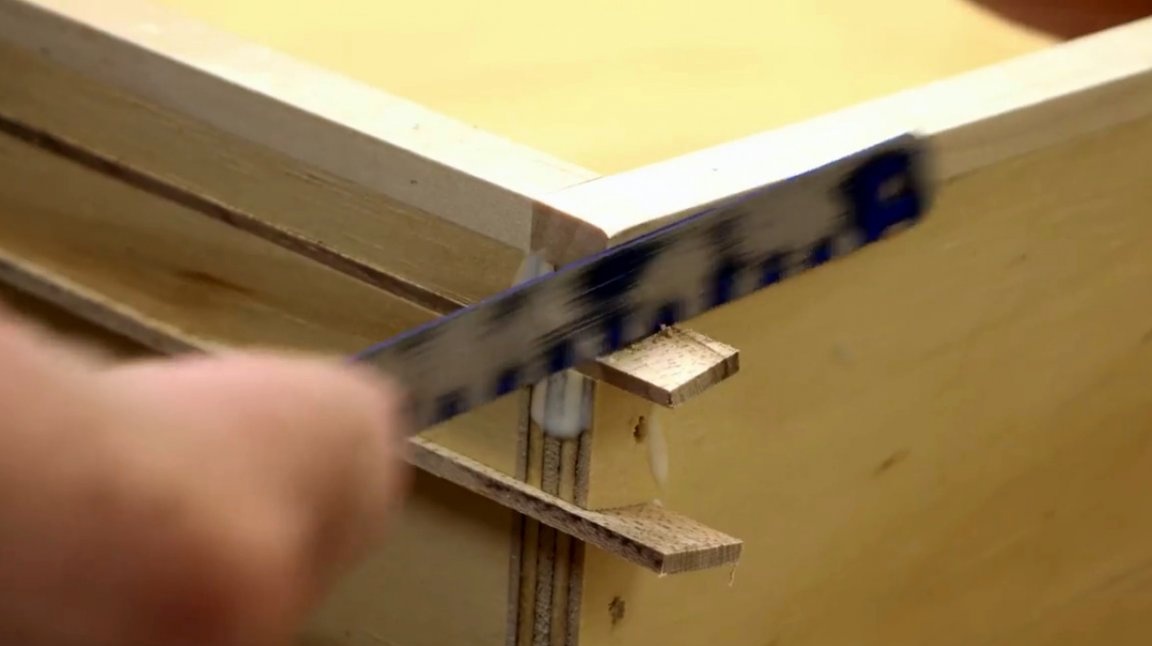
Now the strips themselves will be glued into the grooves. Some of their segments fit very tightly into the groove, so the author knocks them with a mallet.
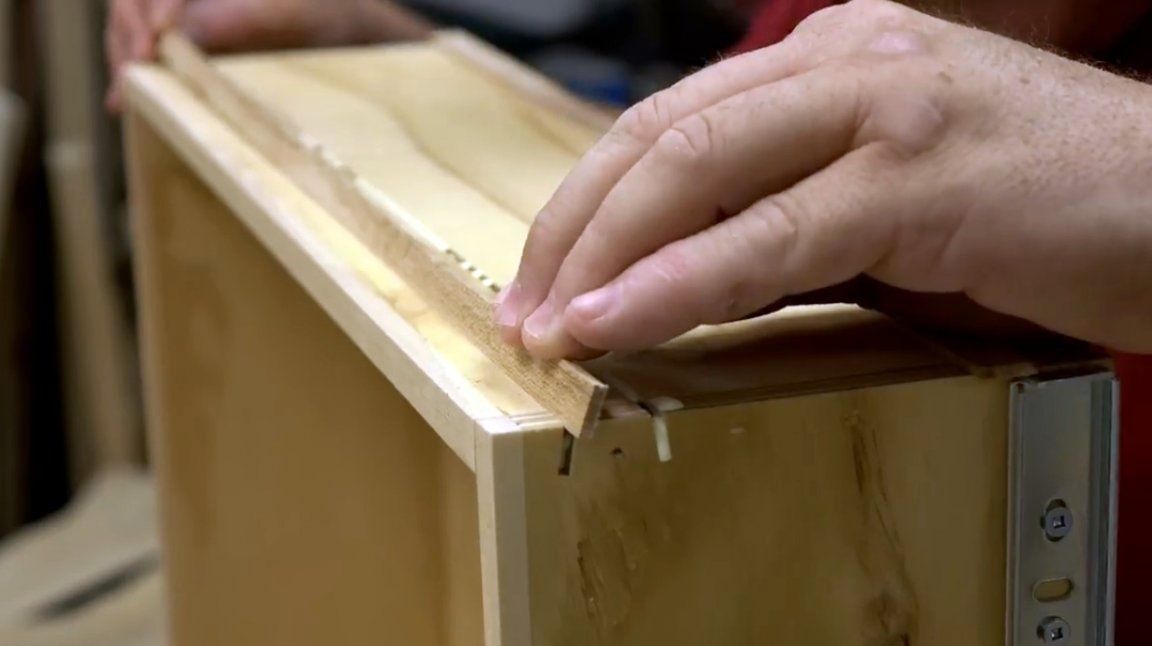

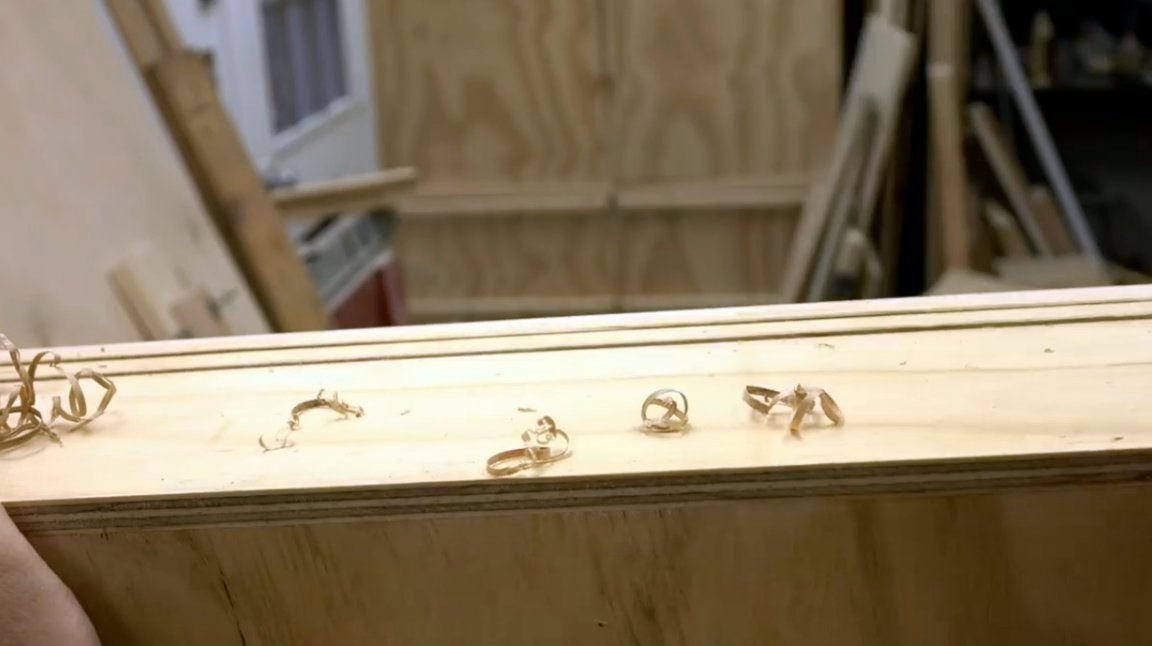
The author will not even wait until the glue dries. He immediately cuts the protruding parts of the strips from the sides of the box with a hacksaw.
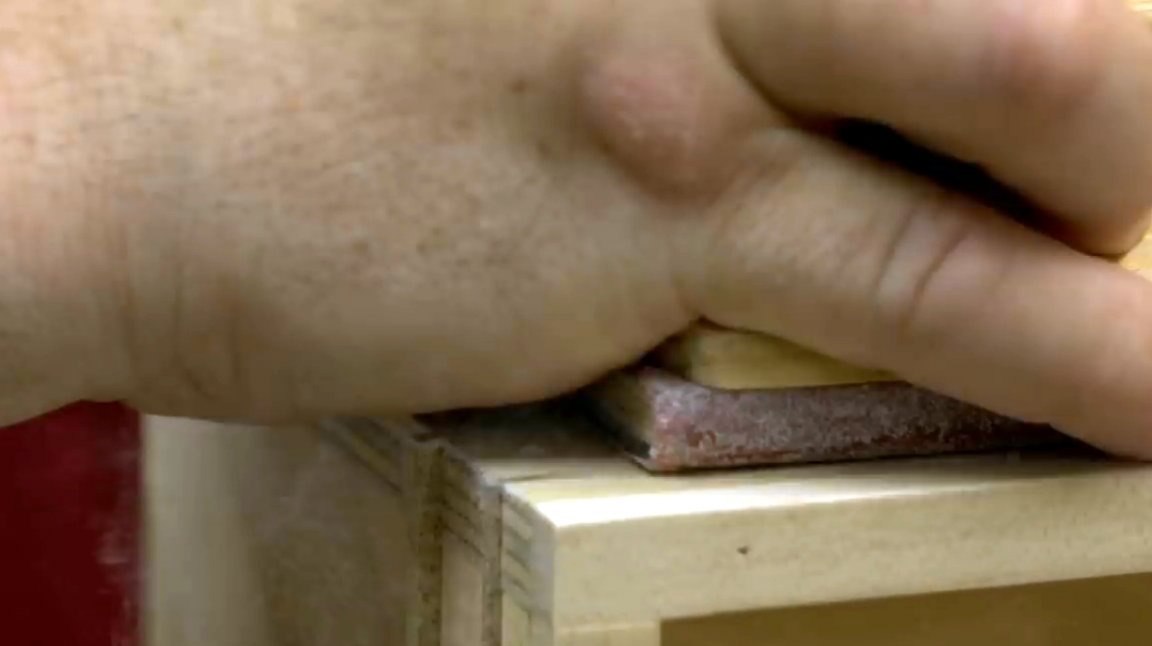
The place of cut is polished by sandpaper manually.
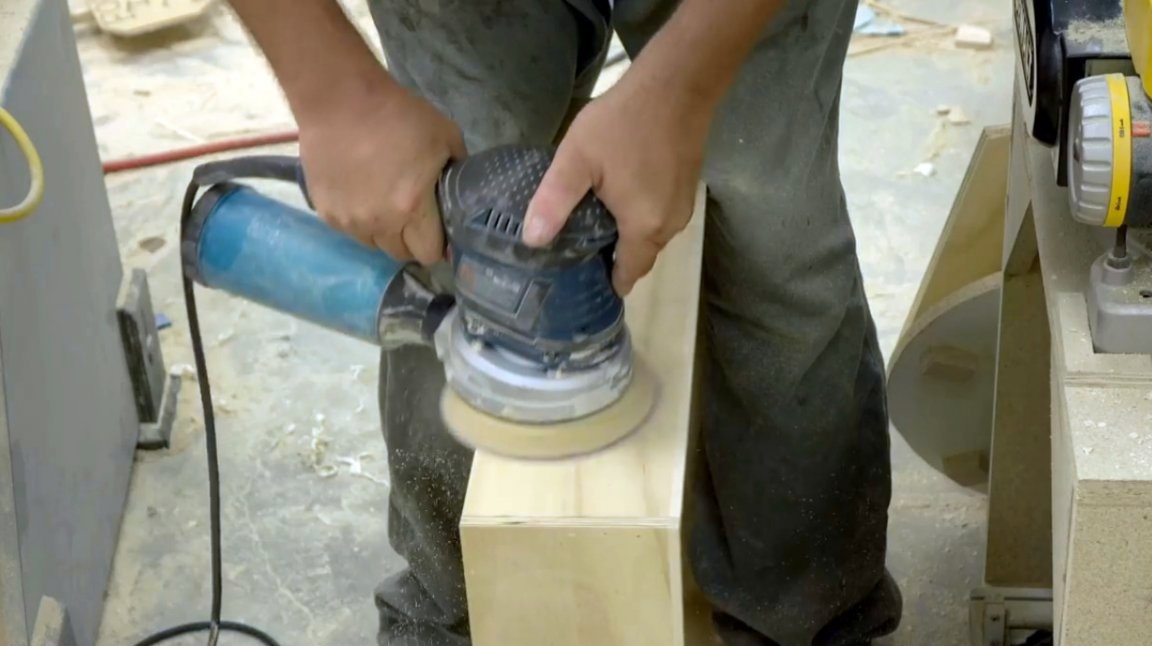
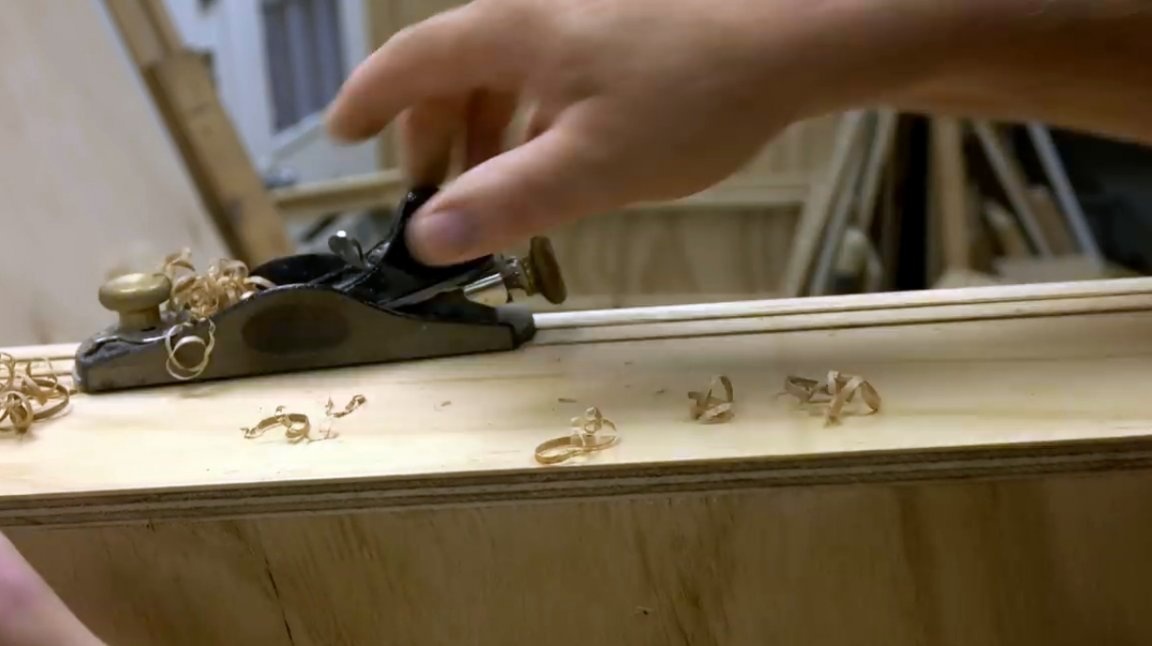
It remains only to remove the excess strips along their entire length with a manual planer.
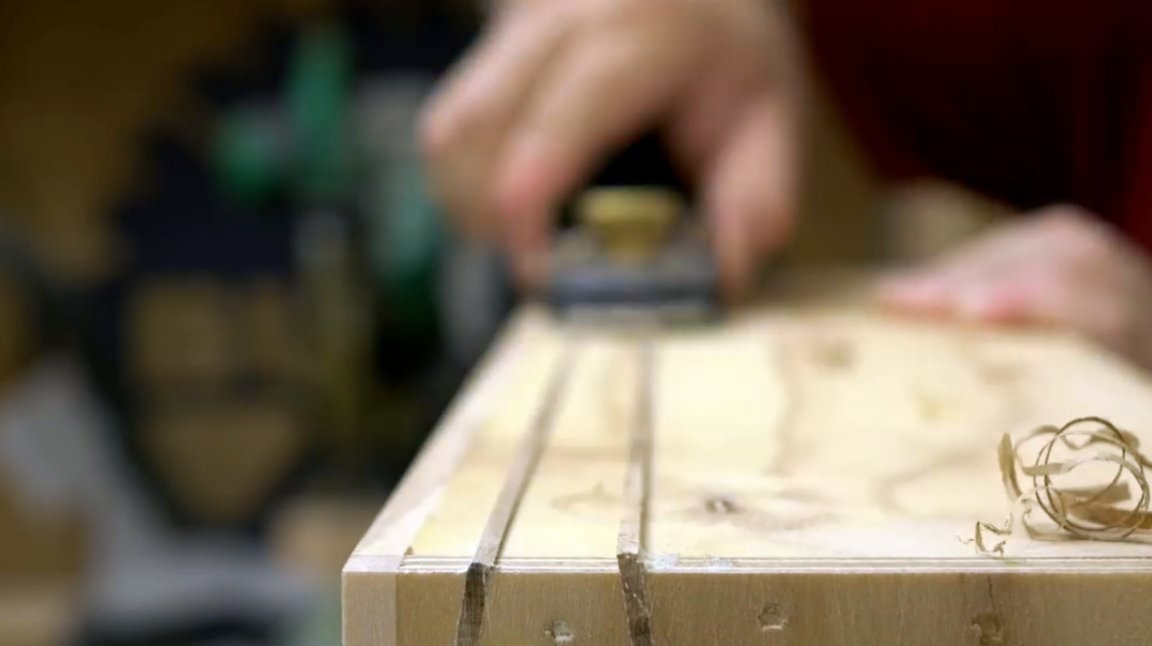
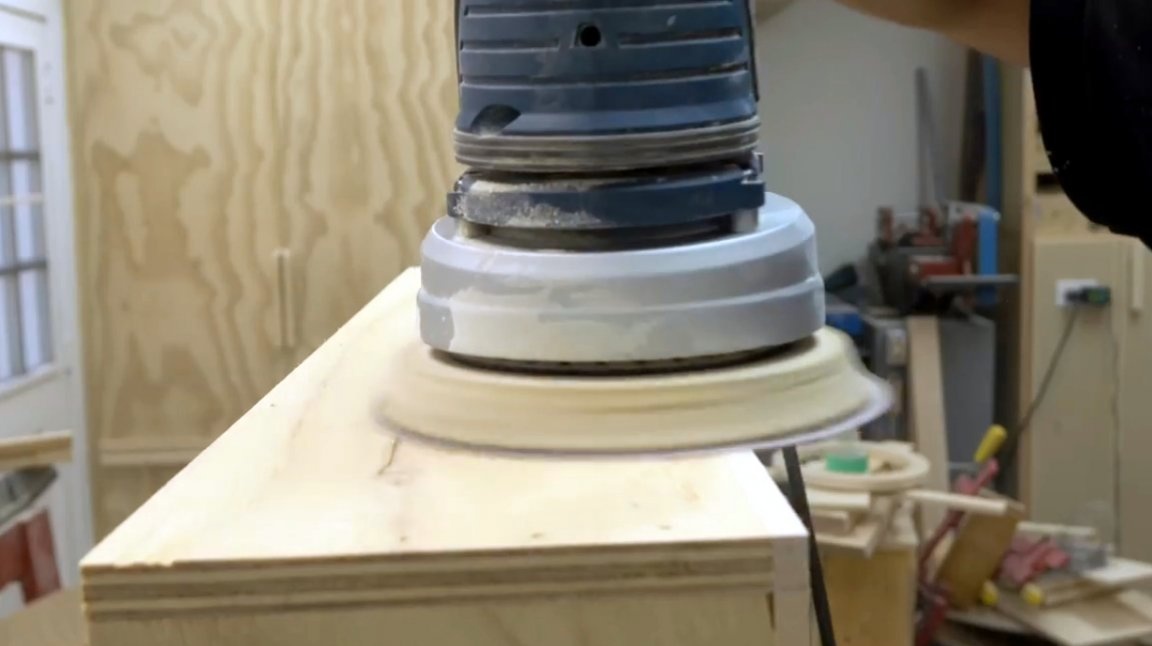
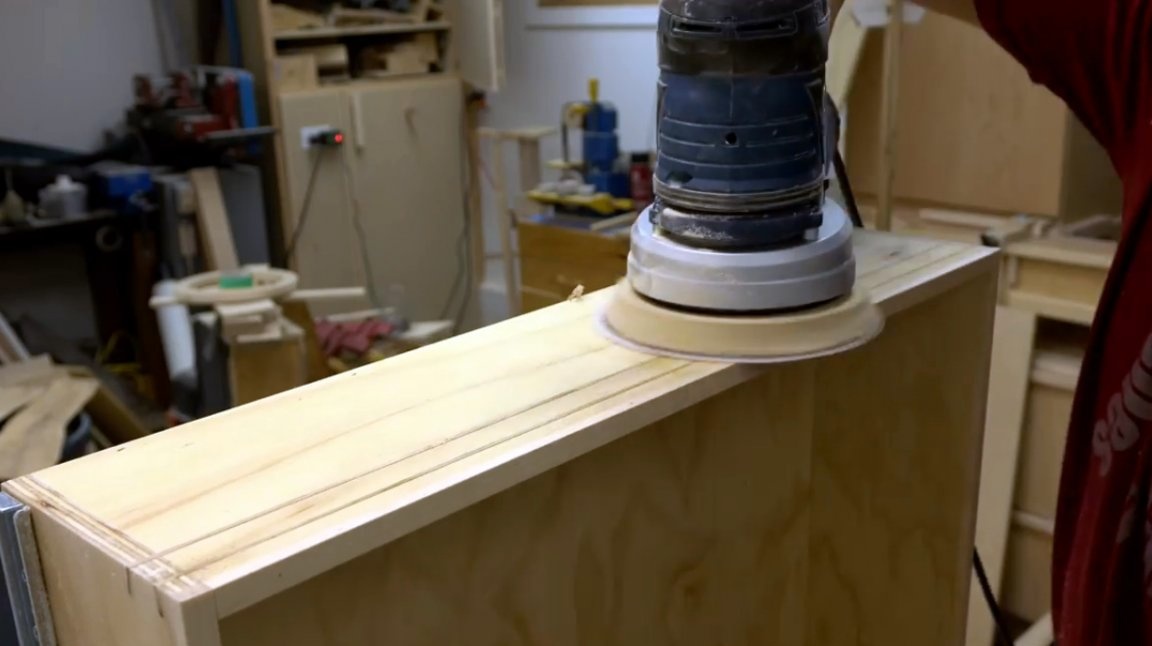
The following is banal grinding with an orbital machine, and the reinforced box is ready!
I thank the author for a simple but useful technology for strengthening the joints of wooden parts!
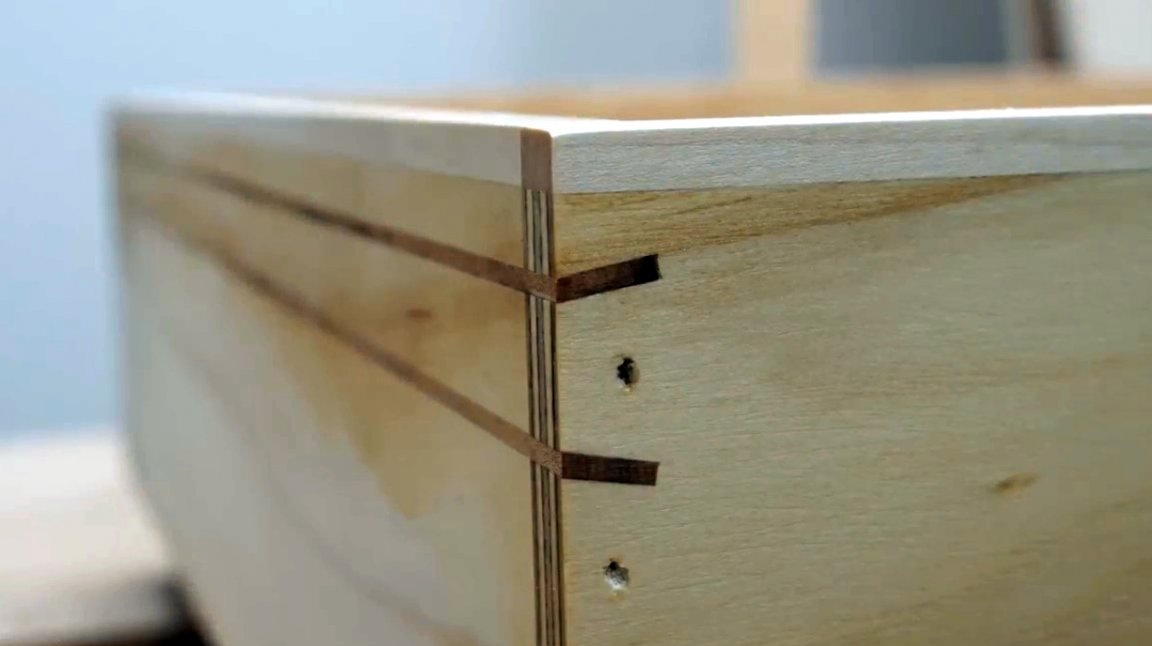
This connection is somewhat reminiscent of a “dovetail”, however, it is much easier to manufacture, and can be used to strengthen finished products.
If you have interesting homemade products, share them on this site. Here you will get a real reward, not a “bunch of green stuff" at the entertainment forum.
All good mood, good luck, and interesting ideas!
Author video can be found here.