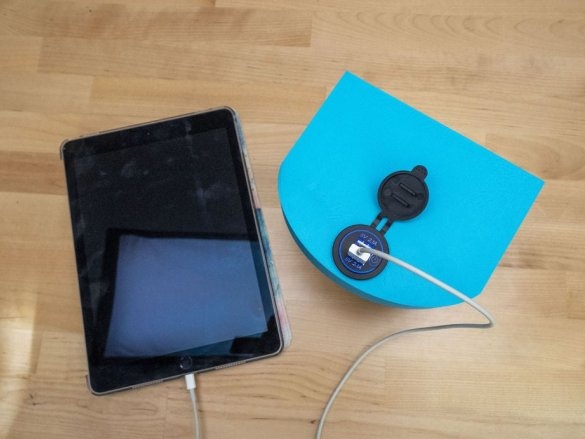
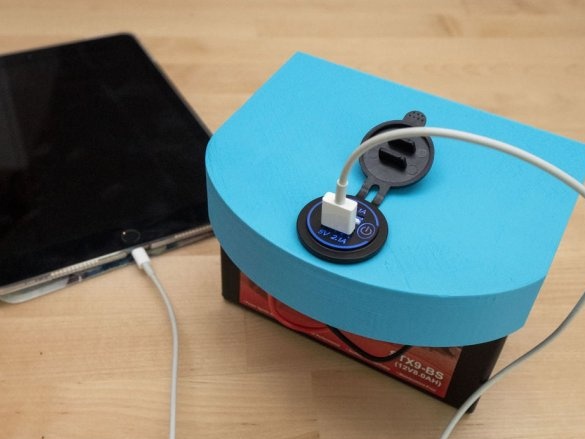
The Inktables websitemaster under the nickname bekathwia recalled how sometime after Hurricane Sandy, her home was left without electricity. There were no power banks then, and to charge the phones she used a lead battery connected to the inverter, from which, in turn, the power supplies for the phones worked. To charge the lead battery, she obviously carried it somewhere where the power supply remained, or there was a generator. But the need for a large power bank can arise without any hurricanes - just with a “blackout”, on a camping trip, etc. To make such a device more compact, she decided this time to exclude the inverter, and directly connect the charger with USB outputs directly to the lead-acid battery from the UPS, motorcycle or ATV, powered by a car electrical system. Despite the fact that the capacity of the battery used by the craftswoman is only 8 Ah, it should be borne in mind that its voltage is not 3.7, as in an ordinary modern power supply, but 12 V, so if measured in watt hours, it turns out 96. As in usual and self-made powerbank has a voltage converter, leading everything to a common denominator - 5 V. Only there it increases, and here it decreases, but in both cases - pulse. For some reason, the mistress takes its efficiency for 0.9, although in practice it is usually 0.7 - 0.8, which is also good.
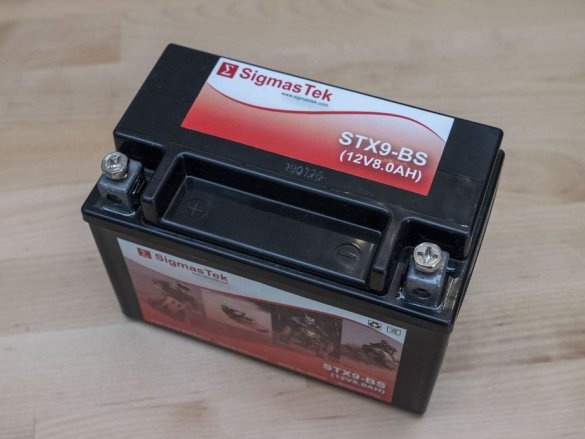
Since both the battery and the charger with USB outputs are taken ready-made, the case is the home-made part. But before making it, the craftswoman takes a battery:
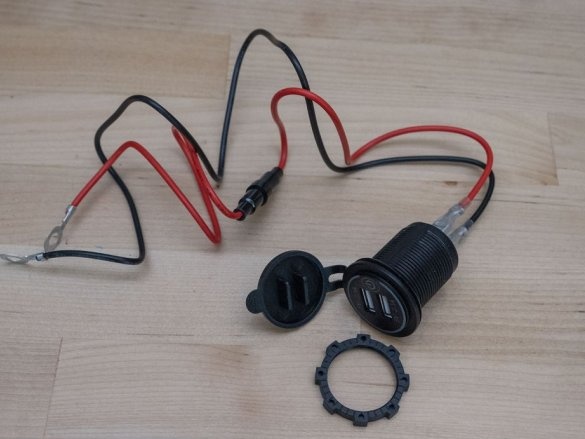
And the charger complete with the fuse holder and the insert itself:
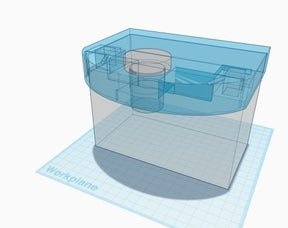
Connects them together, observing the polarity, and tries to connect a smartphone or tablet to the USB output. Everything works. You can proceed to the most interesting - to take on Tinkercad. Craftswoman measures the battery (carefully, so as not to close it with a tape measure), it turns out WxDxH 151.33x84.40x106.00 mm. Then it measures the memory, 27.23 mm comes out - the thread diameter and 37.36 mm - the outer diameter of the plastic nut. Given this data, it amounts to model, which is easy to process for components of other dimensions in the same Tinkercad. She puts the result here. Here the case is shown along with the battery on which it is worn and the surface of the table, but without the charger:
3D printing options:
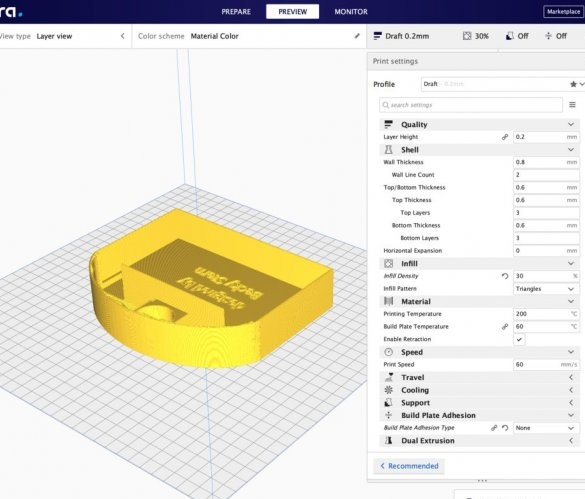
Layer Height: 0.2mm
Wall thickness: 0.8mm
Number of wall lines: 2
Density: 30%
Without support
Filament: 3D Solutech, 1.75 mm, PLA
Printer: Creality CR-10s Pro
Printing Duration: 7 hours
The craftswoman launches the Cura slicer:
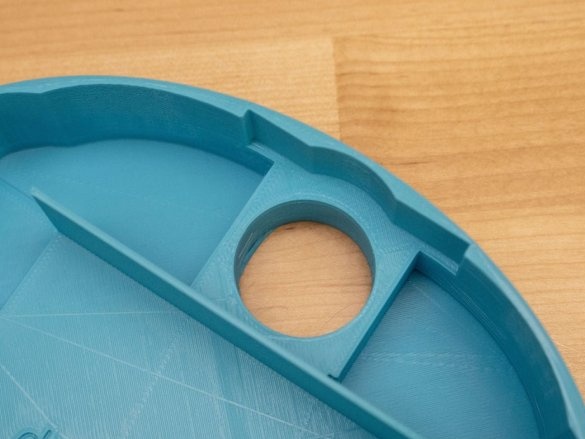
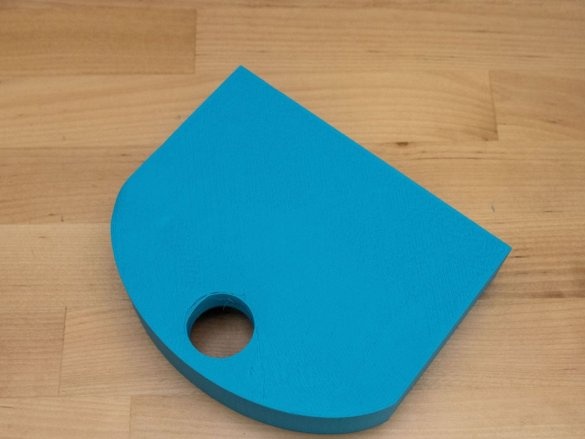
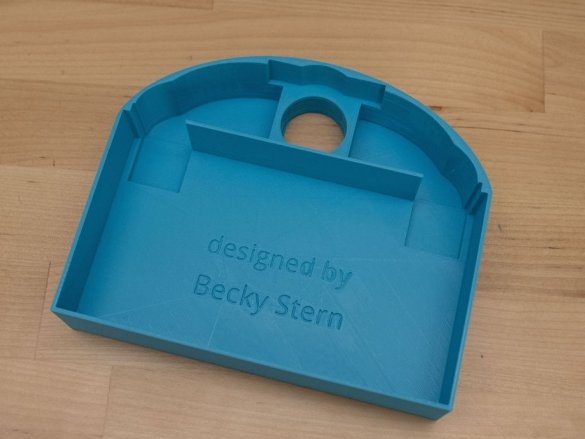
And now the case is ready:
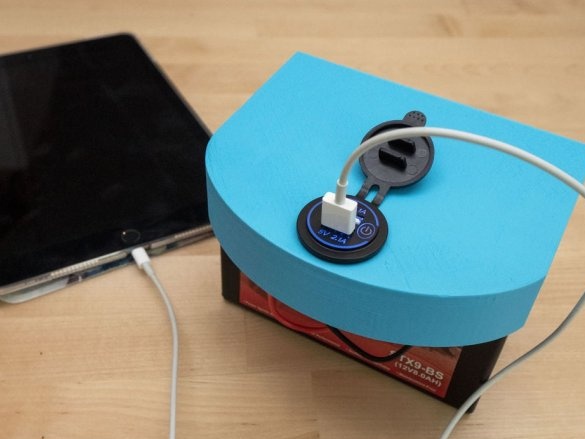
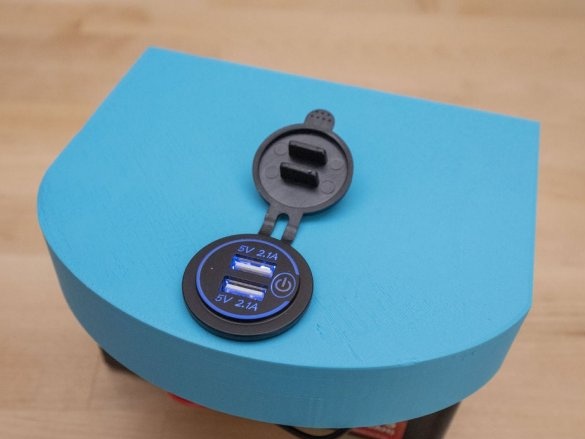
Finally, the craftswoman collects everything and checks:
To charge the battery, it should be removed, disconnected from the device and connected to the automatic charger intended for it.

