
Almost every one of you likes various decorative items that can decorate the festive table. Such products can be presented to friends and relatives for the New Year.
In this article, the author of the YouTube channel “Rag 'n' Bone Brown” will tell you about an easy way to make a large number of coasters for glasses, cups, or mugs.

Materials
- Reiki from oak and teak 20X20 mm
- Boards
- Flaxseed oil, acrylic varnish, wax
- PVA glue
- Packing tape
- Sandpaper.
Instruments, used by the author.
- Miter saw, surface gage
— Clampsclamps
— 3M Professional Respirator
- Workbench, vise
- Cycle, hand planer, brush
— Band-saw
- Grinding machine
— Orbital sander.
Manufacturing process.
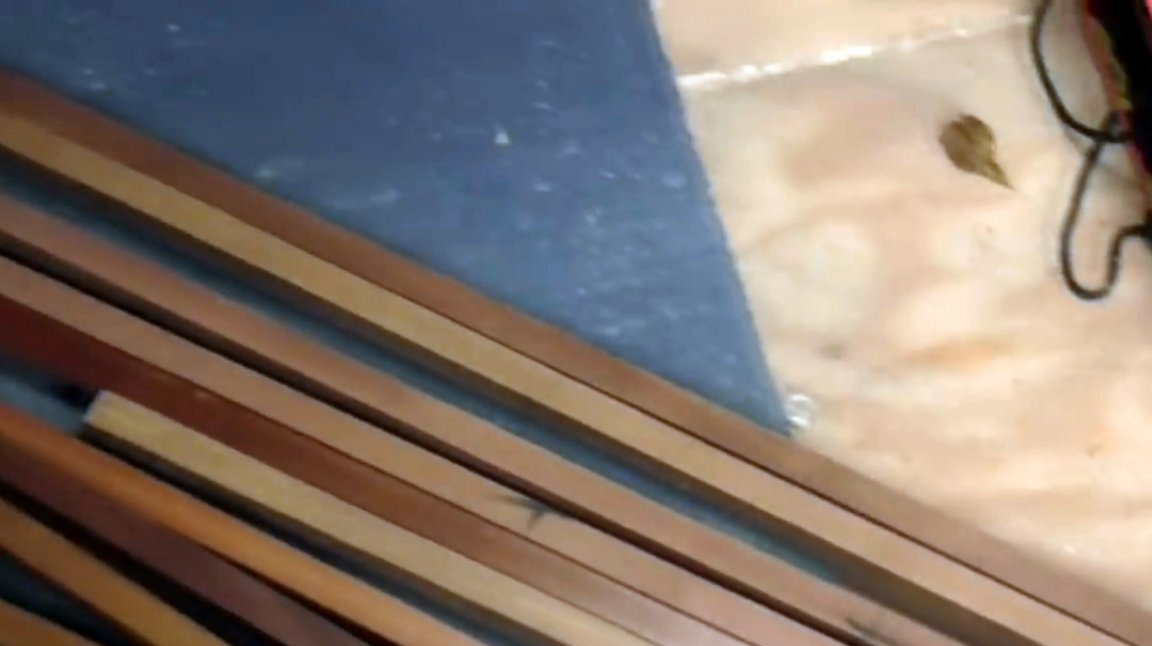
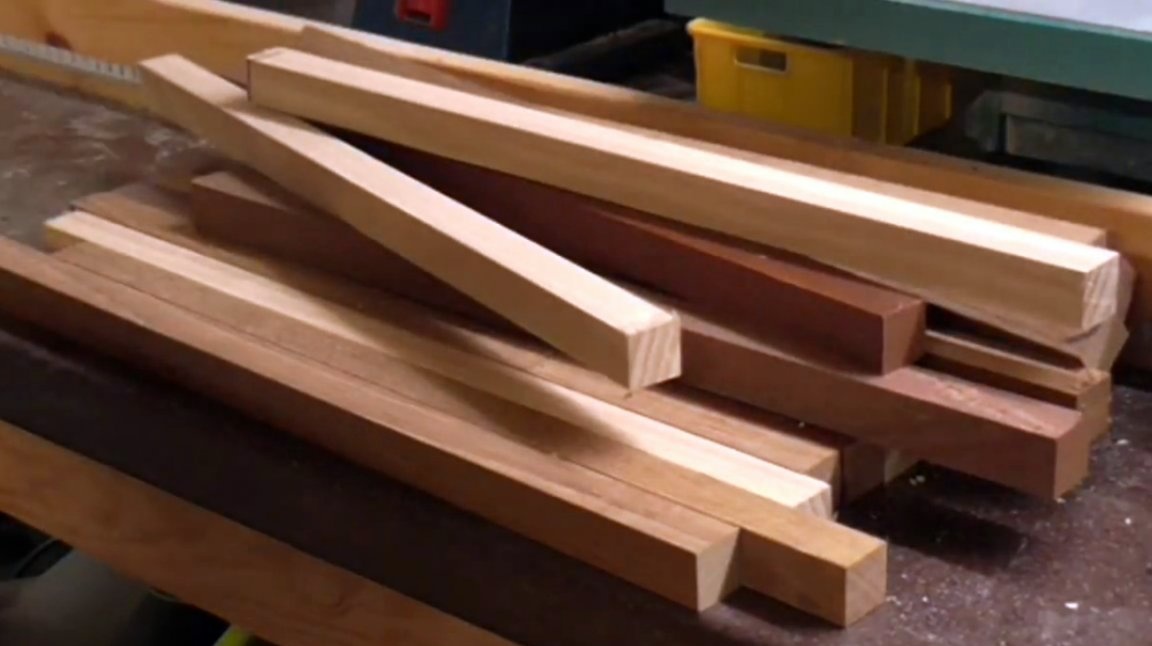
It so happened that the author was presented with several laths from hardwoods of different grades: oak, mahogany (mahogany) and, most likely, teak. Reiki are 20X20 mm in diameter and 1600 mm in length.
The author decides to make gift coasters by combining these three types of wood. He sorts the rocks, laying the slats in three piles.
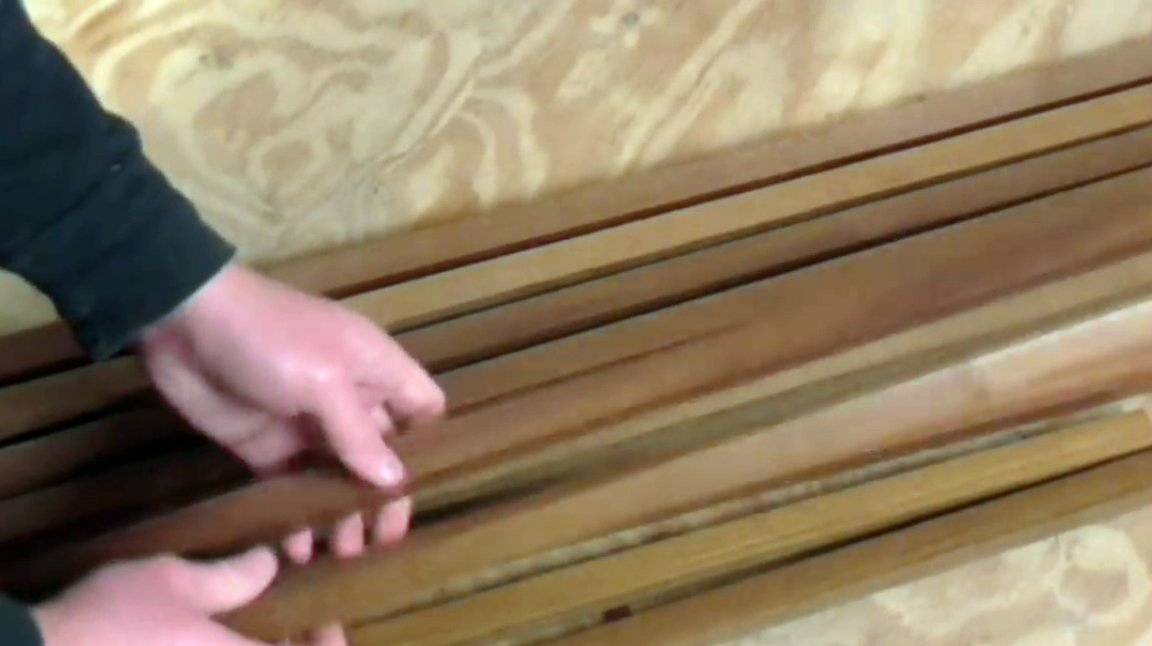
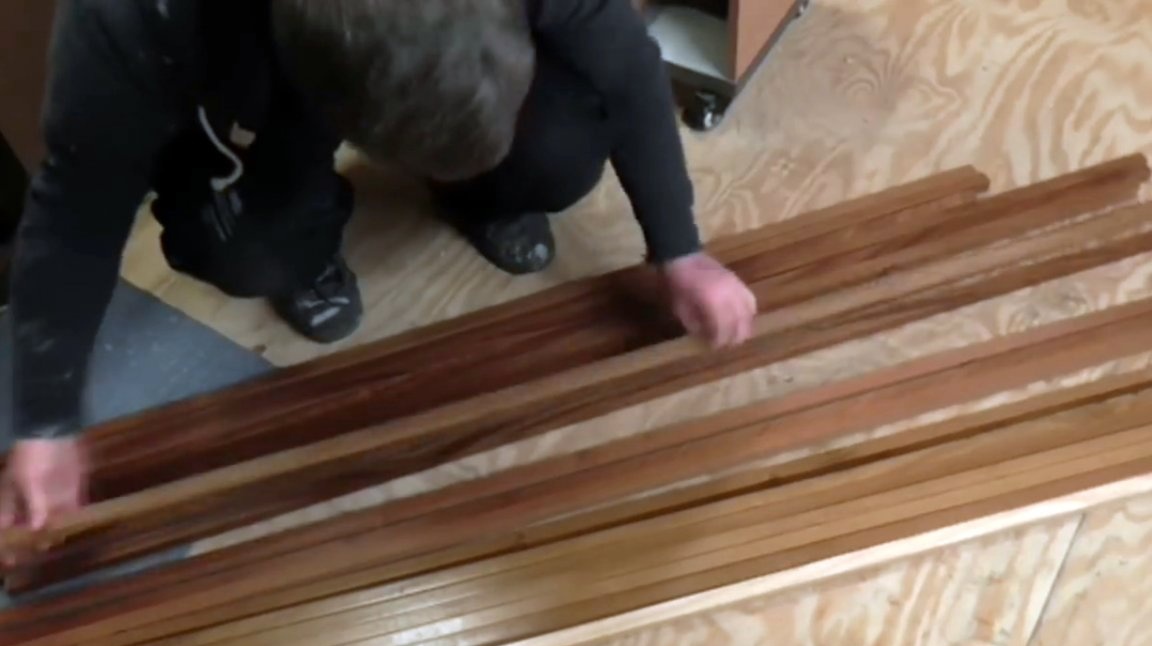
Then he selects 2-3 slats of each of the three breeds.
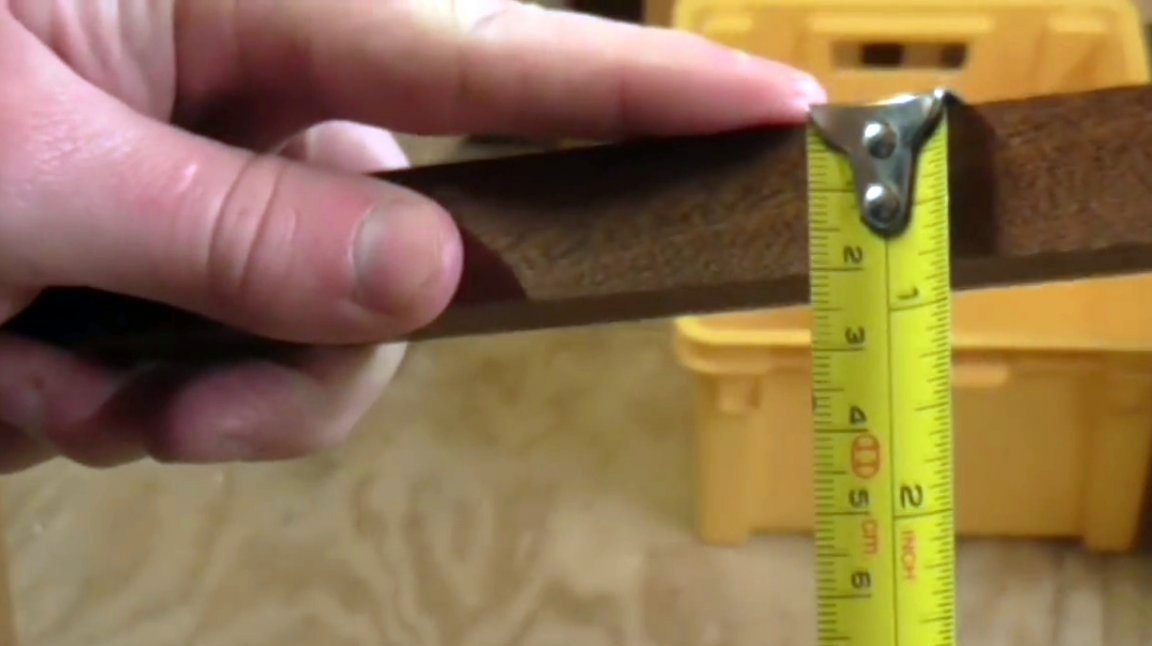
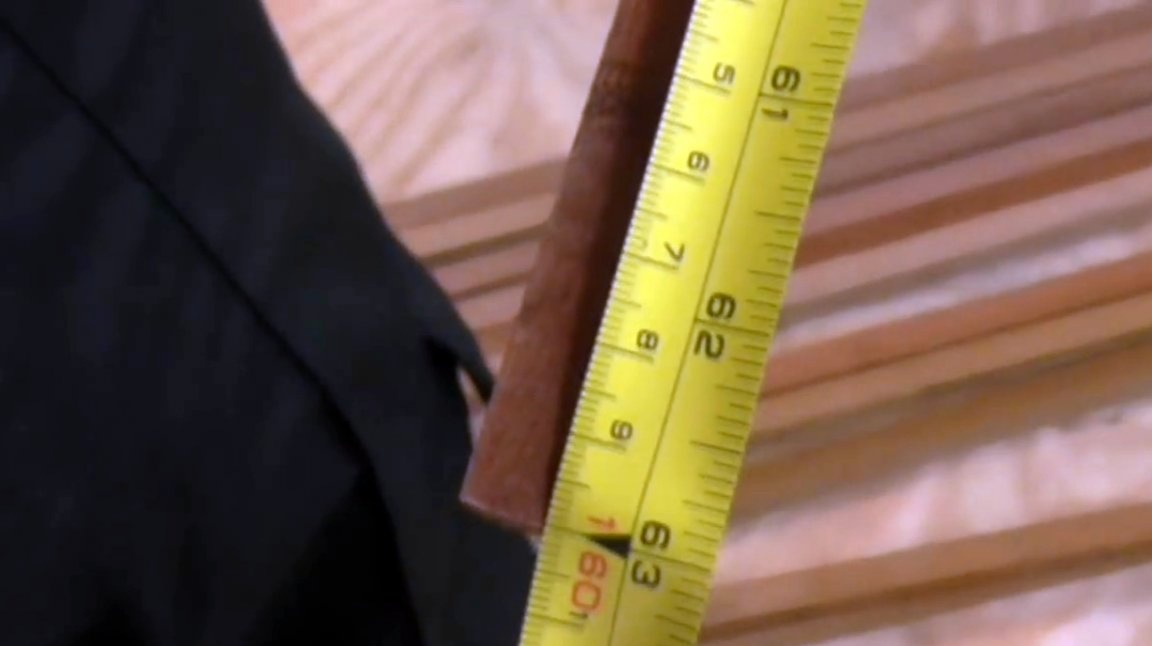
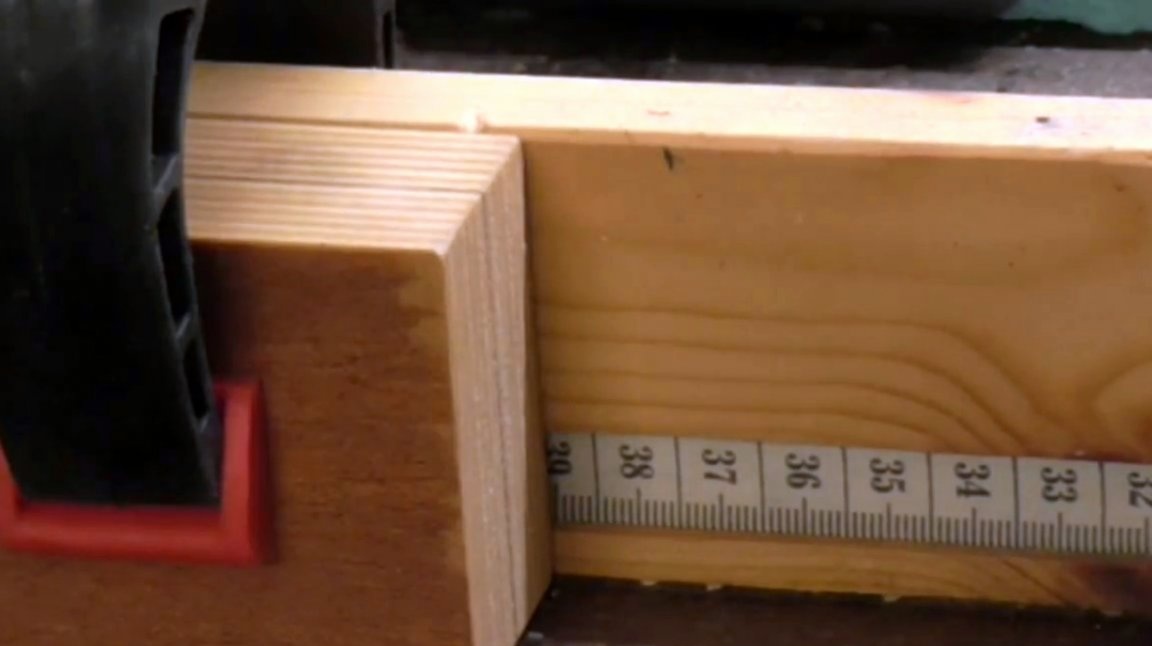
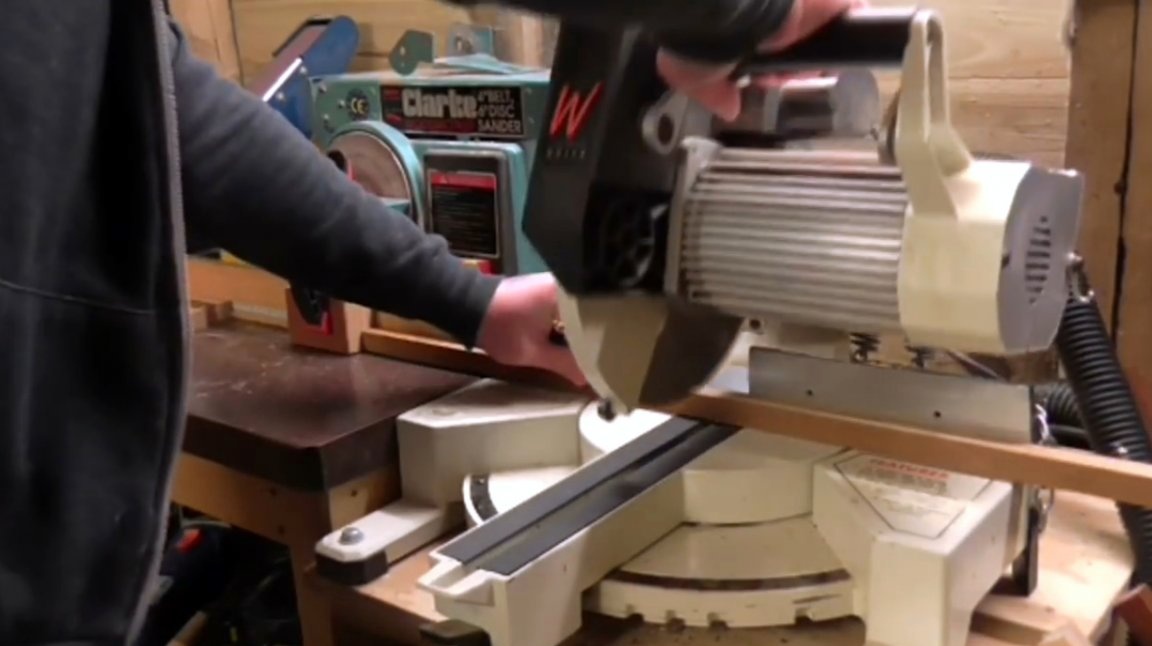
Installs a stop block on the miter saw stop at a distance of 390 mm, so that 4 segments are obtained from each rail length of 1600 mm. For all further work, you definitely need to apply either quality respirator, or a powerful air filtration system. About this device was told in this article.
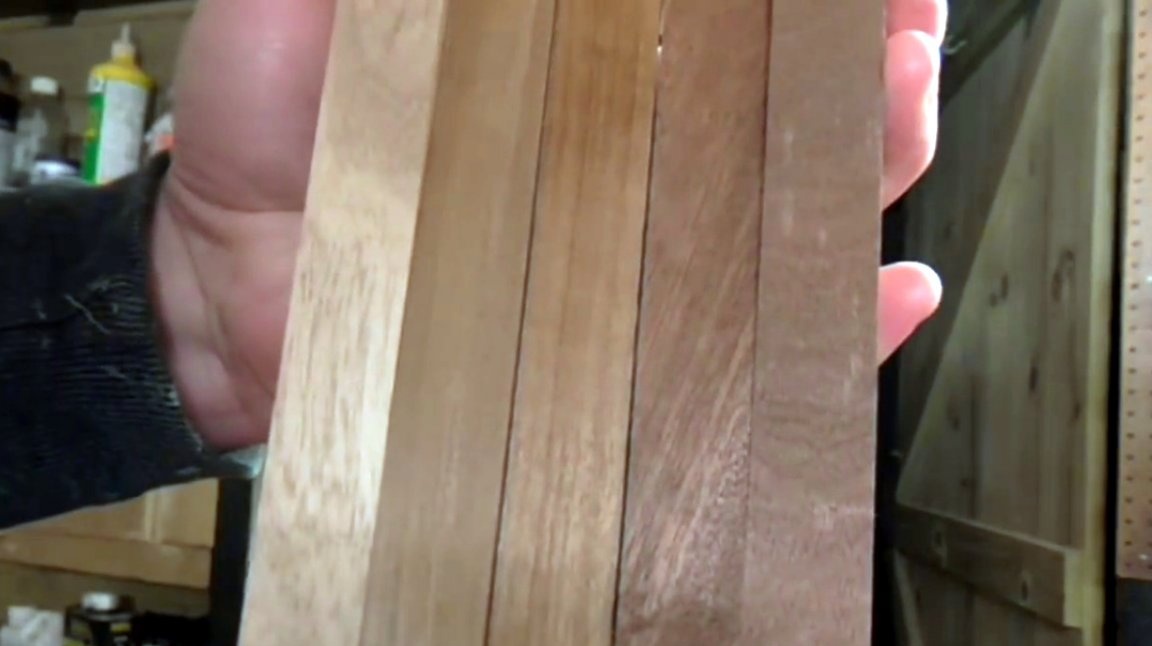
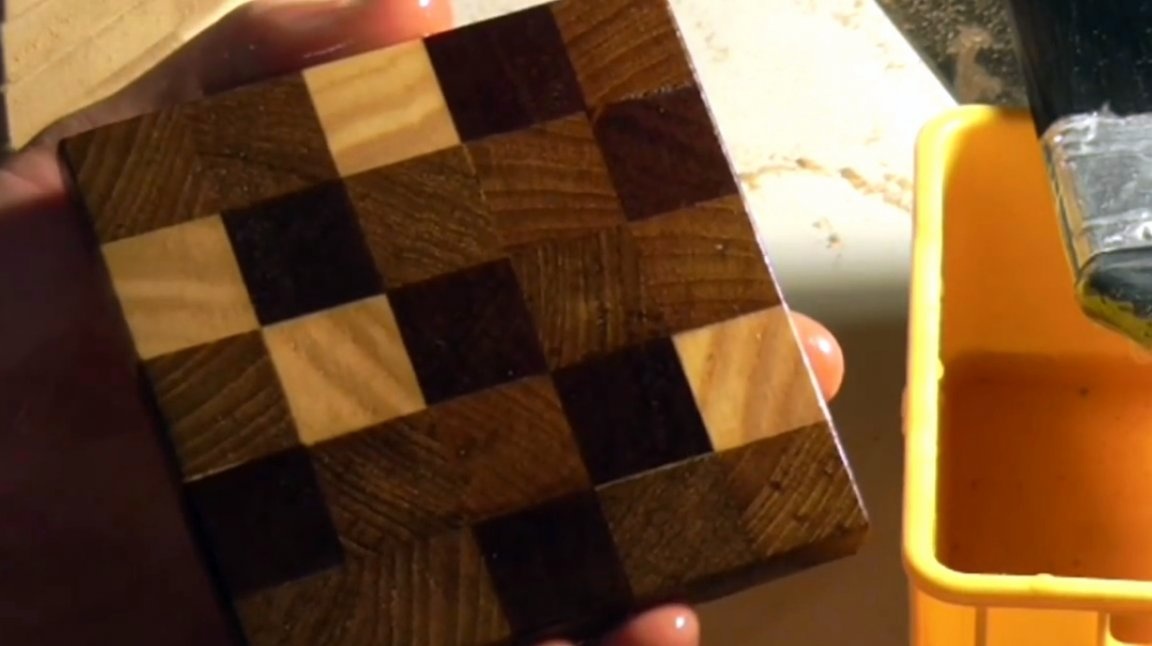
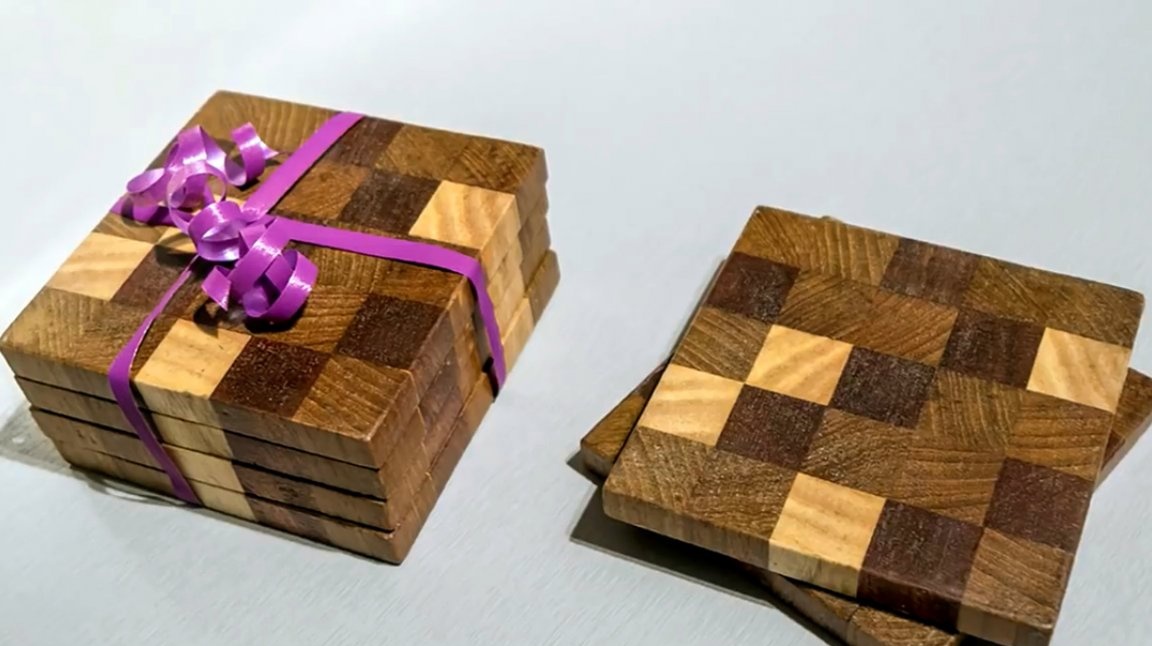
After that, the craftsman begins to simulate various patterns, combining all these types of wood with different shades and end patterns of rings in the most bizarre way.
Ultimately, he decides not to lay out some organized pattern from them, but simply expose them in a random order.
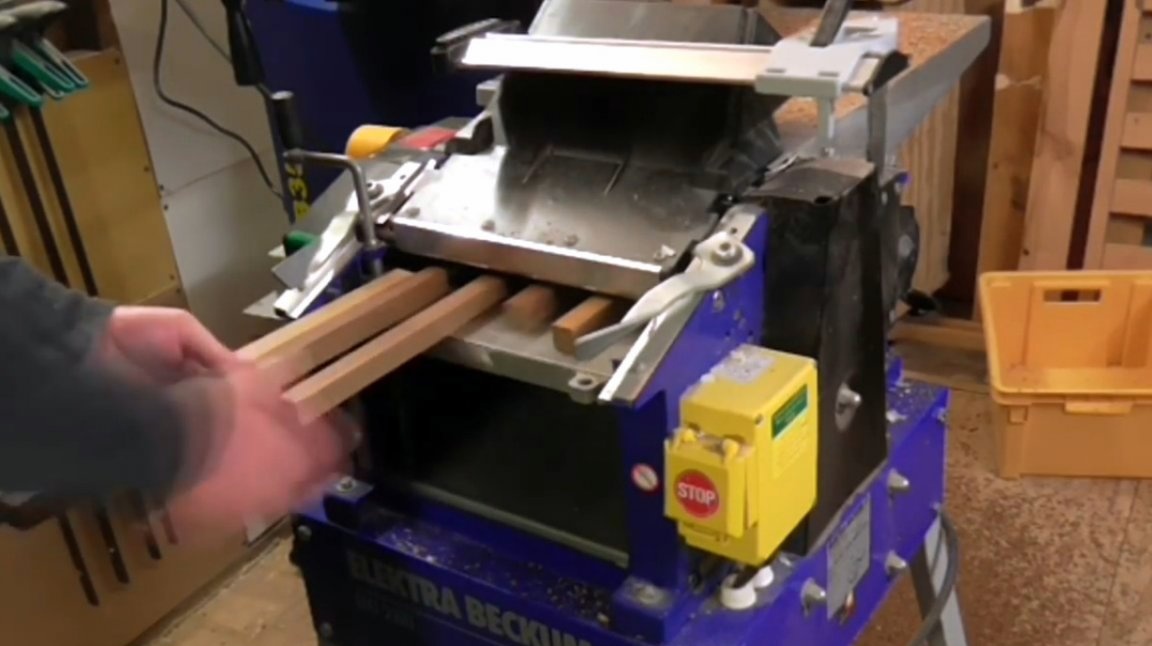
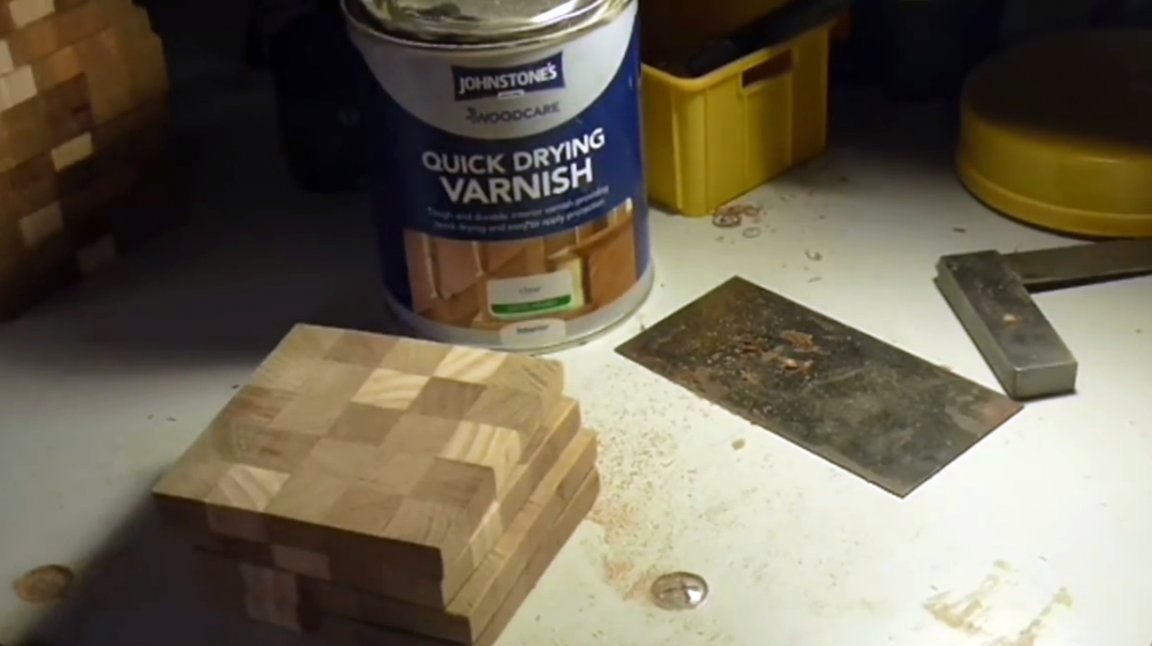
Finishing varnish was on the two sides of each rail, and the other two sides were without it. The author decides to remove this layer of varnish by driving the blanks through the thicknesser. This is necessary so that the wood glue can penetrate deep into the fibers, and thus glues the segments well.
To do this, the author sets the thickness to 18 mm on the thickness gauge and passes each rail through the device, laying it up with the varnished side up.The rest of the rails are processed in the same way. As a result, all wooden elements will have one width - 18 mm.
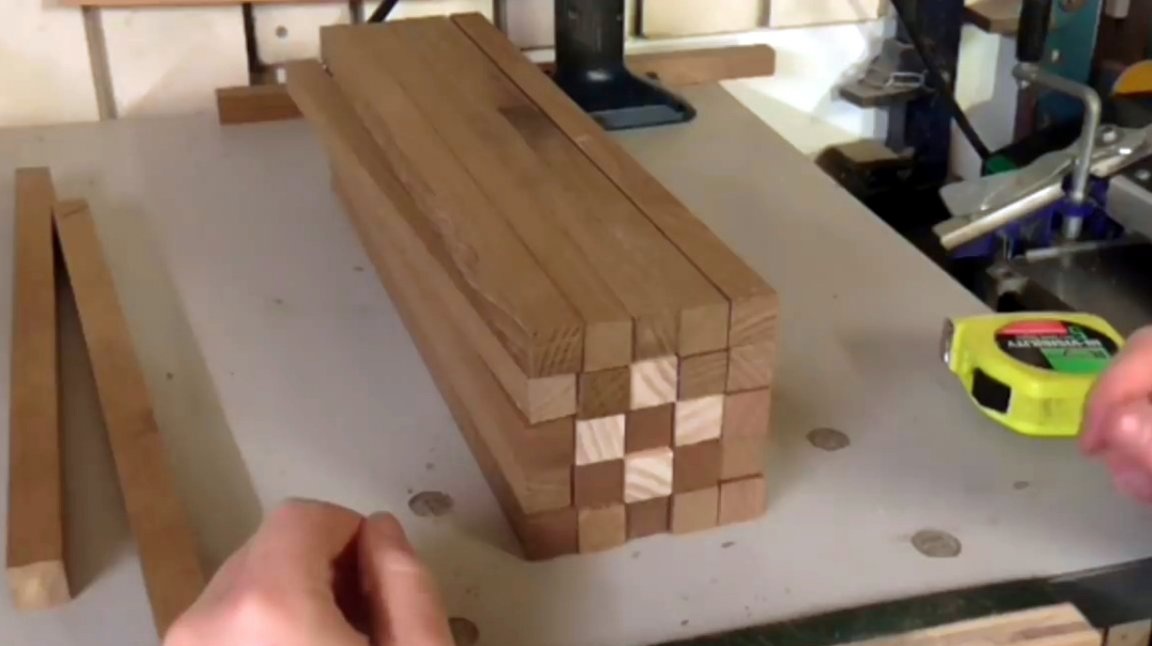
Now it's time to glue all the segments together. The author uses clamps. Lays them on the first level of the planks, trying to comply with the principle of contrast of the tree.
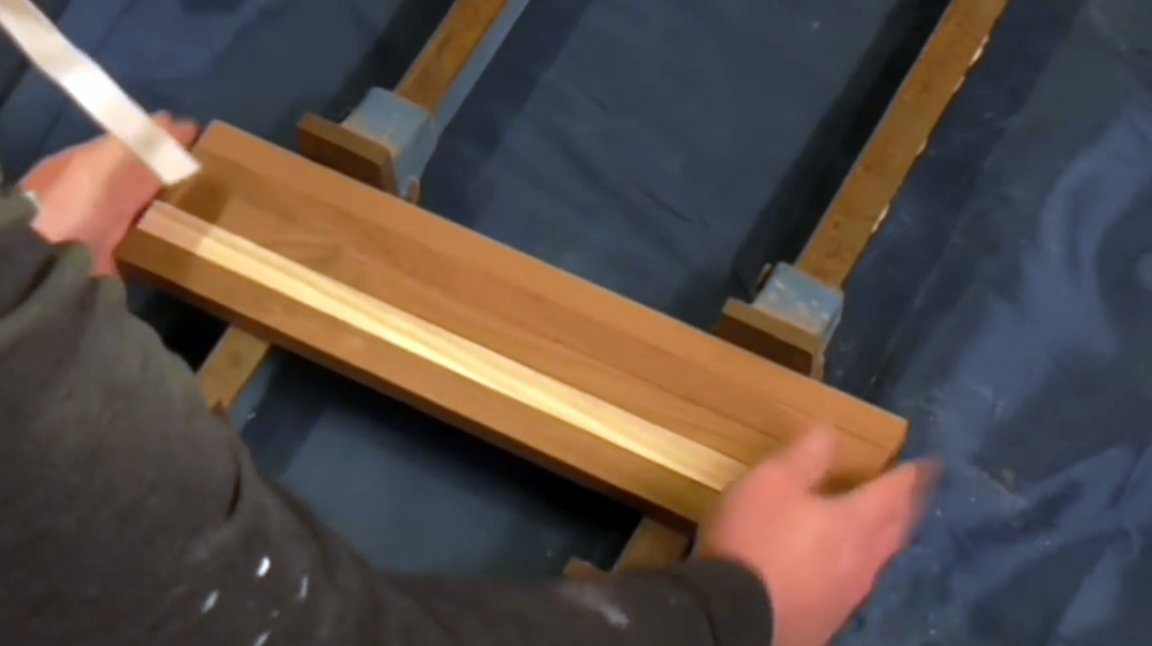
Coats the slats on top with glue, turns each one separately on its side and connects to the other in turn, lightly rubbing one side on the other to distribute the glue.
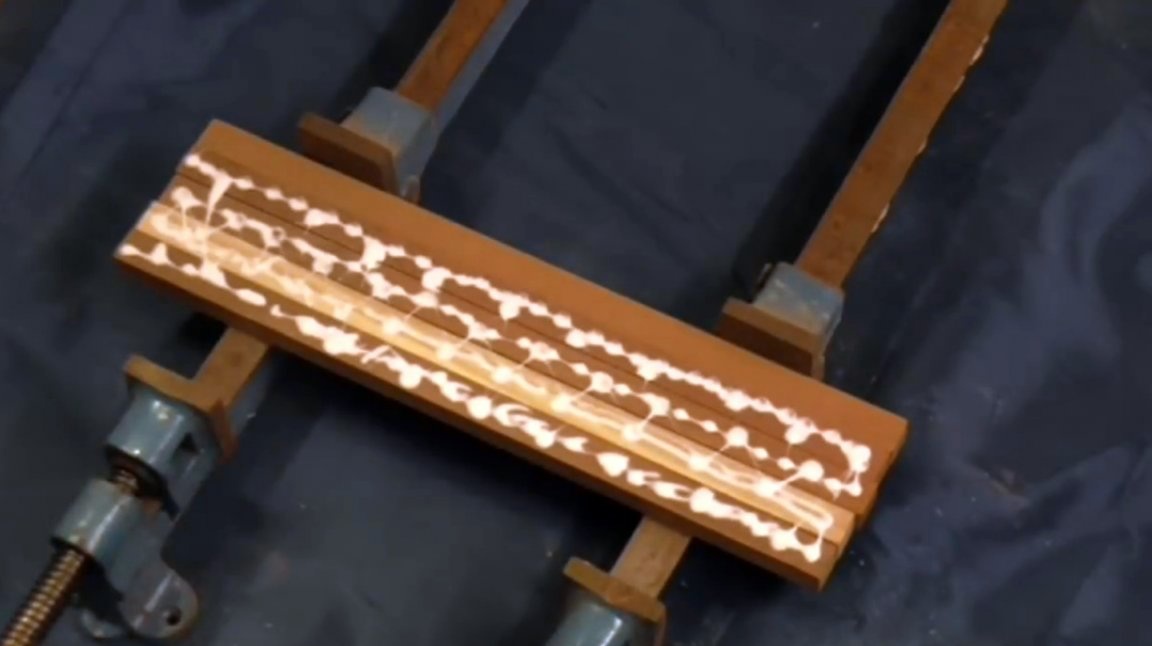
Next, the entire upper surface of the first layer is smeared with glue. And the next layer is superimposed, again one by one. The side of each bar must be coated with glue. The other three layers are also stacked.

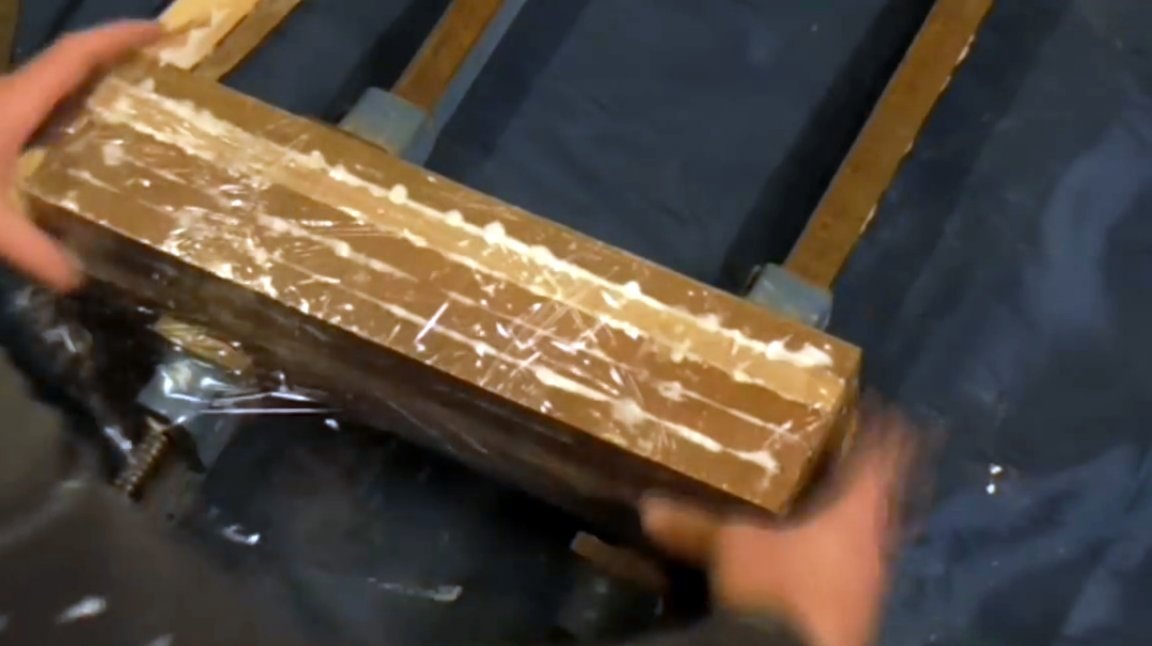
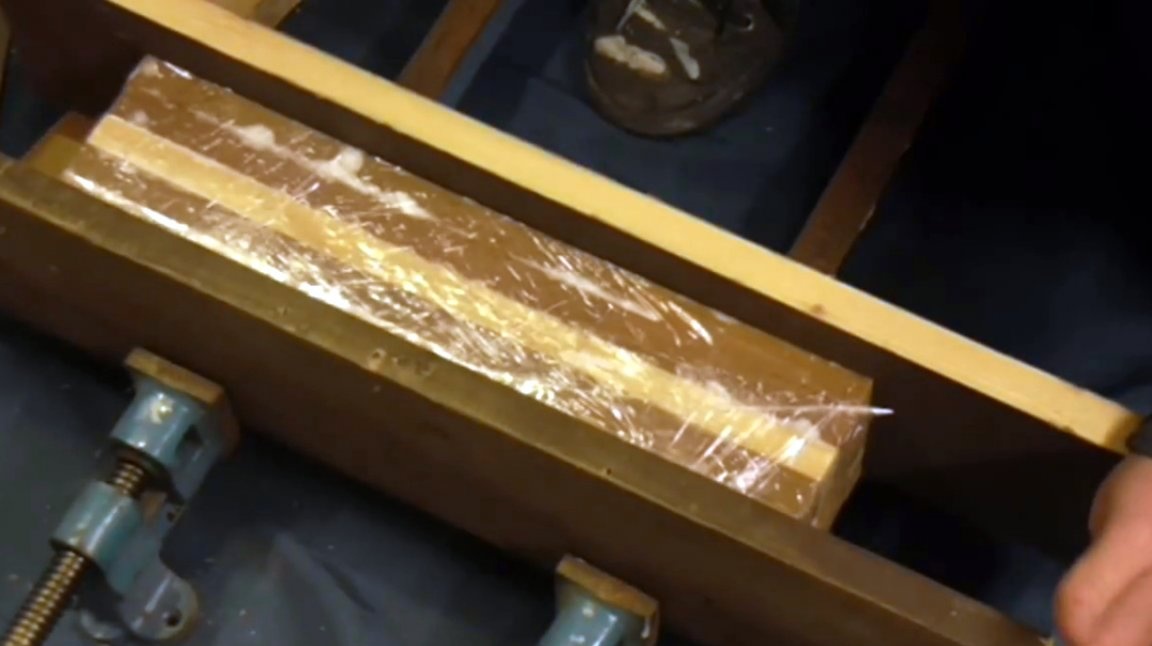
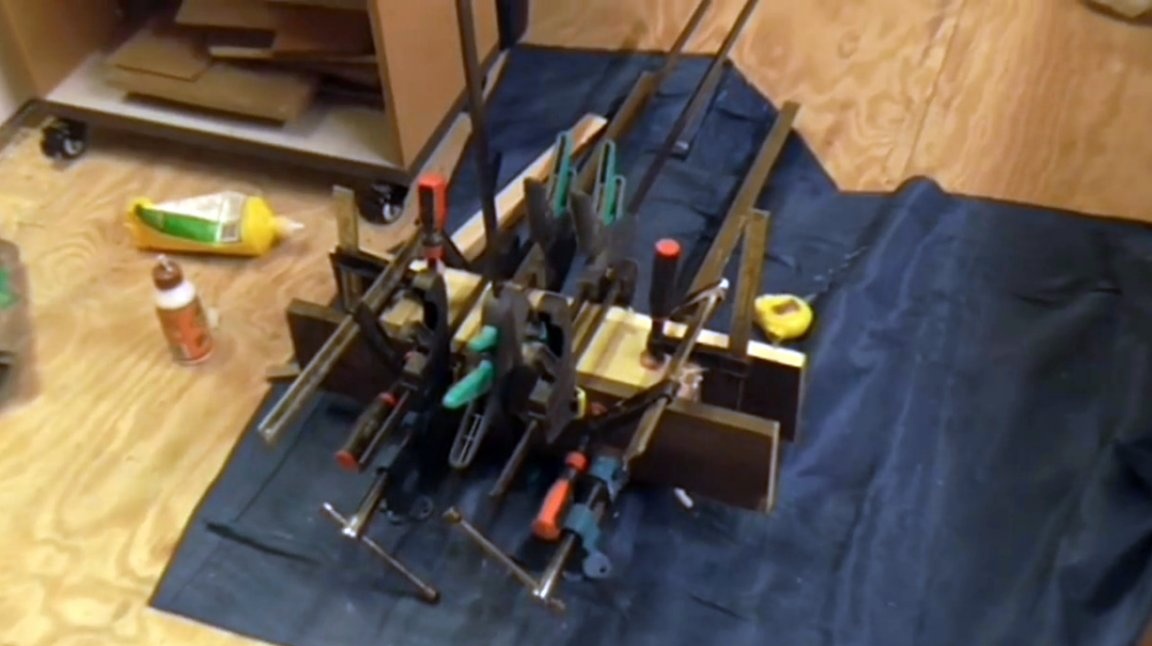
After that, the entire workpiece is wrapped with a packaging film. The latter will prevent the gluing of the wood segments until the moment the author sets the clamps properly to evenly distribute the pressure over the entire plane of the workpiece. It also protects against gluing of the sides to the pressure boards and clamps.
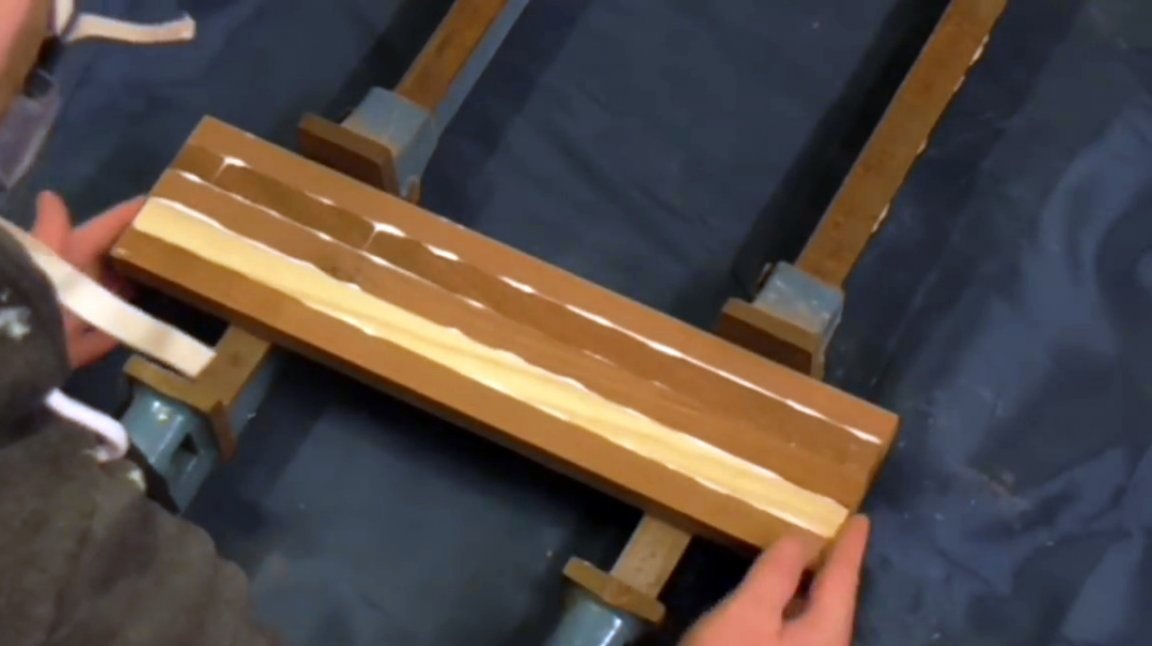
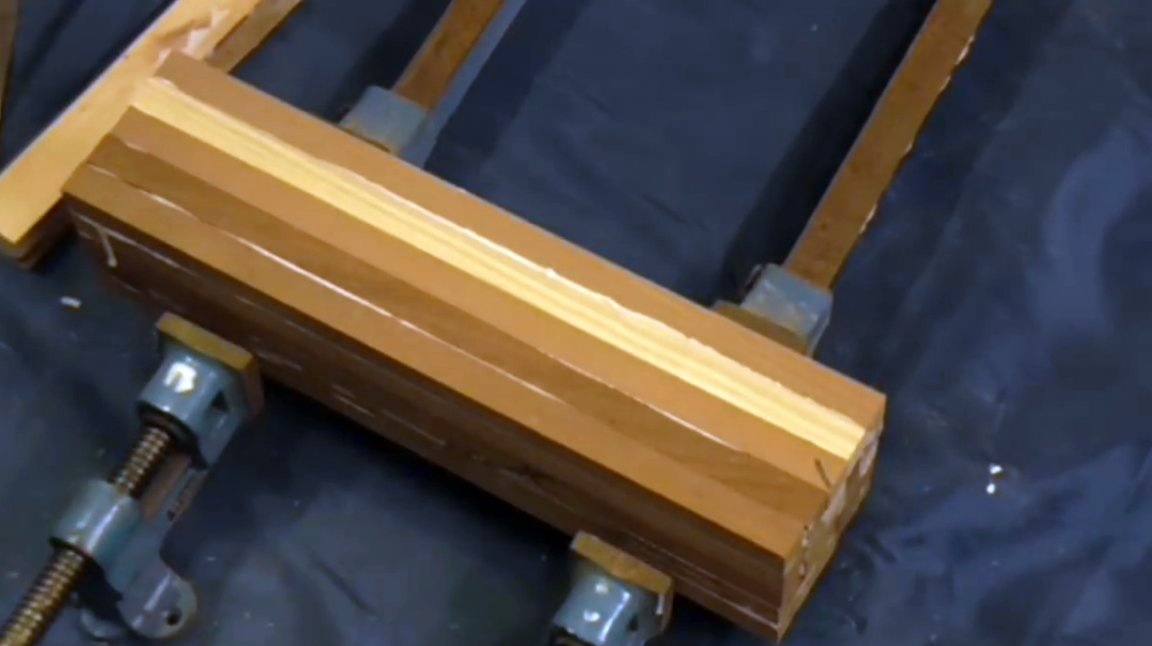
Then the author imposes two boards on the sides, and one on top. Now through them clamps the product in clamps. This ensures uniformity in the application of compressive forces.
In this position, the workpiece is left for 24 hours, after which all the clamps are removed.
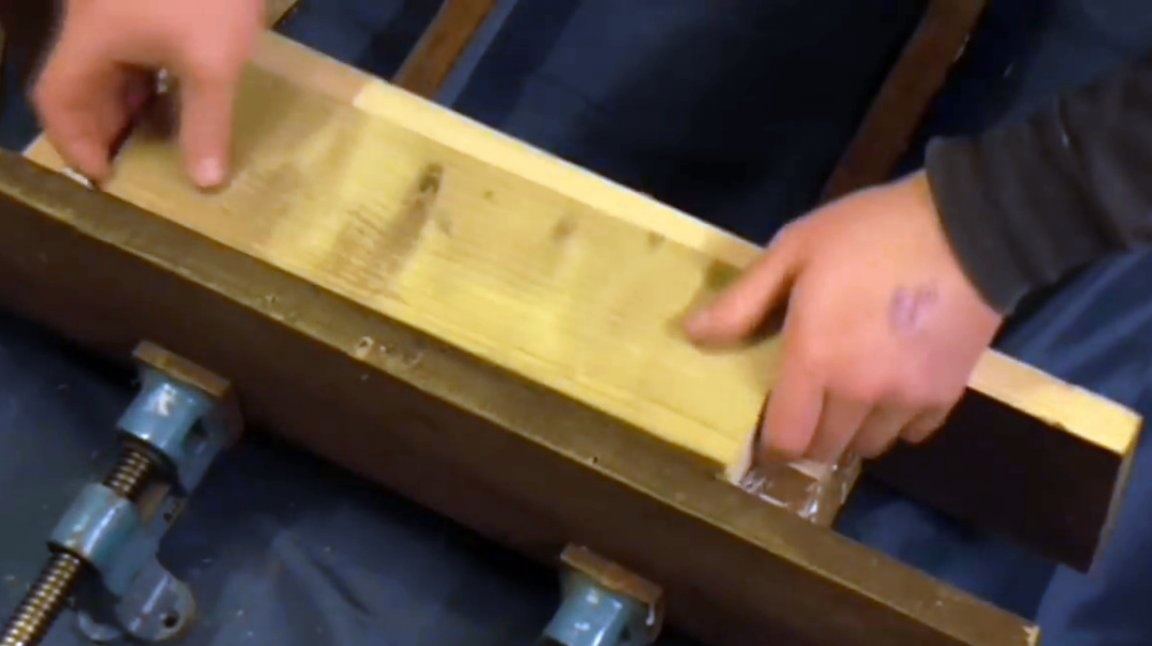
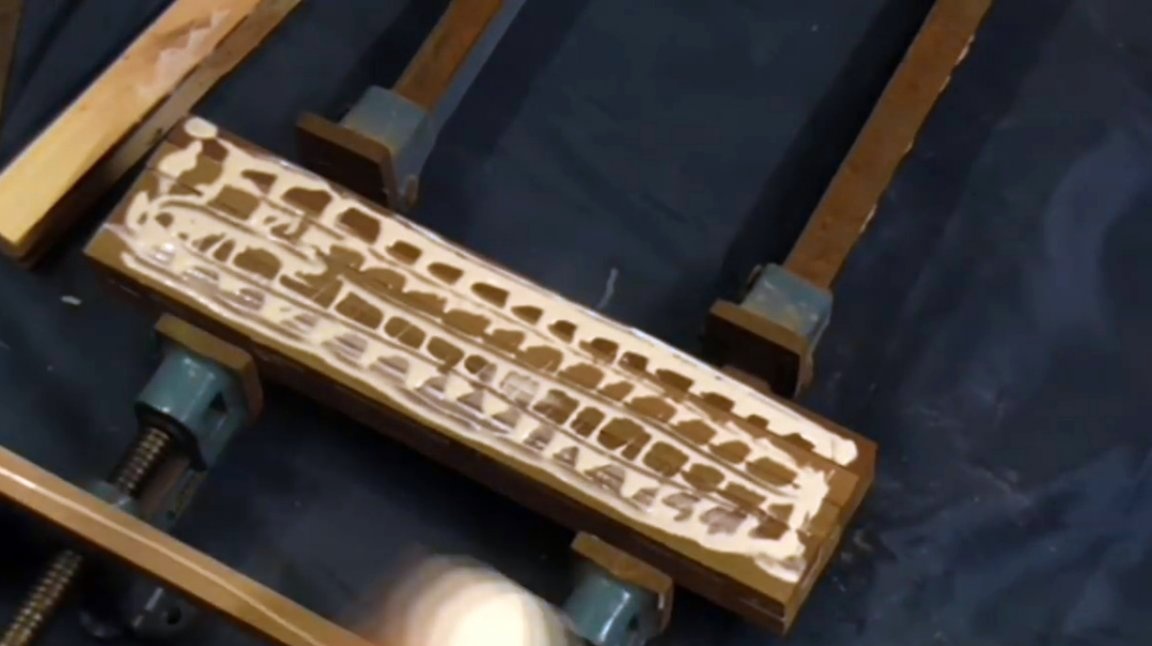
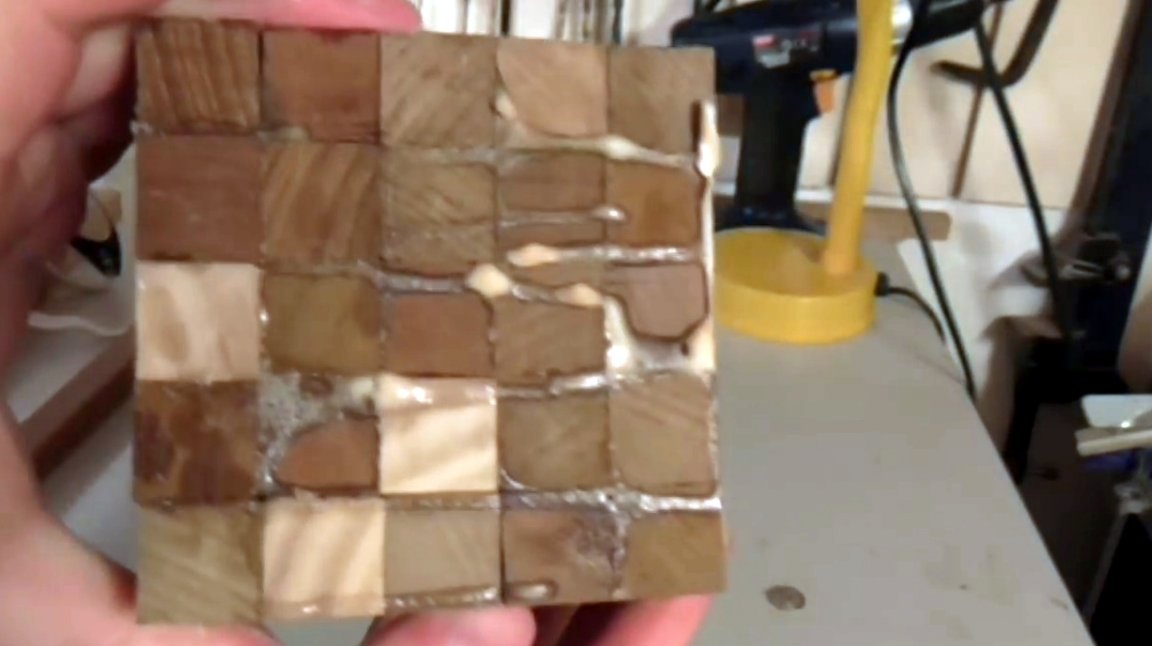
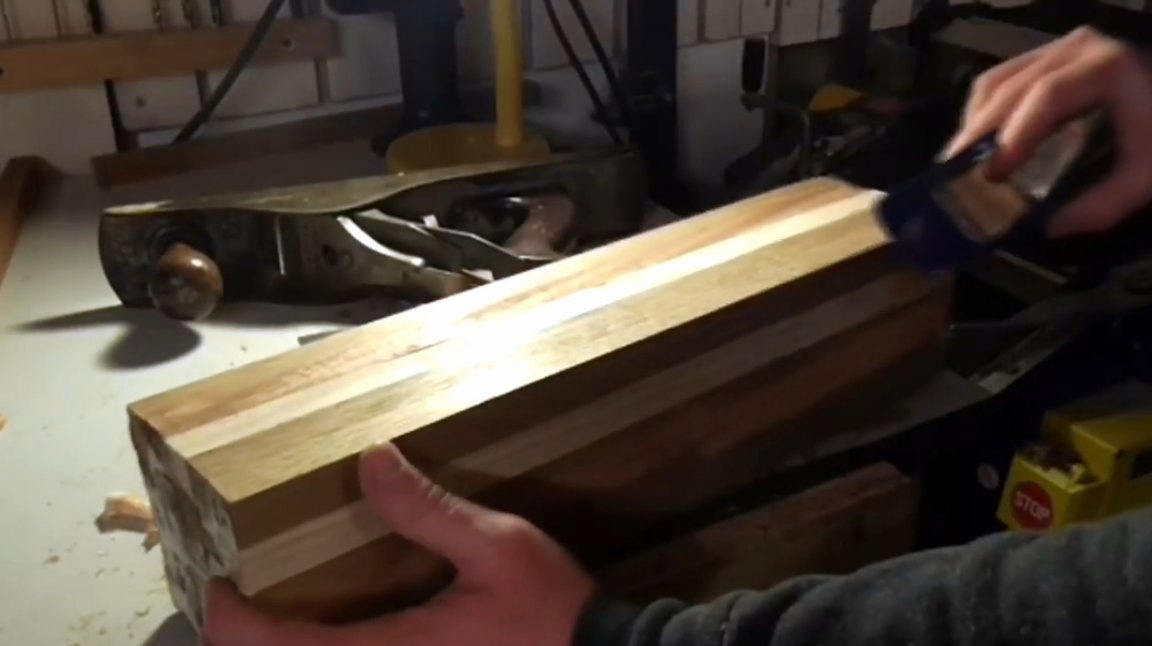
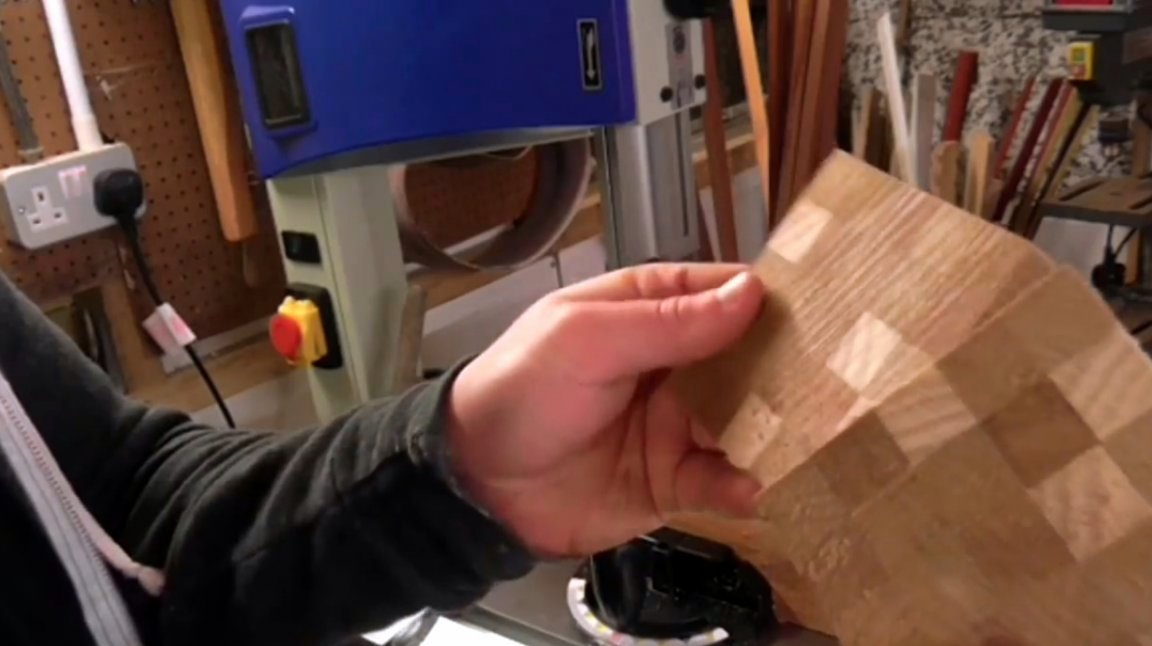
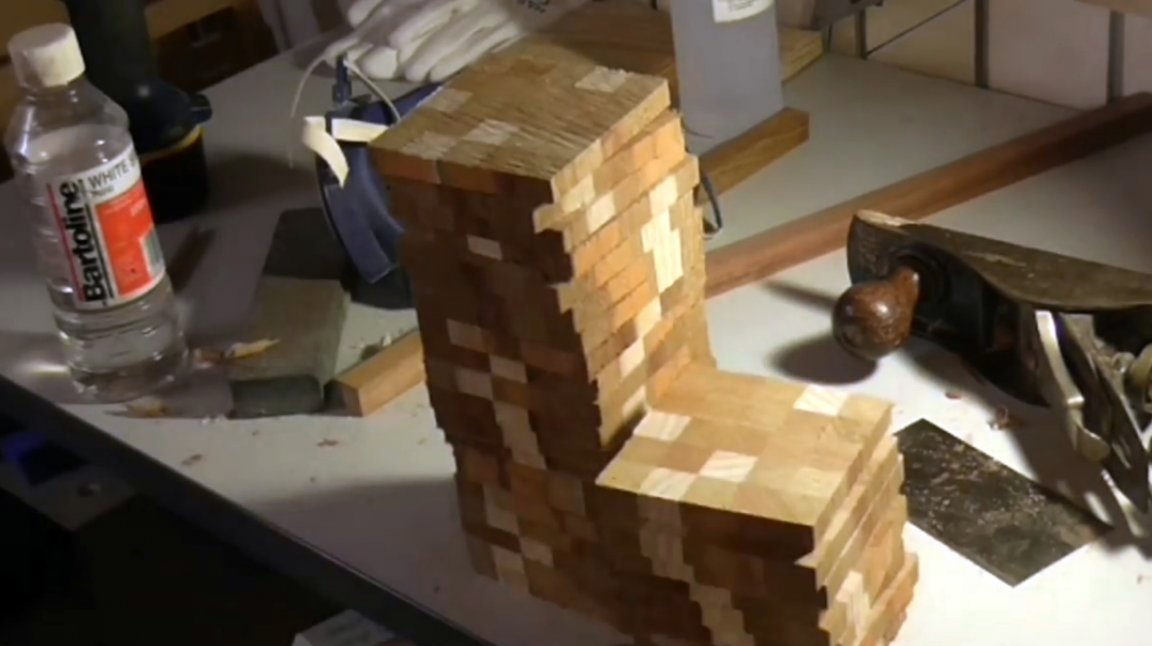
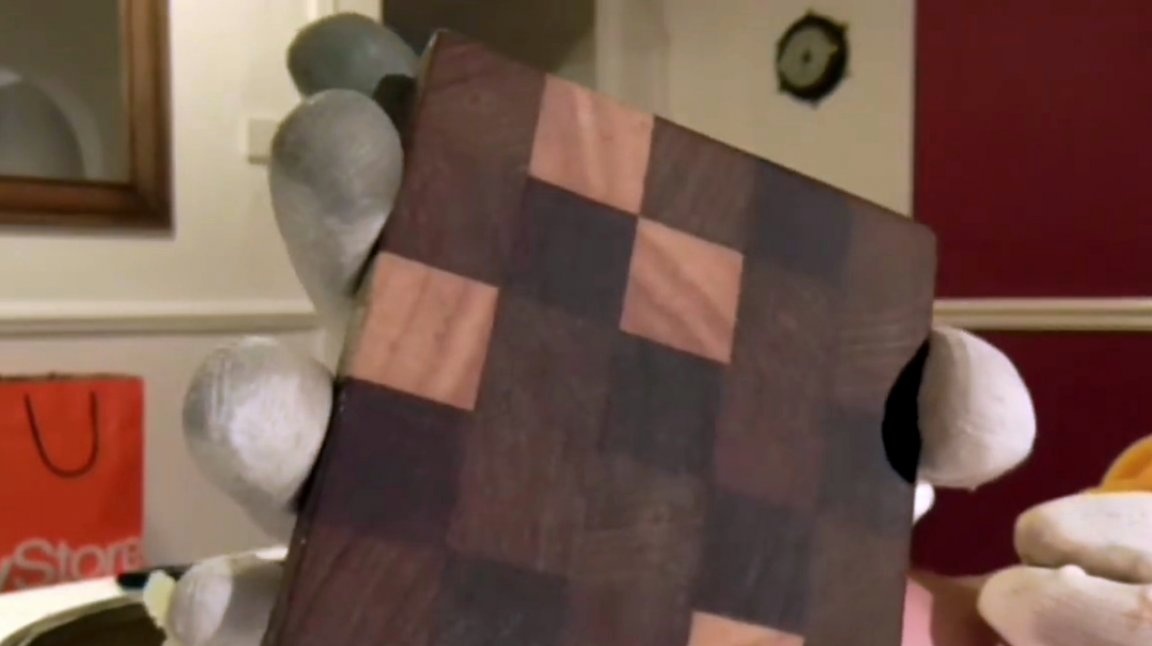
The sticky film is also removed, and the glued packet of slats now looks like this.
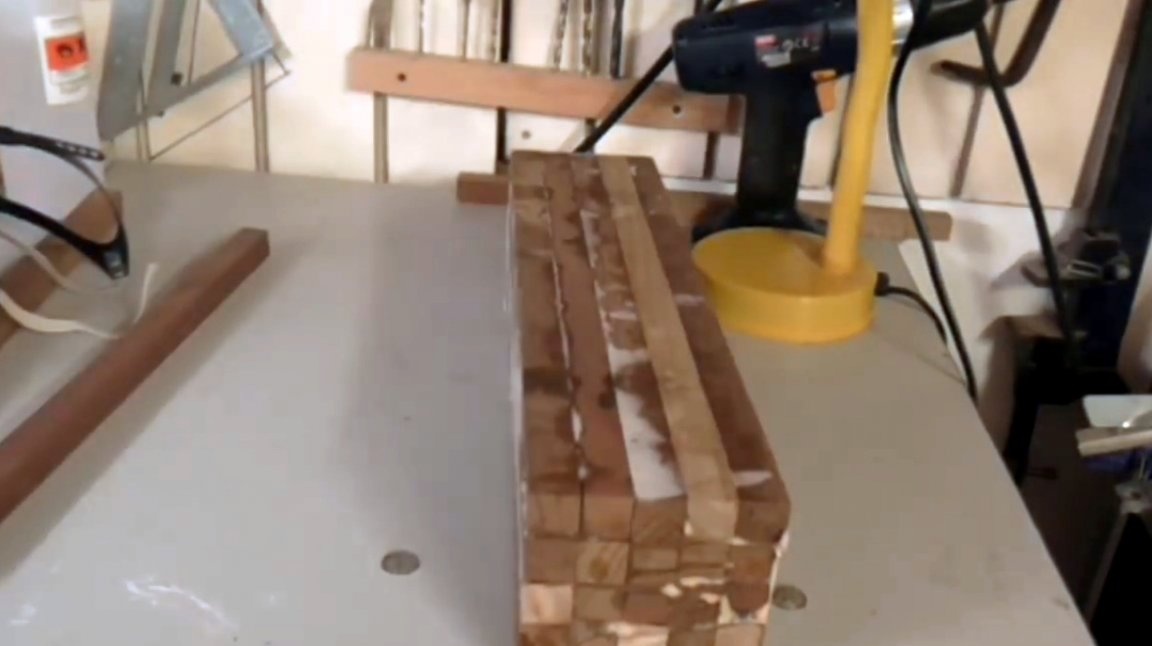
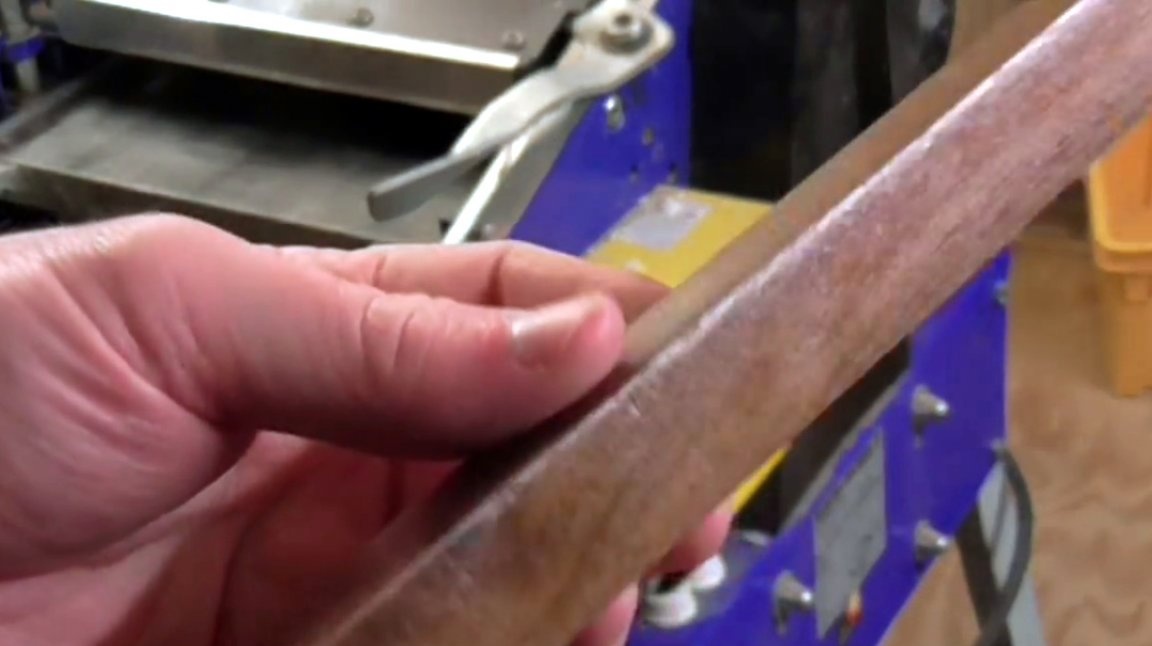
Then, in cycles, the master carefully removes adhesive residue from all surfaces. Then he applies a manual planer, trimming them all 4 sides so that they are perfectly even.
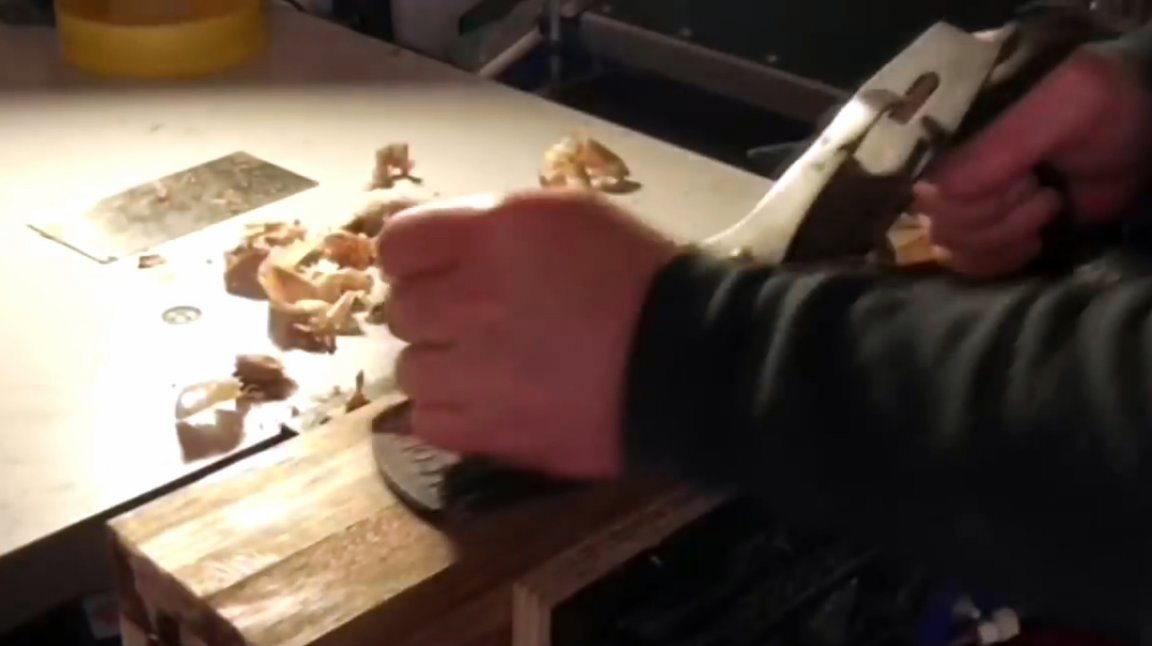
Now with an end plane, he removes a small chamfer from the ribs in order to slightly smooth the corners.
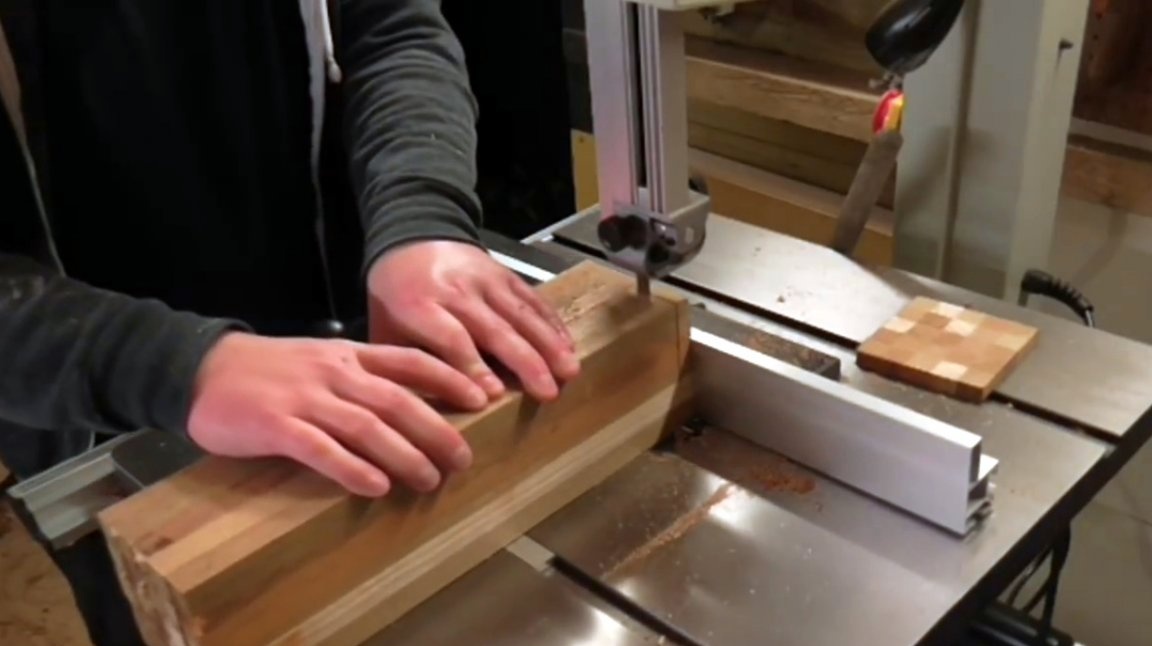
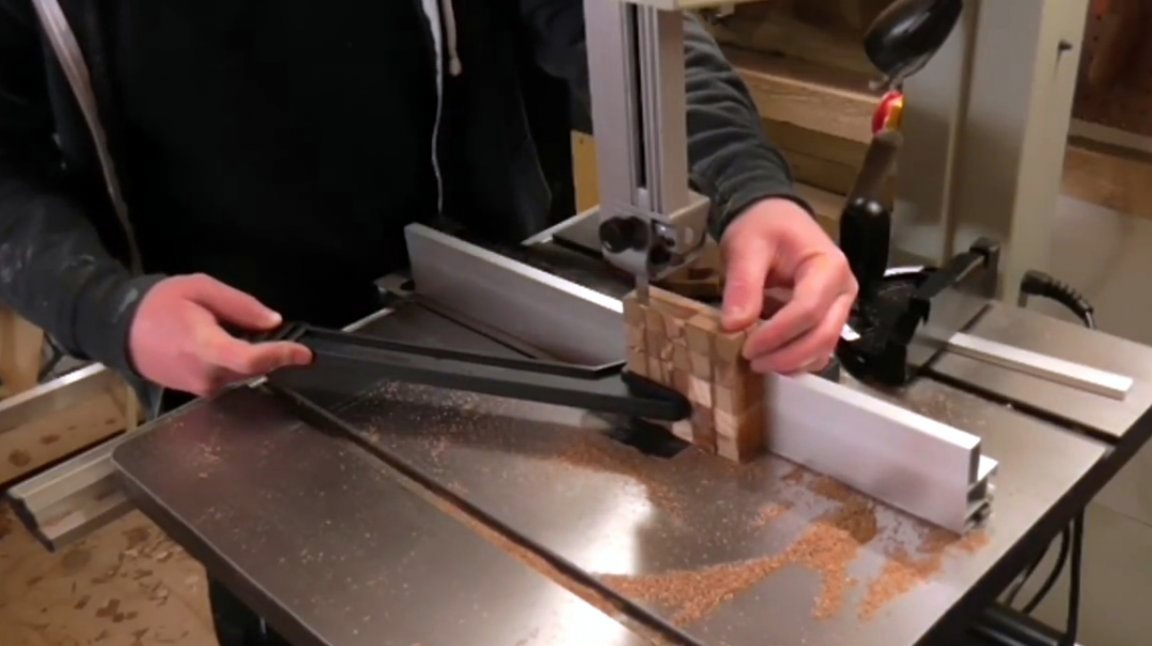
On the band saw, he trims one of the sides of the wood bundle, achieving a smooth and neat surface. This is very important, the quality of all subsequent cuts, and their geometry, depends on it.
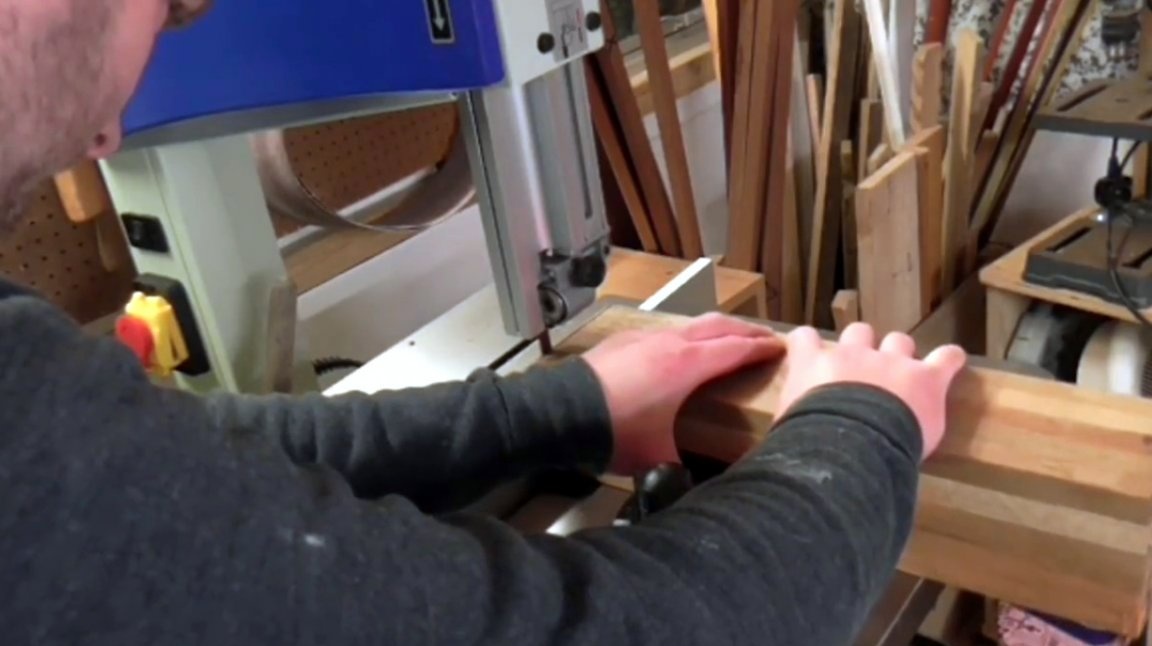
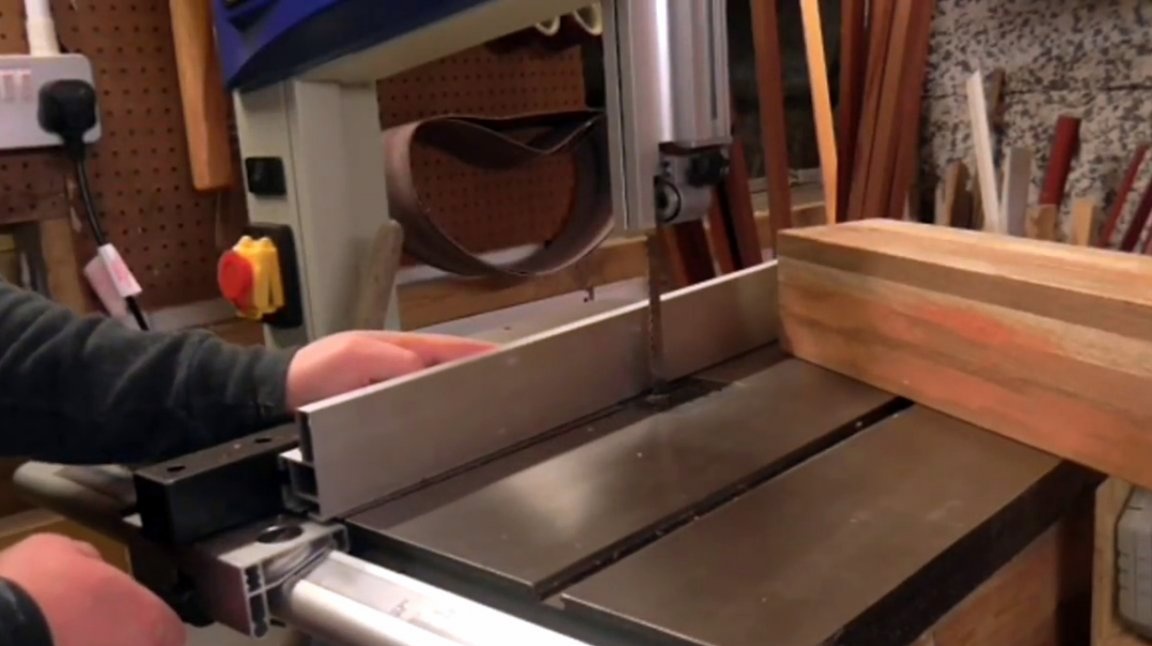
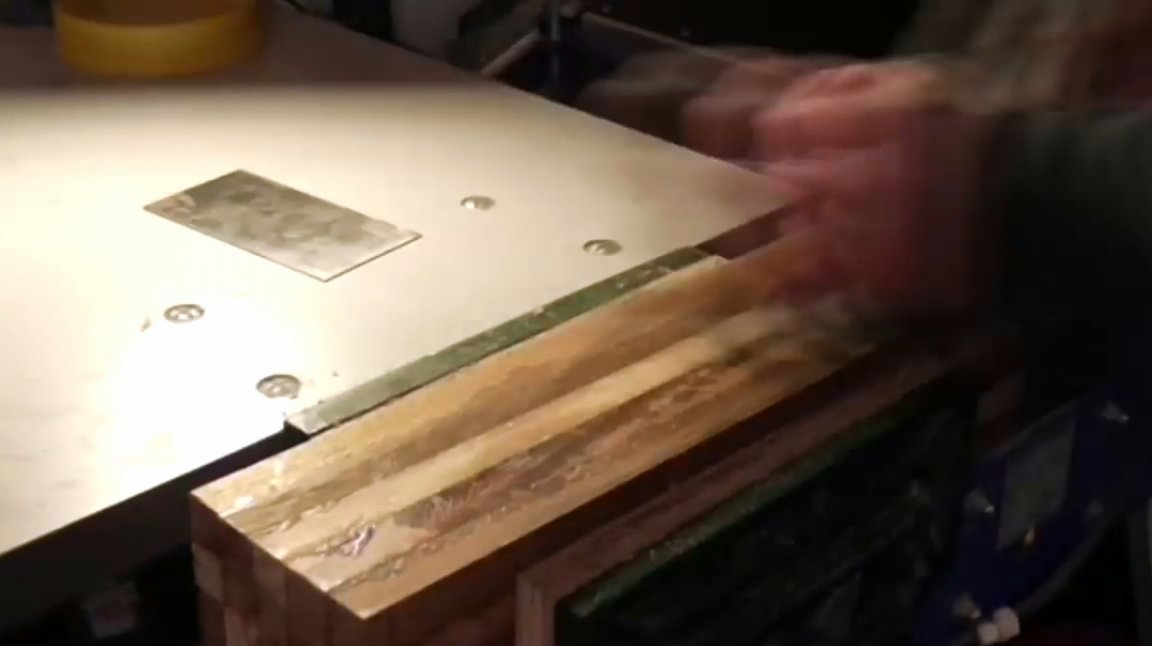
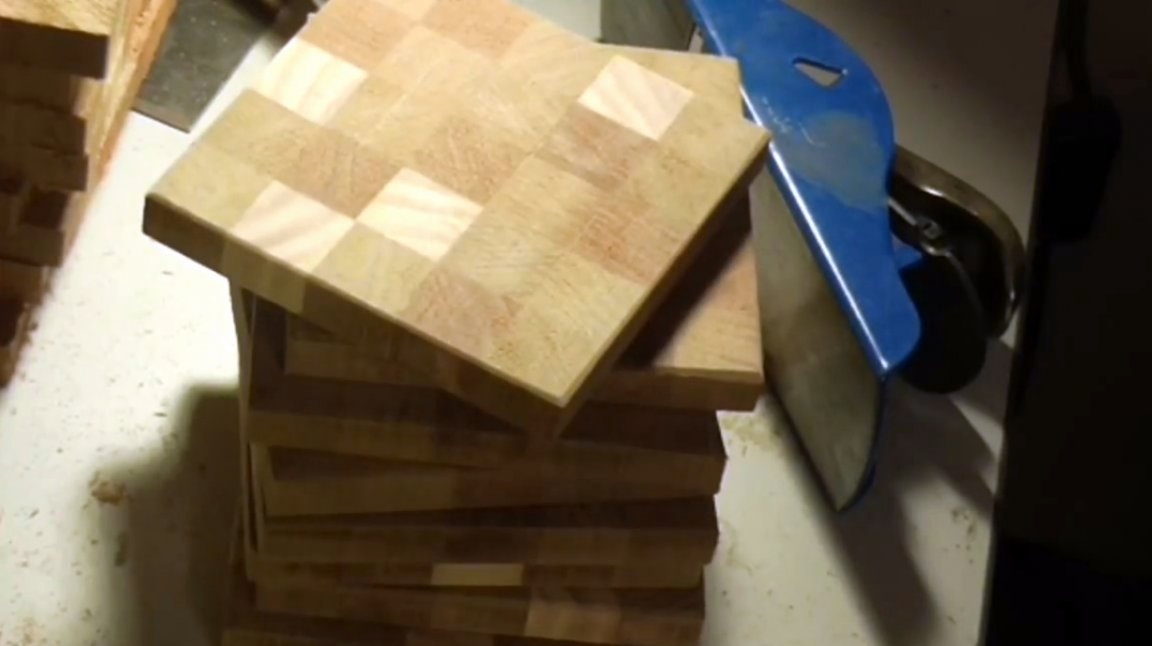
After that, the master puts an emphasis of about 10 mm, and begins to cut the wood block into plates.
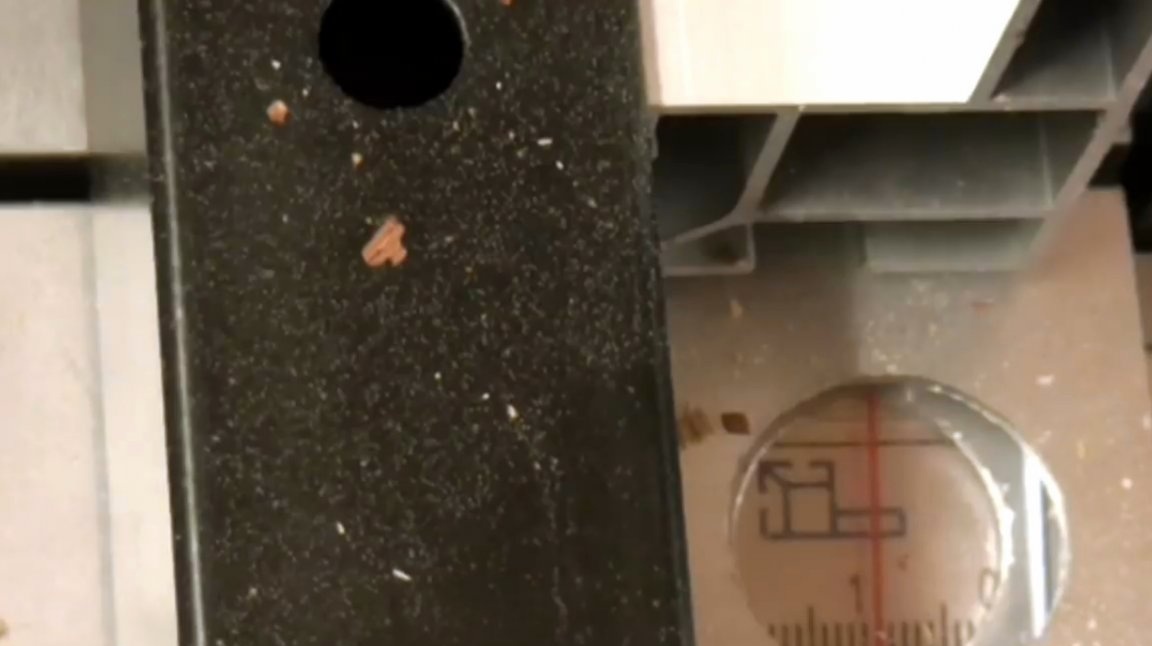
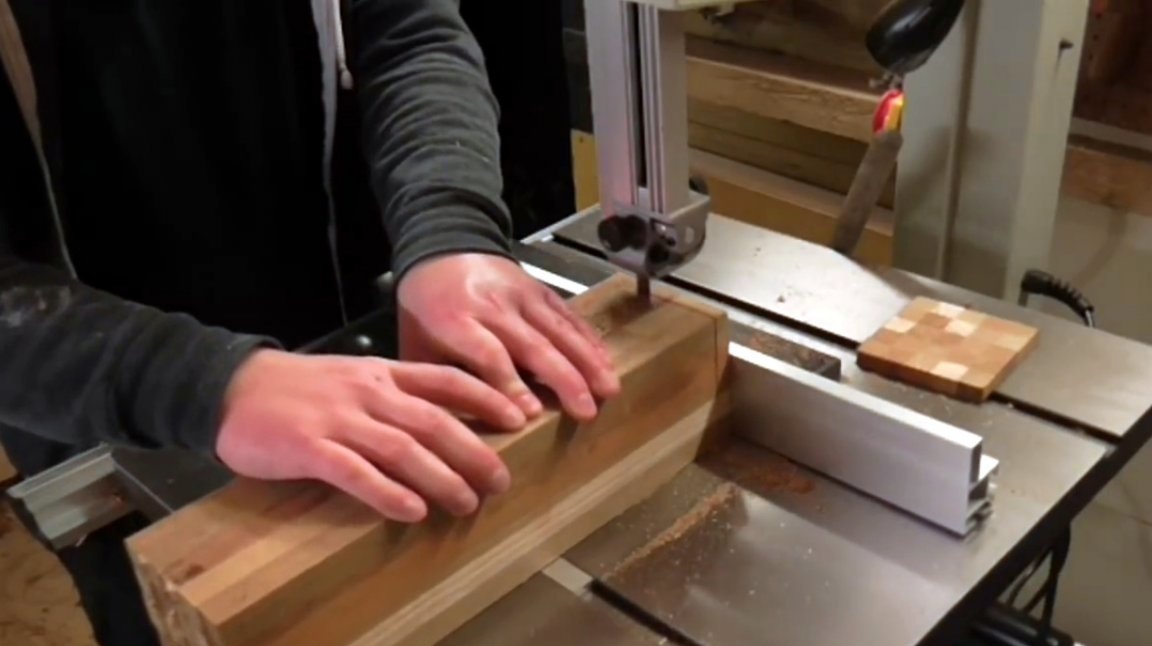
The most dangerous moment may be cutting the last two plates, because after cutting a large number of them from a wide workpiece, you can forget about using a pusher.
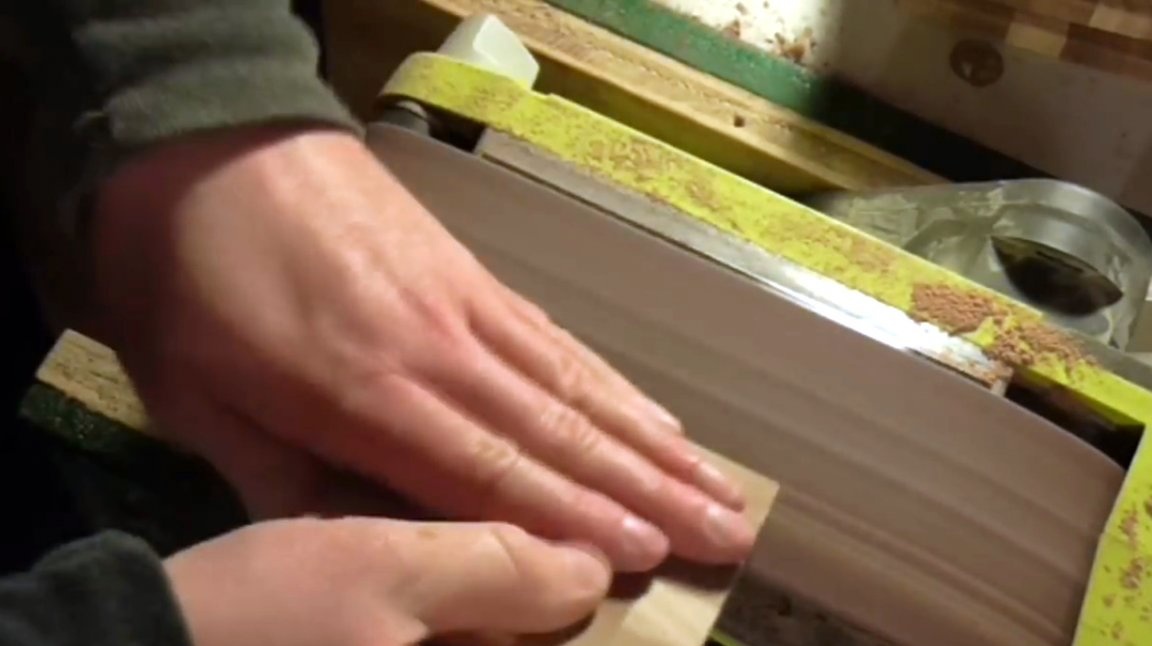
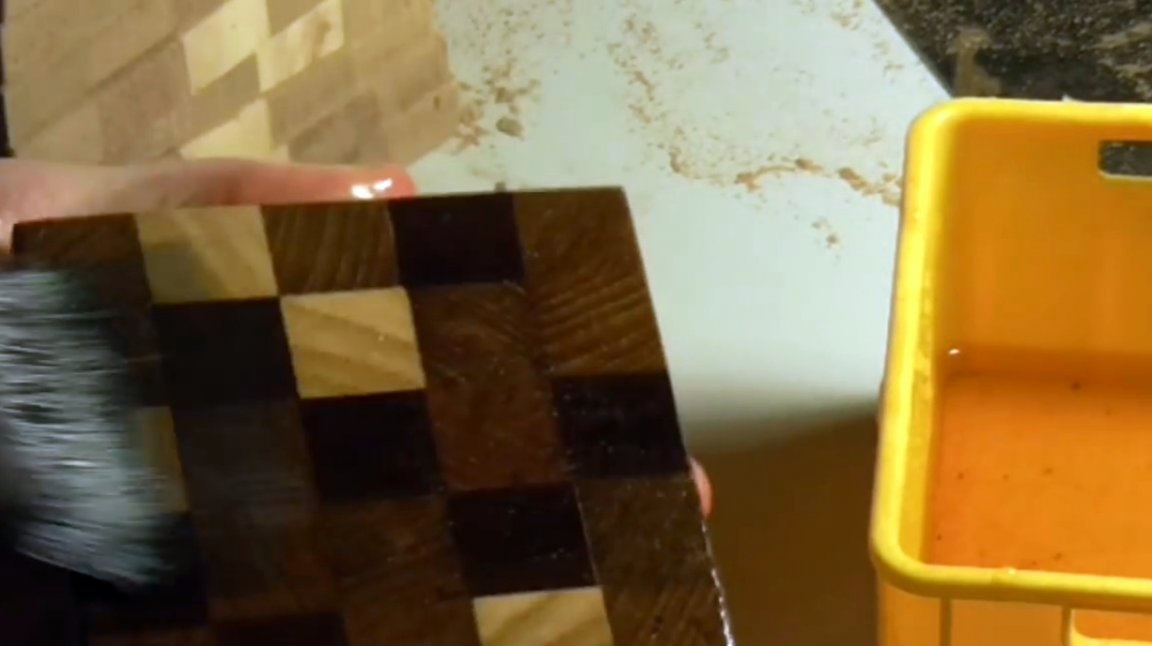
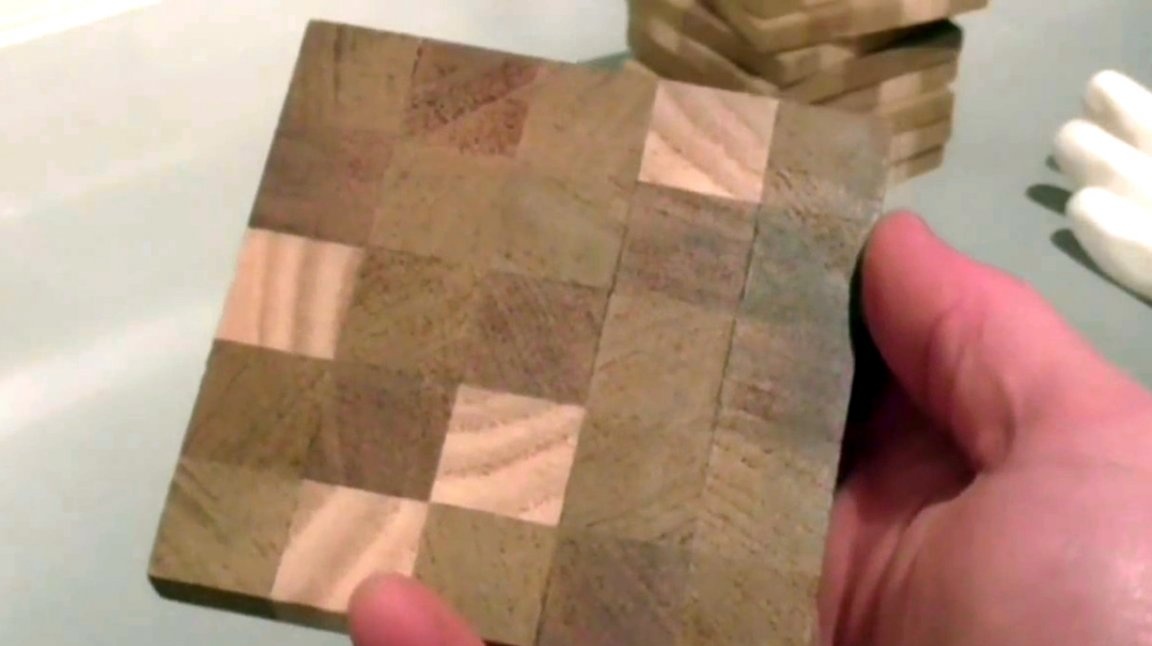
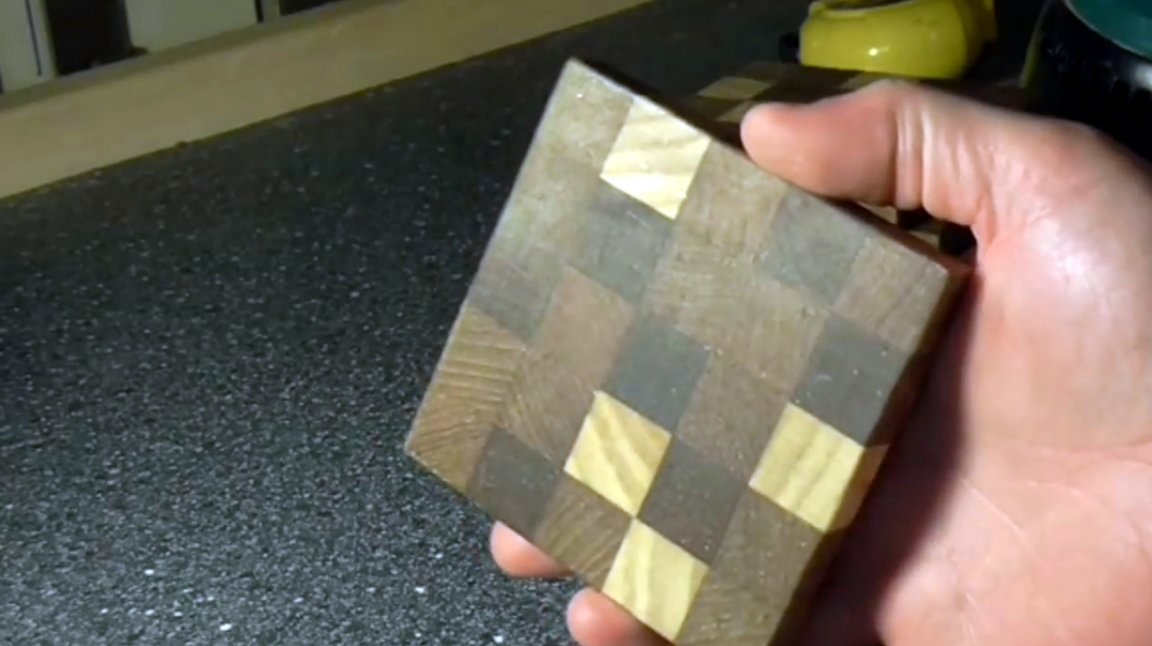
Each stand is sanding from all sides on a belt sander with 120 grit sandpaper. All this is followed by a brief manual grinding.
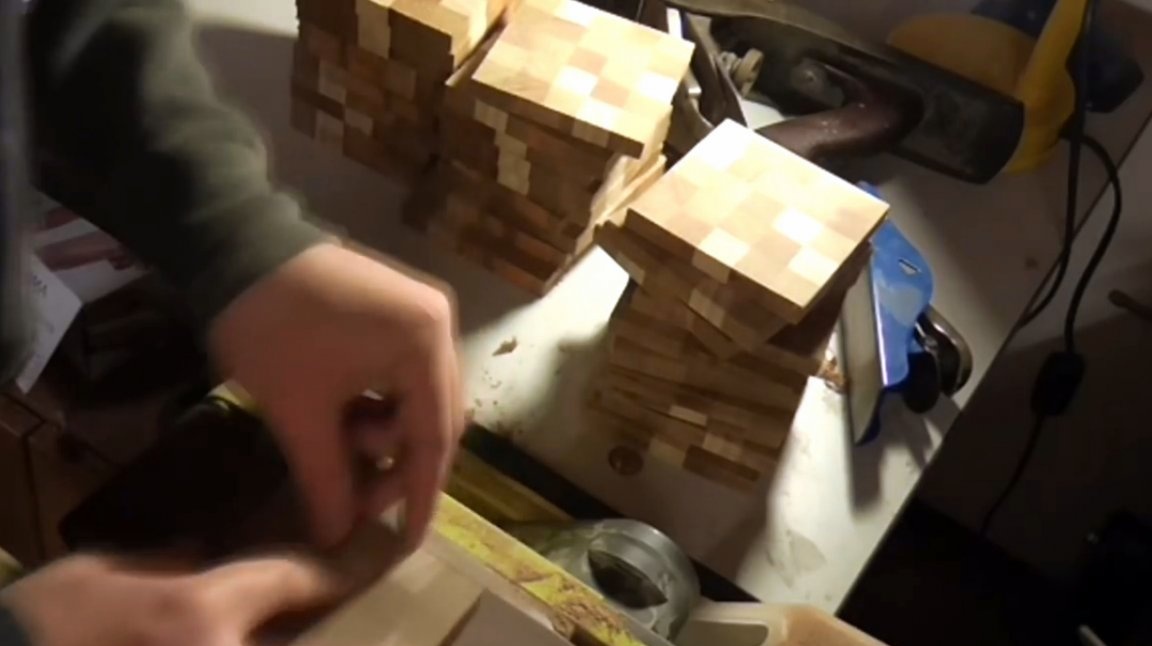
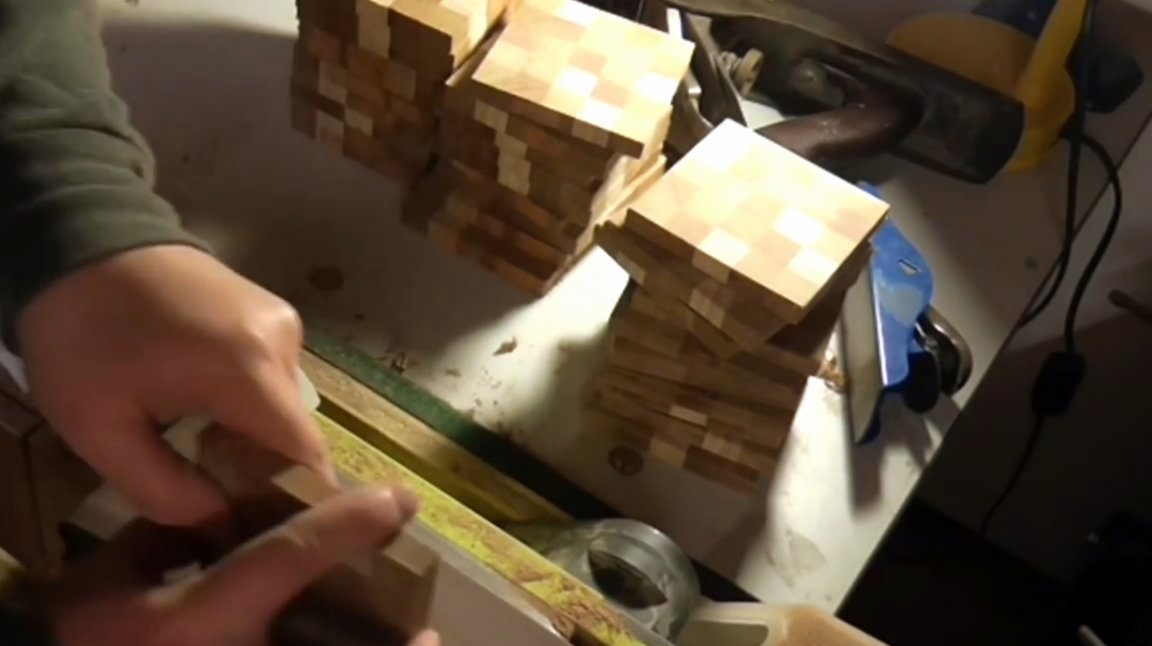
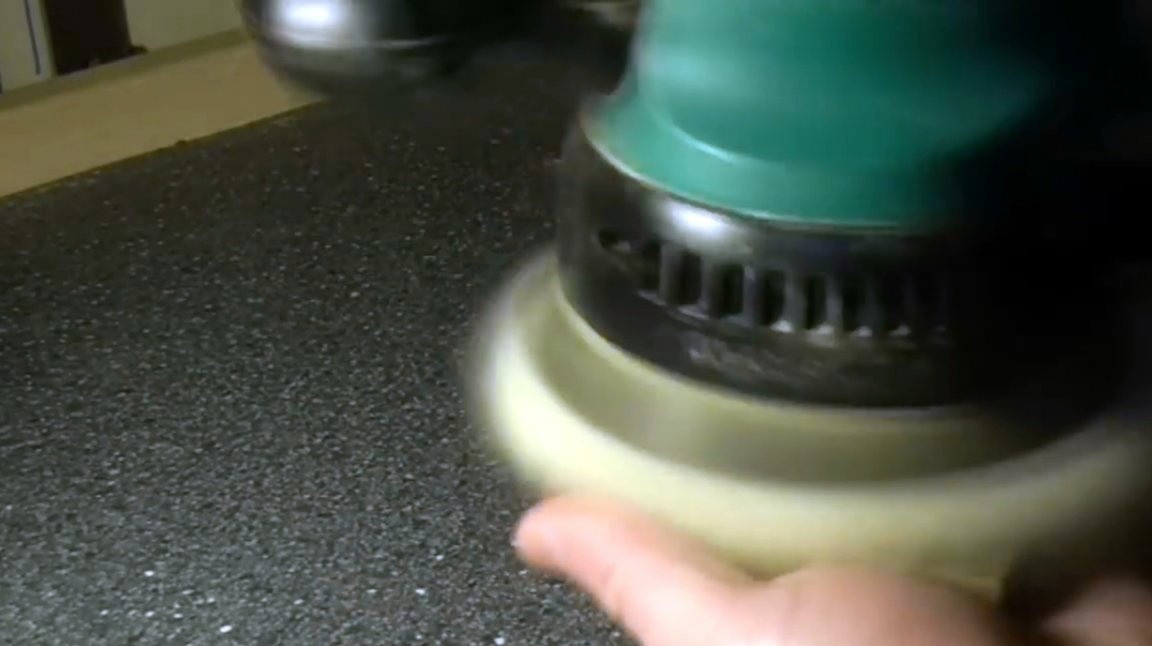
Then, an orbital machine with emery paper with a grit of 240 grit is included in the processing.
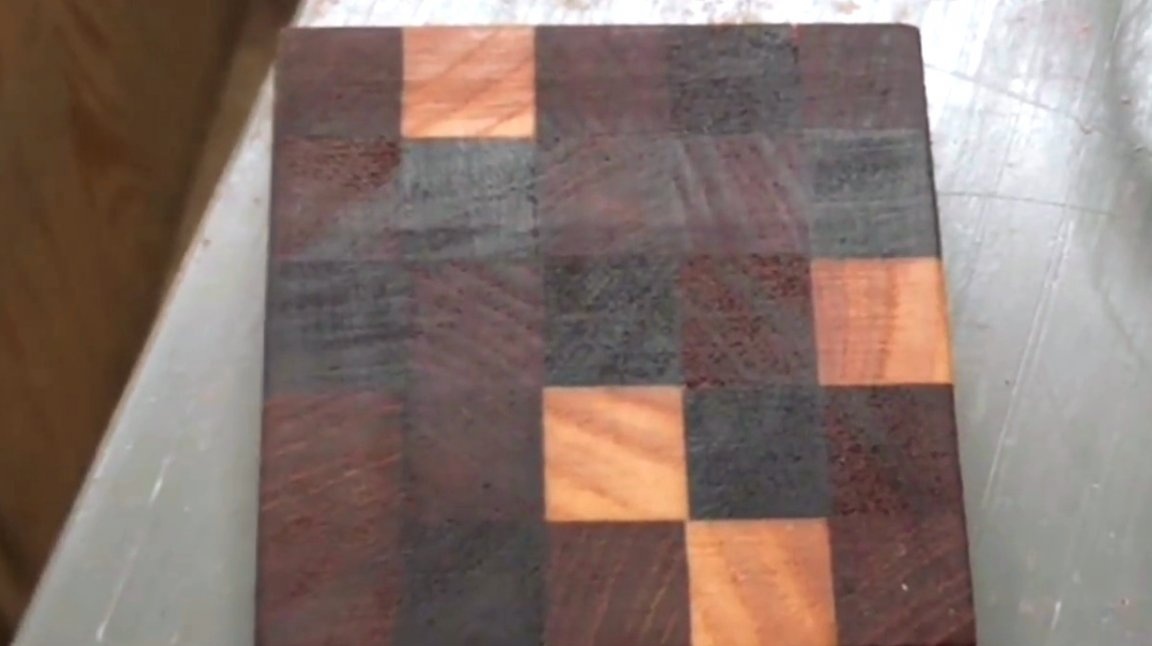
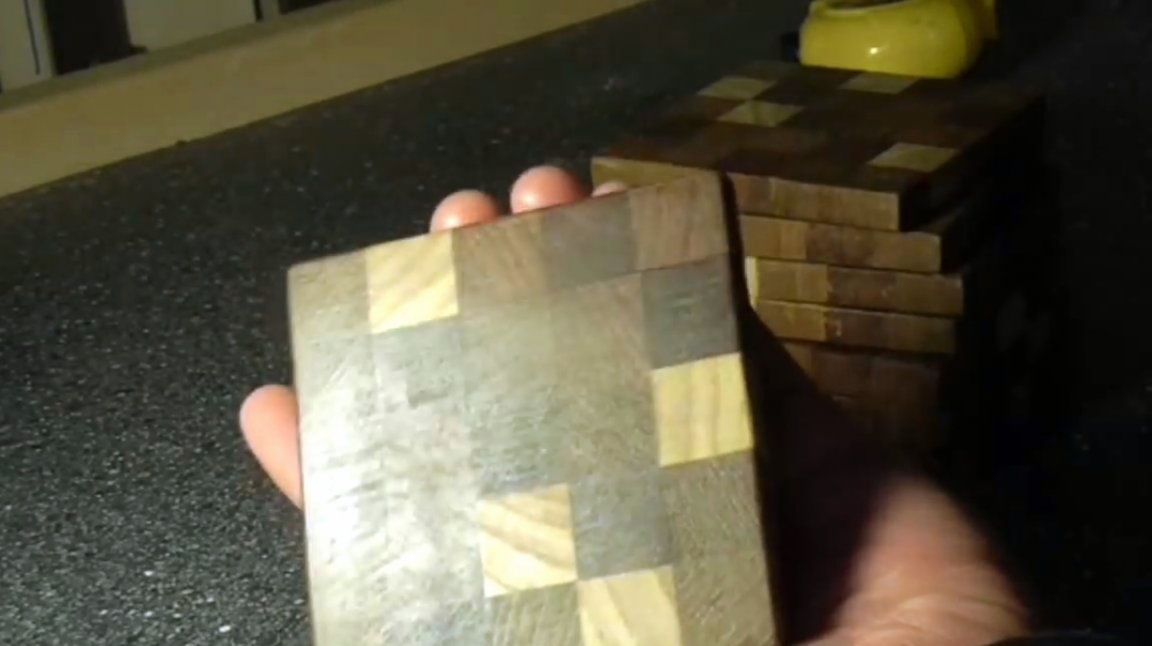
And finally, the finish is boiled linseed oil. The author processed only one stand for them to see how the product will look the next day, when it dries.
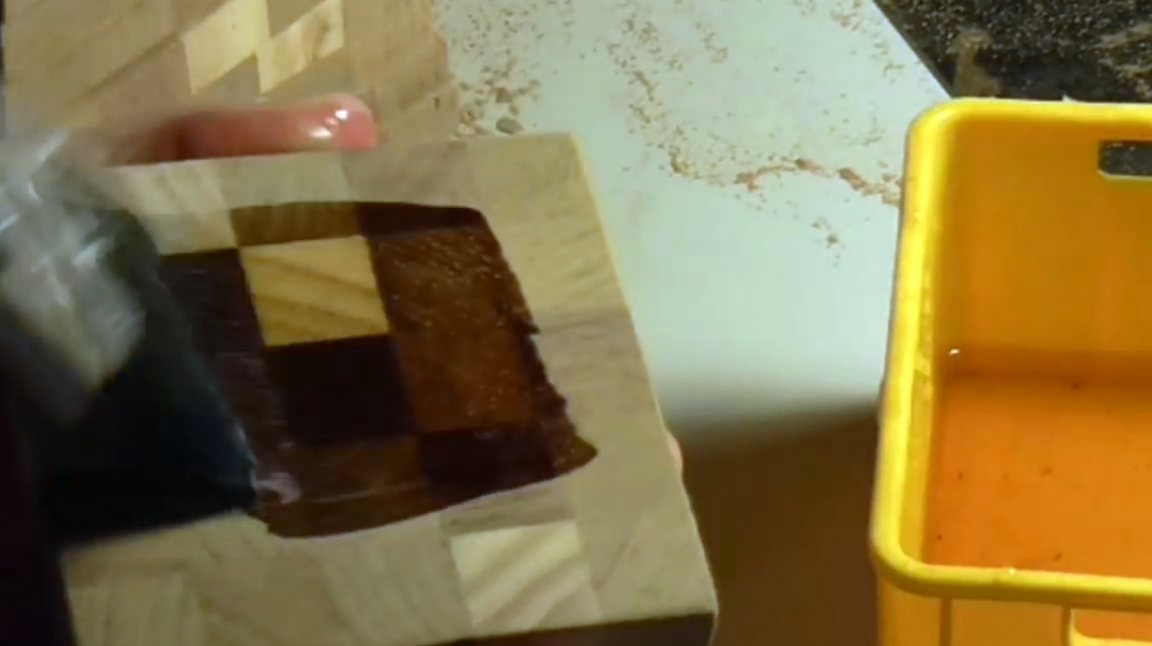
The result was disappointing - the tree was very dark.
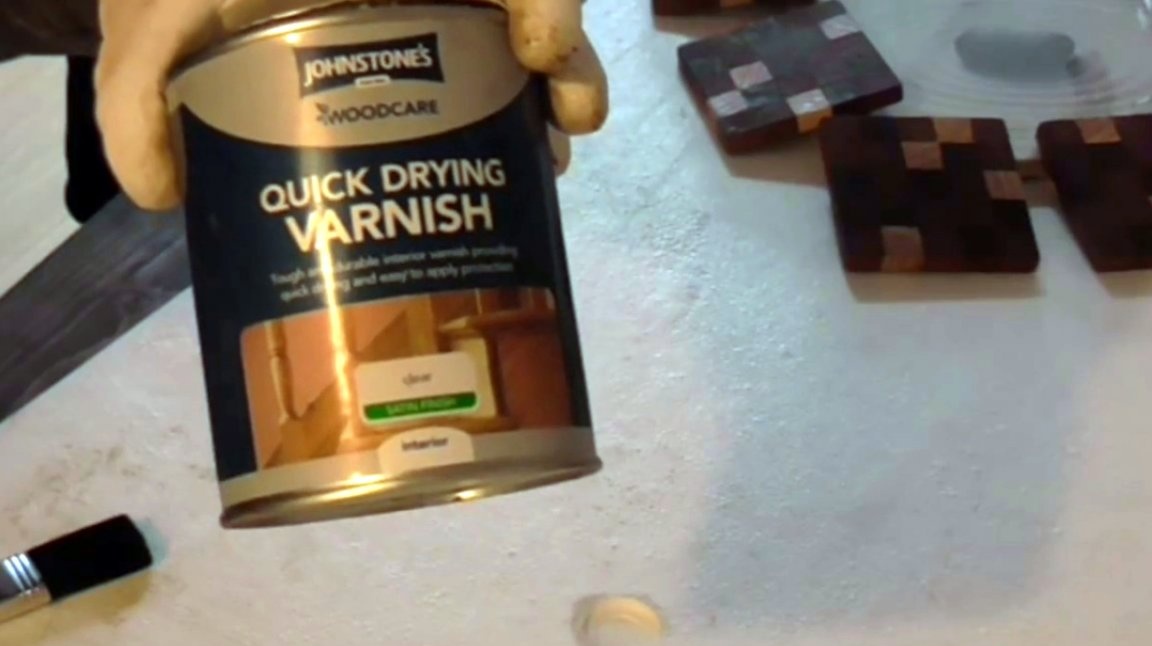
Then the author decides to apply a water-based acrylic varnish. And again a similar story repeats itself. Immediately, the varnish gives a beautiful effect, but fades over time. It seems that there is no varnish at all!

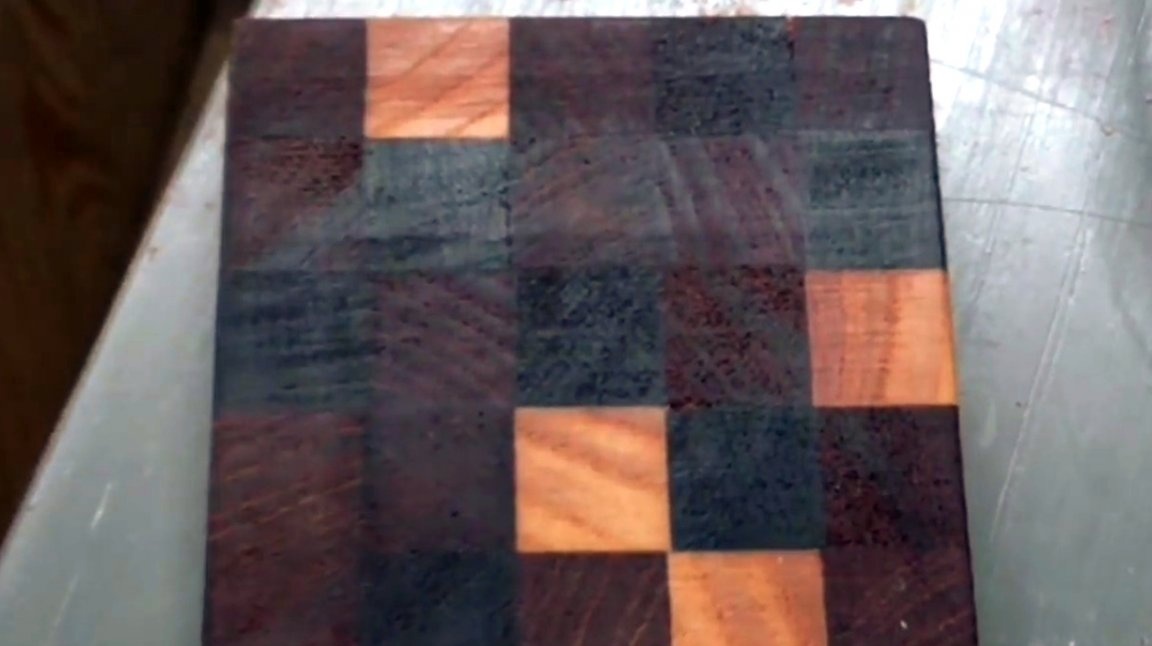
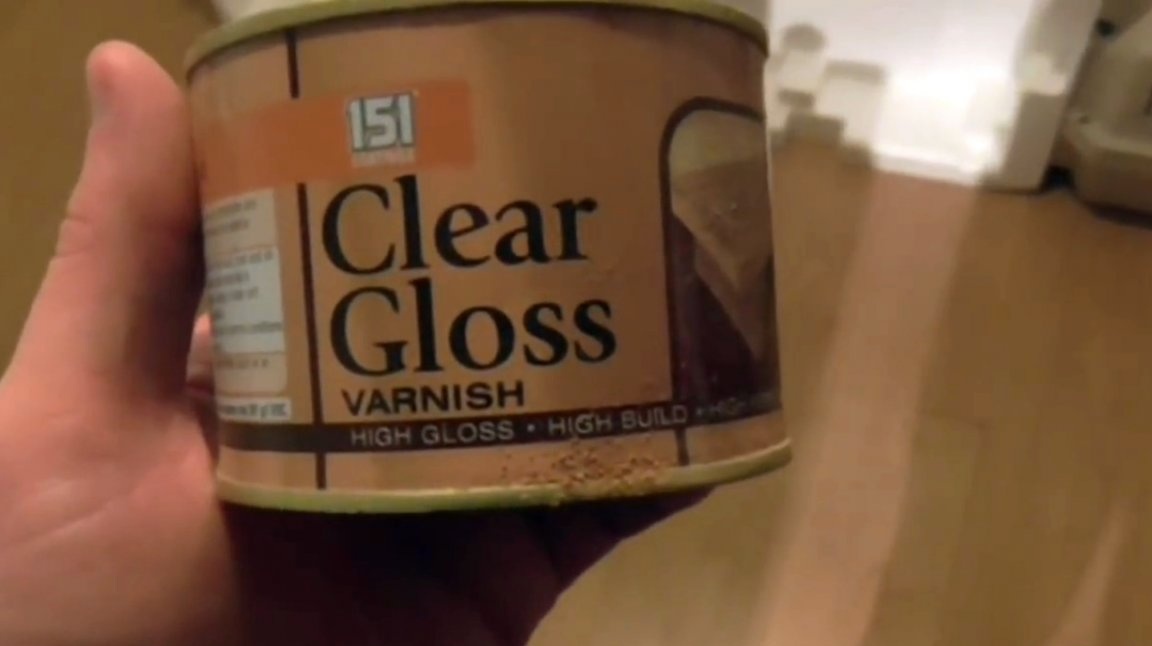
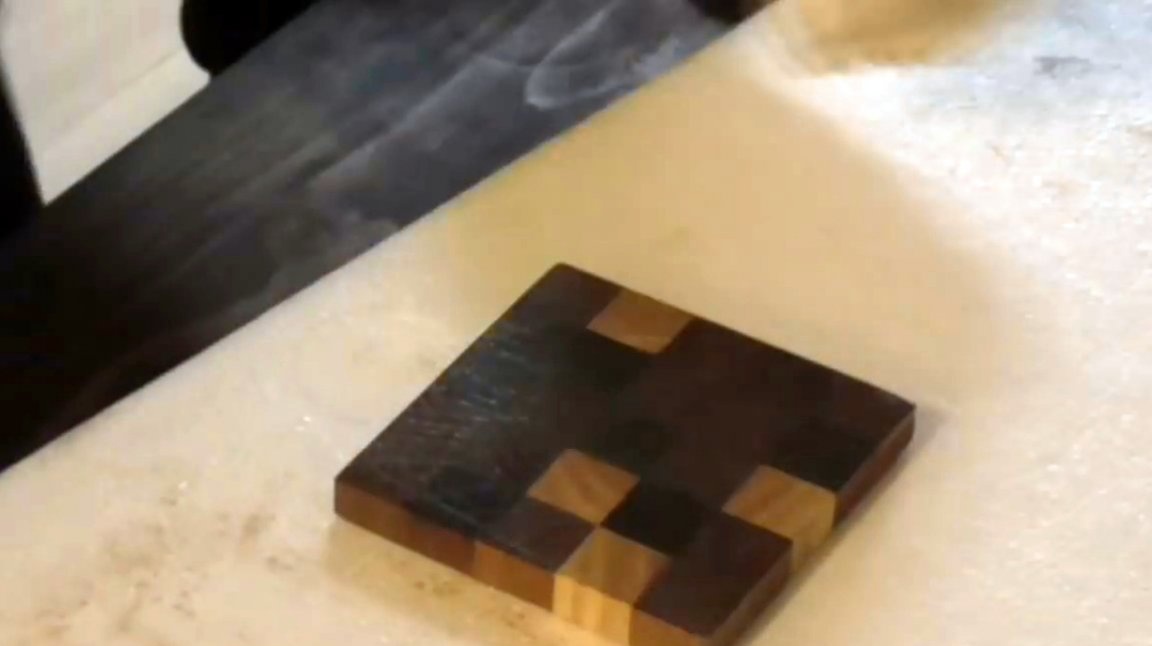
The master makes the third attempt with a glossy varnish made on the basis of synthetic resin. However, the author does not want the coasters to shine. Therefore, he does not apply varnish with a brush, but with a piece of canvas, carefully rubbing the composition into the wood. At the same time, he takes a very small amount of varnish, dipping into the liquid only the very tip of the canvas. After 24 hours of drying, the sample acquired a truly stunning look. The wood got a deep and transparent tone.
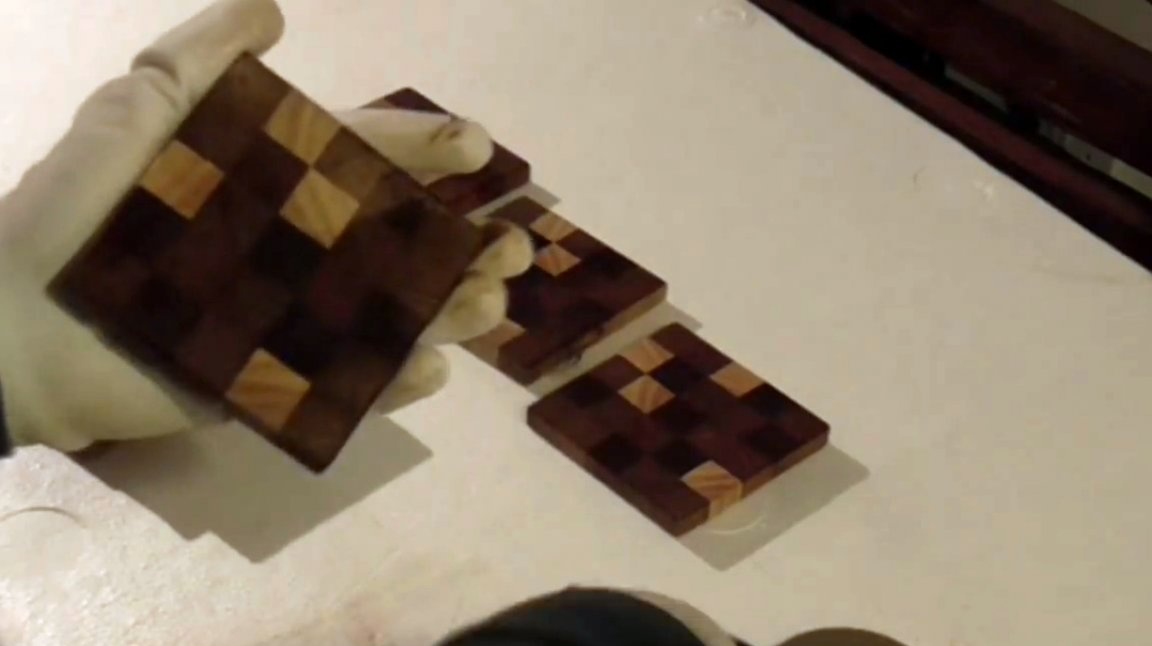
Now the stand has become more wear-resistant and moisture-proof. Further, on top of the previous varnish, the author also covers the product with a layer of water-based varnish.
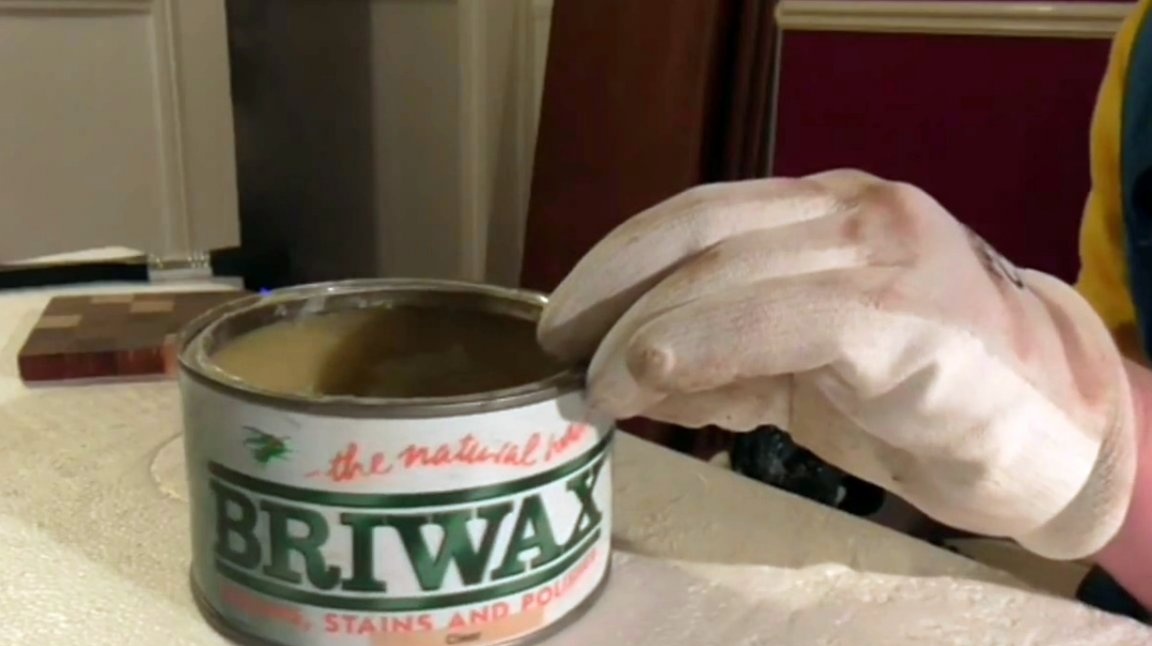
A day later, the master rubs the coasters with transparent wax.
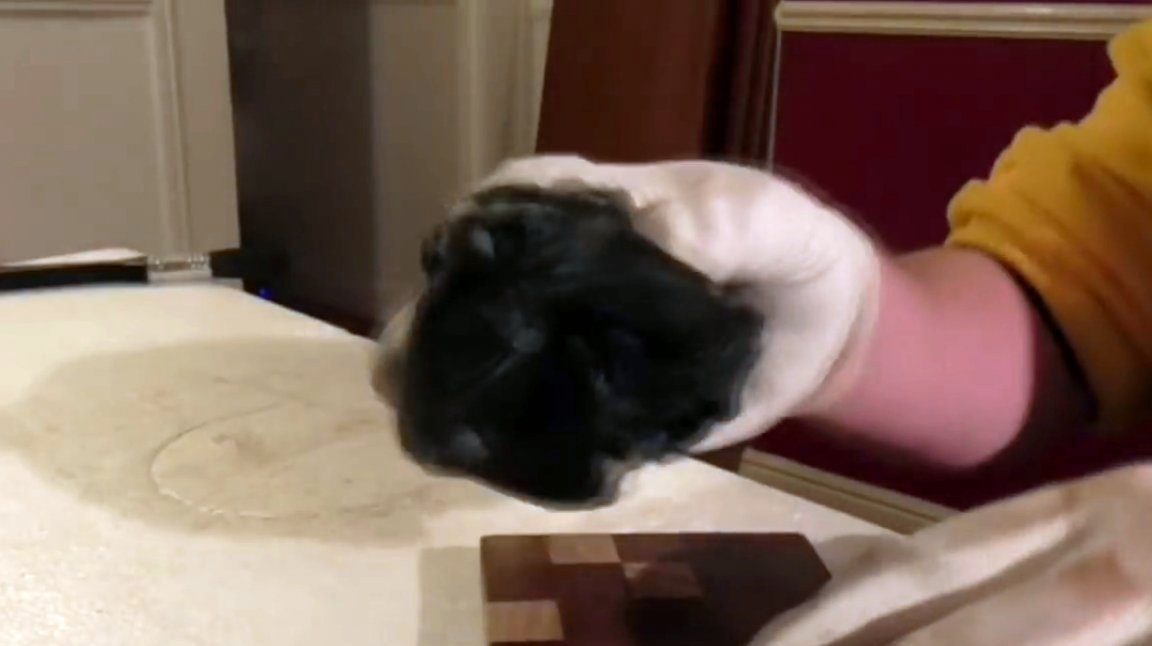
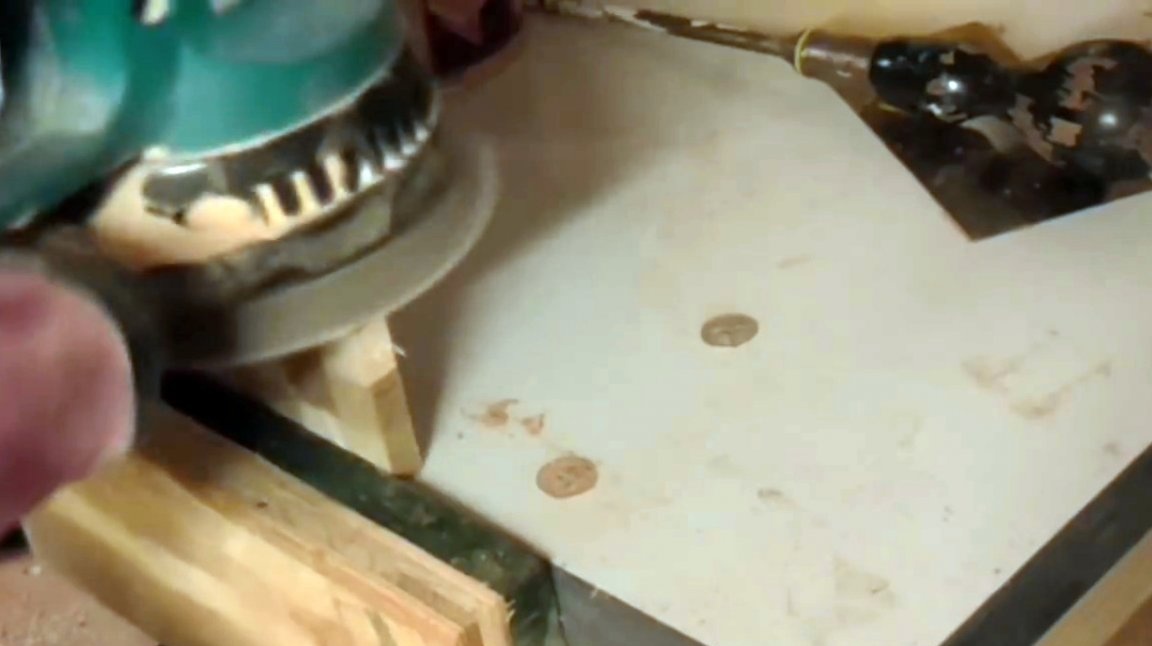
Allows it to dry for a couple of hours, then polishes the surface of the stands with an orbital sander.
I thank the author for the simple and quick technique of making gift coasters from wood!
If you have interesting homemade products, share them on this site.Here you will get a real reward, not a “bunch of green stuff" at the entertainment forum.
All good mood, good luck, and interesting ideas!
Author video can be found here.