
I am sure that visitors to this site are not only lovers of carpentry, but also professionals.
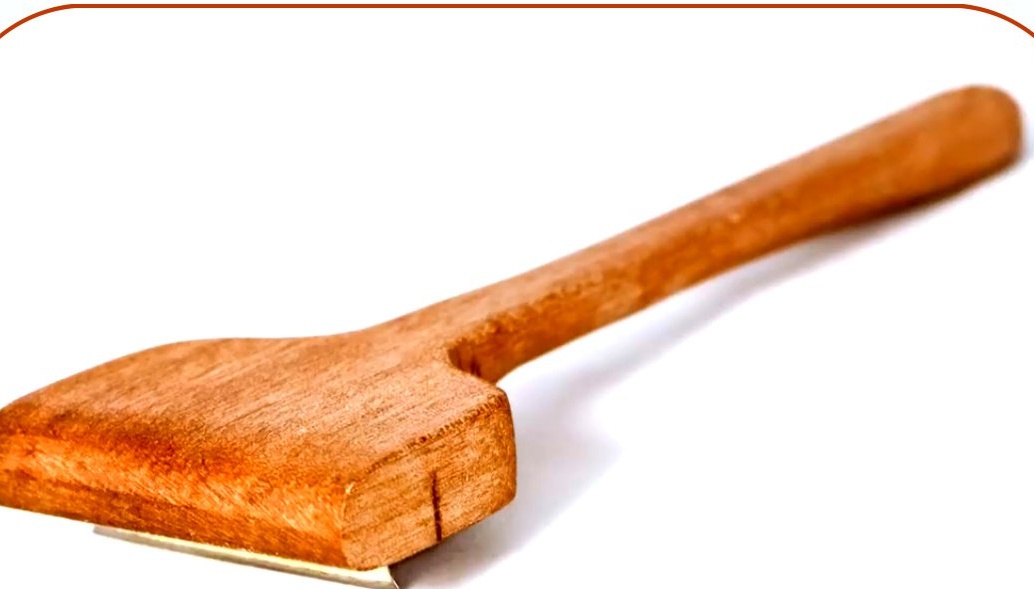
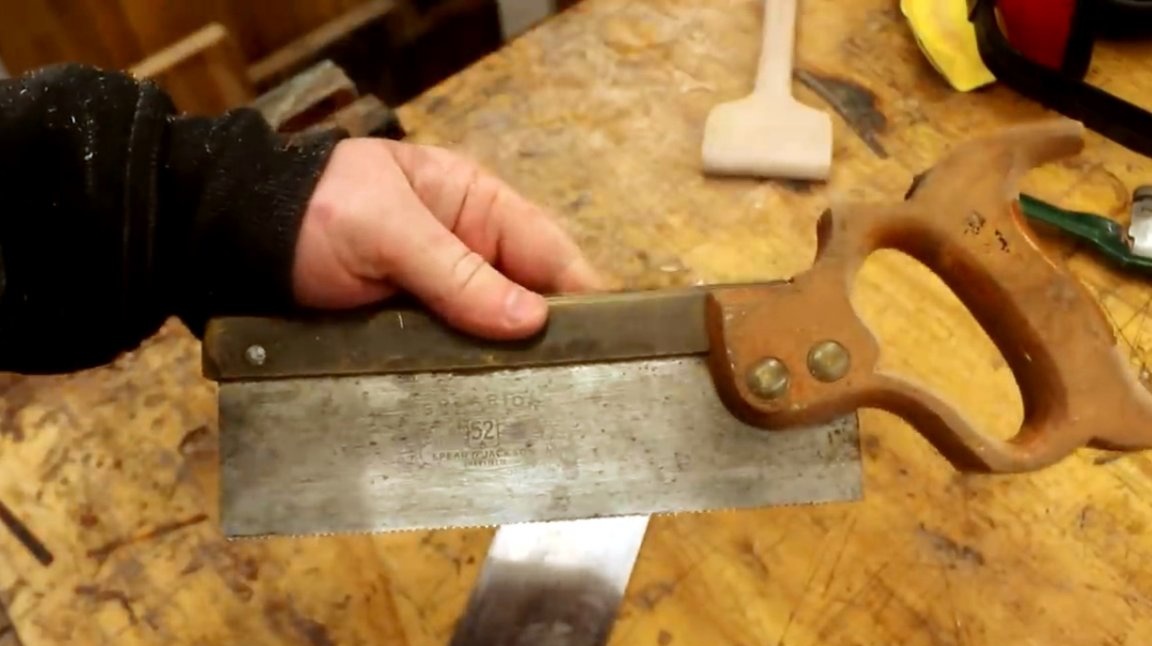
In this article, the author of the YouTube channel “Rag 'n' Bone Brown” will tell you how to make such a useful tool as a cycle using only the blade of an old knife and trimming pallet boards.
Materials
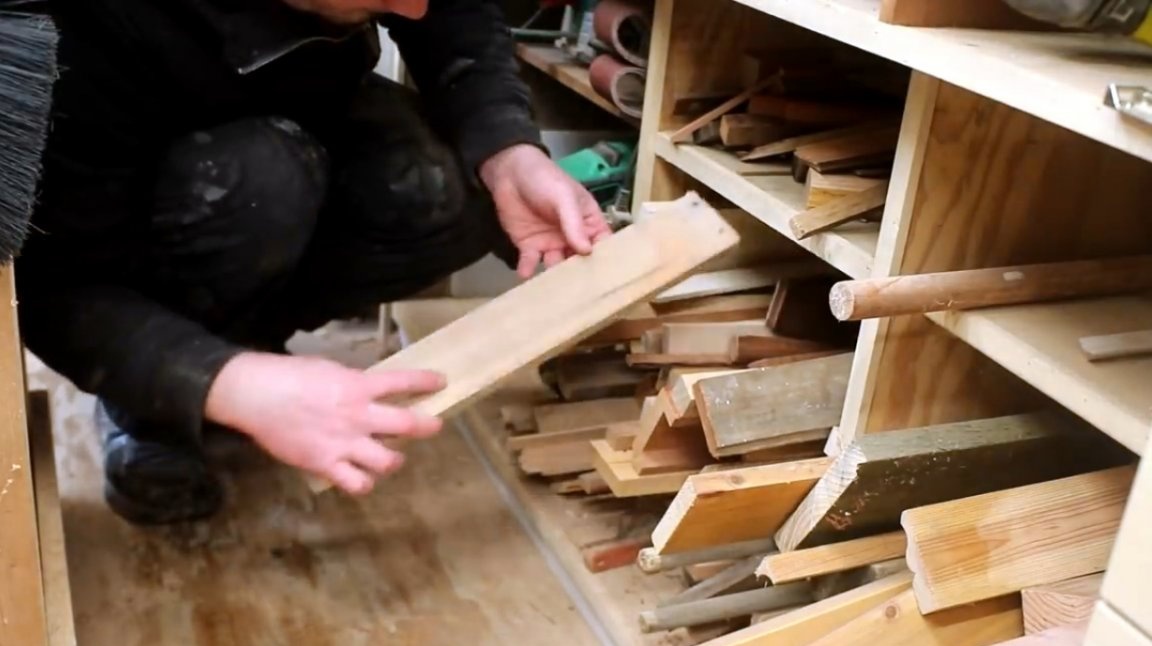
- Pallet boards
- Impregnation for wood
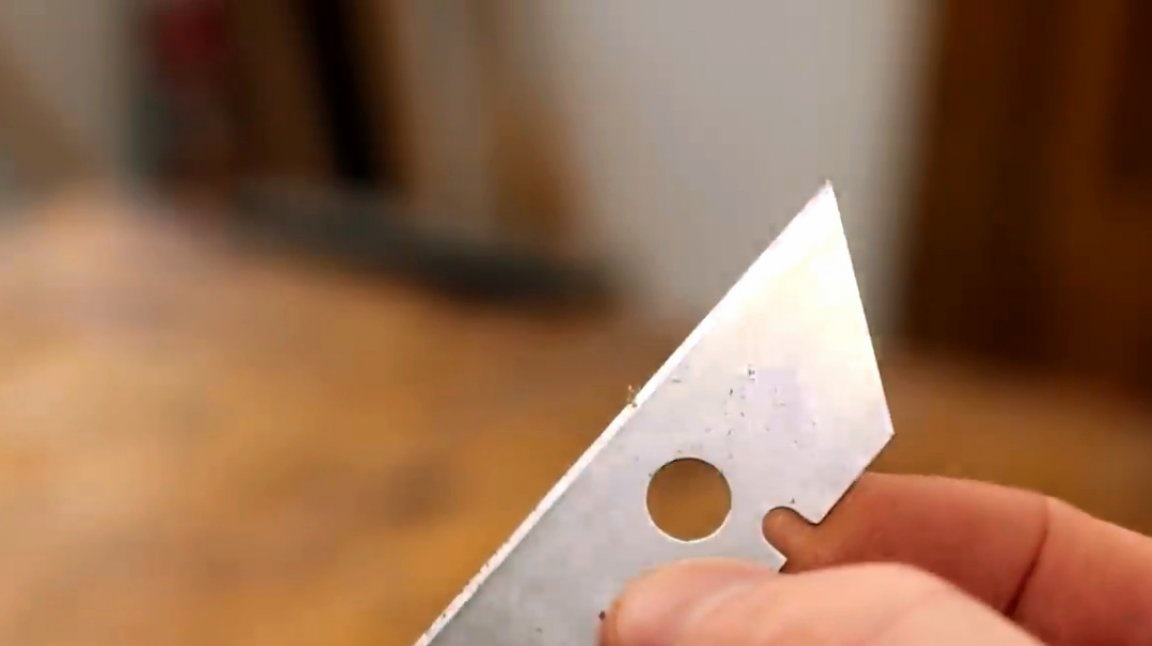
- Blade from a carpentry knife
- Sandpaper.
Instruments, used by the author.
— Band-saw
- Grinding machine
— Screwdriver
— Svenson Square
— Electronic caliper
— Japanese saw
- Hand planer, staple, file, ruler, pencil.
Manufacturing process.
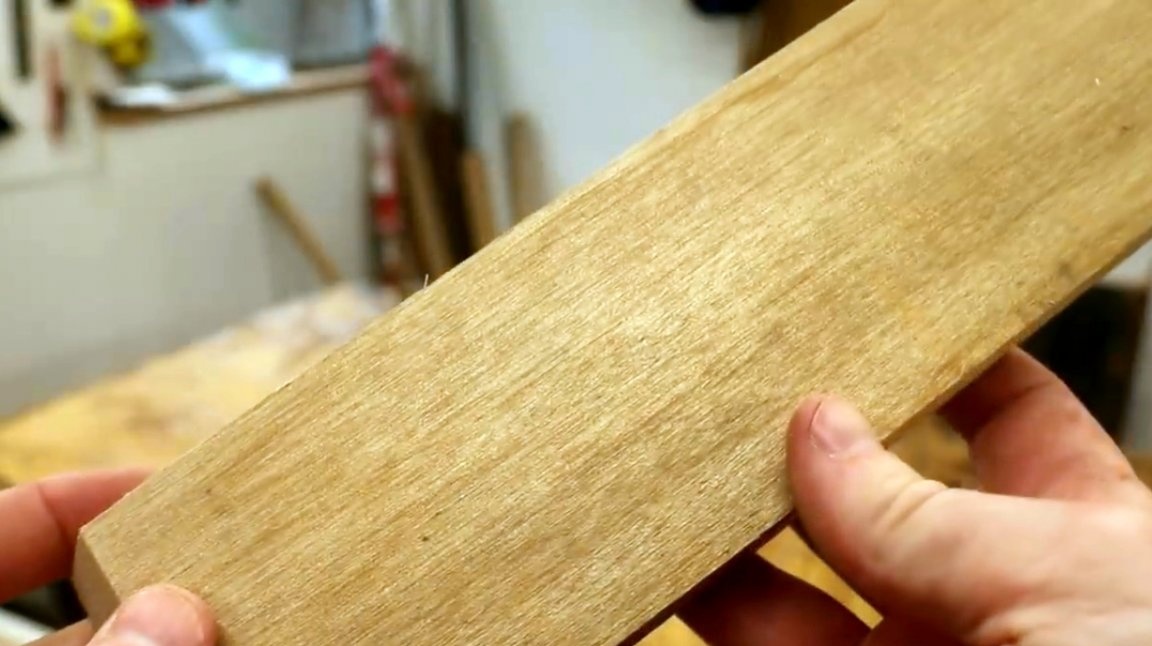
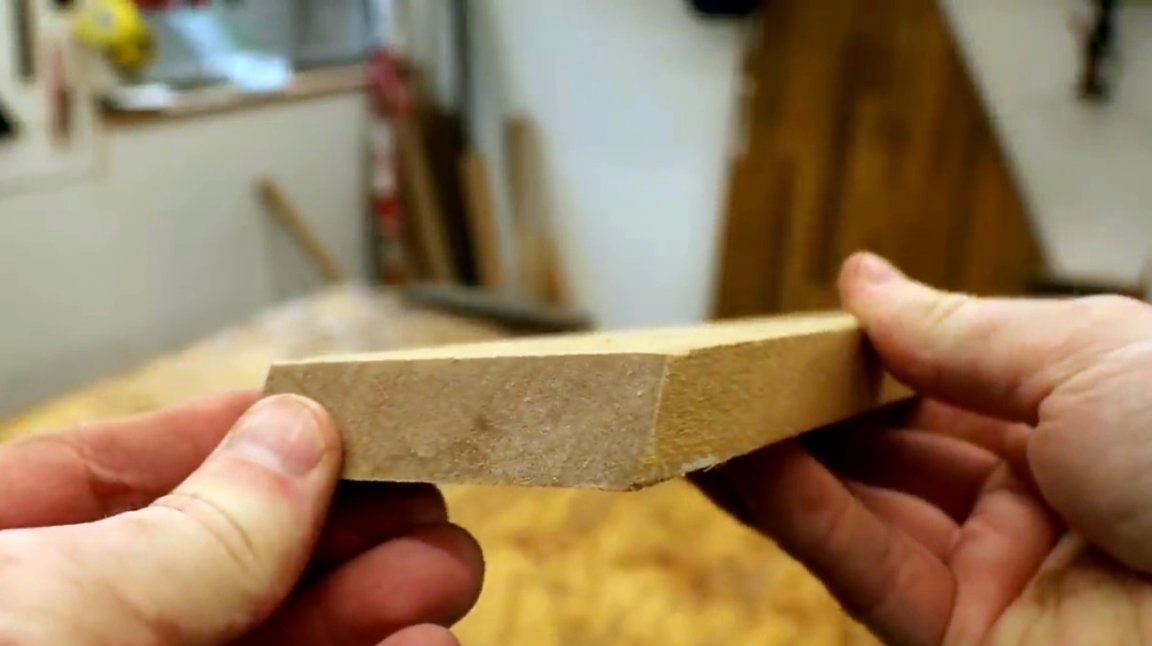
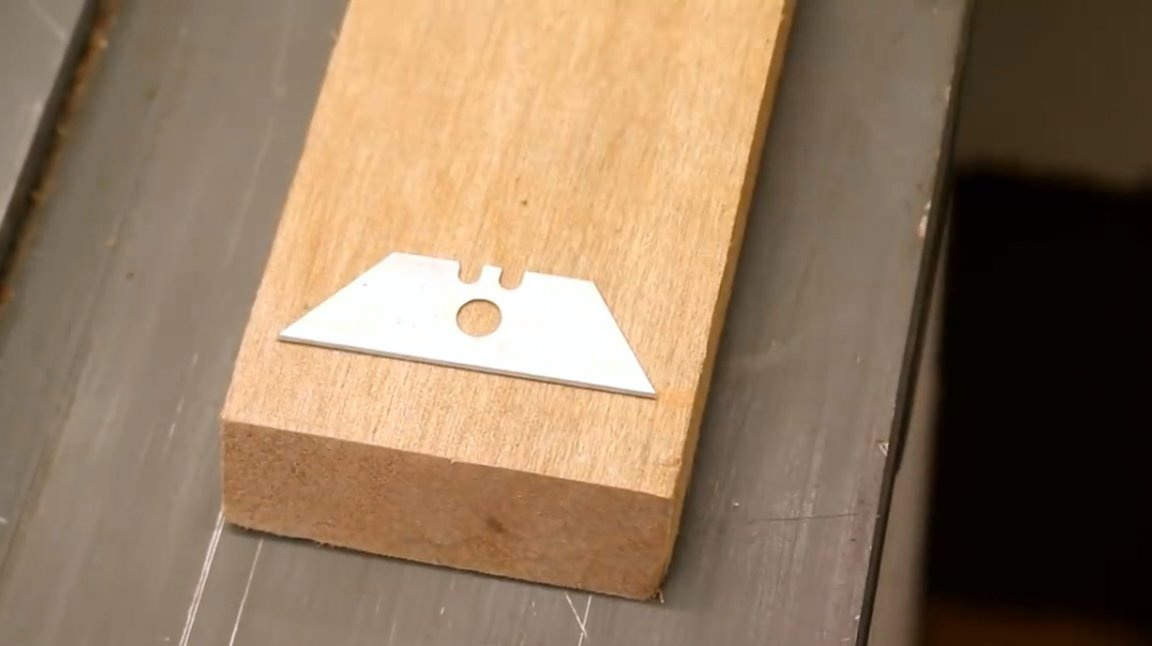
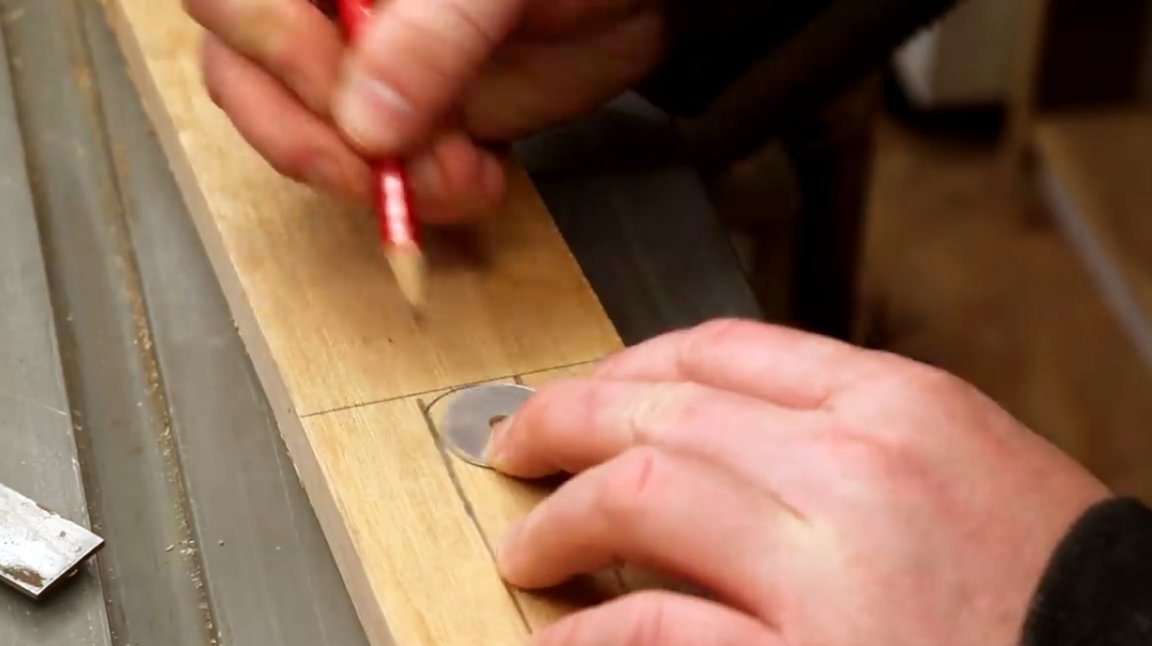
The selected board should be slightly wider than the knife blade itself, and be long enough so that it can be experimented on.
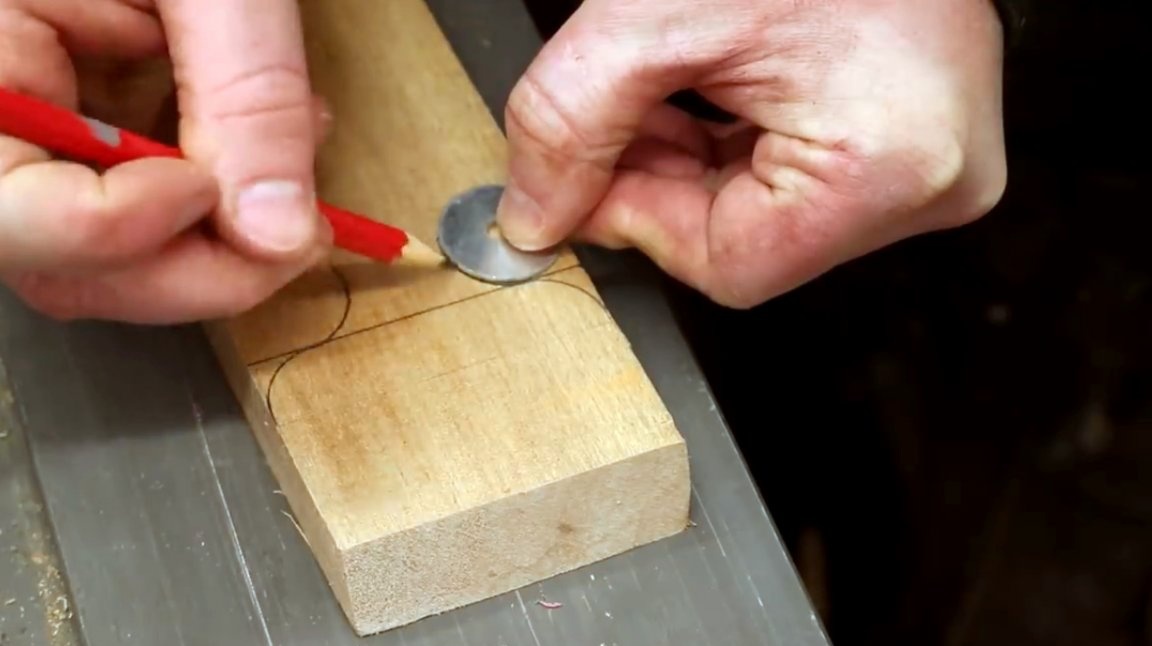
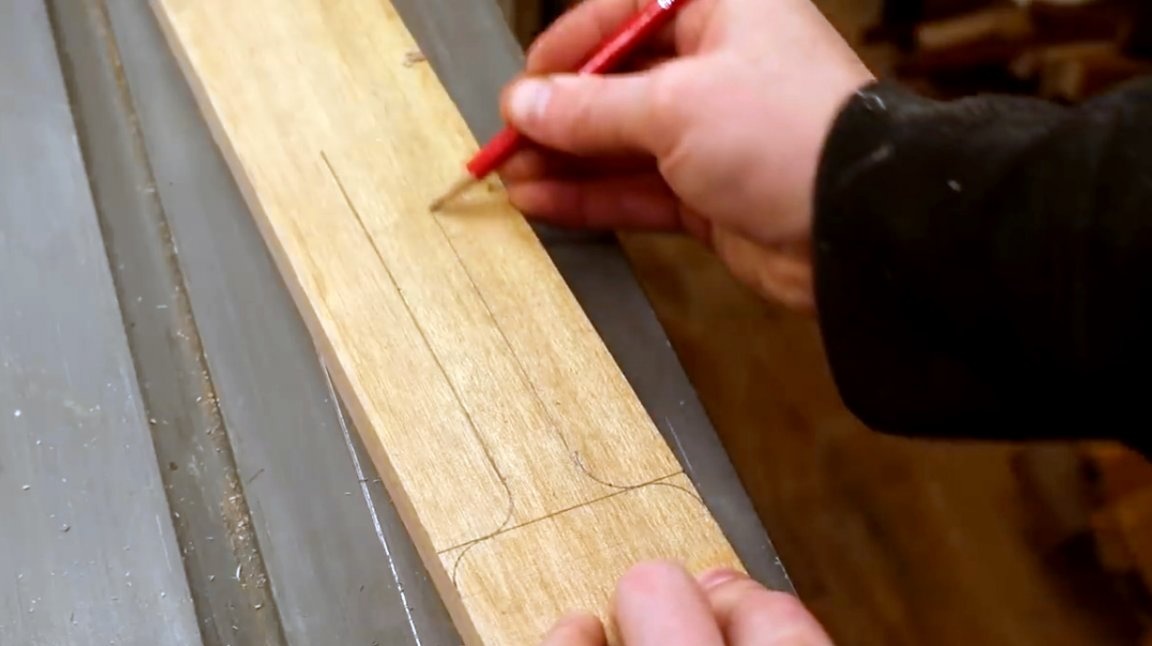
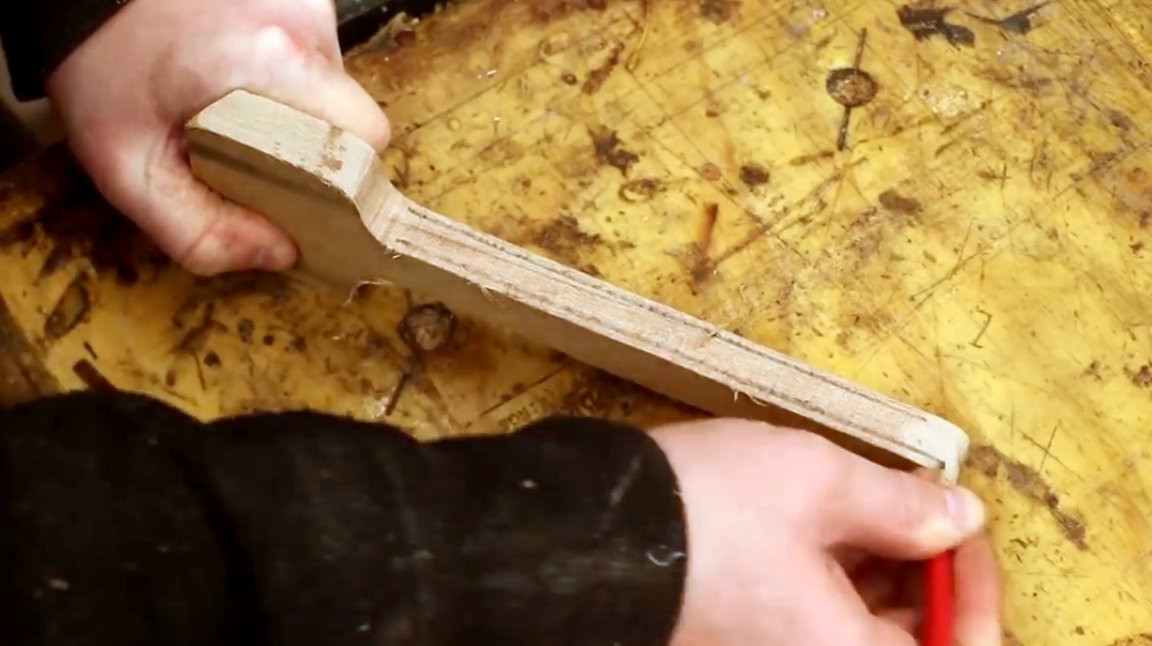
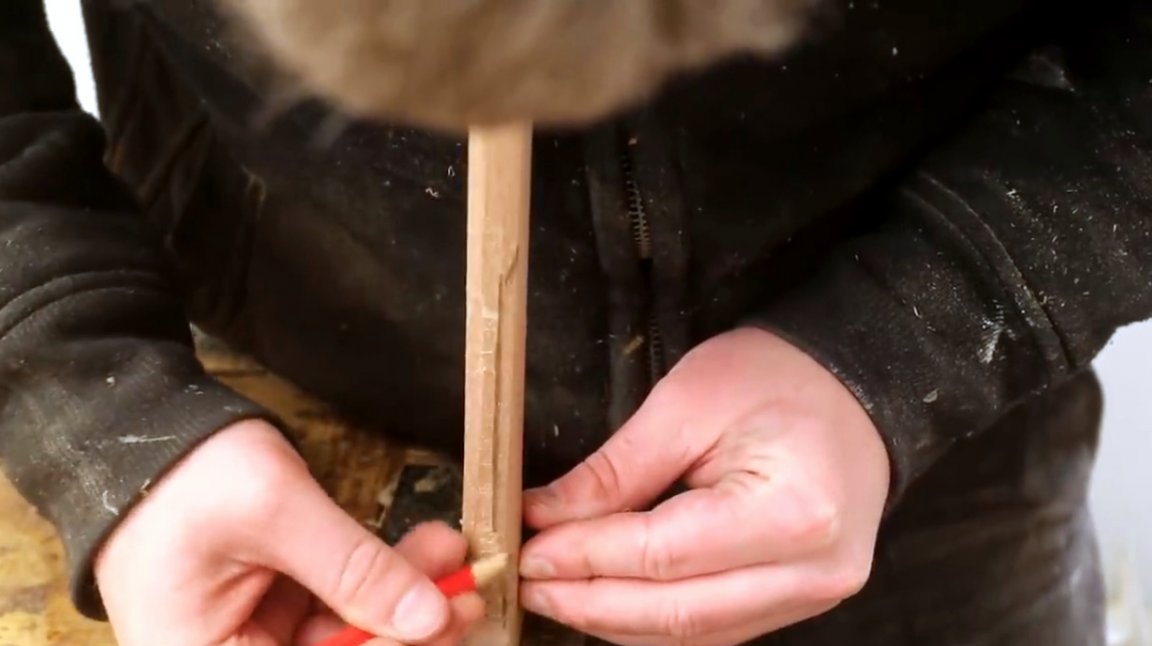
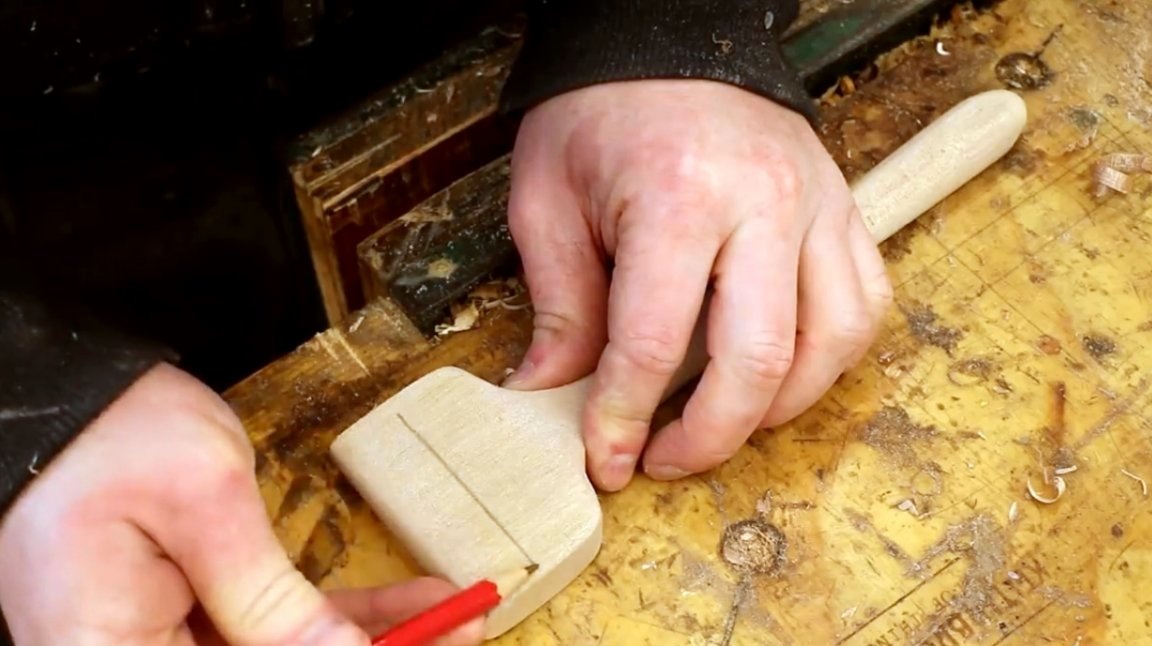
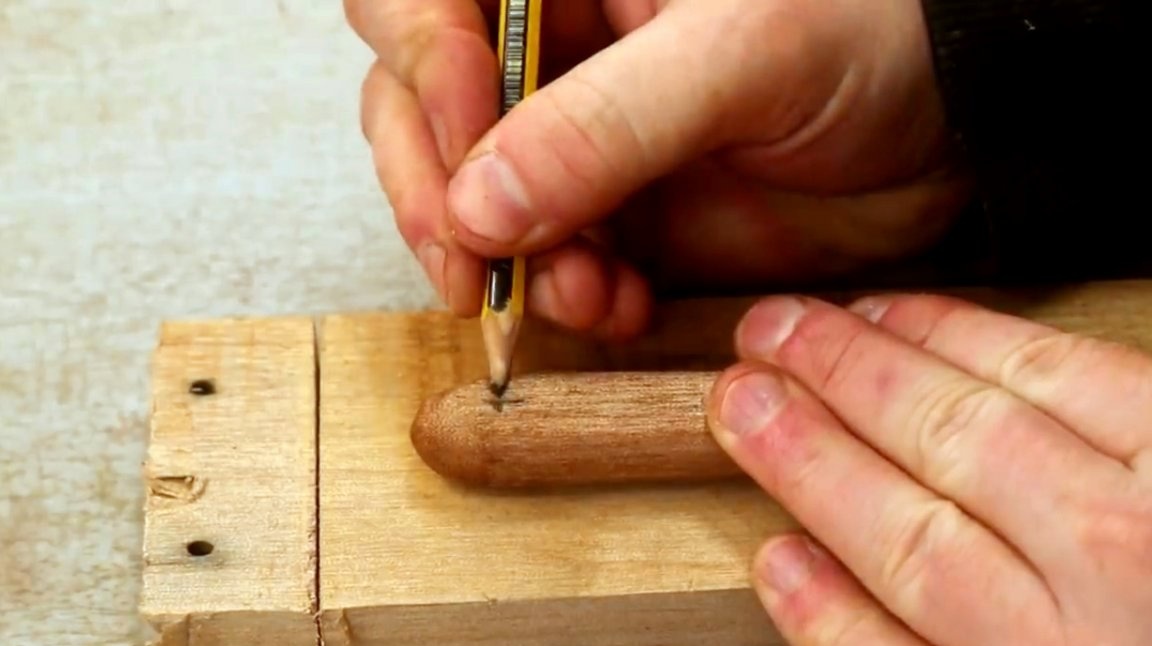
First, the author makes several marks regarding the shape of the designed tool, in particular, its head. He masterfully marks and describes the bends with a washer and a small rectangle. Then he outlines the contours of the handle.
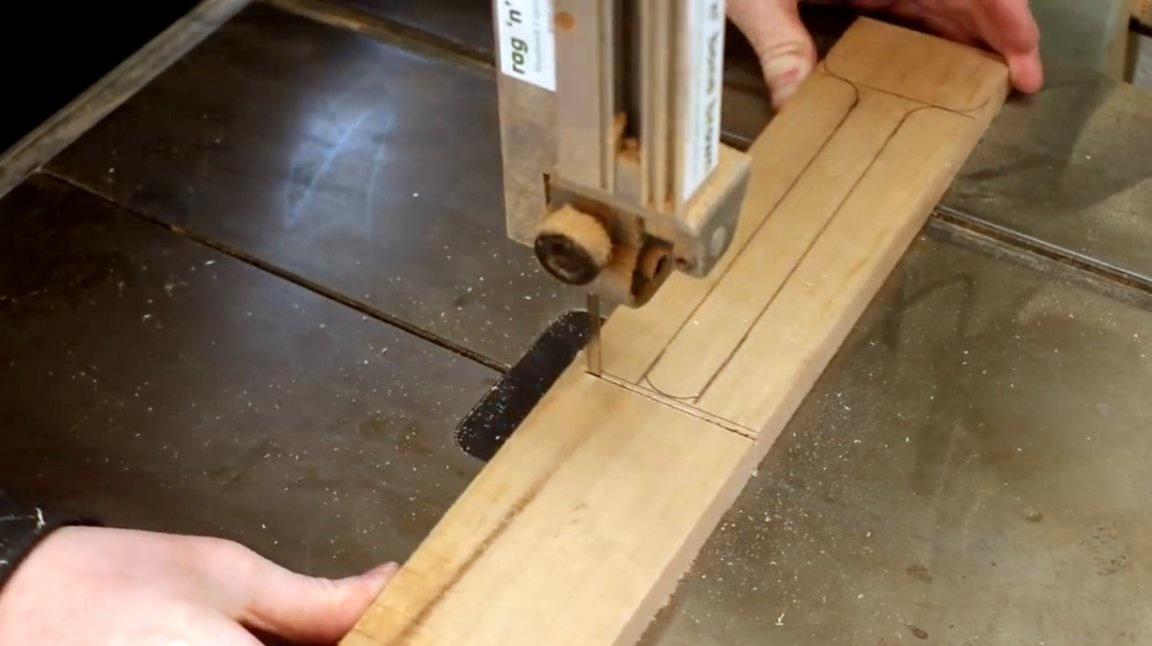
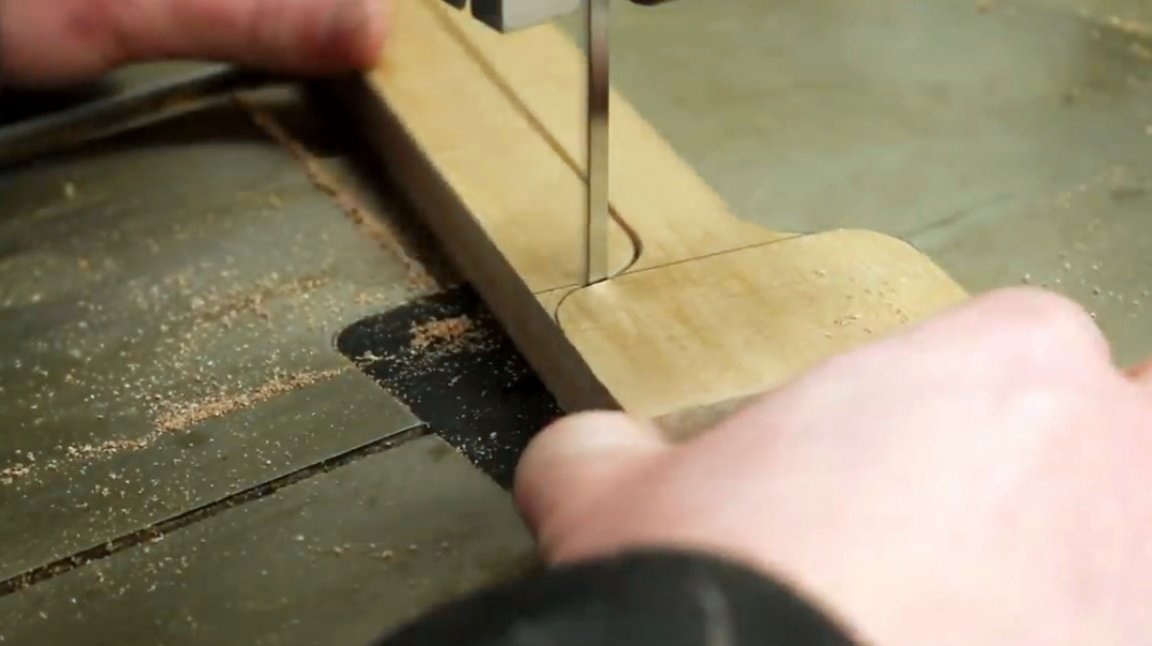
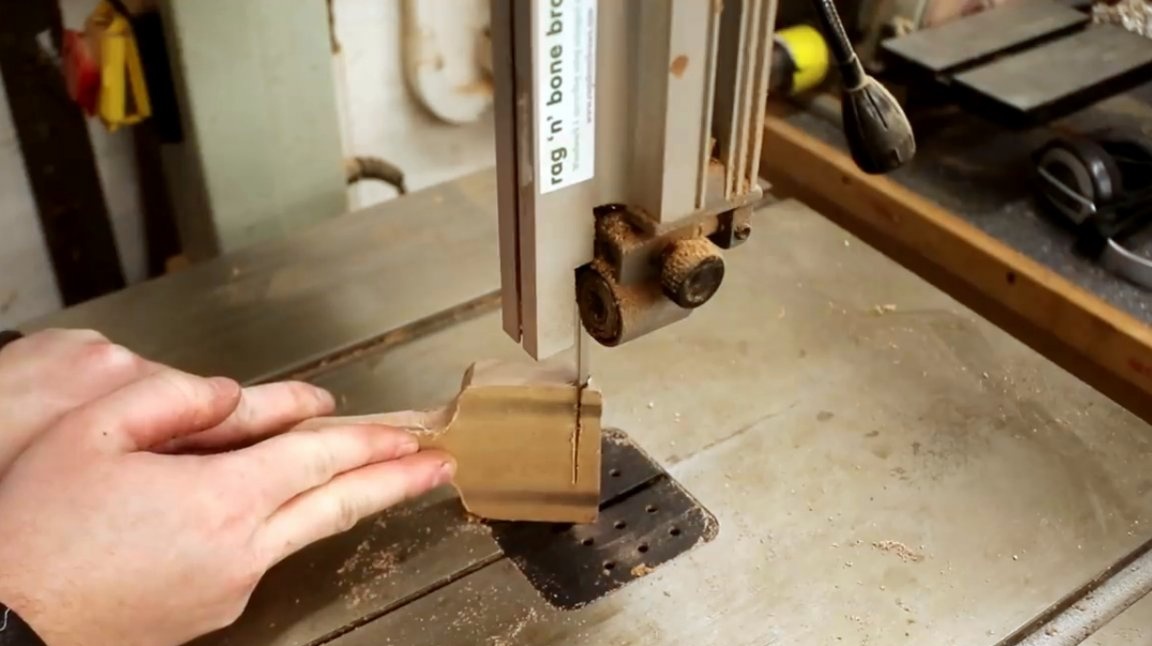
The loop shape cuts into a band saw.
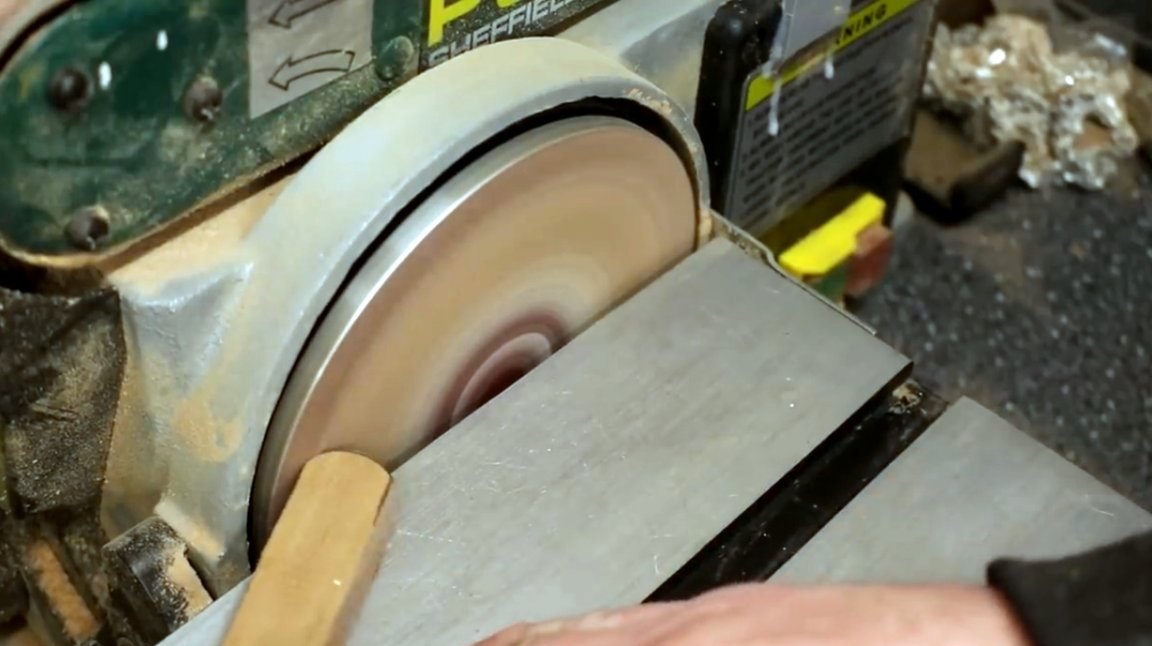
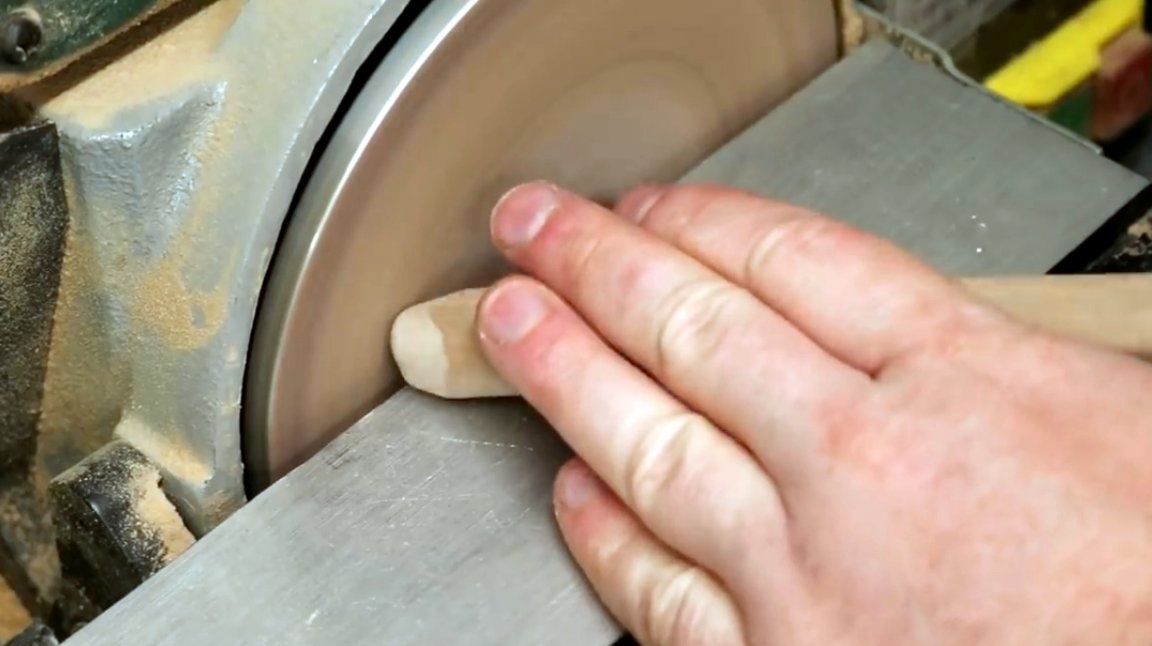
With the help of the orbital grinding disc, the master smoothes and improves the curved lines.
It would be ideal to give the handle a rounded shape with the help of a milling cutter. But the author at the moment did not have it at hand. So the whole operation will be carried out manually.
The master makes fluent marks with a pencil in those places where the material will be removed.
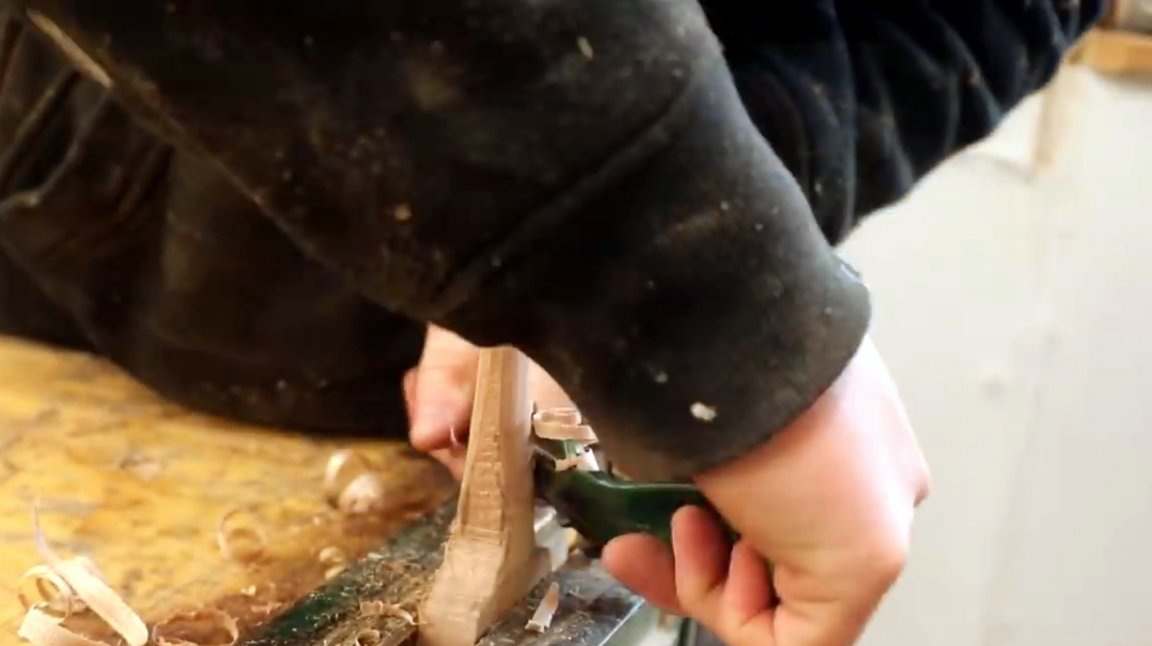
Then, using a staple, he does the first trimming of the edges, holding the tool at about 45 °.
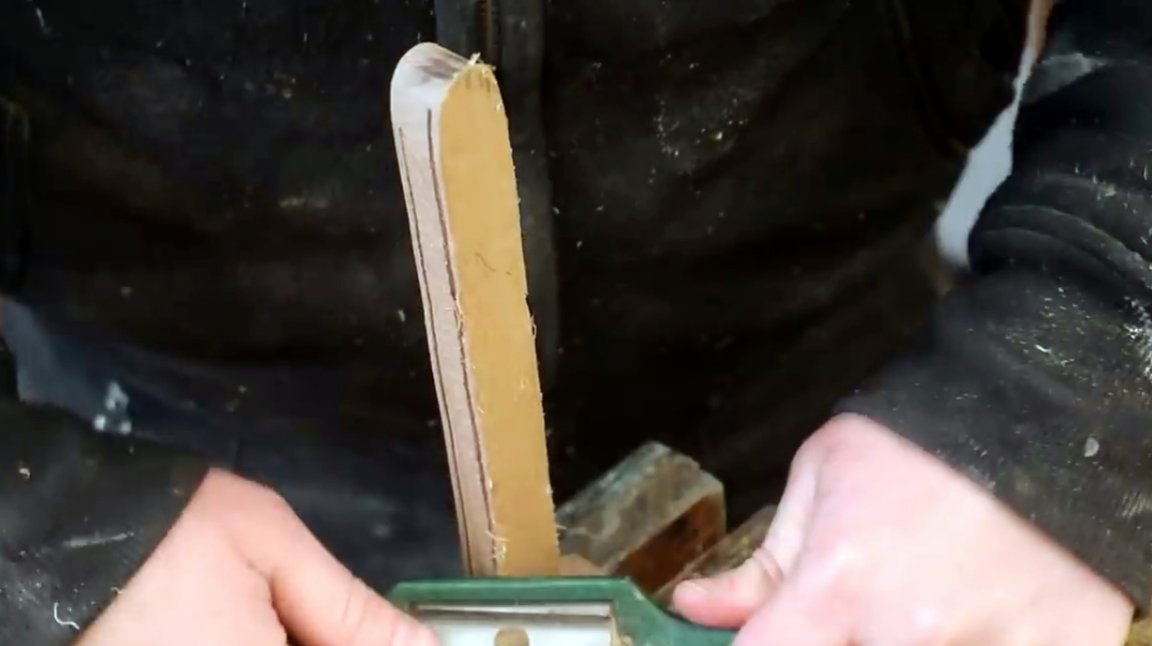
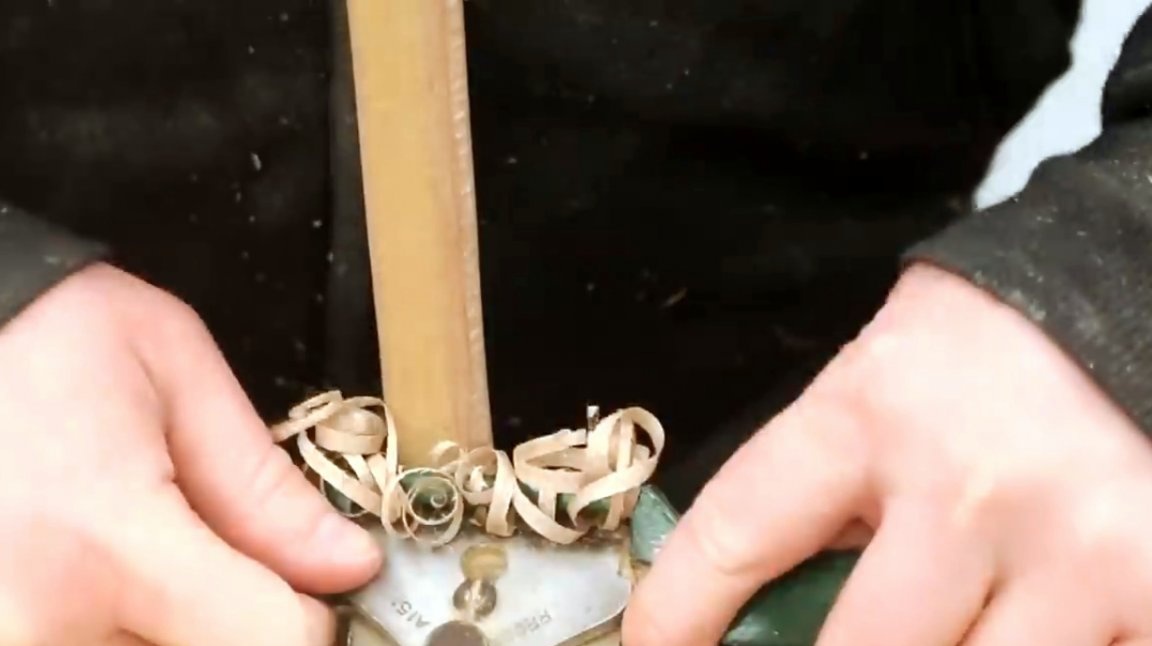
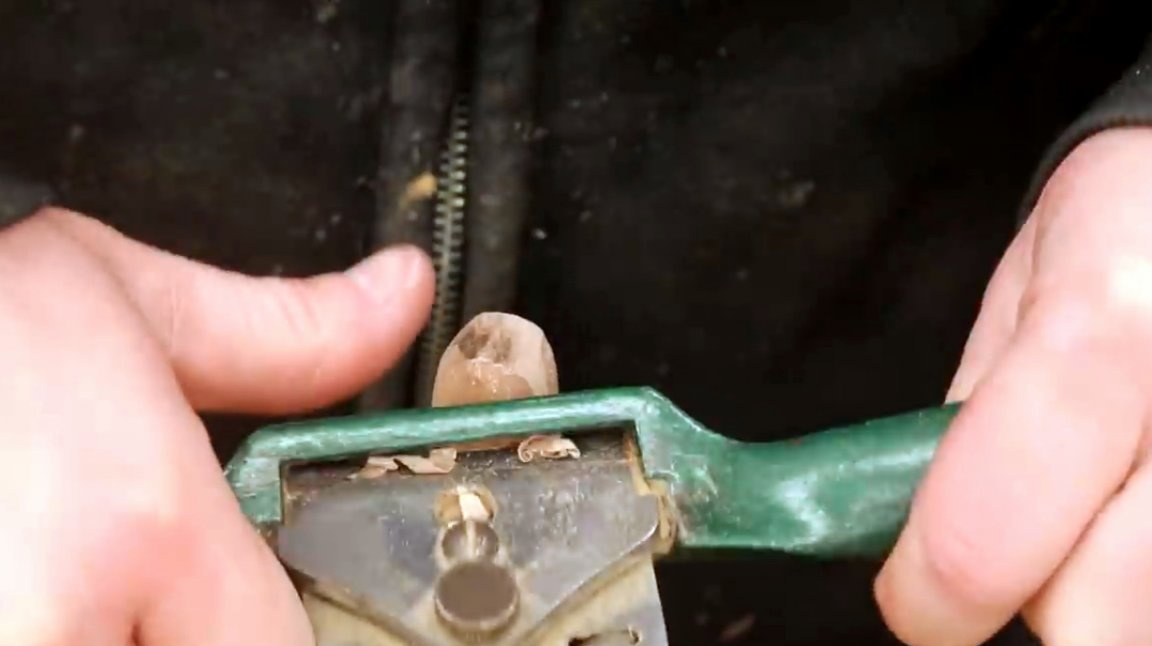
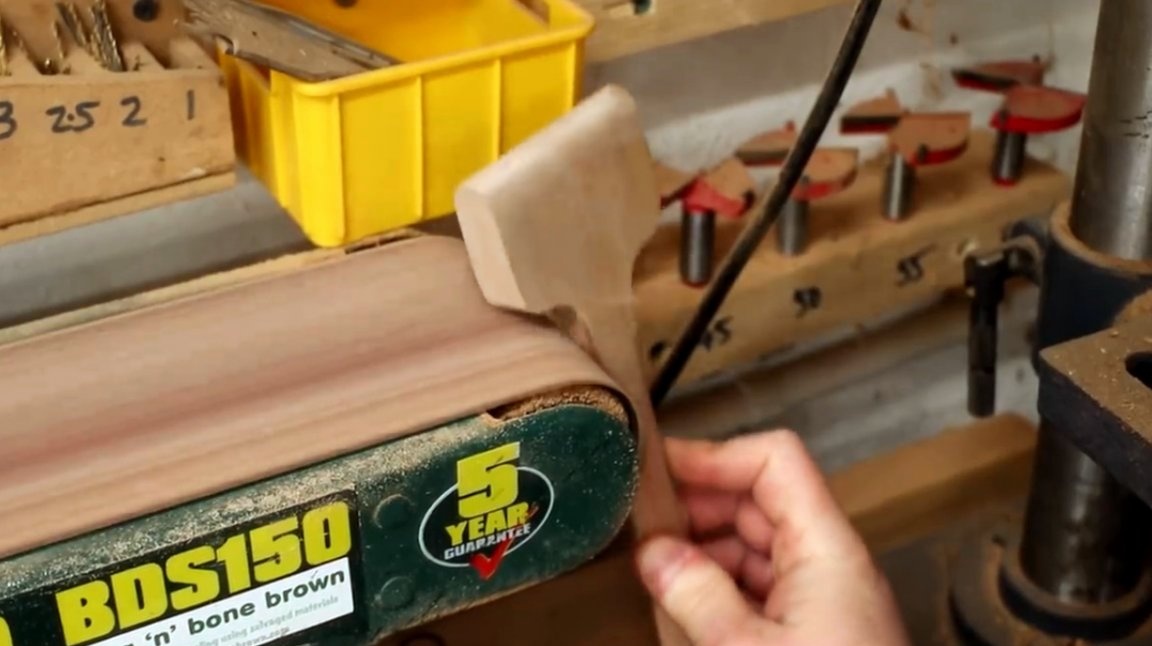
Further, the craftsman processes the handle of the future cycle around the entire circumference, trying to give it a rounded, symmetrical shape. He emphasizes that the scraper blade should be very sharp. The author decides to give the pen a more spoon-shaped shape so that it is comfortable to hold in your hand.
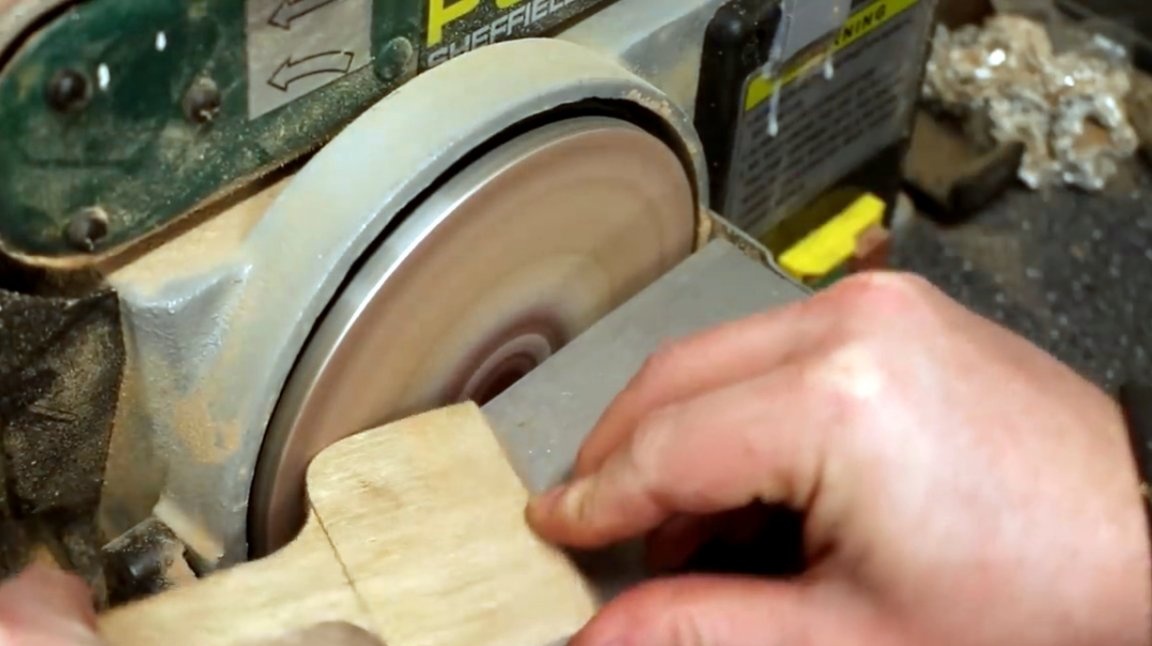
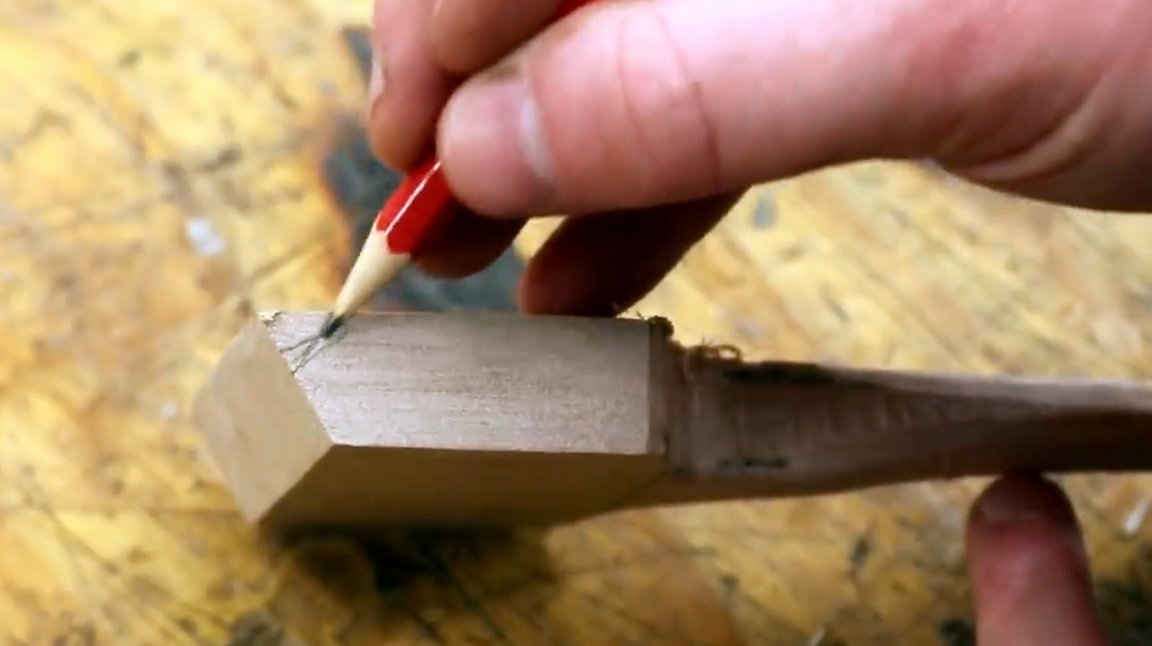
Now he draws up the tool head itself: cuts off an acute angle and smooths the cut on a grinding machine.

The other faces and sides of the workpiece are also polished.
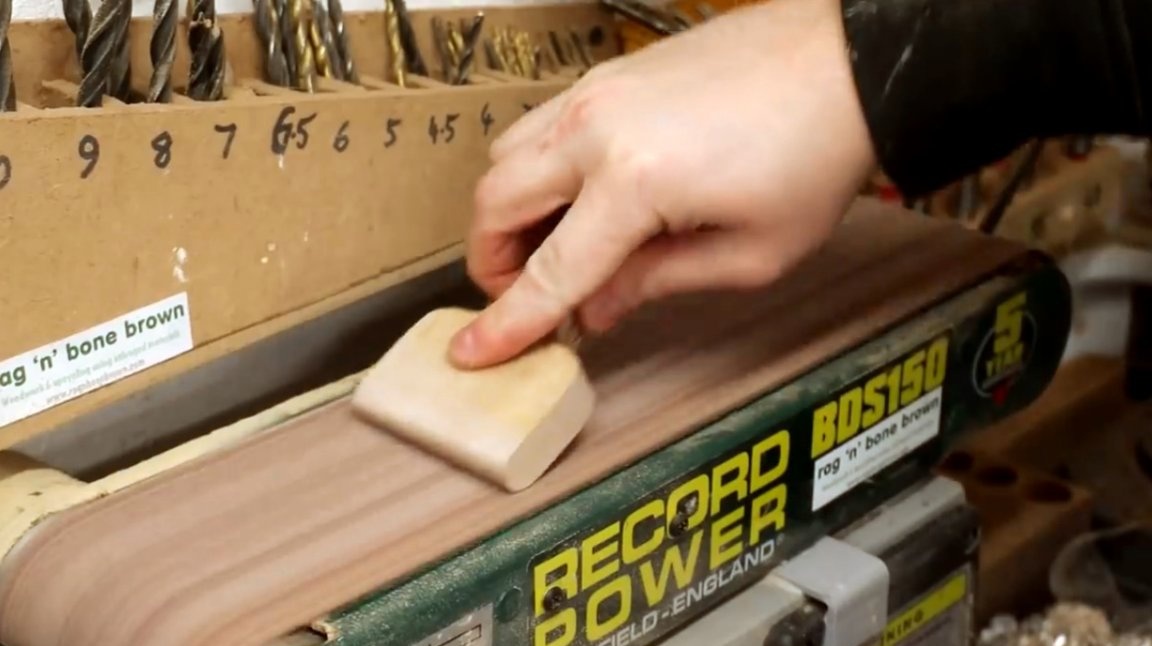
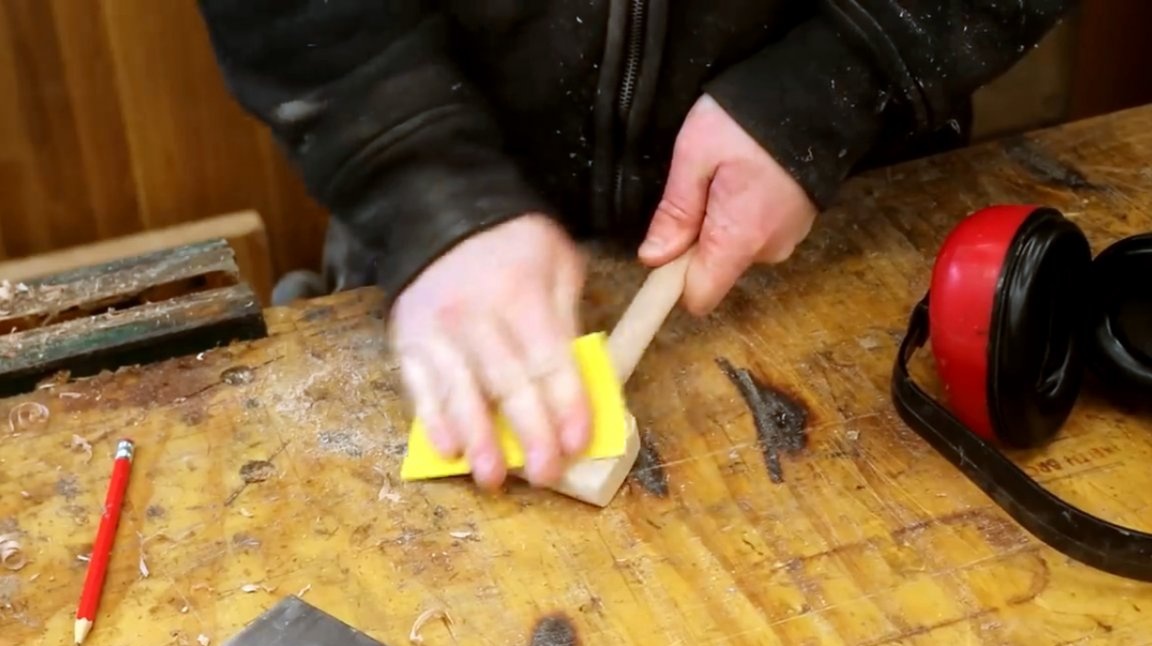
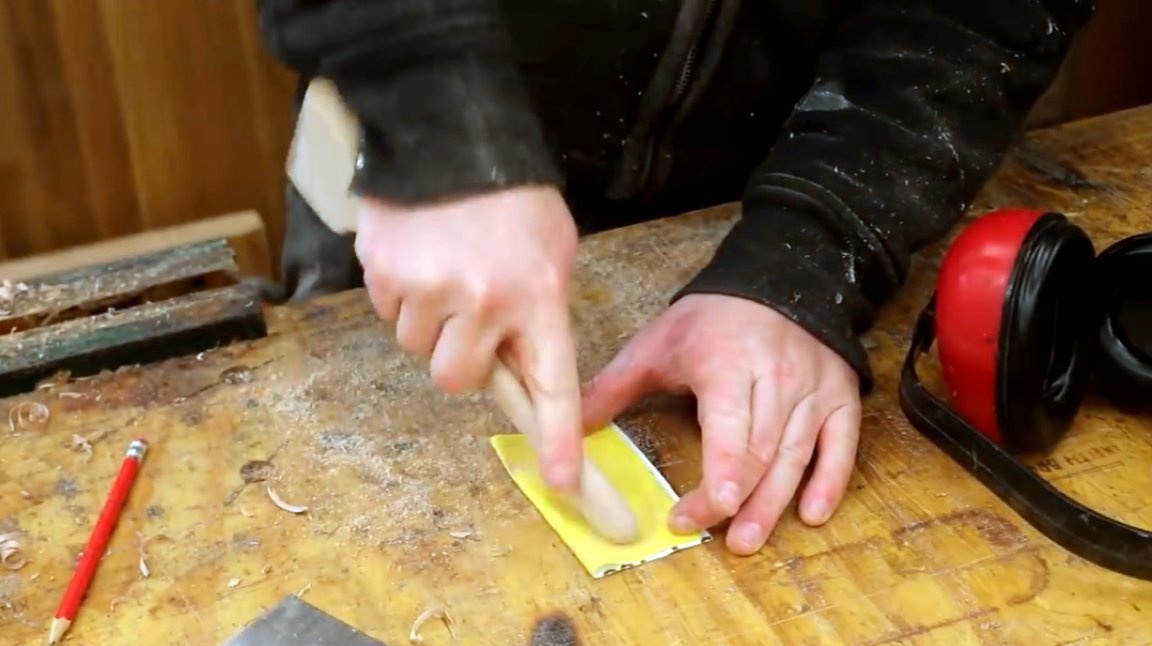
This is followed by a manual grit sanding of 100 grit.
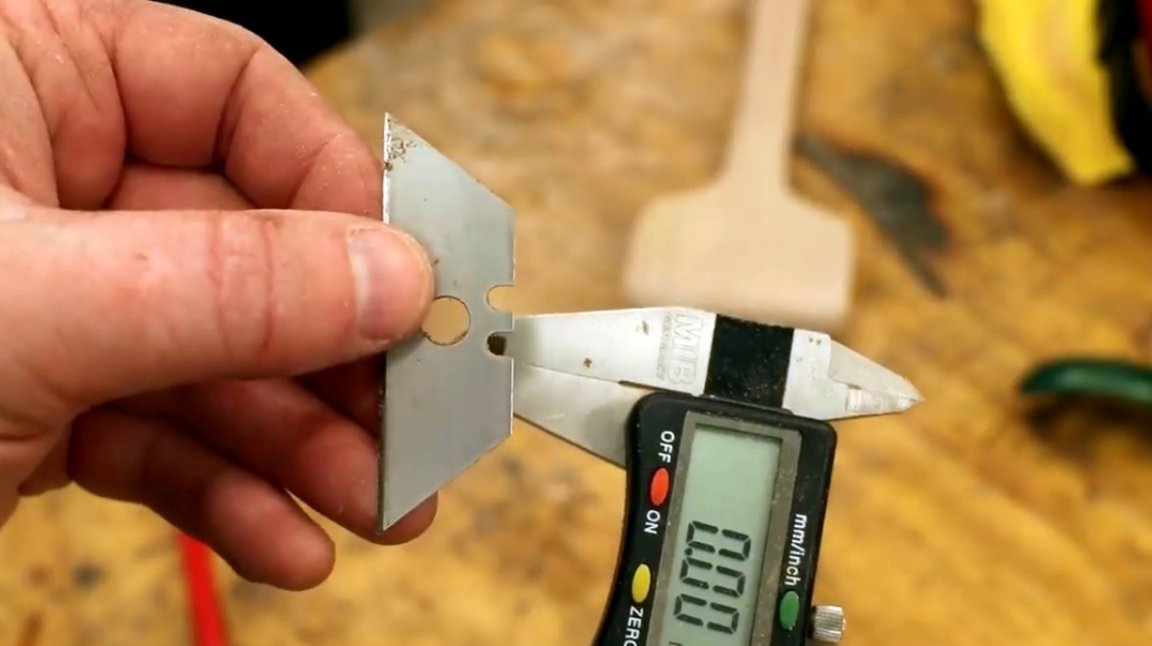
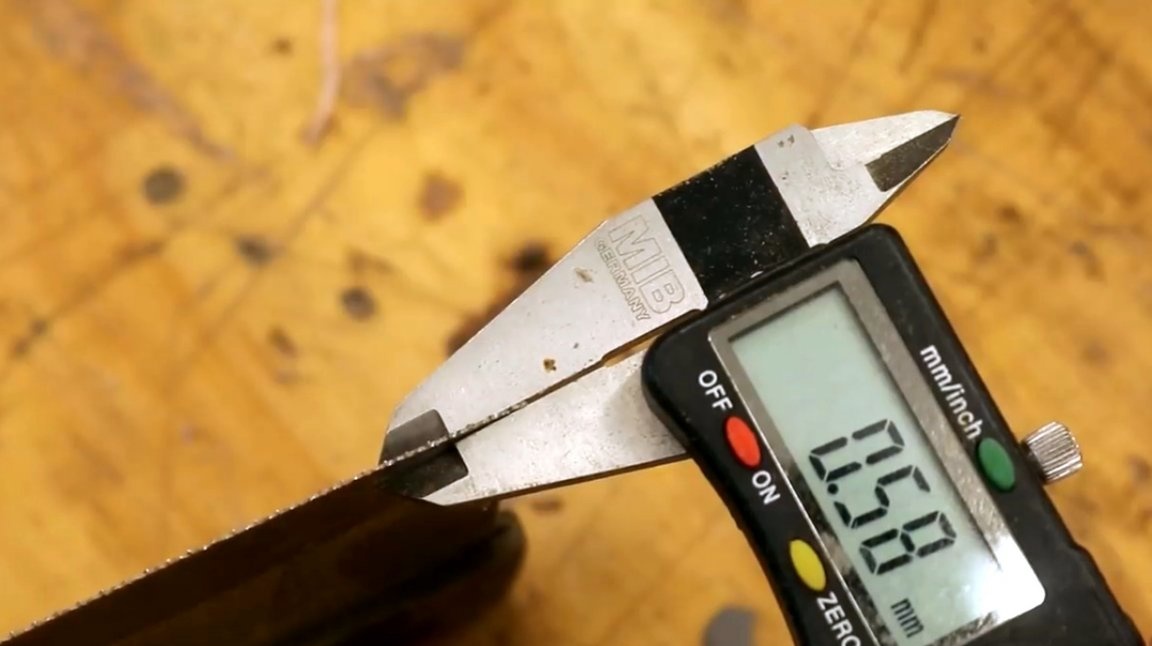
Now you have to embed the blade itself into the handle head. First, the author measures the caliper with its thickness. It is less than half a millimeter.
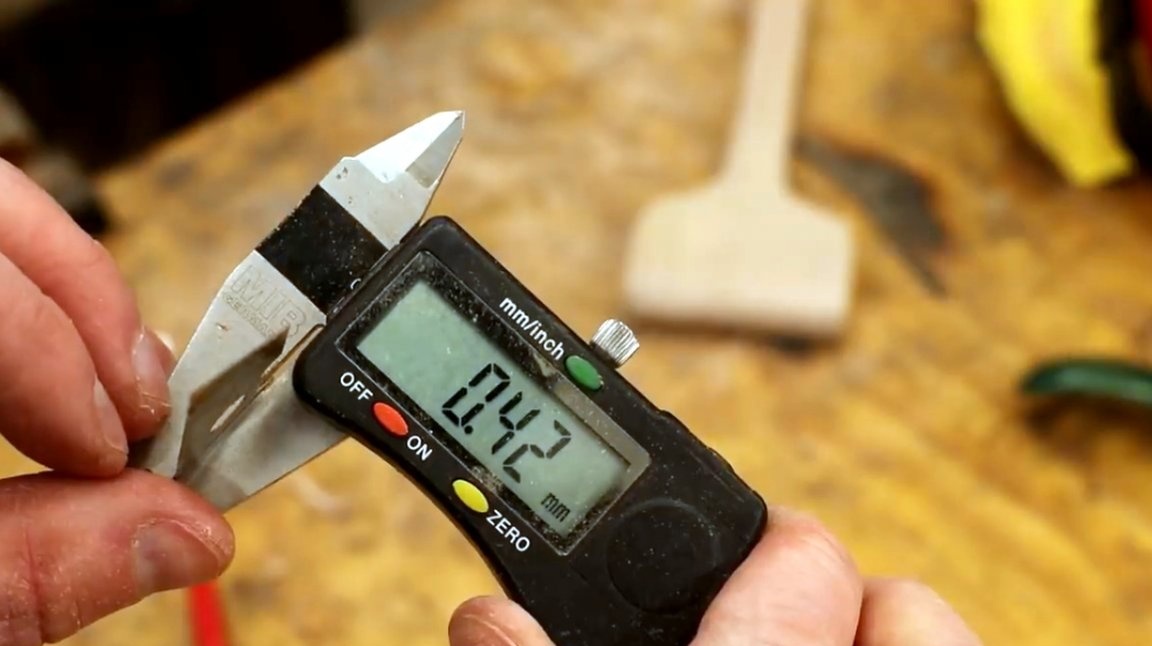
Further, from all available saws, the author selects a saw with the thinnest blade - 0.58 mm
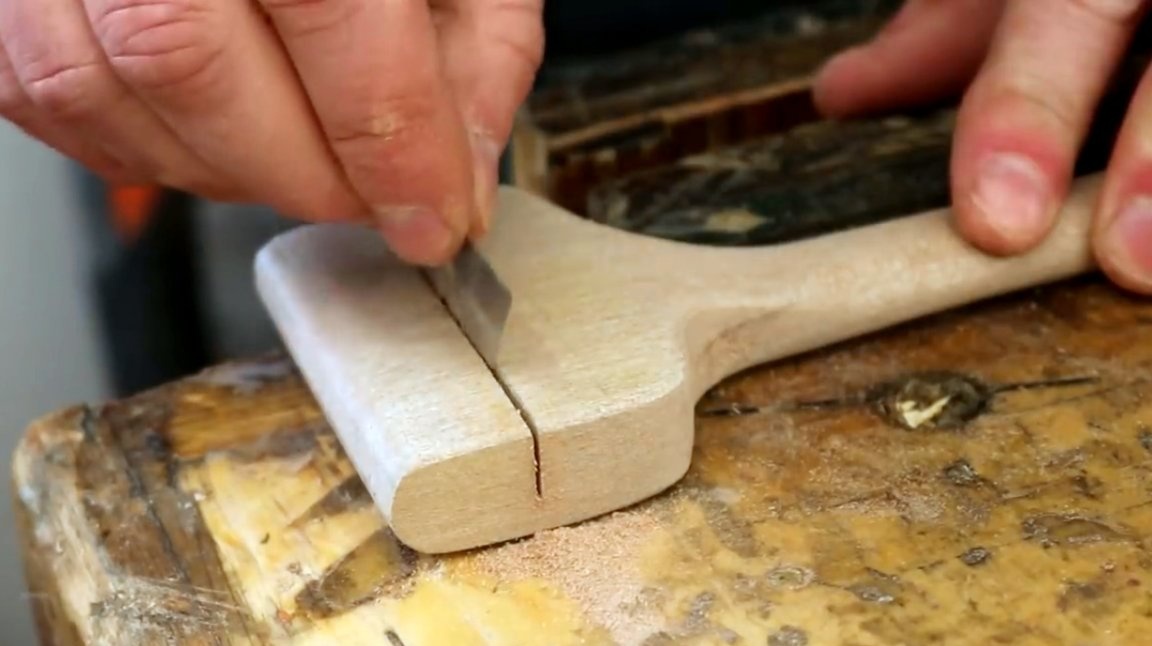
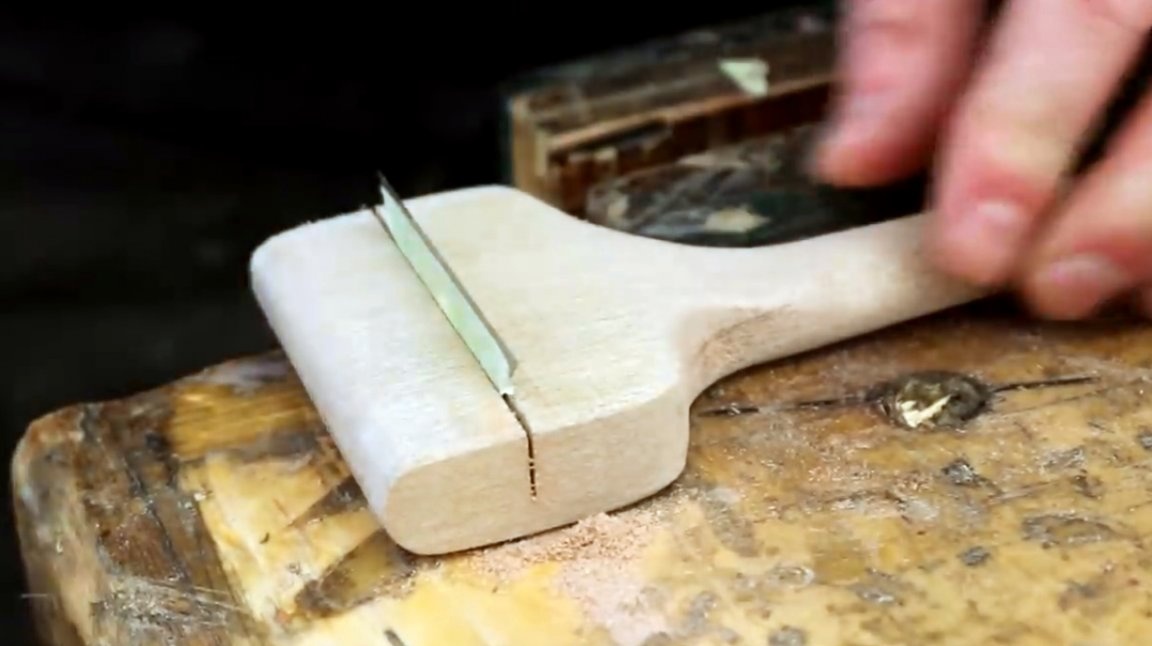
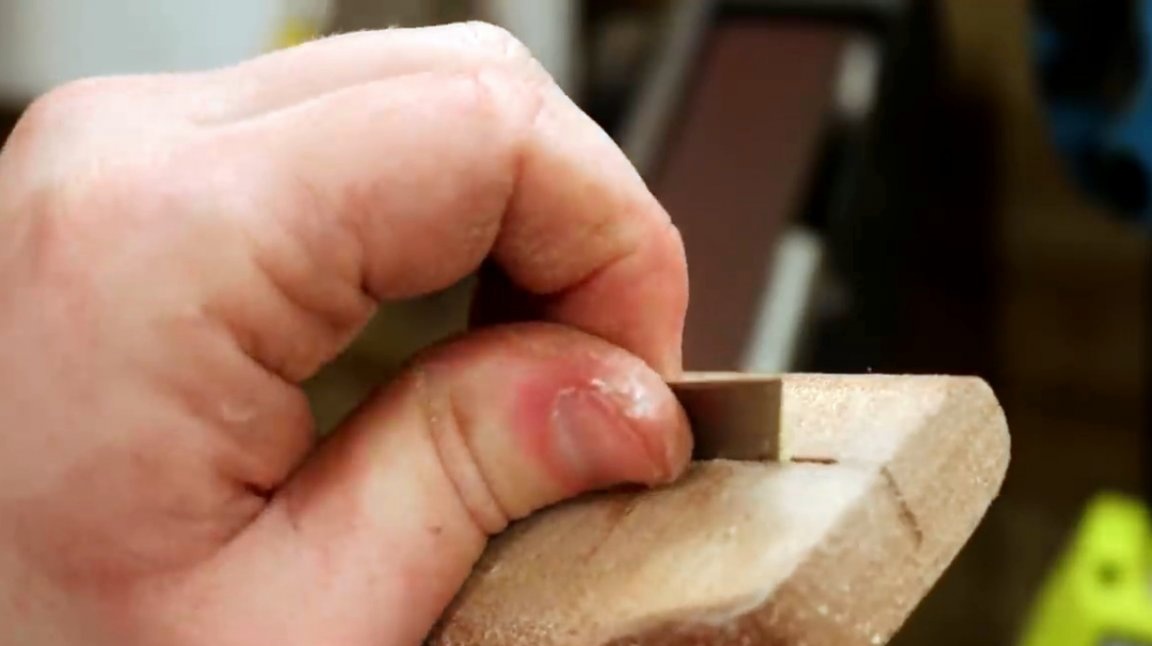
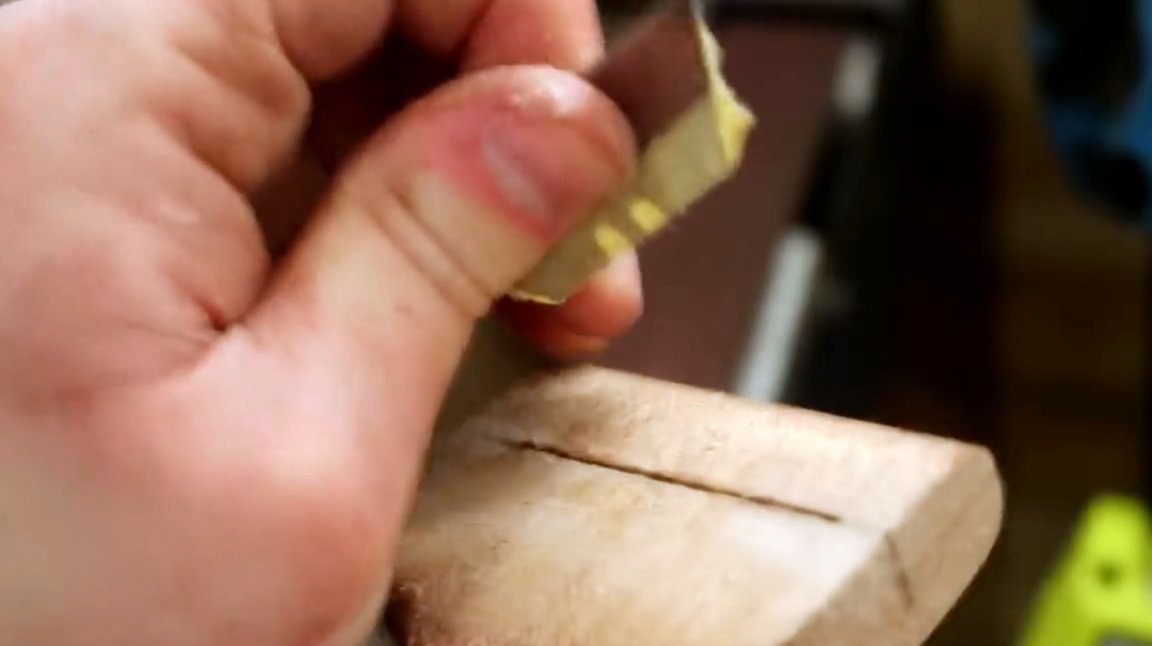
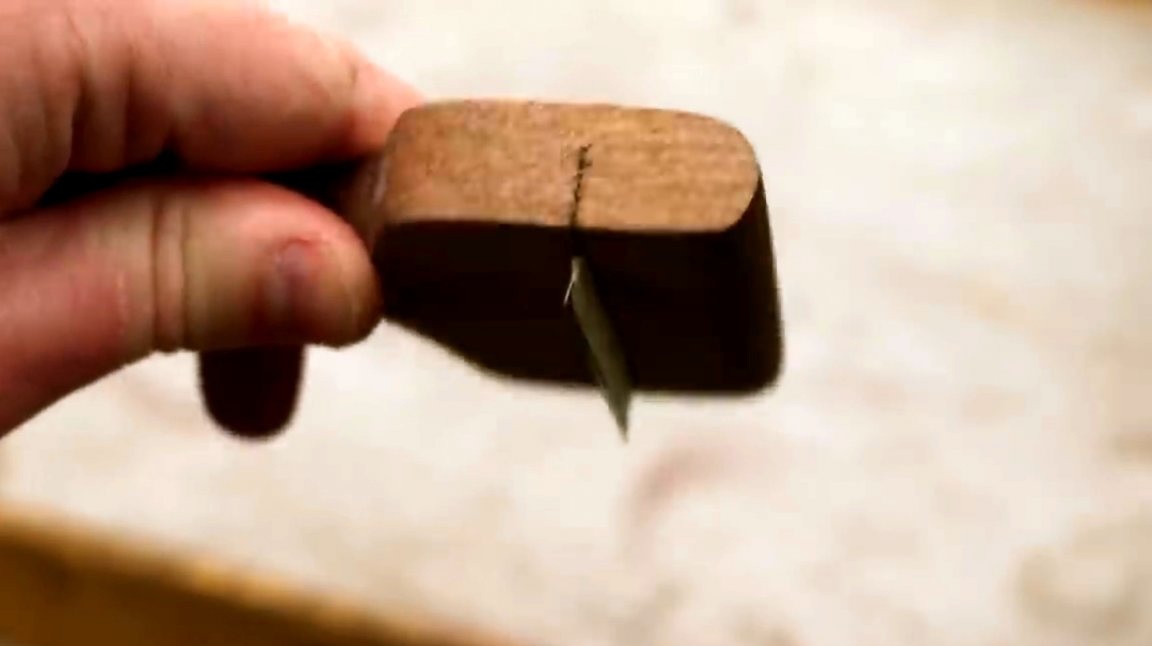
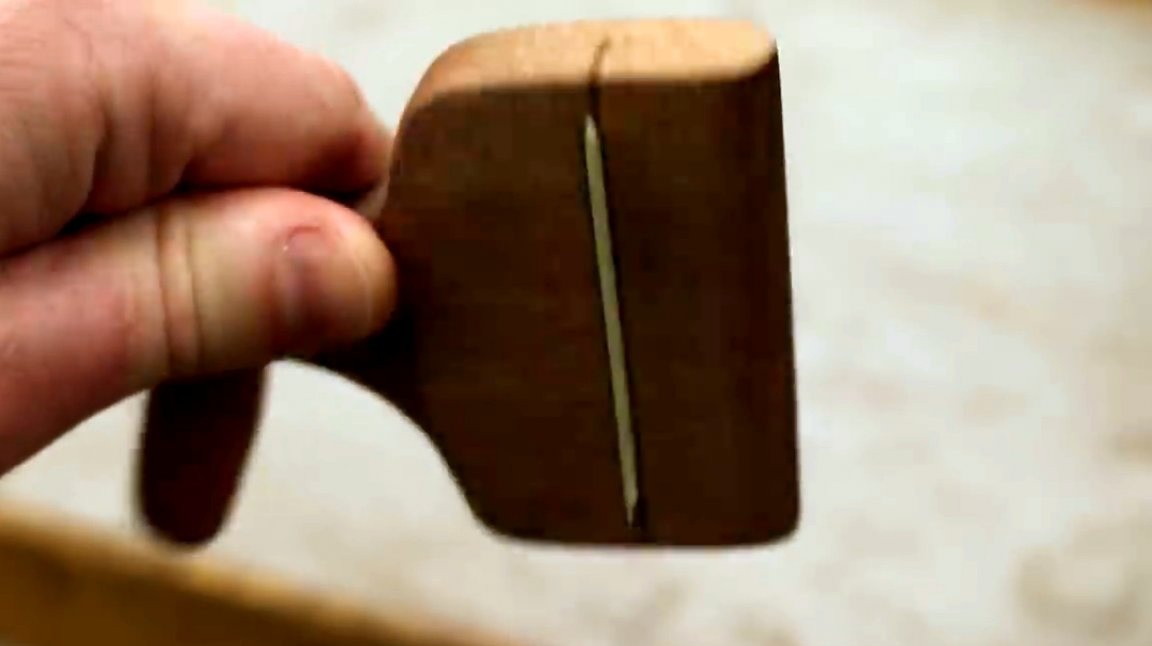
Now the author makes a cut for the blade cycles.
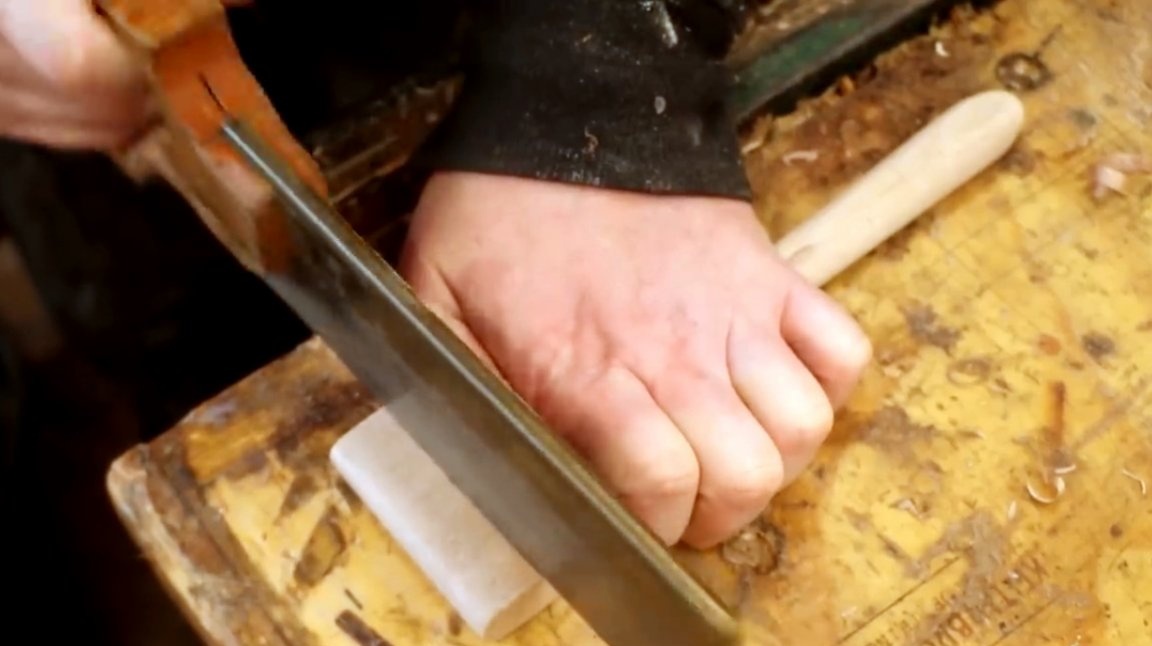

As expected, the blade is loose.
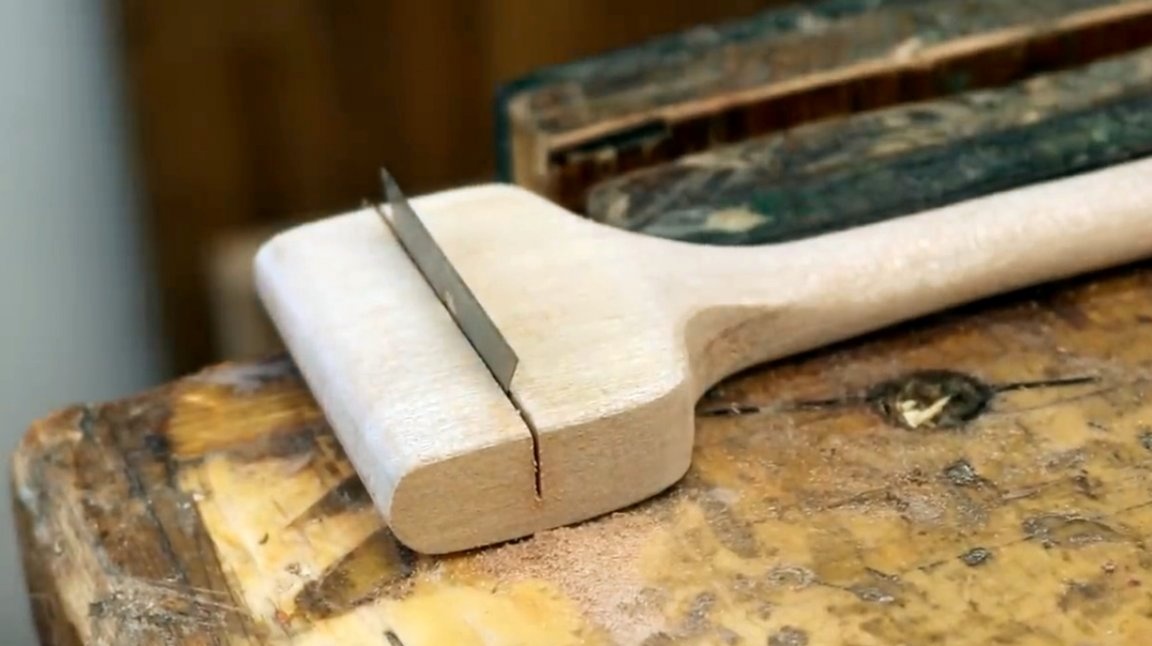
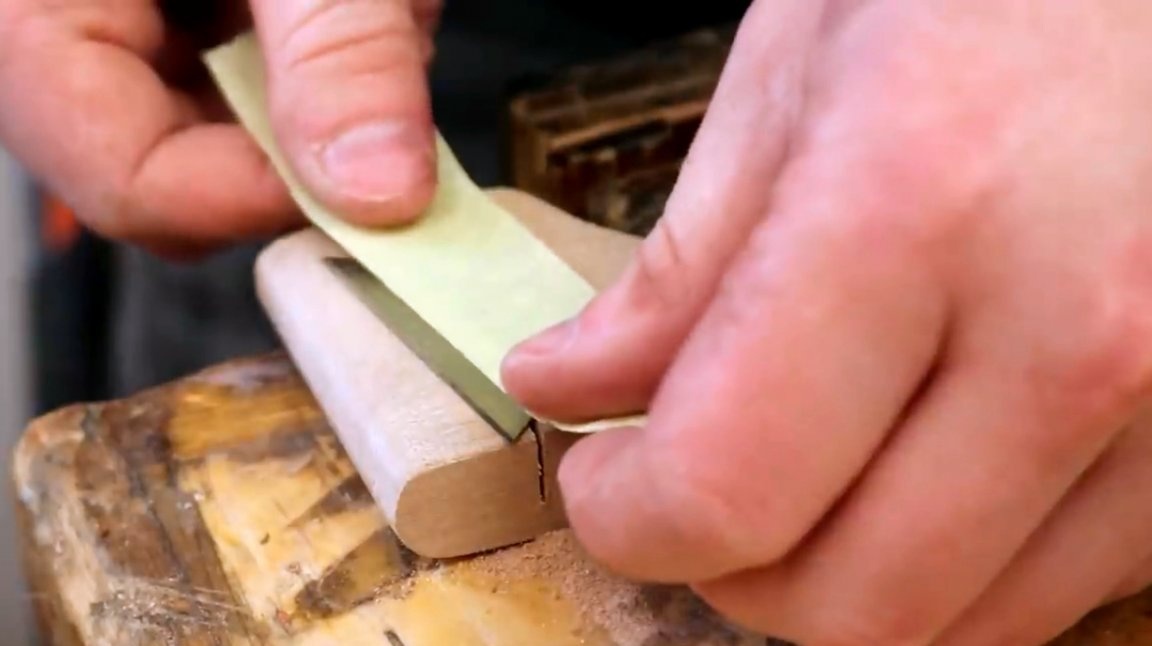
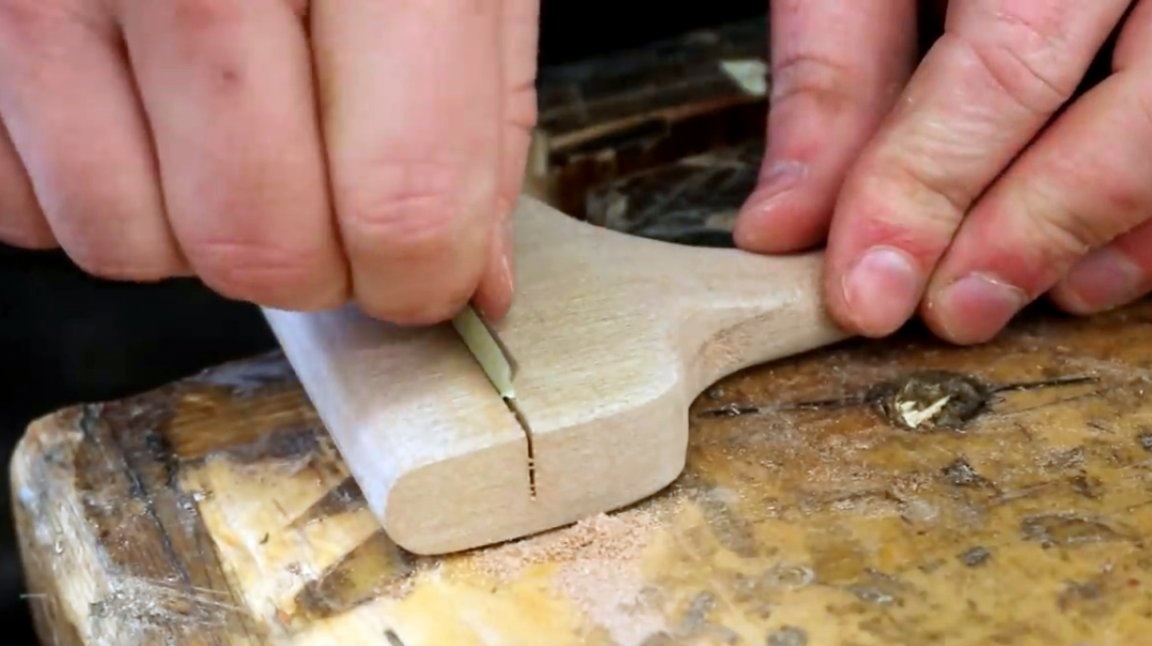
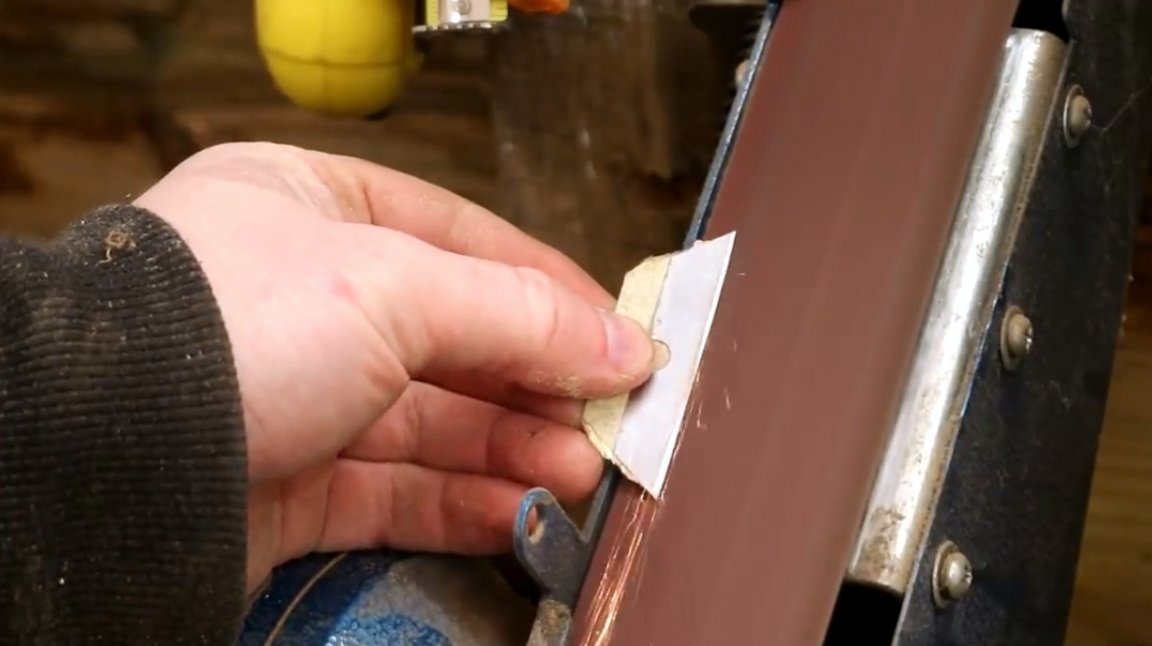
The author figured out several ways to fix it in its place. It can be a bolt with a nut, or a screw. In the end, he stops at the (friction fit?) Version, when the blade remains removable, but not fixed firmly. To do this, he glues a masking tape on it on one side, as a result, the blade sits quite tightly in the slot.
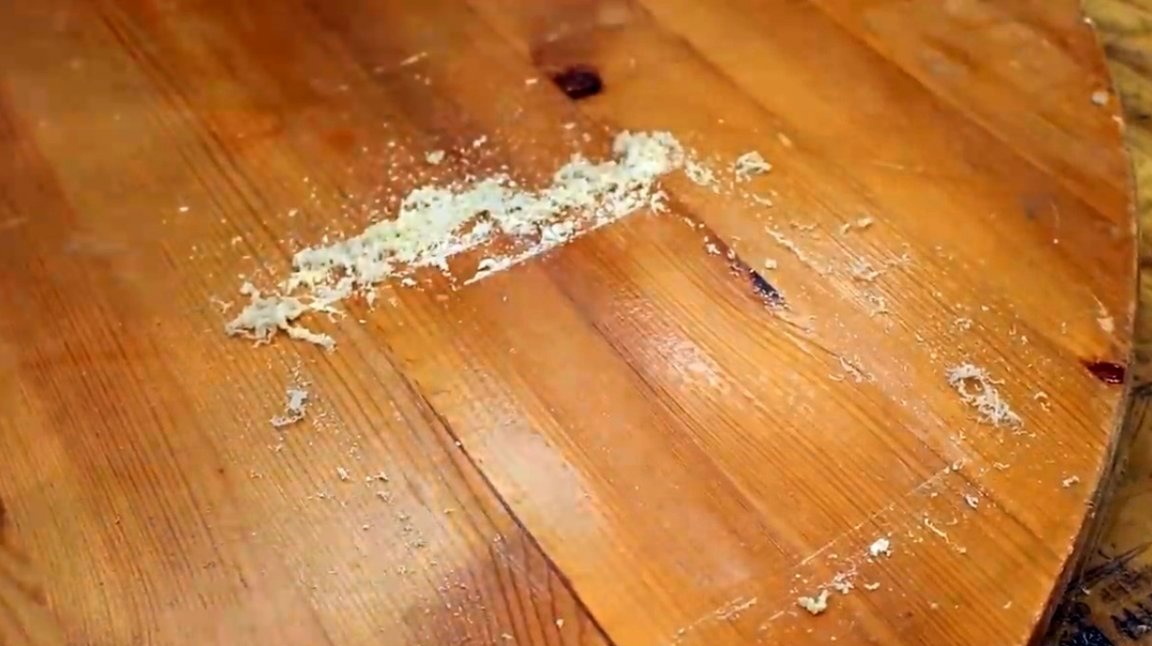
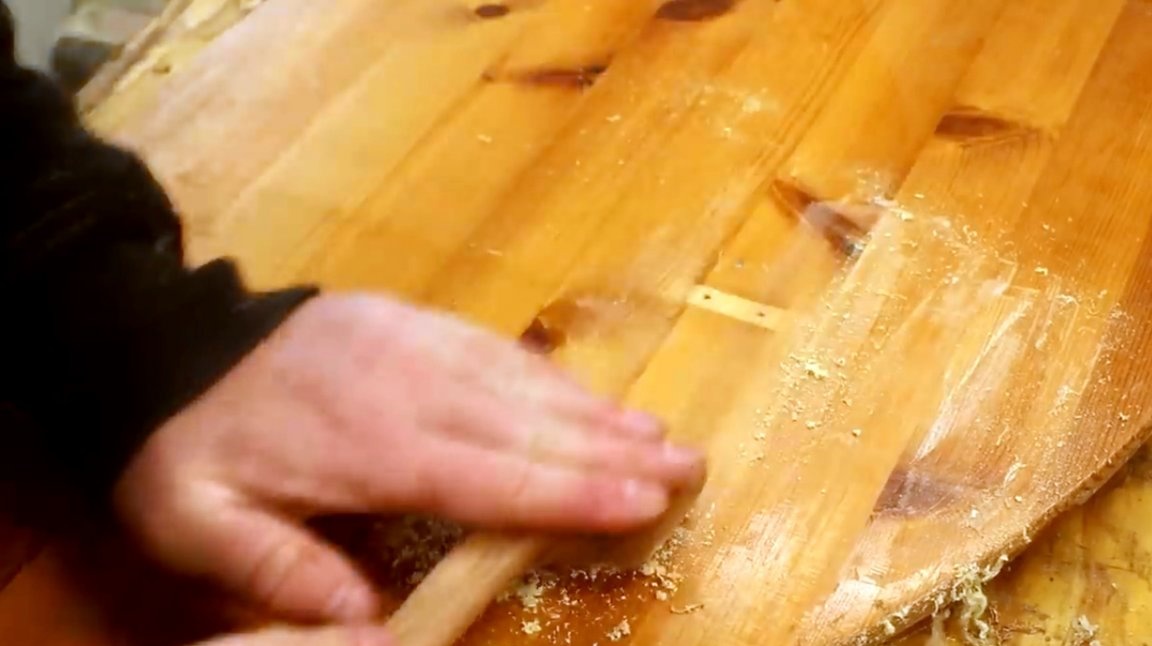
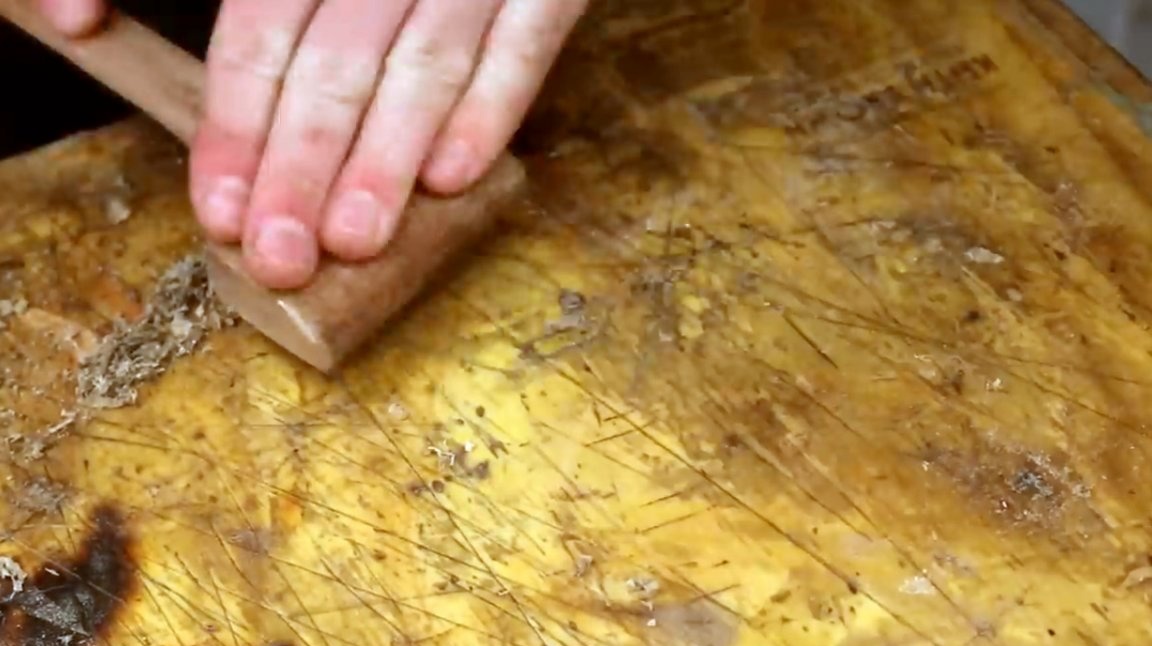
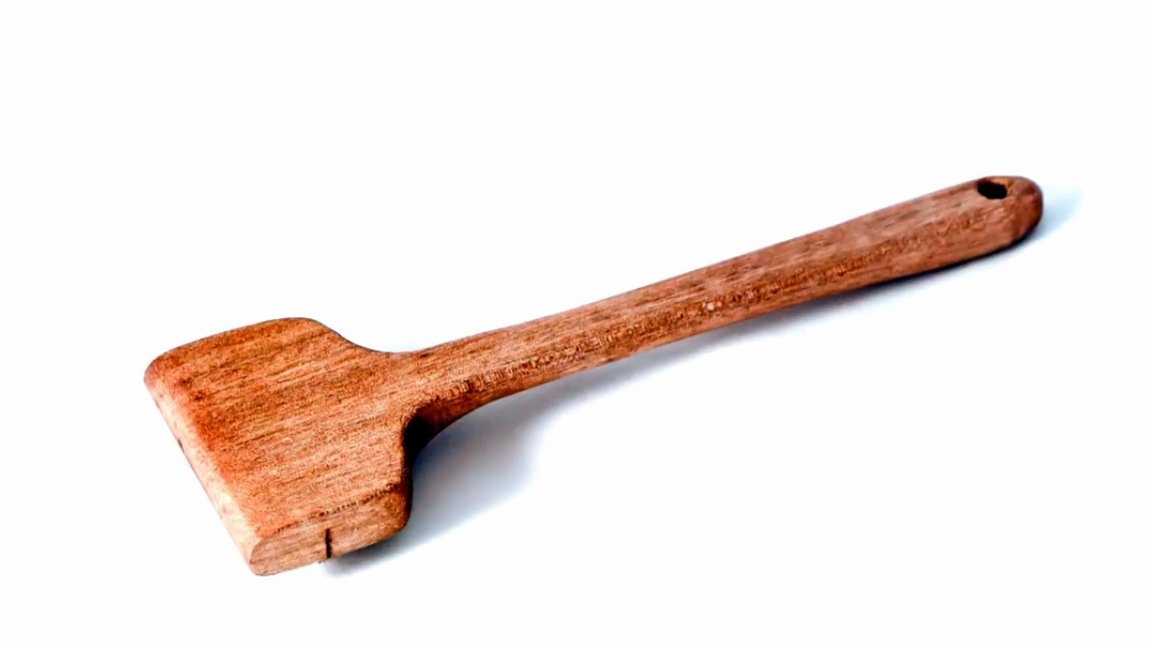
Now the finish. Before you is an oil-wax mixture of manual preparation. Thanks to her, the wood became unusually smooth and textured.
Vladimir Natynchik spoke about a great recipe for such an impregnation in a recent article.
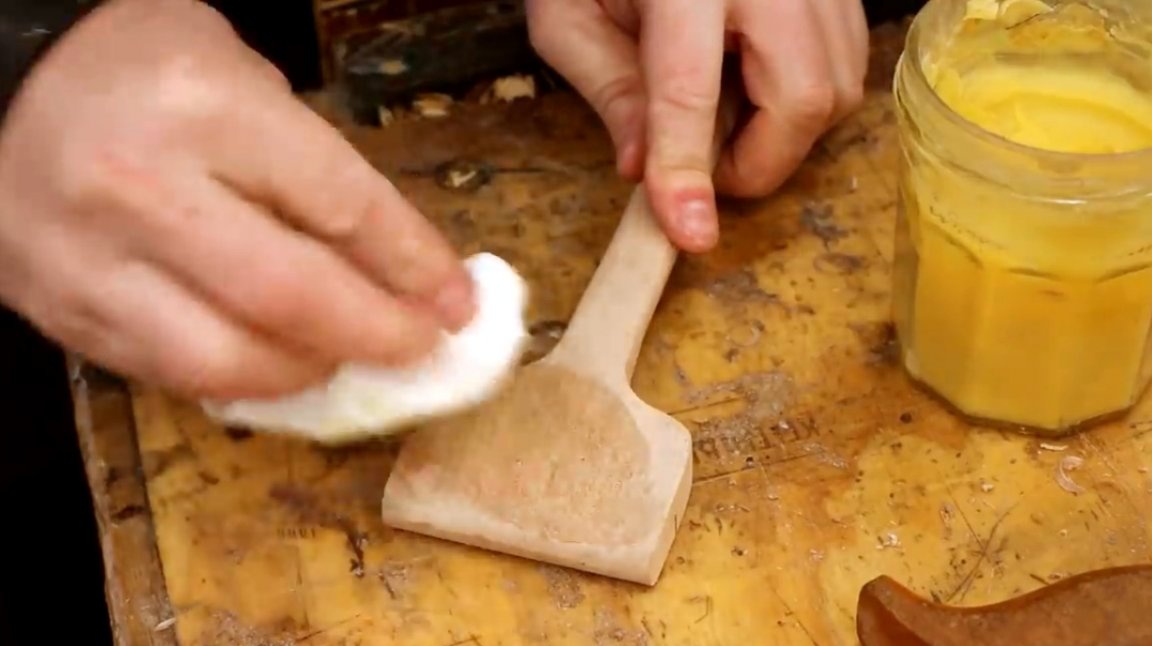 . Such impregnation is safe for contact with food, and is very simple to manufacture.
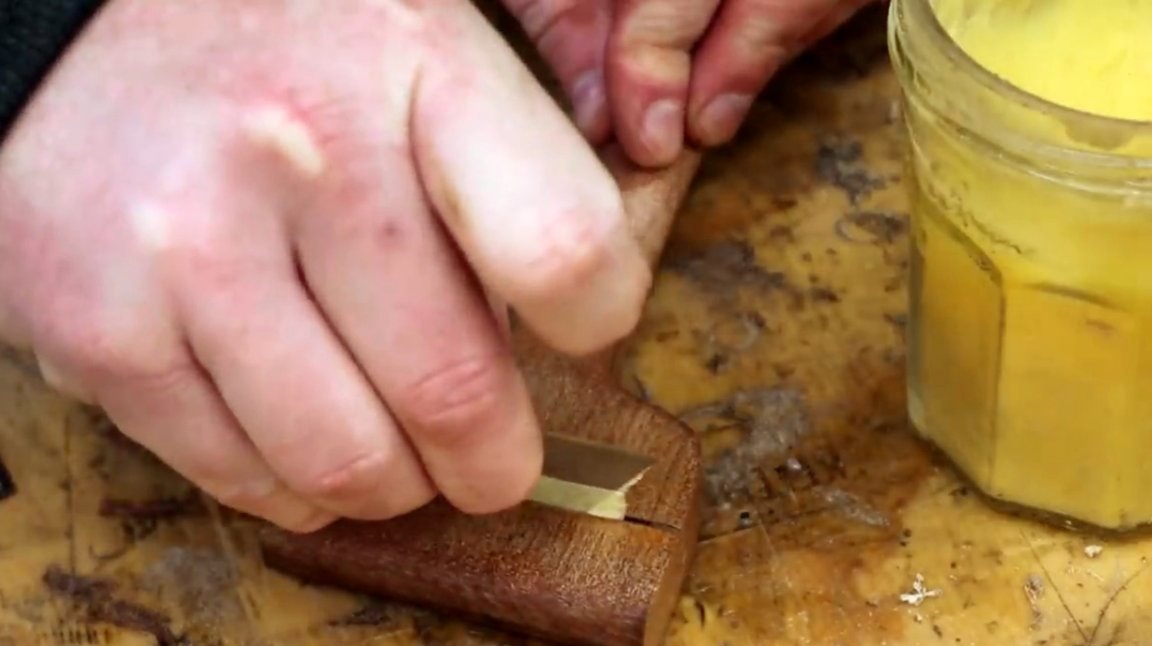
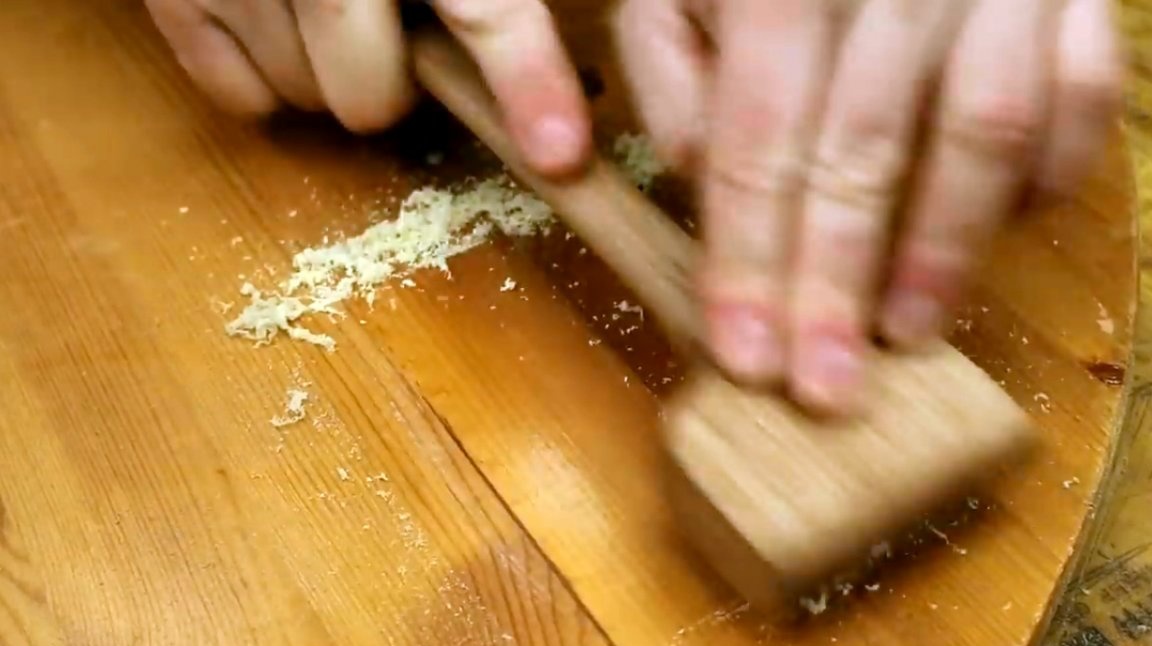
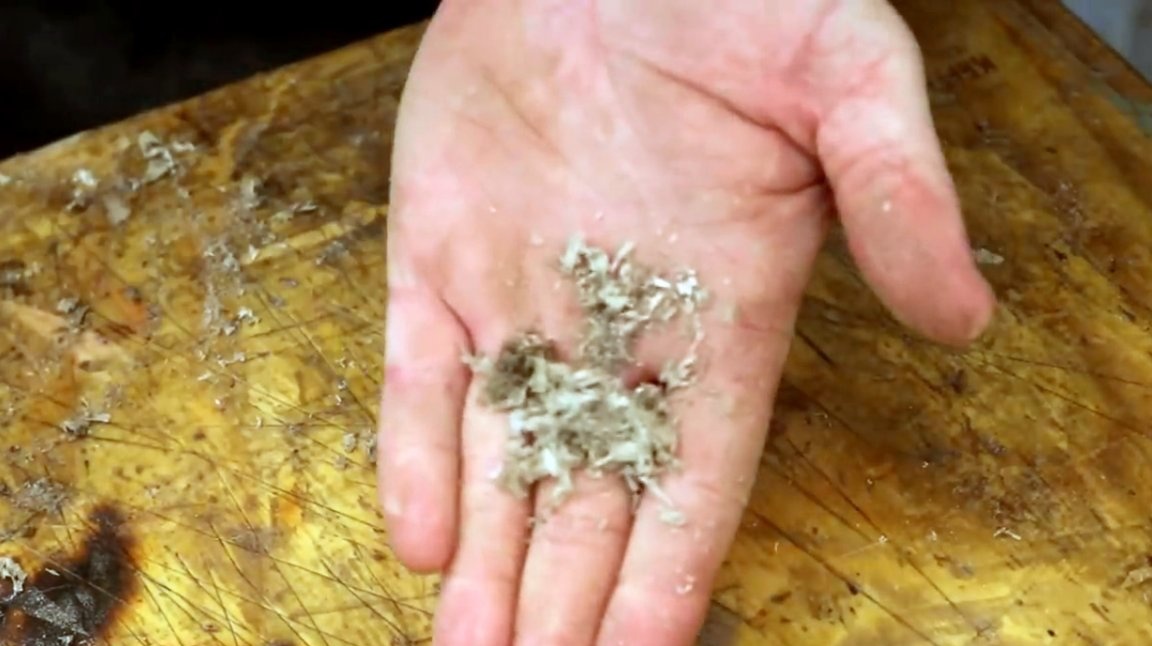
Such a cycle is ideal for cleaning wood from old varnish, removing layers of old paint and the like. It is possible to calculate with what pressure the unwanted layers should be removed.

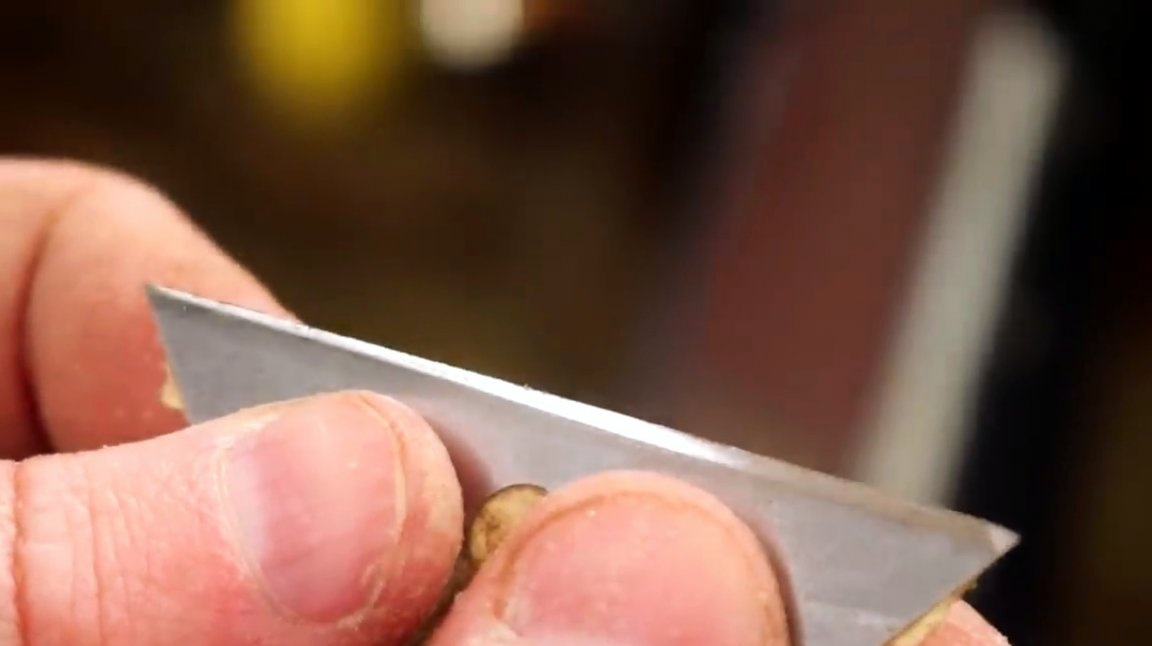
In order not to leave scratches with the edges of the blade, its sharp corners can be sharpened a little with a file.
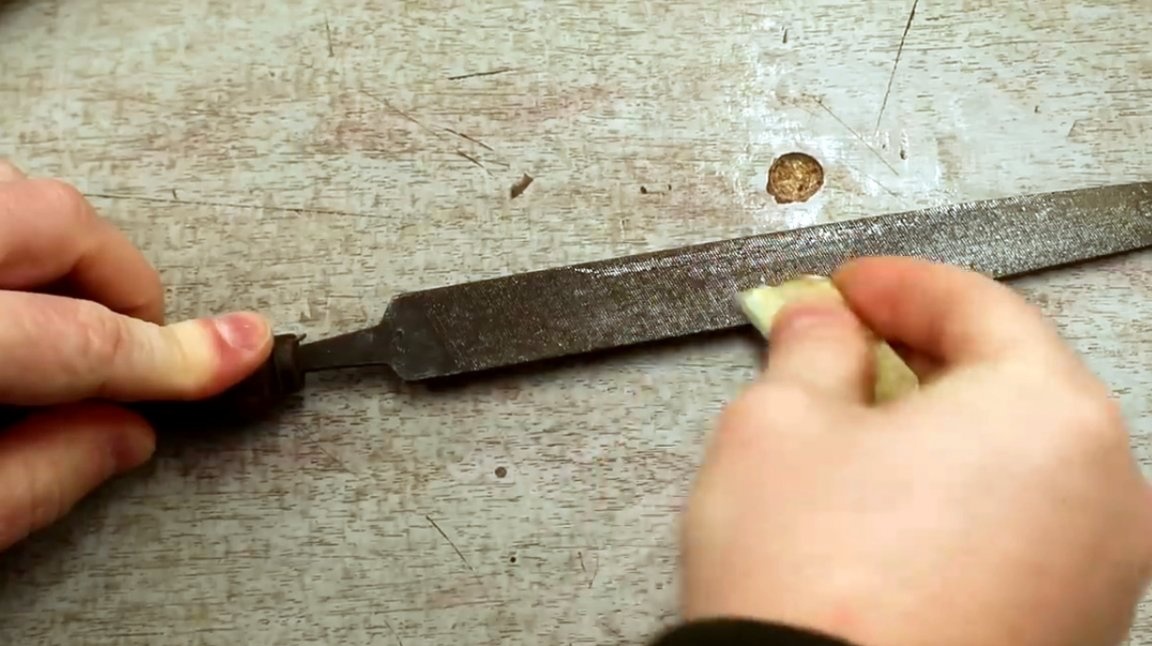
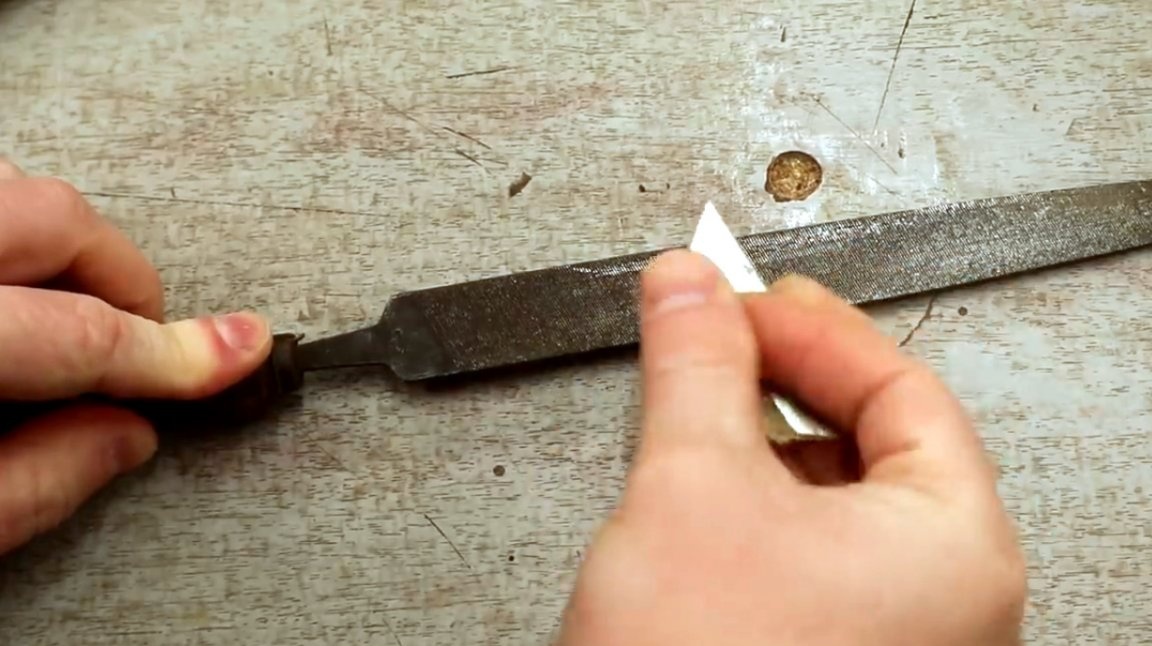

So the scraper blade works much better.
The author re-grinds the blade on the machine using 400 grit sandpaper.
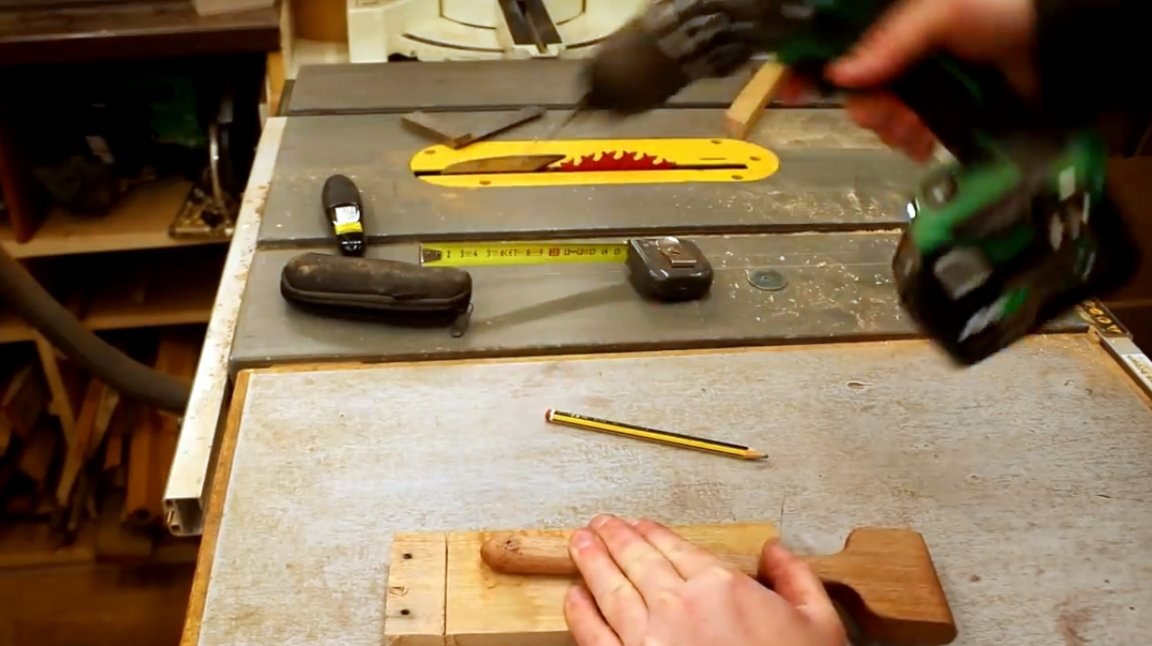
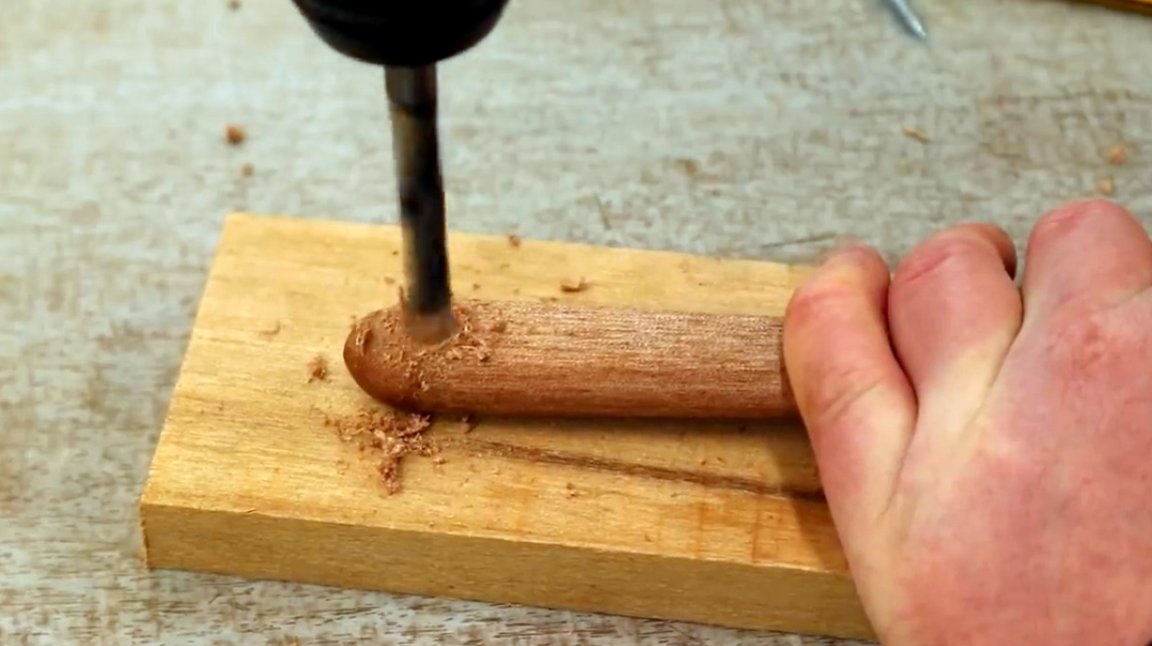
At the final stage, the master drills a hole in the shank with a thin drill for hanging the tool.
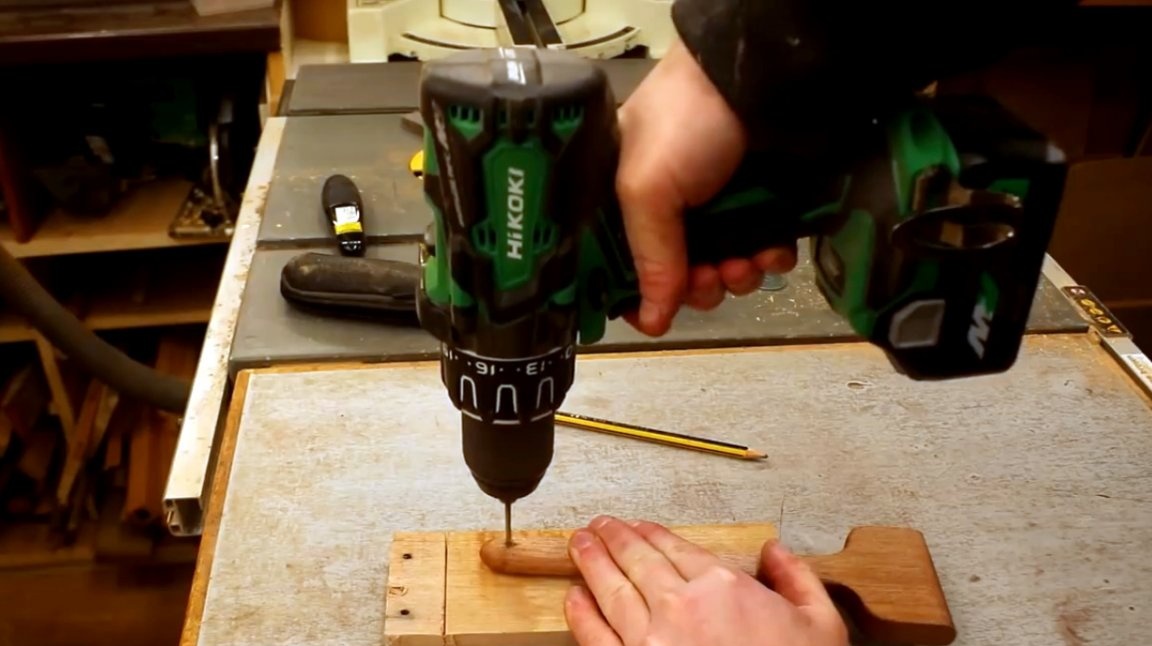
Then it widens the hole with another drill by 8 mm. Now the loop will be able to take its place on the wall next to other tools.
Having finished the project, the author critically evaluates the result and makes a number of small amendments that he would have made if he decided to repeat the whole process. In particular, for the handle, he said, one should take a thicker piece of wood, say, 20 mm thick. Then a deeper groove for the blade could be cut, and it would sit harder in the wood. And secondly, the shape of the handle should be made so that it expands towards the end. In this case, it would be easier to hold in your hand.

I thank the author for the simple but useful device for cycling wooden blanks and products!
If you have interesting homemade products, share them on this site. Here you will get a real reward, not a “bunch of parsley” at an entertainment forum. For questions about the correct design of articles, you can contact me personally. I’ll tell you and show you how to do it. There are private messages for this.
All good mood, good luck, and interesting ideas!
Author video can be found here.