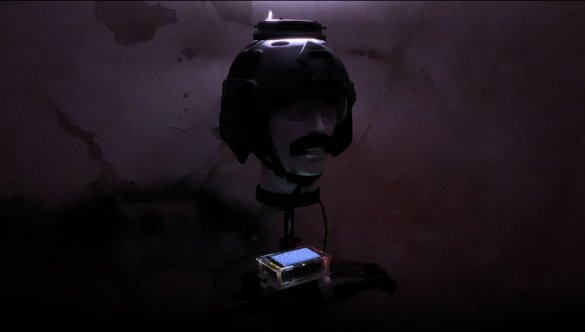
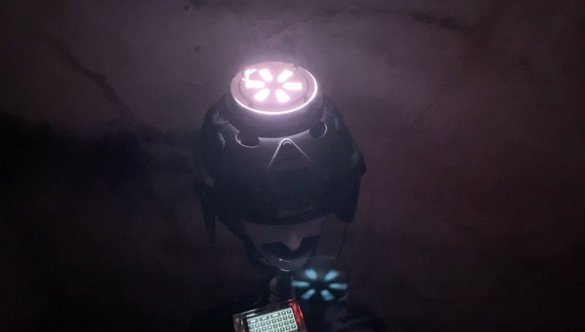
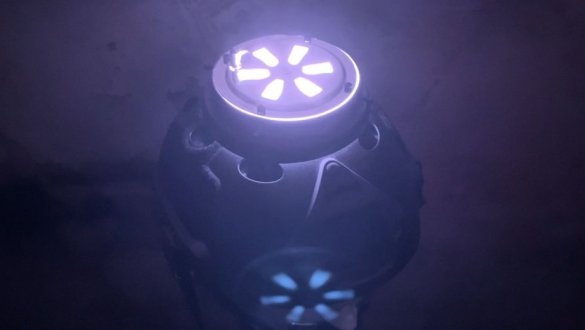
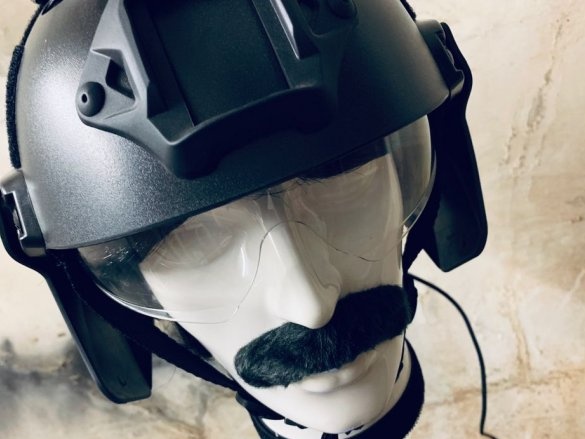
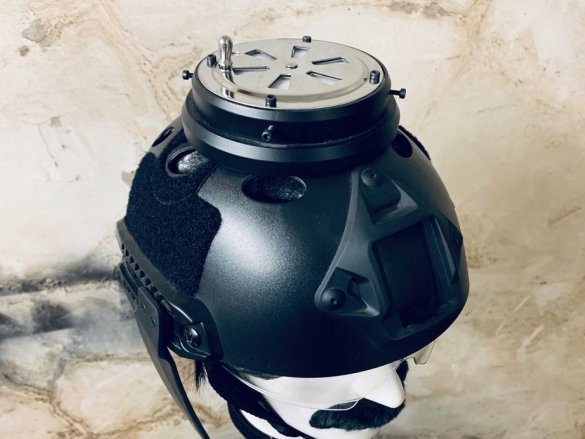
The author of Instructables under the nickname RaiseStudio talks about the interesting work of the Belgian sculptor Mathieu Zurstrassen - an employee of this studio. This is a head with a mustache and in a helmet on which a lantern is mounted, directed upwards. The flashlight is connected to an automatic Morse code sensor (ADCM). Typing a phrase on the touch screen can make homemade convey this phrase by automatically turning the flashlight on and off.
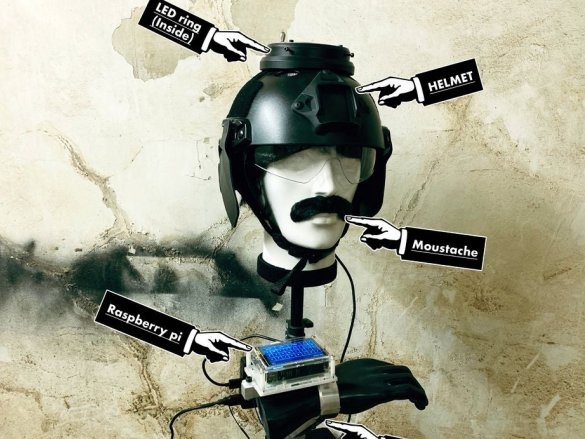
Further, the design is shown with the lights turned on in the room, with an explanation of where its parts are located:
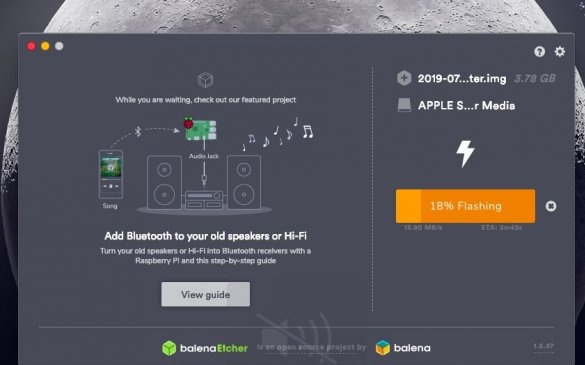
And now we will return at a time when the master is just beginning to work on sculpture. He downloads a Raspbian image from Stretch and Processing. from here. And the Balena Etcher program is from here. And this program writes the image to a 16 GB memory card.
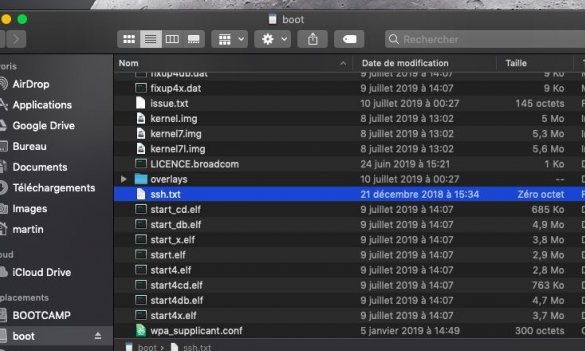
Creates an empty (0 byte long) file in the root folder of the map called ssh.txt.
It also places the wpa_supplicant.conf configuration file with the following contents:
crtl_interface = DIR = / var / run / wpa_supplicant

GROUP = netdev

update_config = 1

country = YOUR_COUNTRY_CODE

network = {

ssid = "YOUR_SSID"

psk = "YOUR_PSK"

}
The name of the access point and the password from it must be changed to those that you use. He then places the card in the Raspberry Pi and turns it on. After loading Raspbian, Malinka connects to the access point automatically, unless, of course, model with built-in wifi. If not, you can connect it in a way that I recently described, then the second of the files mentioned above is not needed. From a computer connected to the same point, the master connects to the board via SSH:
ssh pi@raspberrypi.localHe dials a password, this time not from the access point, but from the Raspberry Pi itself, by default it consists of one word raspberry. Now the board can be controlled from a large computer. First of all, the wizard updates the Raspbian OS to the latest version:
sudo apt-get update && sudo apt-get upgrade -yInstalls all the software needed to work with the touch screen:
git clone>

https://github.com/goodtft/LCD-show.git

chmod -R 755 LCD-show

cd LCD-show

sudo ./LCD35-show
Then - sensor calibration software:
cd LCD-show

sudo dpkg -i B xinput-calibrator_0.7.5-1_armhf.deb
And to control the address LEDs:
git clone https://github.com/jgarff/rpi_ws281x.git

sudo apt-get install scons

cd rpi_ws281x

scons

sudo pip install rpi_ws281x
The master’s assistant, nicknamed Stevenchi36, writes code in Python and places it here. The wizard downloads it to the computer in the folder / Downloads / morse_helmet / and goes to this folder:
cd / Downloads / morse_helmet /Renames to morse.py, transfers it to the / home / pi / folder via WiFi on the Raspberry Pi memory card:
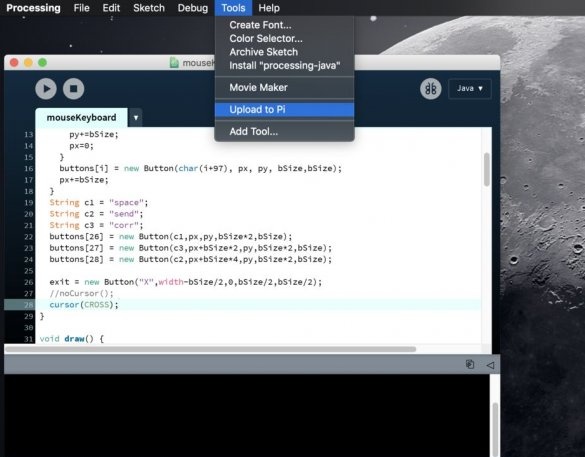
scp ./morse.py pi@raspberrypi.local:If Raspbian asks for the password again, enters it. Renames the mouseKeyboard.txt file (lies here) in mouseKeyboard.pde and transfers it on a large computer to a new folder, which it calls the same.Opens a file in Processing, which lies here. Click on Add tools ..., Selects the Upload to Pi tool (author - Gottfried Haider), clicks on Install, then on Upload to Pi.
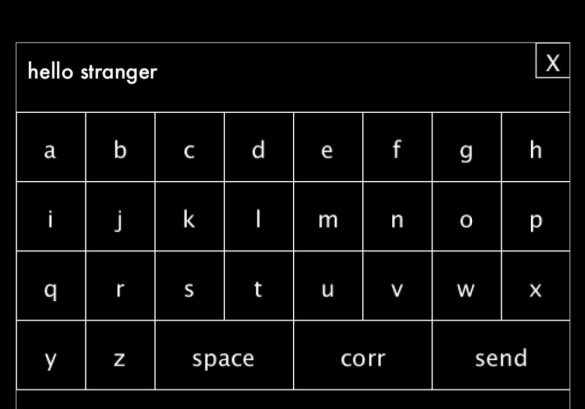
The on-screen keyboard generated by this software will look like this:
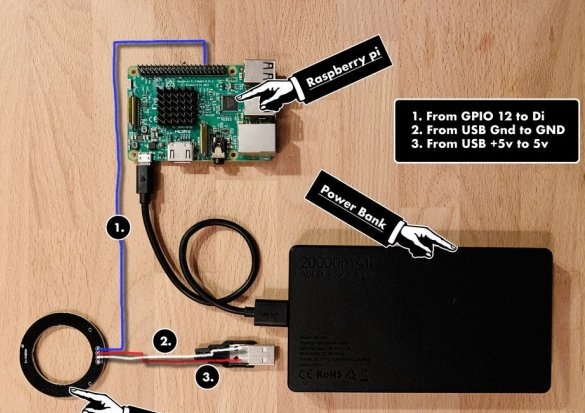
It takes a two-port power bank (or a single-port one with a splitter, but with sufficient output power) and a ring board with address LEDs. Connects like this:
Installs a “hat” with a touch screen on the Raspberry Pi, turns it on, checks how everything works, collects the sculpture (the process of its manufacture is not described in the article), transfers the structure to it, and here is the result:
Now you can bring it all to the exhibition and show it to the audience.

