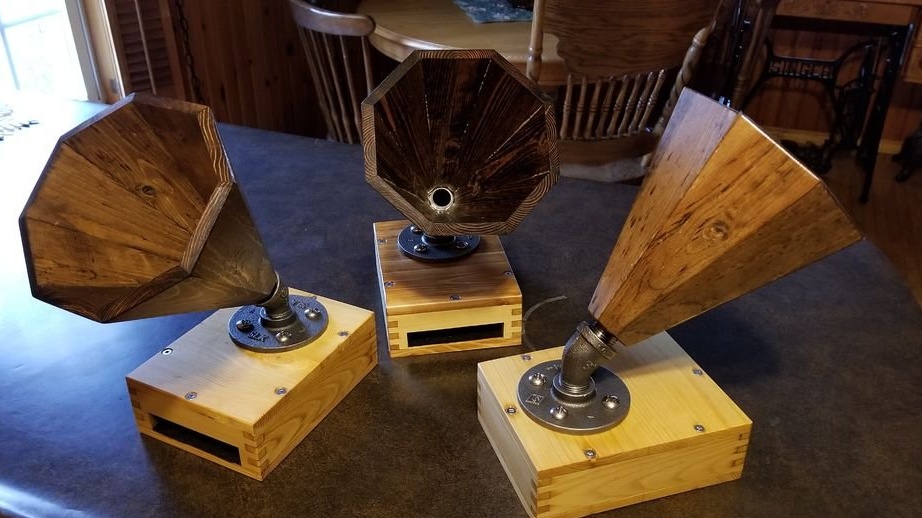
The site has already presented several similar devices, but they all use metal or cardboard as a bell. On this device, the gramophone tube is segmented and made of a board.
Tools and materials:
-Pallets are wooden;
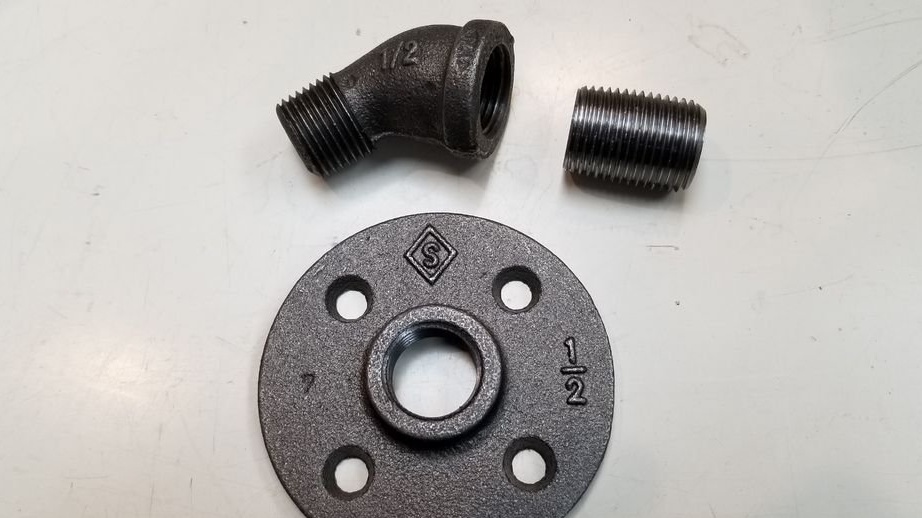
-Flange;
-Threaded sleeve;
-Knee metal with thread;
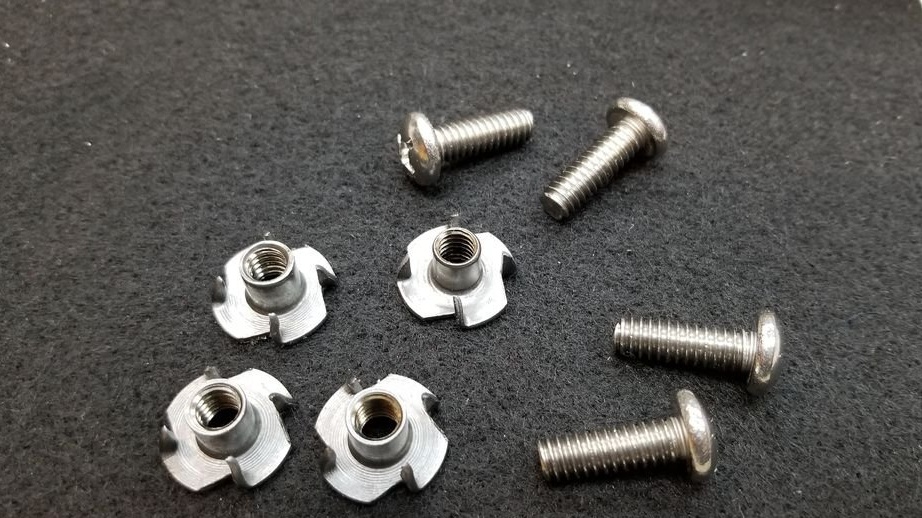
-Fasteners;
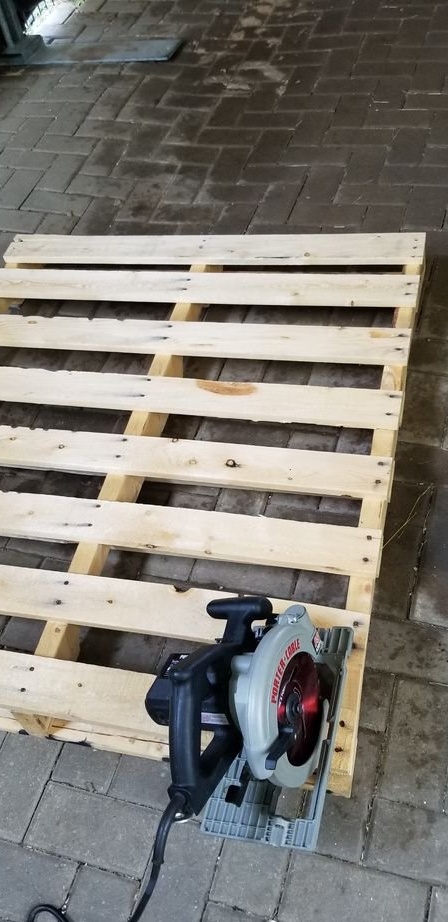
-Circular Saw;
- Reysmus;
-A circular saw;
-Sandpaper;
- Paint tape;
- Joiner's glue;
- Clamps;
-Grinder;
-Drilling machine;
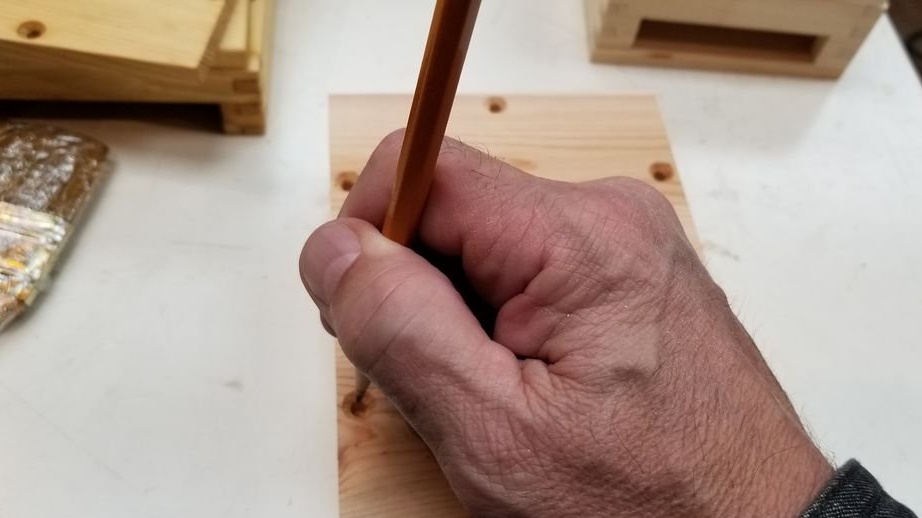
-Pencil;
-Rule;
-Finishing material;
-Painting brush;
-Scissors;
-Felt;
Step One: Planning
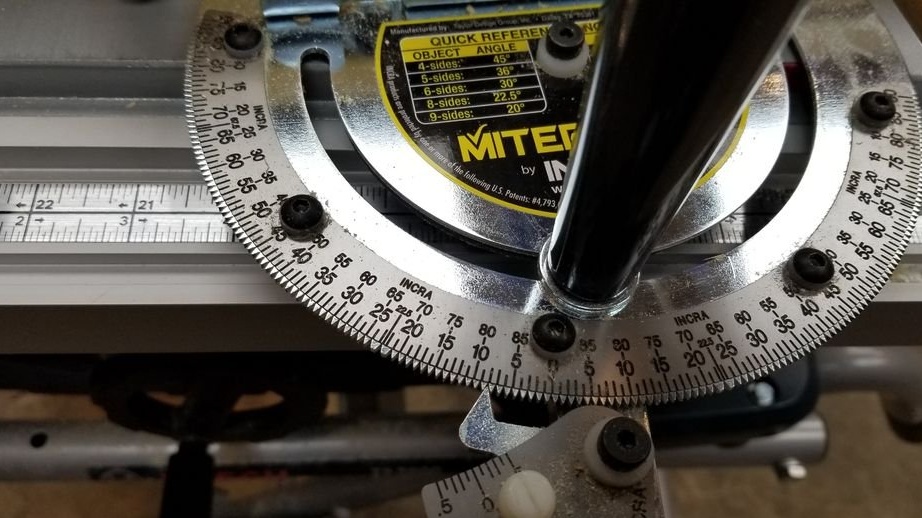
Making the calculation of sawing wood is not so simple. If you take the classic octagon, then there are no difficulties and the angle is known - 22.5 °. In this case, in the octagon, the front and back of the sides are not located on the same plane. The master made a series of calculations and found out the exact dimensions and angles for sawing wood.

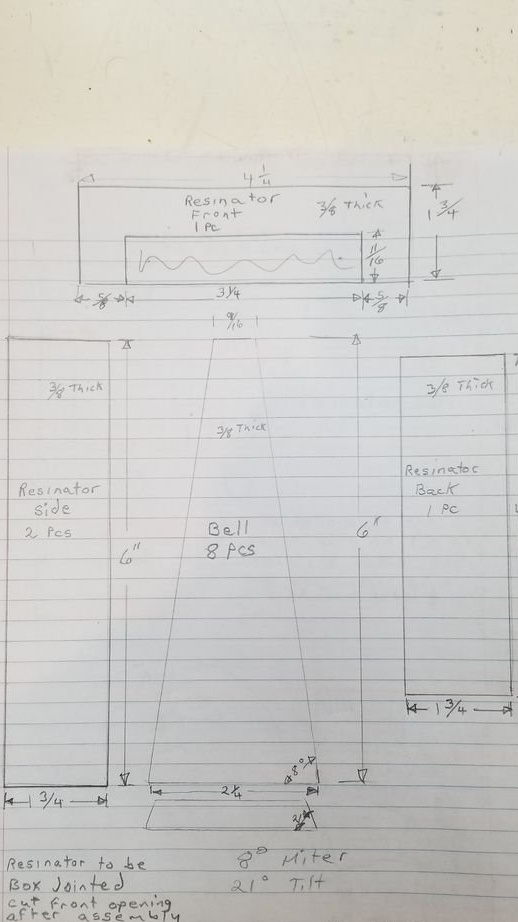

For users, the wizard provided a calculator, which can be downloaded from the link below.
Miter with stretch calculator.rar
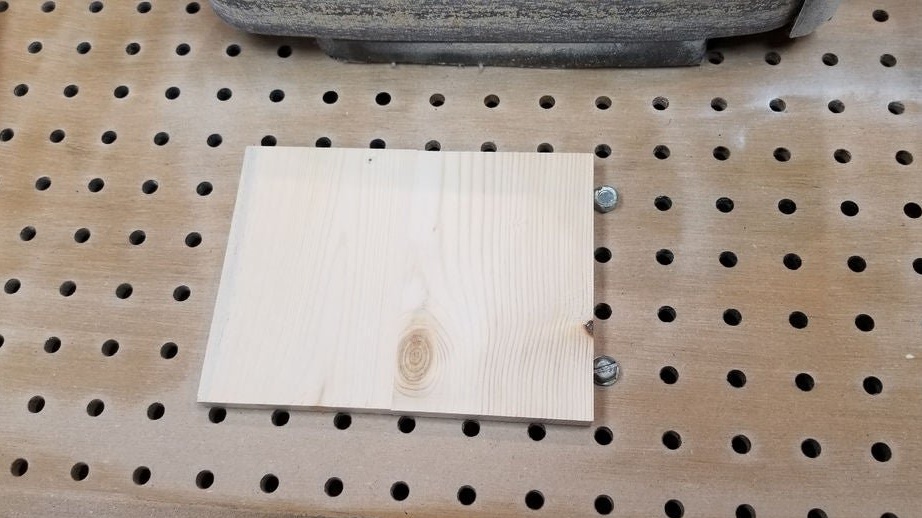
Step Two: Material Preparation
Pallets are excellent material for all kinds of homemade. Tables, chairs, and various crafts. For the manufacture of the body and tubes of the gramophone, the master also decided to use the pallet boards.

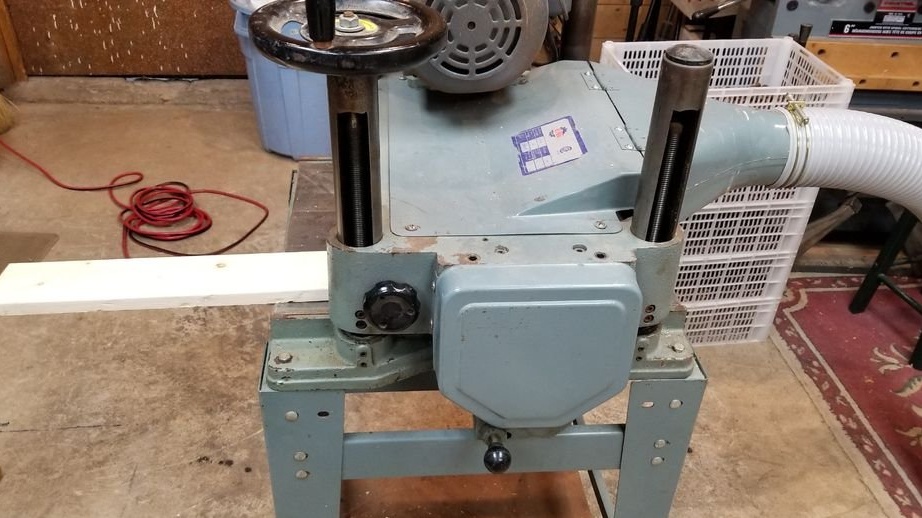
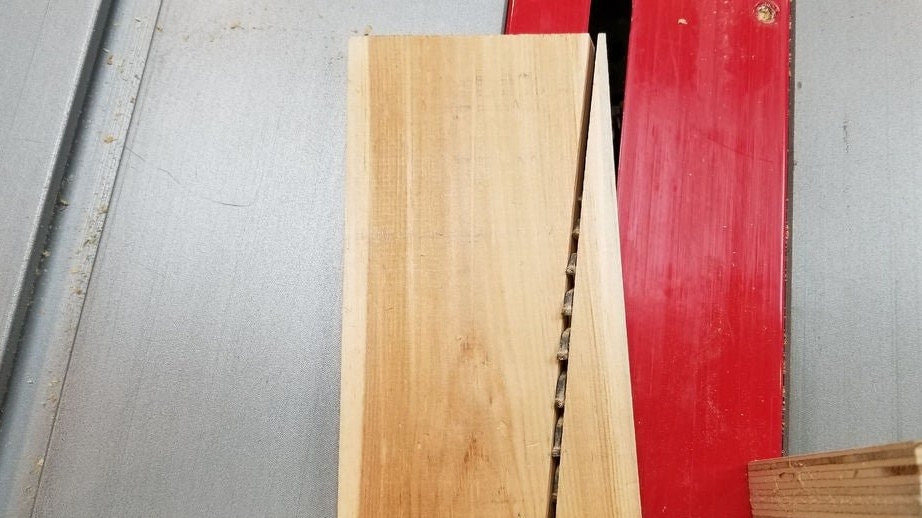
Boards from the pallet are processed on the planer. The master needs dies about a centimeter thick.
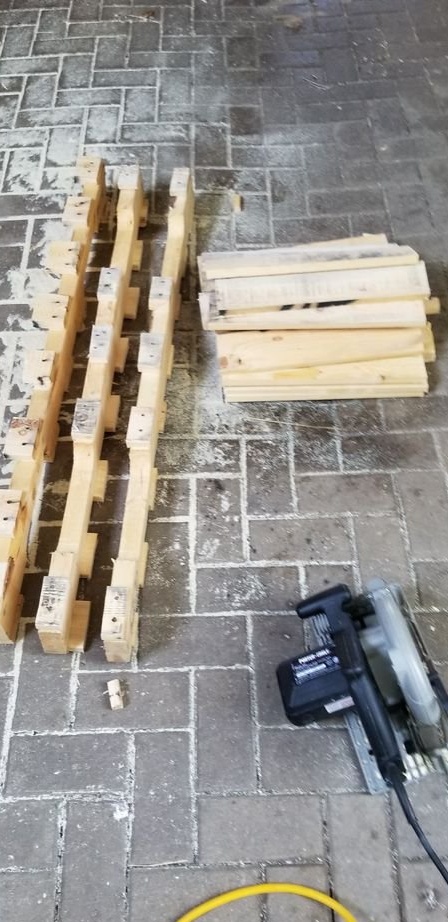
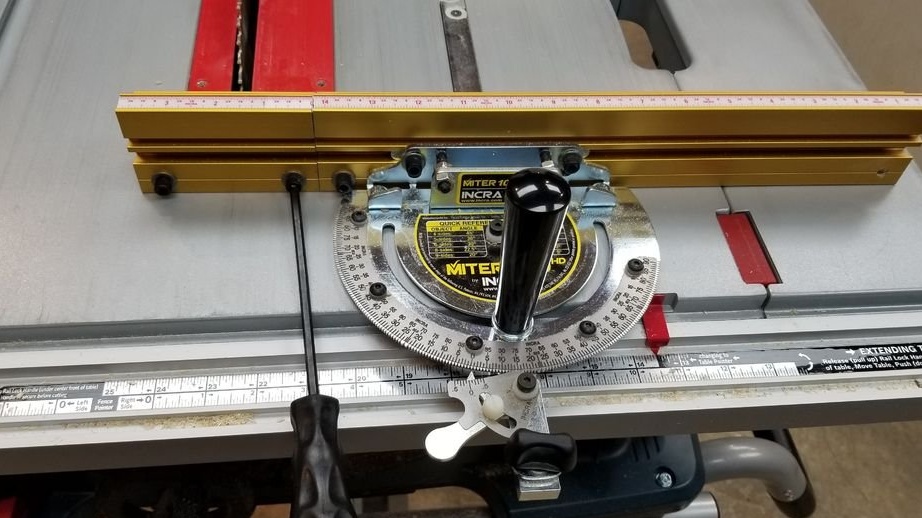
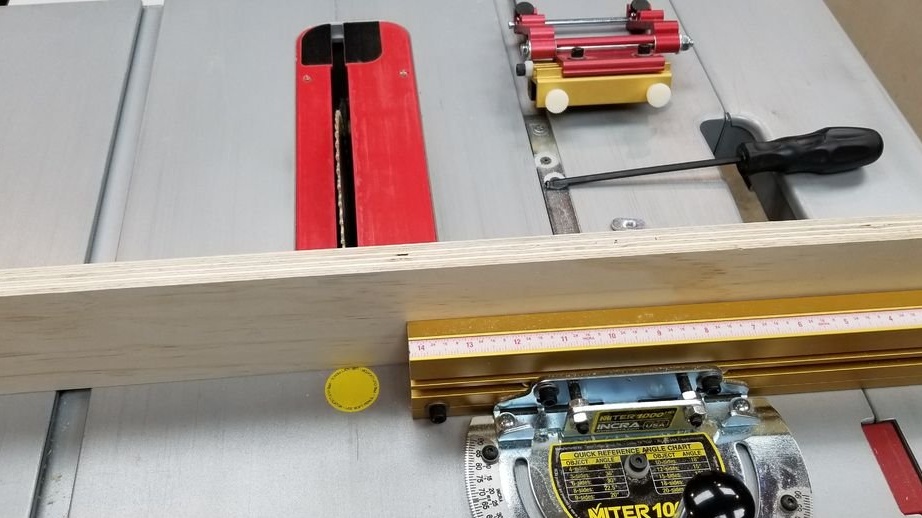
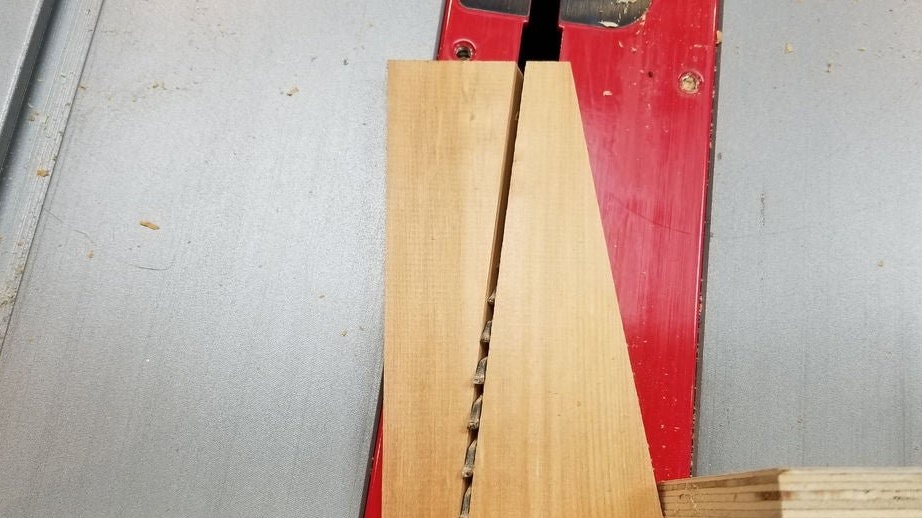
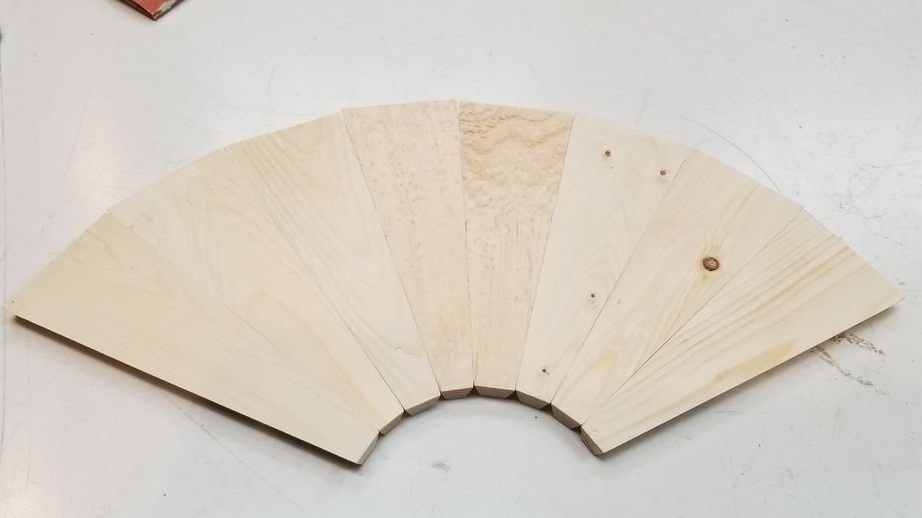
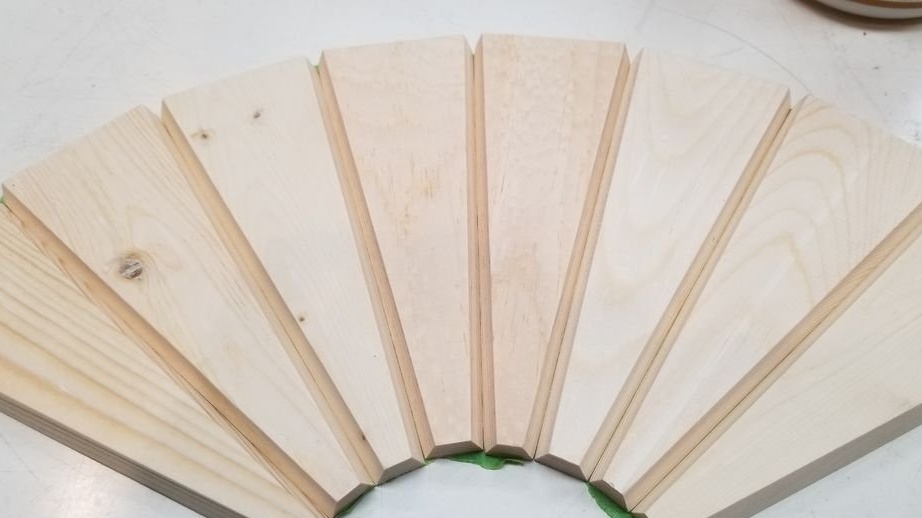
Continues sawing, trimming boards and cuts to size.
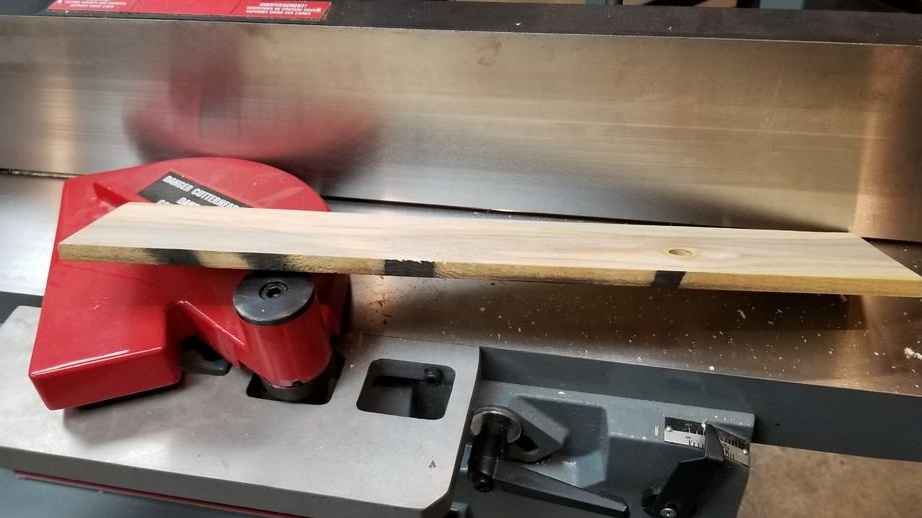

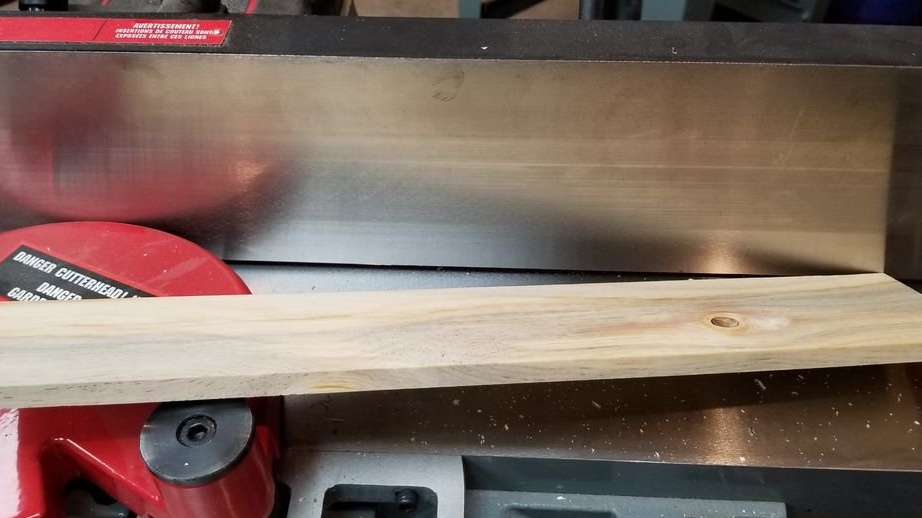

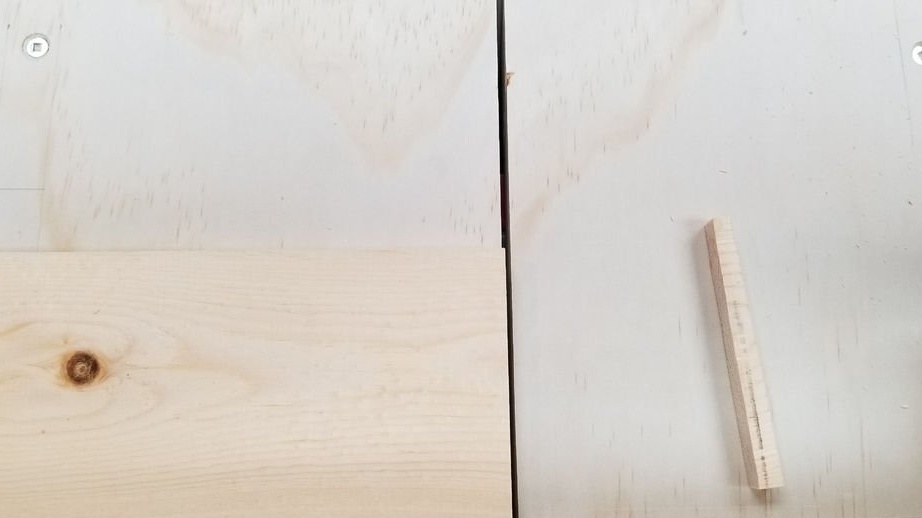
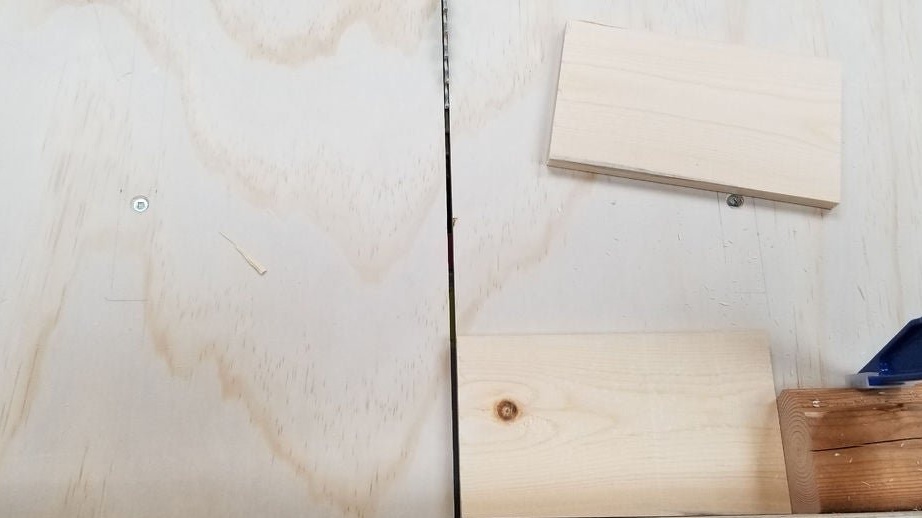
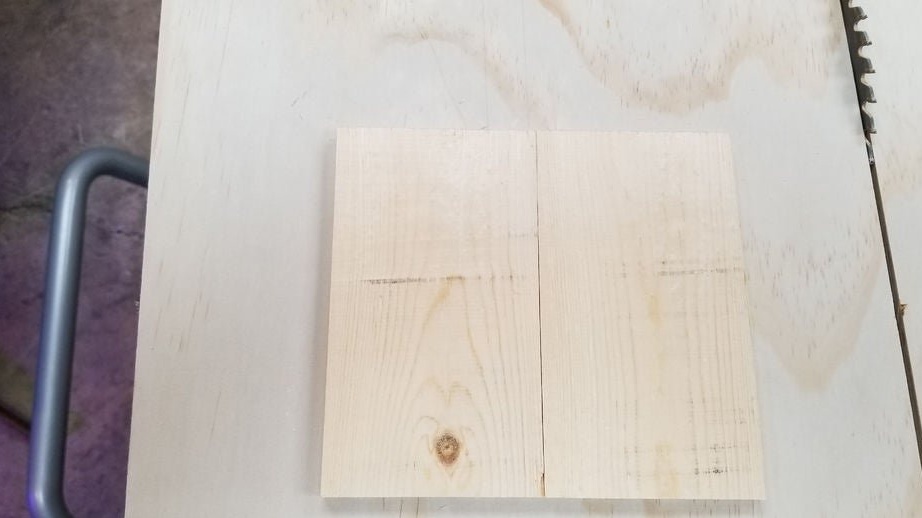
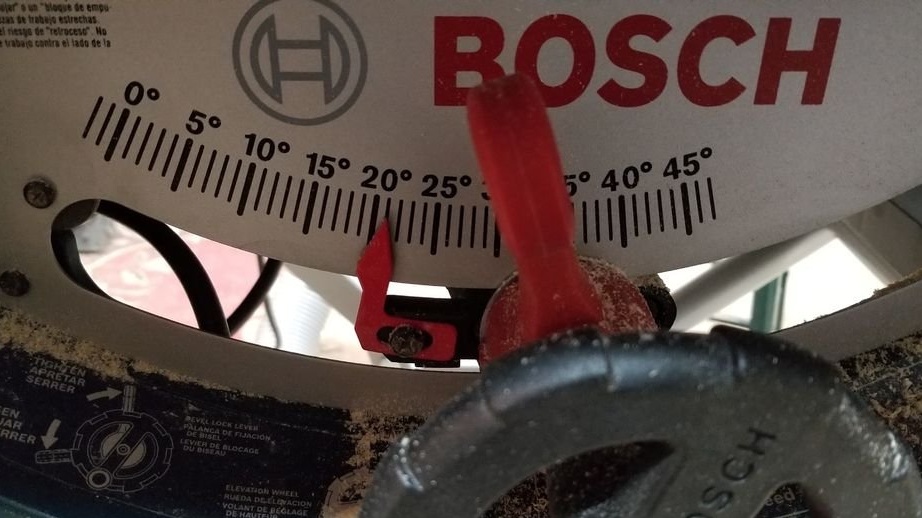
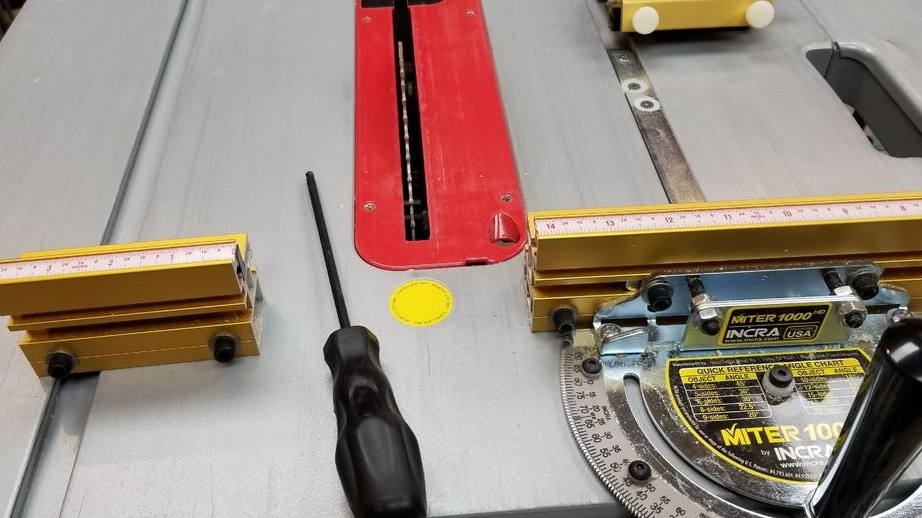
Sets the cutting angle according to calculations.
Saws workpieces.
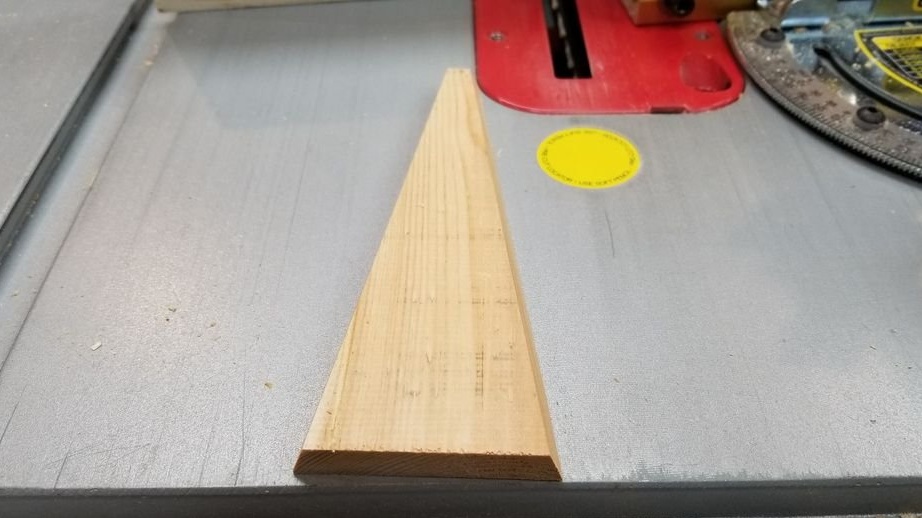
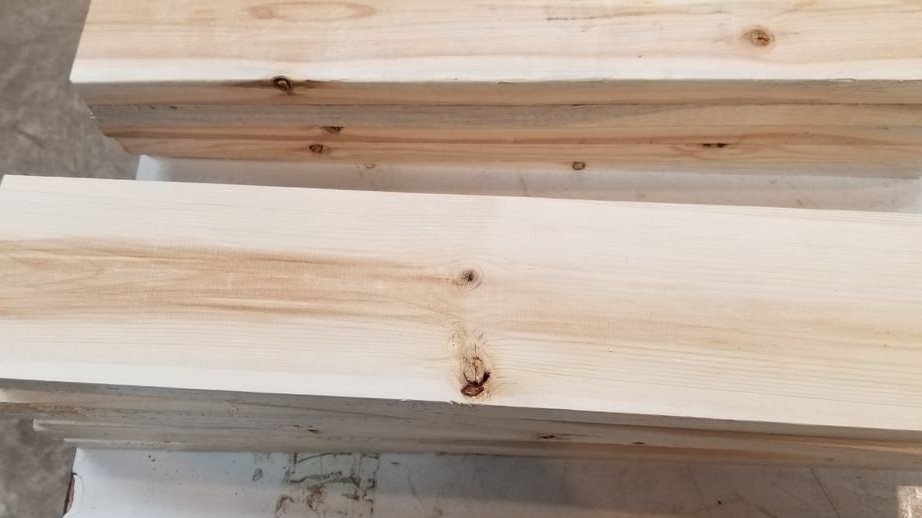
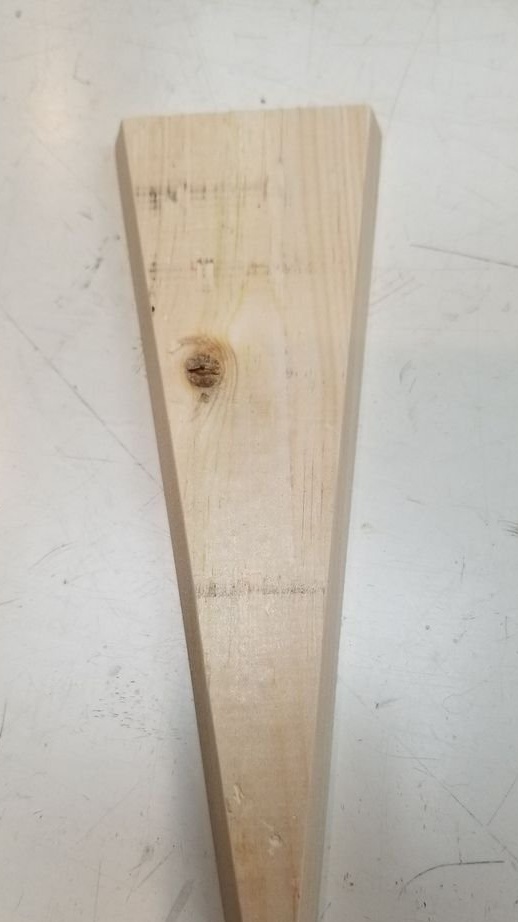
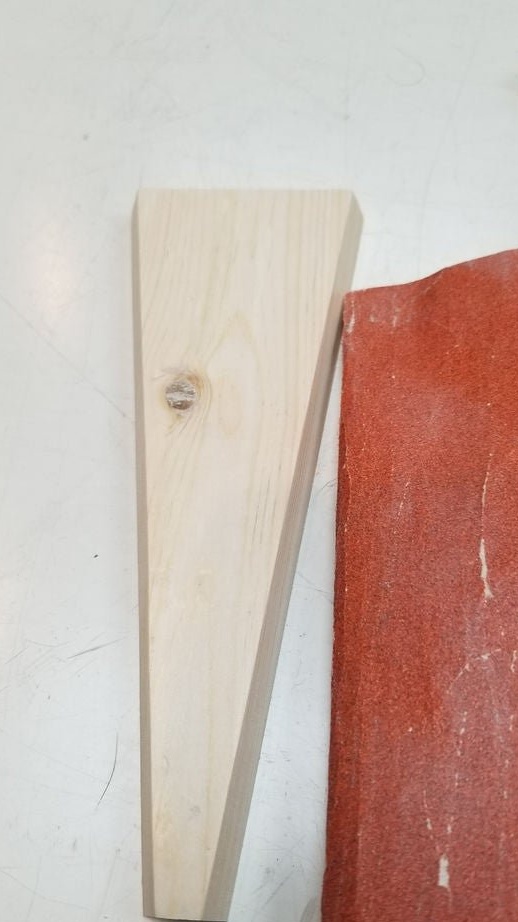
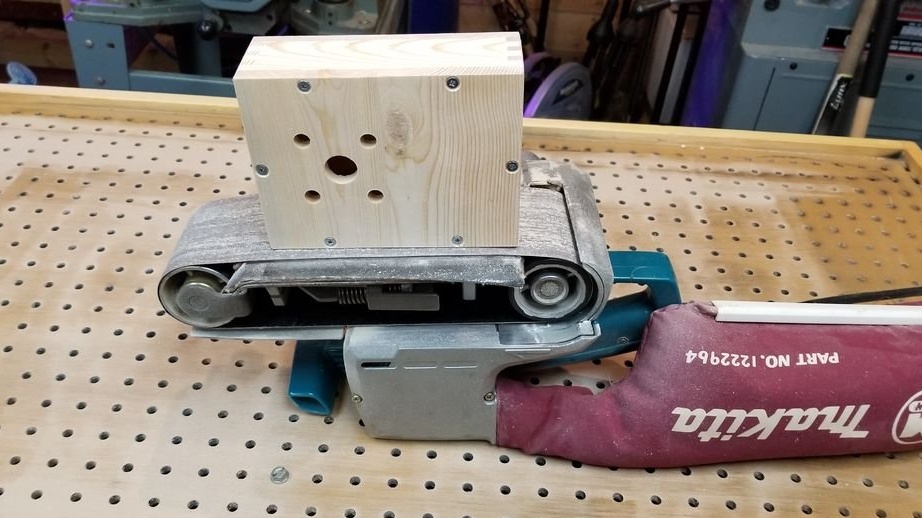
Grinds workpieces.
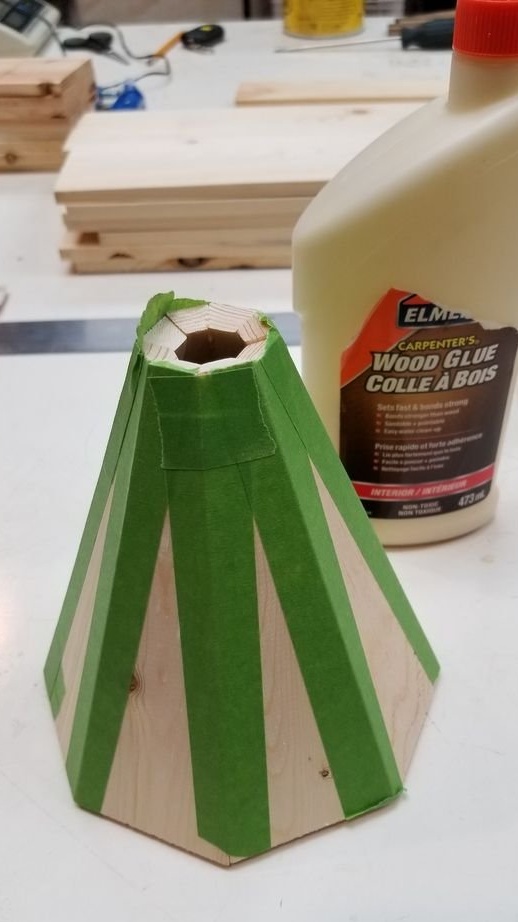
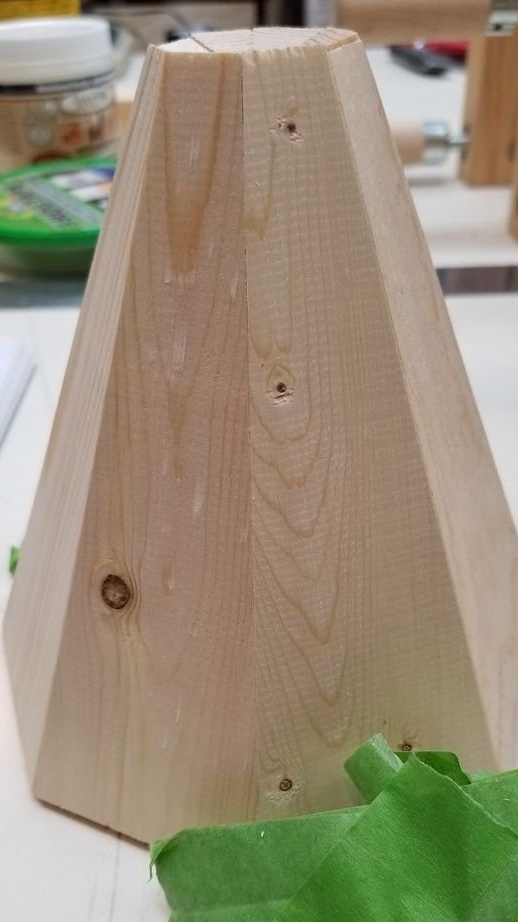
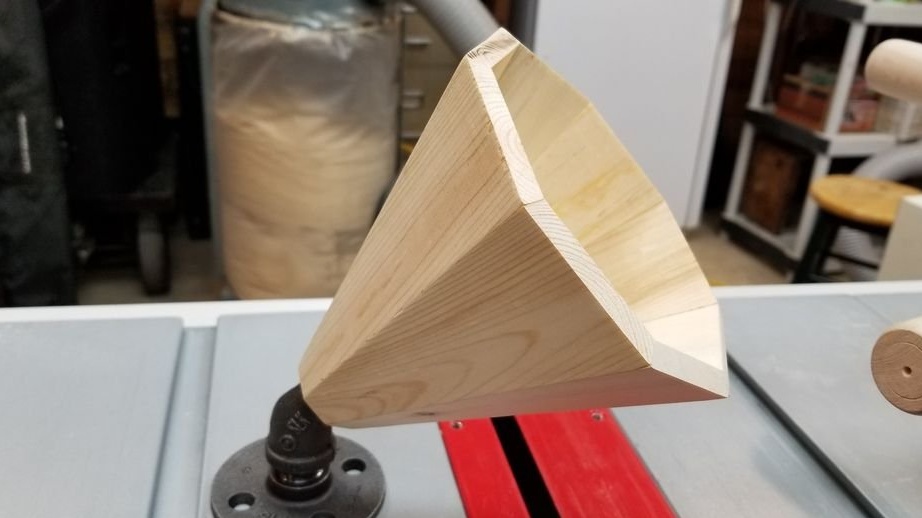
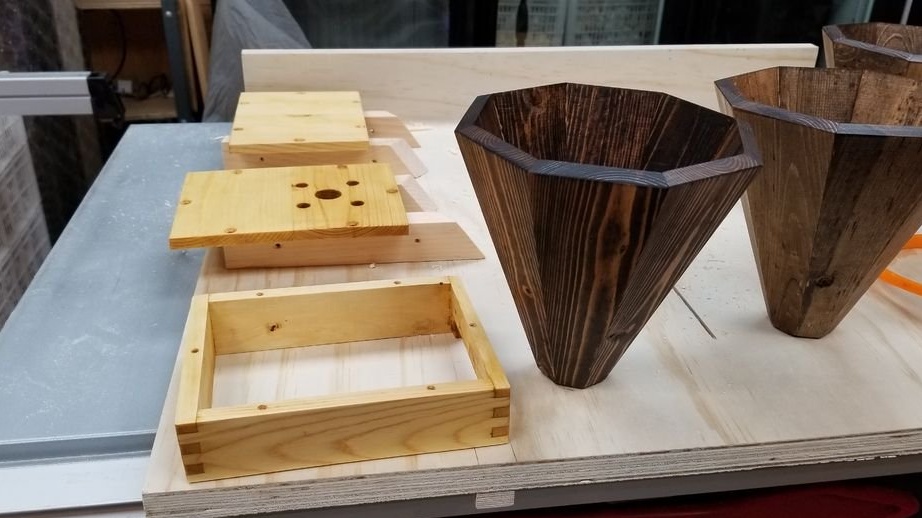
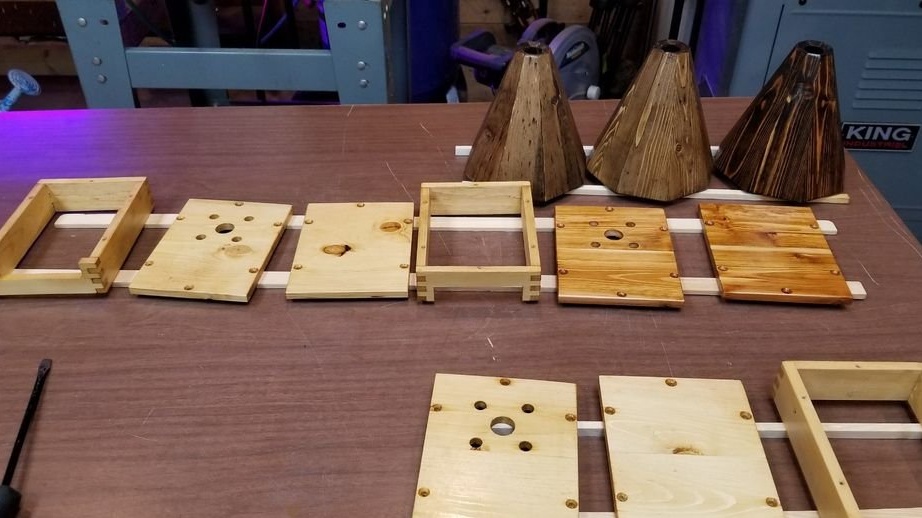
Step Two: Build the Bell
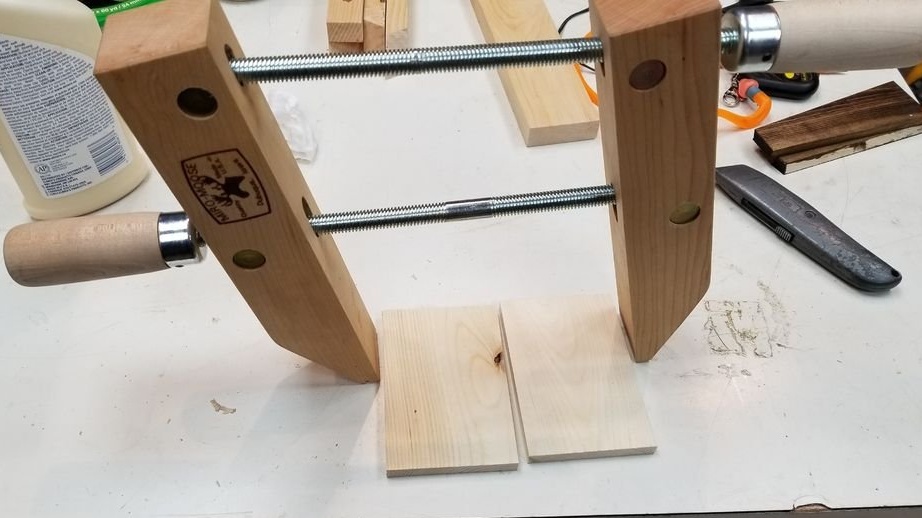
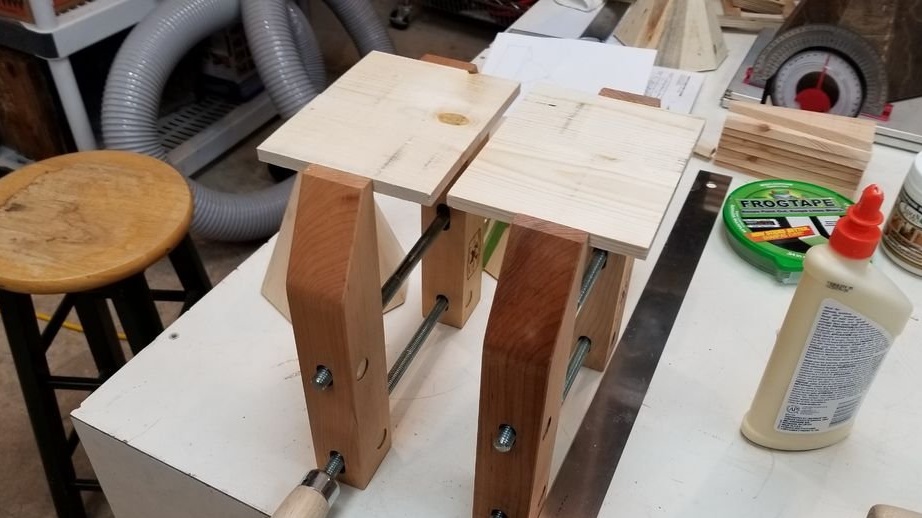
Then the master collects the bell. Stacks blanks on the table face up. Fixes the details with masking tape. Then flips the workpiece. Apply glue to the mating sides. Glues a bell, fixes with adhesive tape until it dries. After gluing, removes tape.

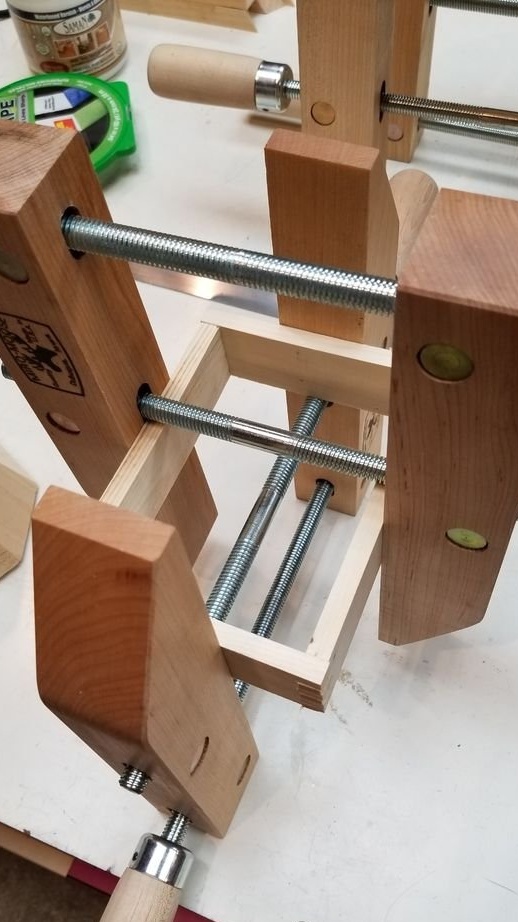
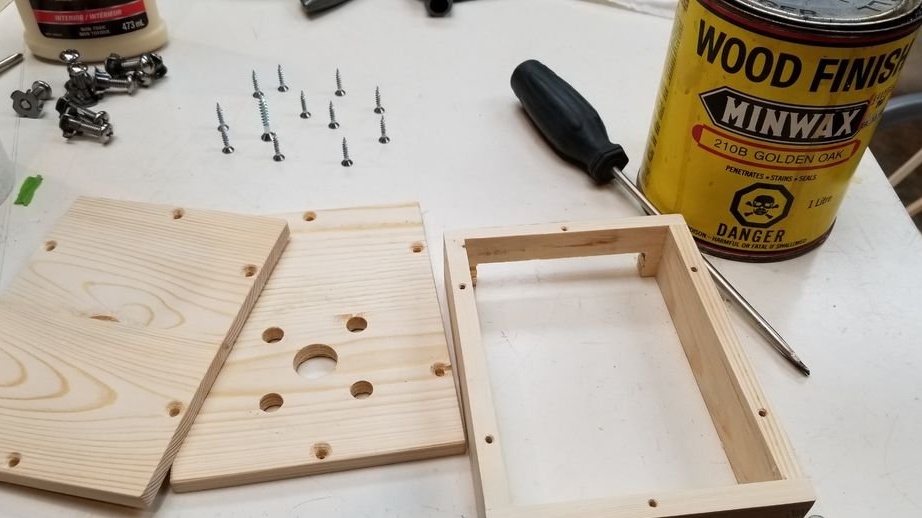
Step Three: Assembly
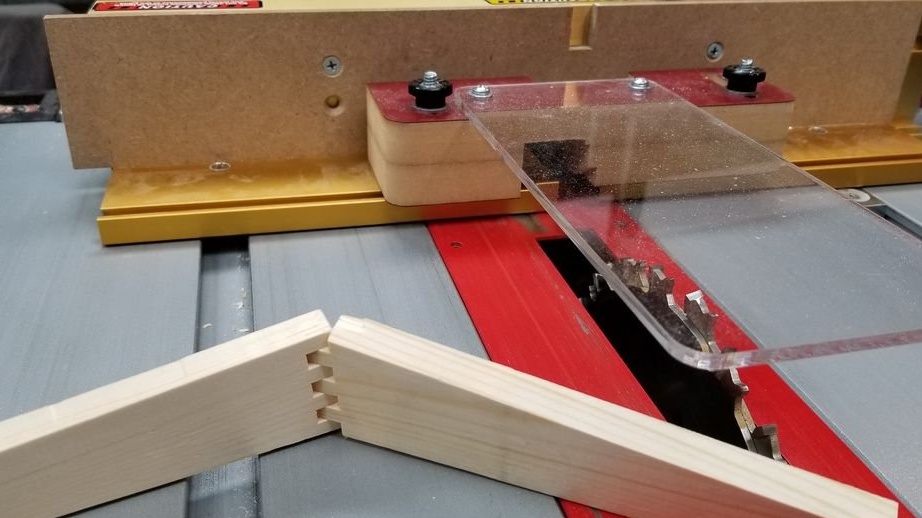
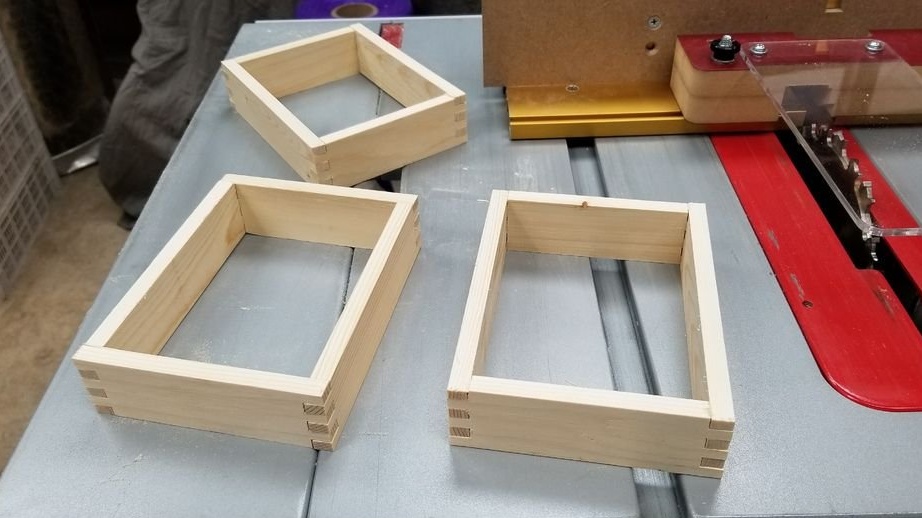
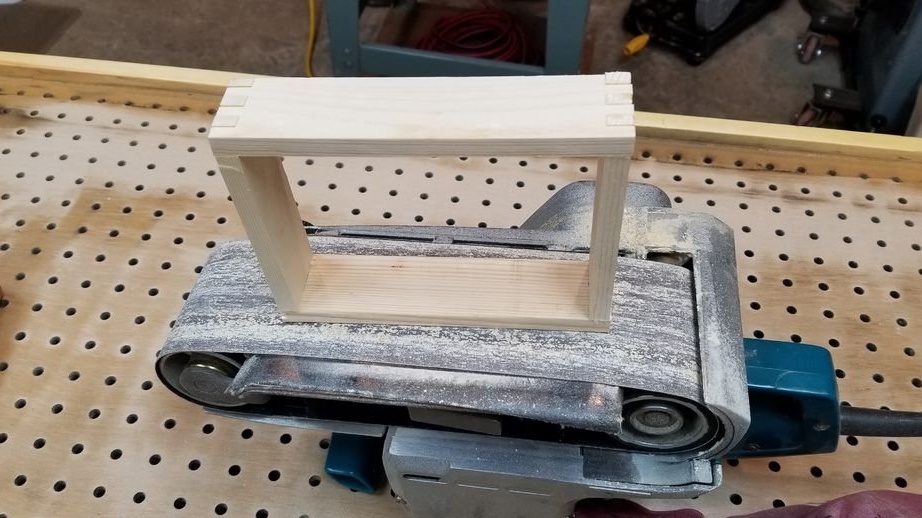
Next, the master makes the device case. The side walls are connected by a spike / groove method. All parts have been polished.

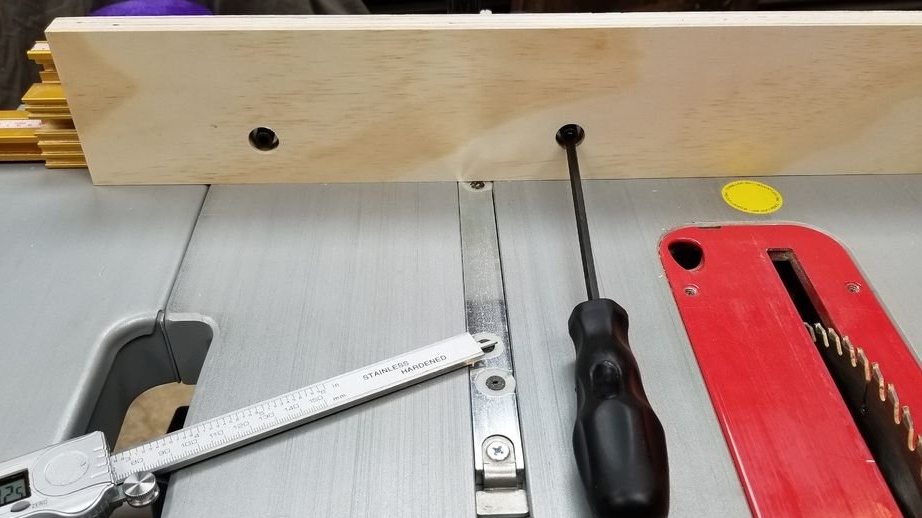
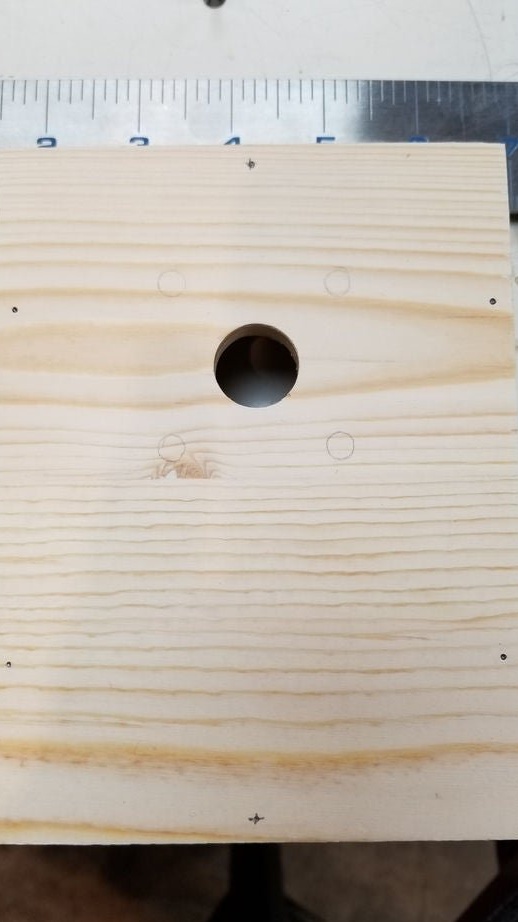
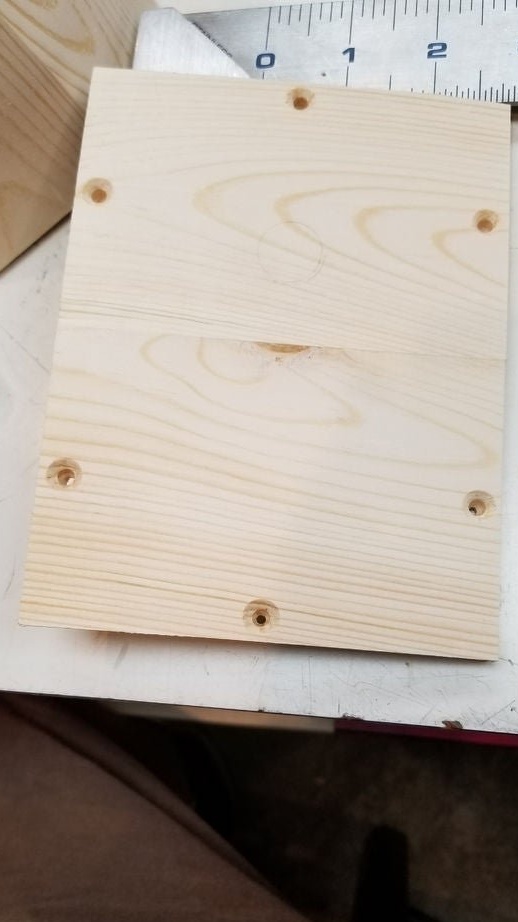
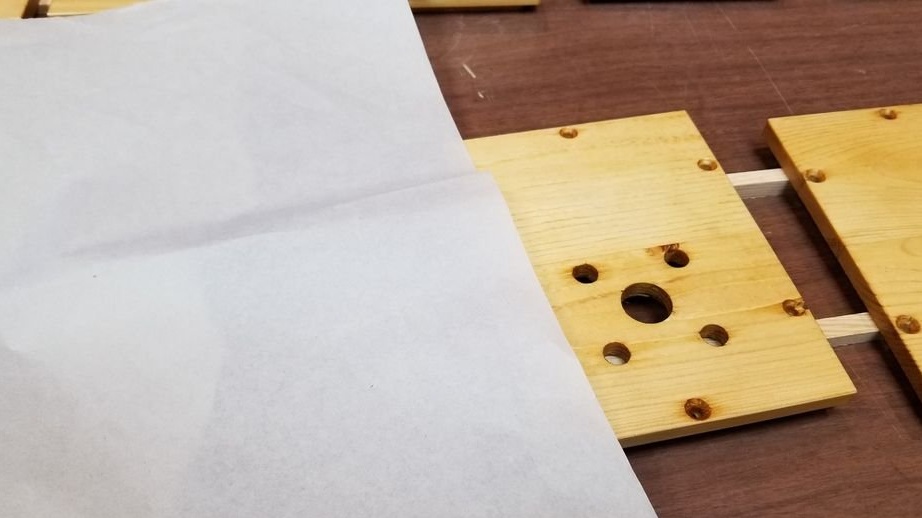
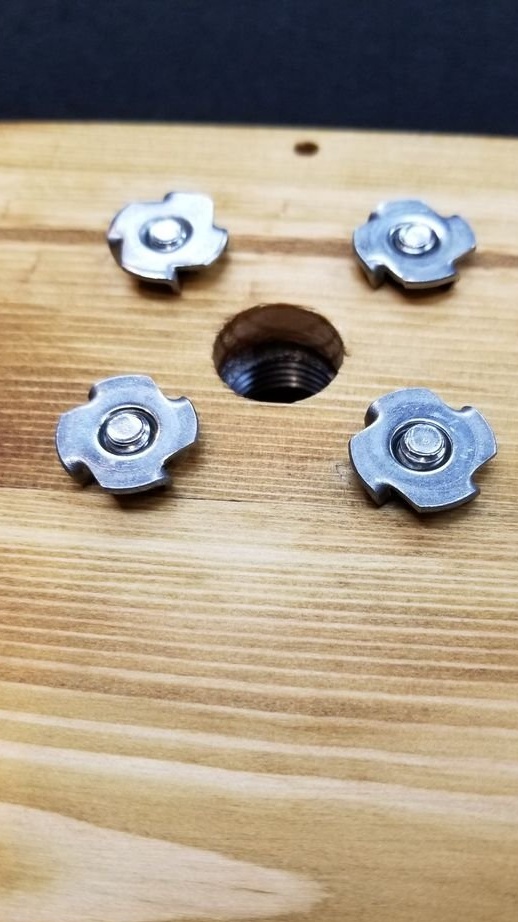
Four mounting holes are drilled in the top cover, and one for the socket.

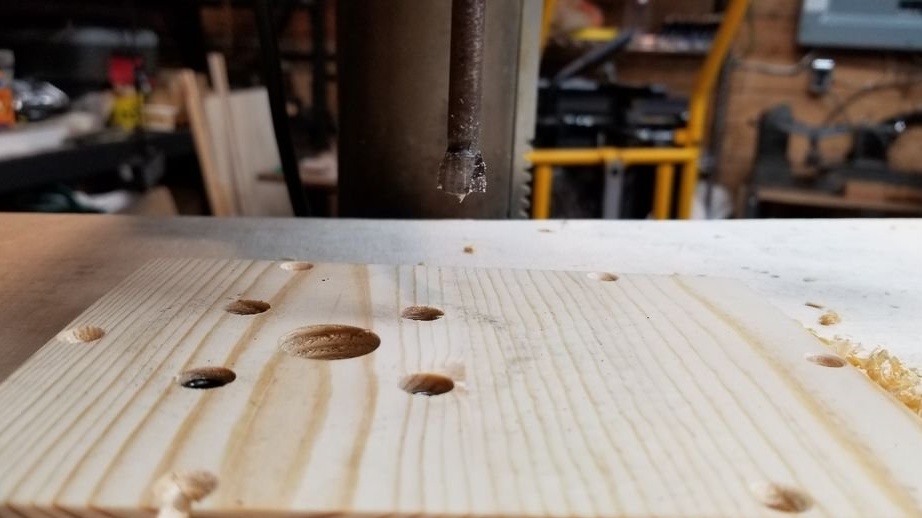
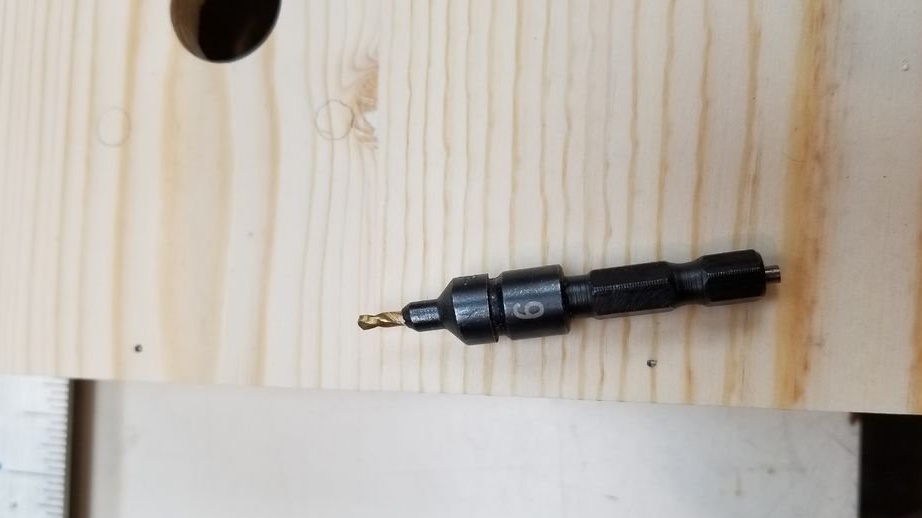
Drill mounting holes.
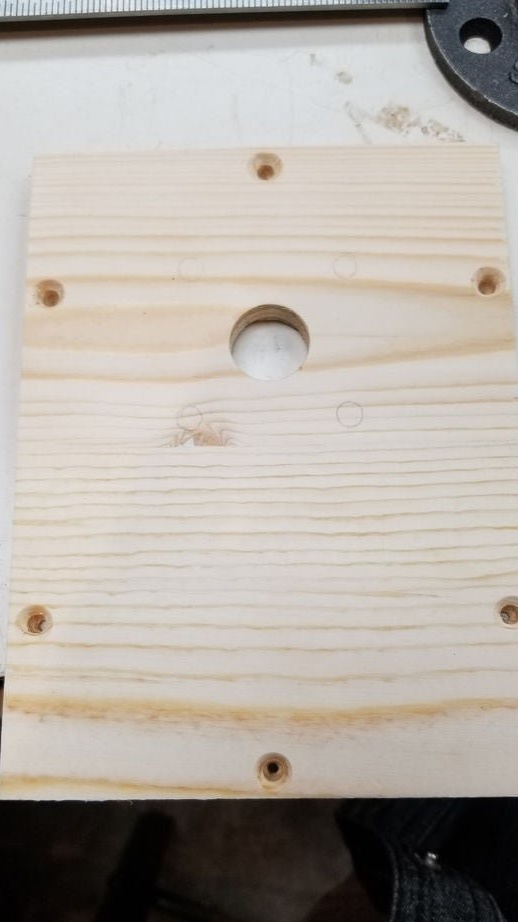
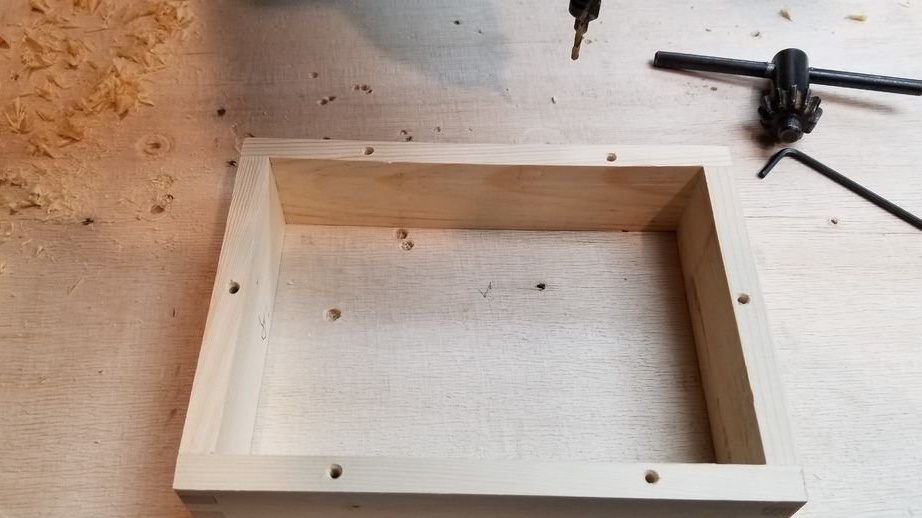
Assembles the body and polishes the place for mating parts.

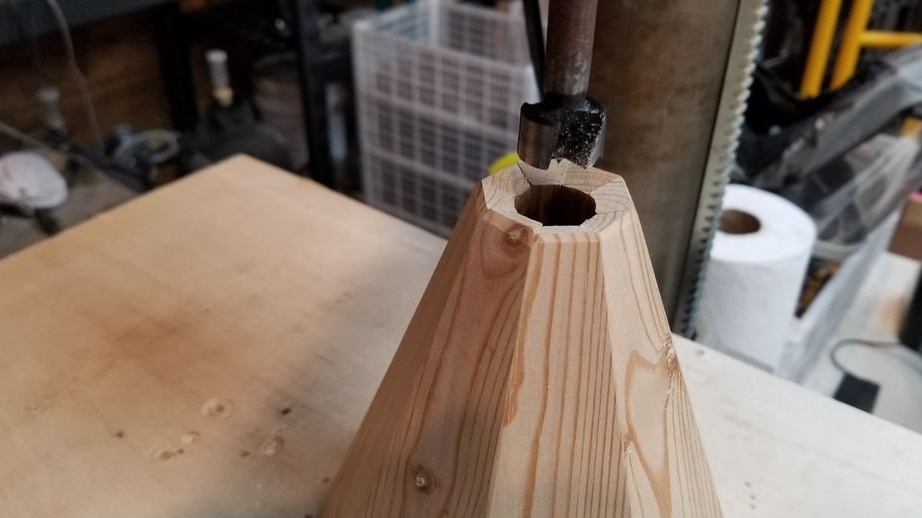
Step Four: Hole
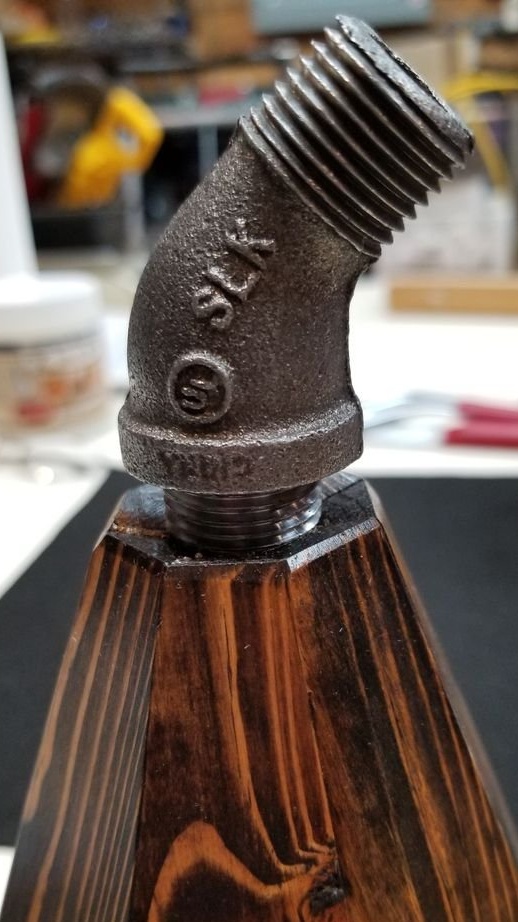
From the end of the socket, the master drills holes for a half-inch pipe.
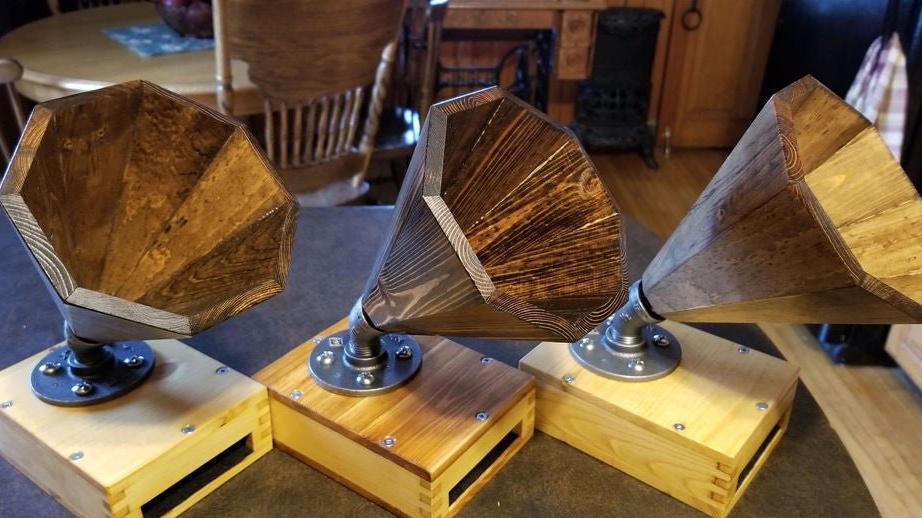
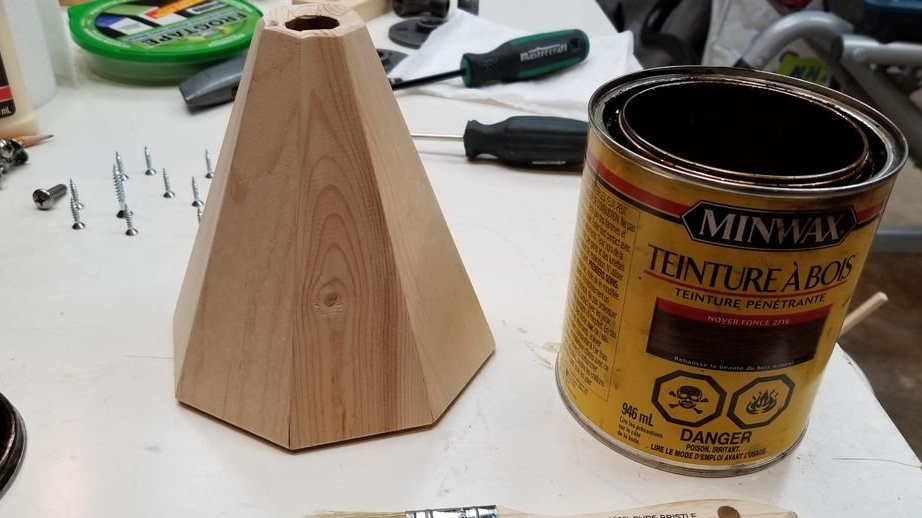
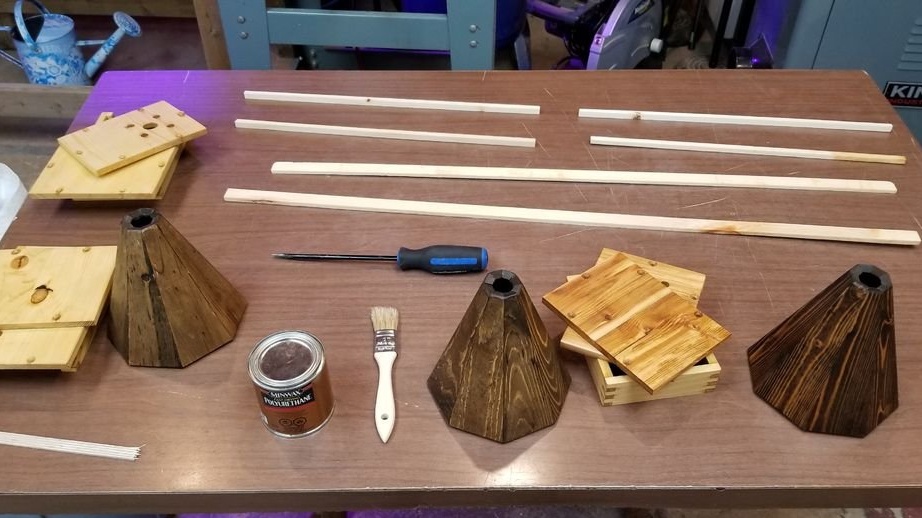
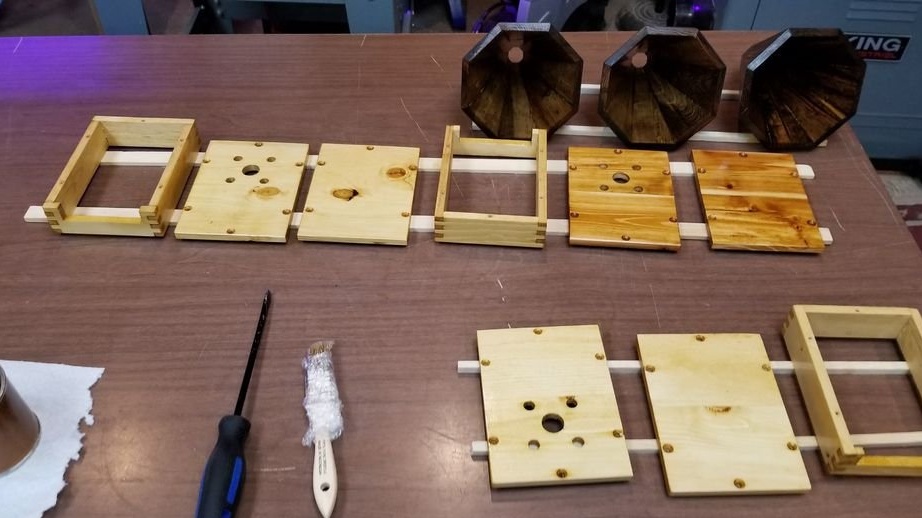
Step Five: Finish
Covers parts with stain. The master covers a bell with a stain "under a nut", and the case "under an oak". After drying it covers the parts with polyurethane varnish.
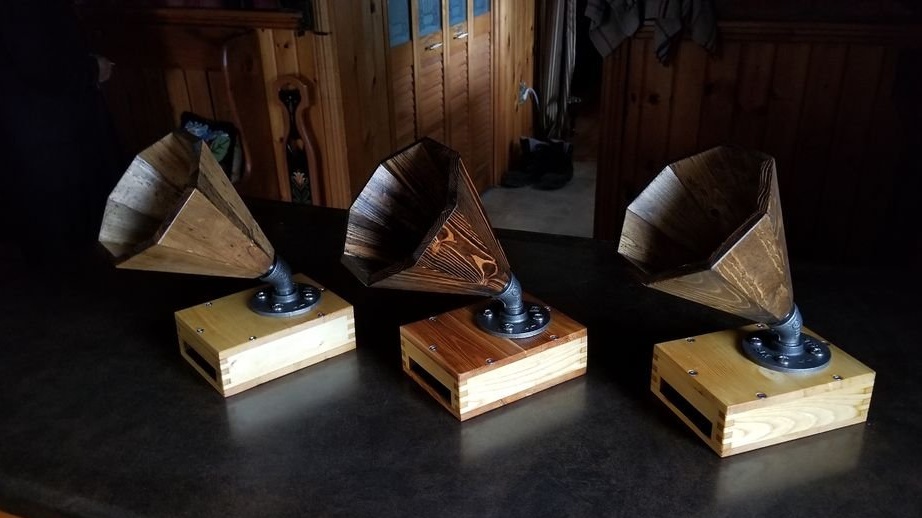
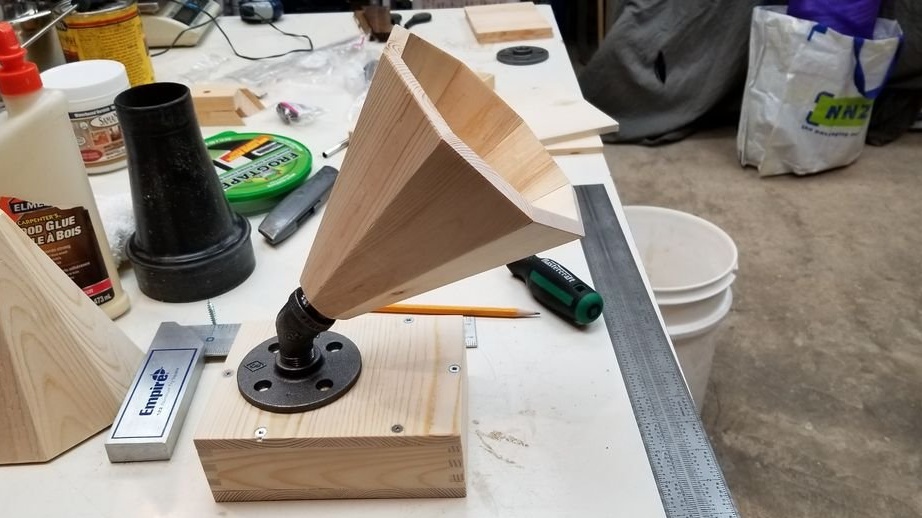
Step Six: Build
Everything is dry and you can start assembling the device. The master cuts the felt and places it inside the case.
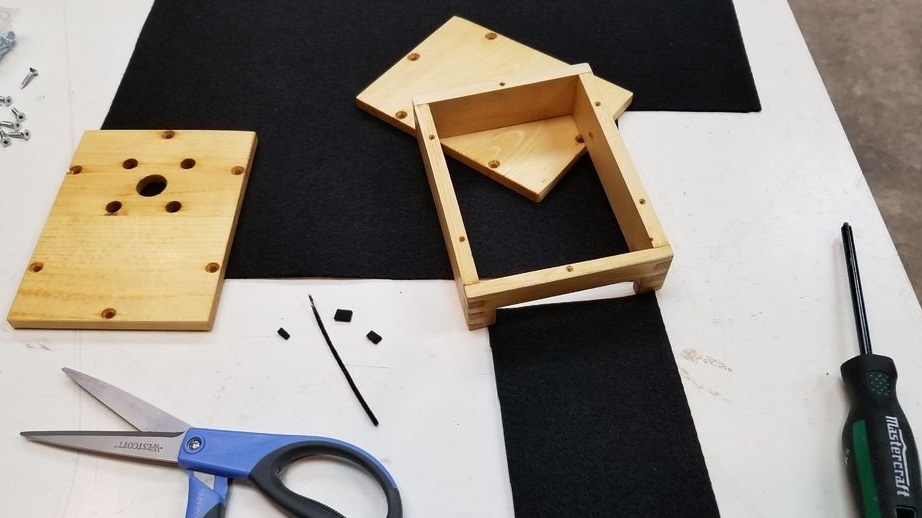
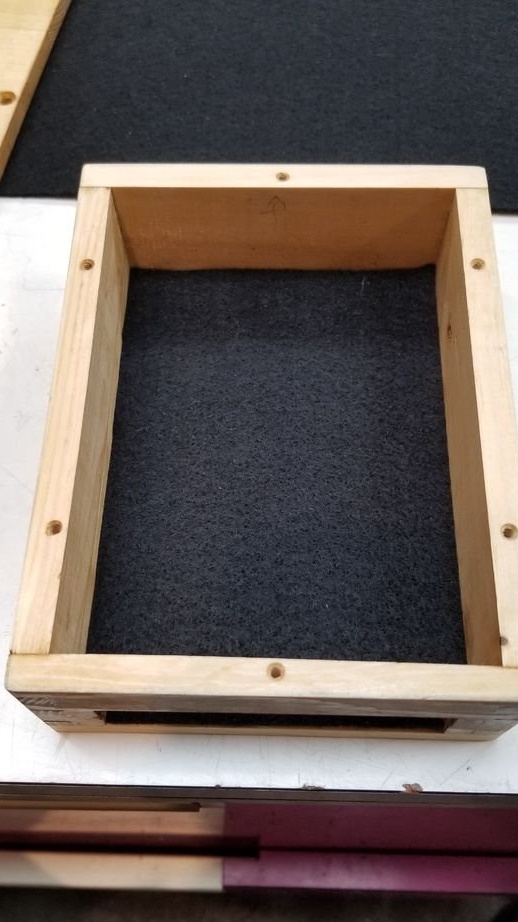
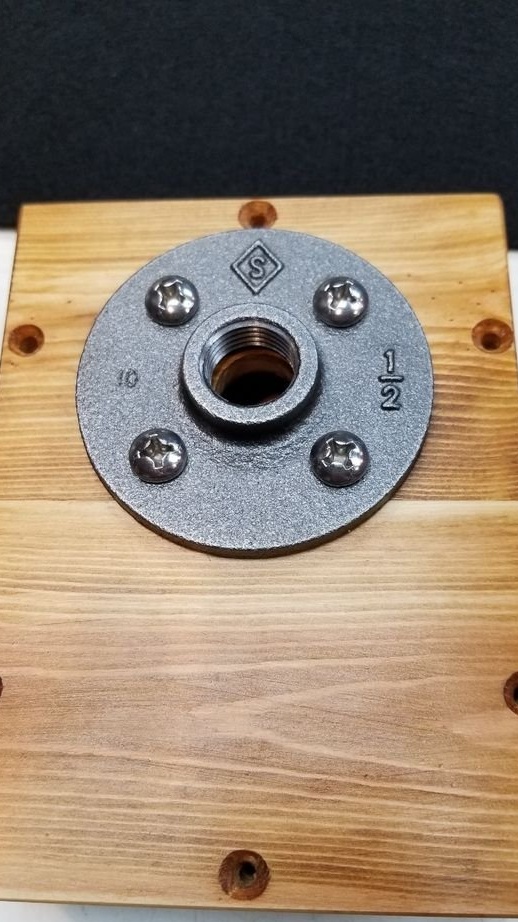
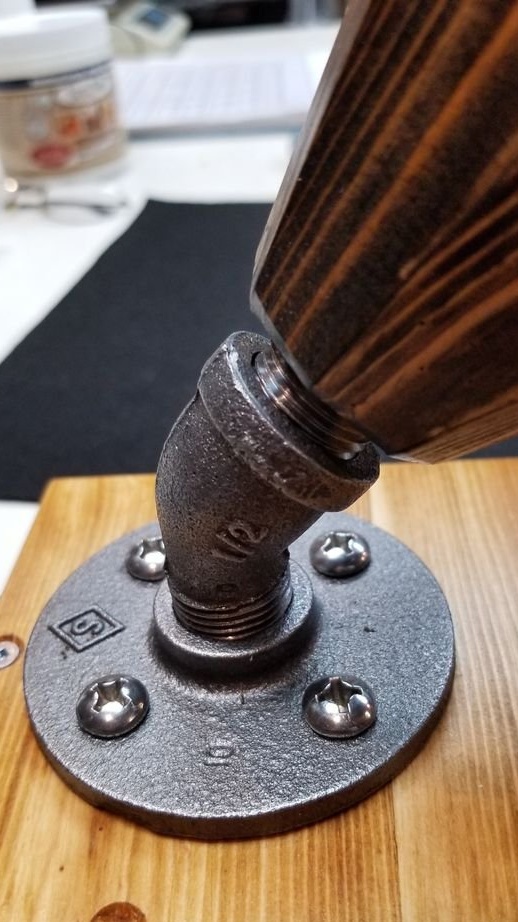
Fastens the flange to the cover and fastens it to the body. A bell is screwed to the flange.
All is ready. Now you need to turn on some kind of music track on your smartphone and place it in the body of the gramophone, through the hole.