

In this article, we will look at how to make a moon lamp from unusual materials. The main part of this lamp is the ceiling. And this lampshade is made of a not quite ordinary combination of materials.
Tools and materials:
-Stand under the lamp;
-Cement;
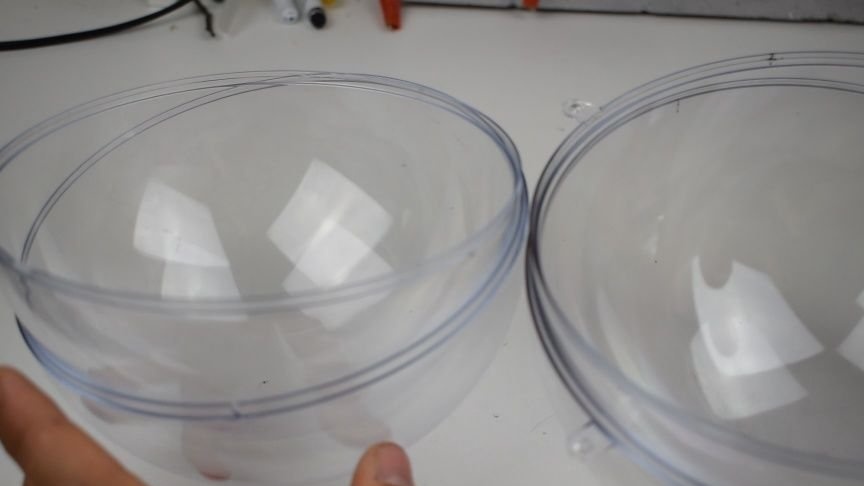
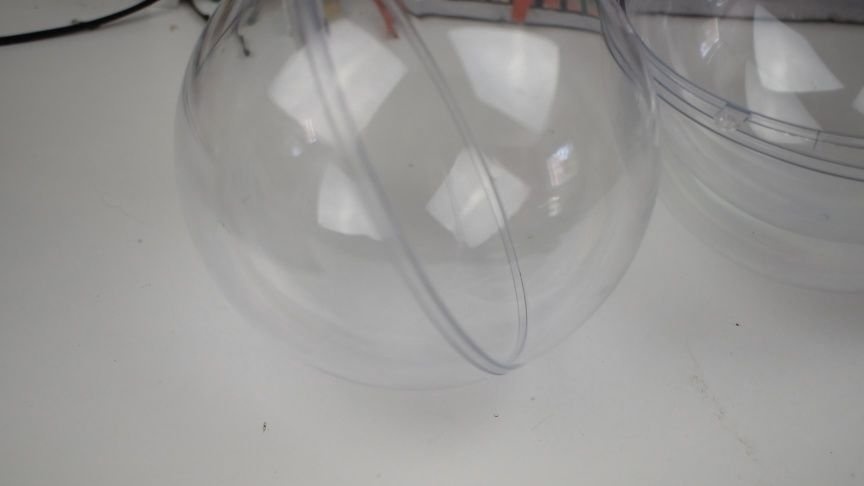
-Transparent plastic ball 160 mm;
-Transparent plastic ball 180 mm (both balls should be divided into two parts);
Epoxy resin;
-Oil clay for modeling;
-Black and white paints;
-Light bulb;
-Patron electric;
- fishing line;
-Glue;
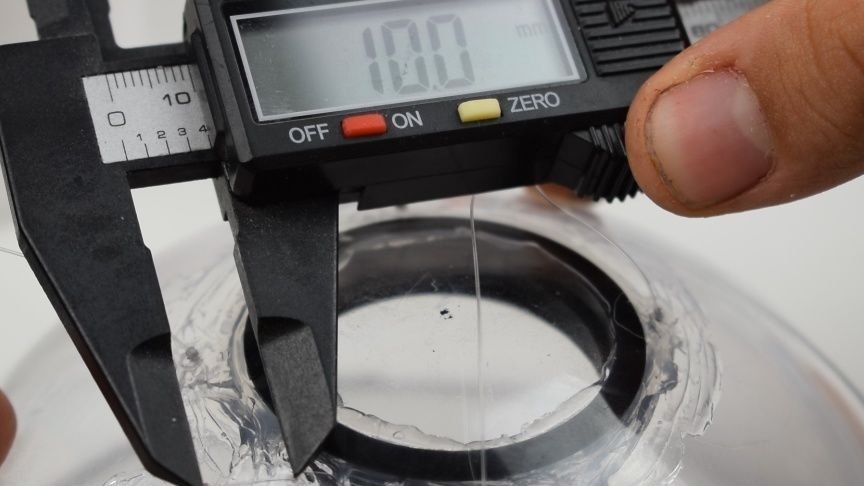
-Calipers;
-Needle;
-Pliers;
-Engraver;
-Brush;
-Knife;
-Foil;
Step One: Form Preparation
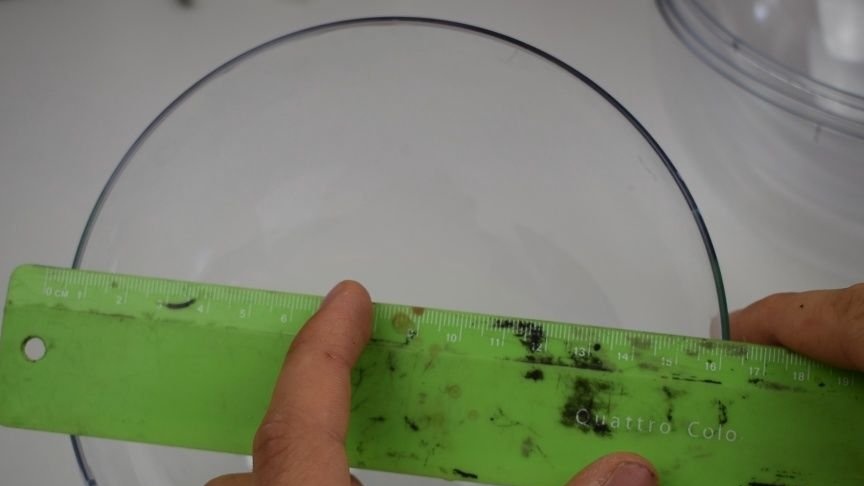
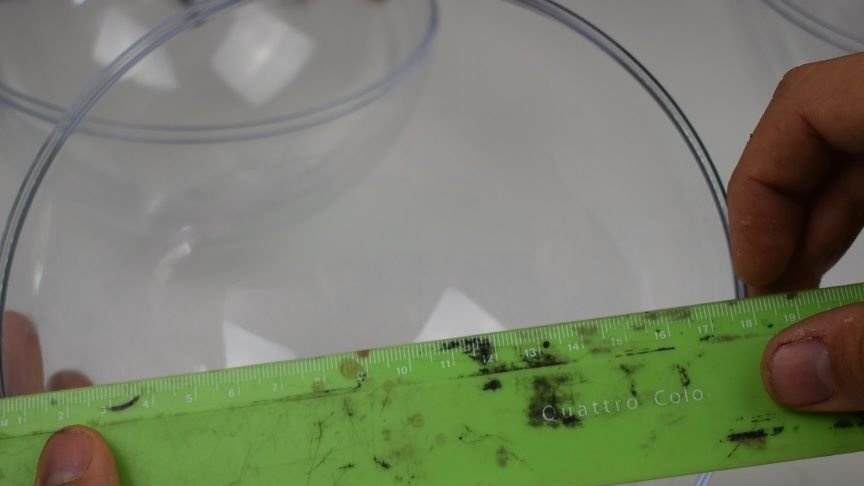
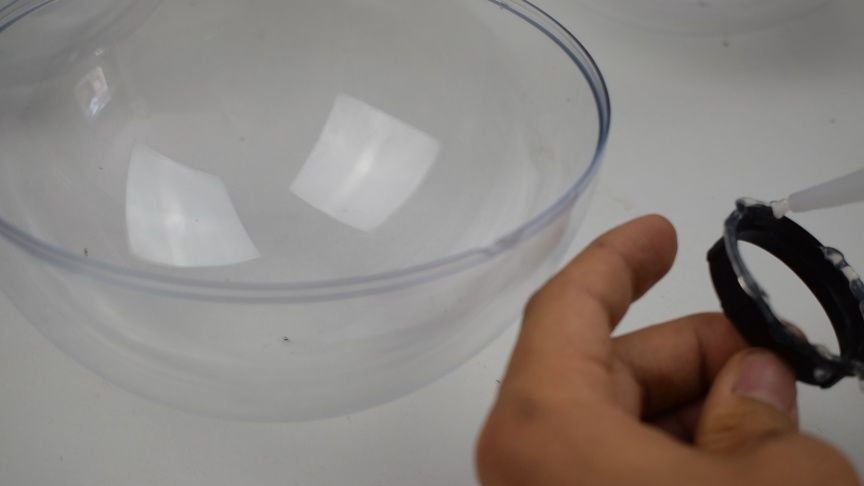
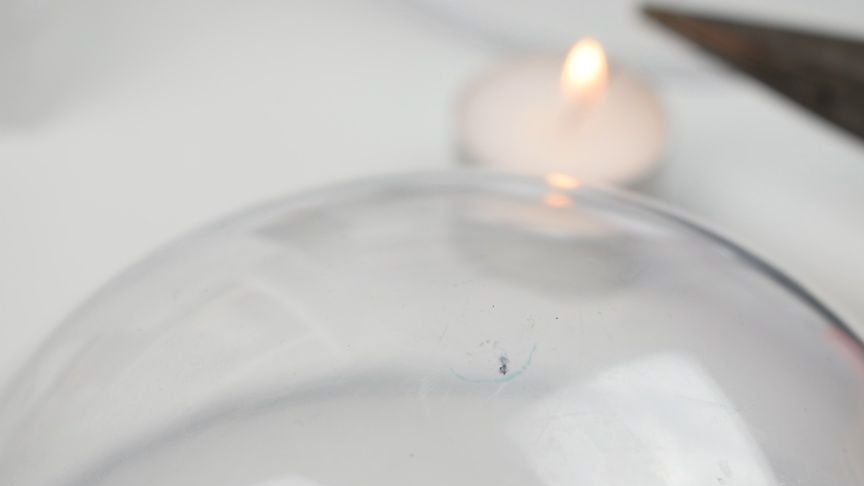
The mold will be made of two plastic balls, one 16 and the other 18 cm. The balls must be collapsible. After filling, the inner ball will not be removed and it must be prepared in advance.
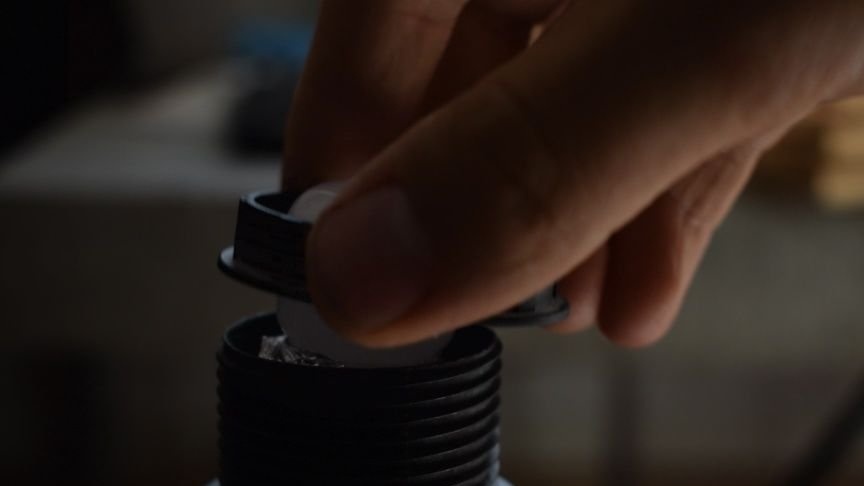
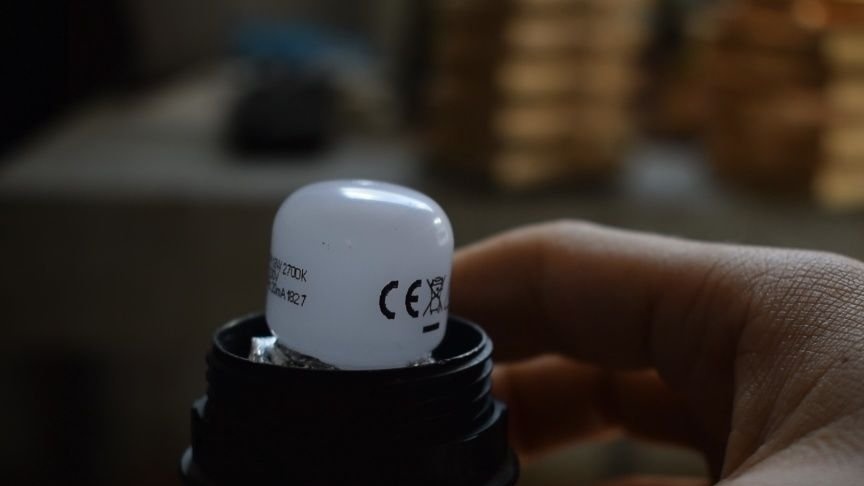
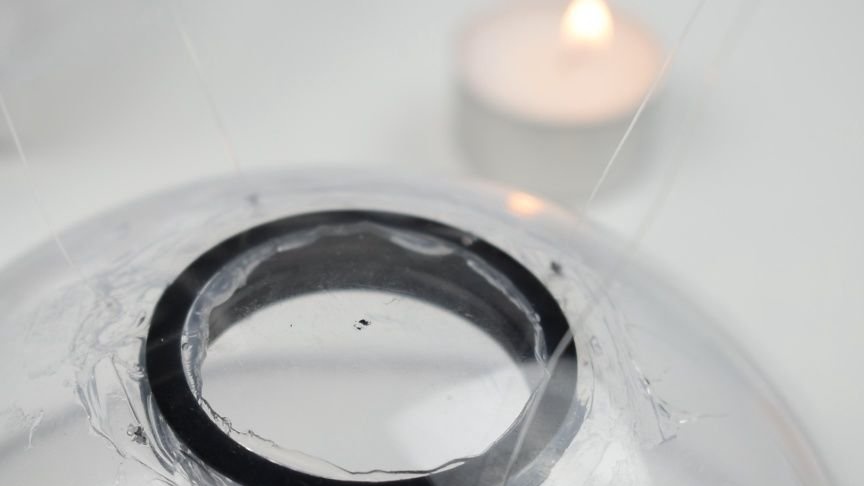
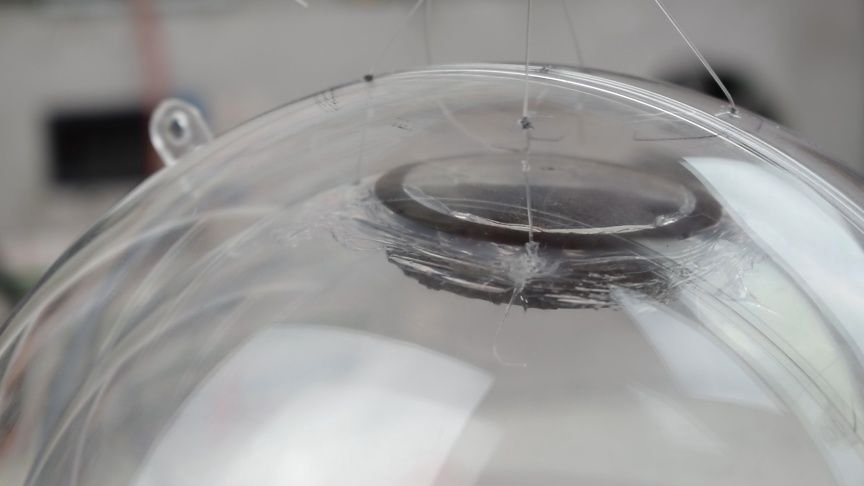
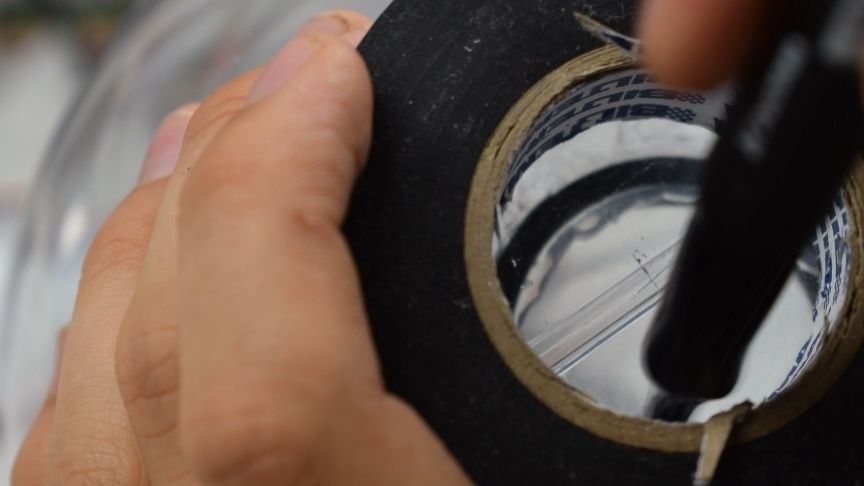
The master glues the fixing ring of the electric cartridge to the inside. The light bulb that the master will install must be smaller than the mounting ring.
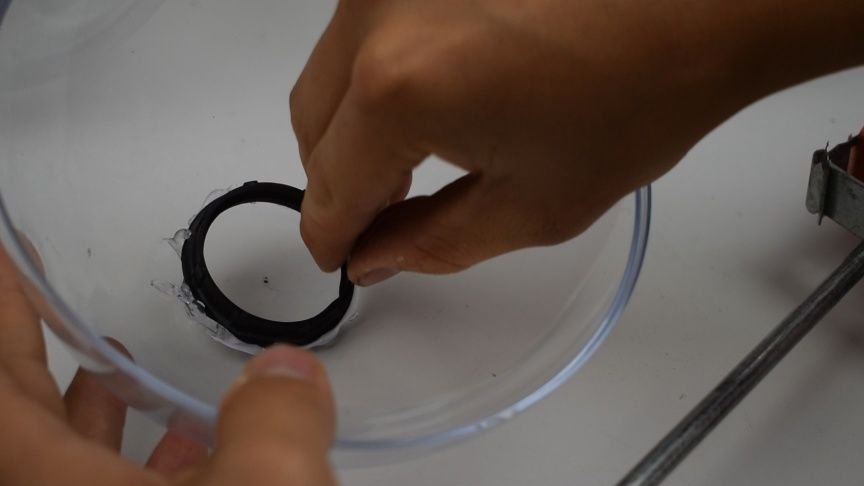
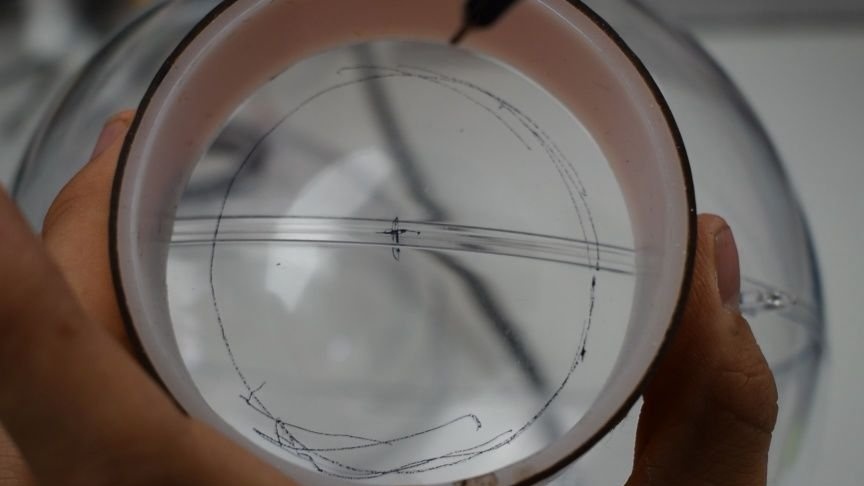
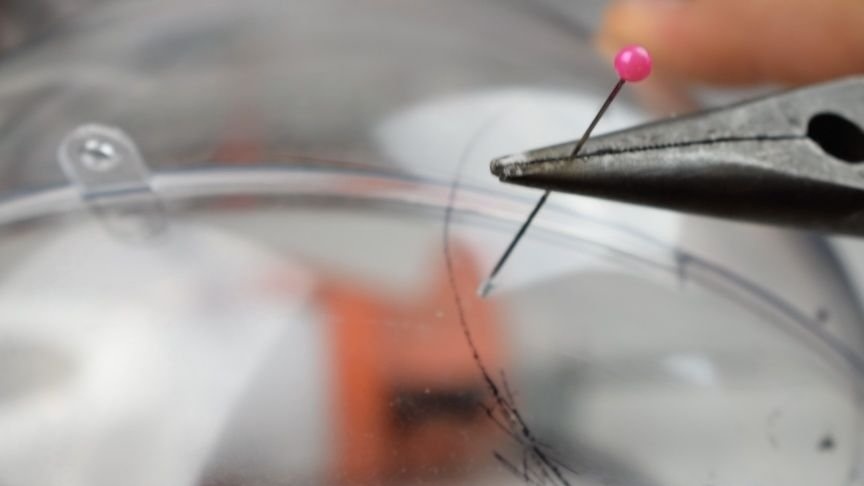
Then the master heats the needle and makes holes around the ring.
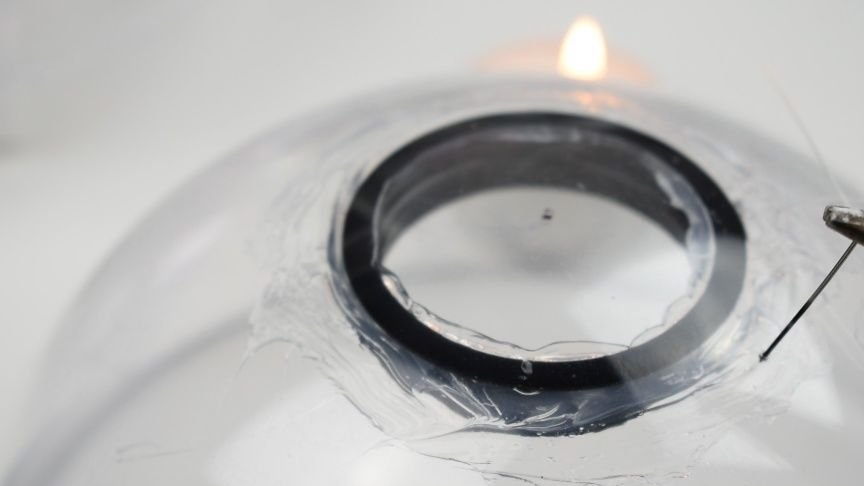
Draws fishing line through the holes and knots knots at a distance of 1 centimeter from the surface of the ball.
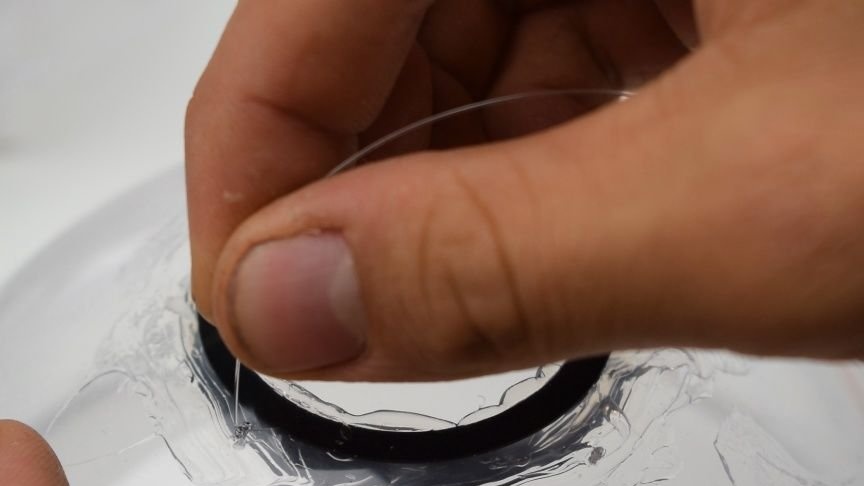

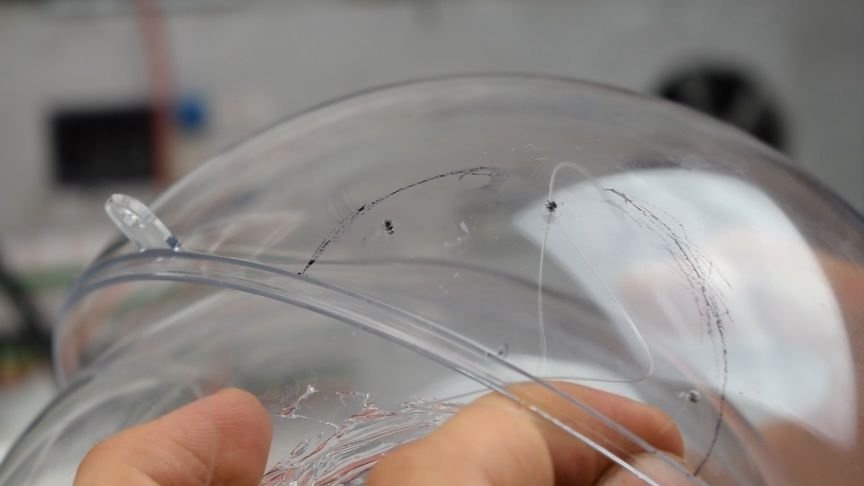
On a large ball, it also makes five holes and draws fishing line through the holes. Suspends one ball in another. Hemispheres of a small ball connect and glue the seam.
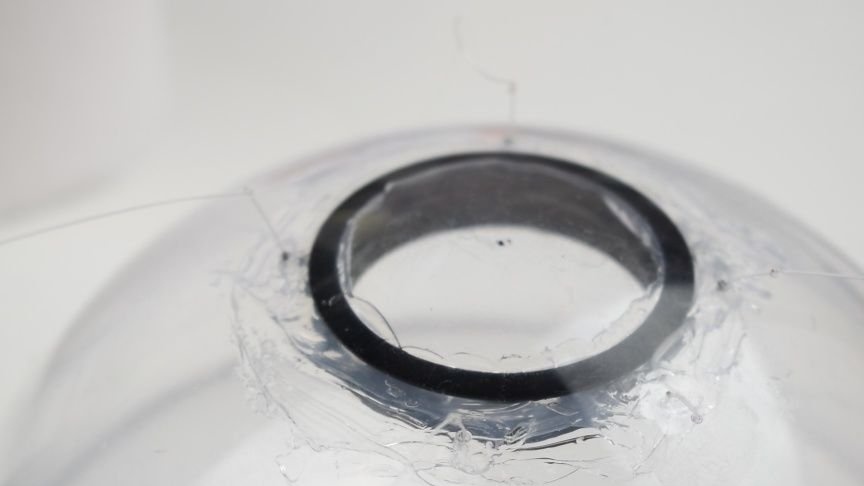
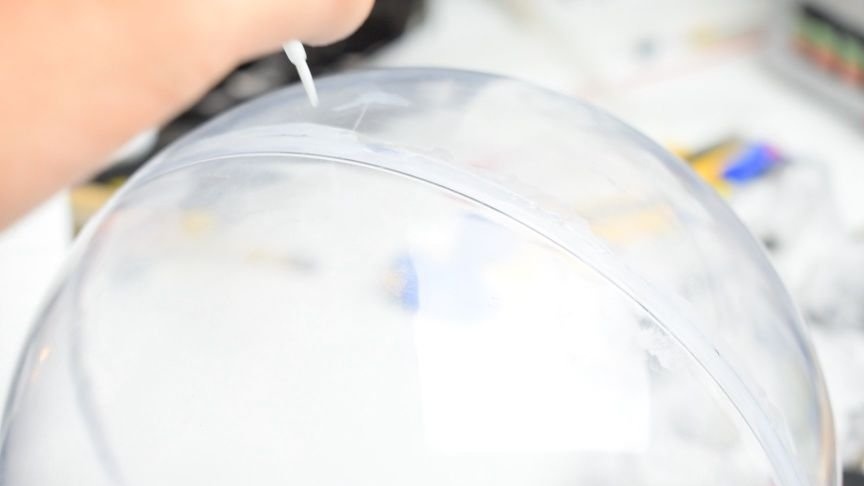
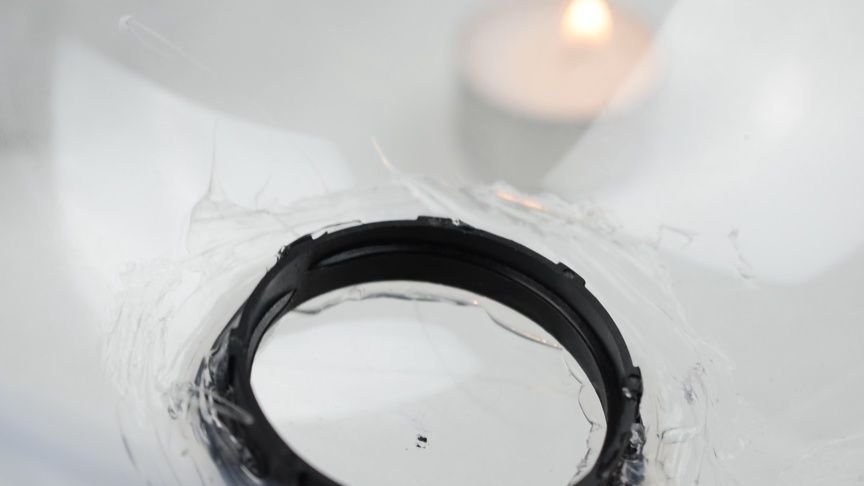
Cut a hole in a large ball just above the mounting ring.
The inner smaller ball should not touch the walls of the large ball. Ideally, the entire circumference should have the same distance between the walls.
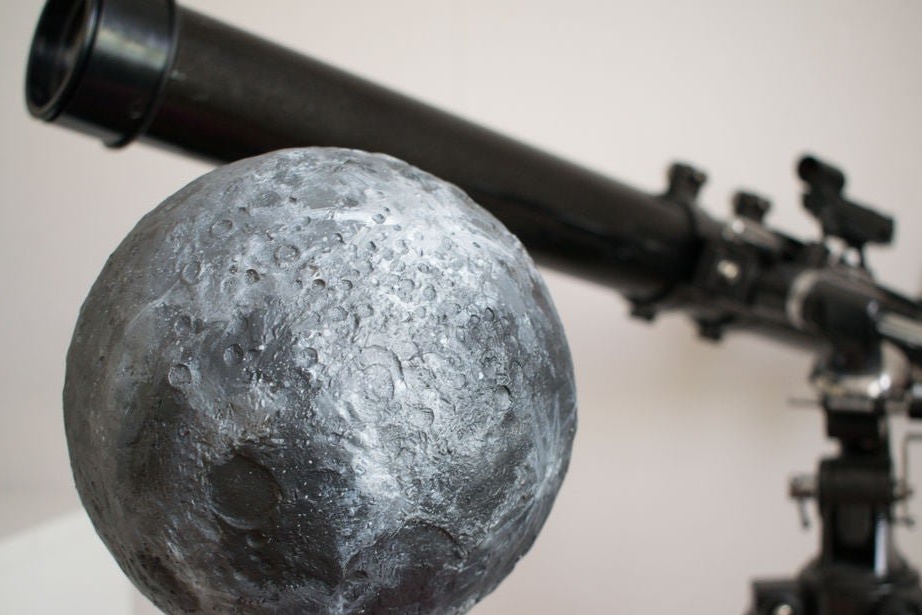
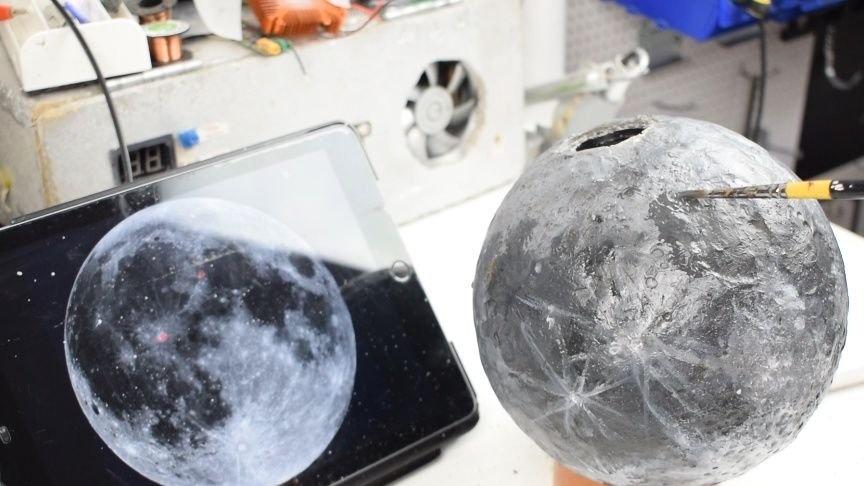
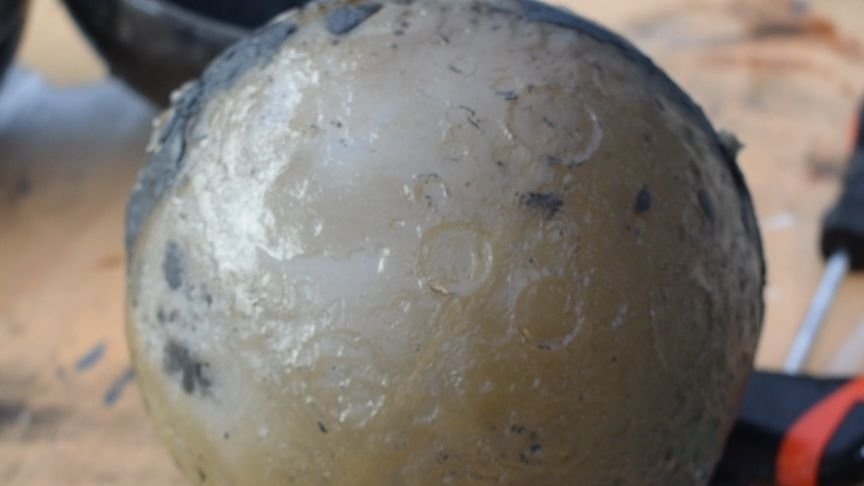
Step Two: Lunar Relief
To create a lunar relief, the master uses clay for modeling. It covers the inside of a large ball with plasticine.

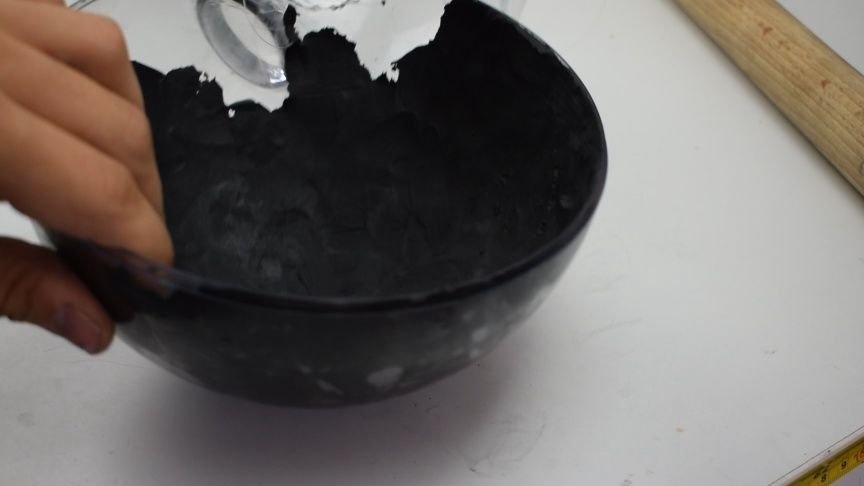
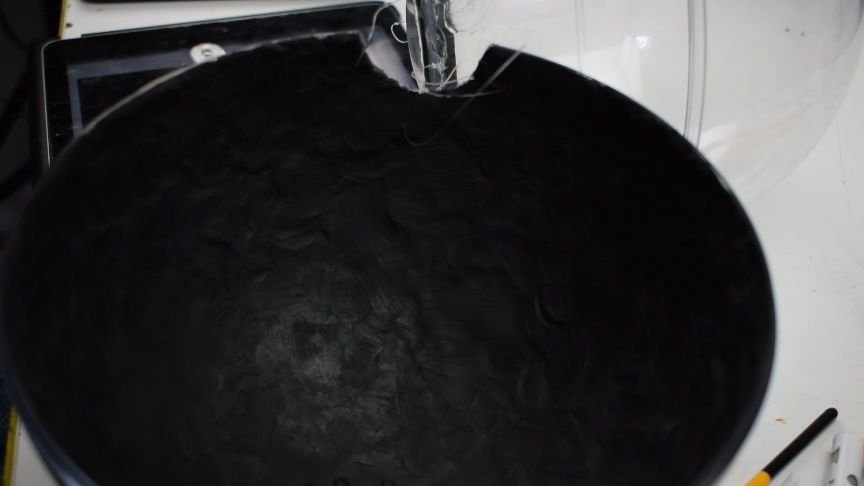
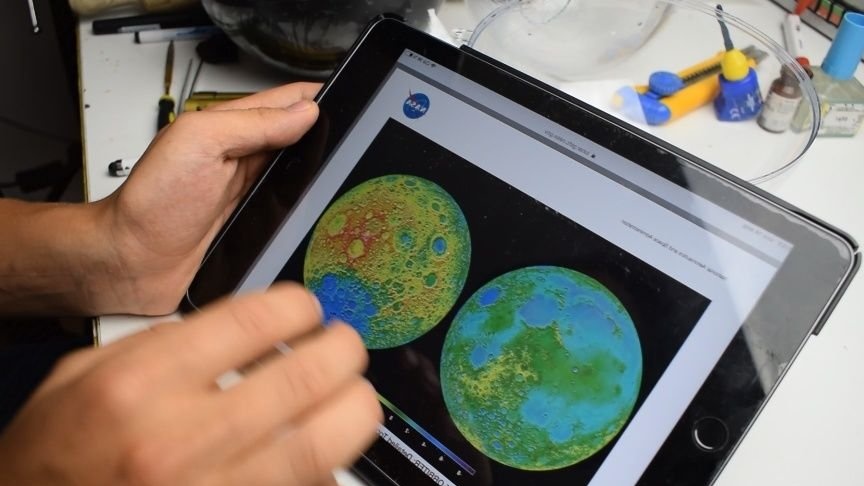
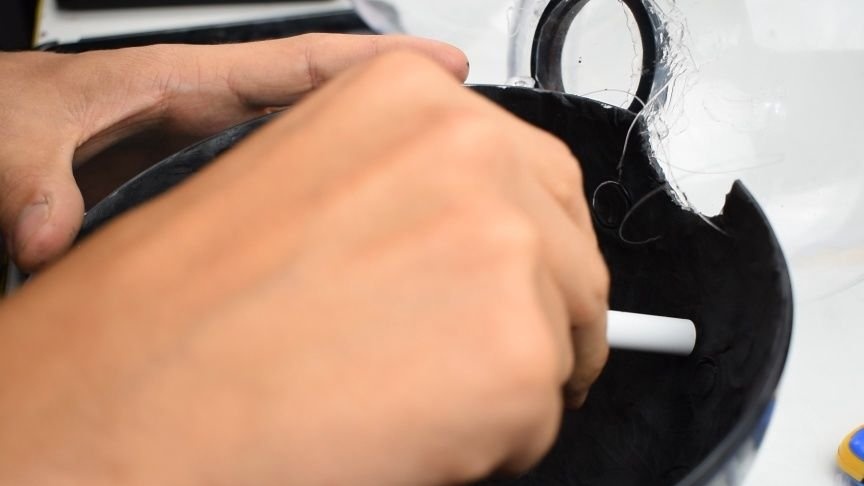
Then, using a map of the lunar surface, using various improvised tools, creates a relief on clay.

It connects two halves of a large ball and seals the seam.
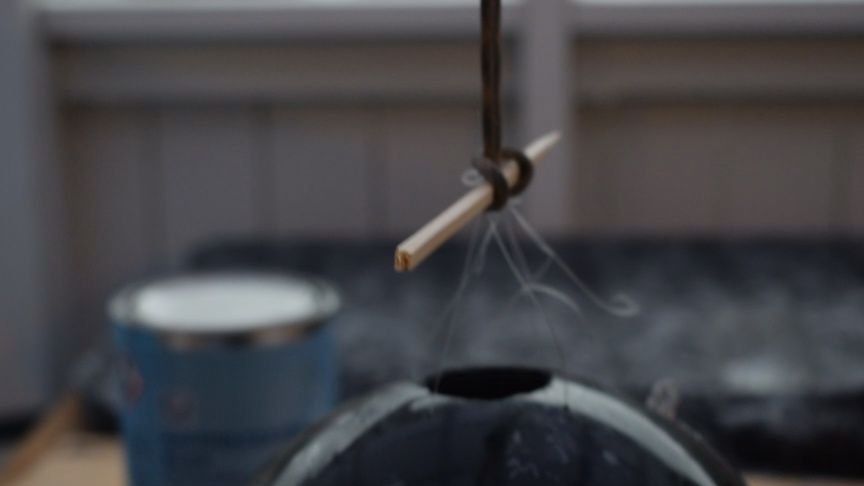
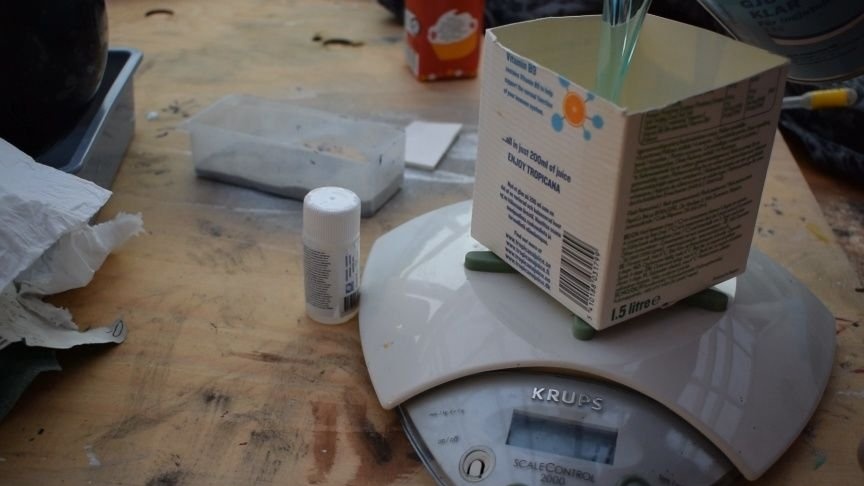
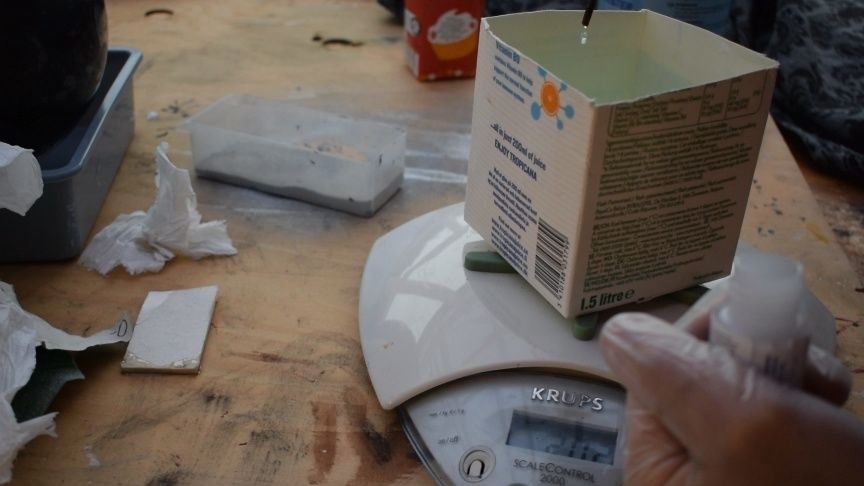
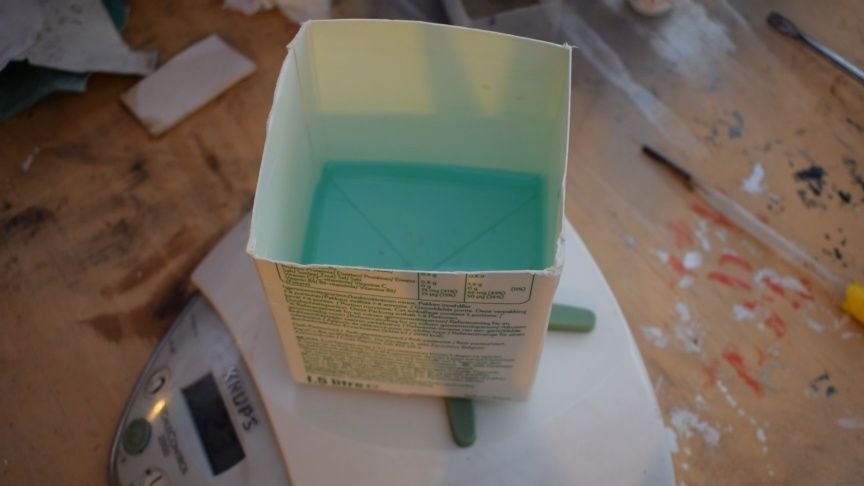
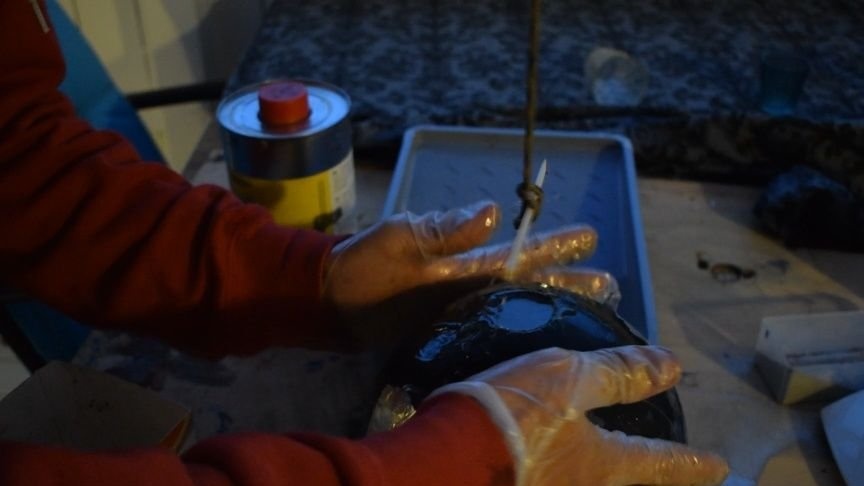
Step Three: Fill
Then the master hangs the mold on the fishing line. Knead a solution of epoxy. Adds 5% cement to the resin. Pours the mixture into the mold. The master made the filling in small portions, to the very top, periodically tapping and shaking the form.
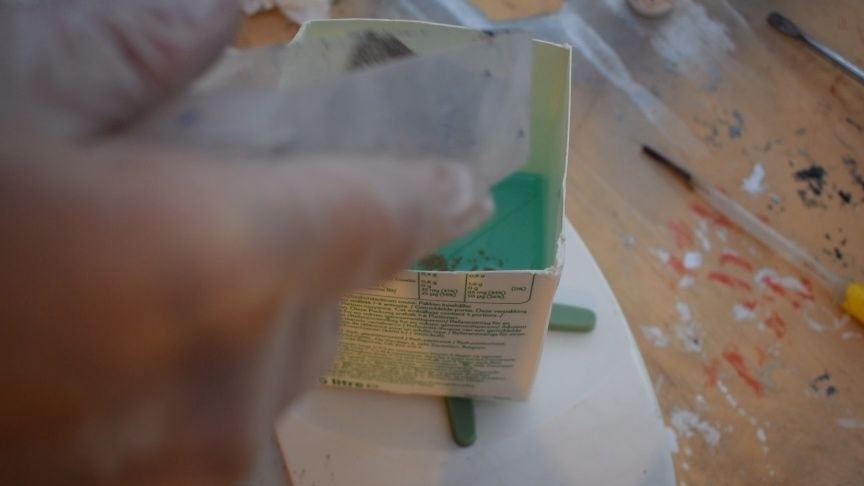

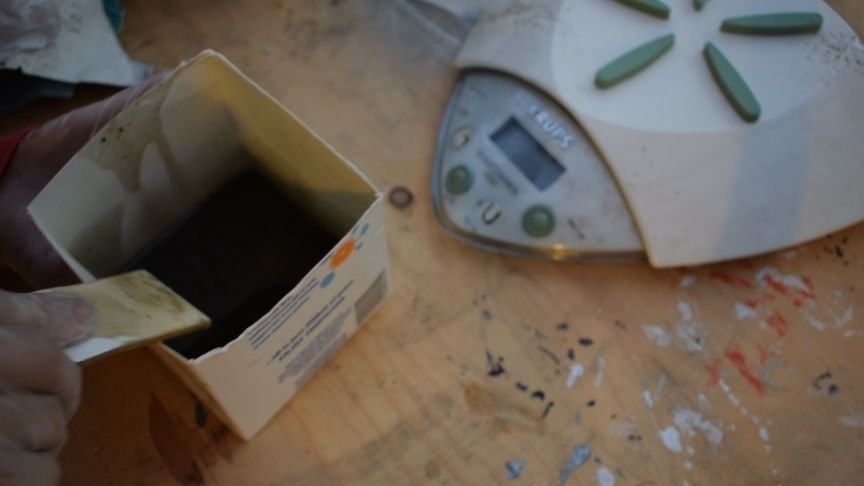
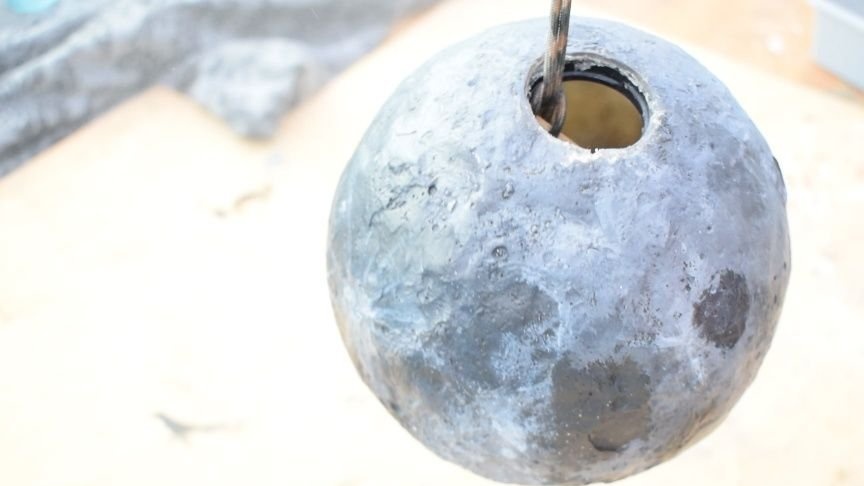
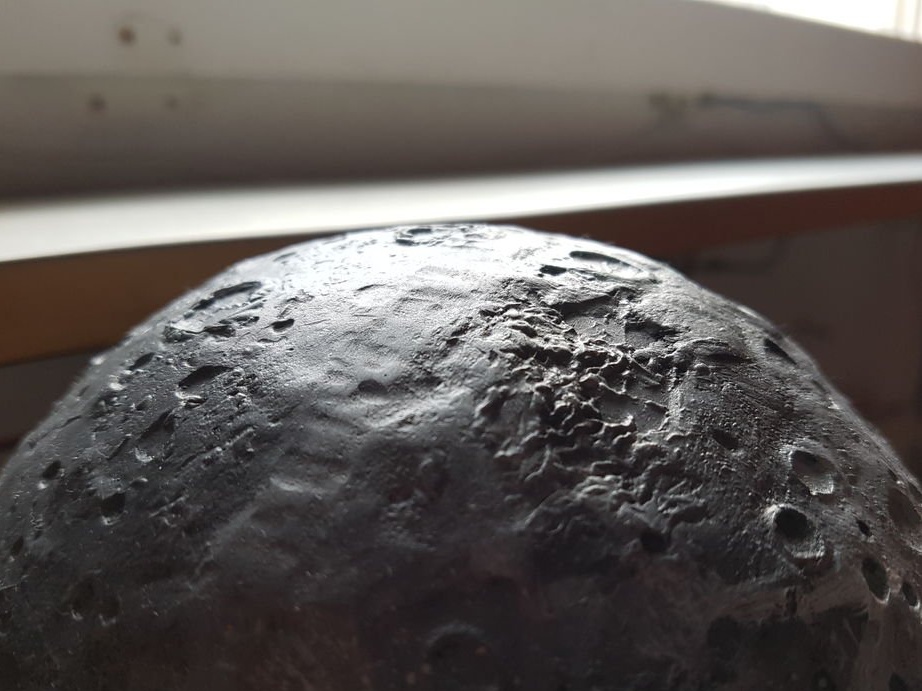
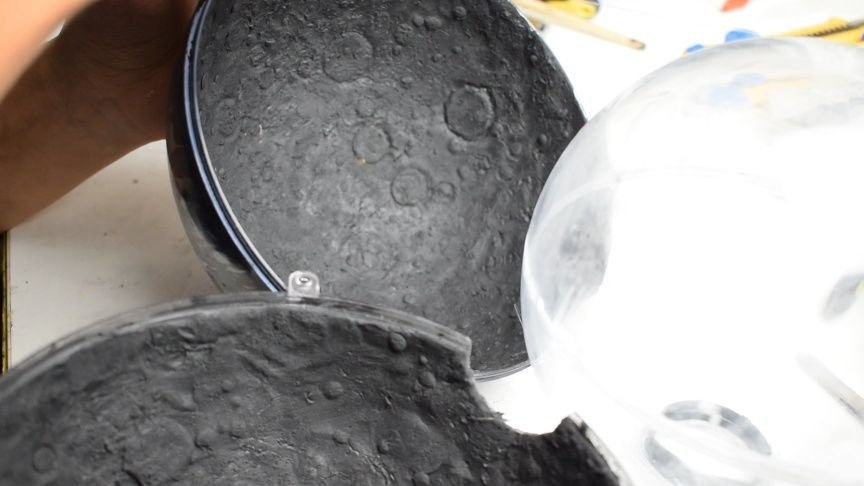
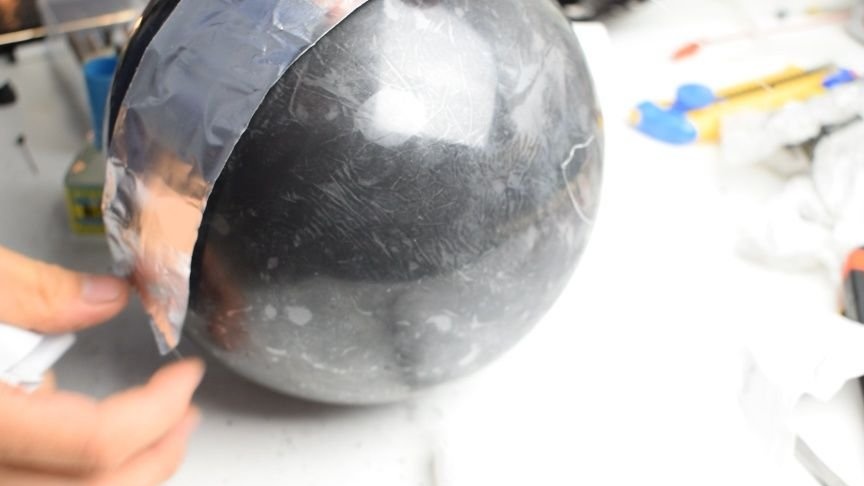
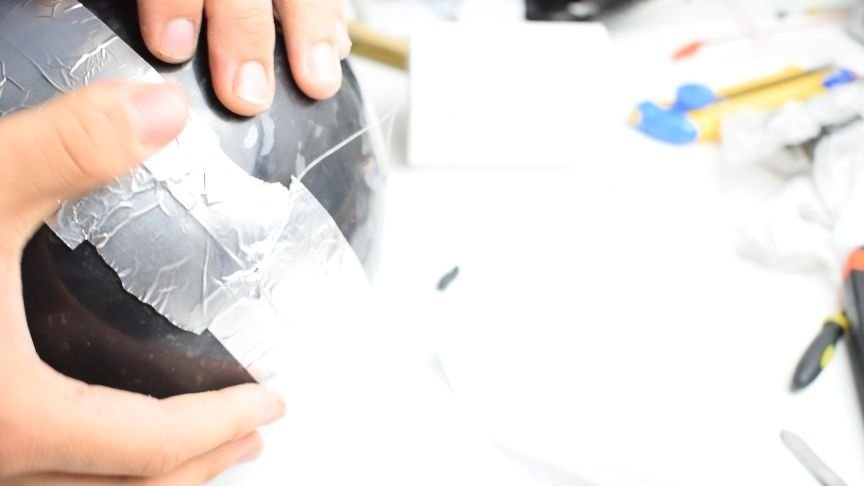
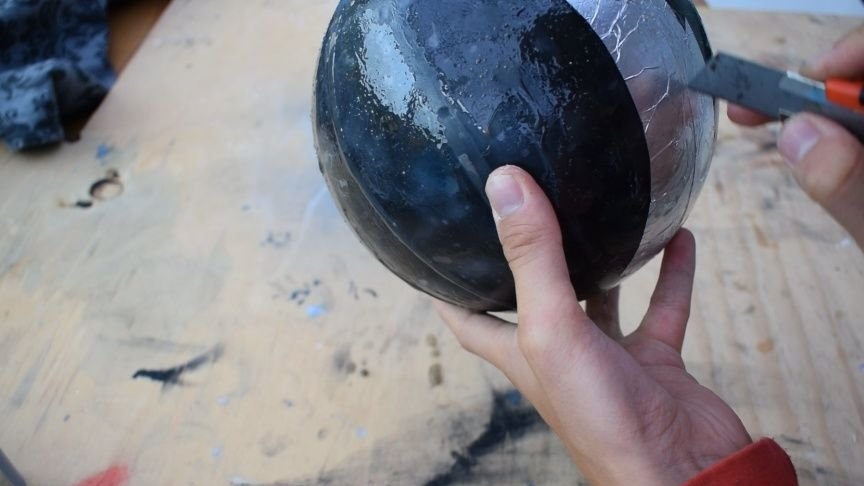
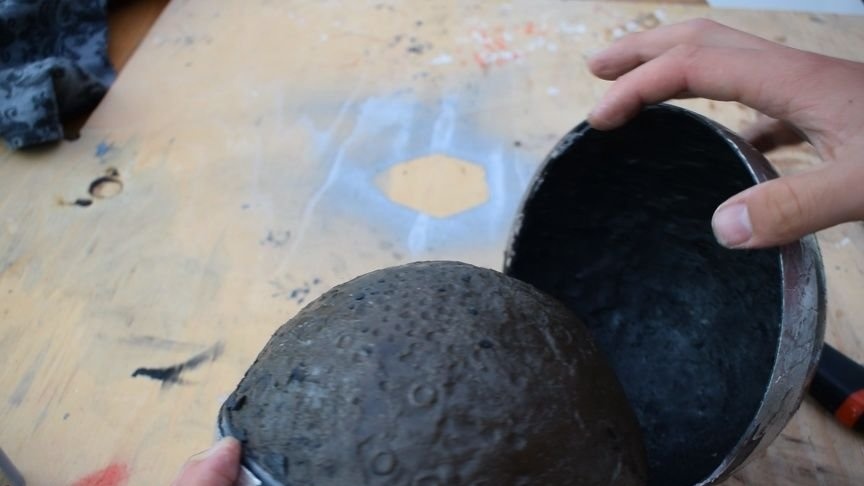
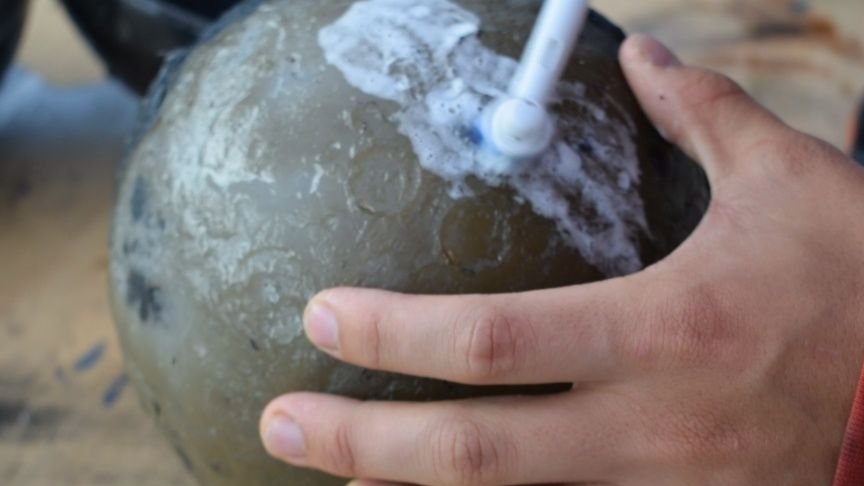
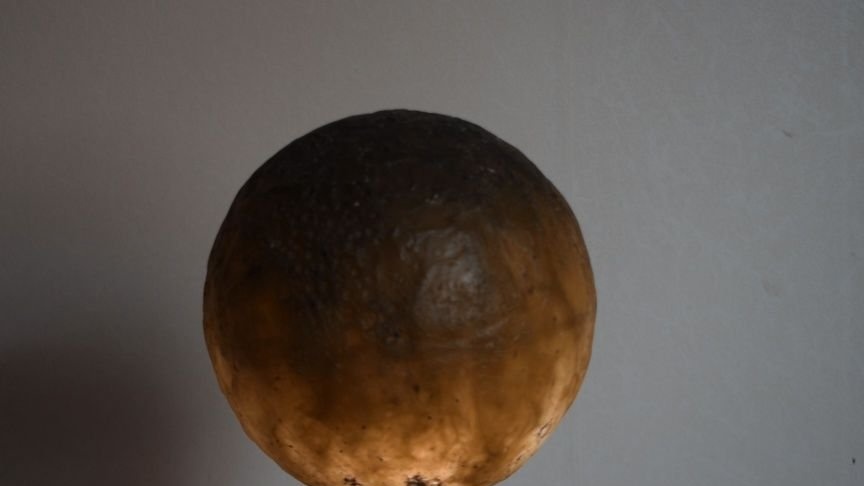
Step Four: Form Processing
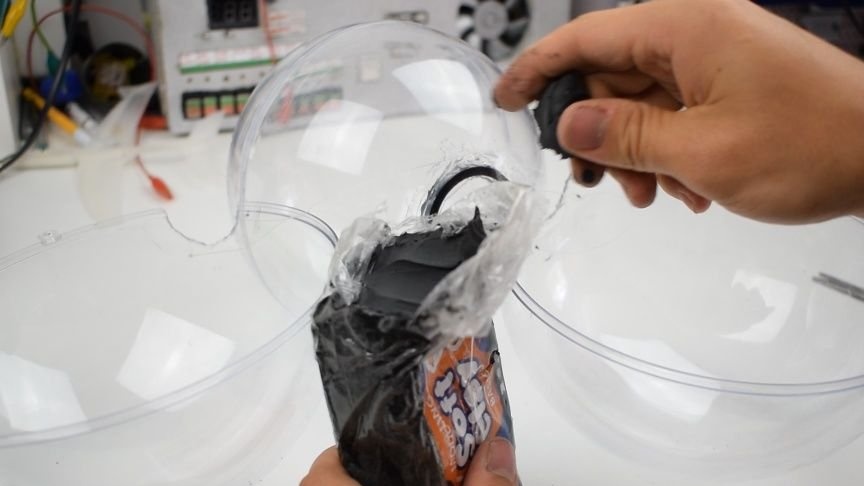
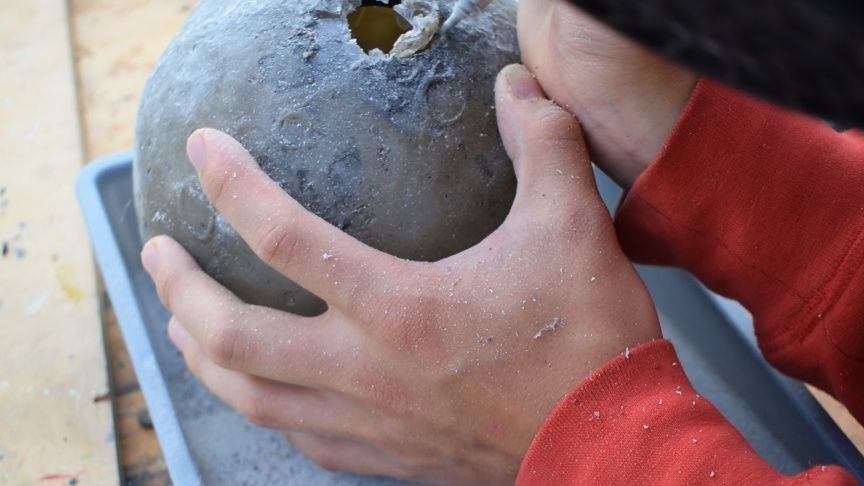
After the resin hardens, the outer ball, together with plasticine, is removed. The surface is cleaned with a toothbrush with detergent.
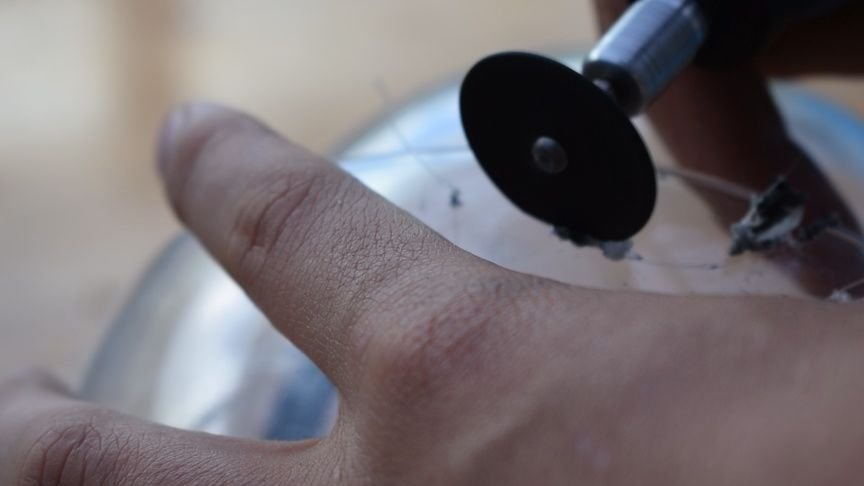
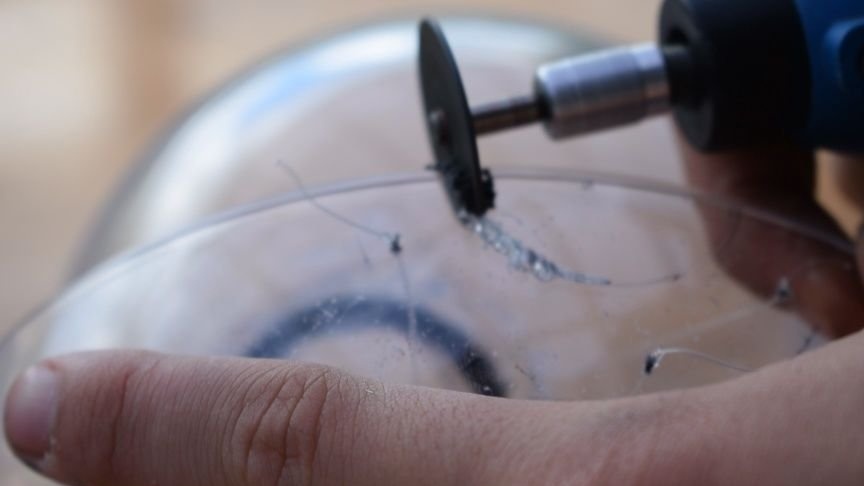
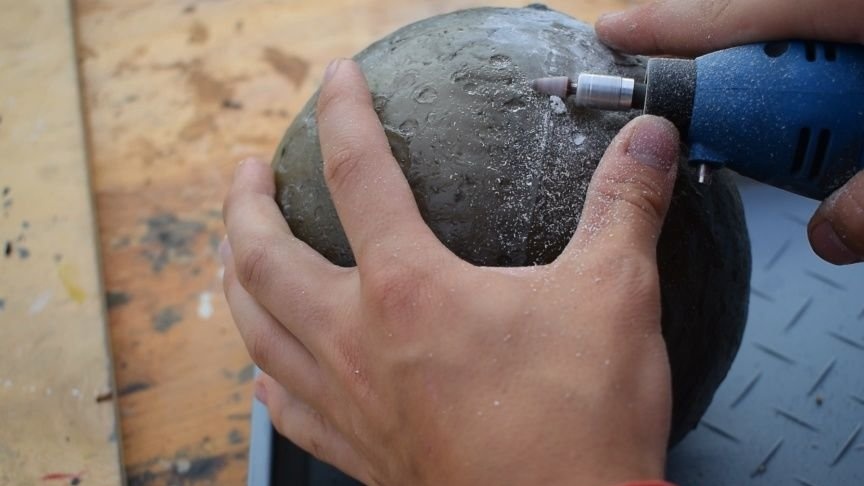
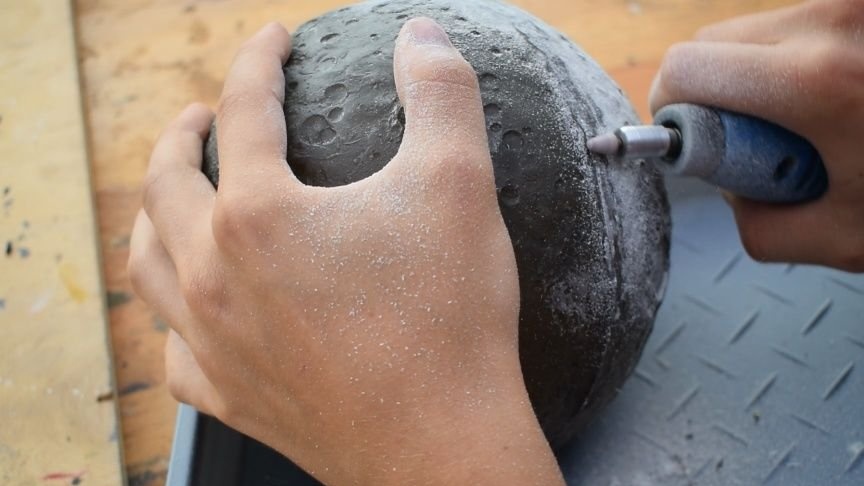
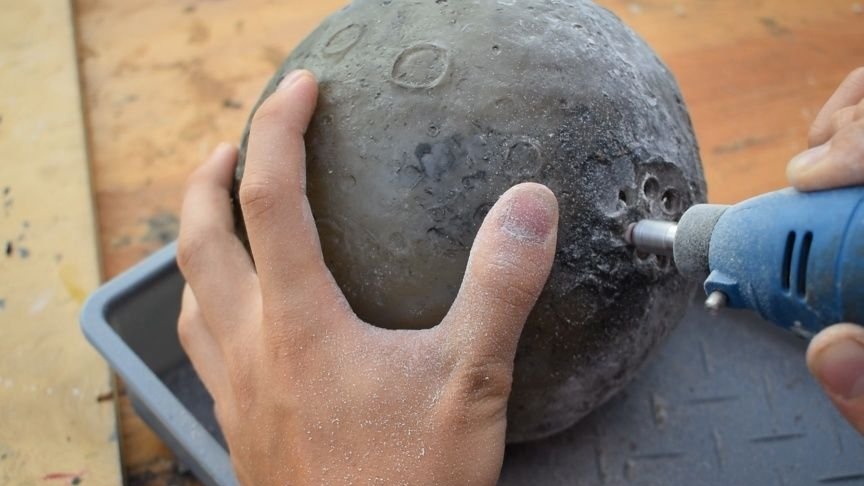
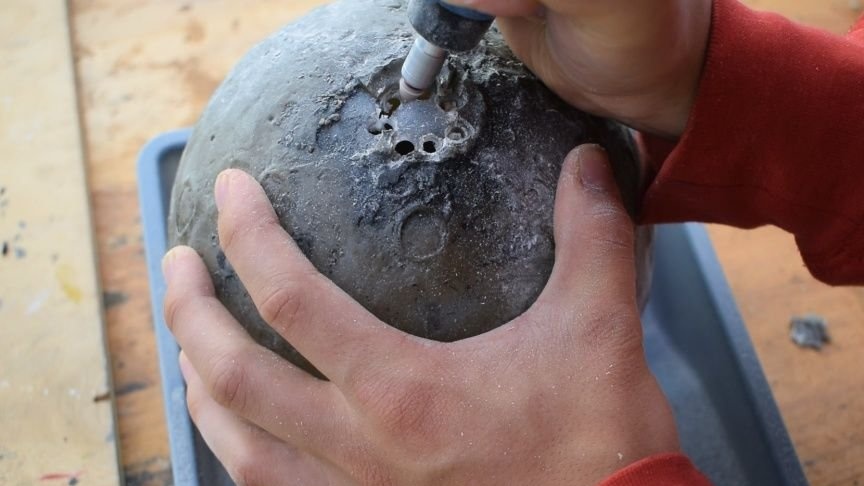
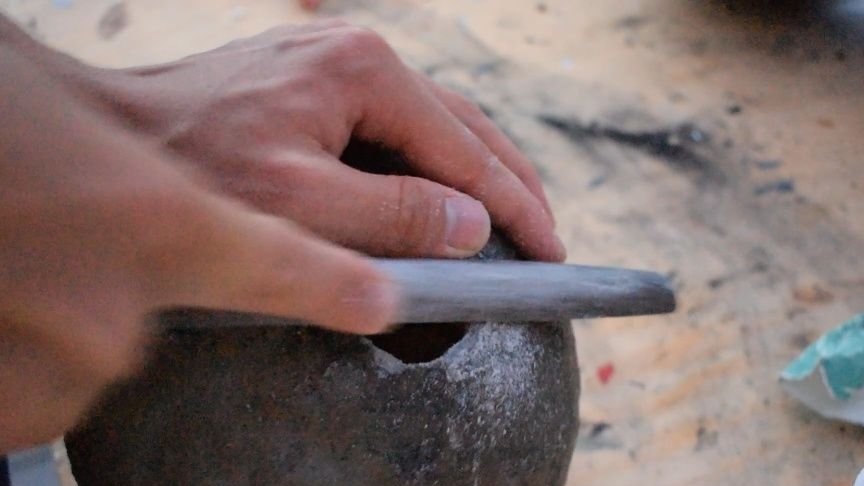
Coarse fill defects are cleaned by an engraver with a grinding nozzle.
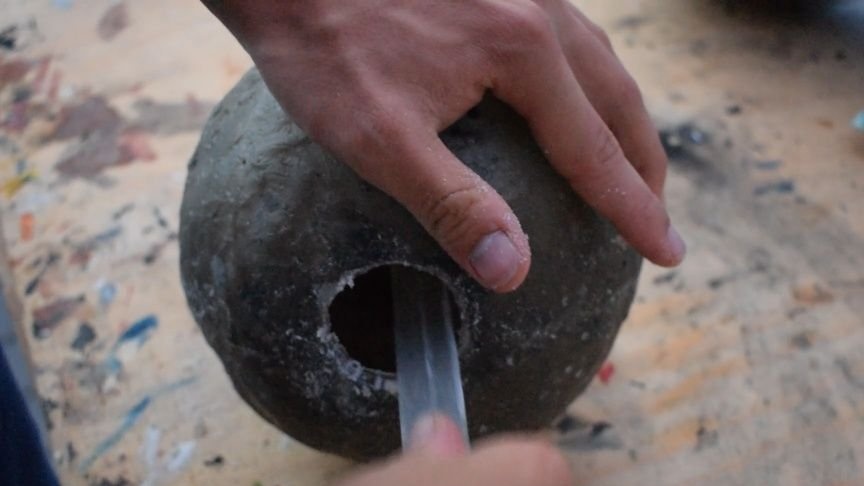
Cleans the hole around the ring.
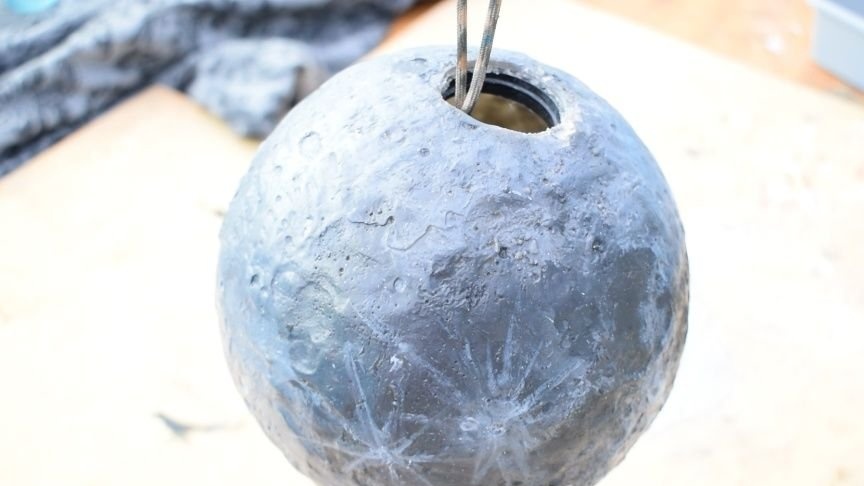
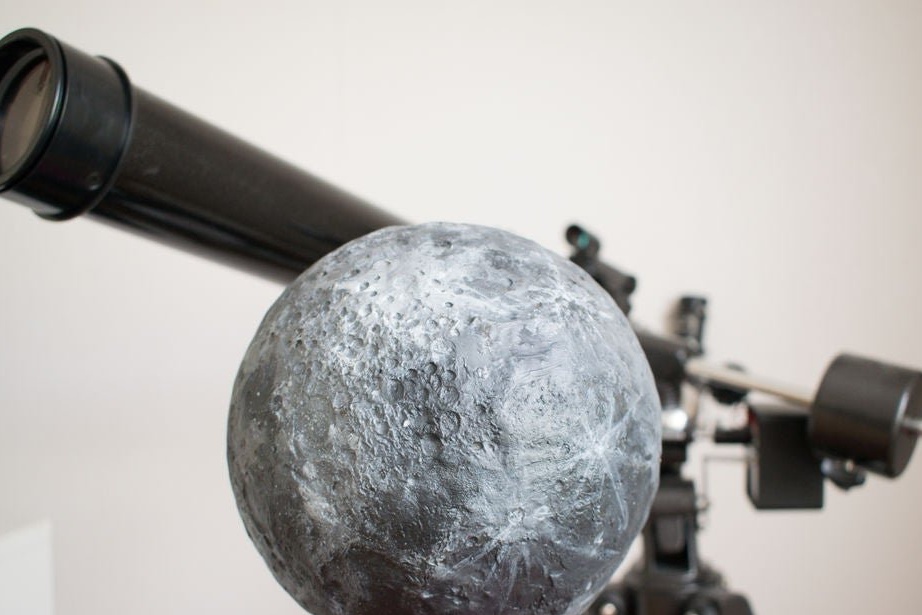
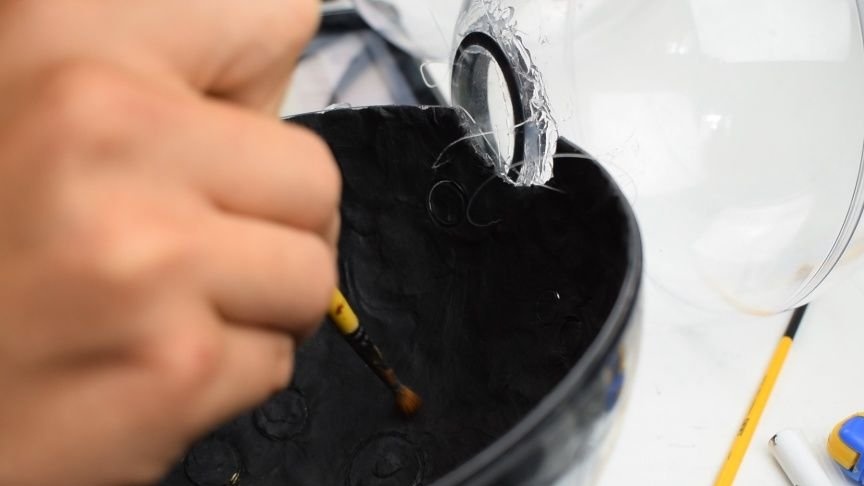
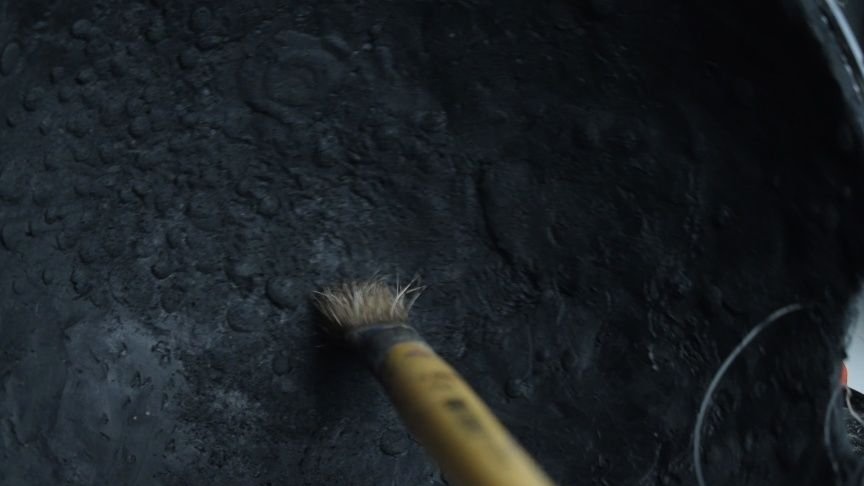
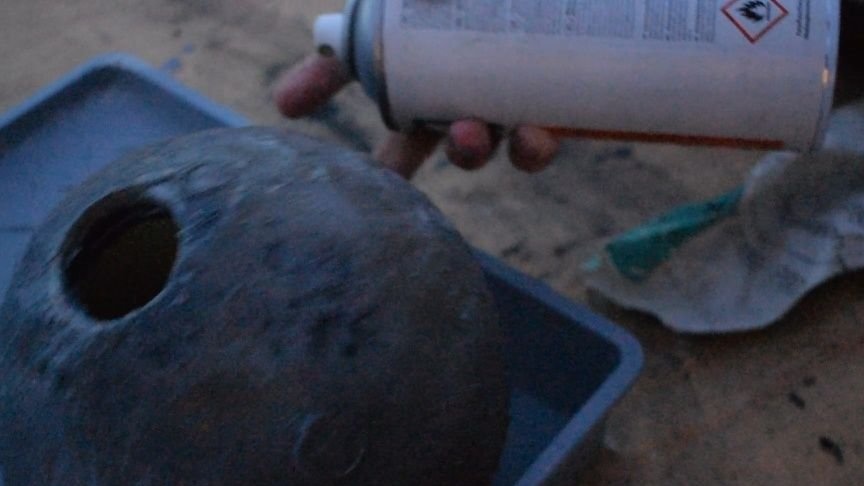
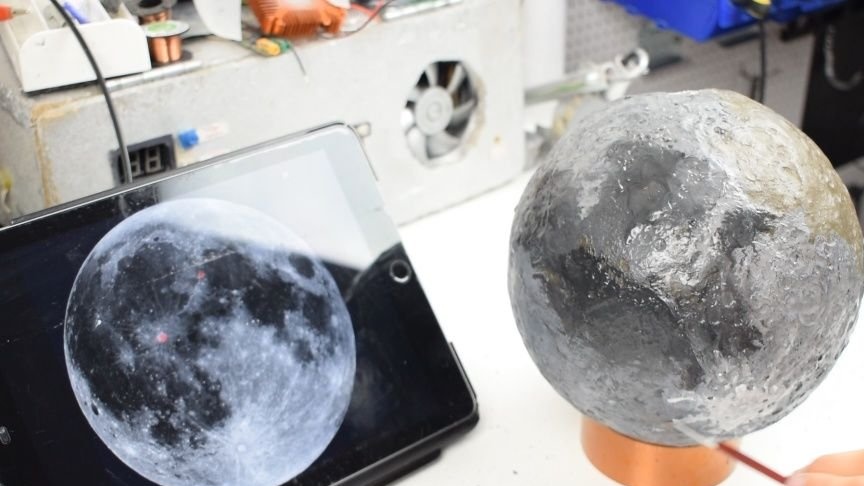
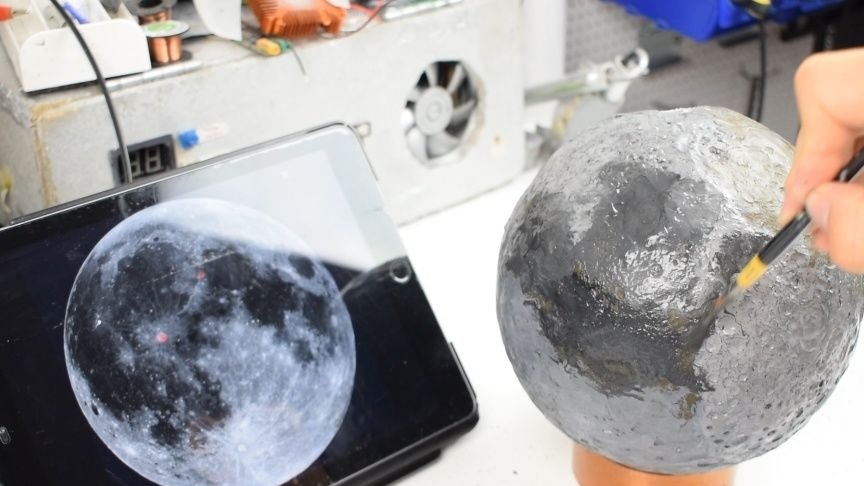
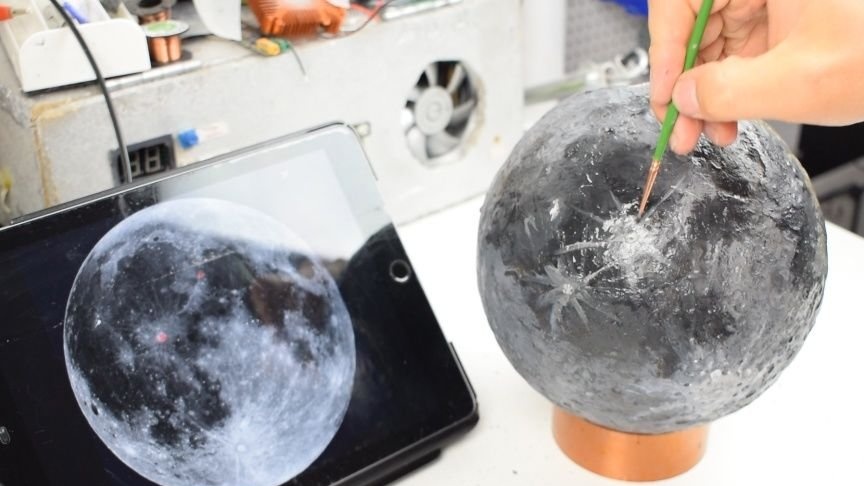
Step Five: Painting
Coats the surface with varnish.
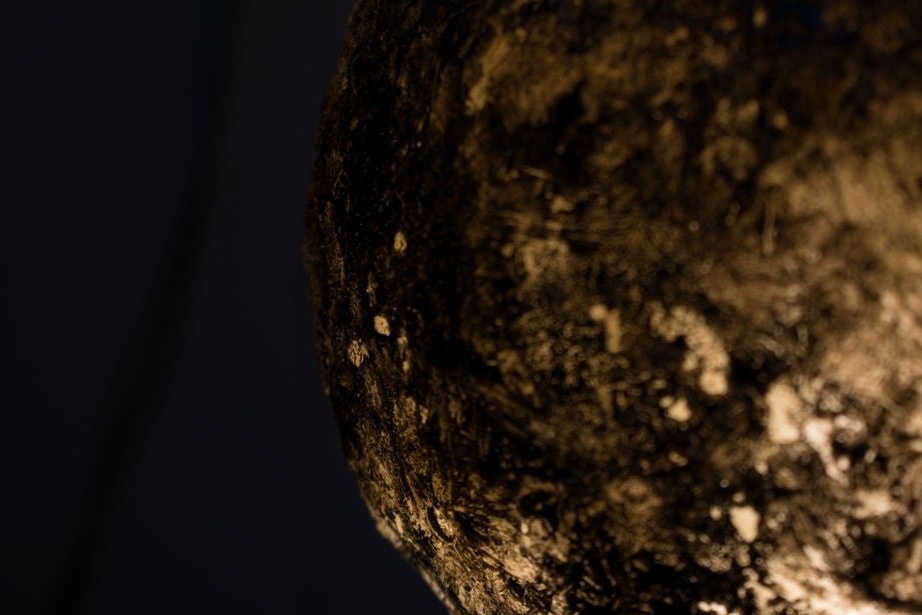
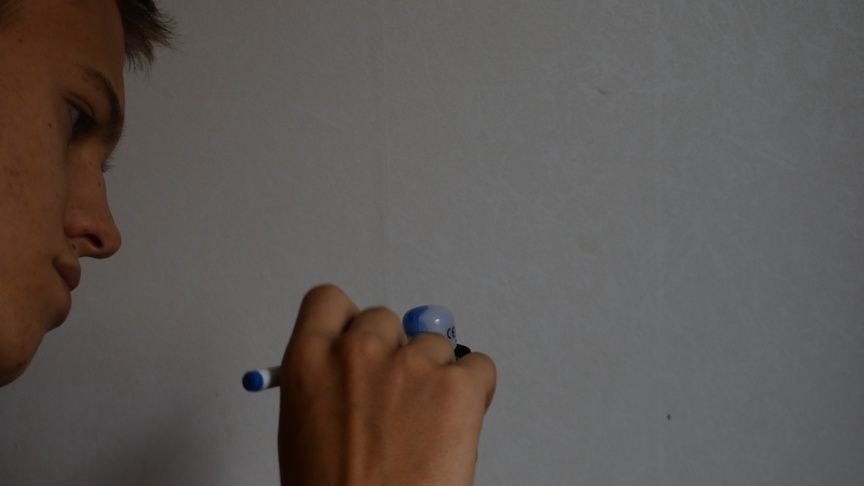
Paints a light bulb in blue.
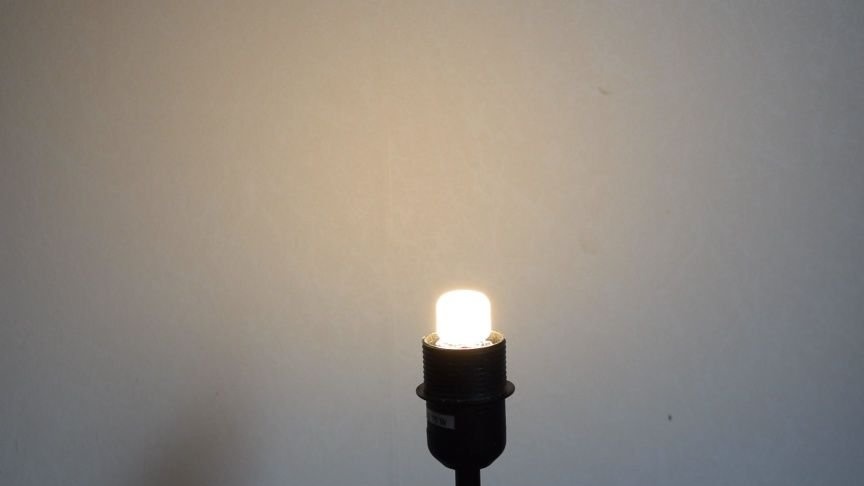
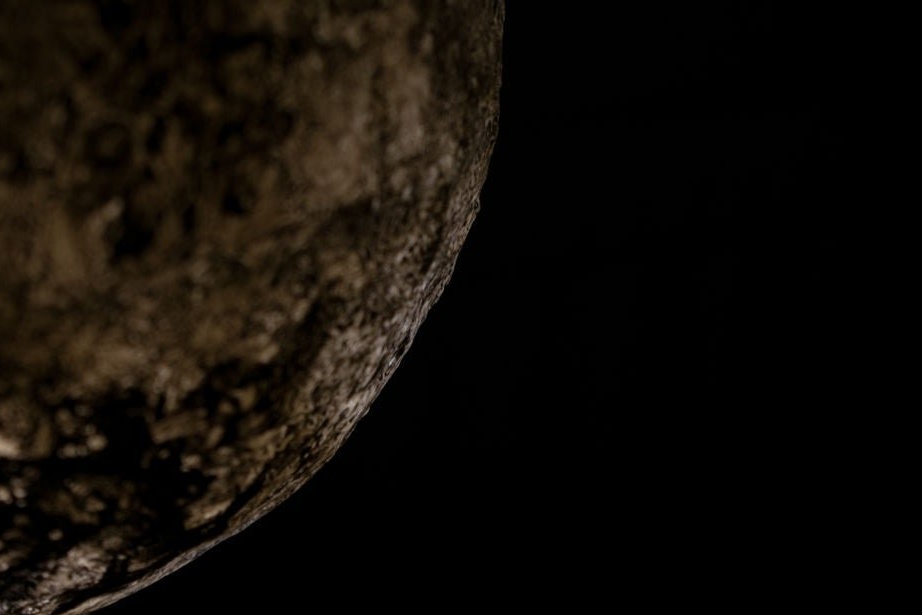
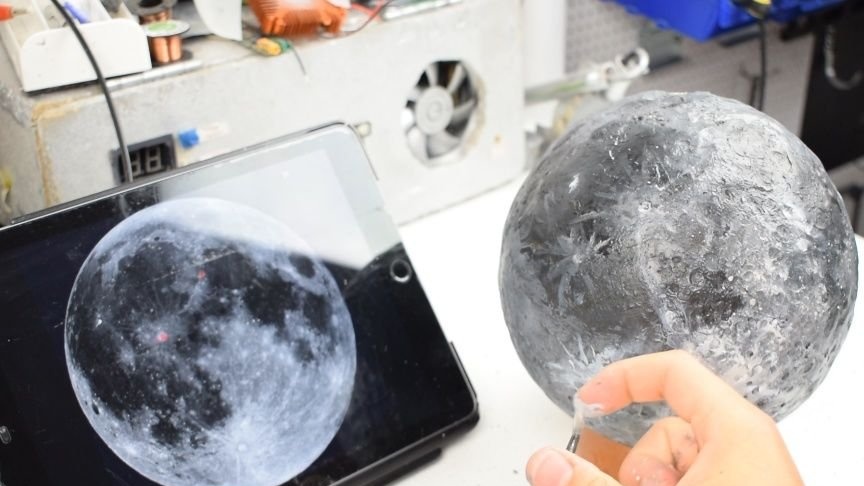
Next, the master checks how the surface will glow.
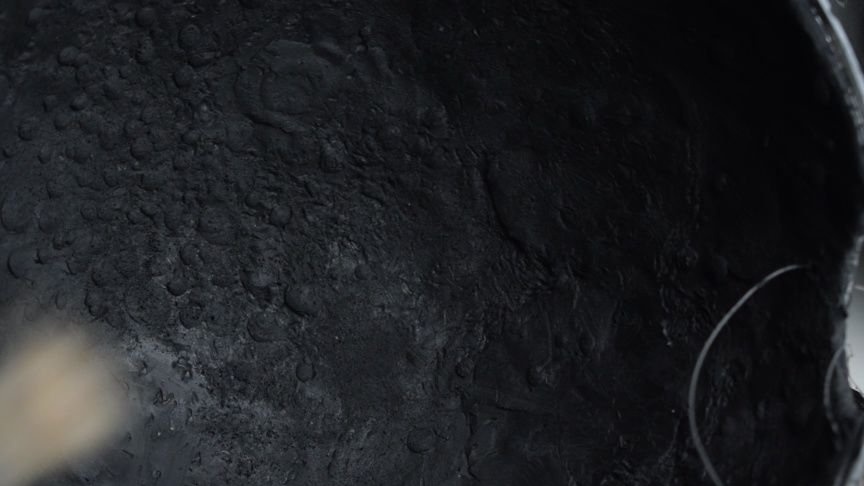
The result is unsatisfactory, and then, focusing on the image of the moon, it covers the surface with black and white paint.

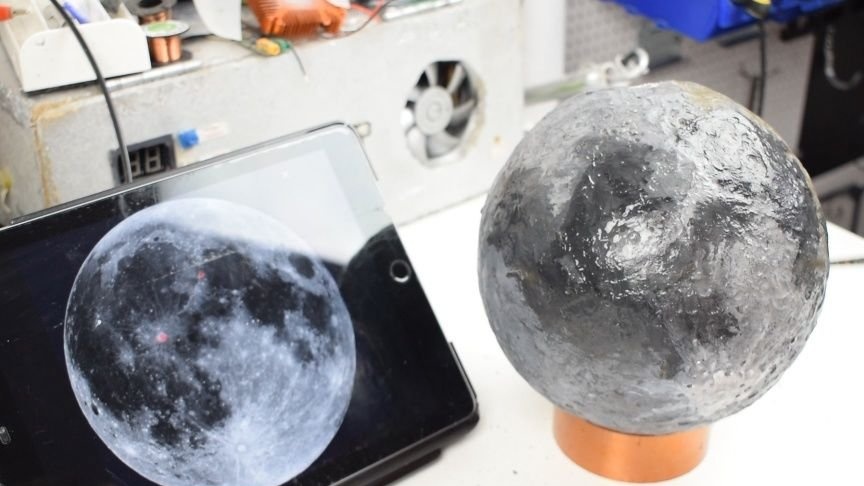

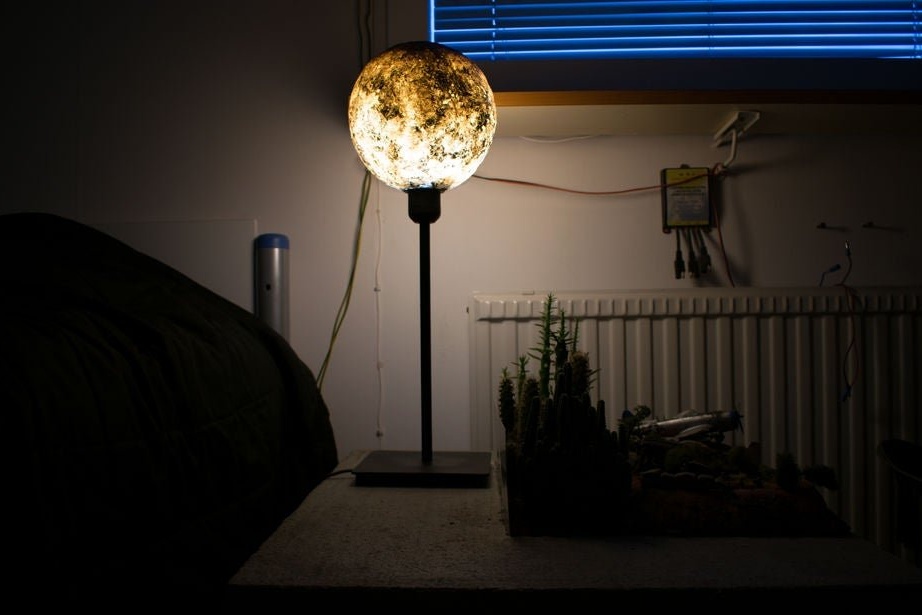
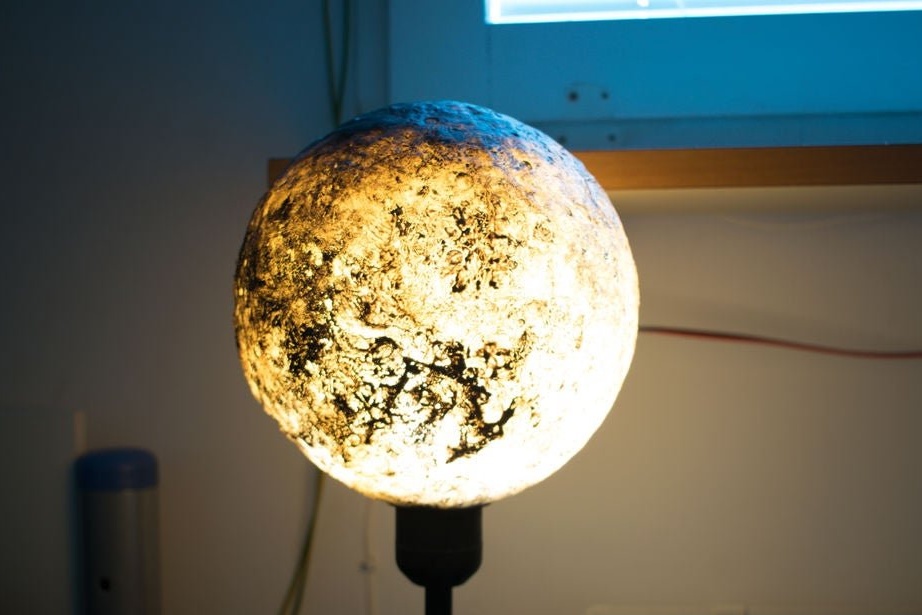
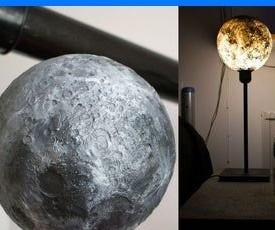
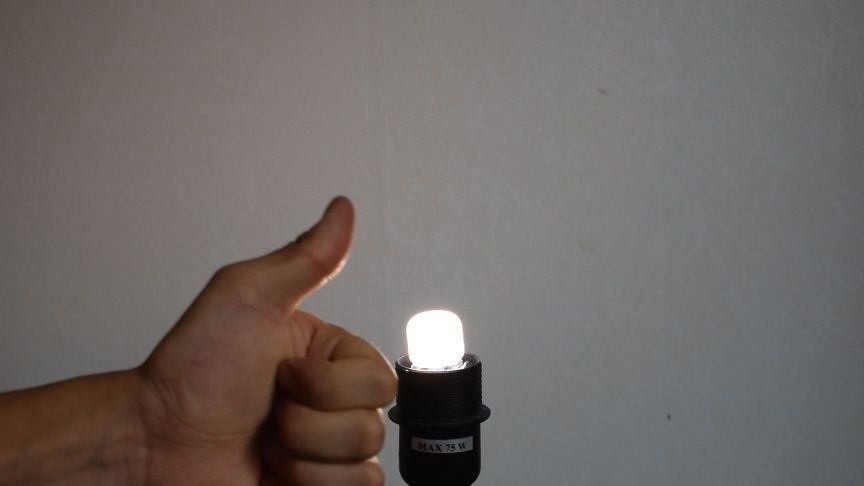
Step Six: Build
Now it remains to stretch the cord, fasten the lampholder inside with a bulb, fix the ceiling on the stand, and you're done.