
Hello! In today's article, we will look at how to make interesting and very useful homemade for any workshop or the garage. Surely everyone, ever, had to make an even cut, some kind of plank, bar, sheet of plywood, etc. It is practically impossible to make an even cut manually. Well, a high-quality circular saw or jigsaw is quite expensive tools (compared to homemade). And you must agree that it often pushes away from the purchase of a tool its rare need.
A home-made circular saw will not differ in any way from professional equipment, as it will be made of prefabricated elements that our Chinese friends are actively selling. Well, as they say, enough of the long introductions, let's move on to assembling the homemade product.
And so, for this homemade product you will need:
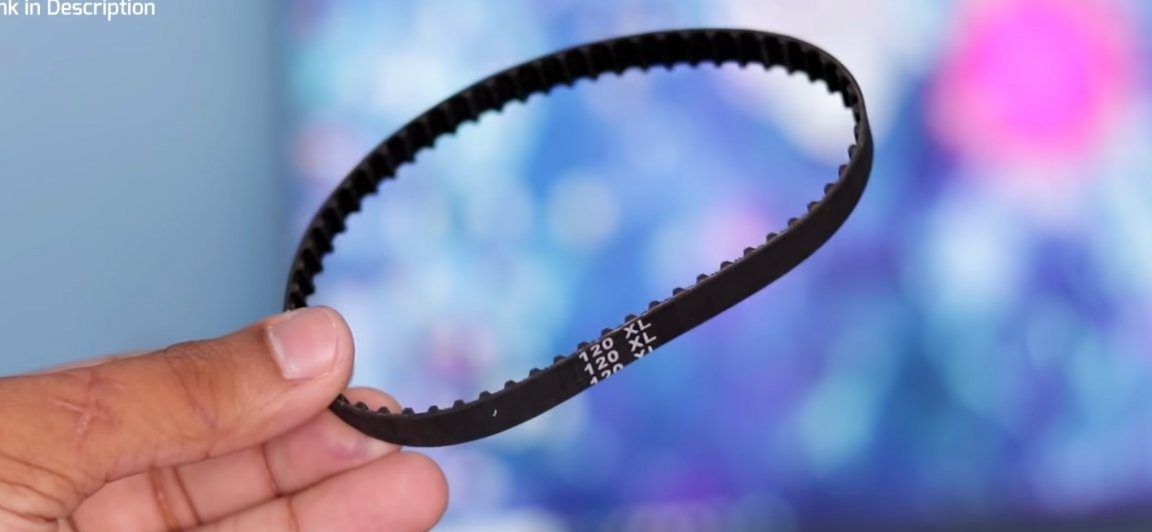
- The so-called “KIT” kit, consisting of a belt, gear on the engine and rotating with a cartridge and driven gear (link to the kit at the end of the article).
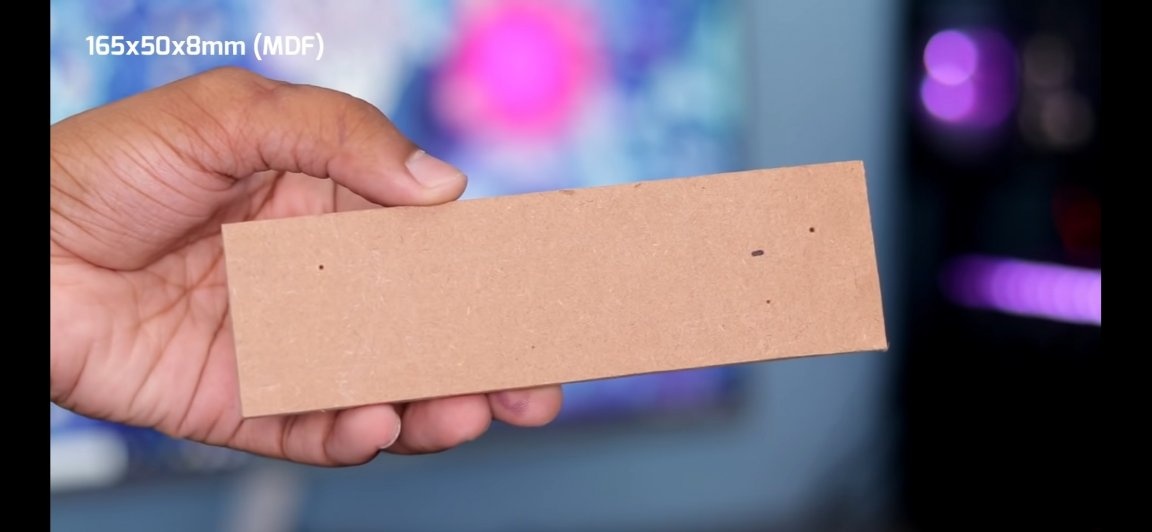
- MDF panel (you can use plywood or something like this)
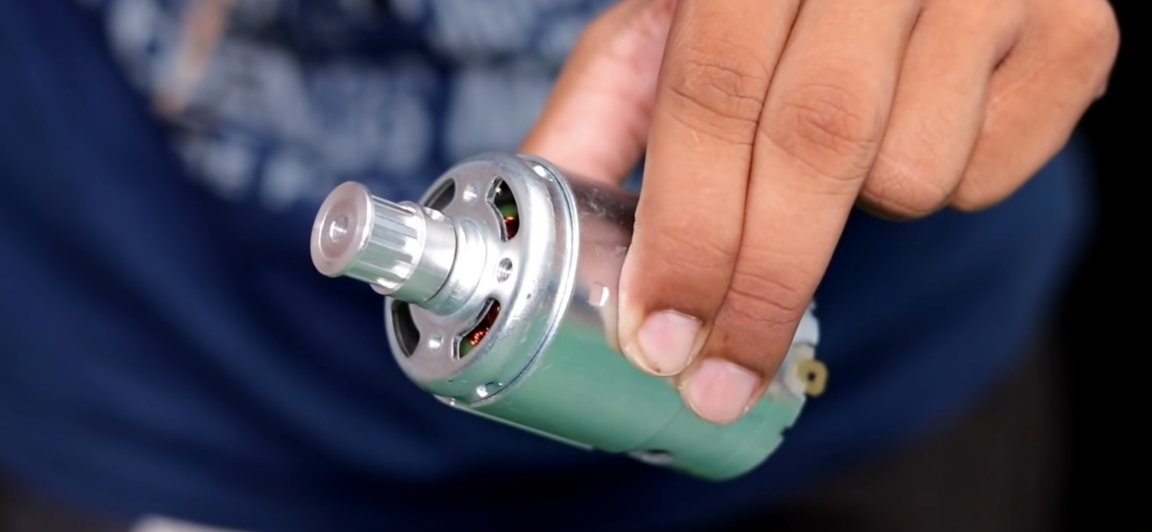
- 895 or 775 class electric motor
- Motor frame for this electric motor
- switch
- Power connector
- wires
- Cutting disc ~ 110mm
- Power supply or battery from 14v to 24v.
From the tools you will also need:
- soldering iron
- Drill and drill
- screwdrivers
- Corner
- Ruler
- marker
- Nippers
- Screws and cogs
- Jigsaw manual or electric (if any)
- Super glue and wood glue.
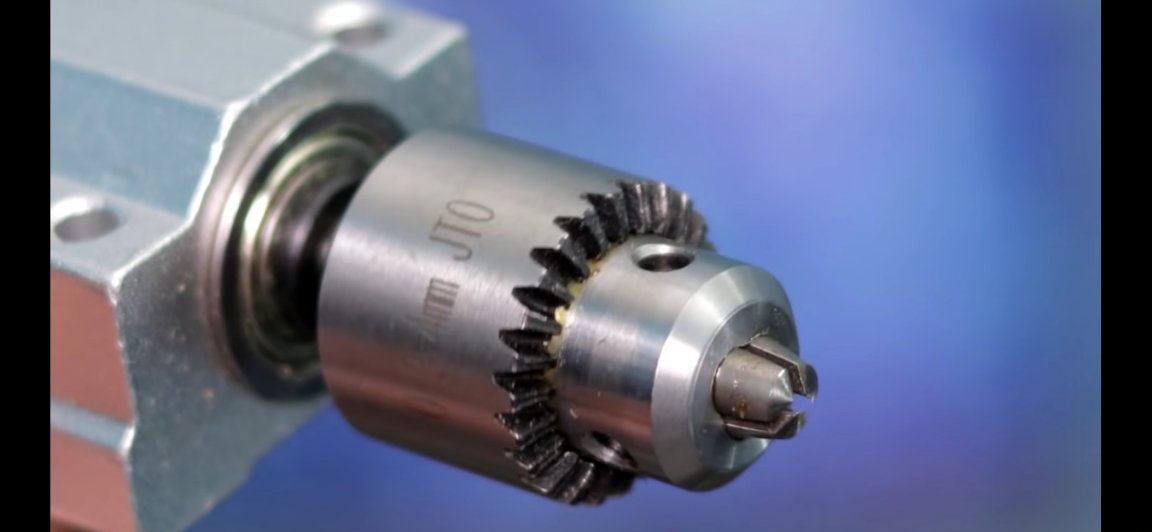
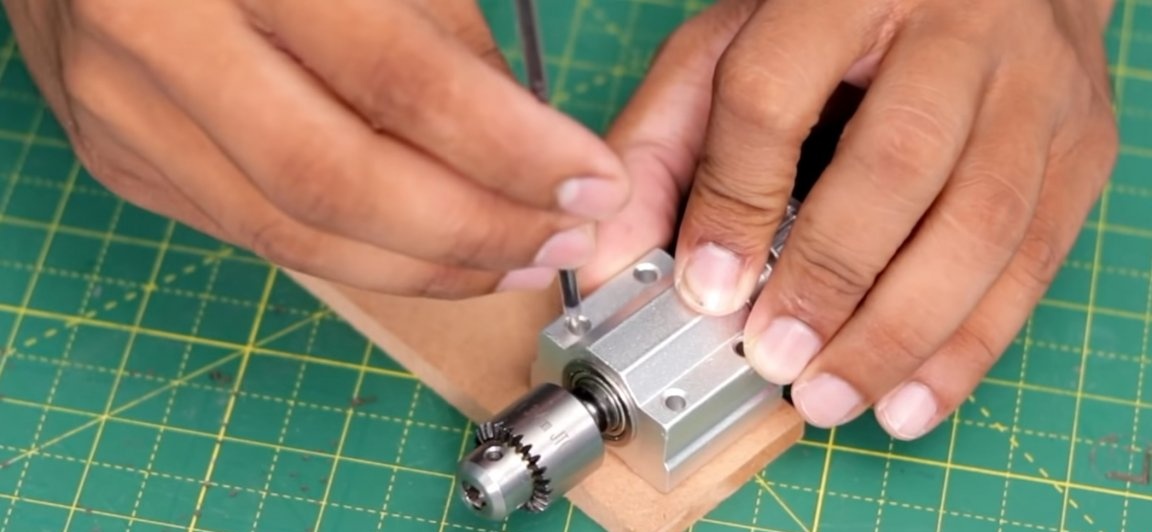
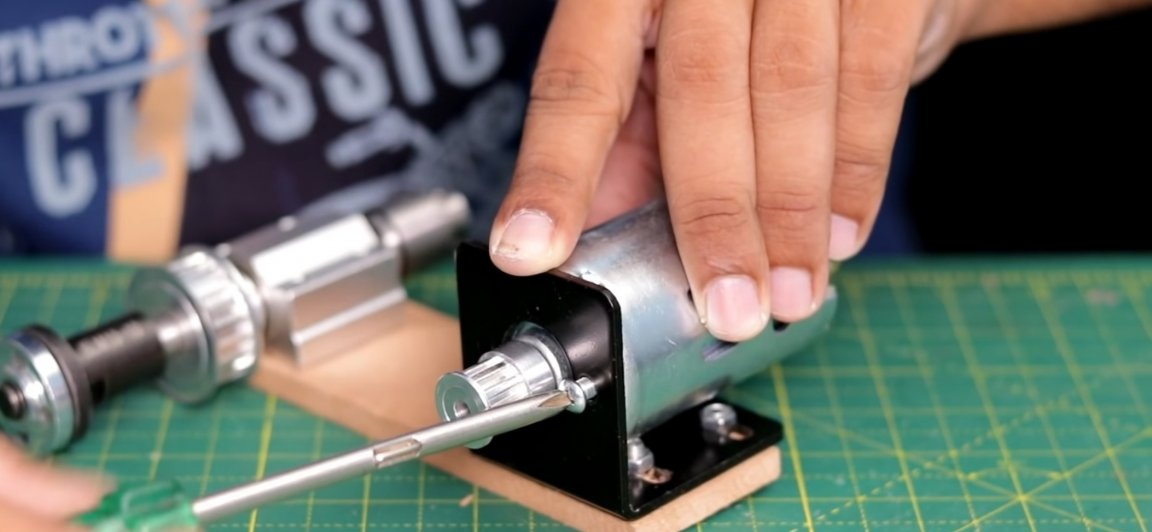
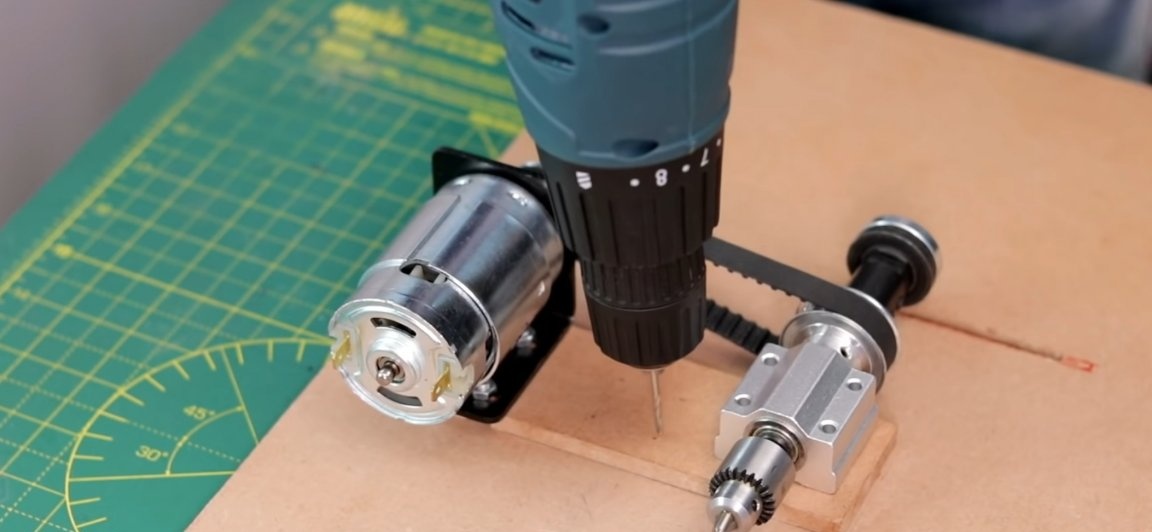
First you need to purchase a “KIT” kit from our Chinese friends. The set itself looks very high quality and “powerful”, and even in the event of any breakdown they always have separate elements. The kit itself includes the main part, namely the shaft rotating on two bearings, the driven gear is mounted on the shaft, on which the belt will sit, and also on the shaft there is a special mount for cutting discs or for chucks. Also included separately is a belt and pinion gear worn on the shaft of your electric motor. It is worth noting that, in general, this set is very interesting and useful. From it you can assemble a large number of various useful tools, everything is limited by your imagination.

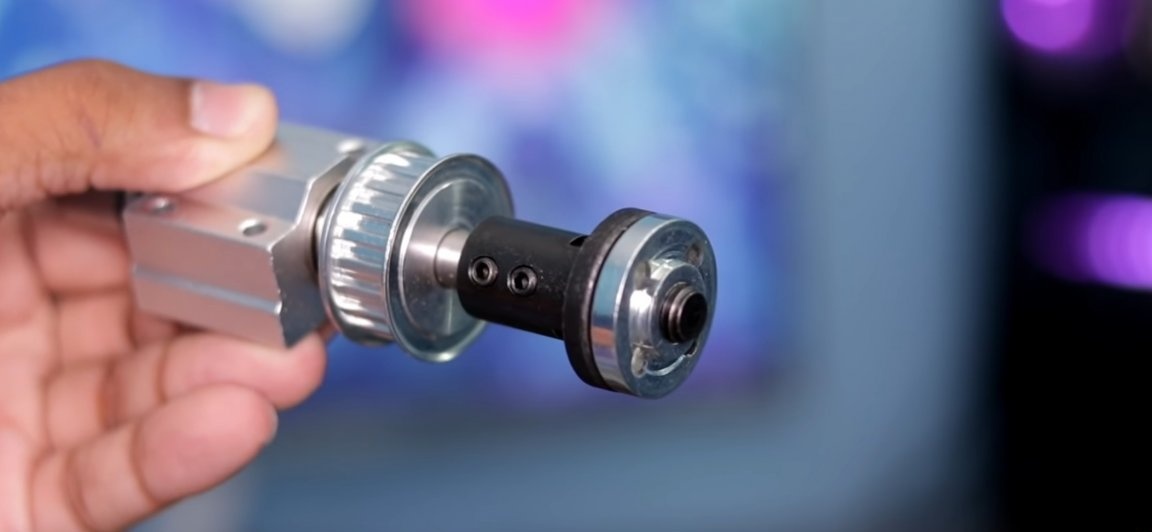
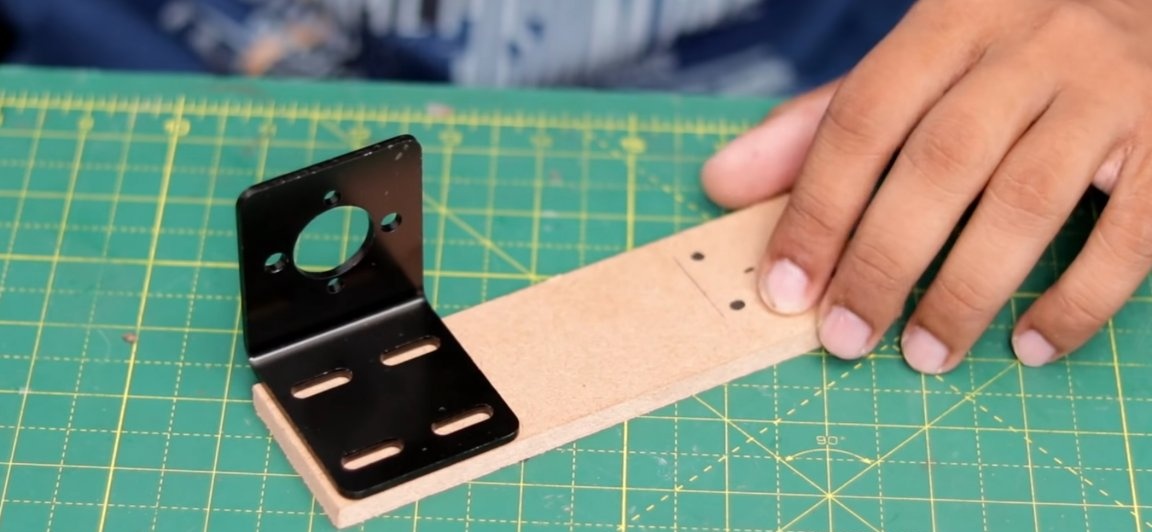
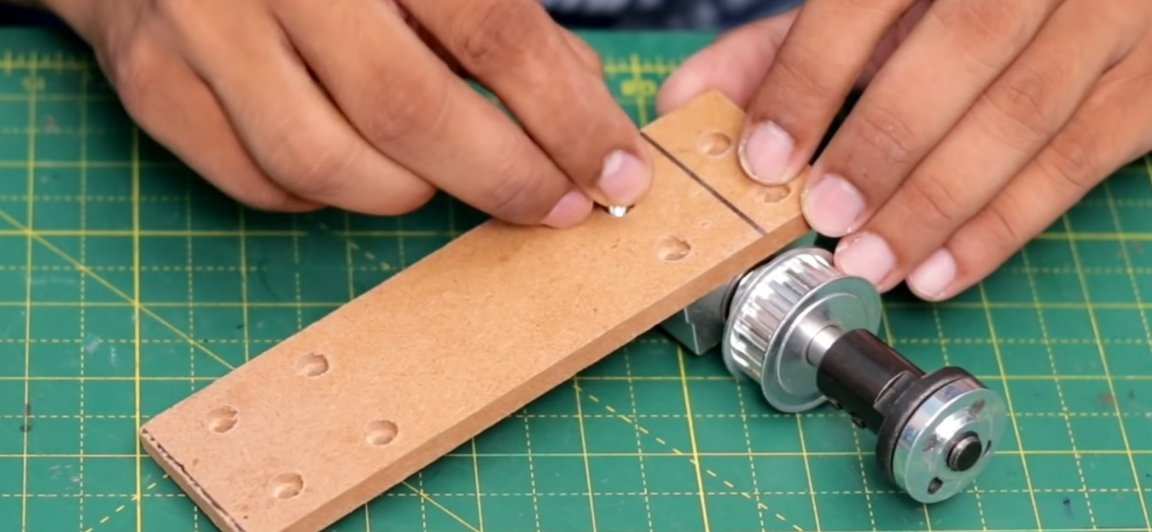
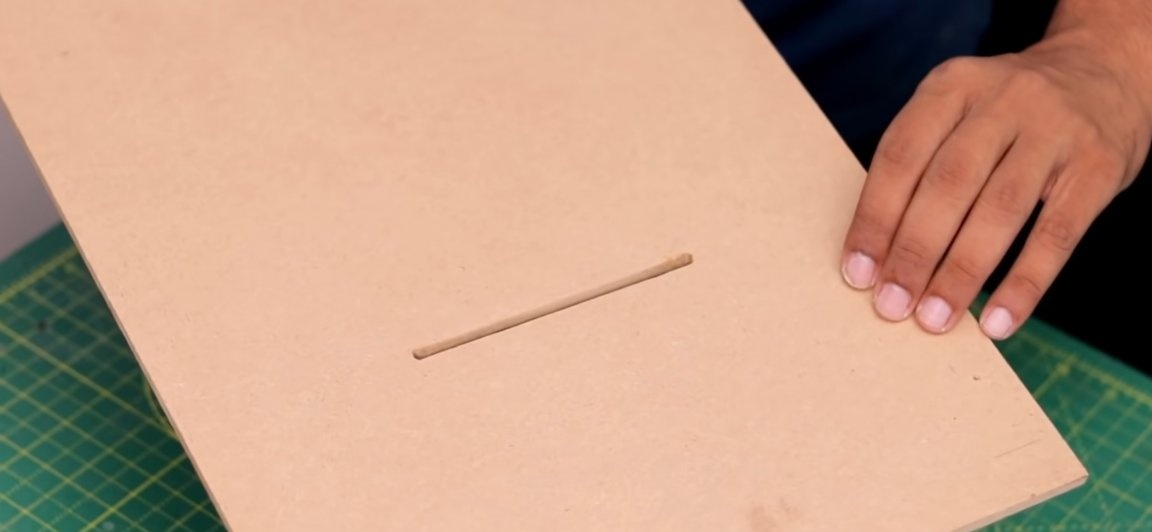
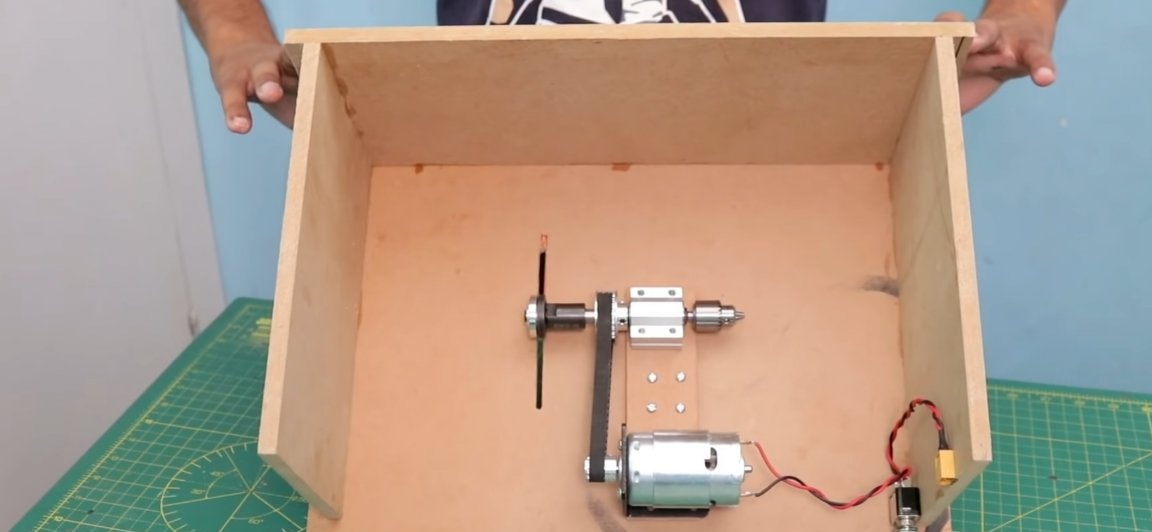
Well, let's continue.Further, from a piece of lumber, for example, from an MDF panel, as the author did, you need to make the so-called basis, on which all homemade goods will in turn be assembled (see photo below). This should not be a large rectangle, on which, without problems, you can place the rotating shaft and motor mount for the electric motor, in parallel with respect to each other.
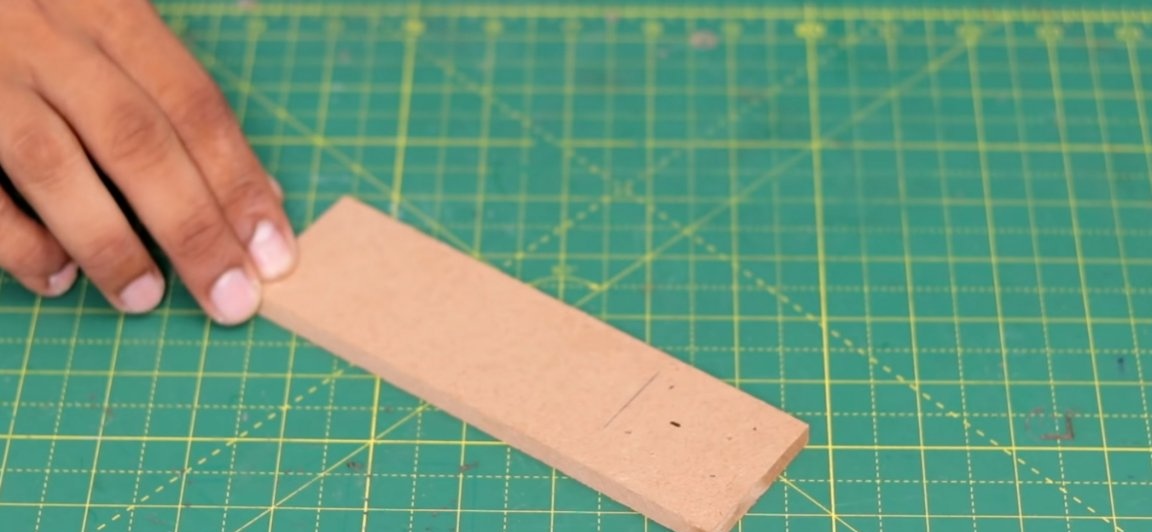
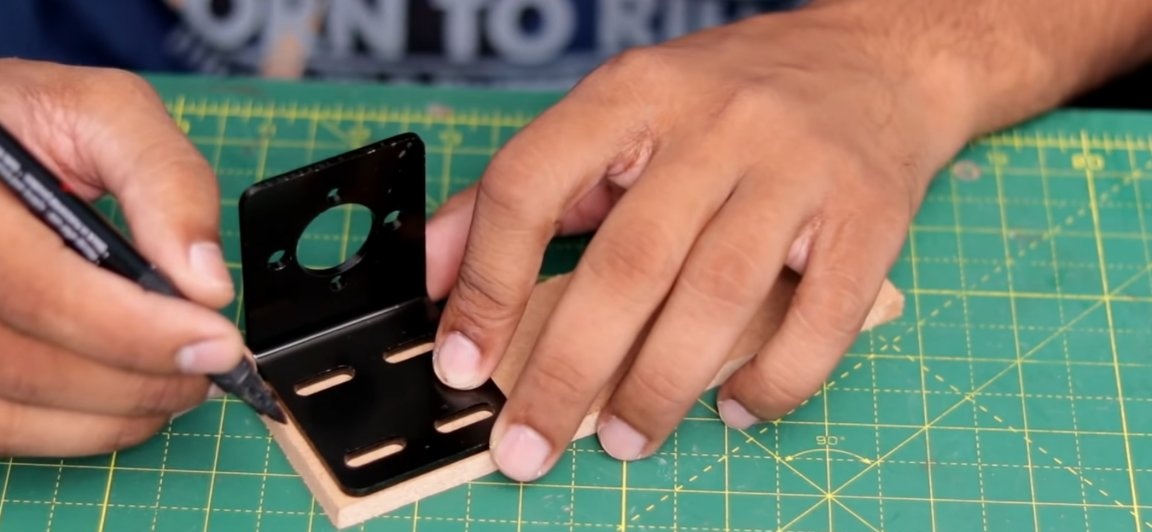
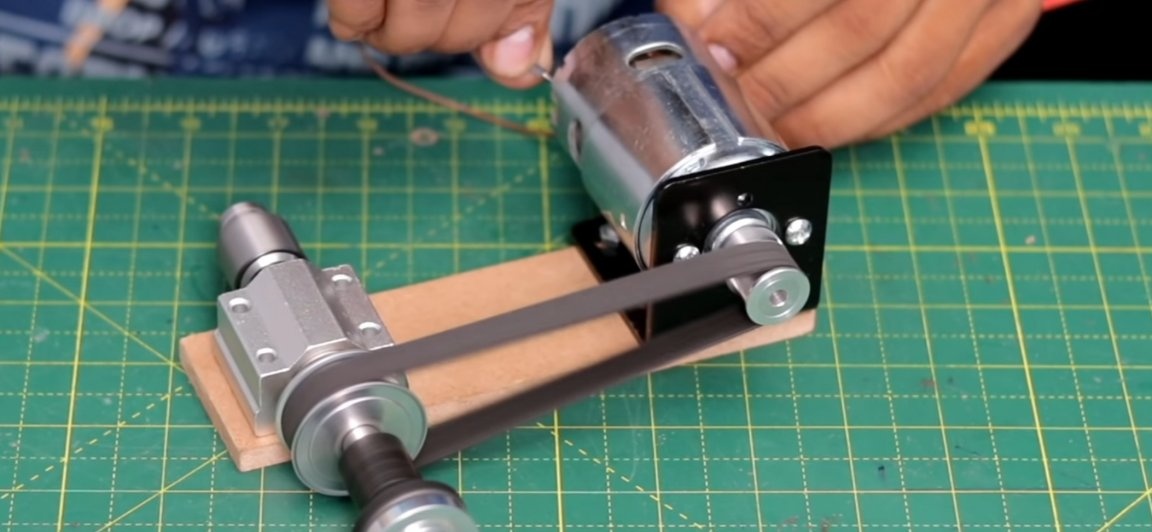
Having cut a rectangle that is suitable in size from the MDF panel, you should fix the elements on it. To do this, simply take the above-mentioned elements and place them on the MDF panel so that they are parallel to each other (see photo). If they are not installed in parallel, then the efficiency will decrease and the belt will quickly wear out. True, having positioned the elements, we mark the fixing holes with a marker.
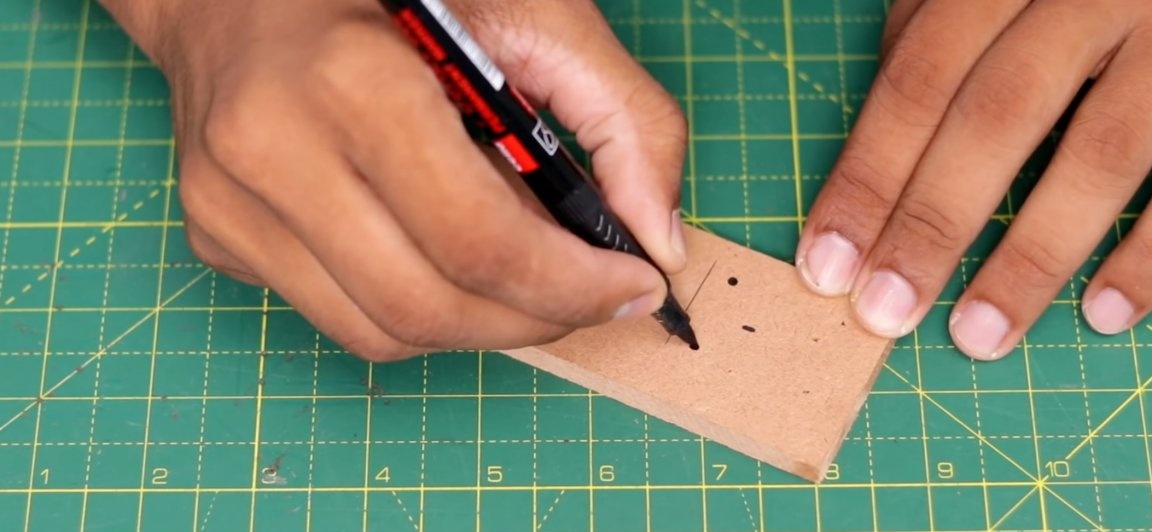

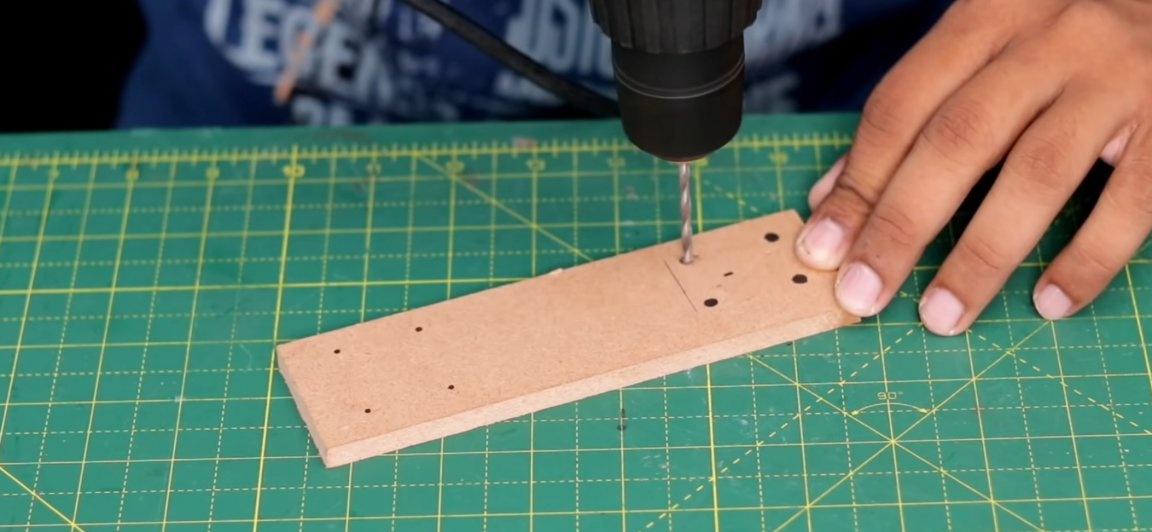
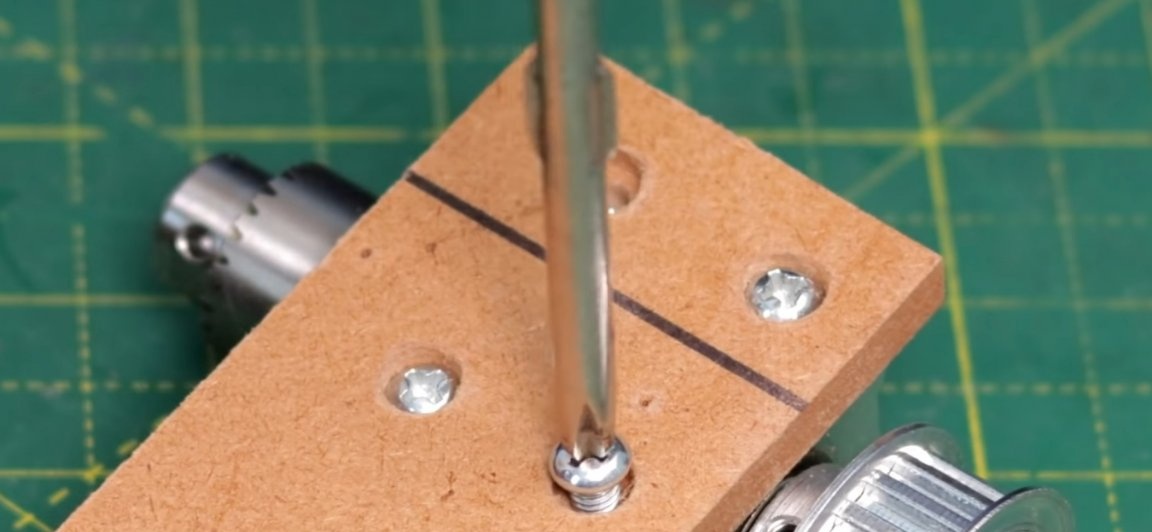
Then, using a drill and a drill, we drill through the mounting holes, the diameter of the holes should be slightly smaller than the diameter of the screws you selected, otherwise you will not be able to fix all the elements.
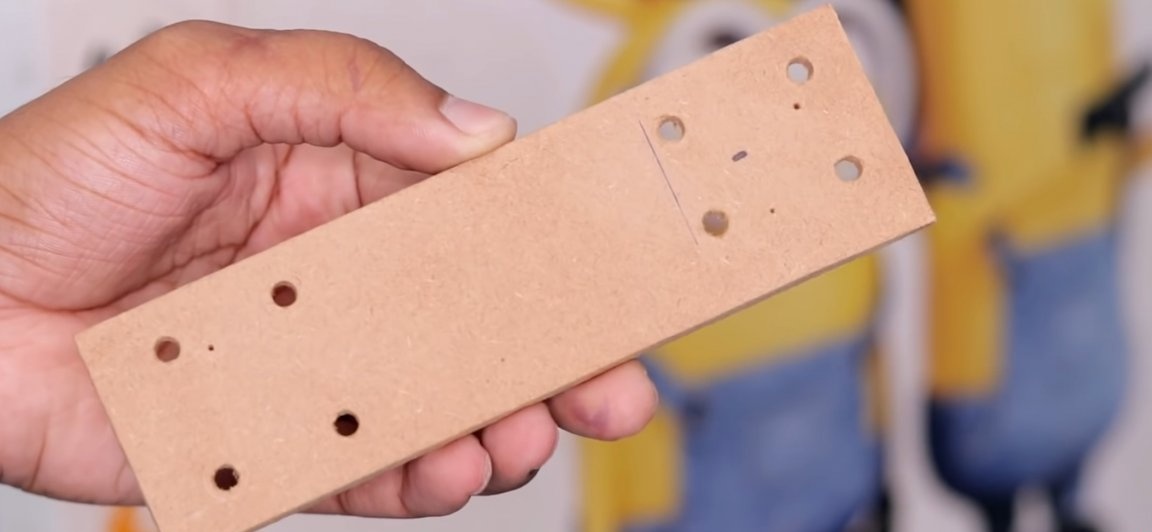
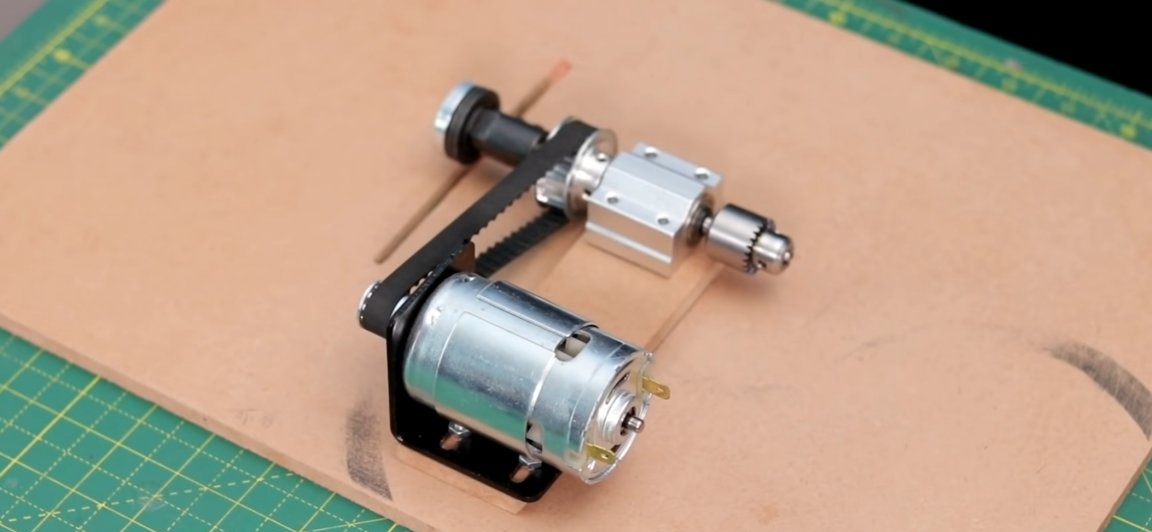
Having drilled the holes, we fix the Chinese shaft “tightly”. It is worth noting that the screws on which it is mounted should be “flush” to the MDF panel, so as not to interfere with further fixing the unit to the table. And the motor mount of the electric motor should only be “baited” and not tightened with self-tapping screws, in order to further tighten the belt.
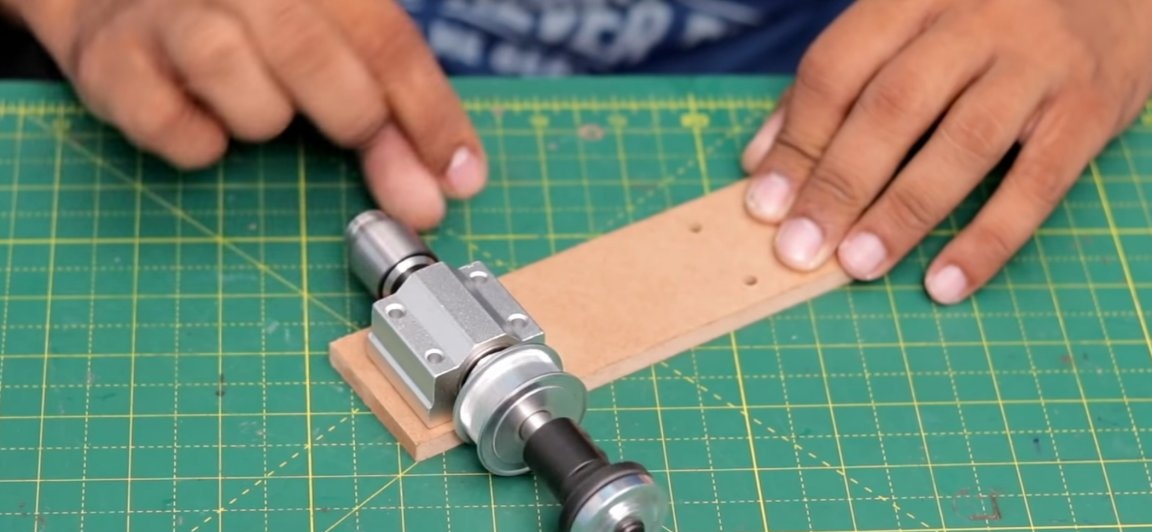
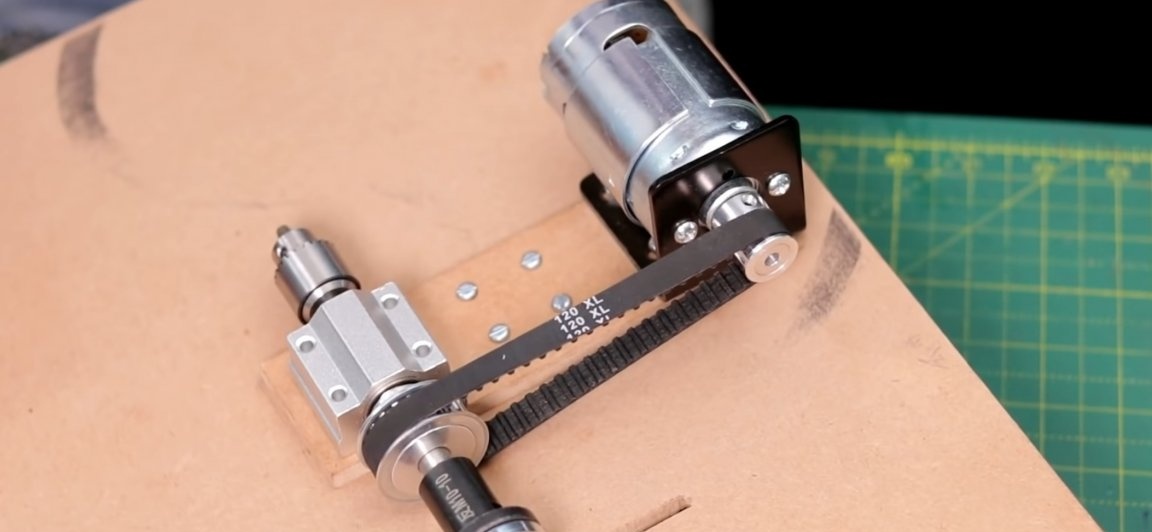
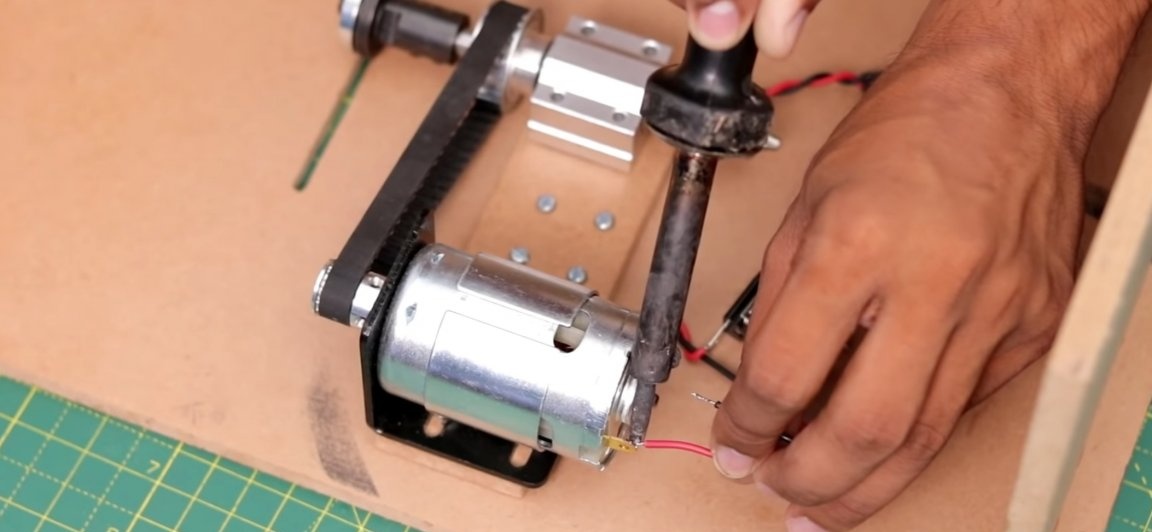
The next step is to install the electric motor on the mount using screws. We fasten the drive gear from the kit on the motor shaft by tightening the hex screw. We put the belt on the gears, and make a stretch. The belt should not be loosened, it should be under not much tension. Then finally fix the engine mount.
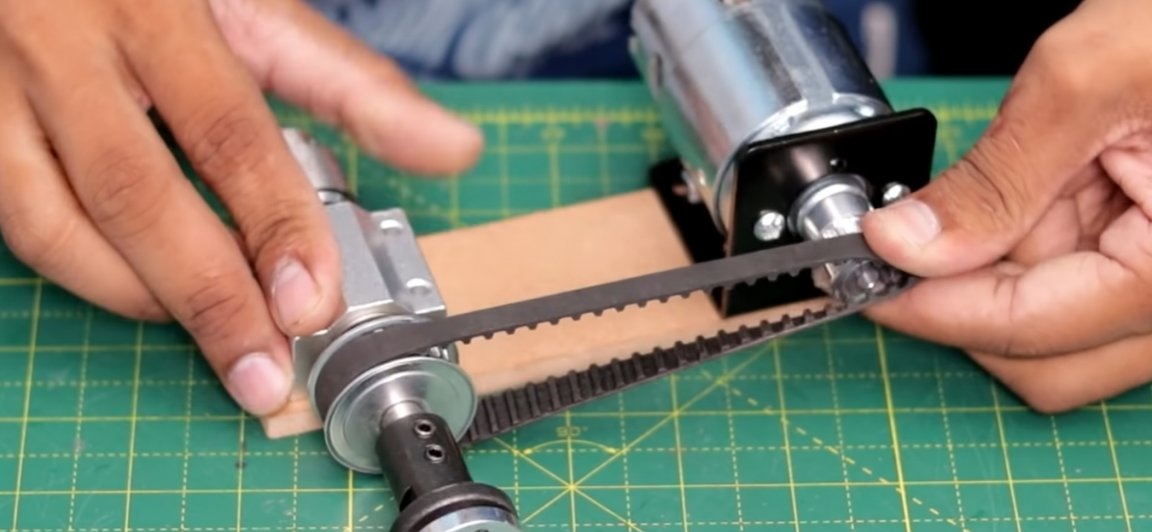
Then we check the operability of the structure by connecting the power to the electric motor. It is worth paying attention to the fact that the belt should not “inflate”.
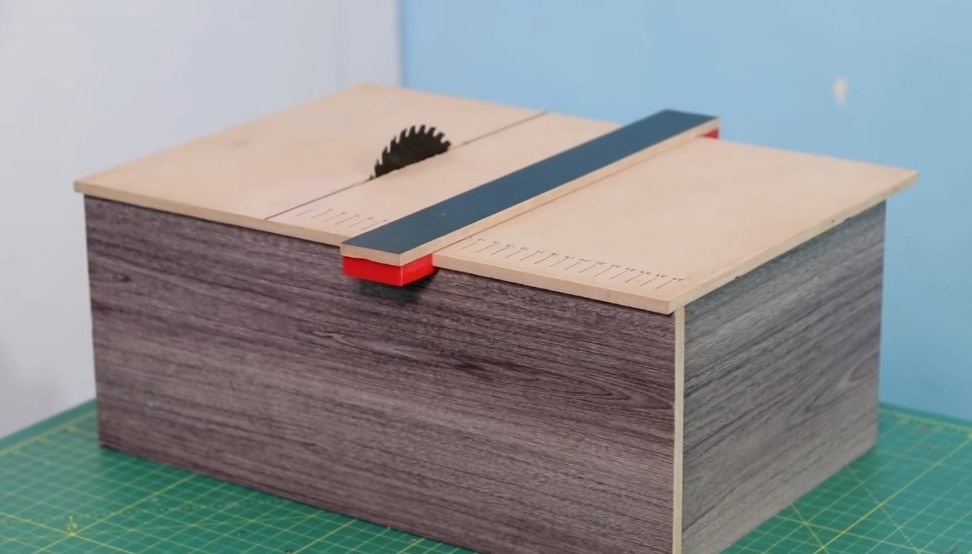
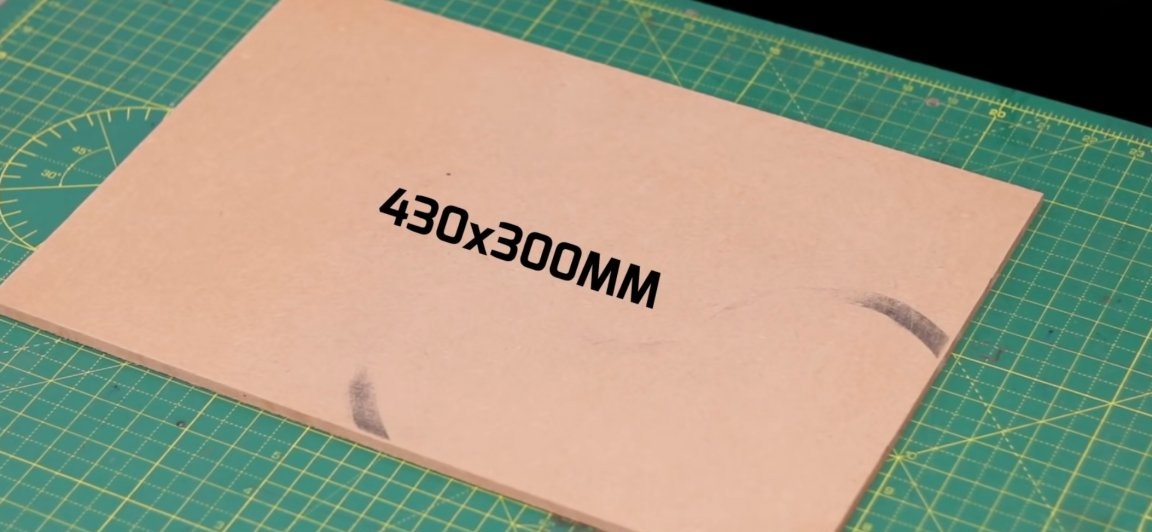
We proceed to the assembly of the table for the circular saw itself. To begin with, you should make the countertop itself. For a countertop, you can take an MDF panel with an arbitrary size, it all depends on your needs and capabilities. The author of the homemade product considered the size of the countertop 430mm by 400mm the best option for himself.
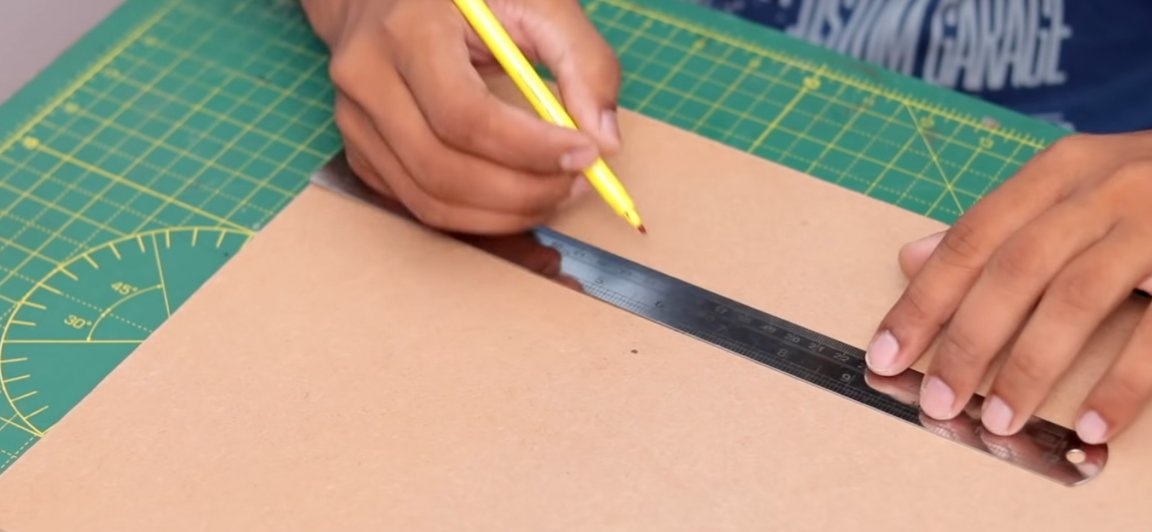
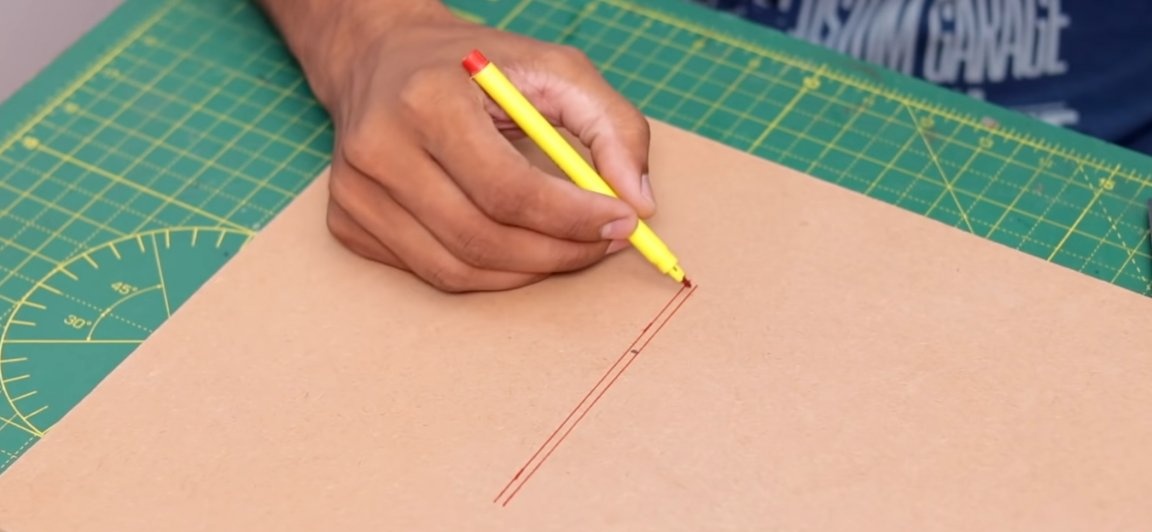
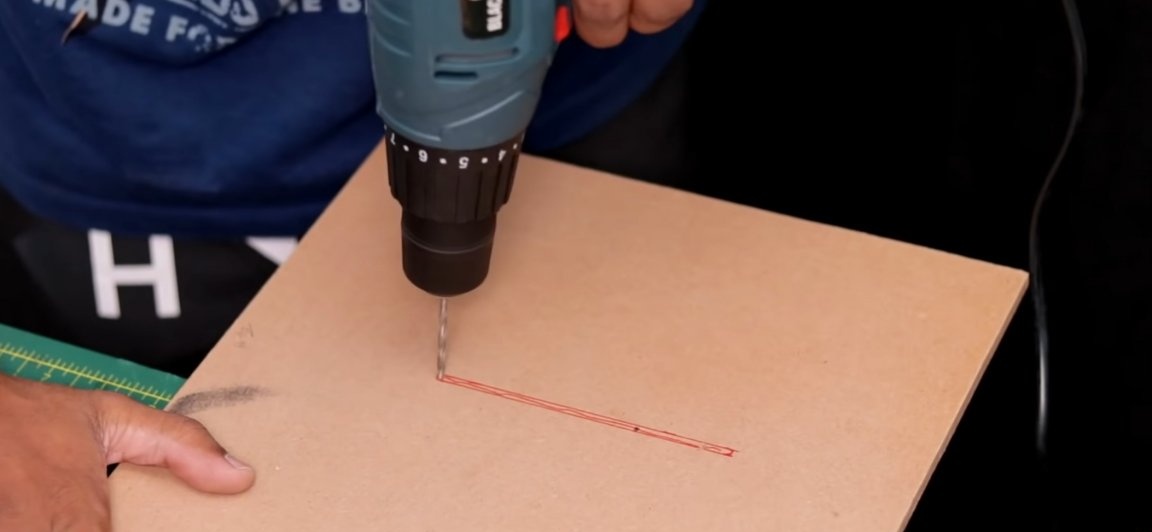
After cutting the countertop, a rectangular hole for the cutting disc should be cut out in it. The hole itself should be located just like in the photo below. In order to cut a hole for a cutting disc, you should take a ruler and a marker to mark the location of the hole itself. After that, take a drill of a suitable diameter and use a drill to drill a hole as the author of this homemade product did.

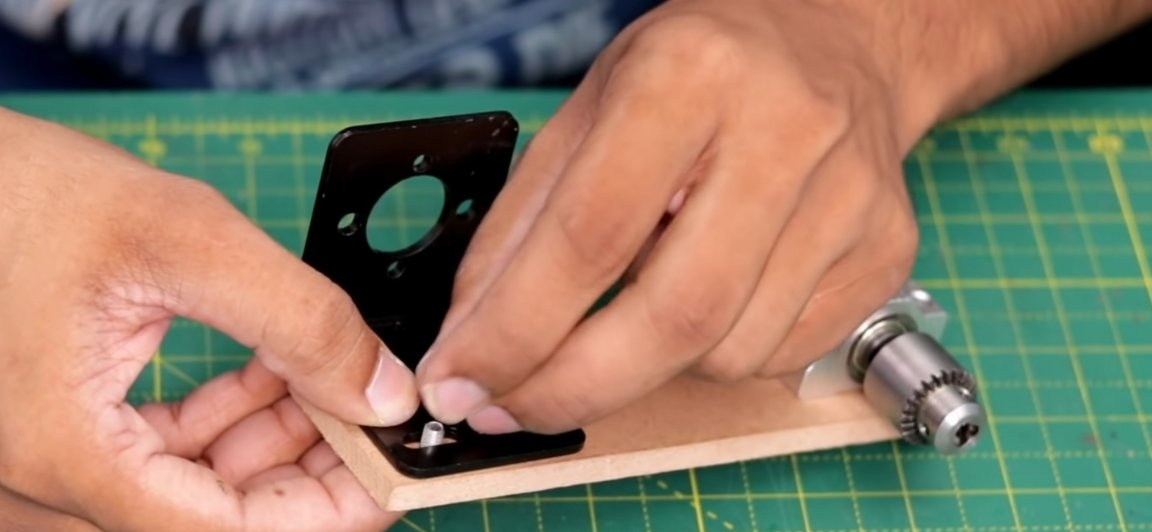
Having drilled the holes for the disk, we will install the first assembled construction from the Chinese KIT set on the countertop. To begin with, we apply a “motor frame” to the countertop so that the mounted cutting disc is exactly in the center of the hole in the countertop. Then, in the place of attachment of the motor mount, we make holes with a small drill for more convenient screwing in of screws, and actually screw the screws themselves.

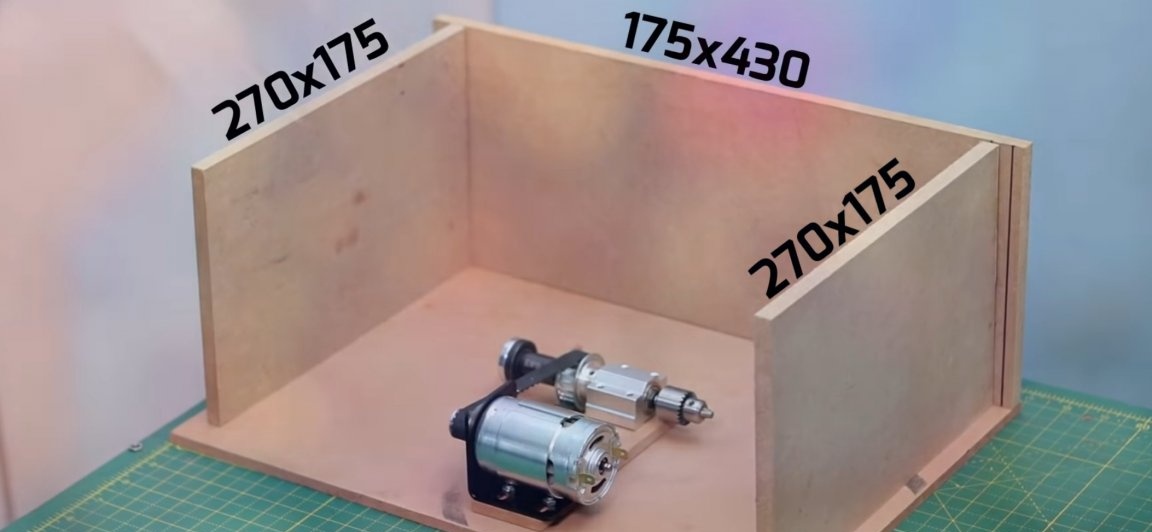
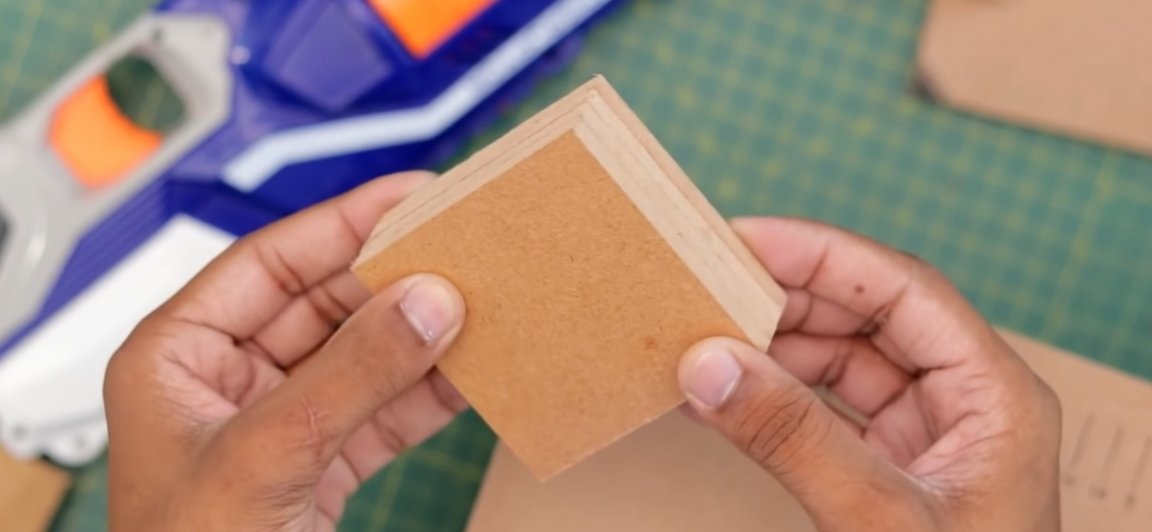
After which we assemble the table itself. And for this you will need the same MDF panel, from which two rectangles with dimensions of 270 by 175 mm and one rectangle with dimensions of 175 by 430 mm should be cut. We install and fix two identical rectangles (the author of the homemade product used carpentry glue as a fastener) along the edges of the table in parallel, relative to each other, at a distance of ~ 400 mm. It is worth noting that you can make the table legs as comfortable as you want, the author used what was at hand
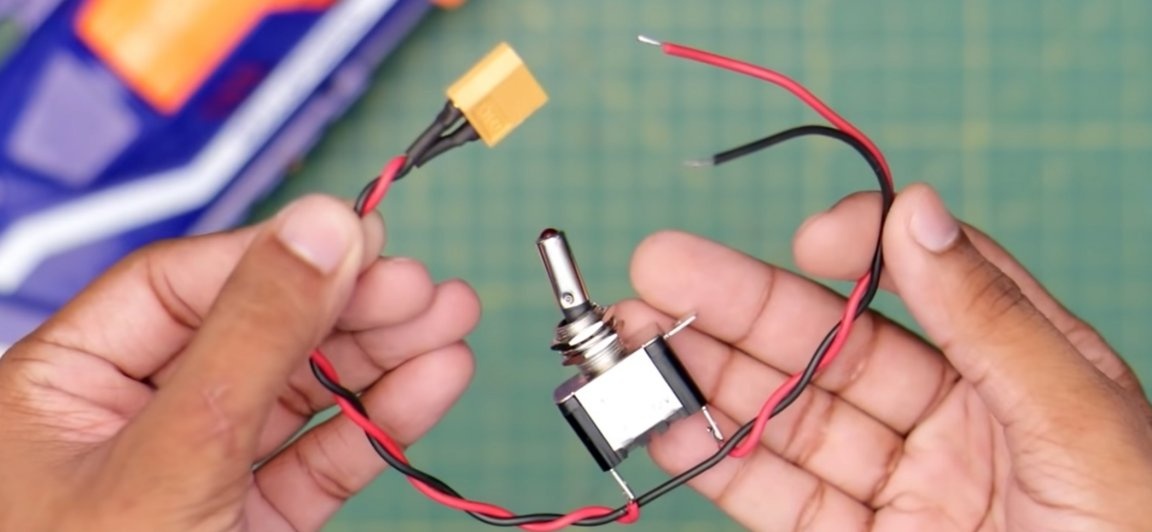
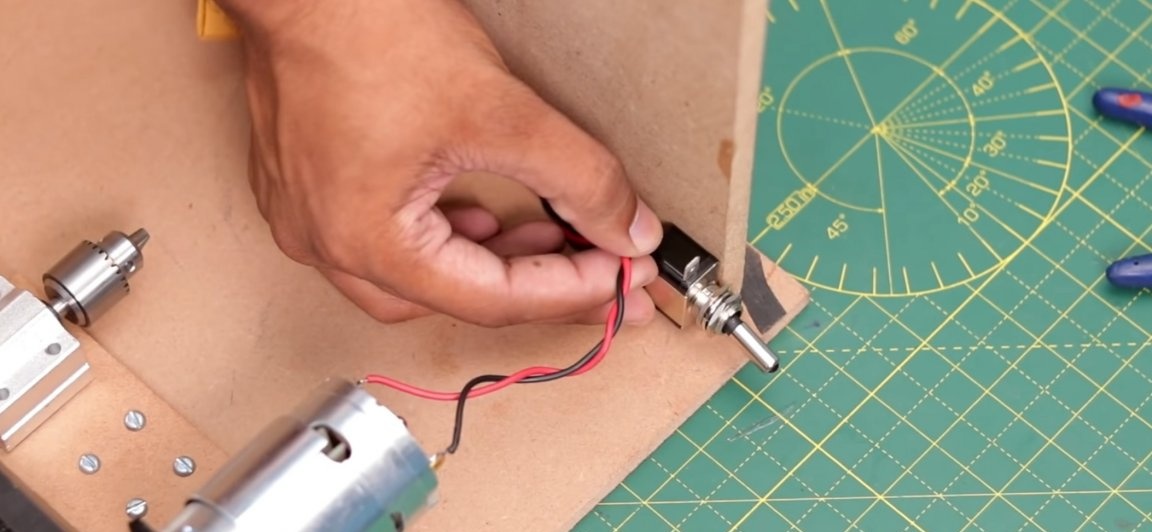
Next go to "e»Parts of homemade products. In fact, the electronic part will consist of a simple circuit, namely: a switch, a power connector and a pair of wires. A 24V Li-po battery will be used as power, which makes home-made mobile and autonomous, but you can use some old power supply unit as a complete saving. We assemble the circuit from the switch and the connector and solder it to the contacts of the electric motor.


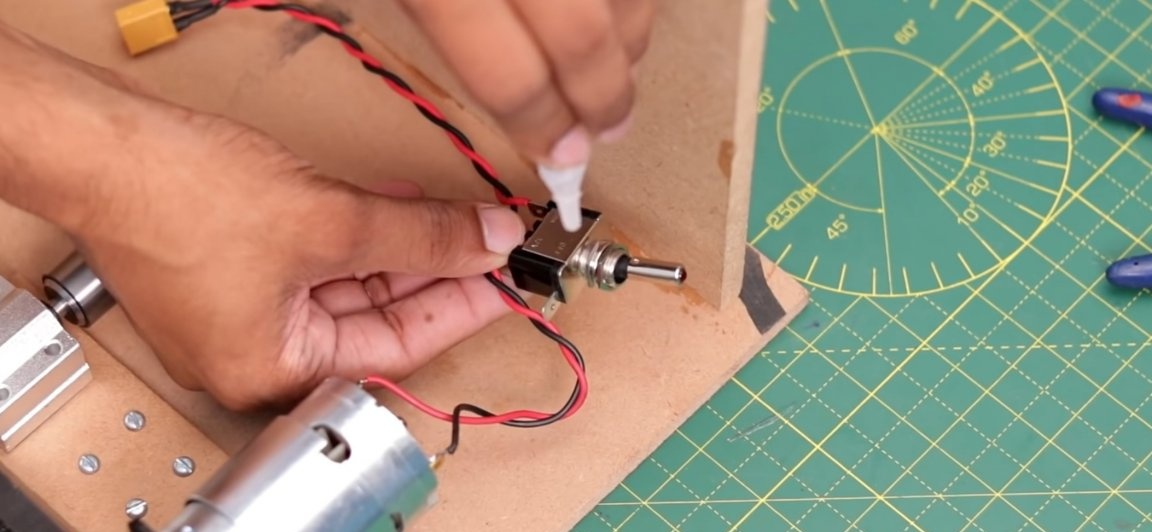
And the switch itself is glued with super glue to a place convenient for you.
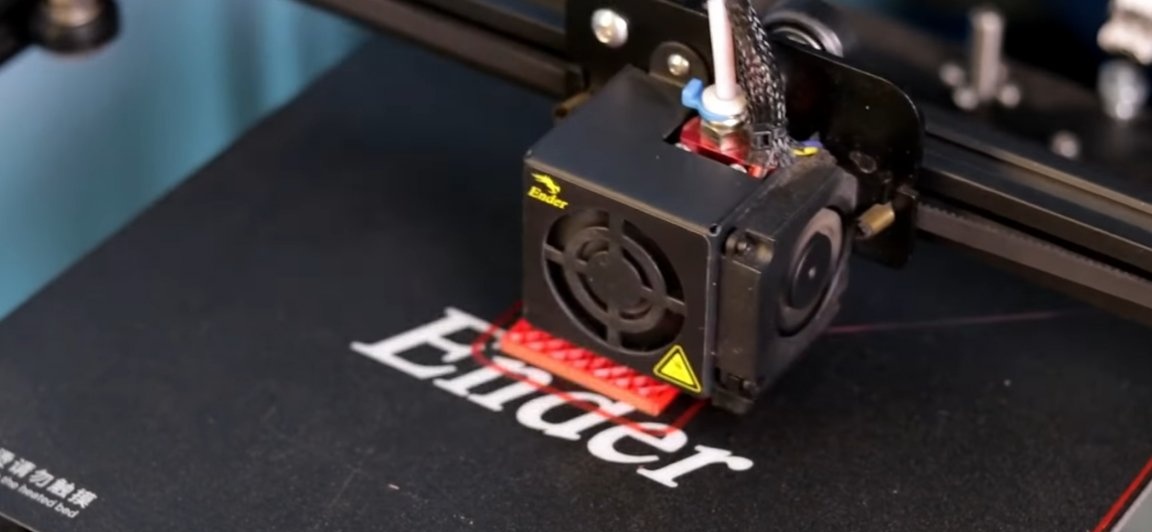
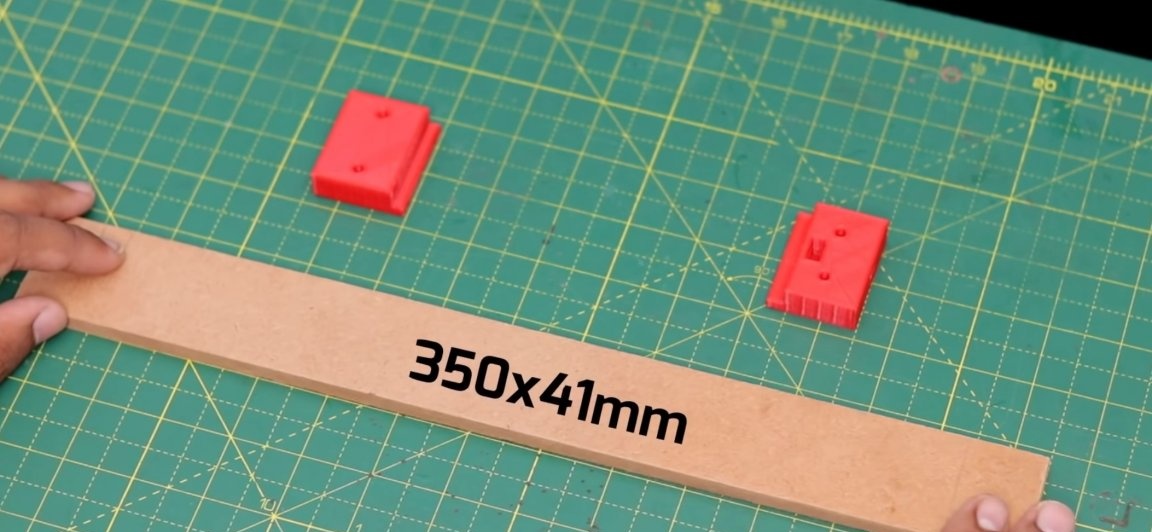
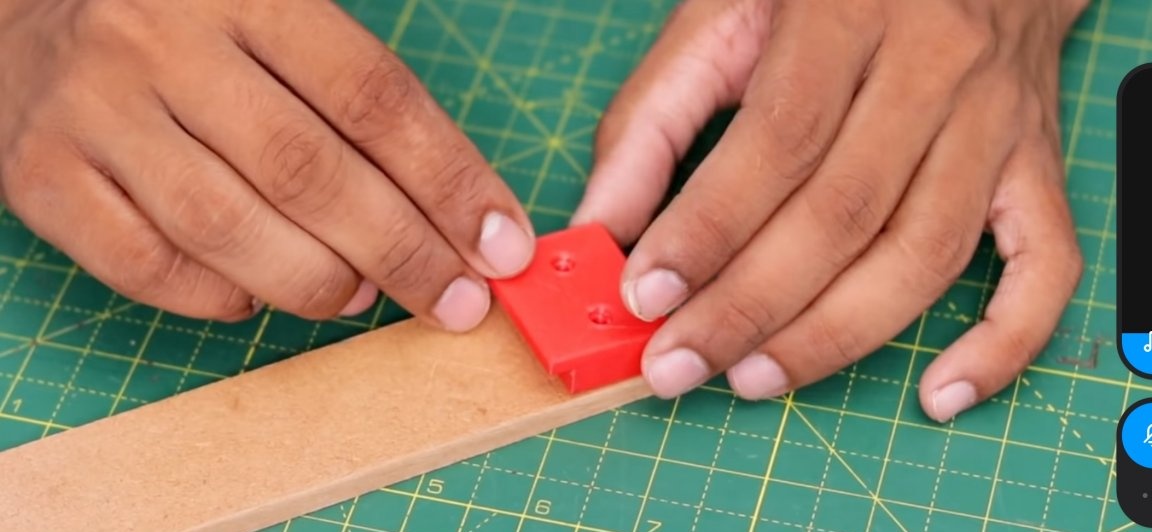
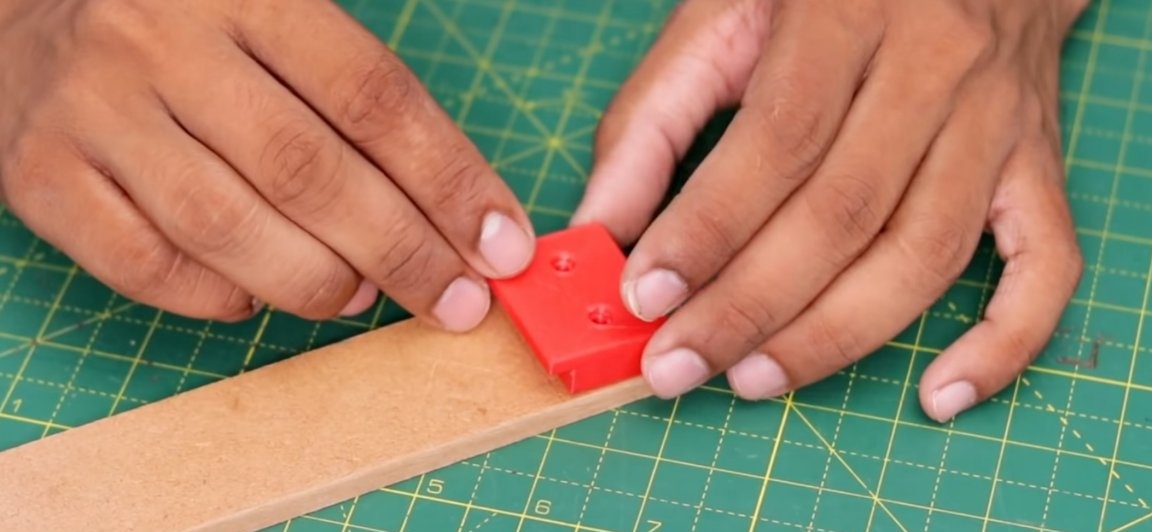
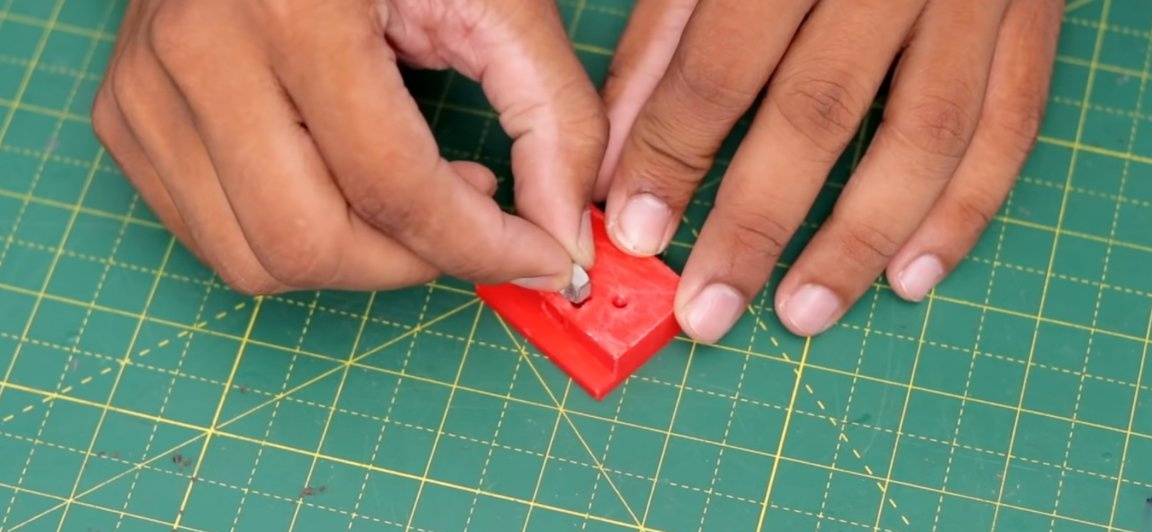
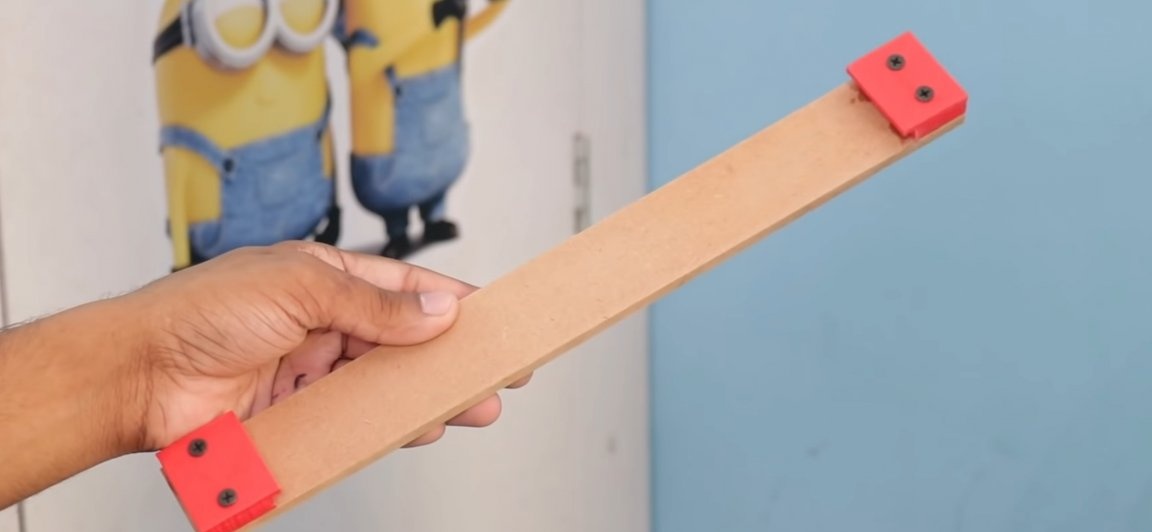
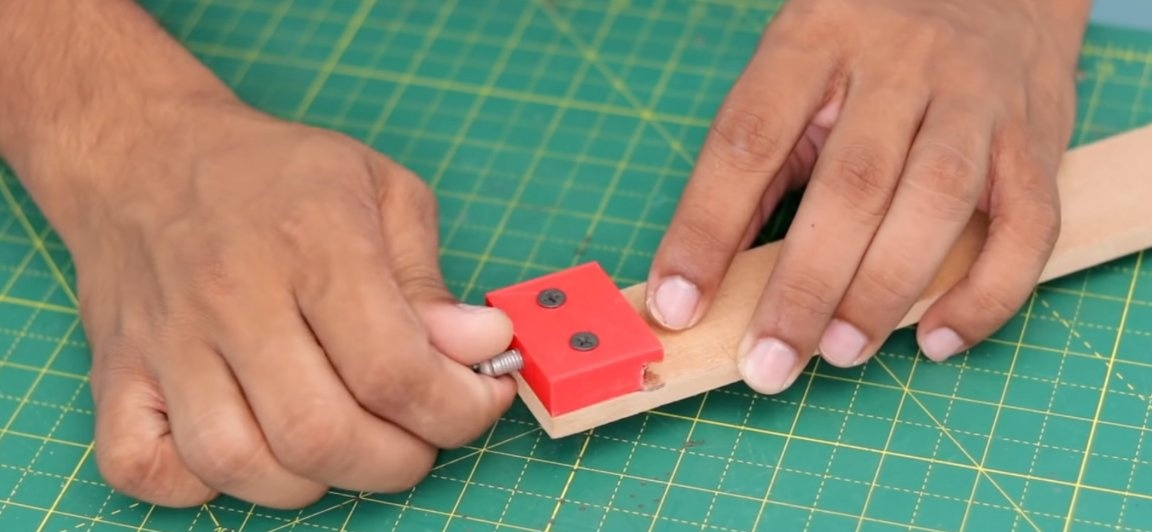
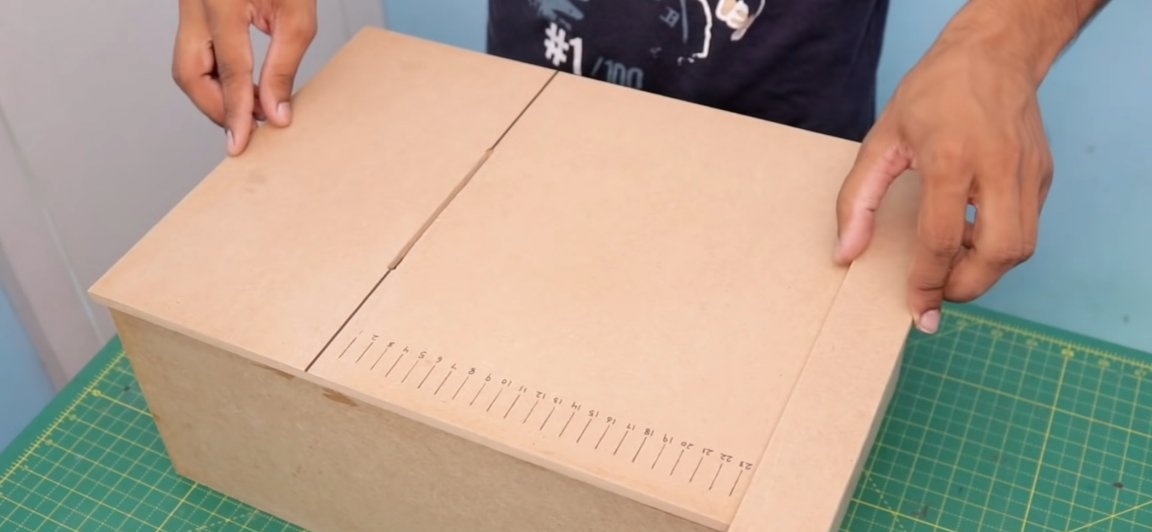
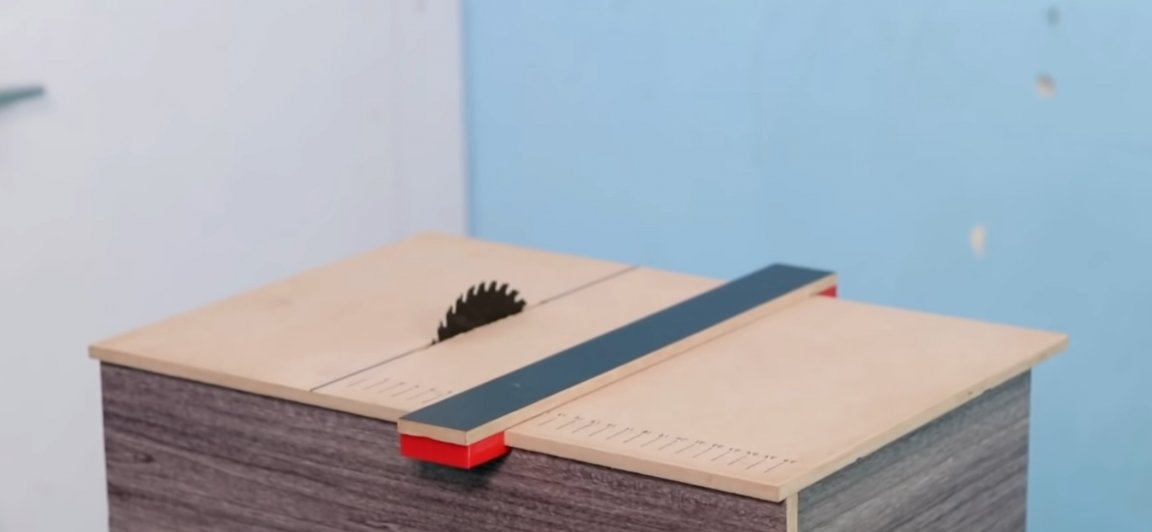
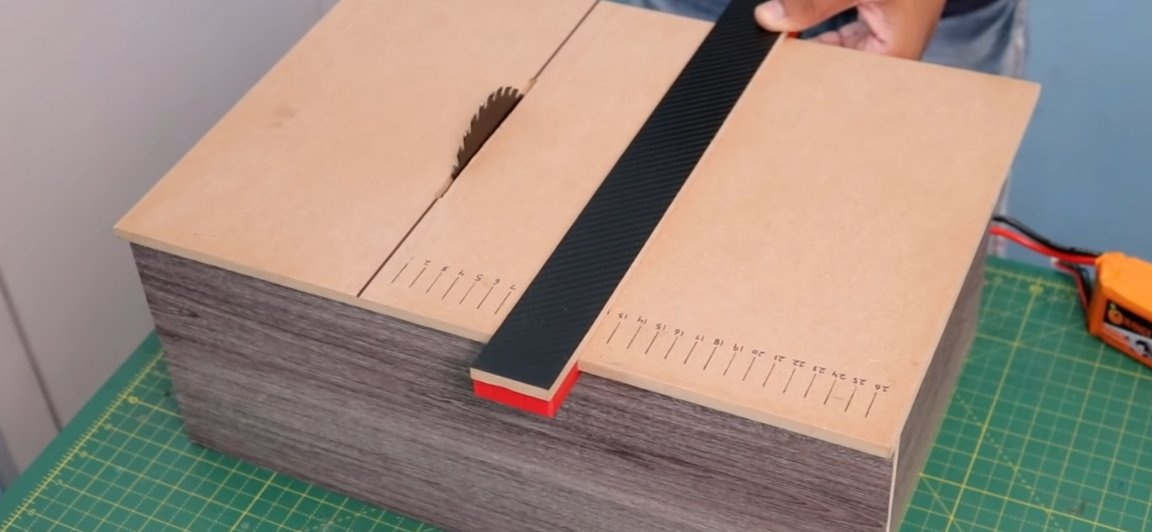
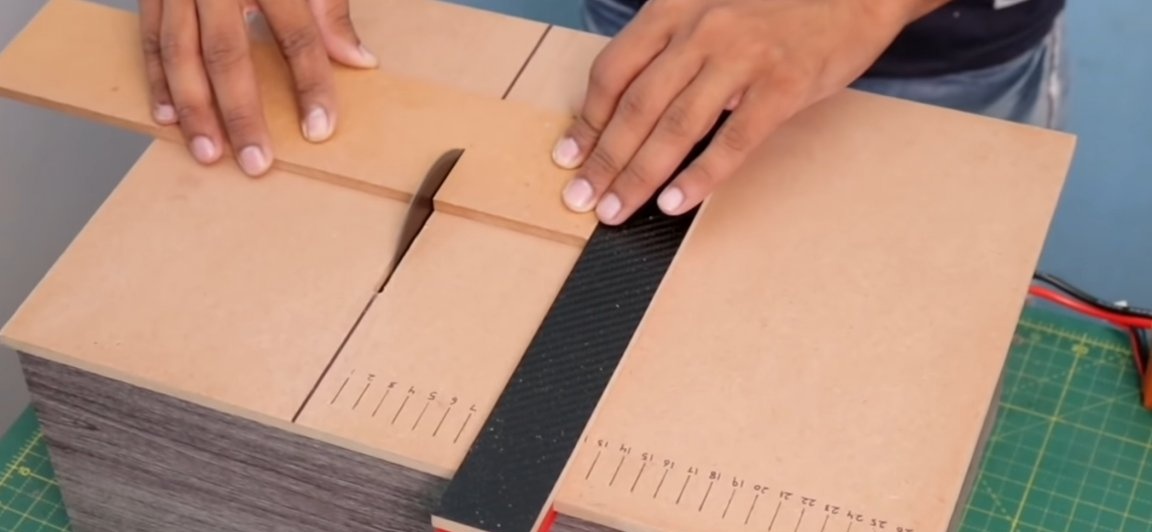
Further, for a more convenient operation of homemade work, it is worth making a guide.To do this, cut a rectangle slightly longer than the width of the table from a piece of MDF panel. And on its ends, on both sides make latches, for their manufacture the author used a 3D printer, but you can use the same MDF panel (see photo).
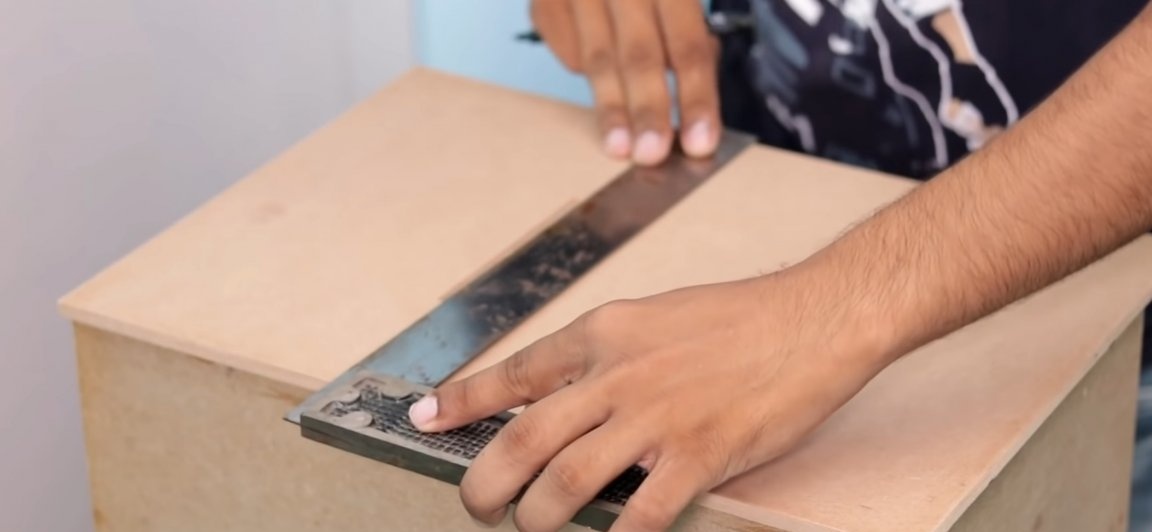
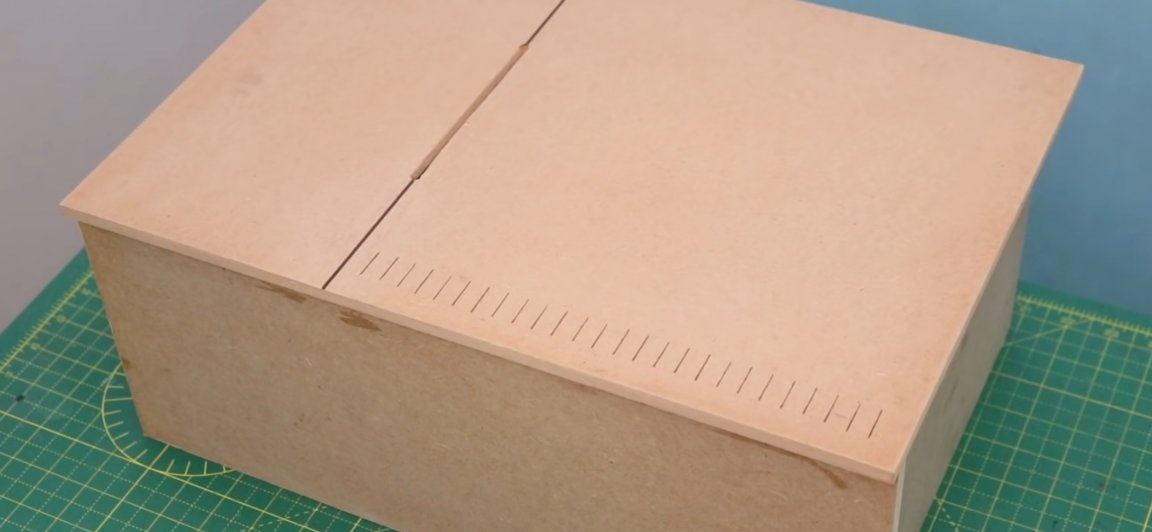
But for even more comfortable use of homemade products, a coordinate ruler should be applied to its countertop.
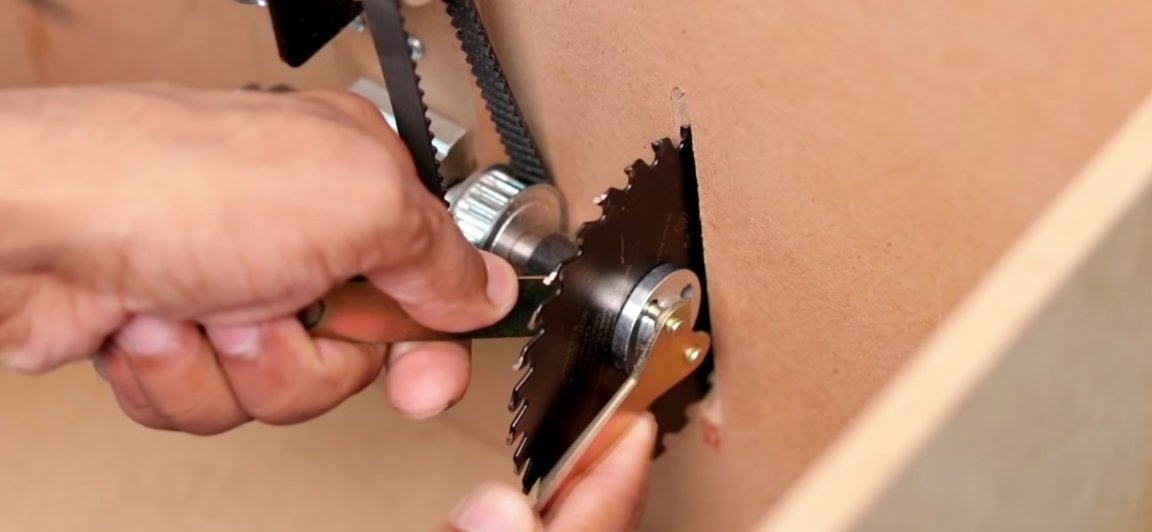
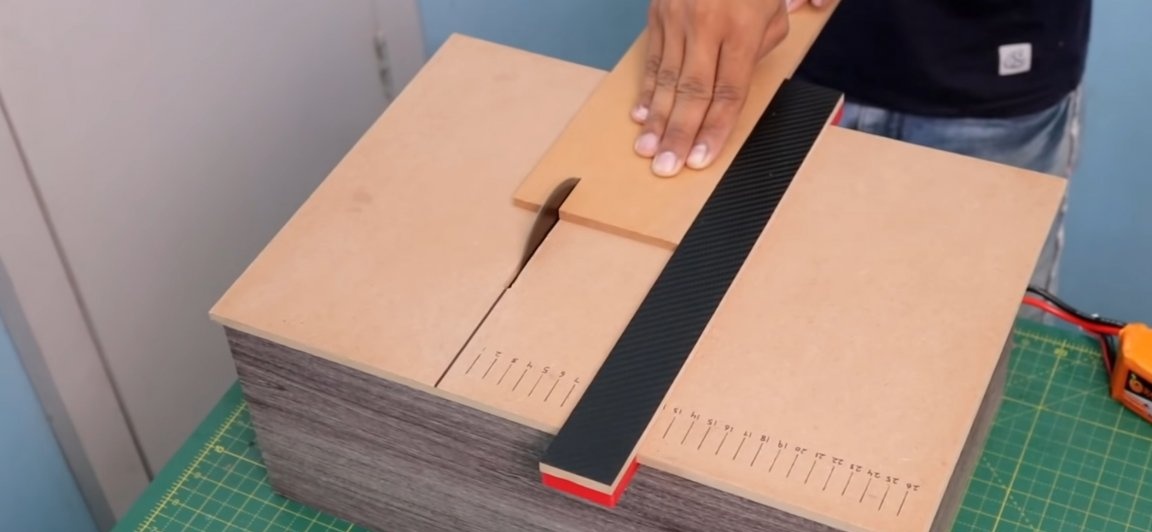
Well, that's all! We install the cutting disc in its place, securely securing it with the keys from the KIT kit. As a result, we got a very simple, low-cost and most importantly very useful for any homemade workshop.

You can purchase accessories that can be useful for assembling this homemade product here:
Kit kit
Electric motor
Tumbler switch
Connectors
Here is a video of the author of the homemade:
Well, thank you all for your attention and good luck in future projects, friends!