
From the article below you will learn how to do it yourself make a movable workbench without wheels. The following description and instructions are taken from the Matthias Wandel YouTube channel.
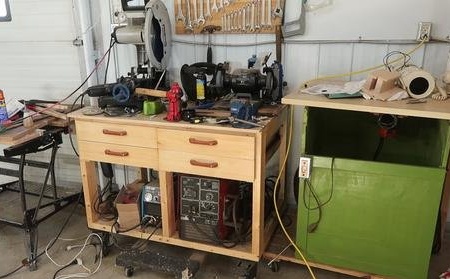
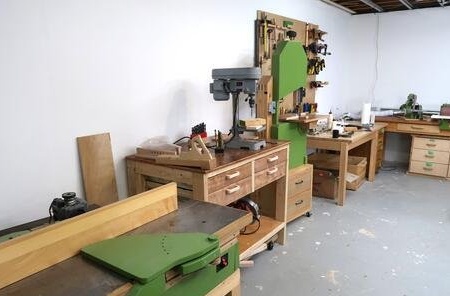
The master built this workbench two years ago for metal processing, but there is always a mess going on.
Therefore, he decided to build another workbench of the same size, but it should also be easily movable.
Necessary materials and tools used by the master:
- boards measuring 50x100 mm;
- roulette;
- square;
- a pencil;
- planing machine;
- stationary milling cutter;
- desktop circular saw;
- horizontal boring machine;
- mallet;
- a planer;
- hand circular saw (parquet);
- manual belt sander;
- PVA carpentry glue;
- screwdriver;
- self-tapping screws;
- varnish;
But instead of having a workbench on wheels, the master decided that it was better to make it so that it was easy to move with the help of carts that will be placed under the workbench. Thus, the legs of the workbench will be above the surface during movement, and firmly stand on the ground when stopped. How it will be implemented - read on.
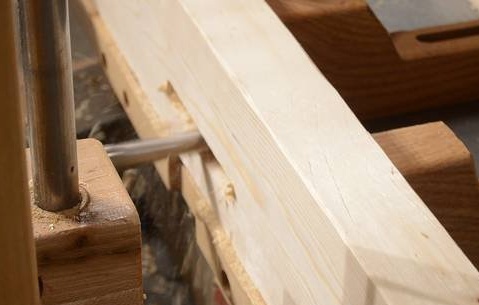
For the manufacture of a workbench, the master uses ordinary boards 50x100 mm. As usual, he started by milling and planing the material, 0.5-1 mm on each side, to make the wood smoother, more precise and more attractive.

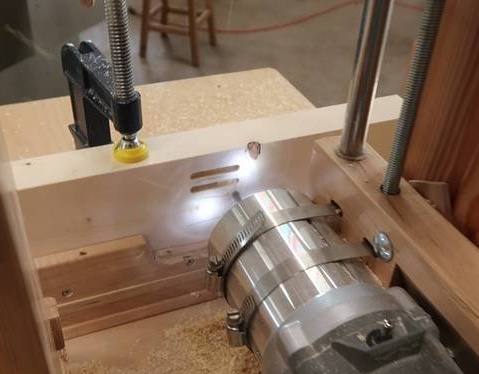
6 mm stud connection in the corners makes this workbench very rigid. But at the very bottom of the legs, a mortise connection to the tree is required, and not at the very end of the legs. The stationary milling cutter comes to the aid of the master.
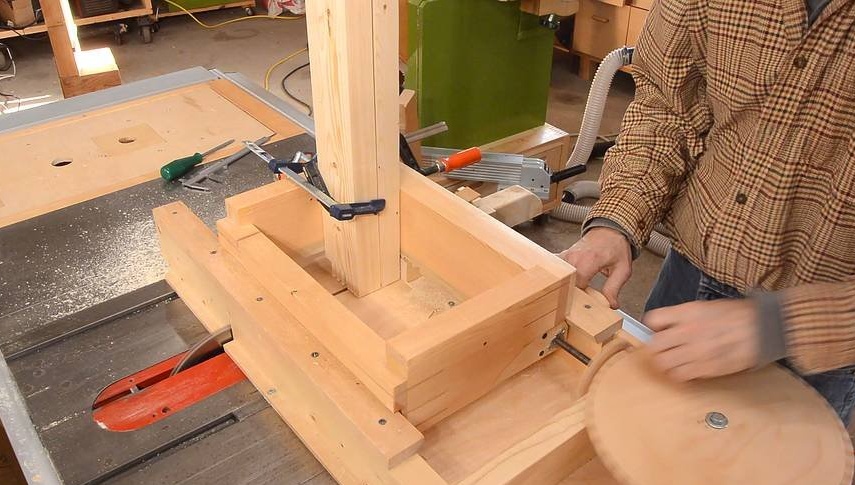
The master cut out another part of the joint with a screw clamp fixtures (homemade template) in advance.
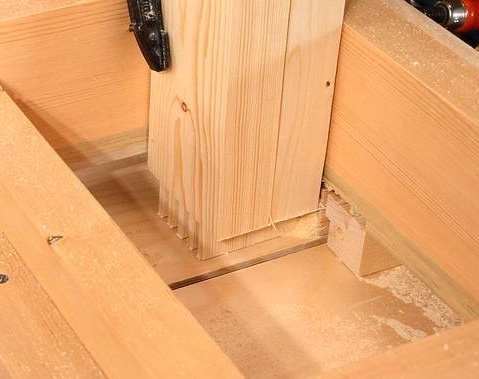
Check fit. In fact, the master was going to make six spikes, but accidentally made an insert in the middle and had to make an odd number of spikes, as there was simply not enough space for seven grooves.
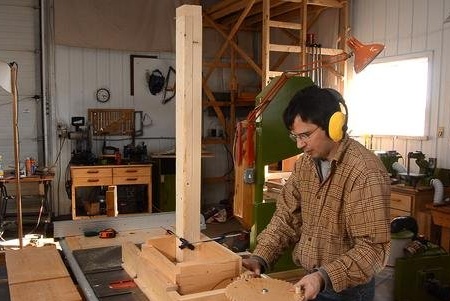
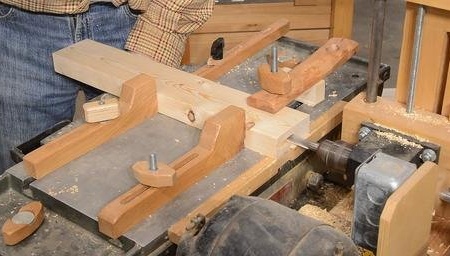
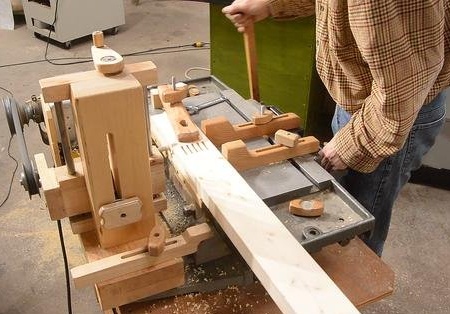
Then the master cuts the stud joint at the ends of the long parts. The strong box-type hinged equipment helps him a lot in this, allowing him to place two boards 50x100 mm in size, each 1.1 meters long, in the chassis.
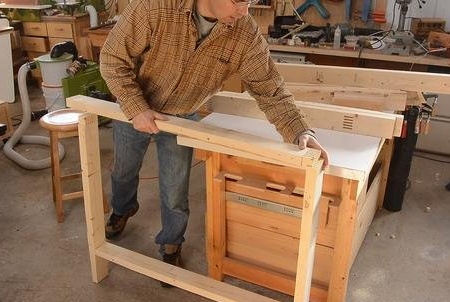
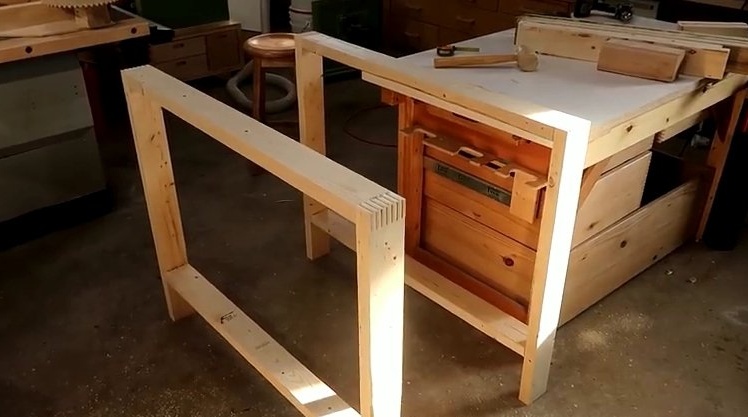
Dry installation of one of the frames.
Then you need to connect the frames together. For this, the master uses the so-called "floating tires" with a thickness of 12 mm. In these tires, he made grooves on a horizontal boring machine.
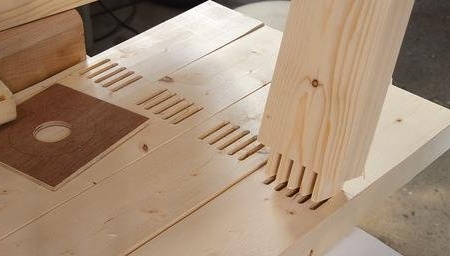
Cutting grooves in the details of the front and rear frames.
And a few more spikes on the boards going up and down.
Checking the fit of the grooves and spikes made.
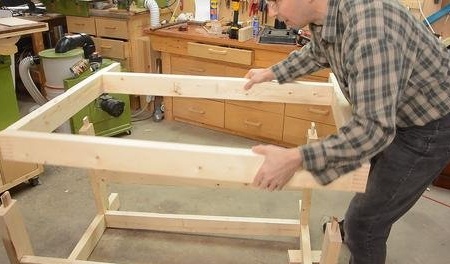
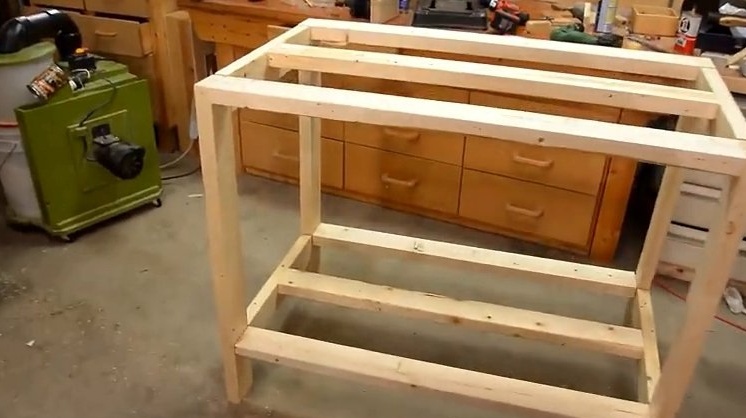
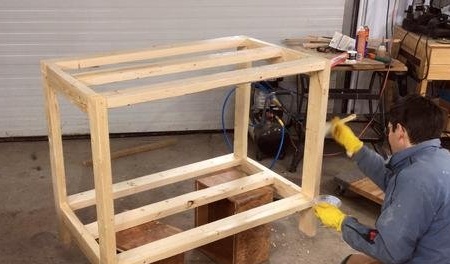
Then the master assembles the entire frame of the workbench. It is always nice to assemble carpentry for the first time without glue, so that the product is firmly held.
“Floating tires” were about 3 mm longer, so the master shortened them after trying on.
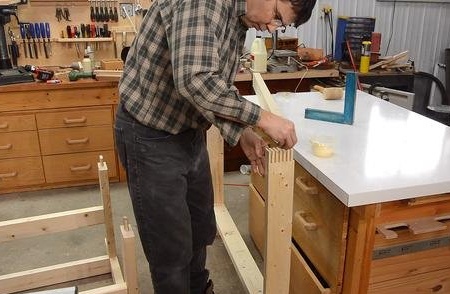
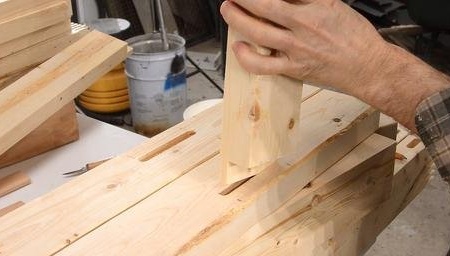
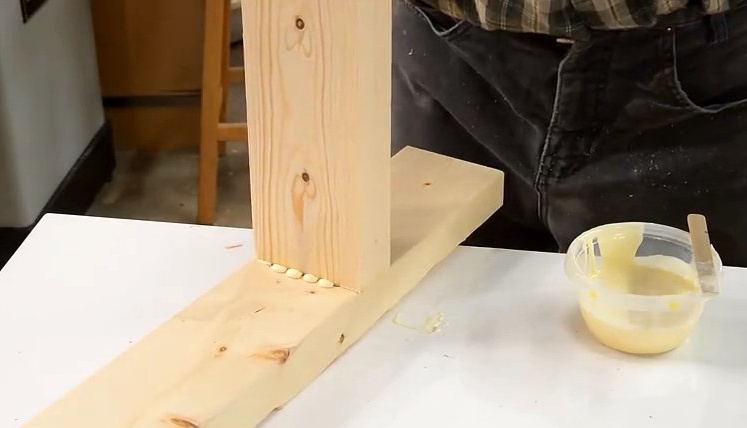
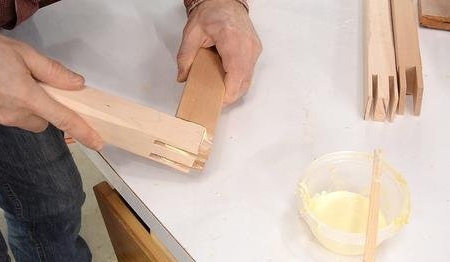
Then the master dismantled the workbench in parts and assembled it using glue. For sizing, he uses a thin wooden strip to apply glue to the stud joint.
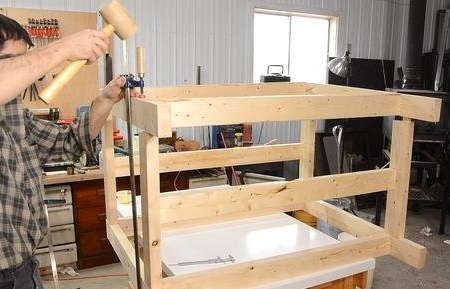
Final landing of the upper level of the workbench. Have to tap a little mallet.
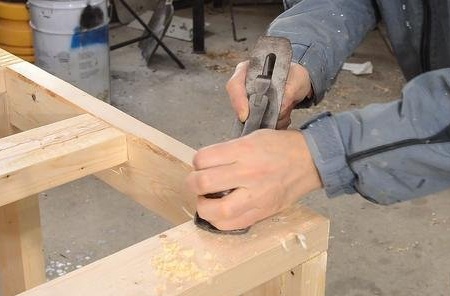
The master specially studs were cut a little longer than necessary. He cut off the surplus flush with a plane.
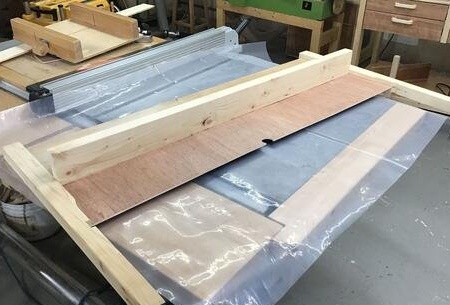
For the countertop, the master used moisture-resistant plywood 19 mm thick.
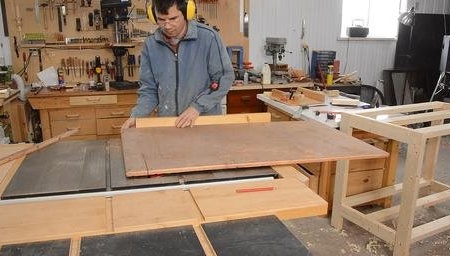
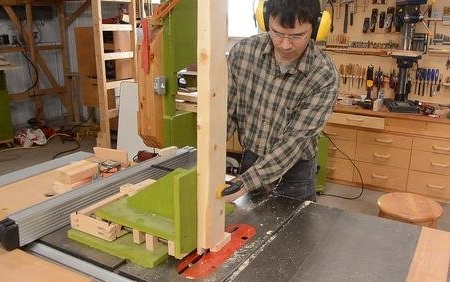
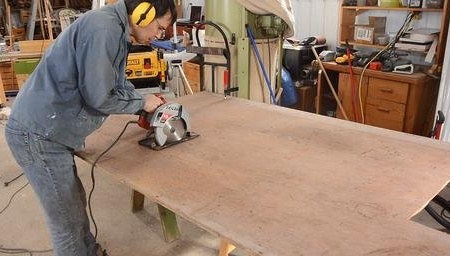
He cuts the plywood to its final size with home-made table saw sleds.

Then the master polishes the edges of the countertop, as well as slightly its upper part.
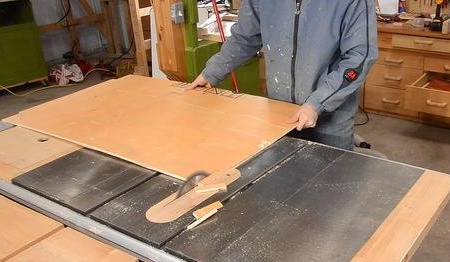
For the lower shelf, the master used very low quality plywood. I had to cut corners so that the shelf fit around the legs. This is one of the few cases when the master makes a free cut on a table saw. With such a large workpiece and a short stroke, you do not have to worry about recoil.
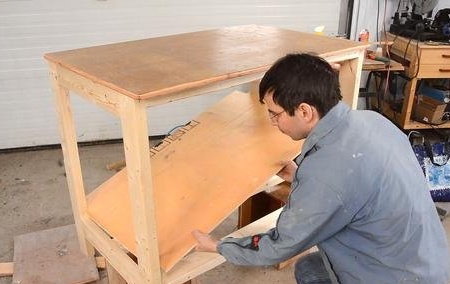
Check landing shelves.
After that, the master applied two layers of varnish. Even though this is just a desktop for the workshop.
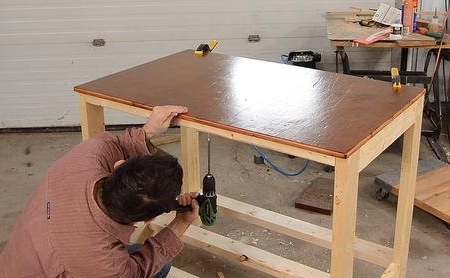

Then the master fastens the countertop on the screws from below.
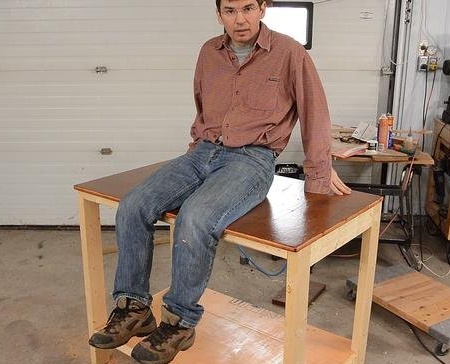
The advantage of this kind of joinery is that the workbench is very rigid. It has a slight twist in the boards of which the legs are made. Even if you sit on it, it does not quite correspond to the floor, sways back and forth a little.

It is also tough enough to hang on it from one end, even if there are no diagonal ties.
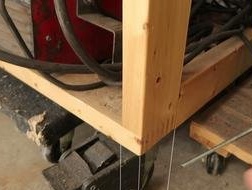
After completing the main desktop, it's time to make the lifting device. It consists of two L-shaped wooden blocks. The master carved a double groove / spike in them.
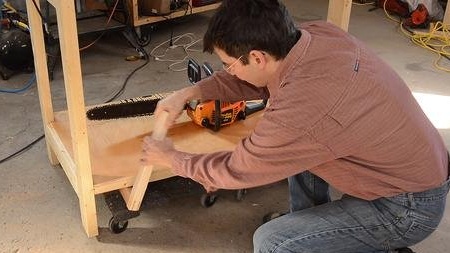
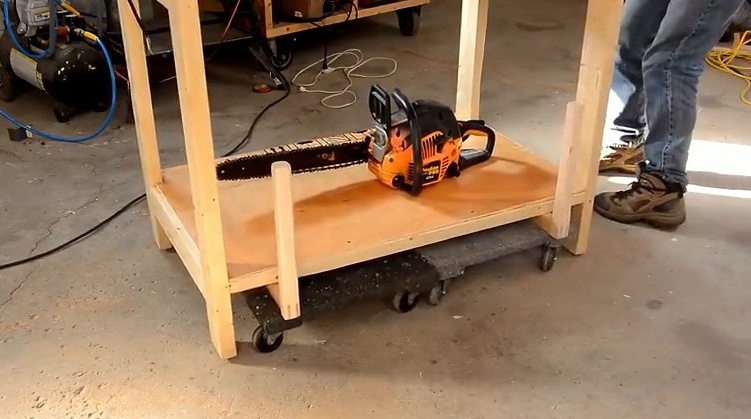
Two L-shaped bars are inserted horizontally under the workbench and then rotated vertically. At this point, the bars are located on carts. This raises the workbench from its feet, as it rests on the bars.

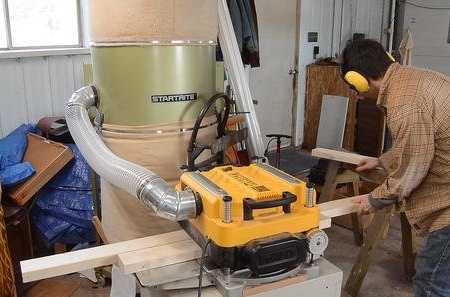
And as soon as the workbench is on the bars, it is easy to move, even with a bunch of heavy objects stacked on it (including a stationary belt sander).
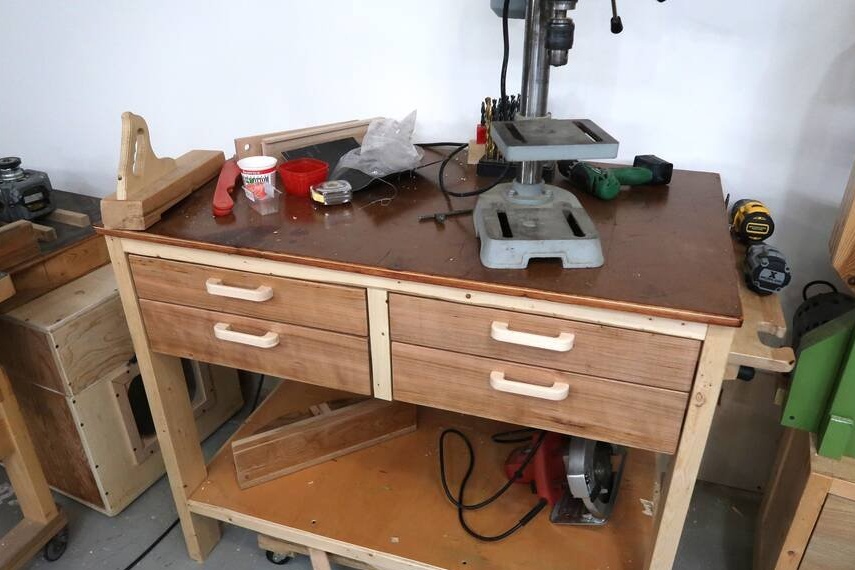
At the end of the work, the master made boxes for this workbench, which are coated with water-based varnish.
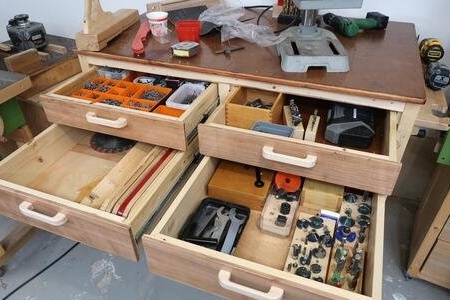
Unfortunately, in this video the master does not talk about making boxes for this workbench.
This workbench is relatively tall, so the drawers are at a very convenient height.
Additional shelf for workbench before painting.
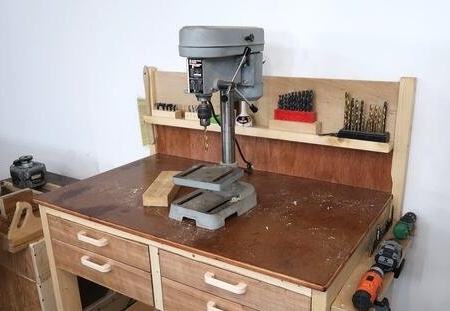
This shelf is screwed to the workbench, and not to the wall, because it is not known how long this workbench will stand in one place. The shelf is completely made of wood scraps, and the dimensions are largely dictated by the dimensions of the scraps themselves.
Making a shelf for a workbench can be seen in the following video of the wizard:
If you like homemade author, then try to repeat and make. Thank you for attention. See you soon!