
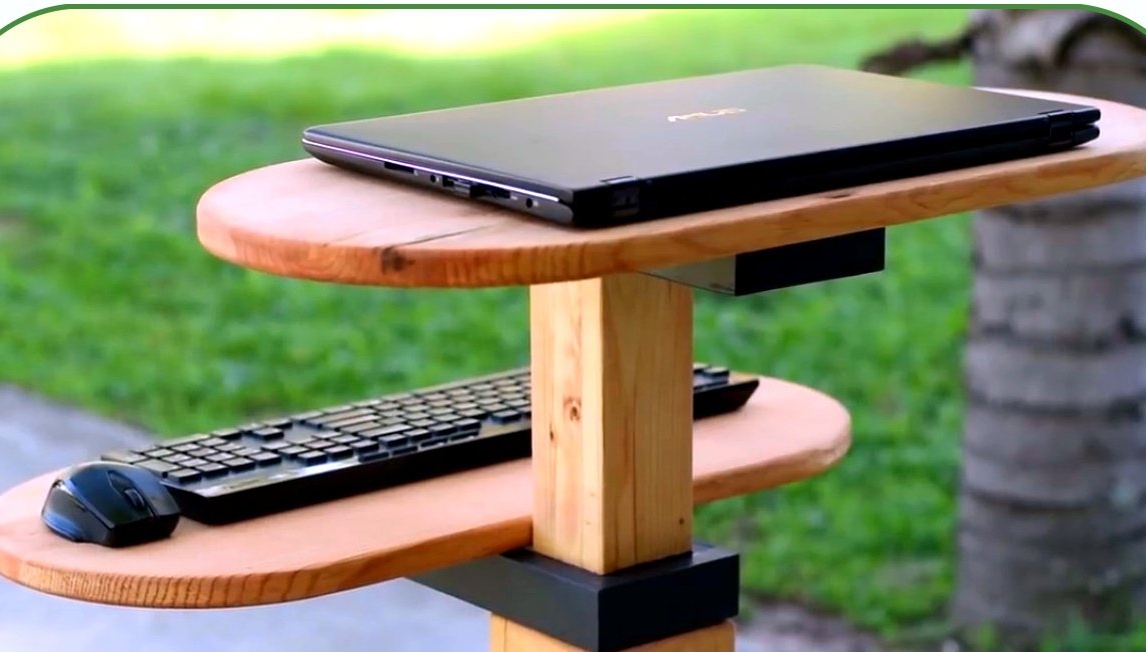
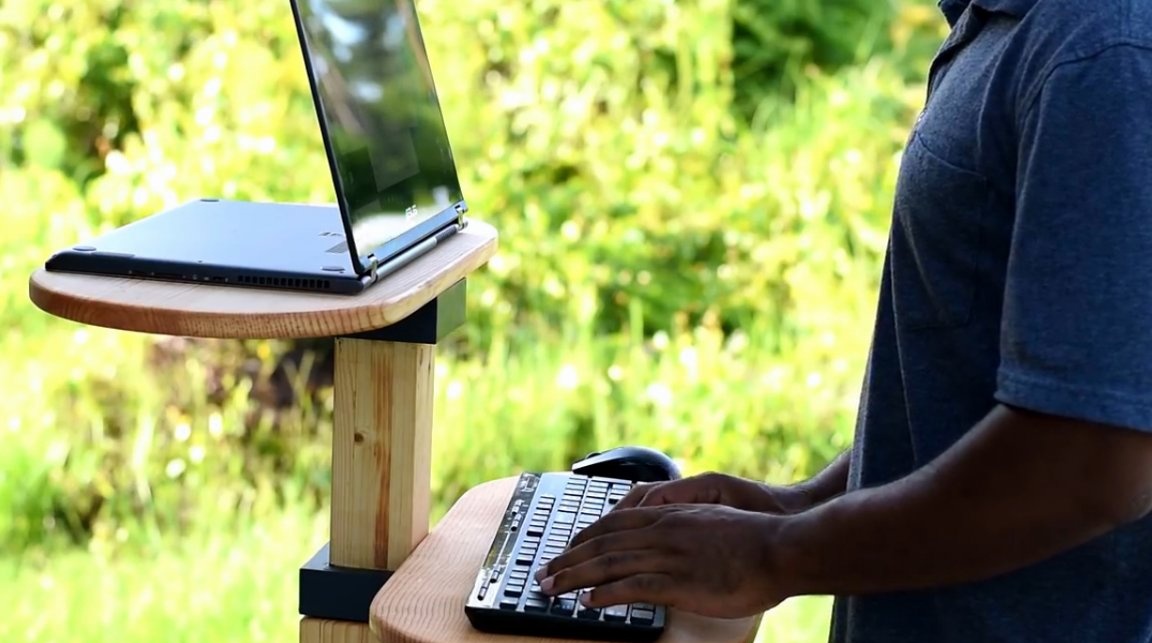
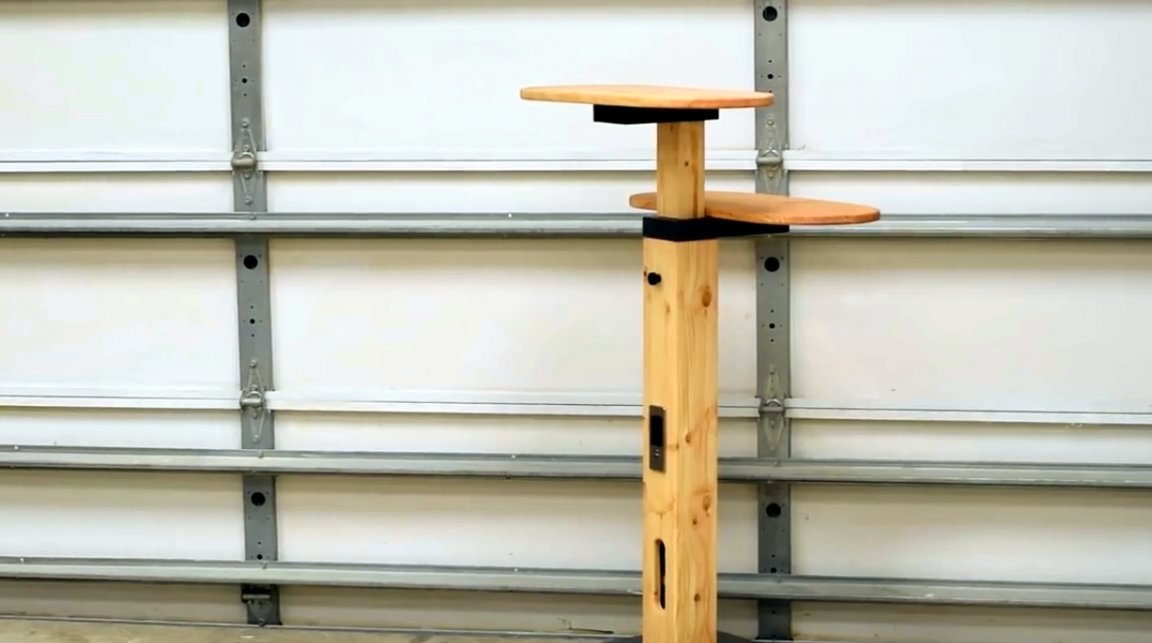
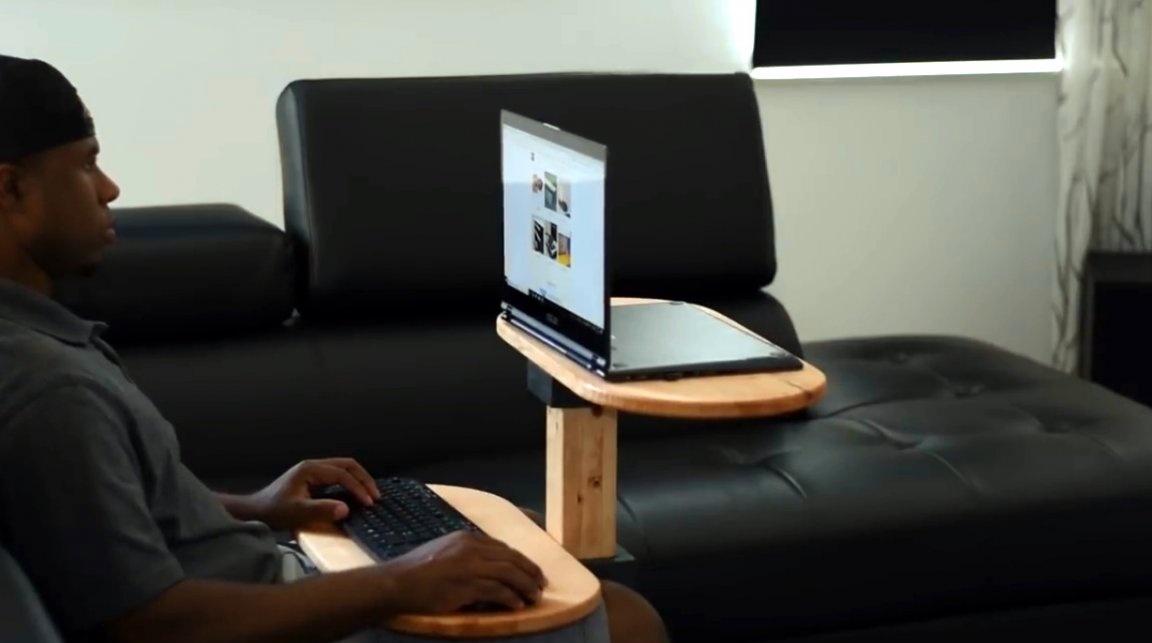
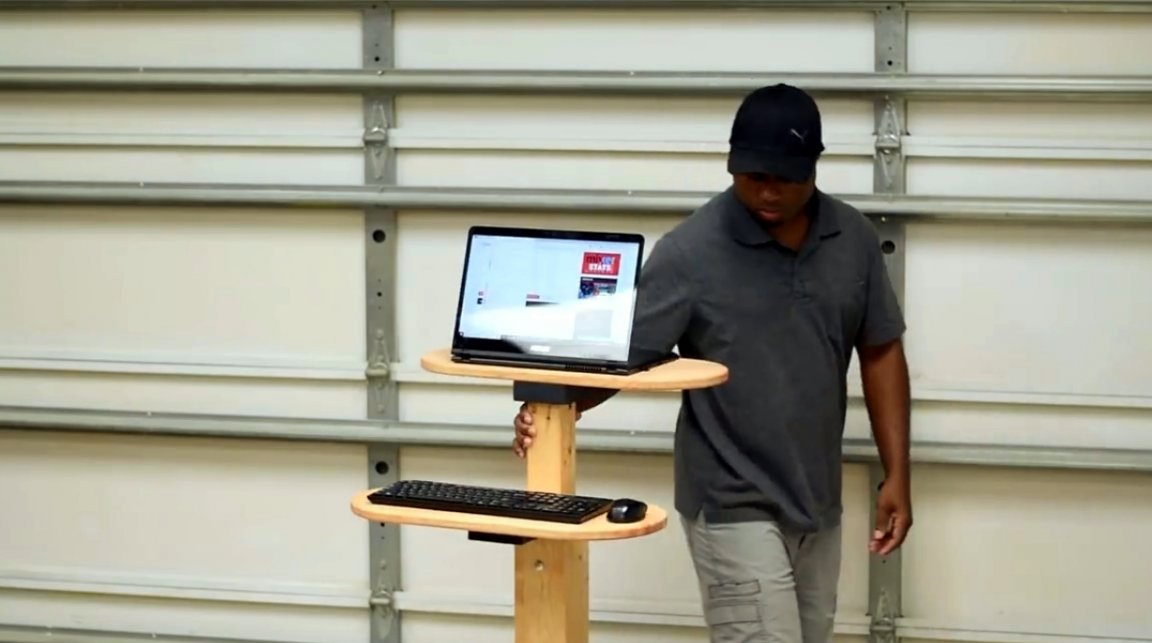
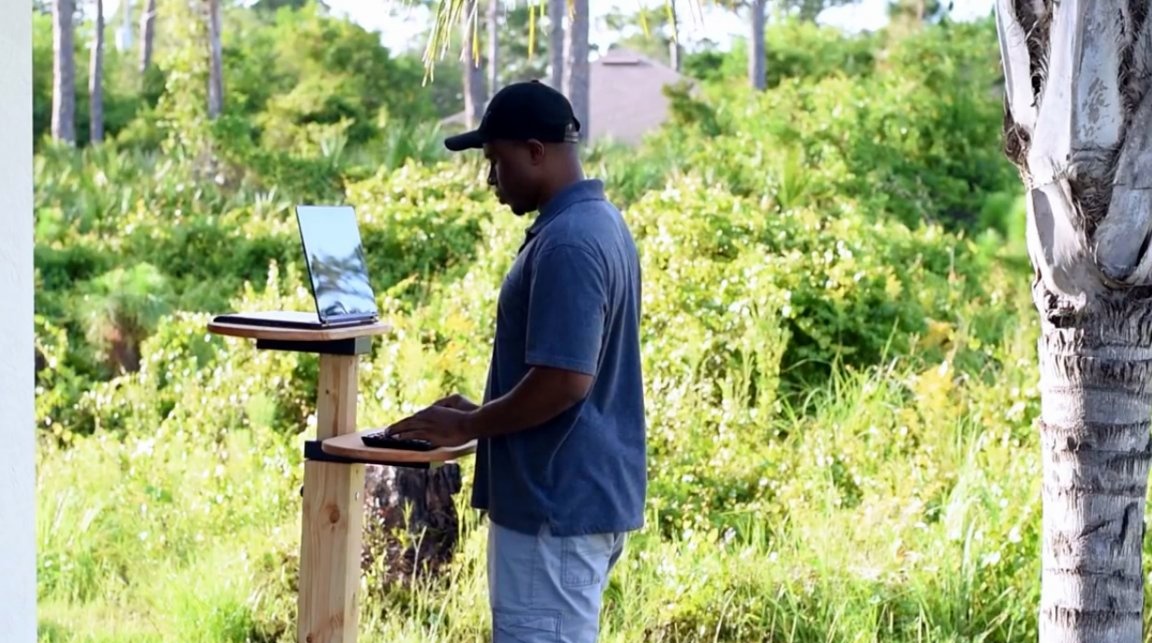
In this article, the author of the YouTube channel “DIY Creators” will tell you about how he implemented the project racks for working on a computer. The very idea of standing work deserves attention. In addition, the rack is very mobile and can be easily moved to any desired location.
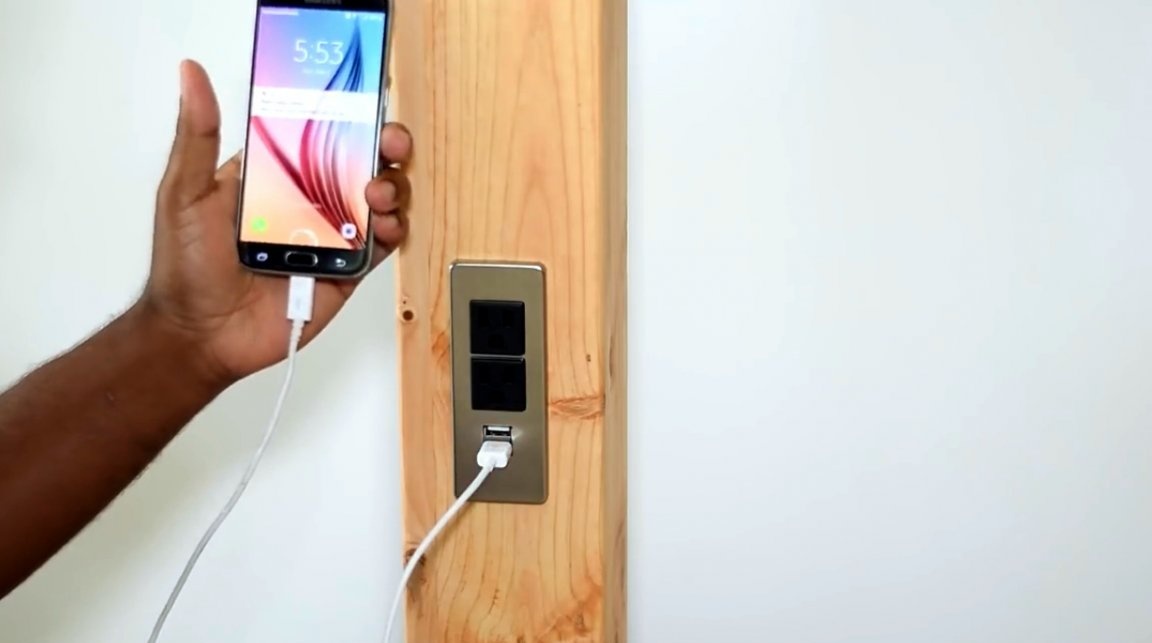
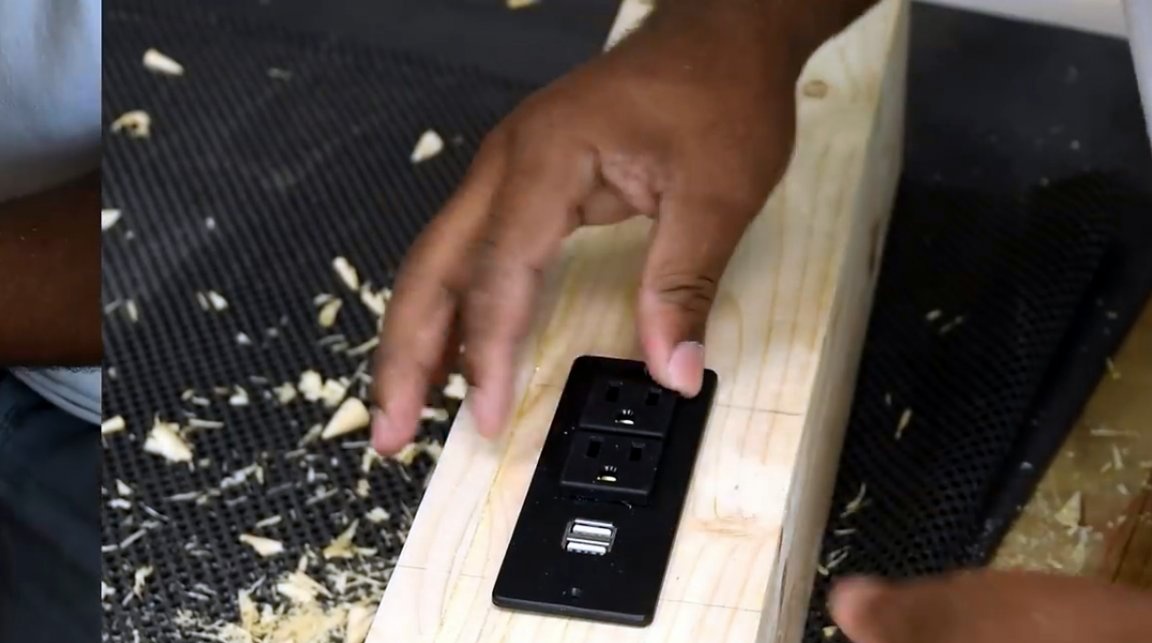
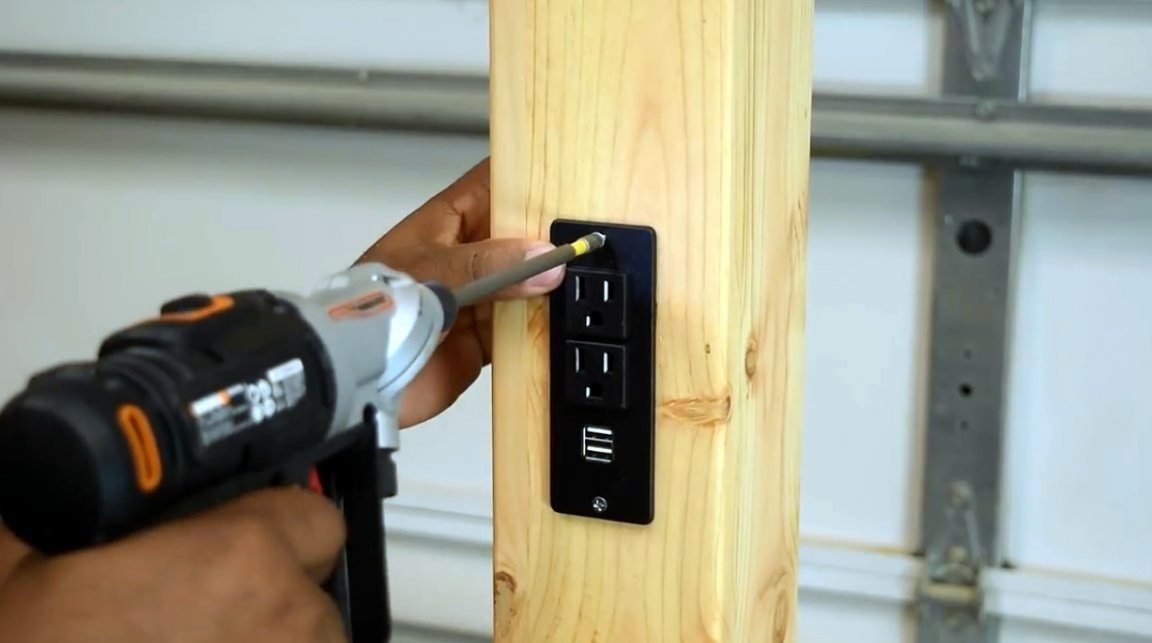
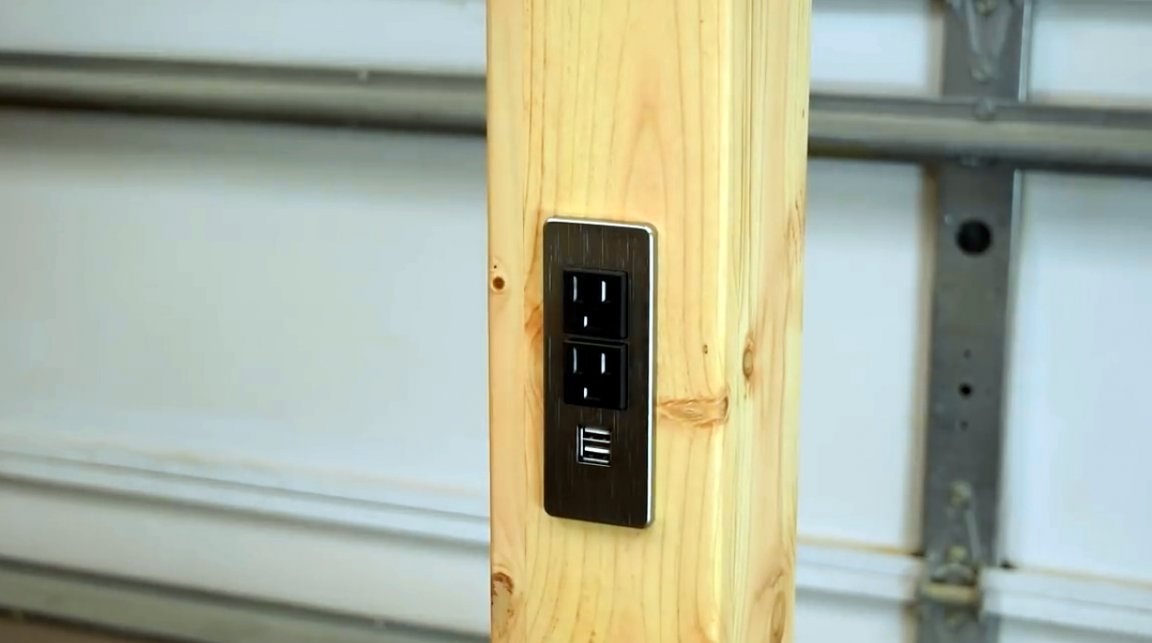
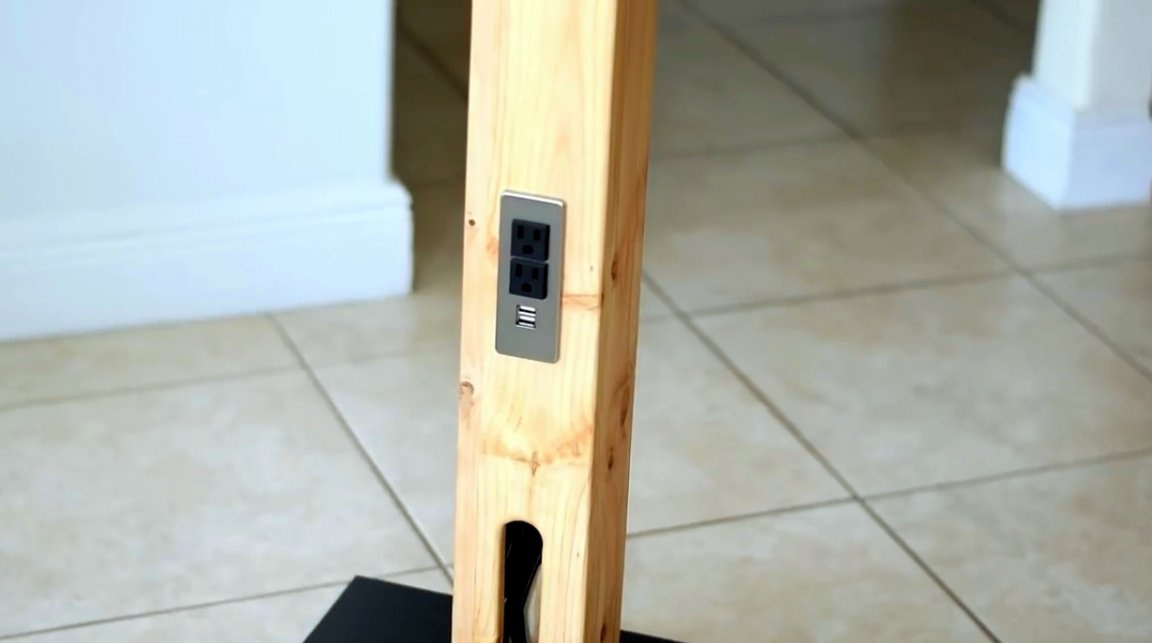
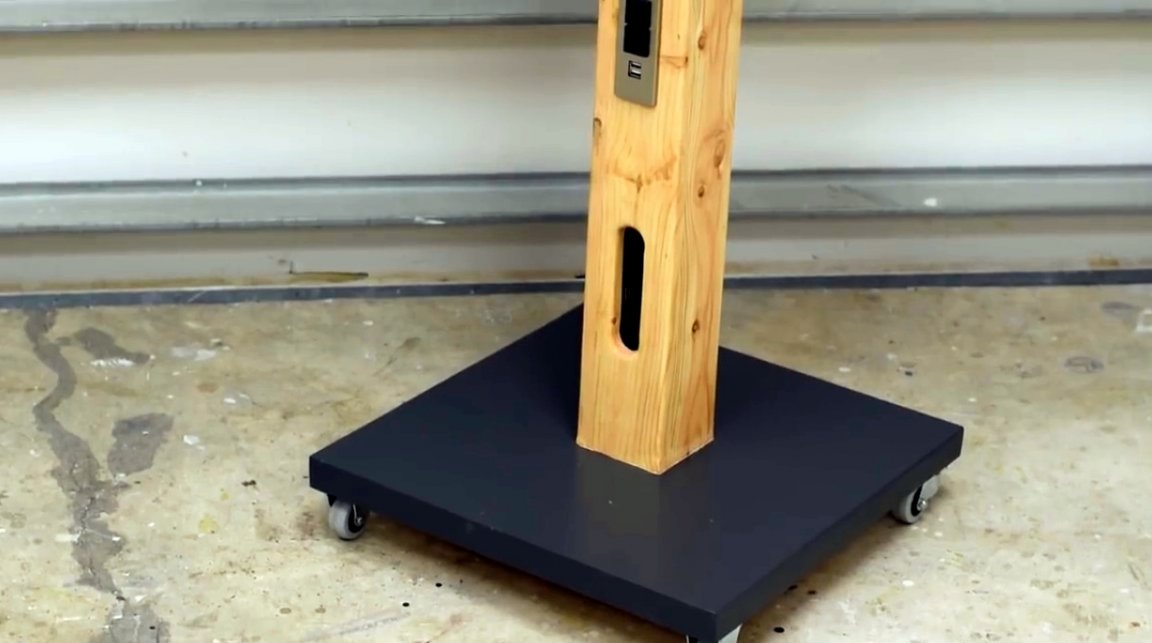
It has an electrical outlet with two USB ports for recharging electronic appliances and a small niche for storing the power cord.
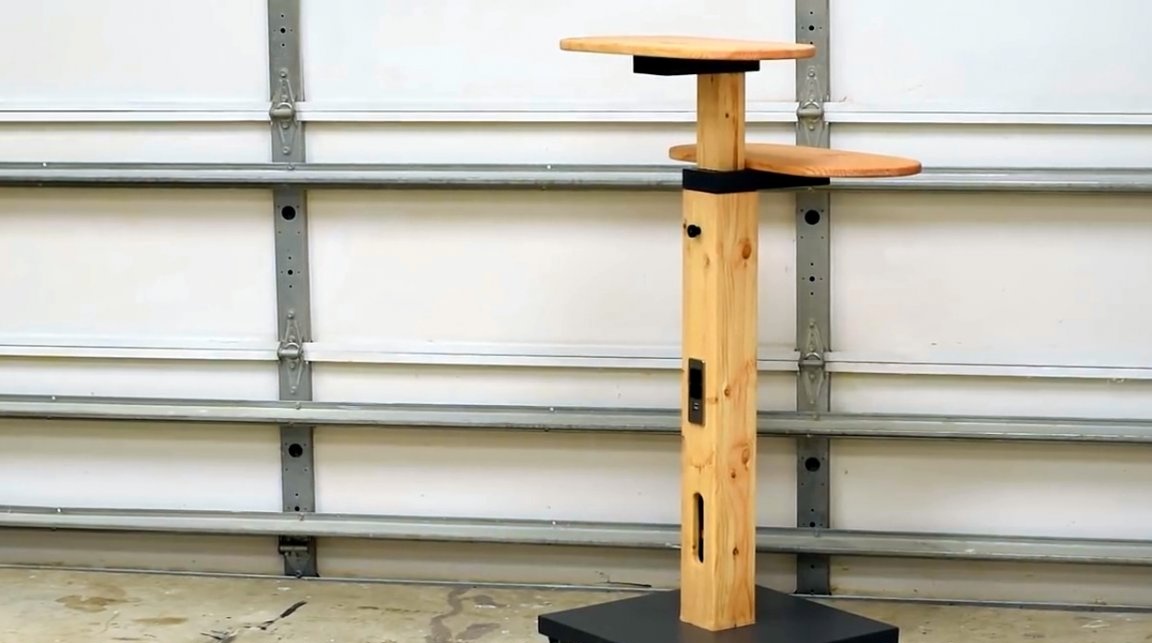
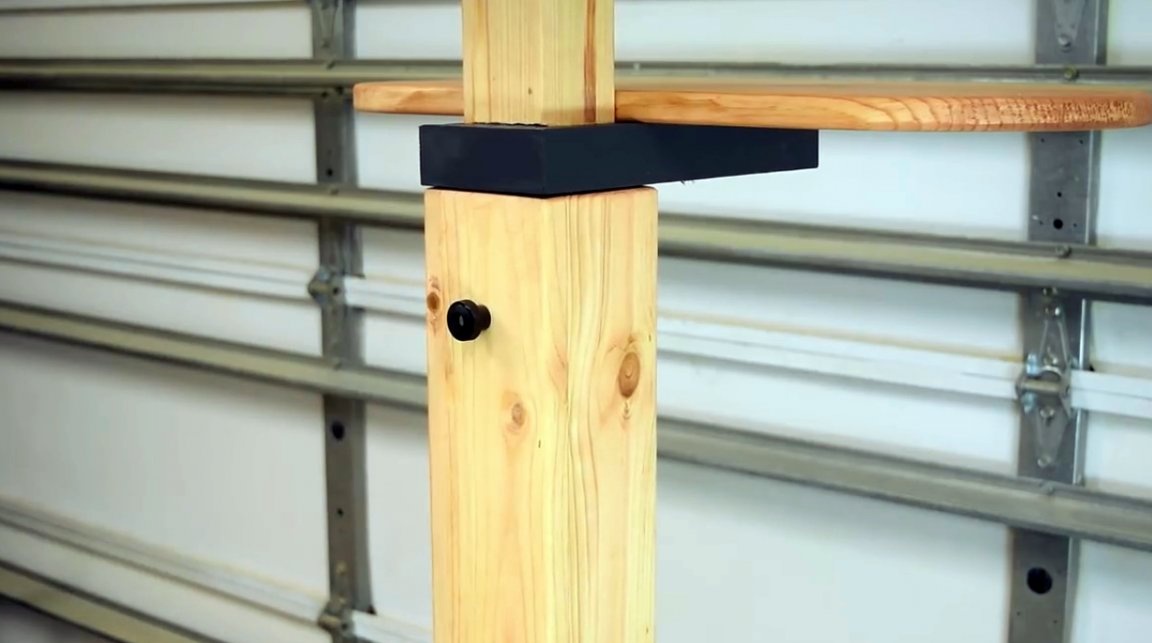
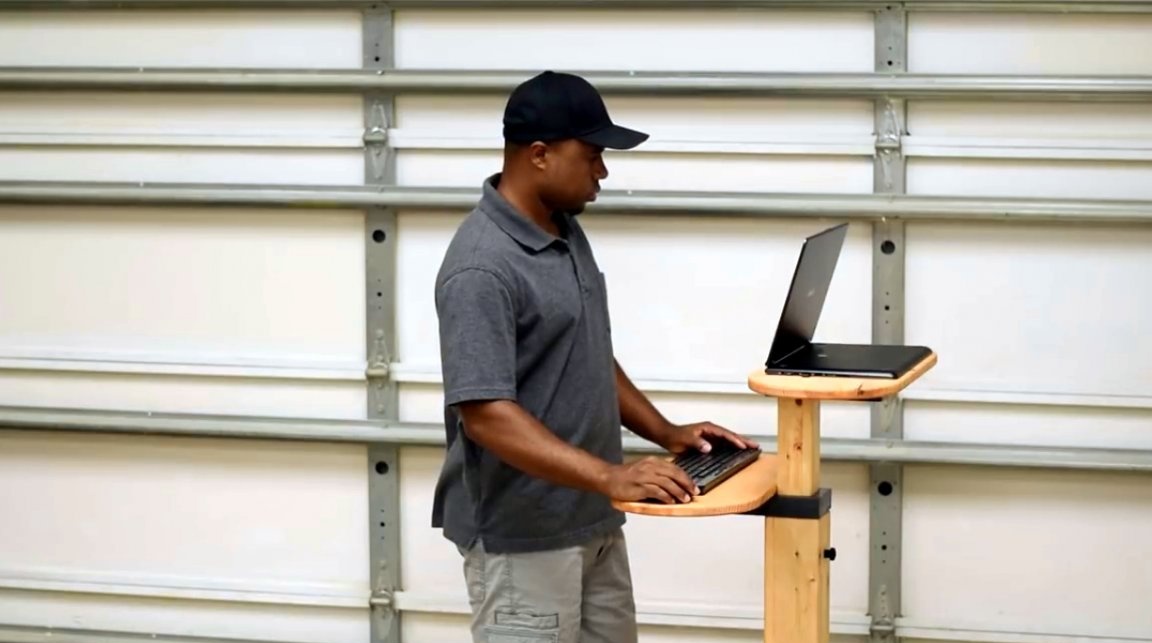
On the counter there is another characteristic detail - an adjustable leg, thanks to which you can set the required height of the workplace yourself.
According to scientific research, mental work in a standing position significantly increases the productivity of the thought process and contributes to a better concentration of attention. Among other things, a standing posture reduces back pain. Given the mobility of the workplace, you can conduct your classes in nature, in a pleasant environment outside the home. Sounds tempting, agree.

Materials
- Pine boards
- sheet plywood
- Furniture castors
- Wood screws
- masking tape
- M8 bolt, nut
- Varnish, paint
- PVA glue.
Instruments, used by the author.
— Clamps
— 3M Professional Respirator
— Screwdriver
— Forstner Drills
— Band-saw
— Electric jigsaw
— A circular sawpusher
— Battery Neiler
— Orbital sander
— Manual frezer
— Radius Mill with Thrust Bearing
- Grinding machine
- Pencil, square, compass, tape measure.
Manufacturing process.
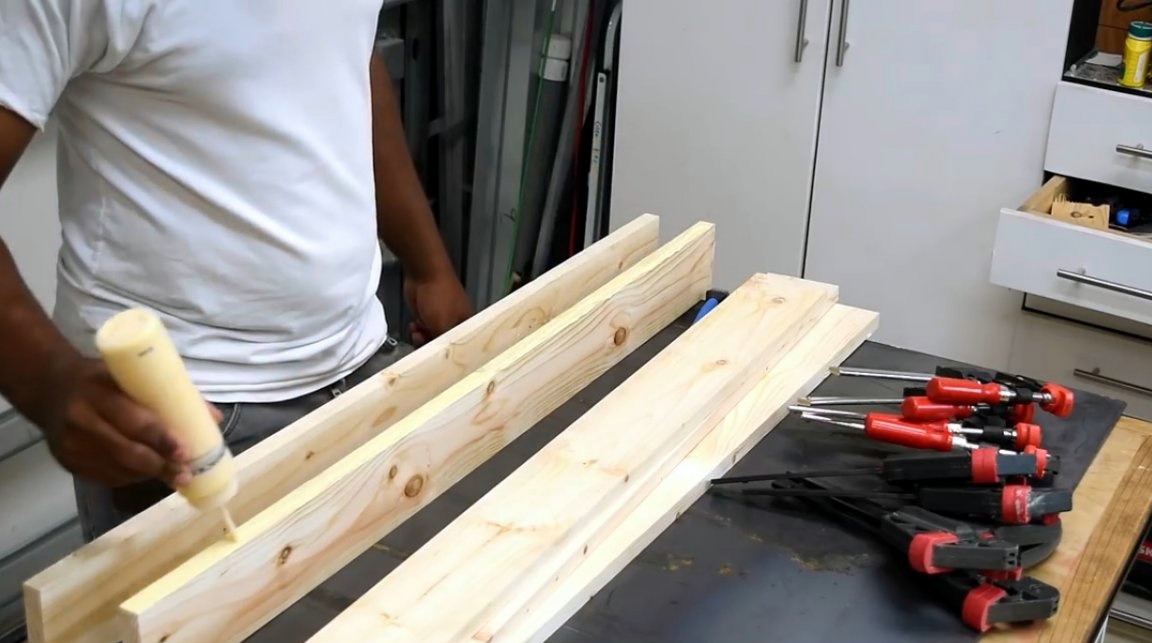
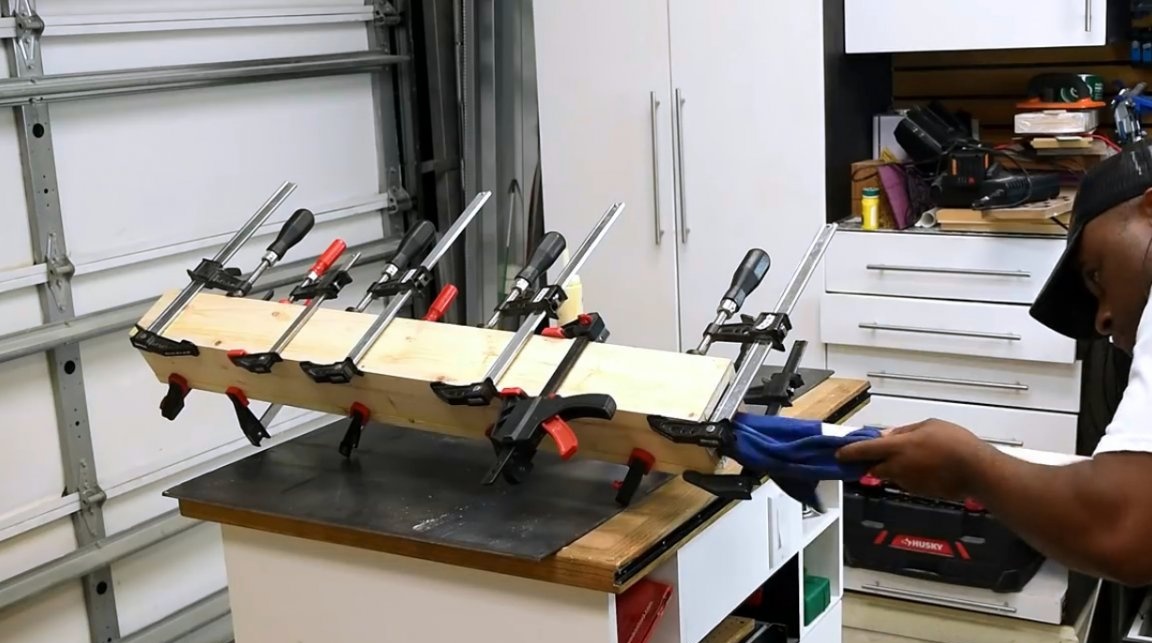
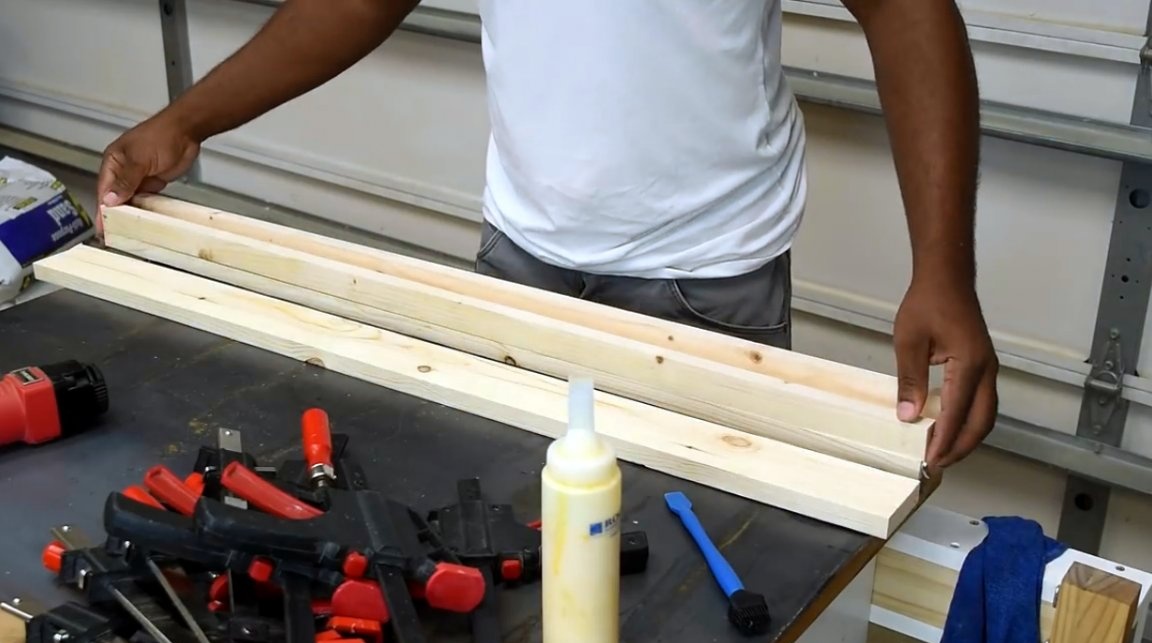
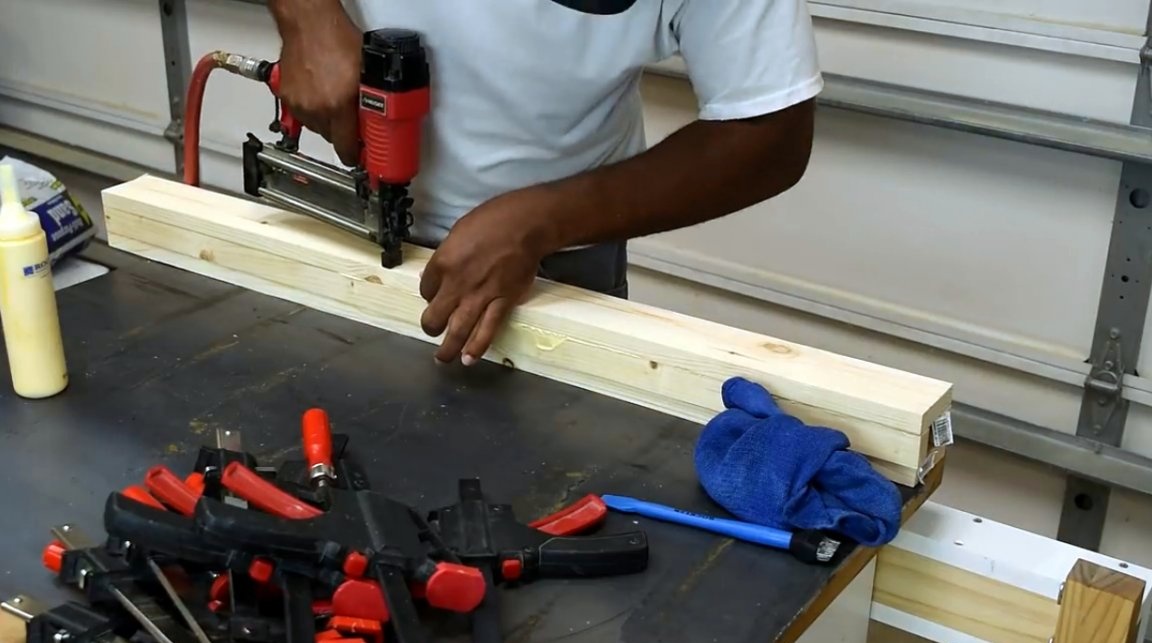
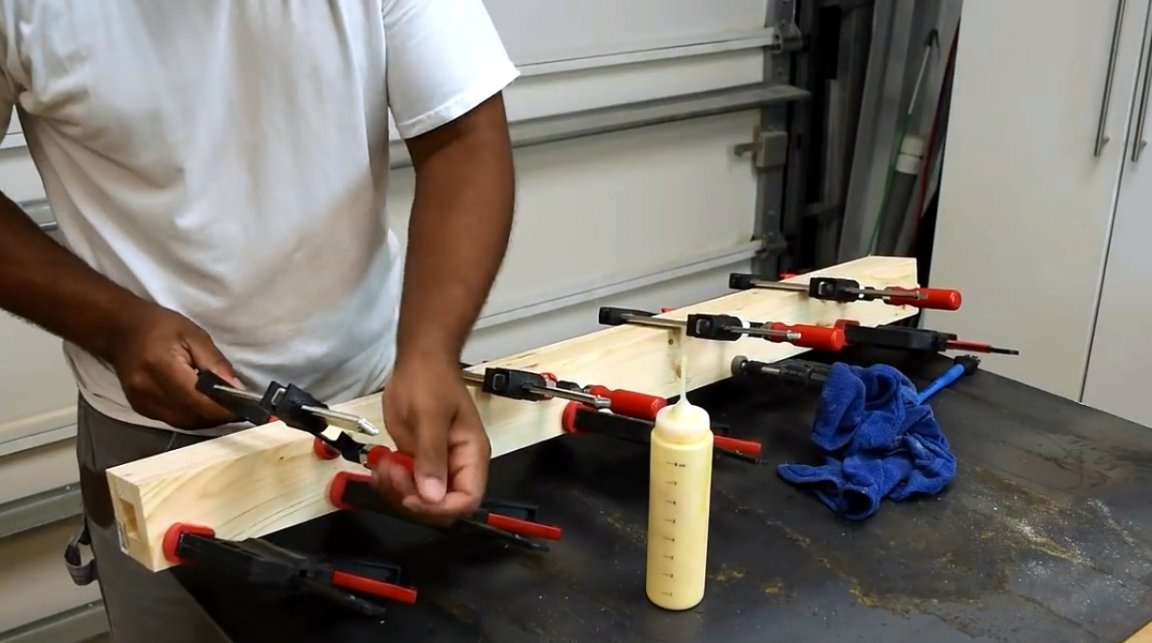
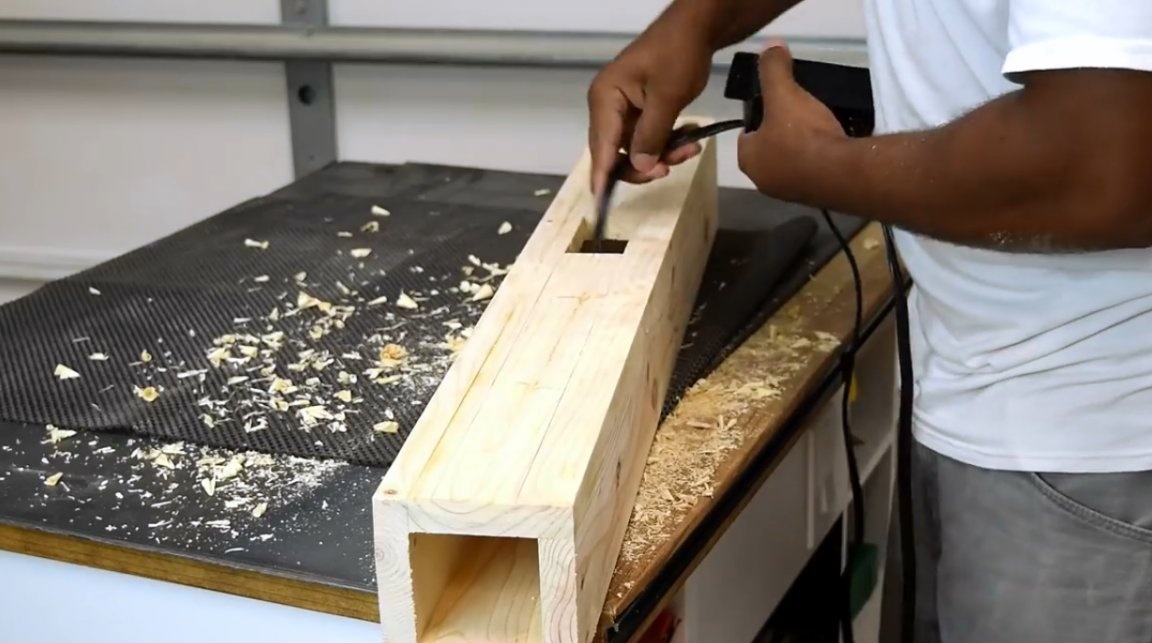
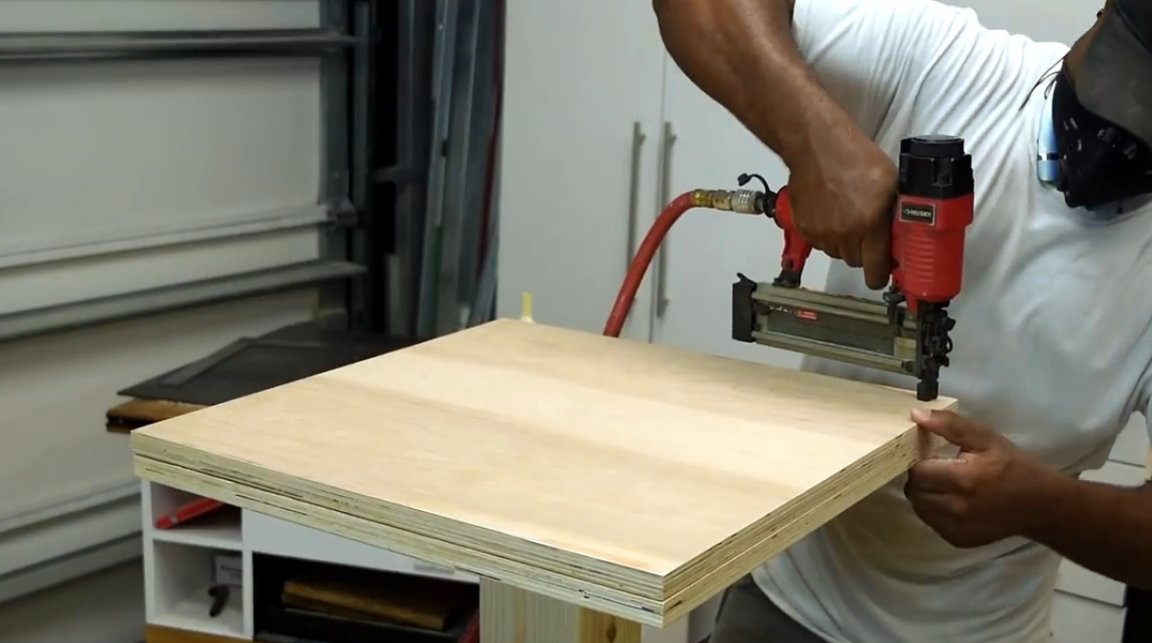
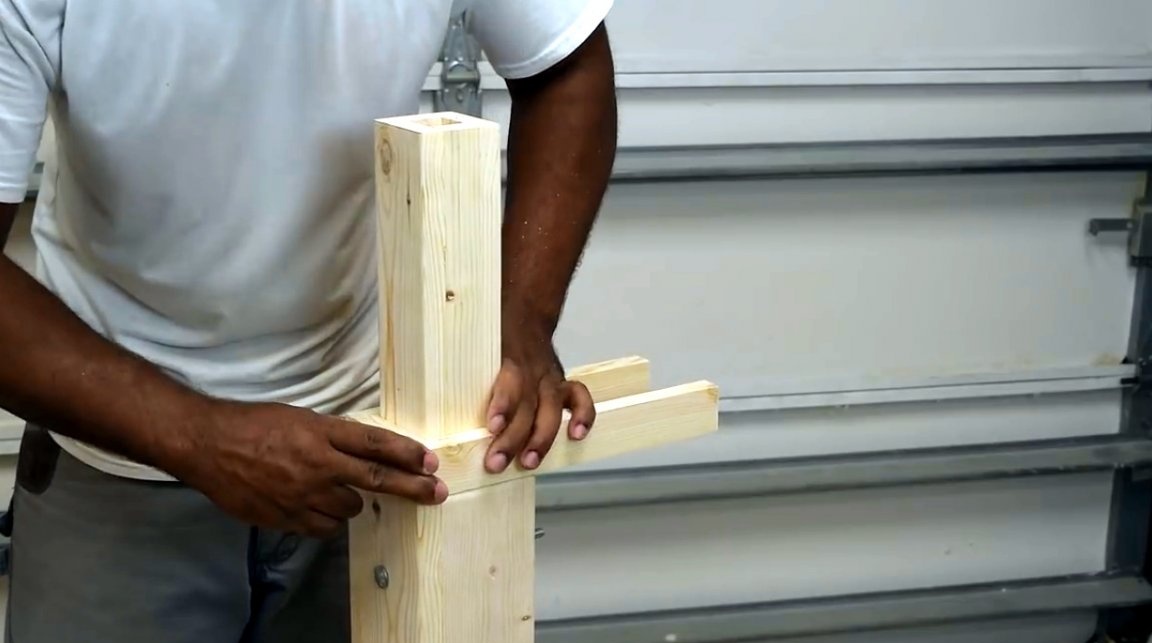
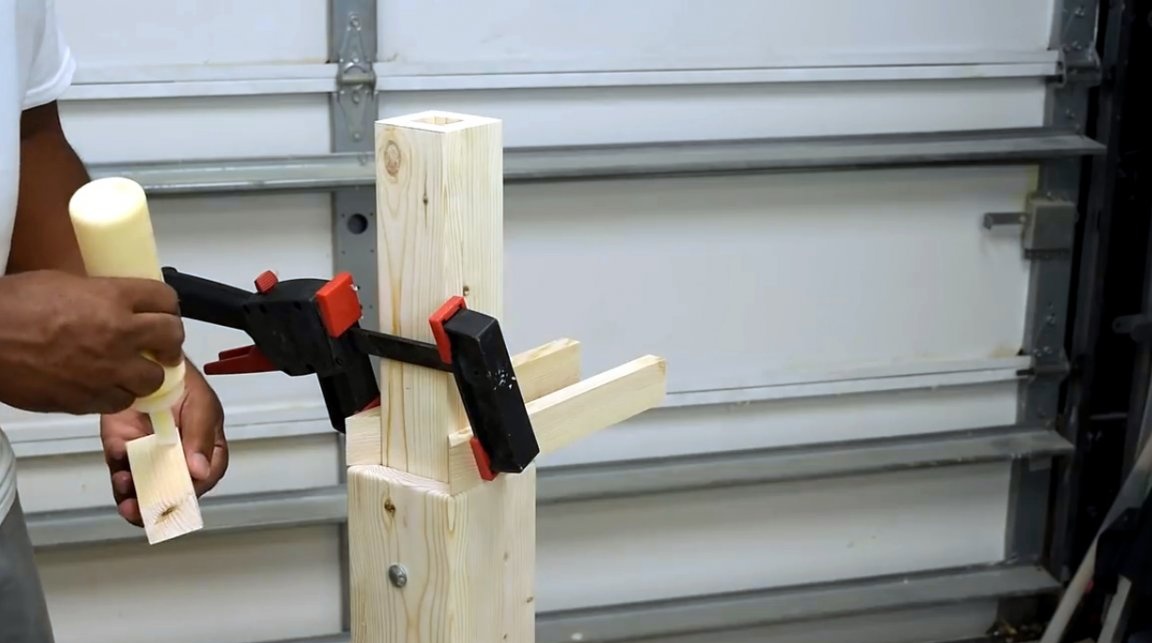
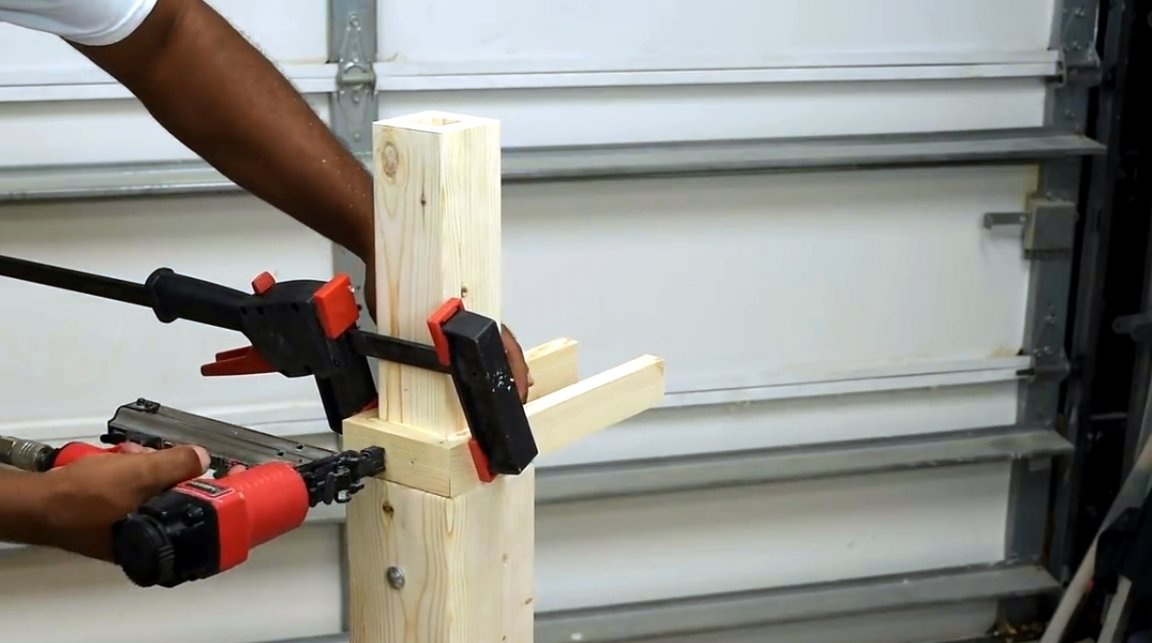
The author begins making a rack with the formation of its main part - legs. The latter is built in two stages. Two wooden segments are connected at a time, and then both halves are glued together. The author uses glue on wood and additionally fixes them with a neiler. After joining the parts, all exposed surplus are carefully removed.
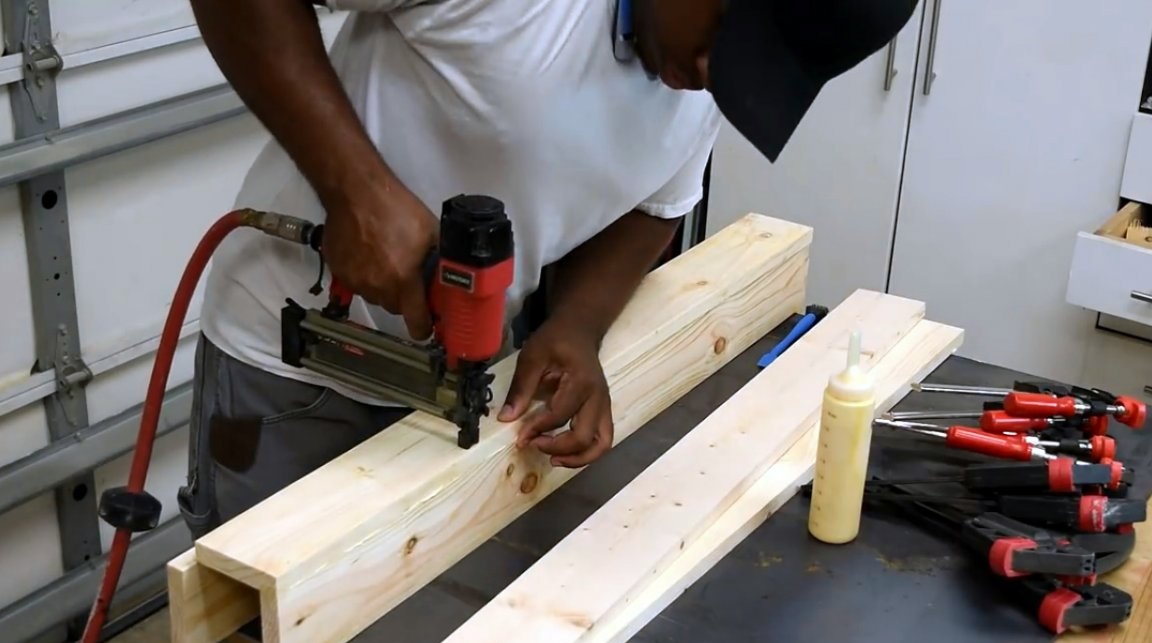
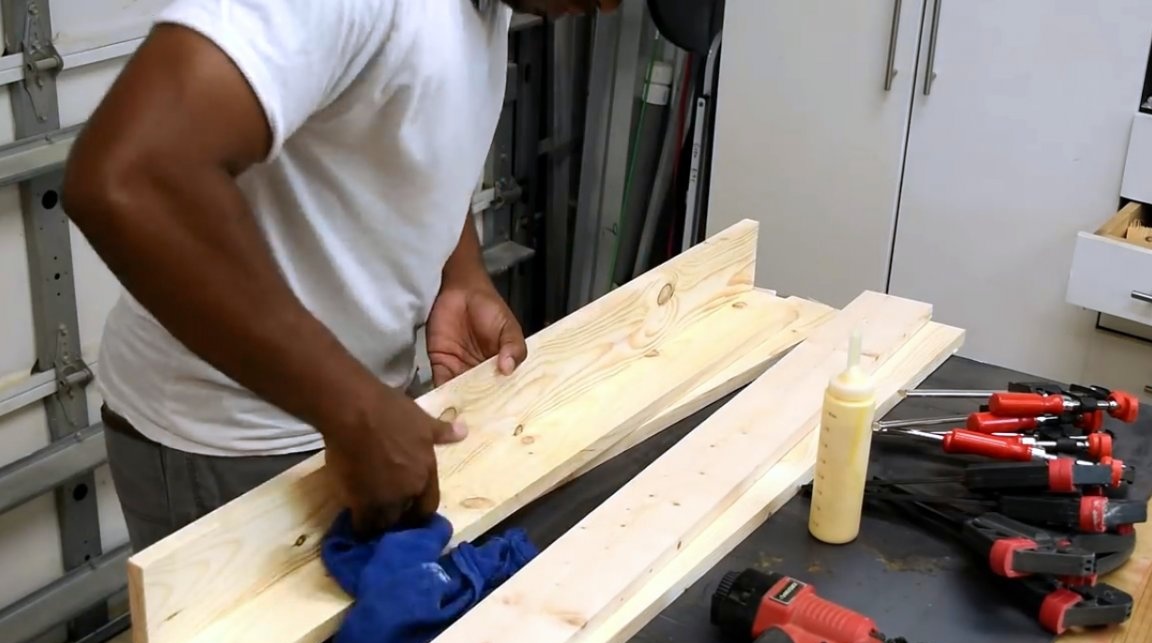
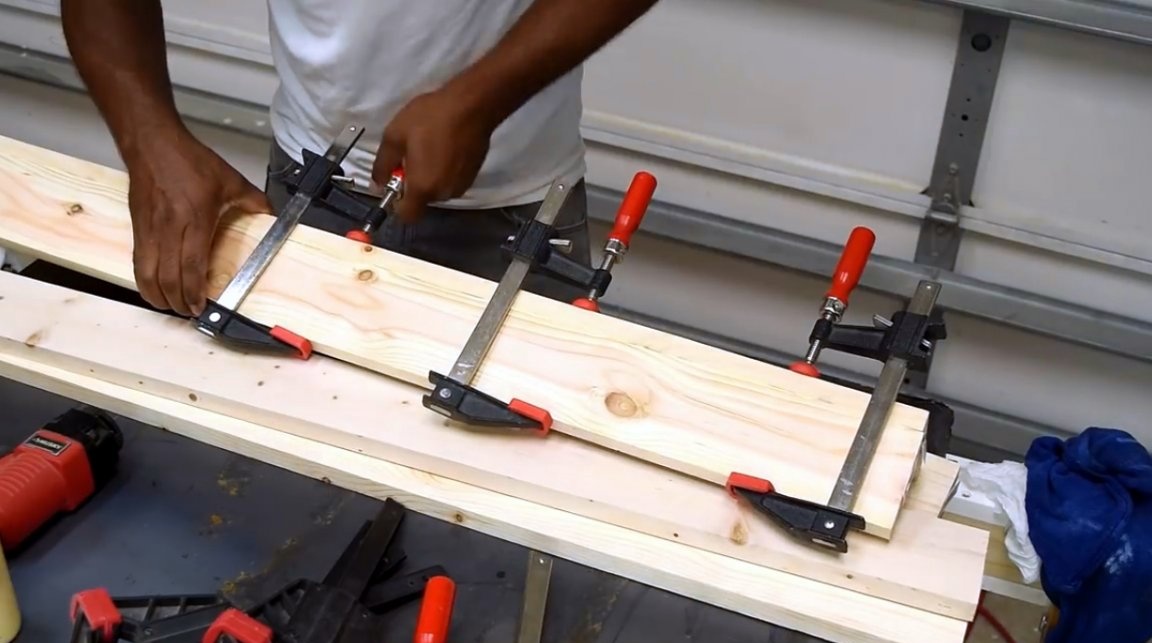
When both halves of the structure are ready, the author neatly connects them, aligns them relative to each other, sits on the glue and shoots several nails in the control.
After that, wrapping a damp cloth on a stick, he wipes the glue that protrudes from the inside. If this is not done, it may be difficult to slip the wooden adjustable legs inside the structure.
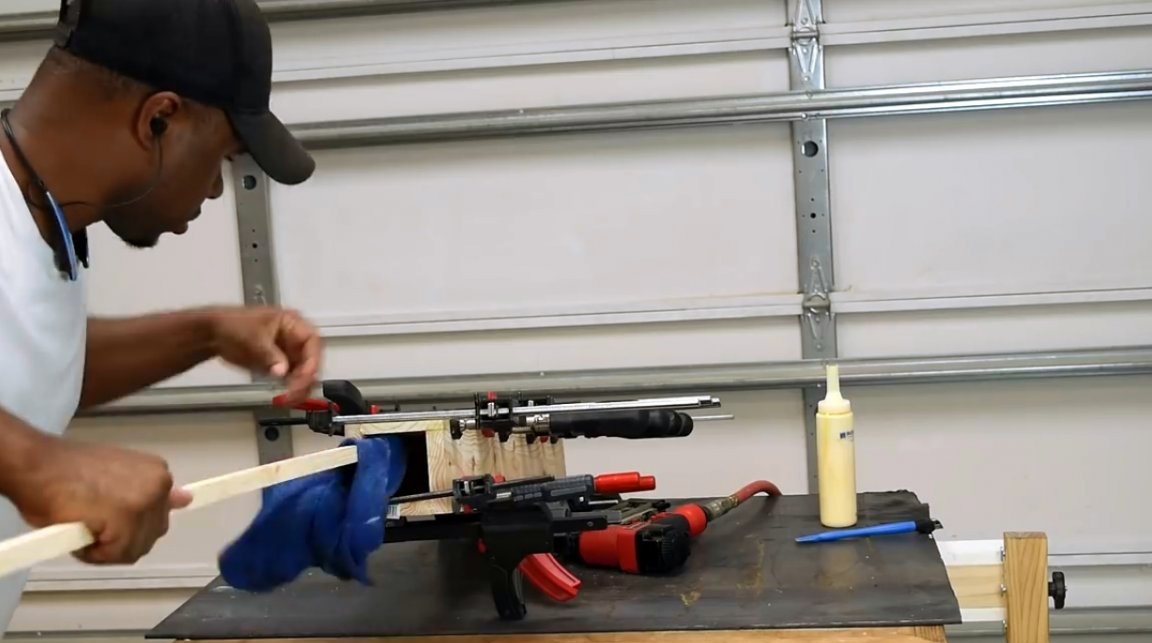
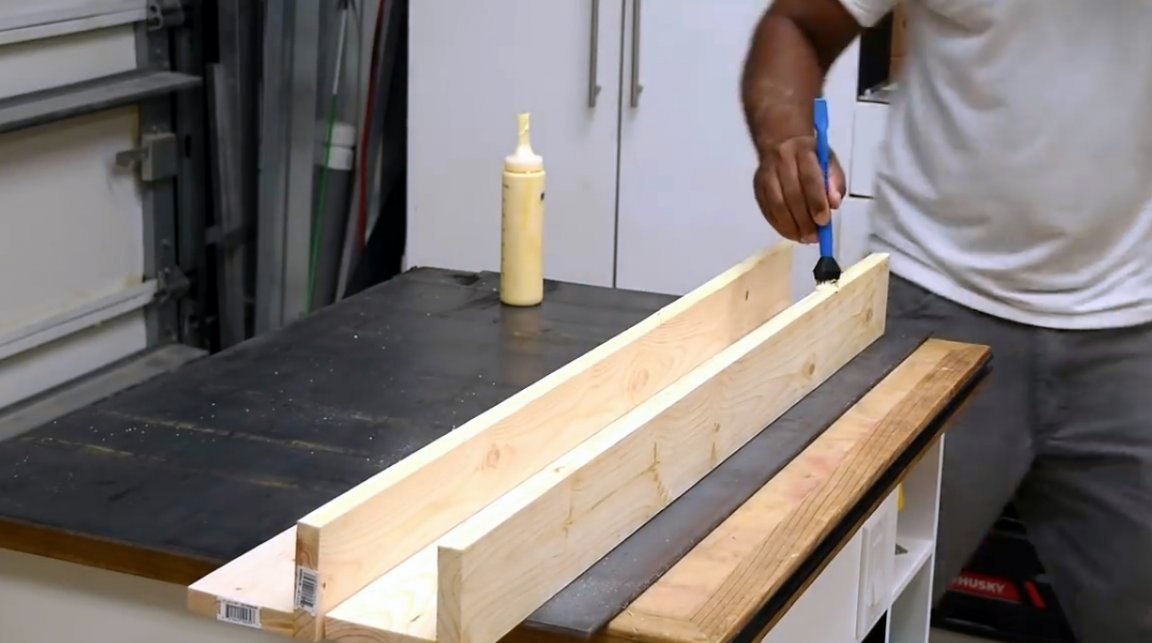
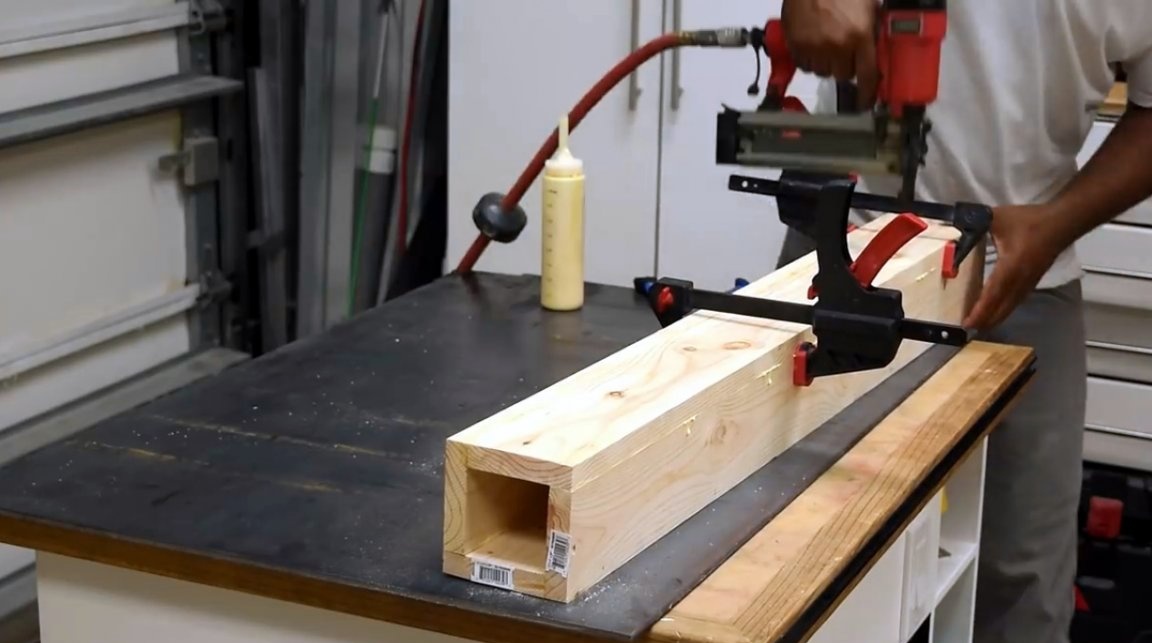
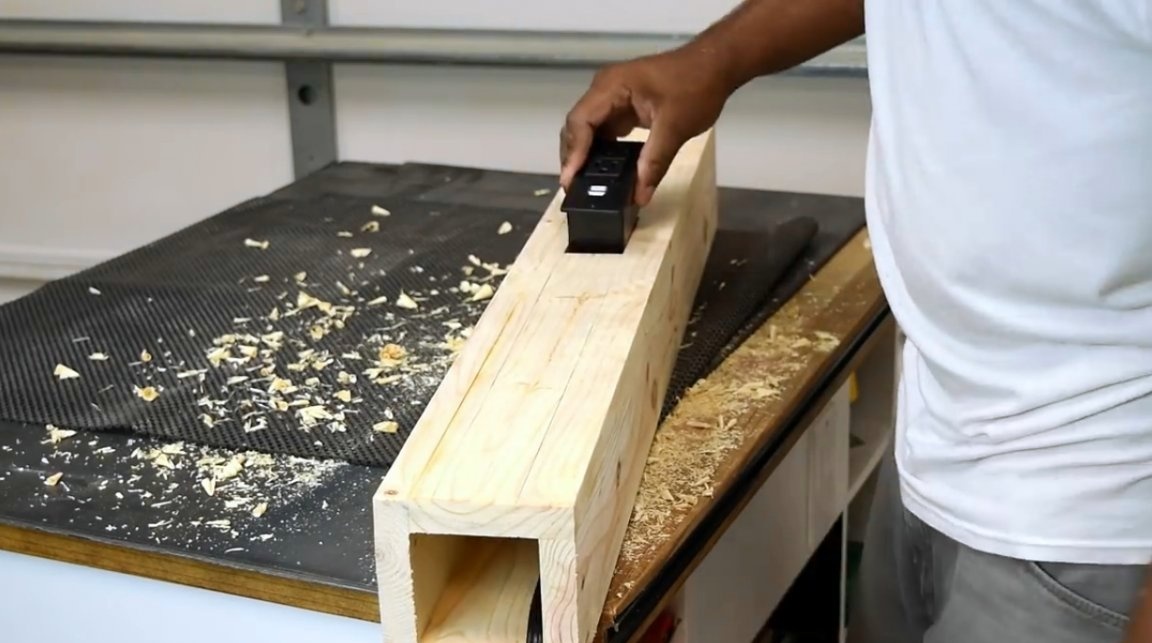
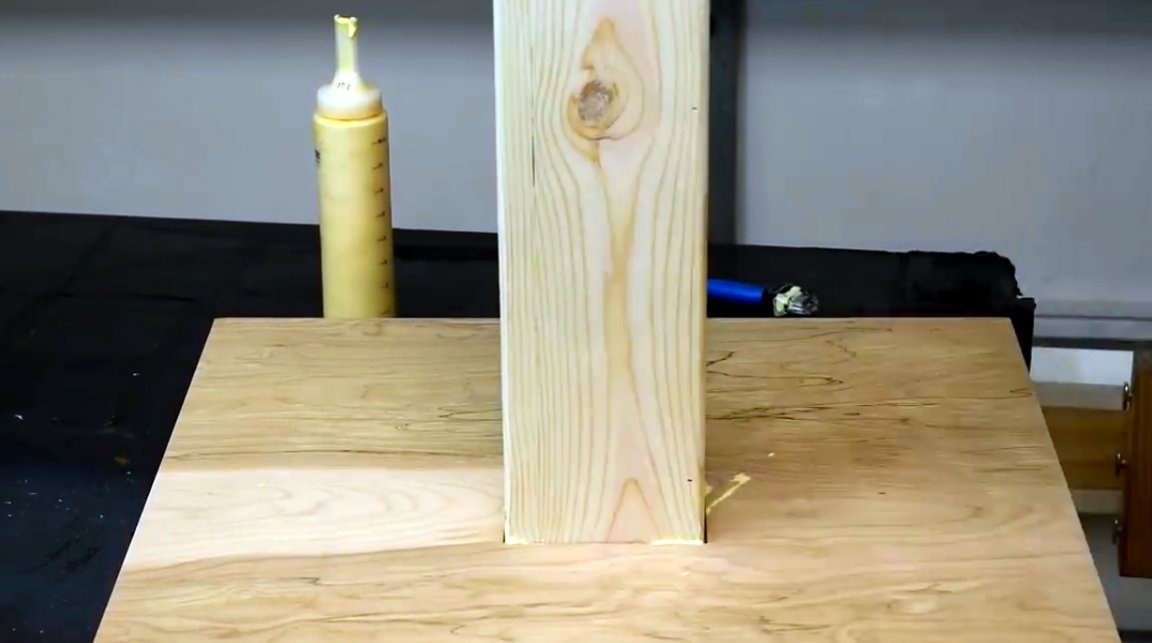
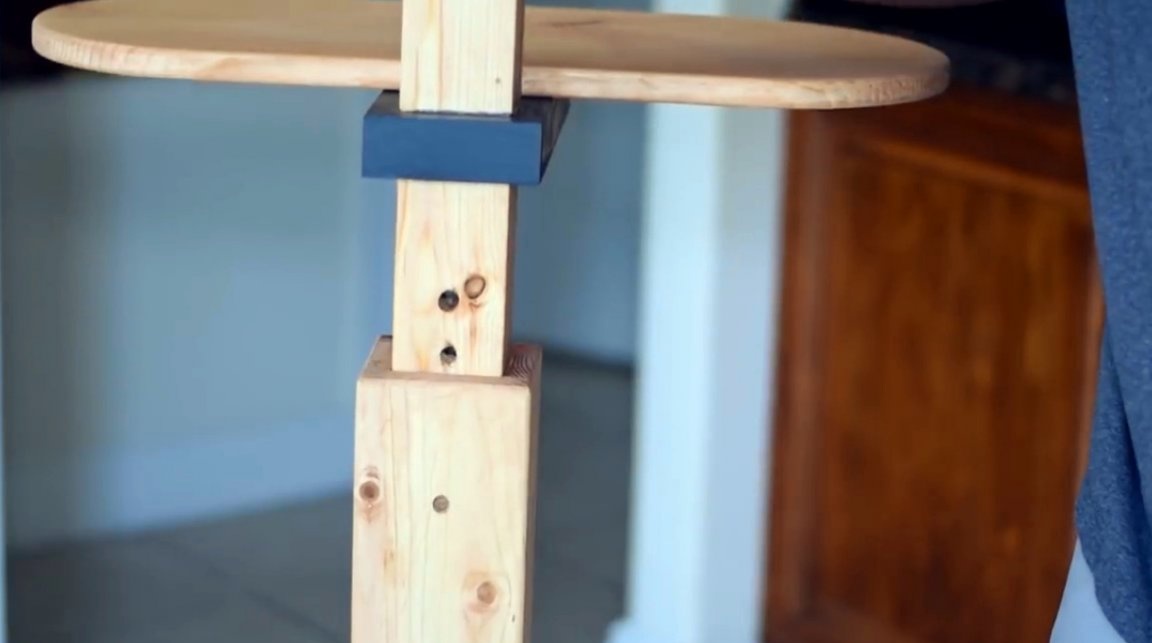
Next, the master makes a small version of the same leg, which will be immersed inside a large one. In size, it is tightly fitted to the perimeter of the external support. The leg can be raised and lowered, but it will not stagger from side to side. She is going in a similar way.
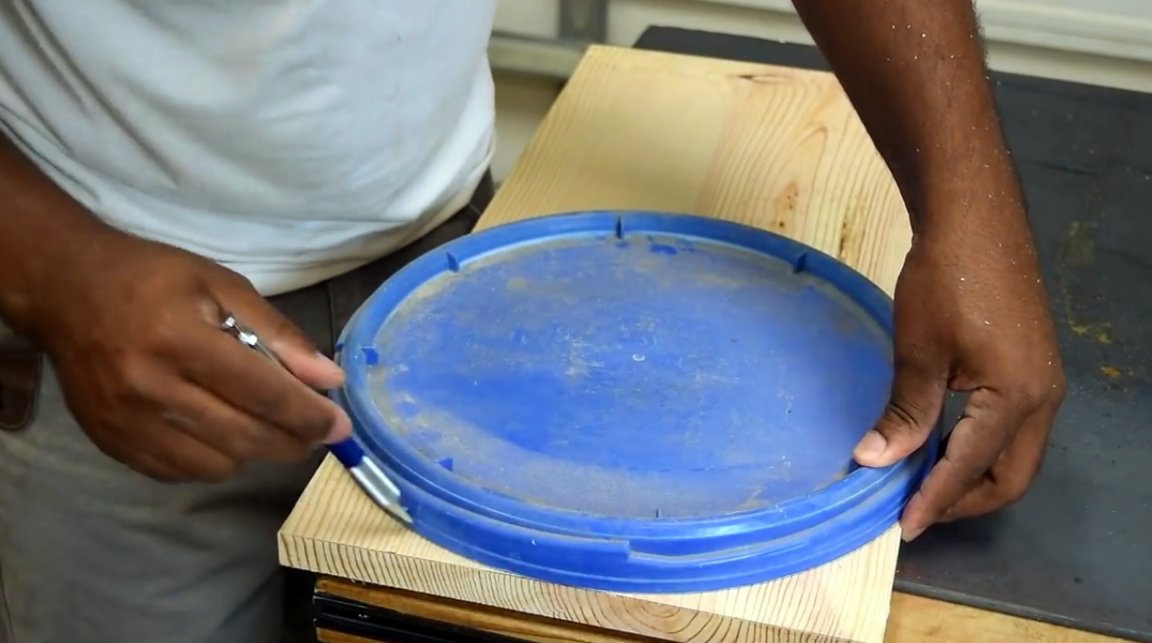
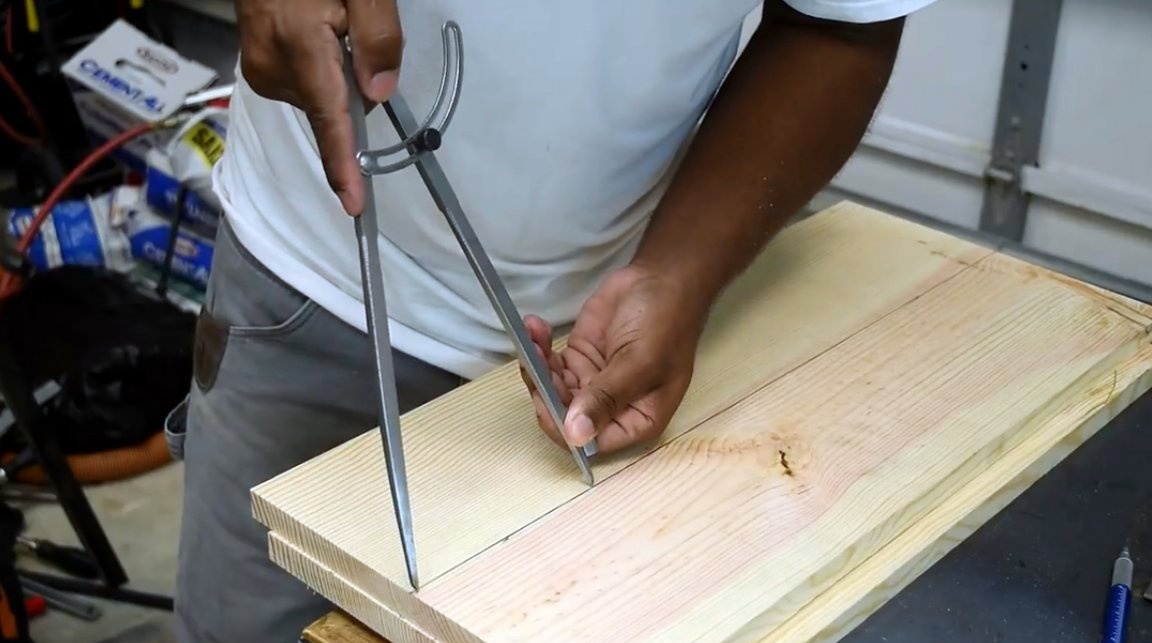
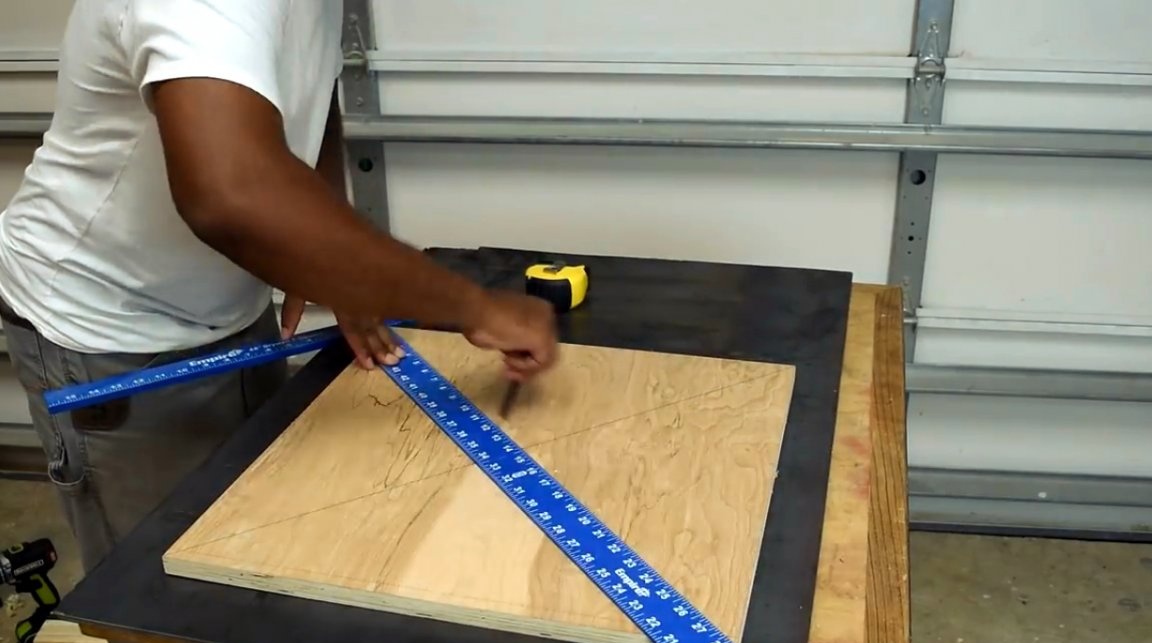
Meanwhile, the author prepares the plane for the laptop and keyboard. To make smooth ergonomic corners, the author first tried to use the cover from the plastic bucket as a template, but later abandoned this idea, because he was not sure that he could exactly repeat all four roundings in this way.
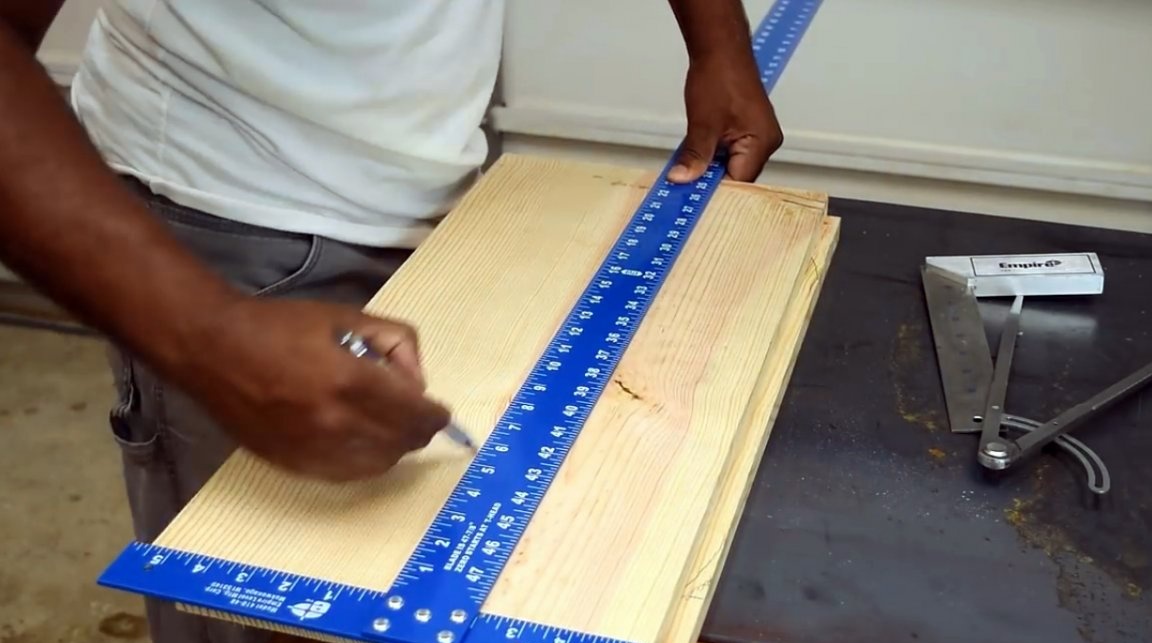
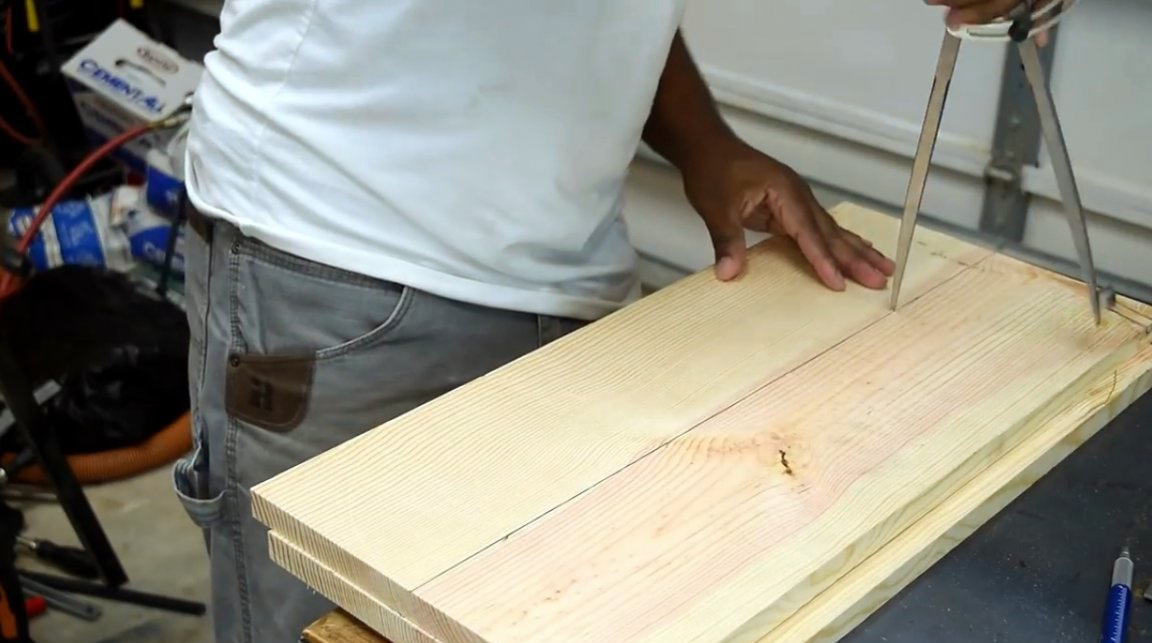
He chooses another way - geometric. The central lines are drawn on the boards using a square, then two arcs are drawn with a compass on both sides of the plywood board (here the author did not have a slate rod and he drew a line with the point of a compass, and then drew a line with a pencil).
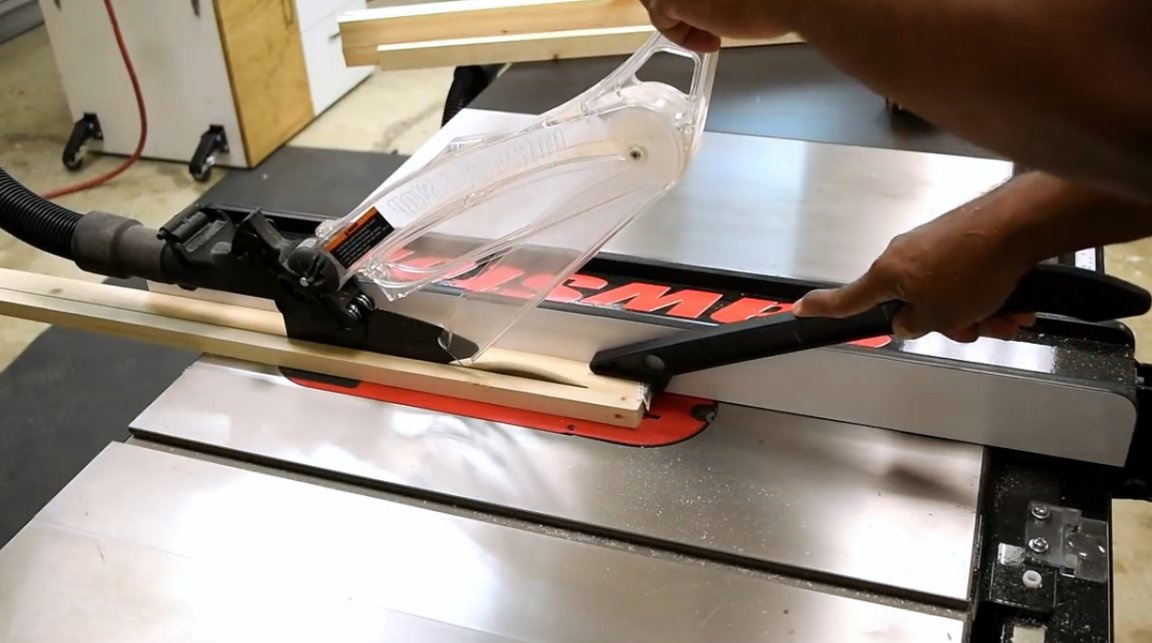
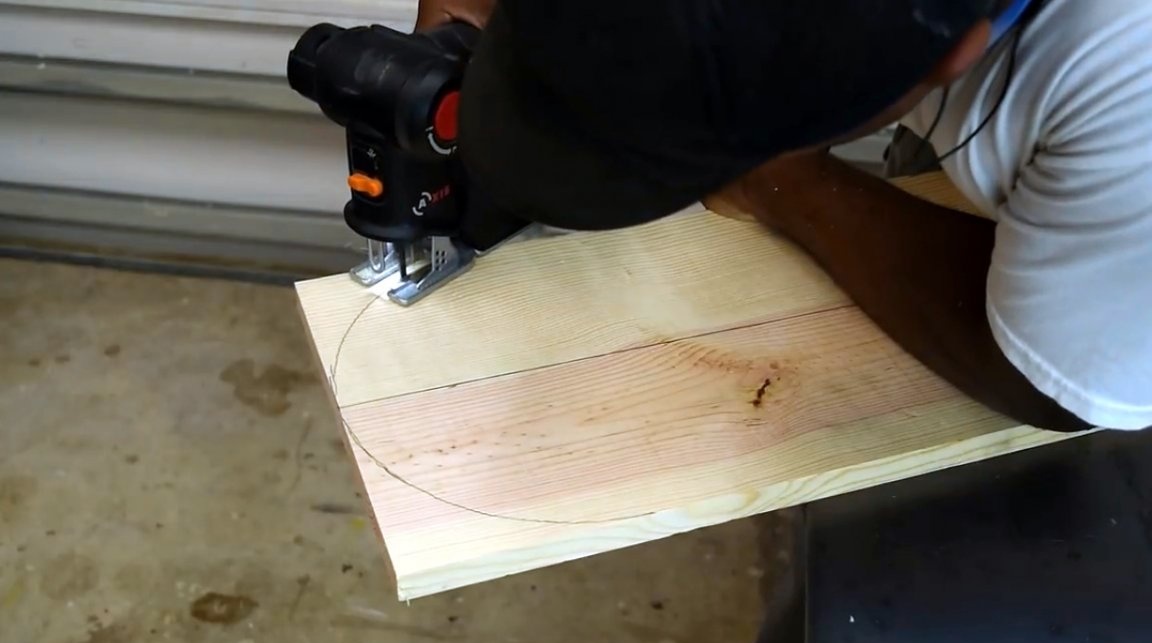
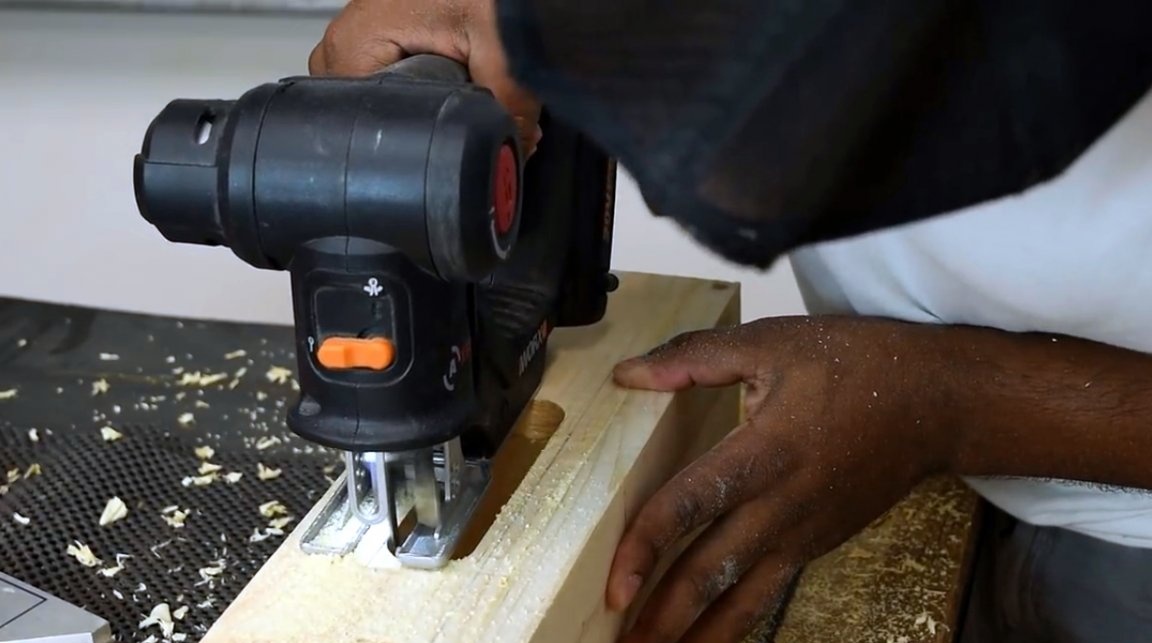
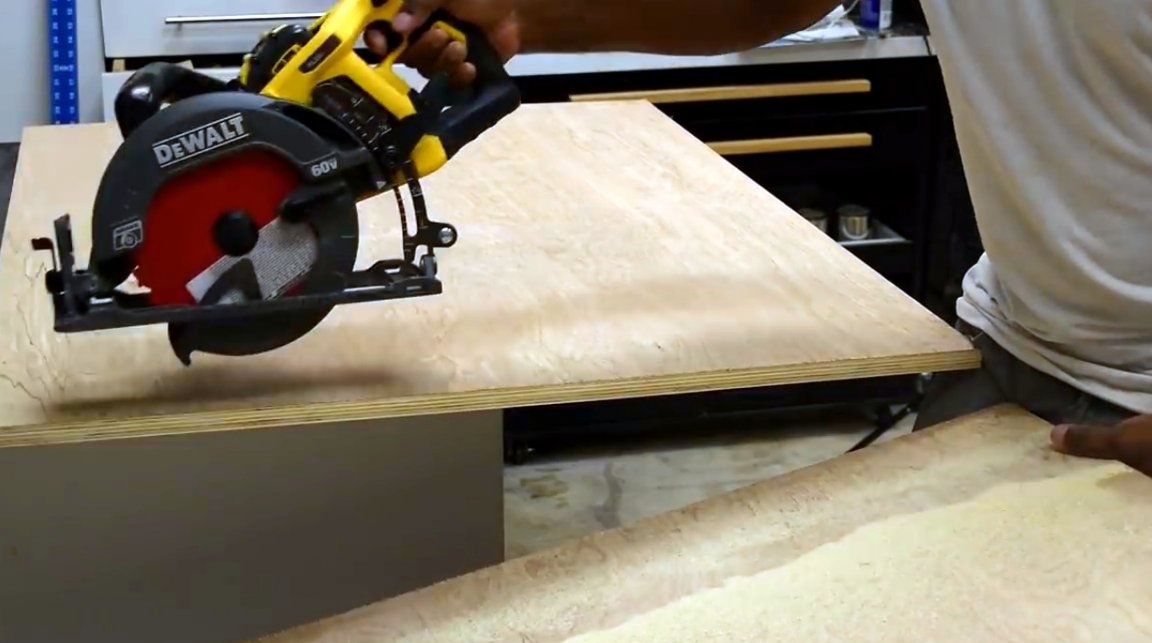
Arcs can be cut with an electric jigsaw or with a band saw. The author chooses the second.
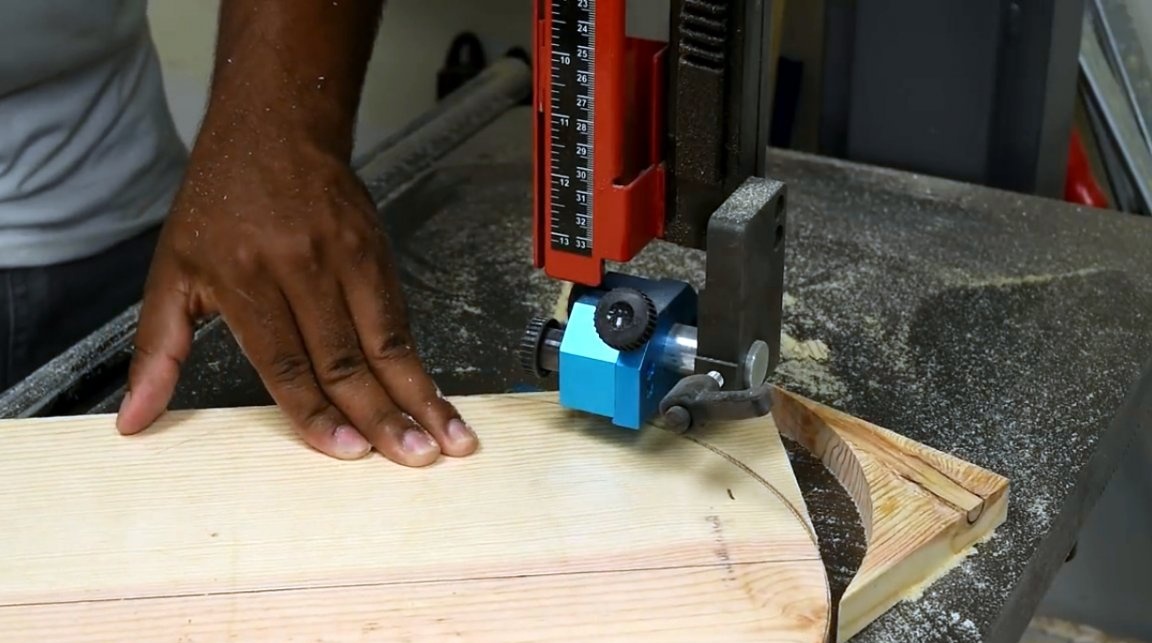
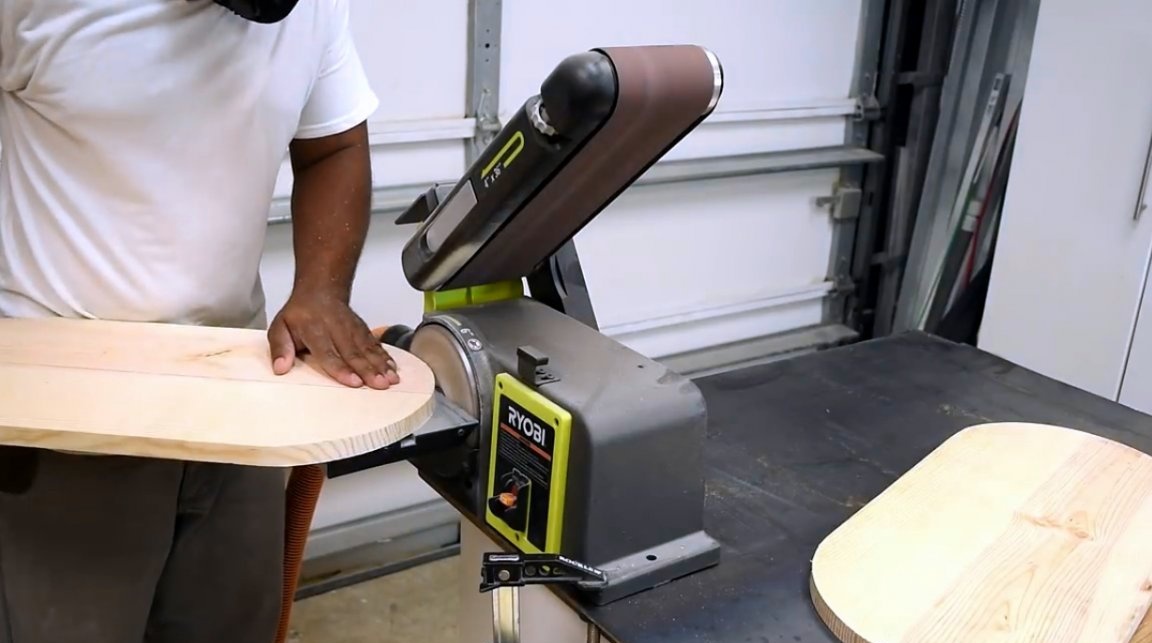
Next is the processing of the cut points on a belt grinder.
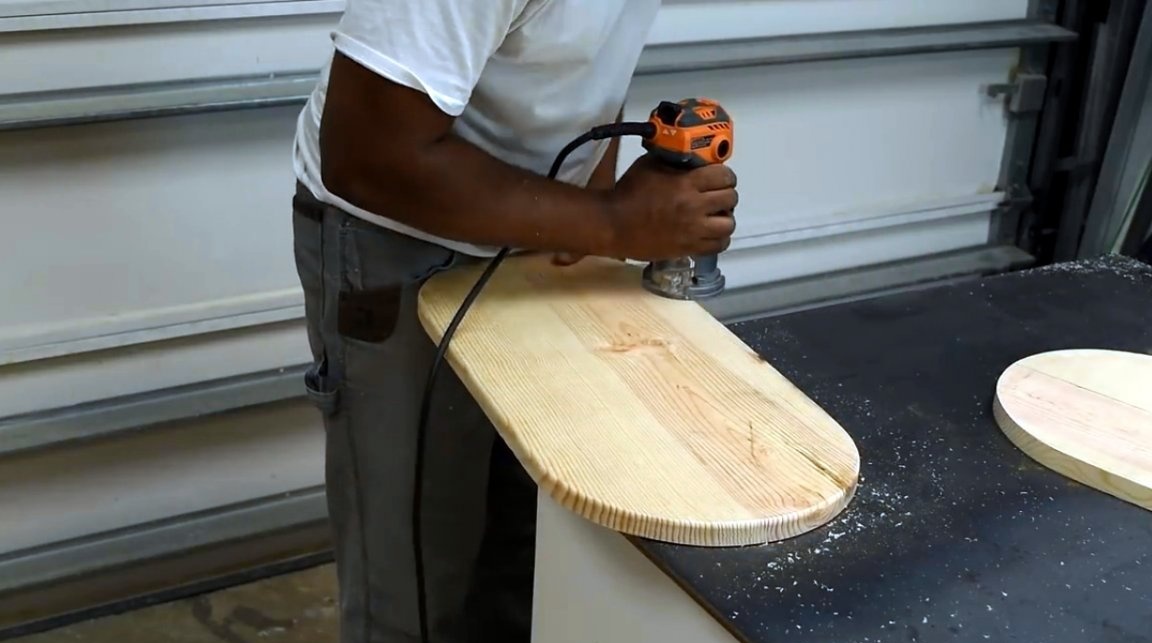
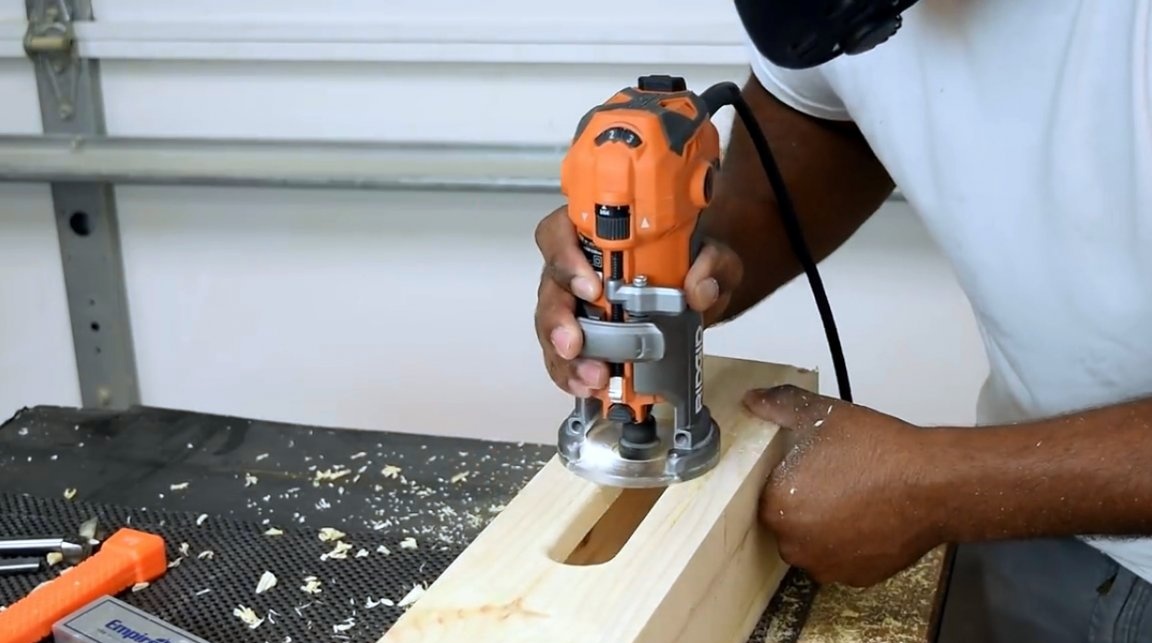
The ribs are rounded off with a radius milling cutter.
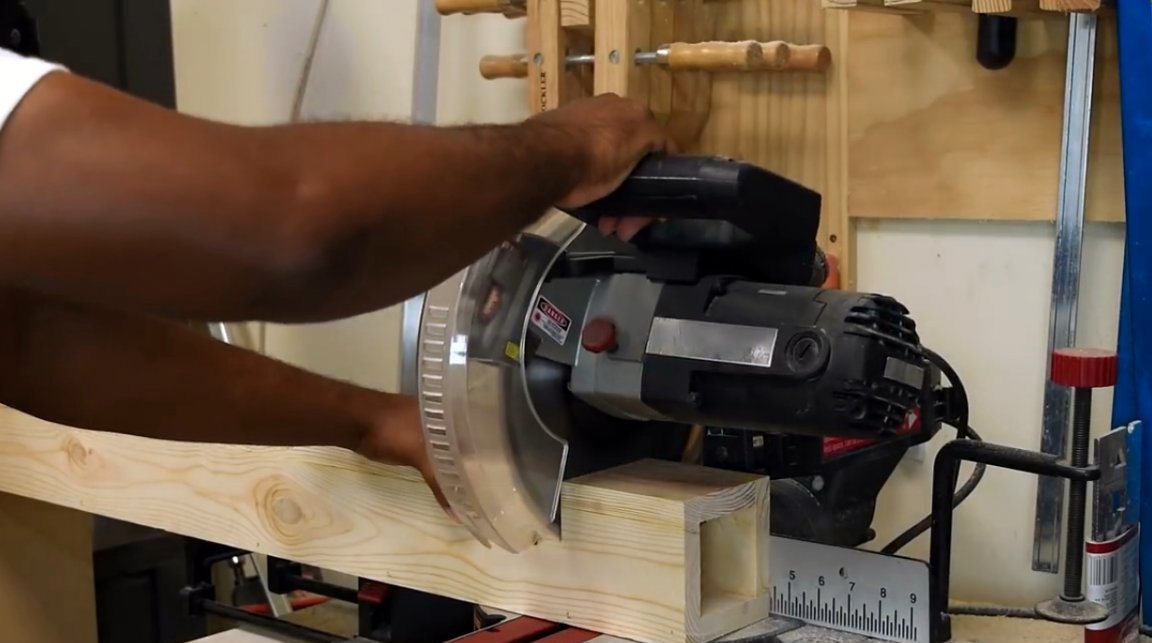
Then the master cuts a small section of the legs, trying to guess with the height of the rack. It should be comfortable in terms of working behind a keyboard.
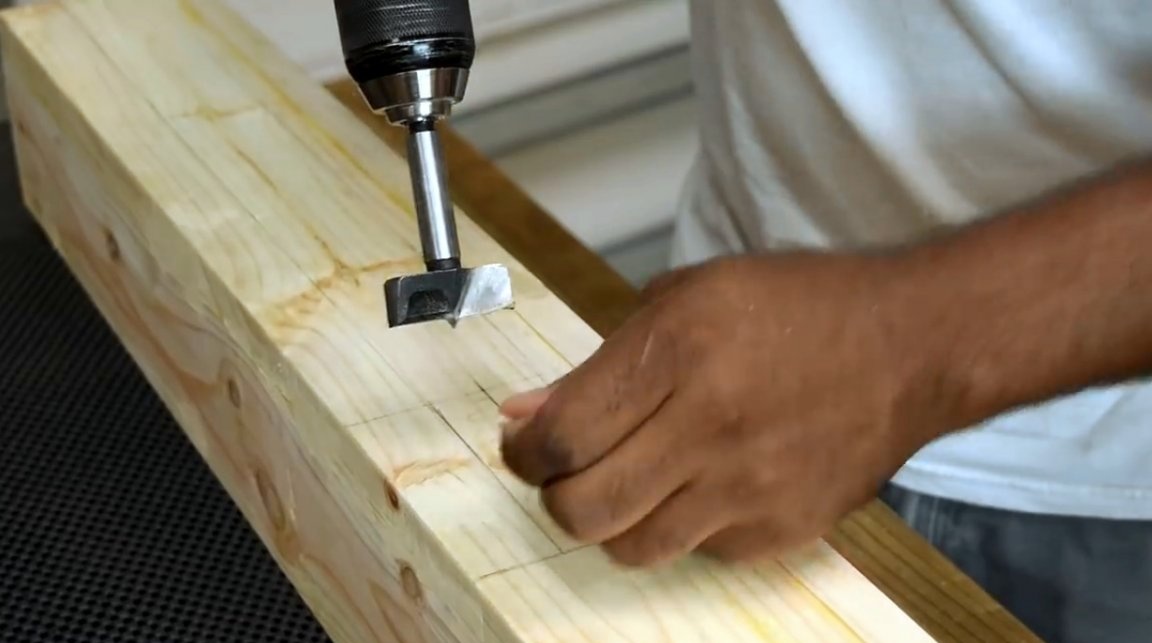
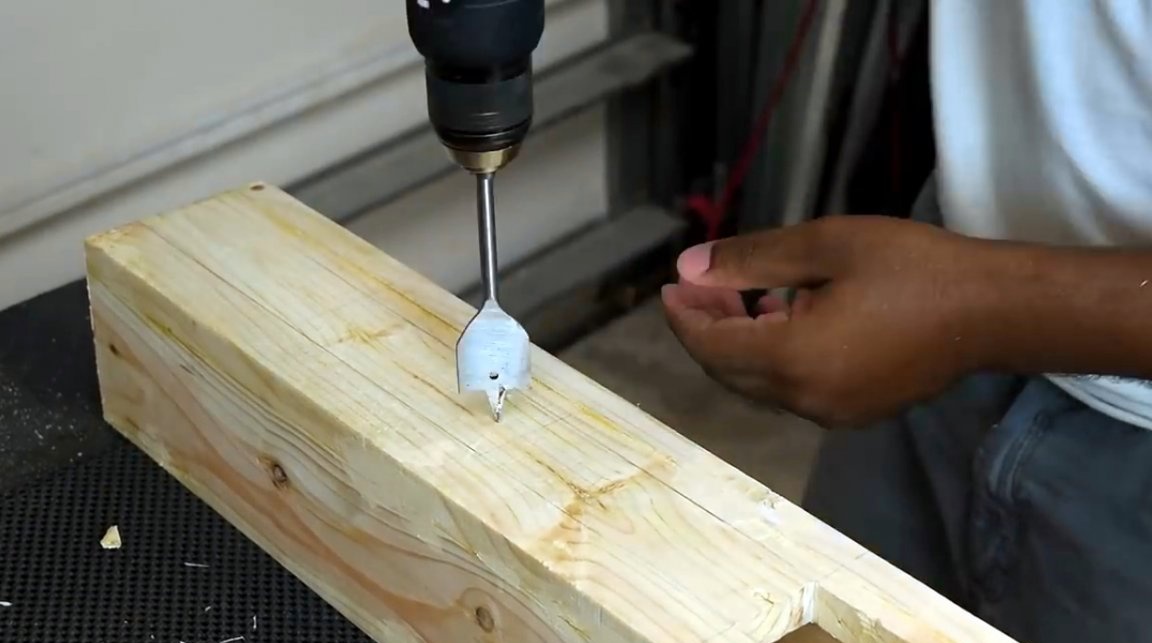
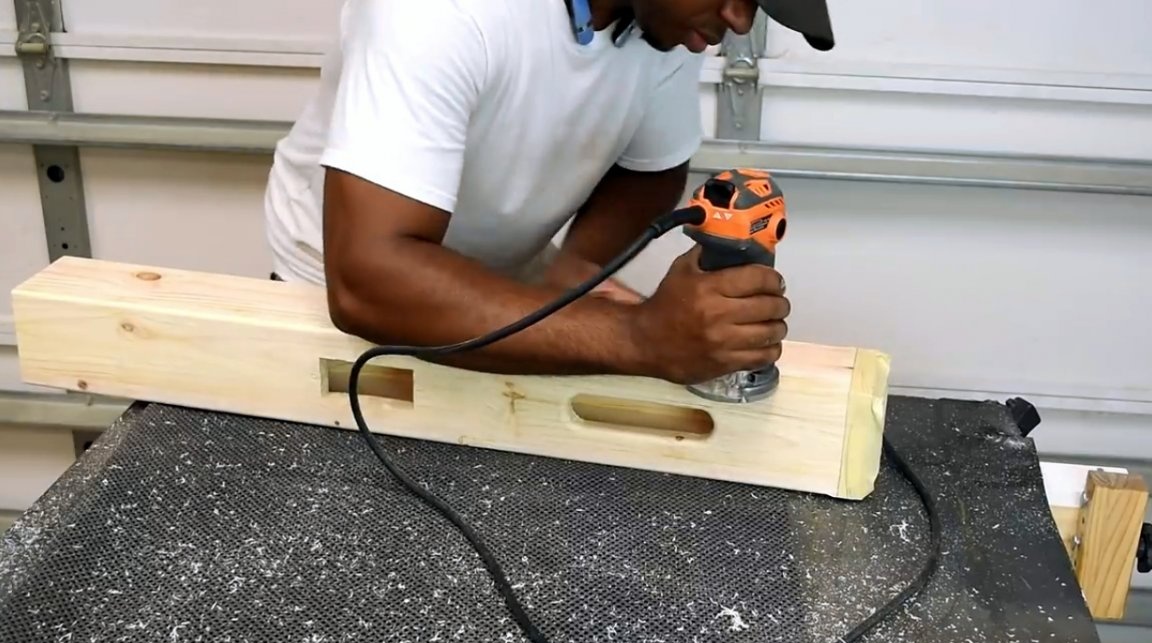
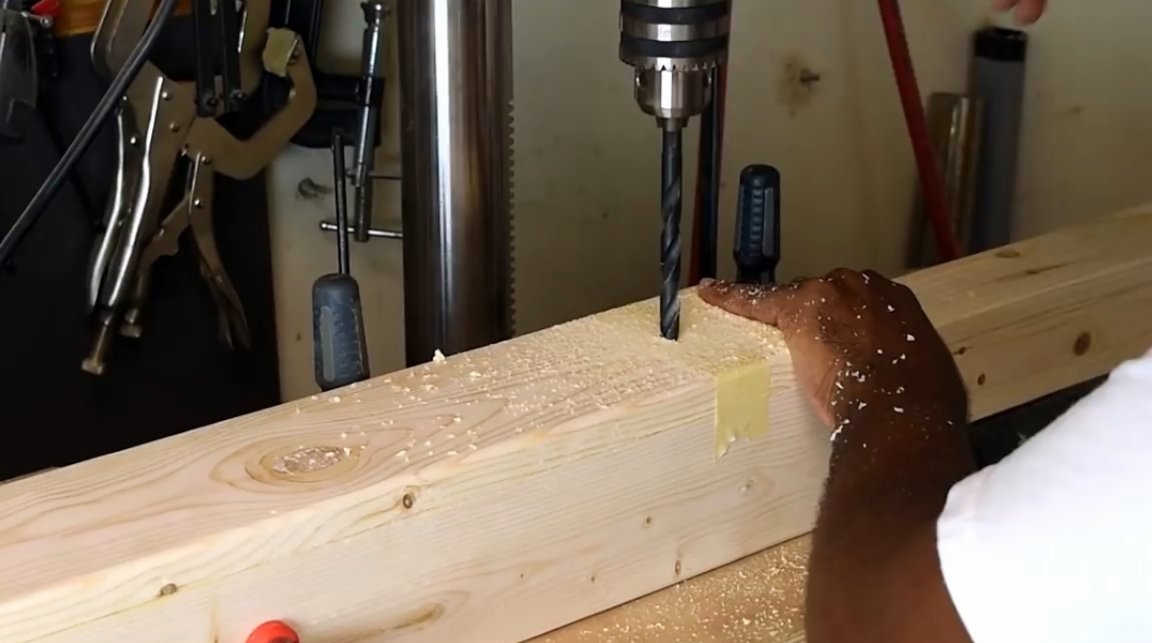
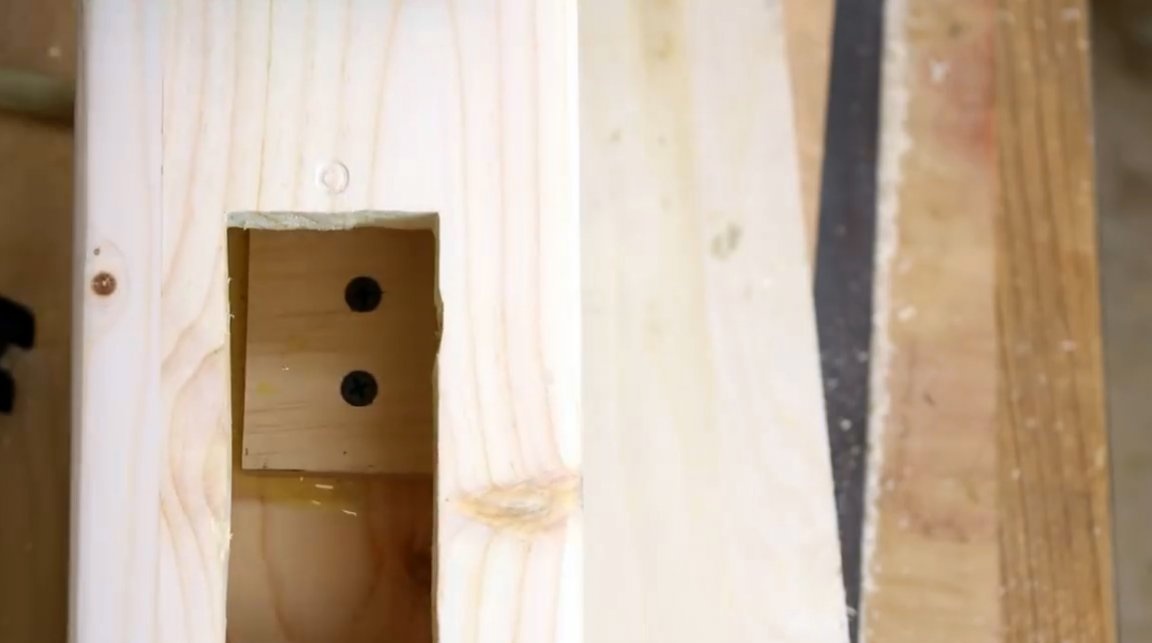
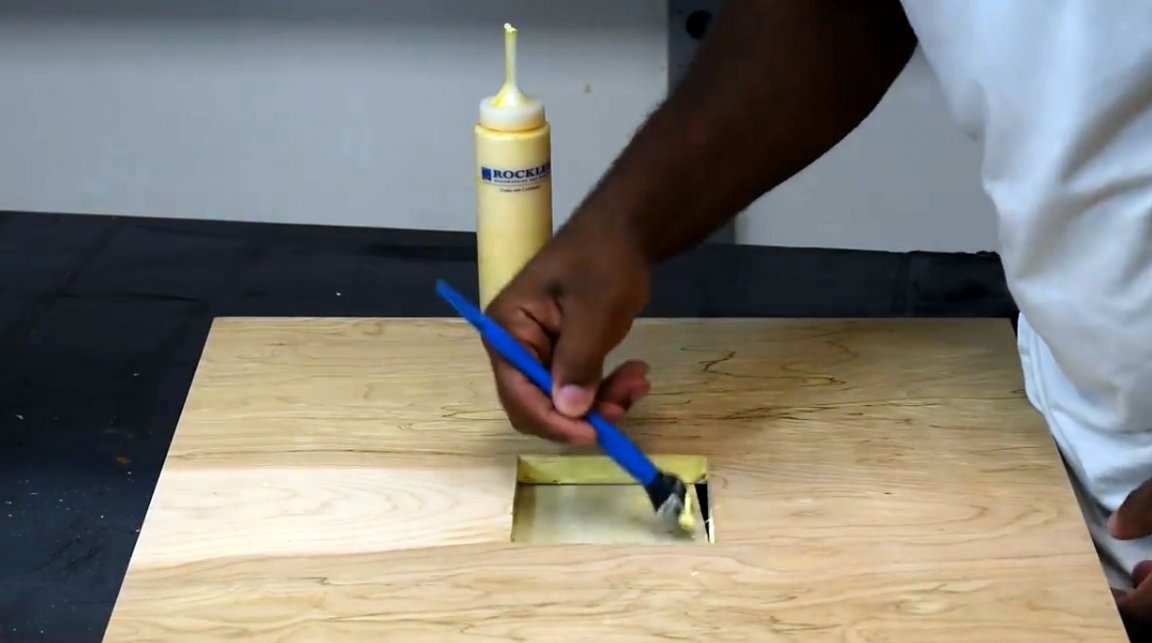
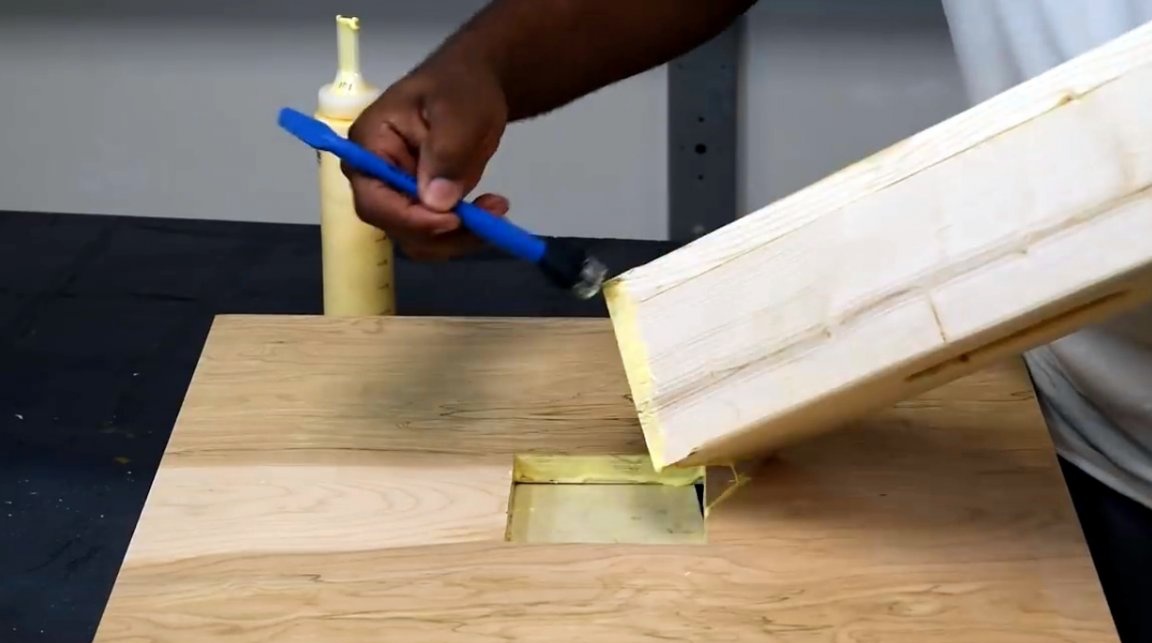
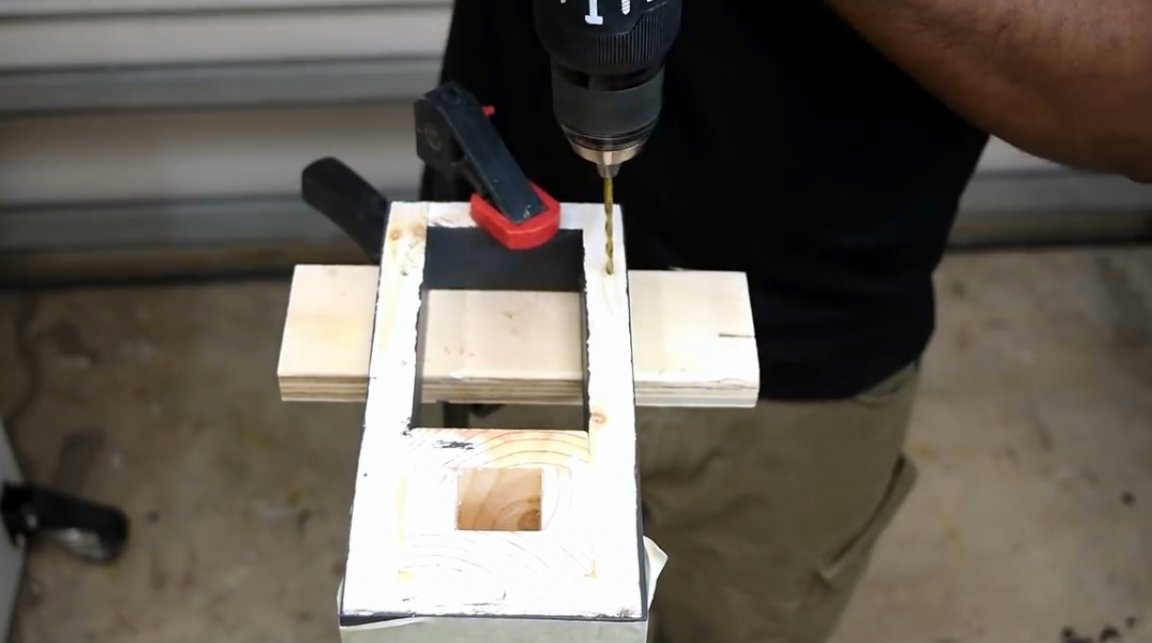
Now he is making a hole for the socket housing using a Forstner drill and an electric jigsaw.

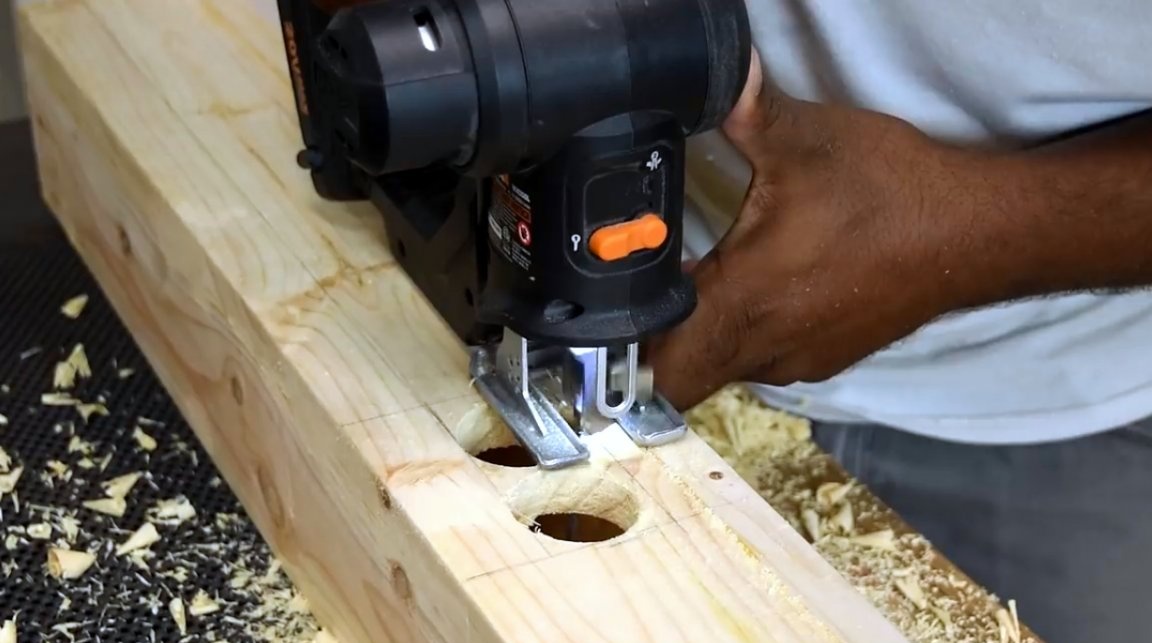
This is followed by a quick check on the alignment of the outlet with the hole.
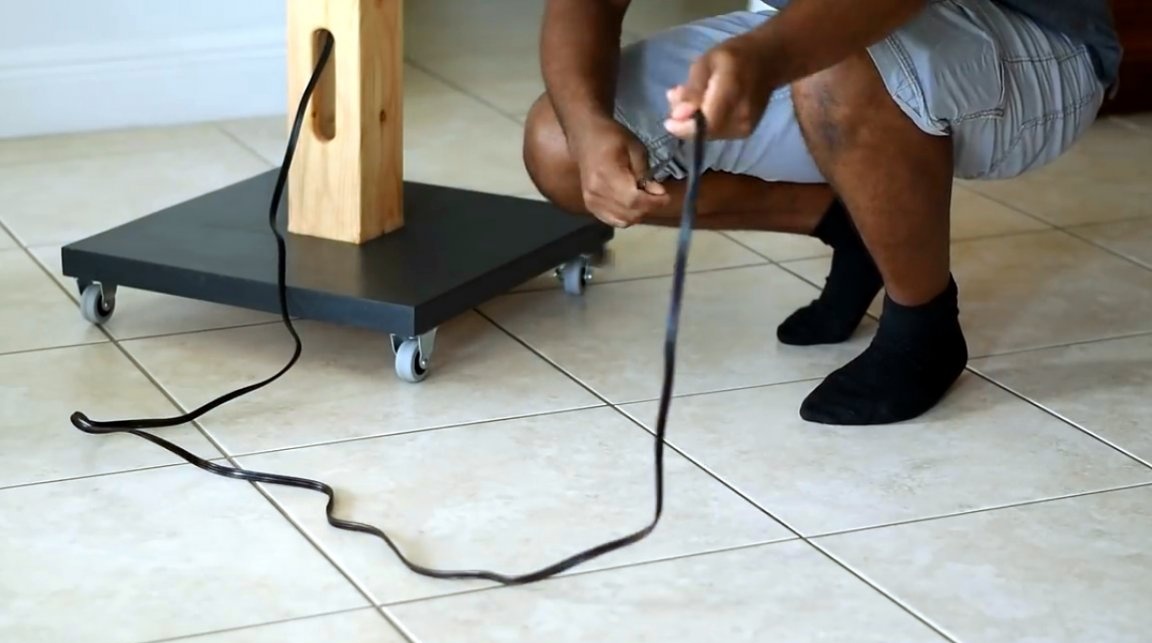
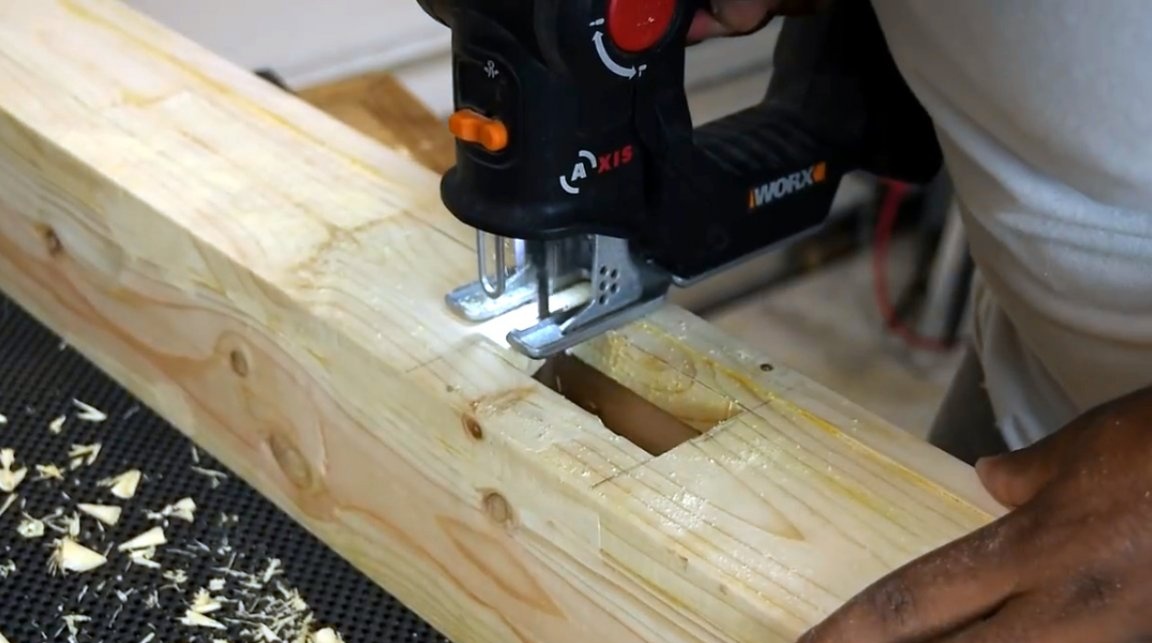
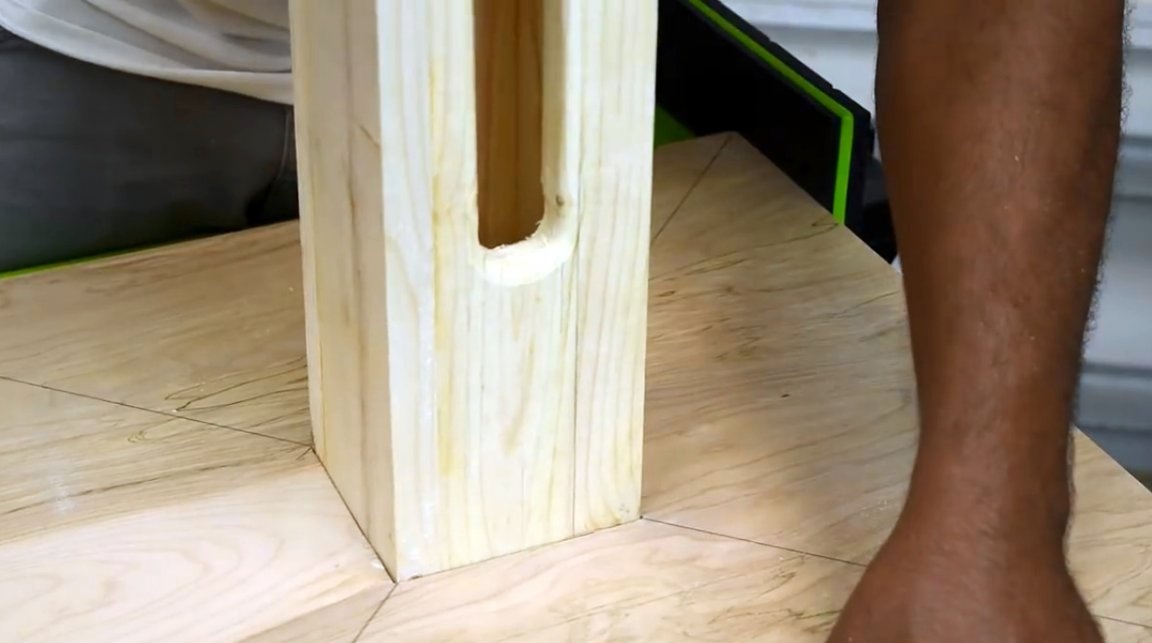
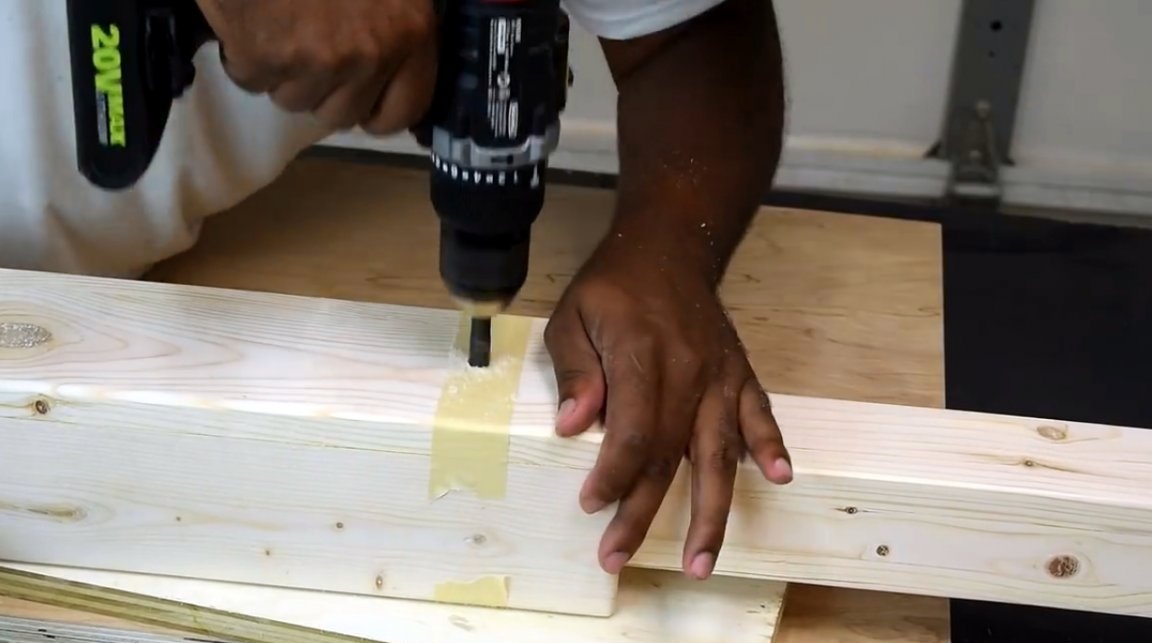
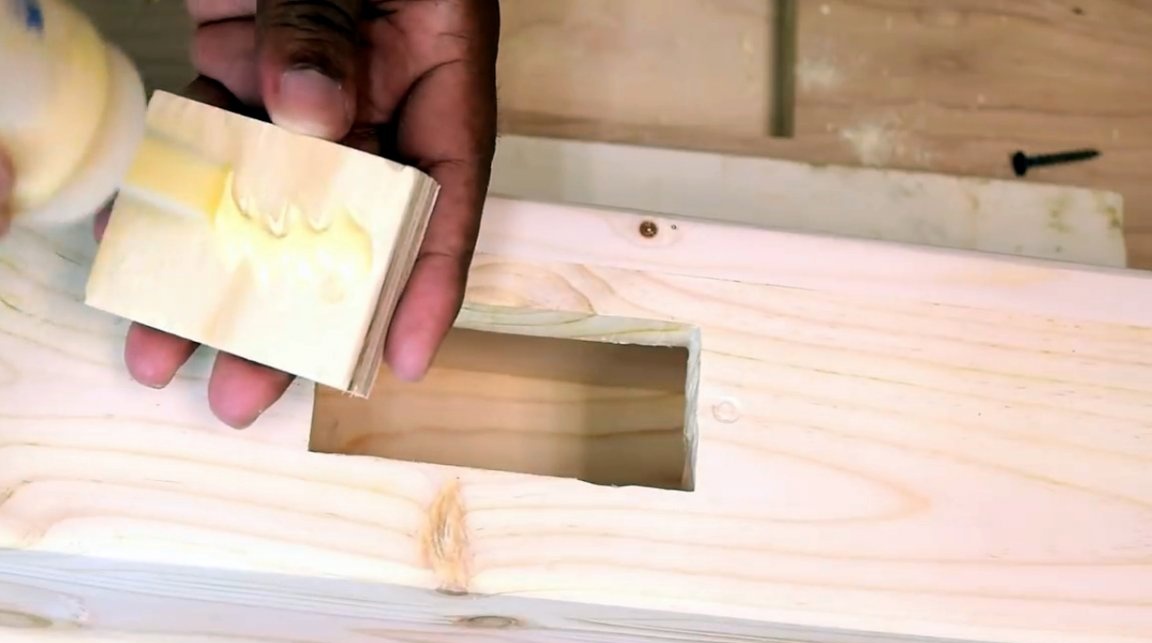
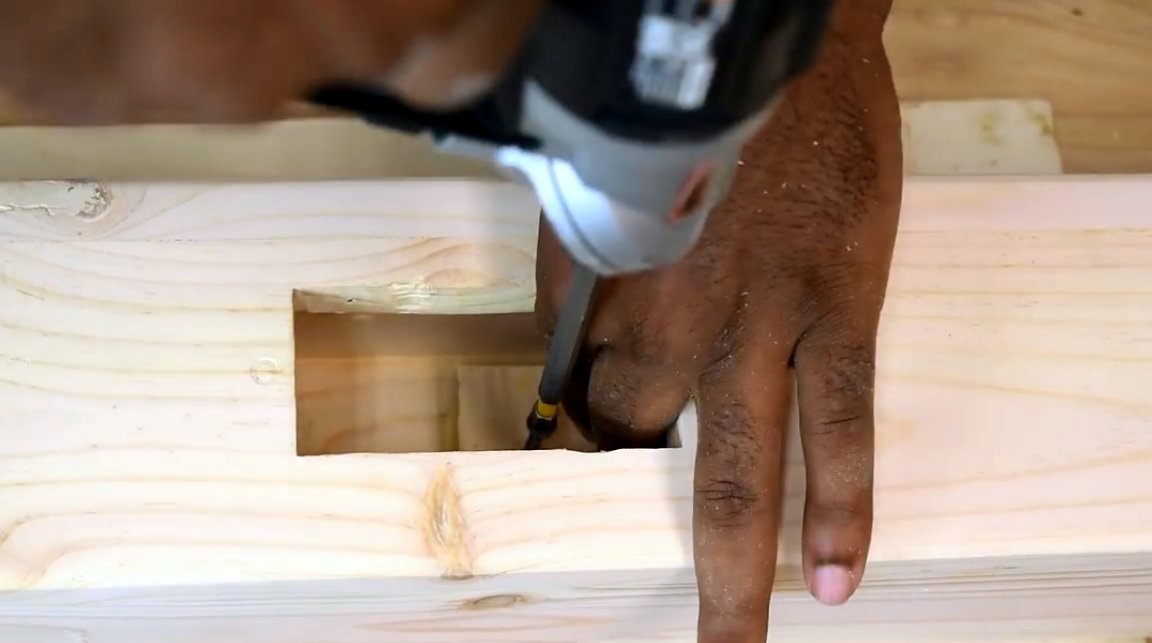
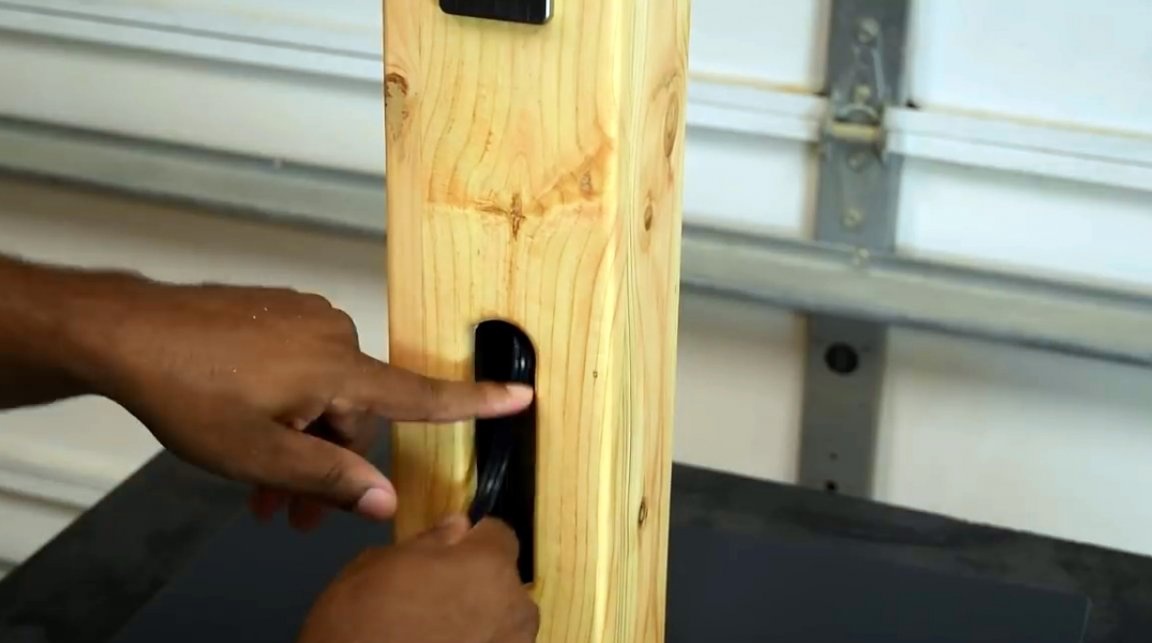
This power cord is several meters long. The craftsman decides to make a special camera for him in the leg of the rack. So, the cord folded in it will not interfere with the transportation of the rack.
The camera will be located slightly below the outlet. Its edges are milled, so that the hole looks pretty decent.

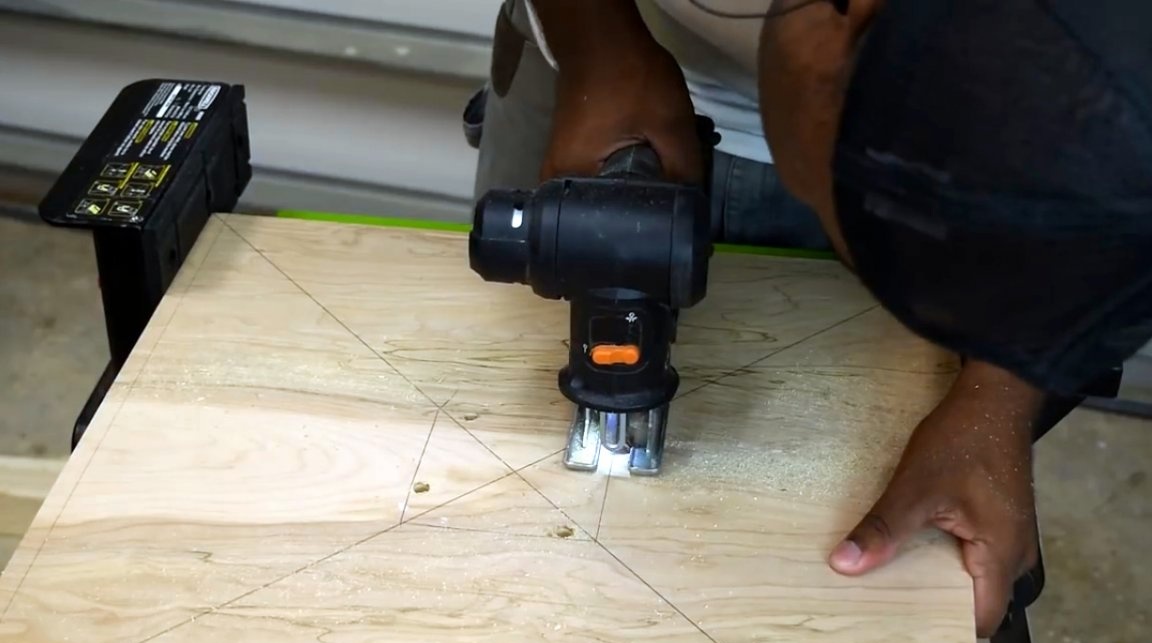
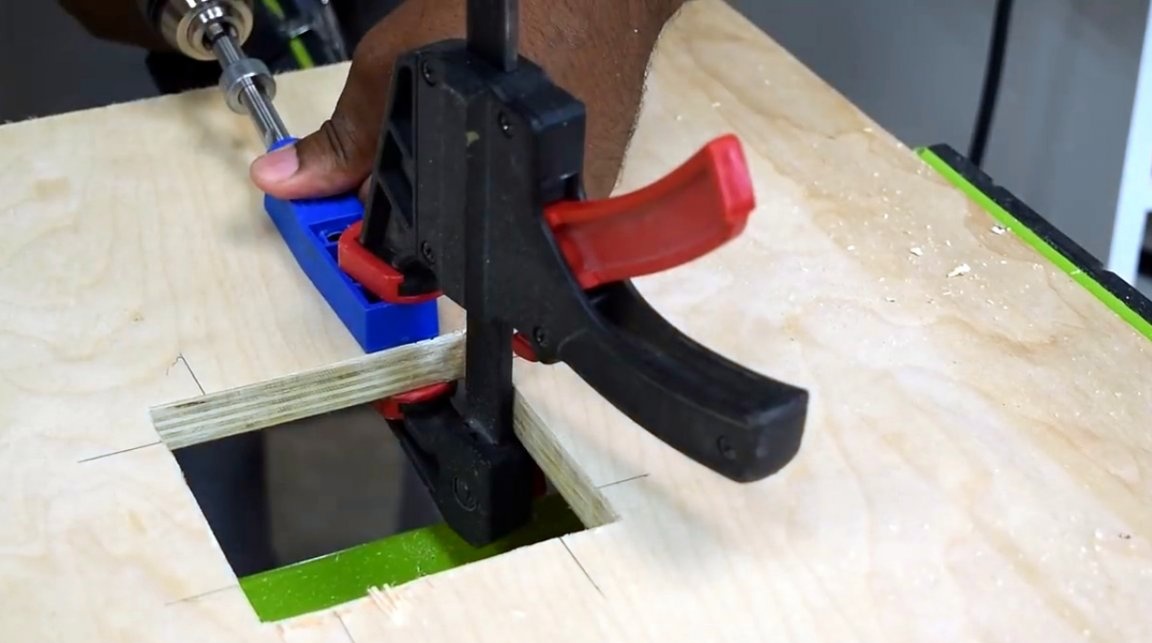
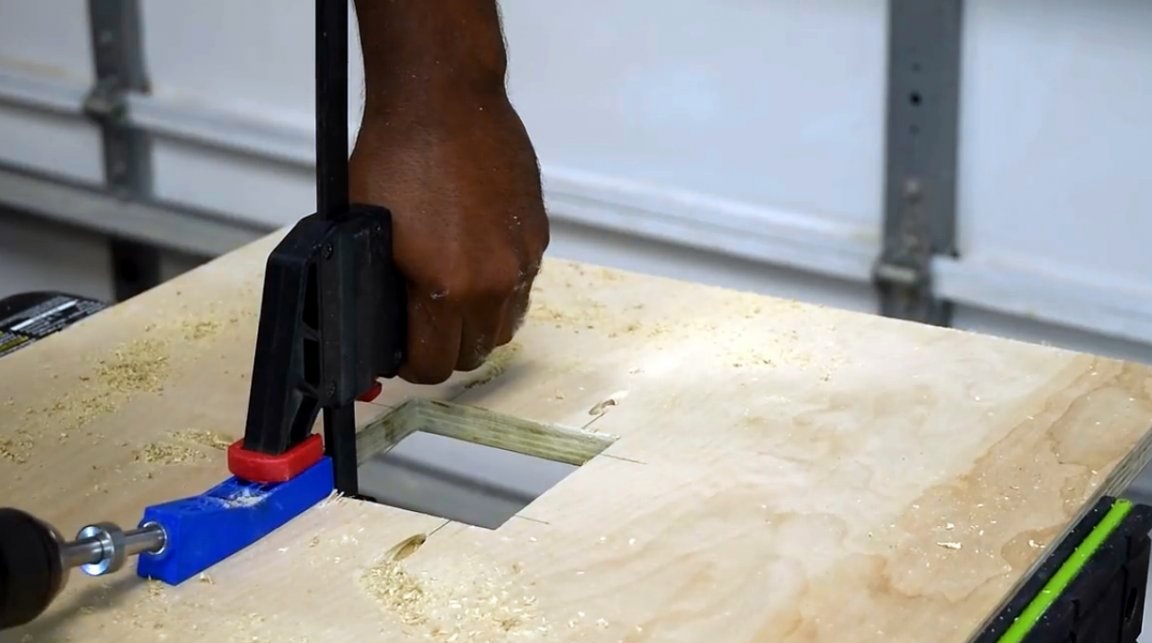
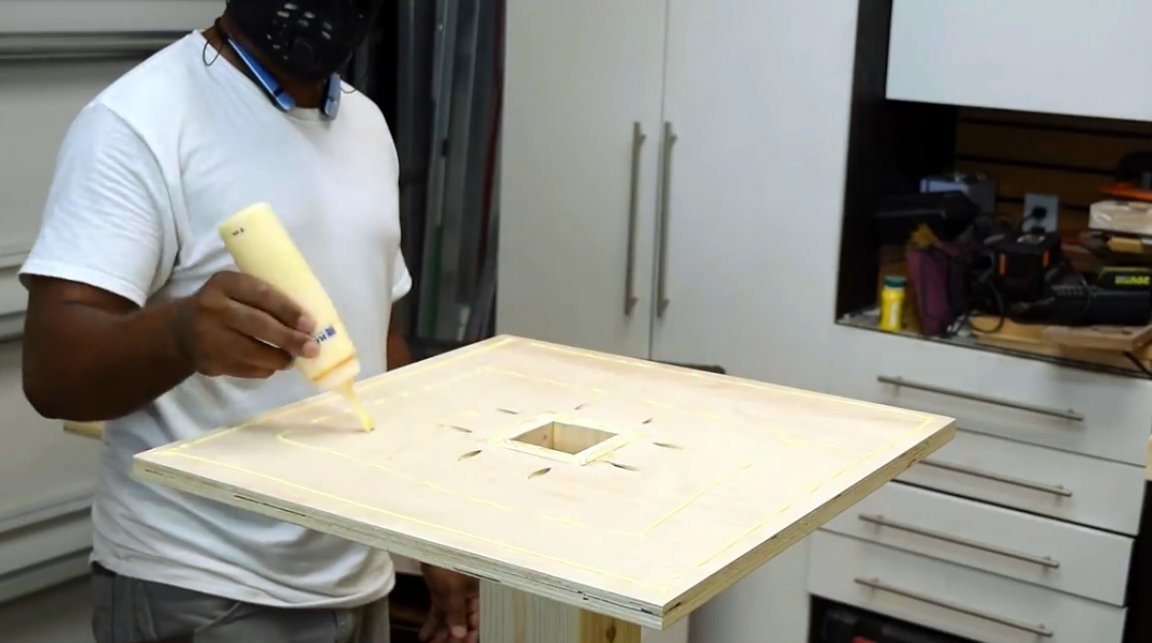
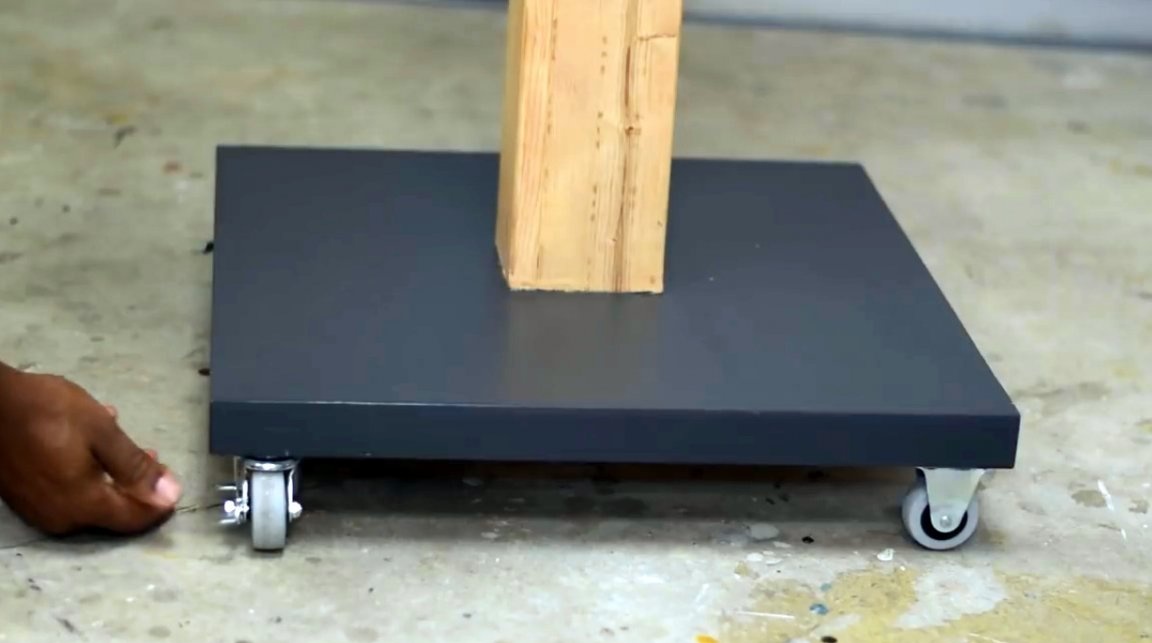
The base of the stand is made of thick sheet plywood. To find the center of the board, the master draws two diagonals and sets the support in a central position, circling it around with a pencil. He also checks with a tape measure how accurately the center is calculated.

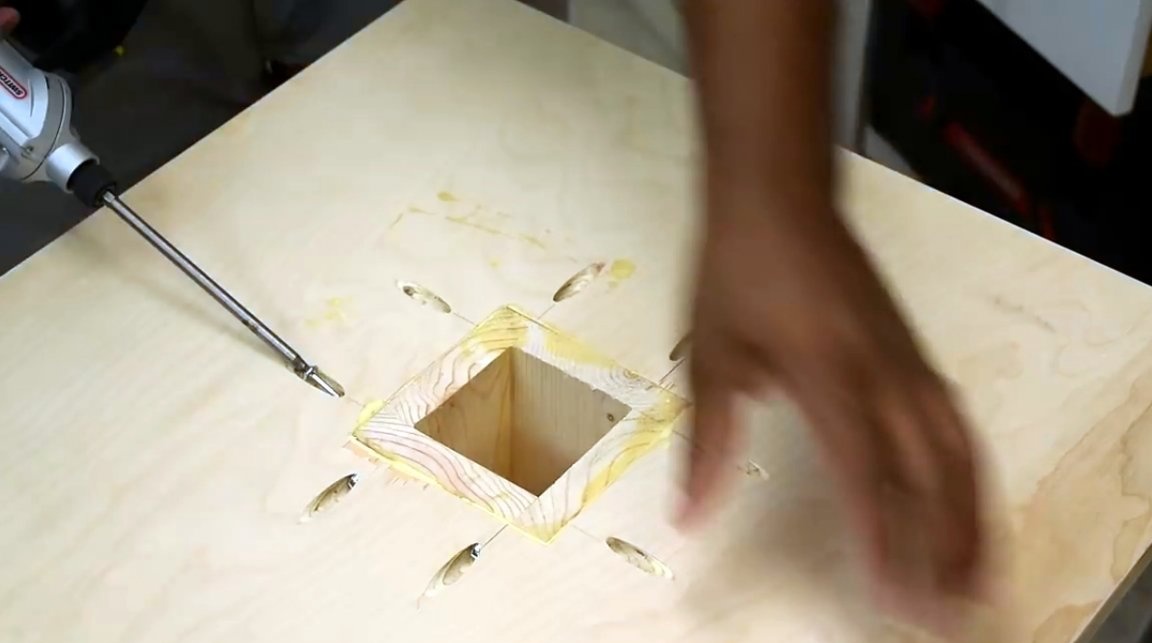
After that, a square hole is sawn in the center.
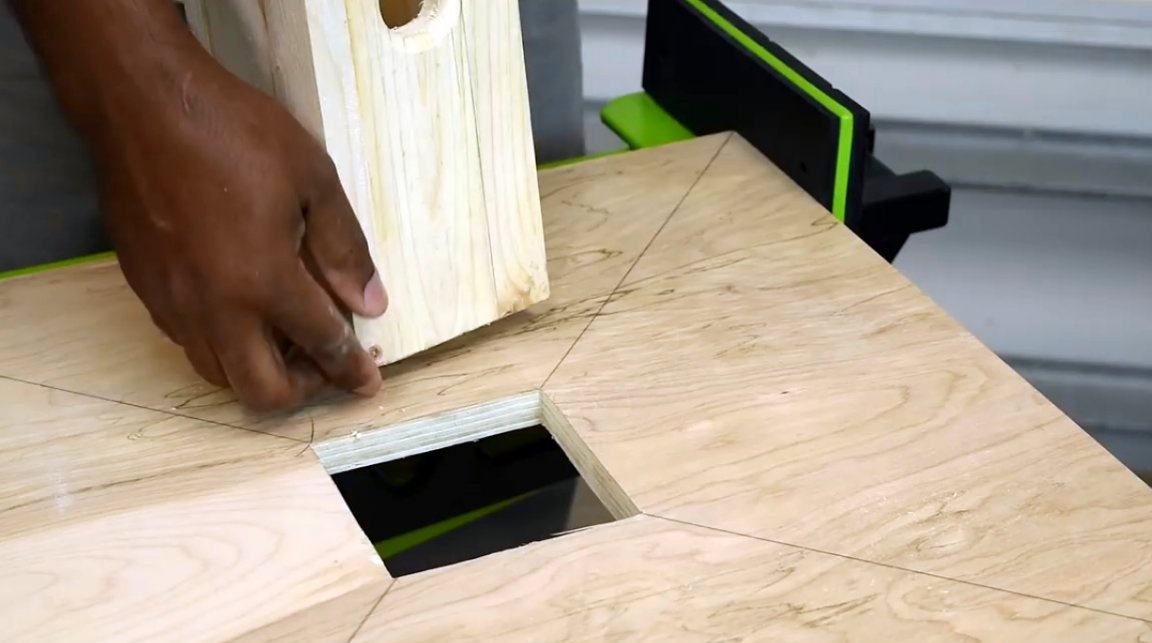
To fix the legs on the platform, it took only 8 screws screwed in using the pocket connection method.
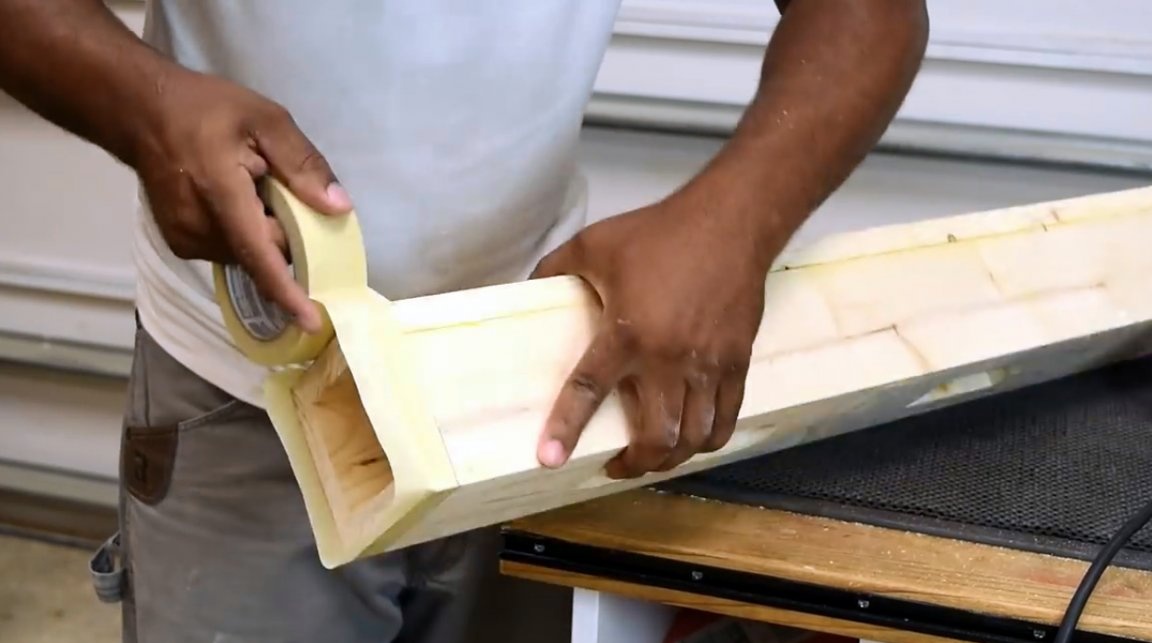
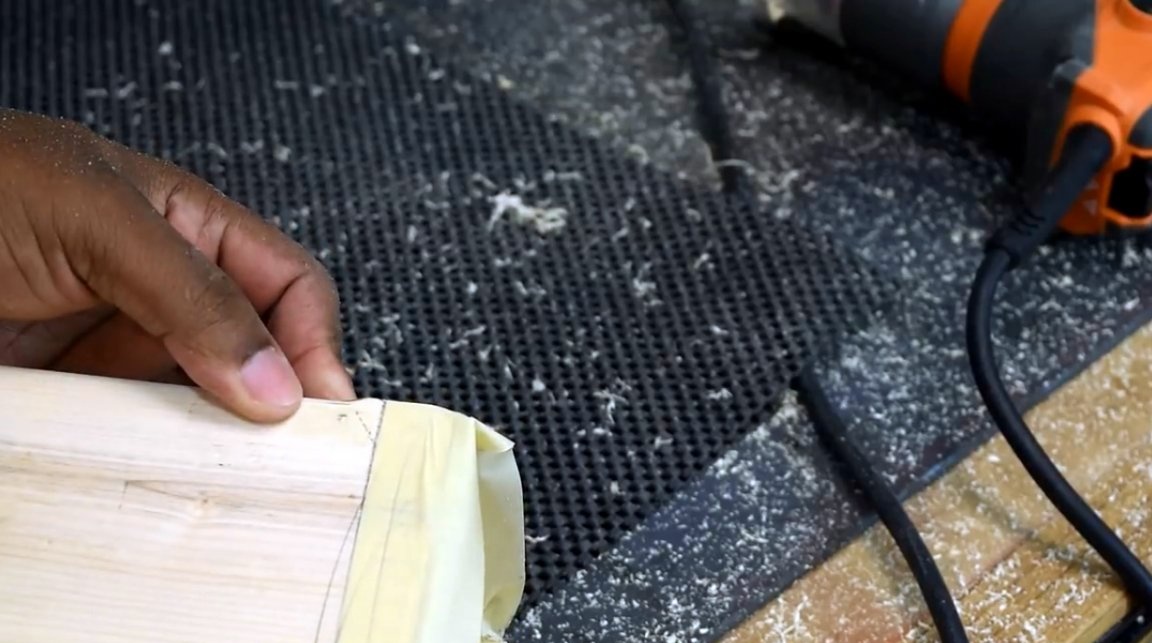
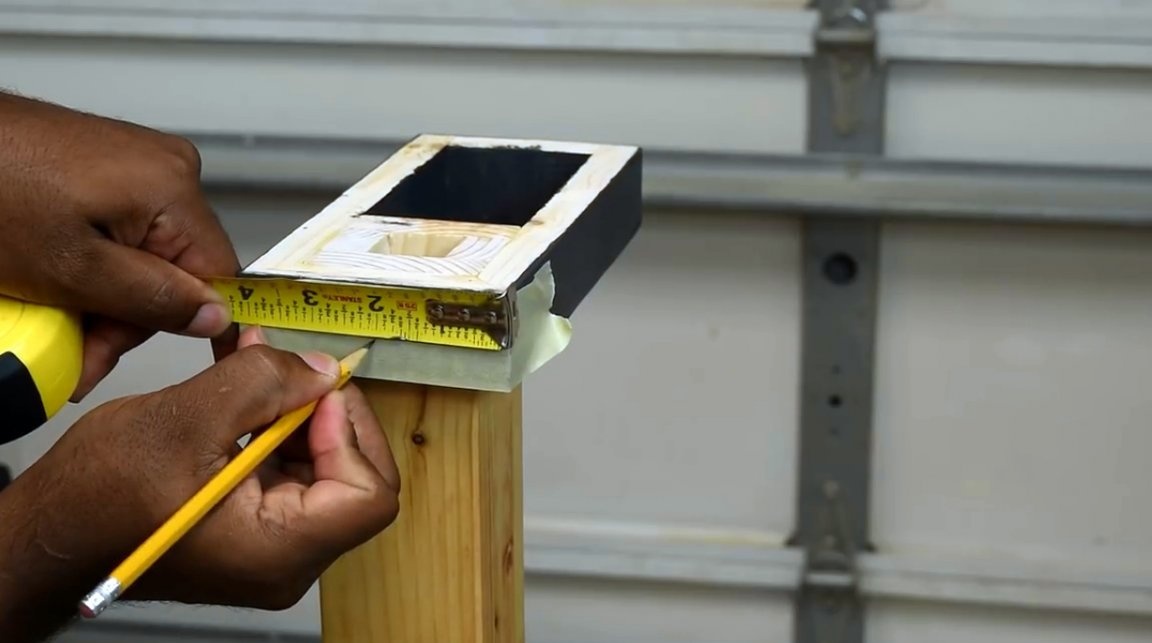
But first, he seals the lower part of the support with masking tape. So the author sets a mark to which it is necessary to process the support ribs with a milling cutter, since the rest will be immersed in a tree.
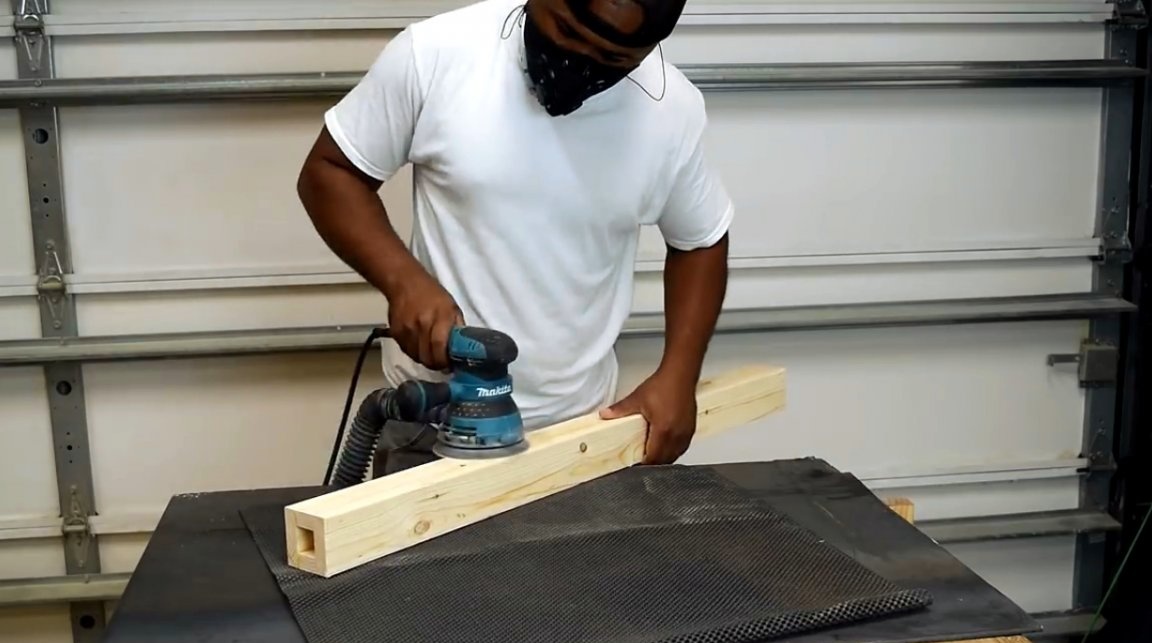
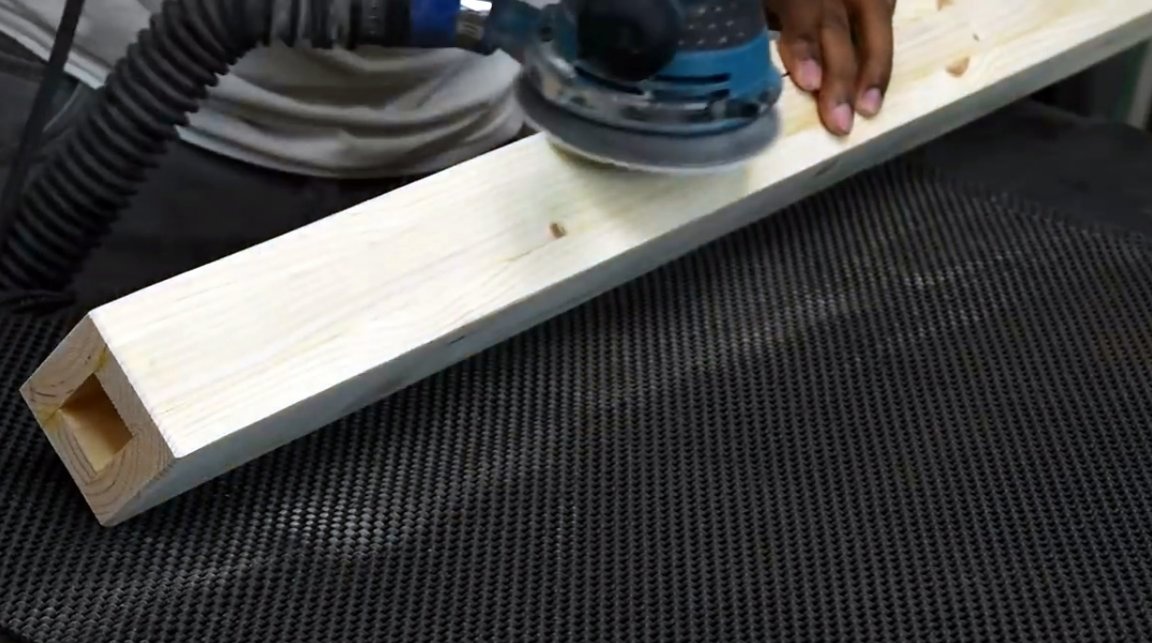
All surfaces of racks are polished by an orbital machine.
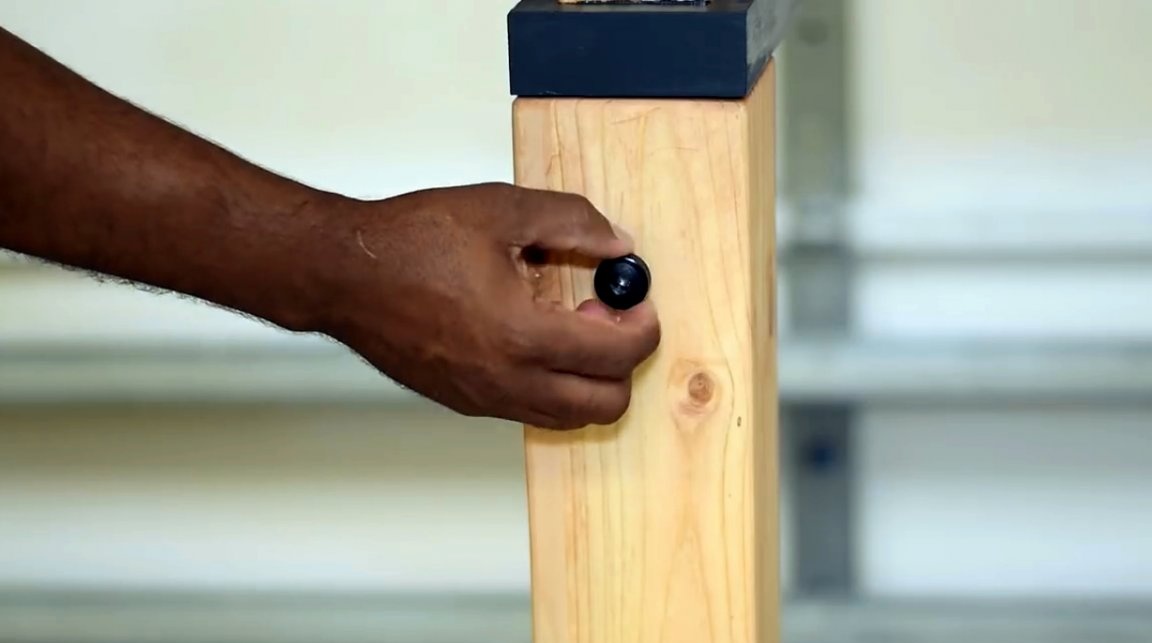
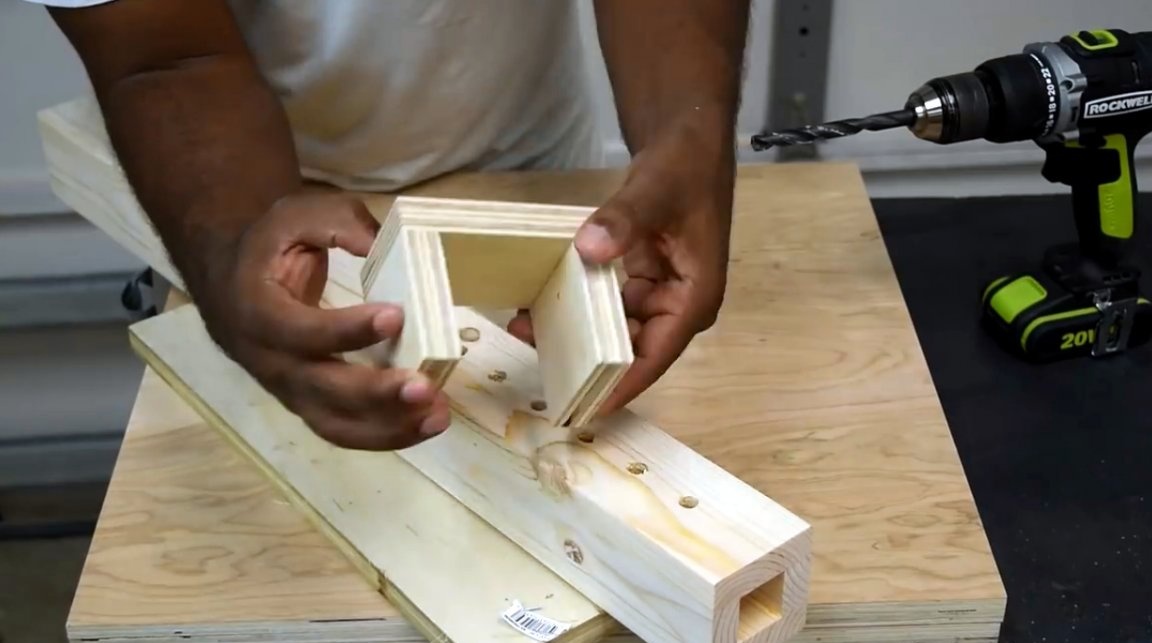
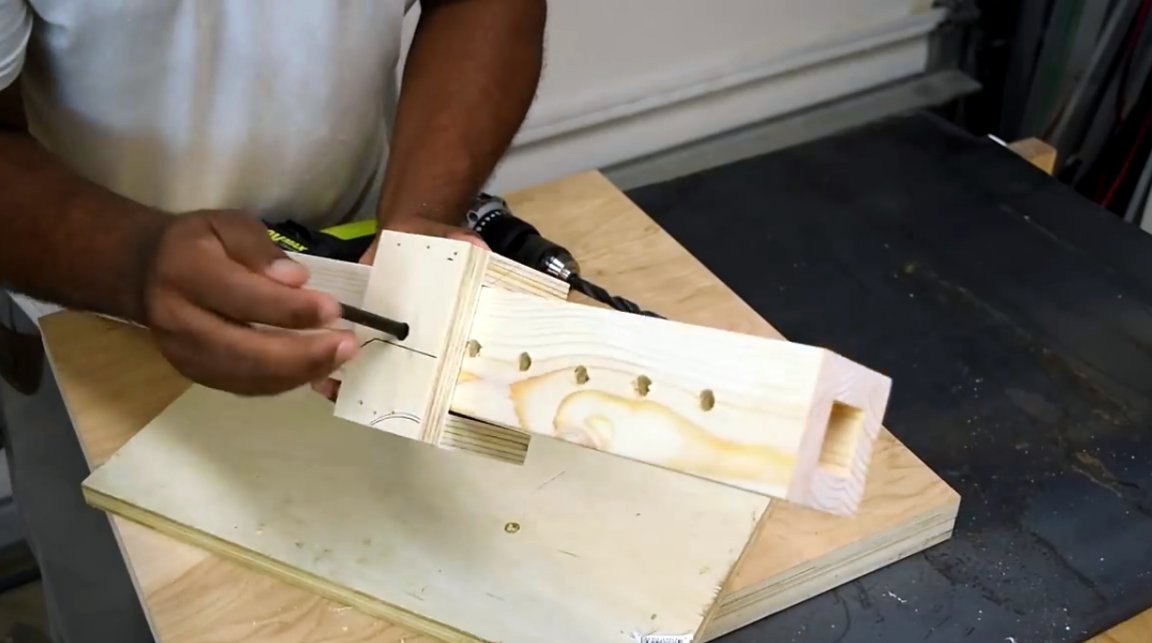
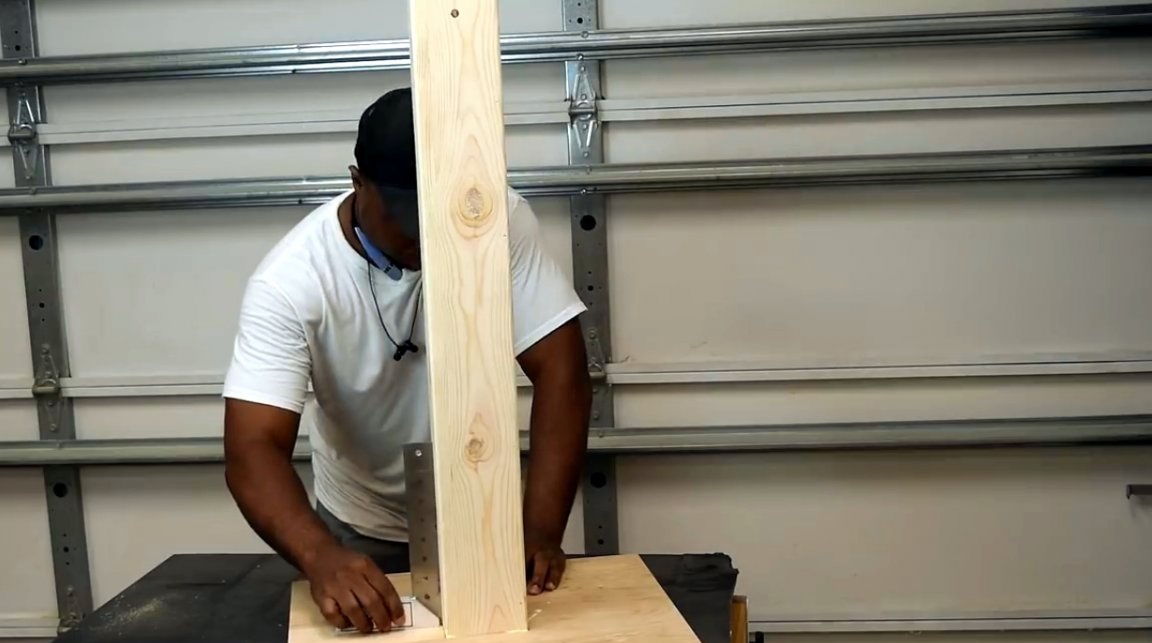
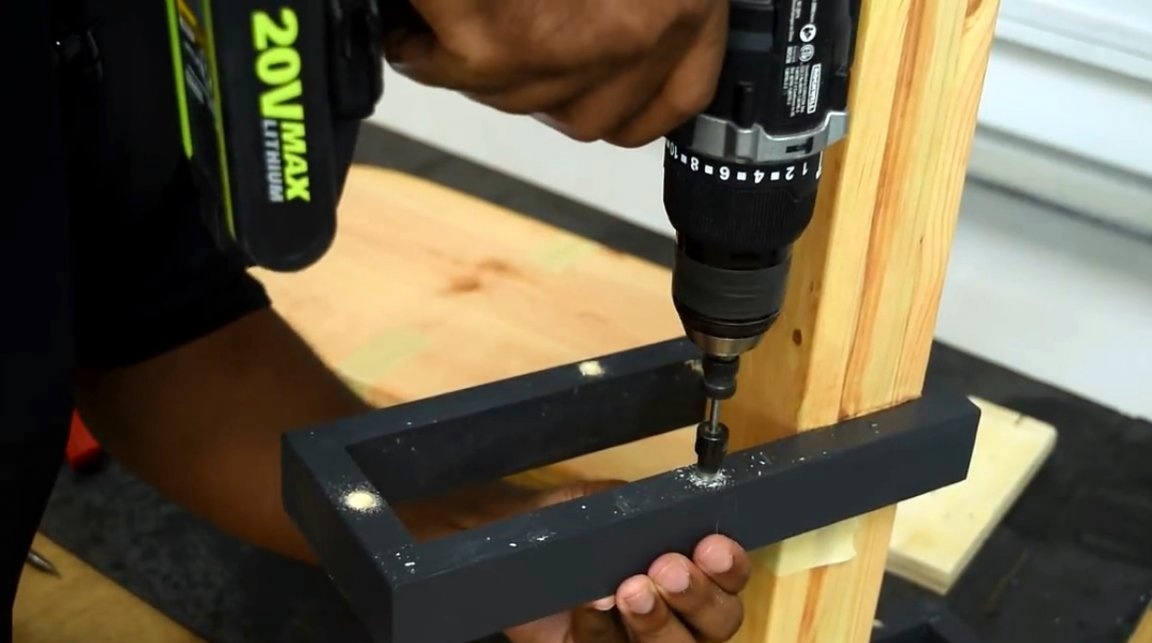
It is very important to correctly install this part of the structure. The master drills a hole that should be slightly larger than the diameter of the fixing bolt.
He states the fact that he can’t drill a through hole in two sections at once - external and internal. Therefore, he decides to drill when the drill gets stuck, and then switch to a hand drill.
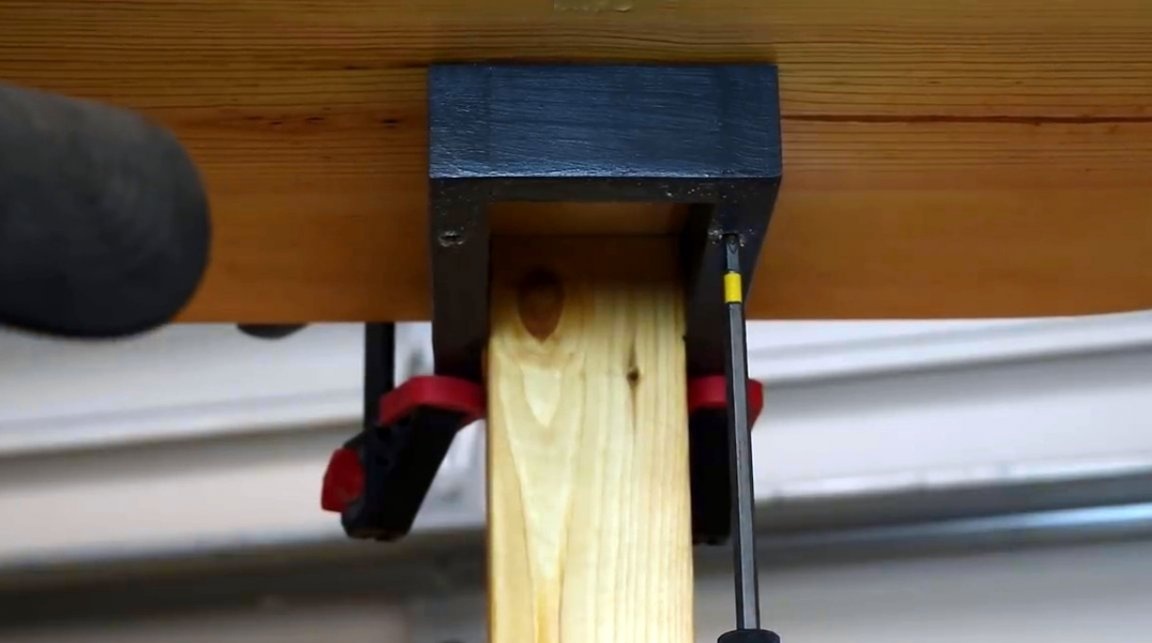
Now it is necessary to limit the degree of immersion of the inner section in the outer frame. This will serve as a small restrictive block - a plaque screwed to the inner wall of the support.
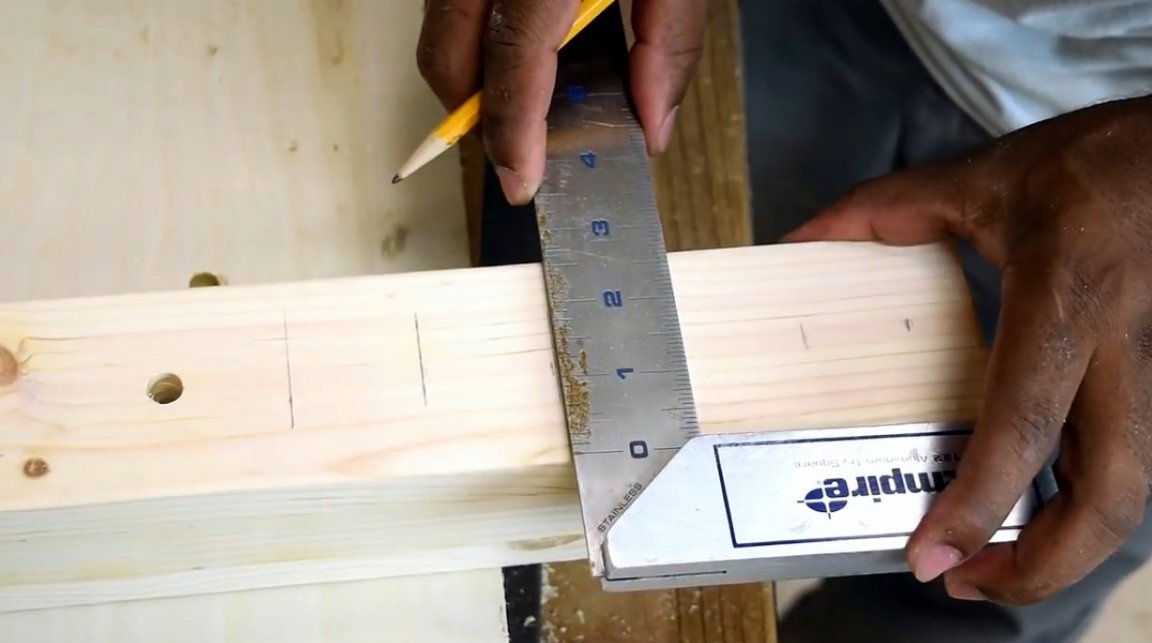
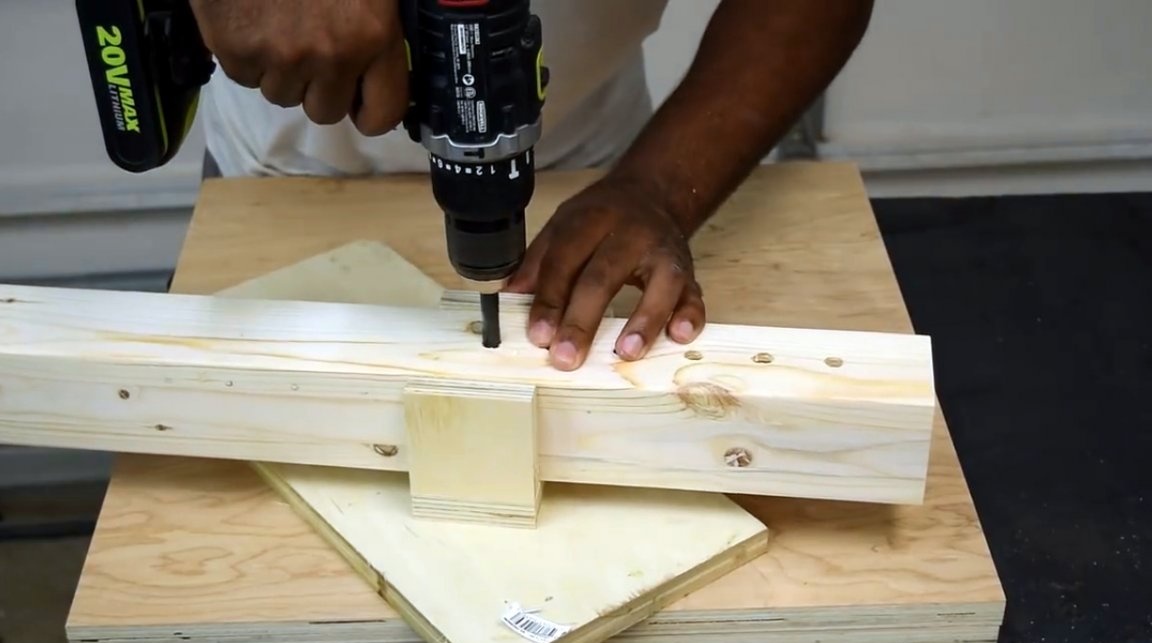
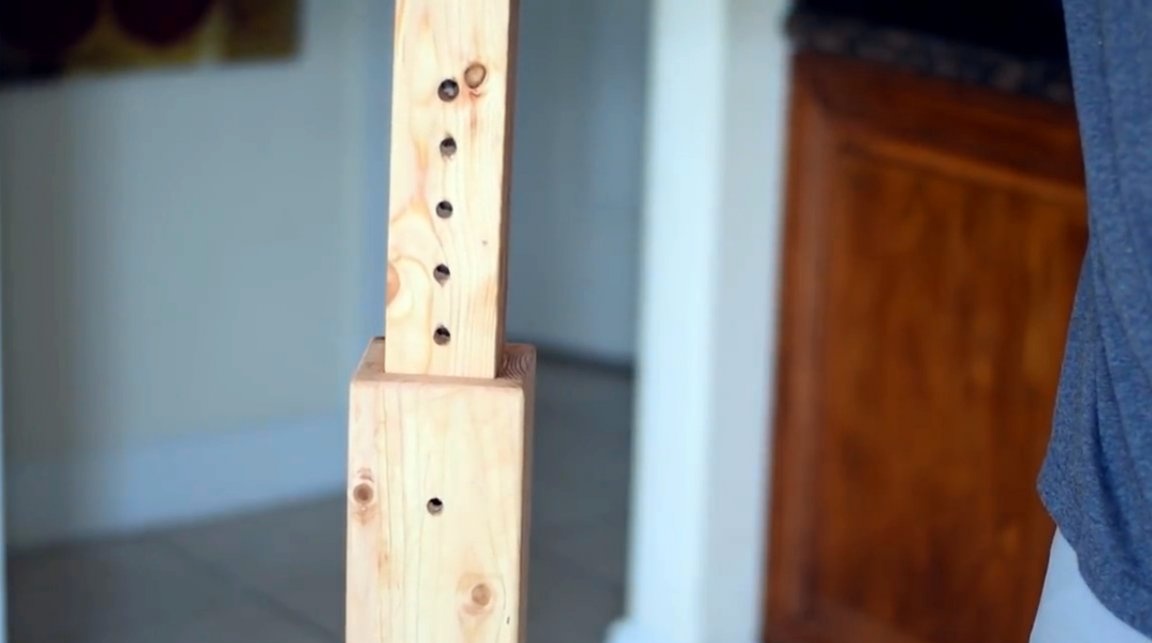
Further, the author marks the location of additional holes, based on the assumption that there will be an interval of 40 mm between them.
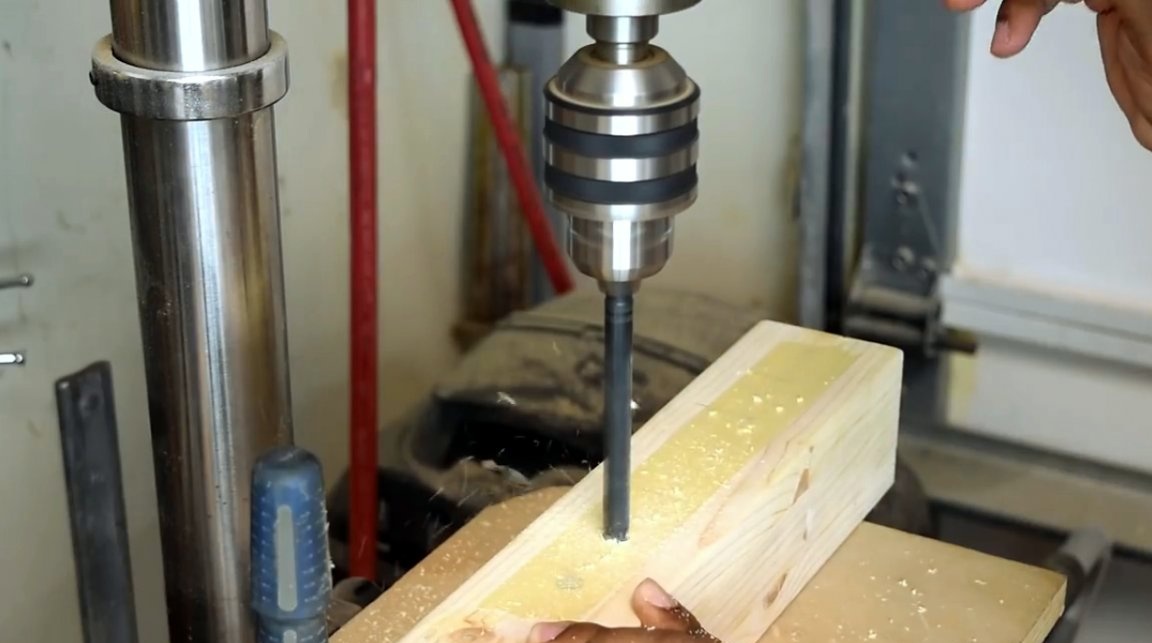
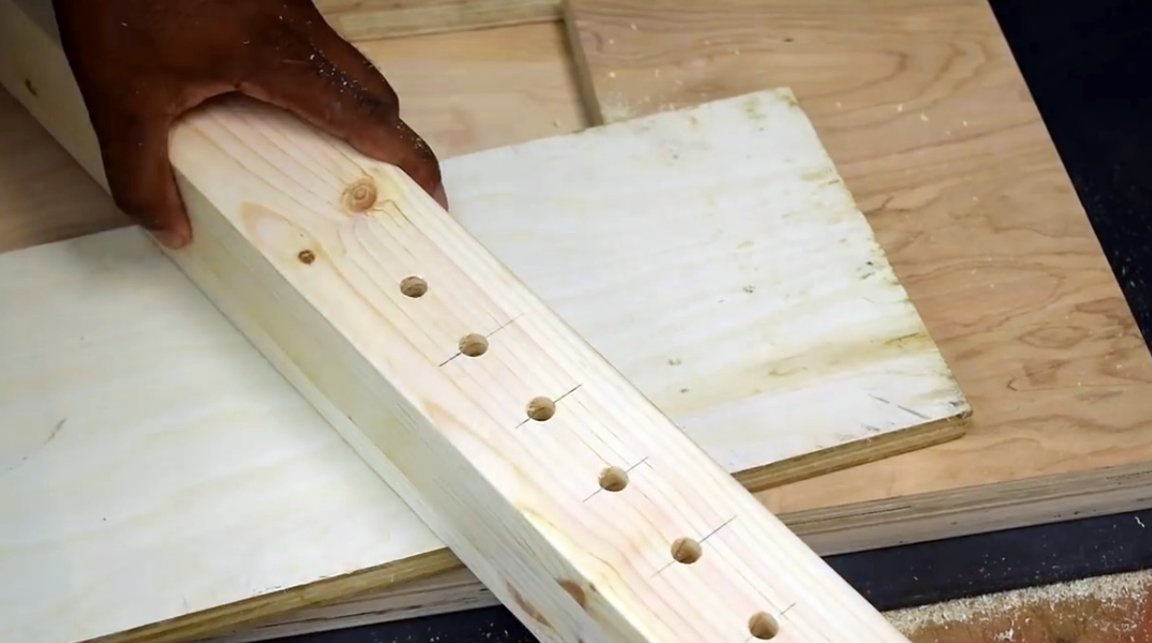
Not everyone has a drilling machine to make all of these holes. The author has an idea how to achieve the same effect without the aforementioned device. He makes pieces of plywood like this device and puts it on the support body.
Using the first and only hole through which he passes the drill of a hand drill, the master drills a through hole in the device itself.
After that, using the finished sample, he drills all the other holes in the leg of the rack.
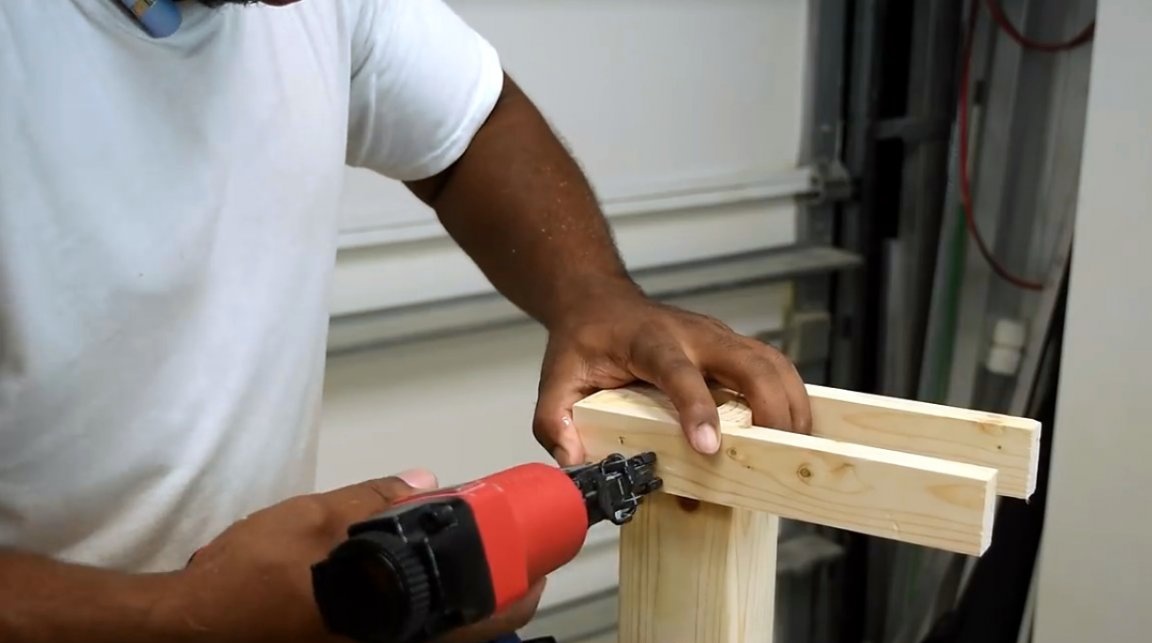
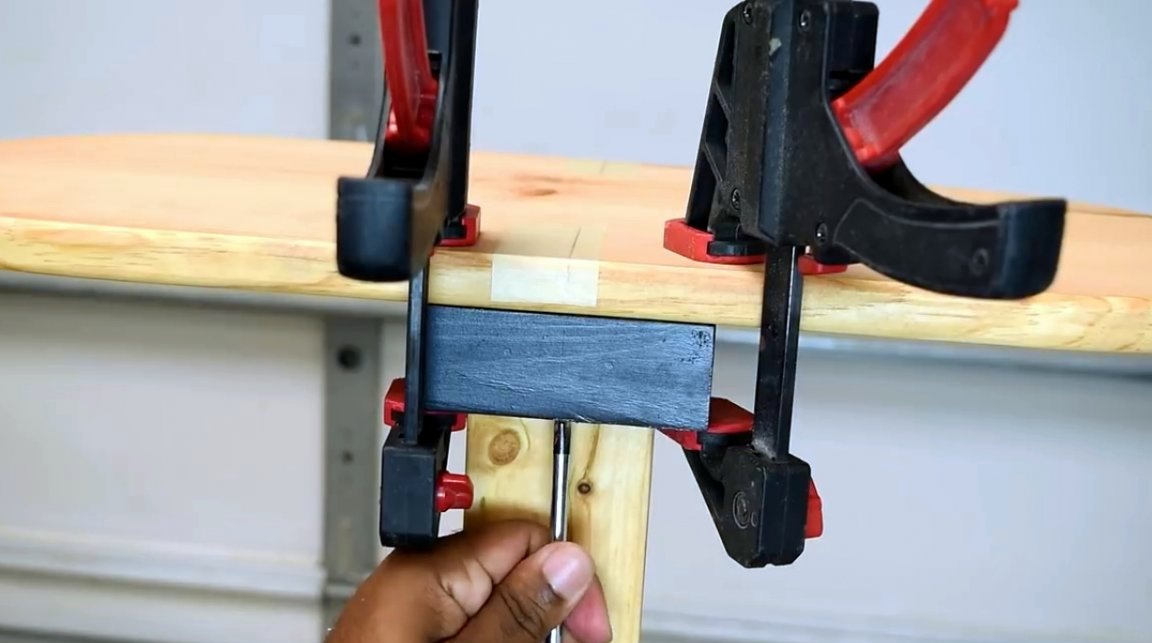
Next, the support is mounted on the base of the rack. It is glued and additionally tightened with screws through pocket holes.
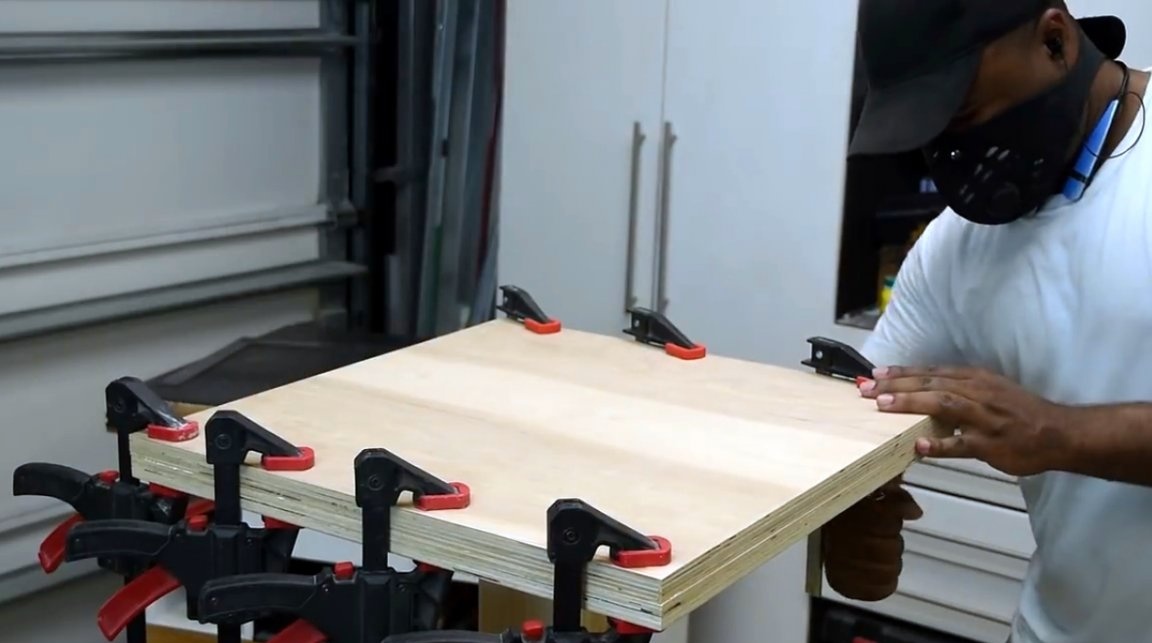
Another sheet of plywood is glued to the bottom of the base, and fixed with clamps.
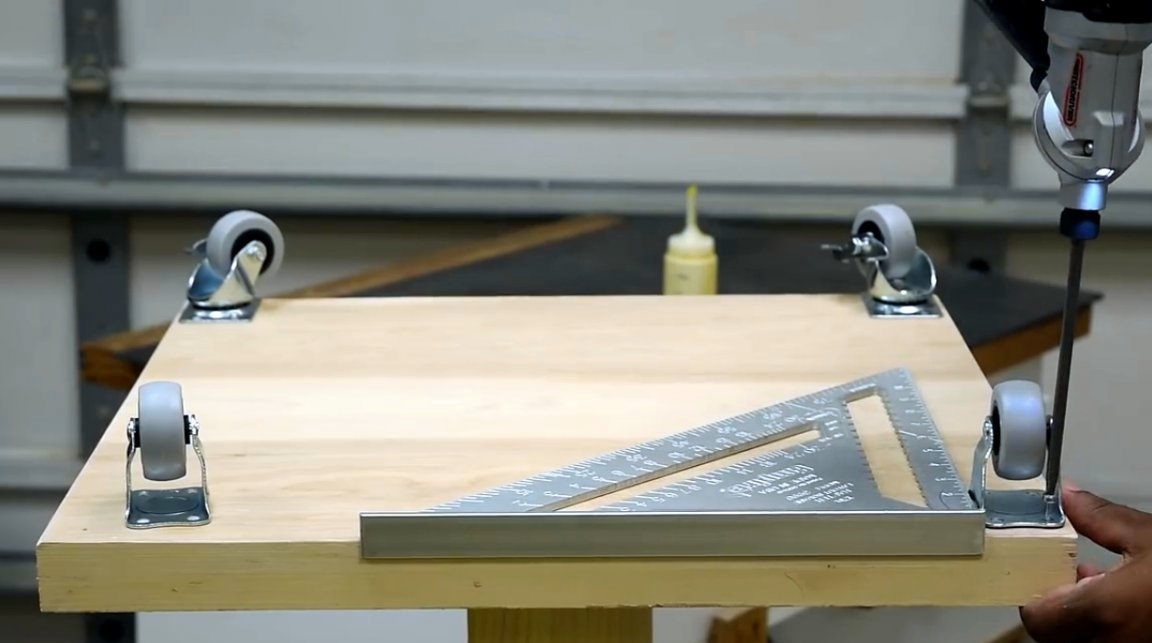
After drying, the wheels are screwed to the base of the rack: two with a fixed axis, and two with a swivel. Although you can make all four rotate, which will simplify the movement of the rack.
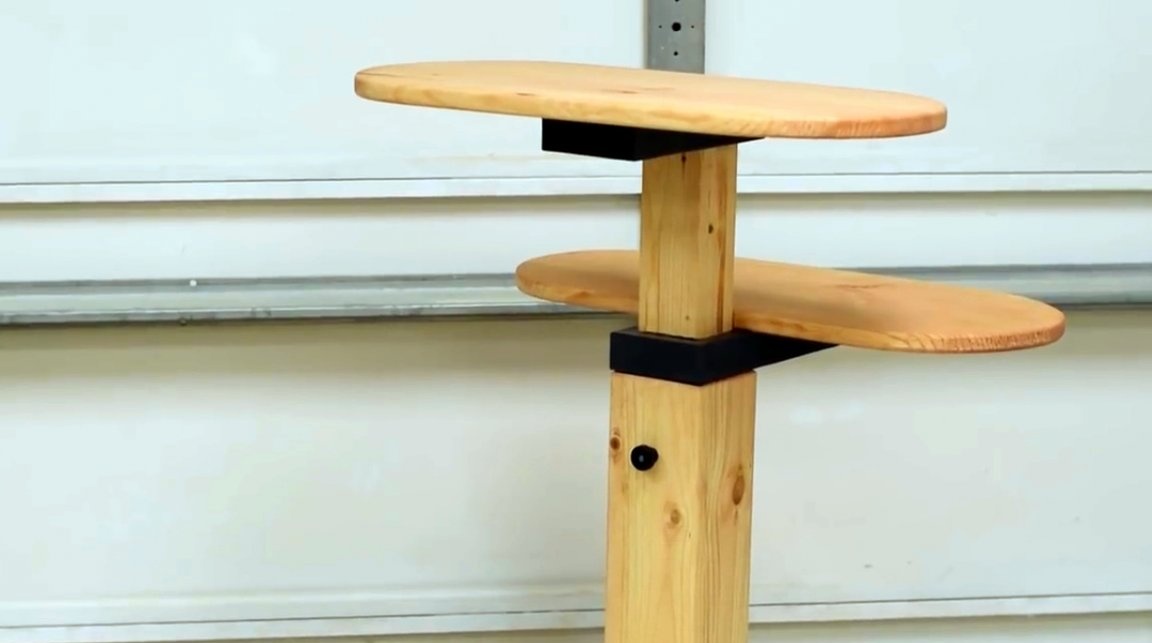
Now the author determines the optimal height of both horizontal surfaces and puts a mark. He constantly remembers that this is an adjustable, extendable section of the leg, and notes its lower position.
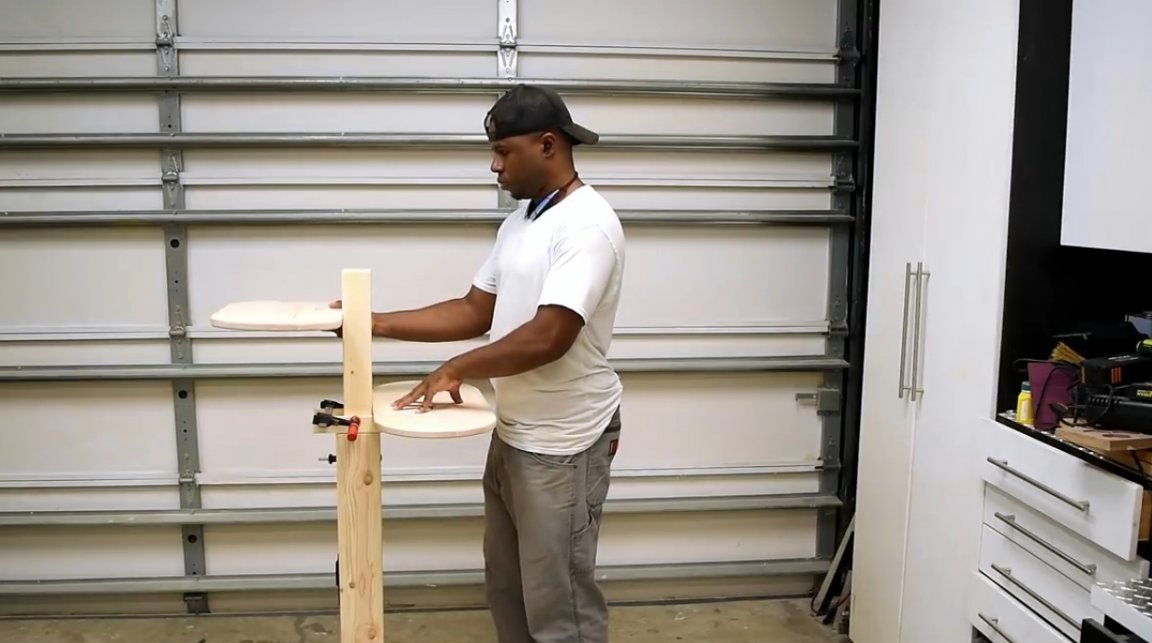
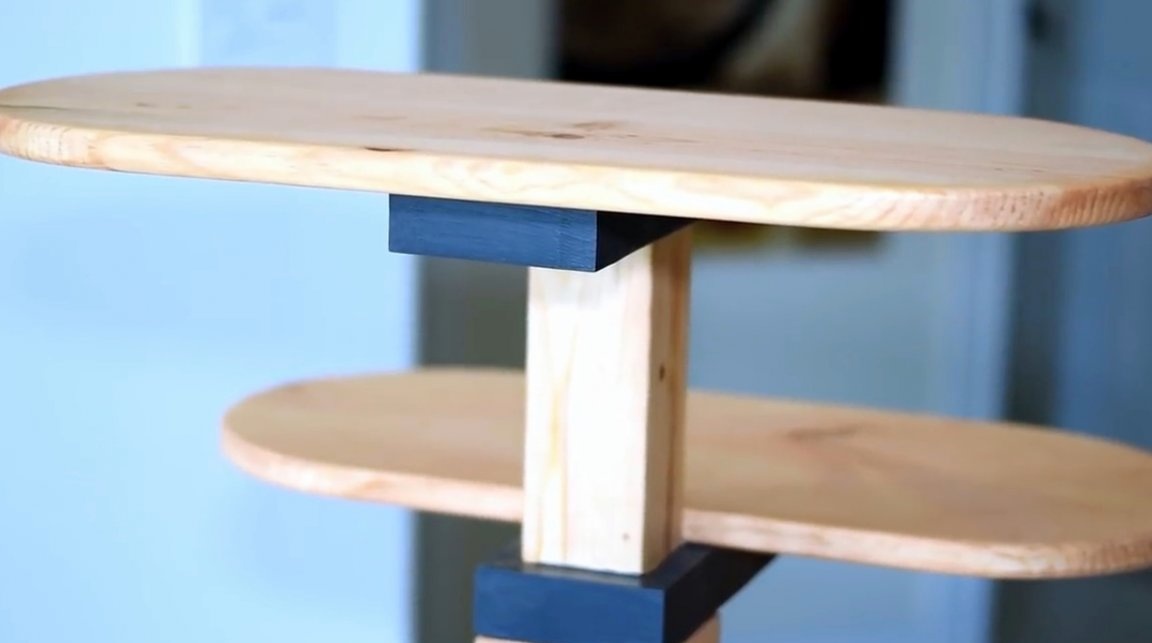
The craftsman resorts to the help of such a device to somehow support the board for the keyboard and the table itself.
About literally wraps a rectangular support with wooden planks, takes them to glue and shoots with a neiler.
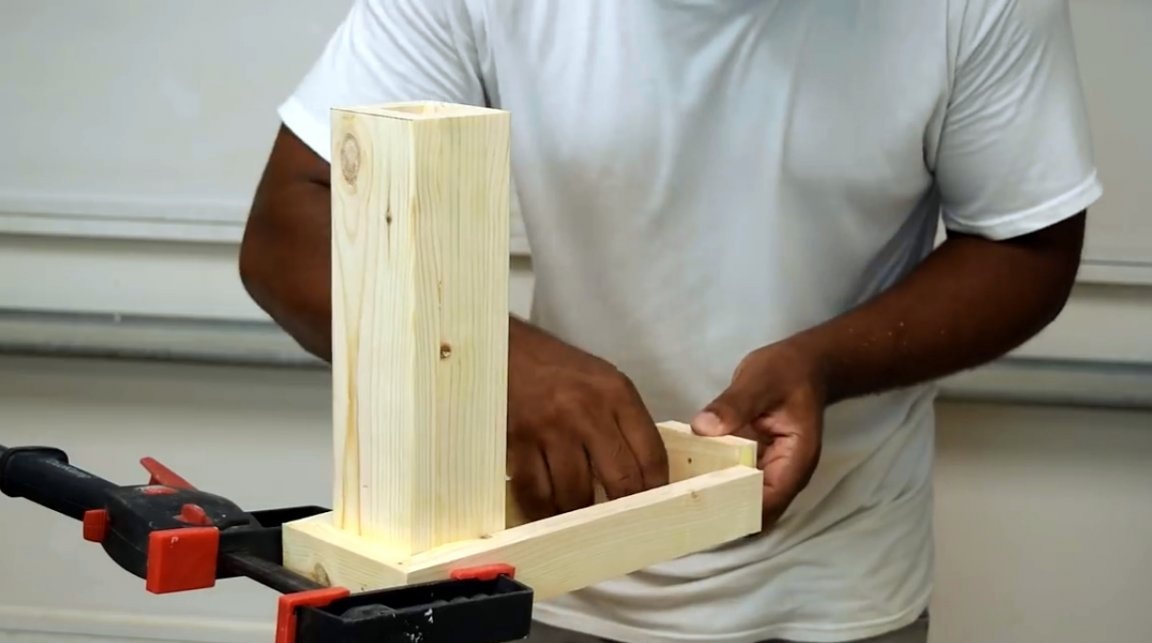
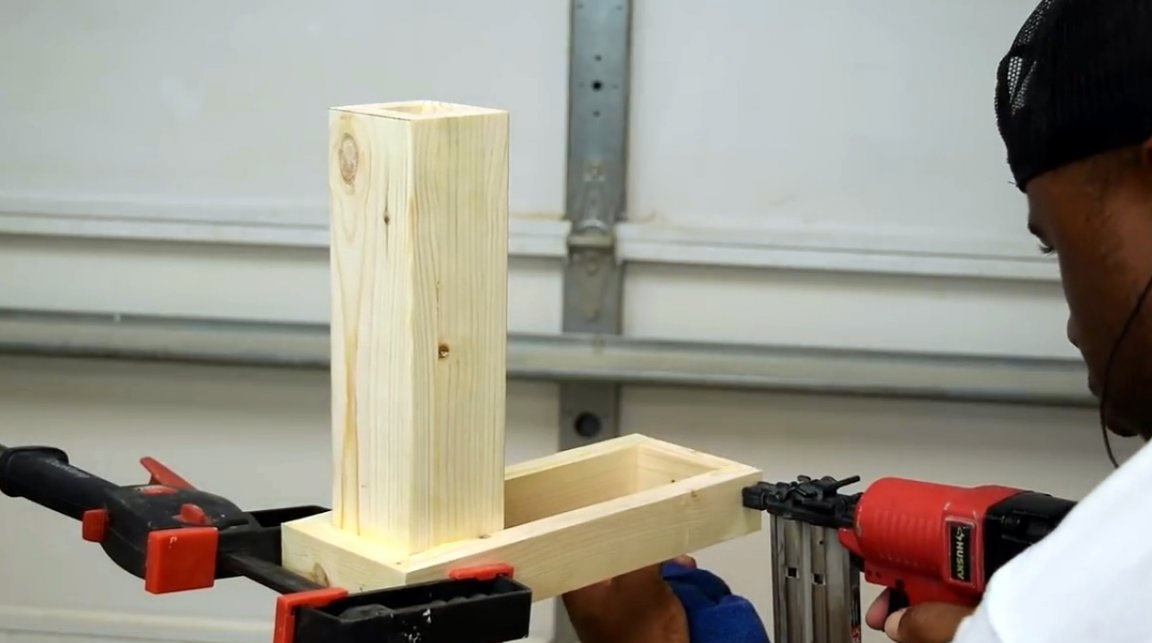
He does the same with the upper music stand, though he unrolls the support in the opposite direction.
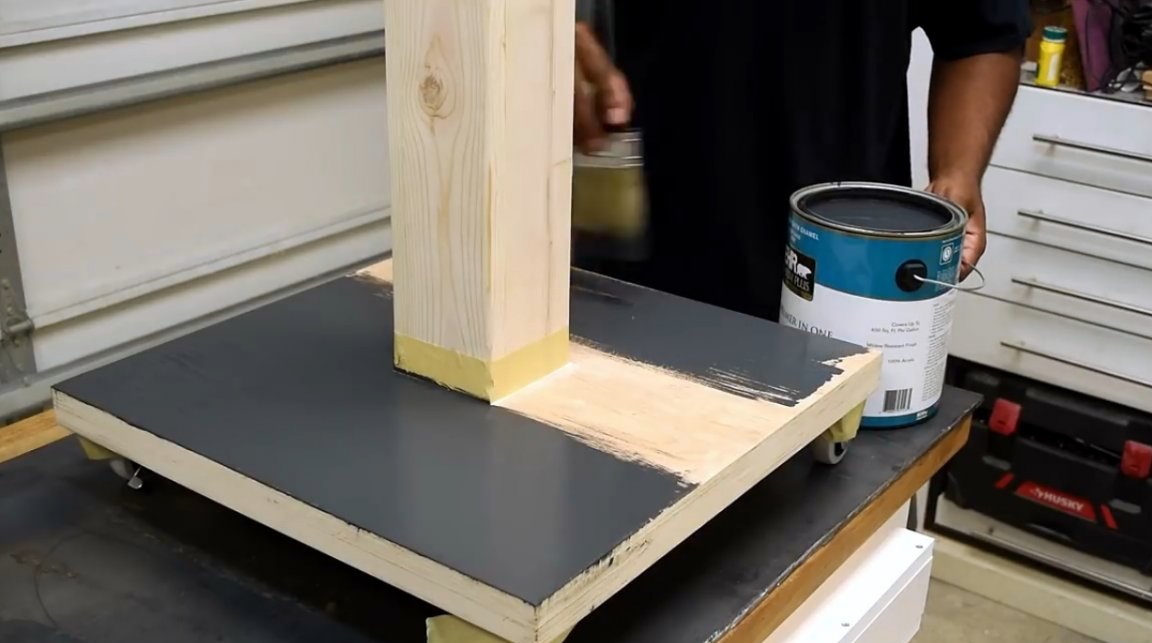
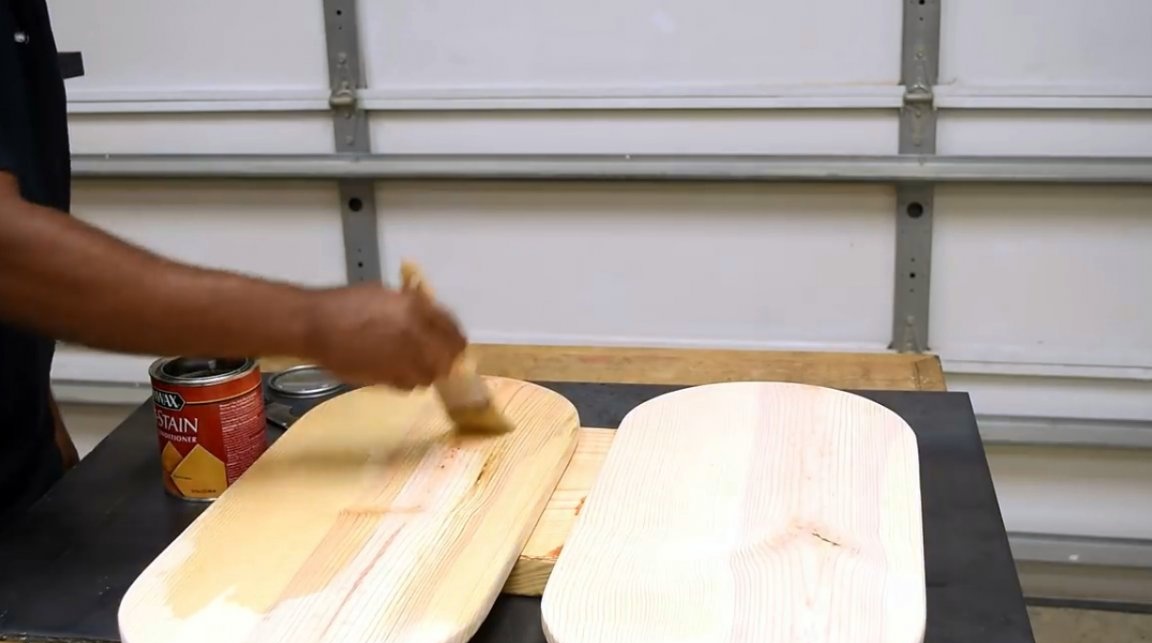
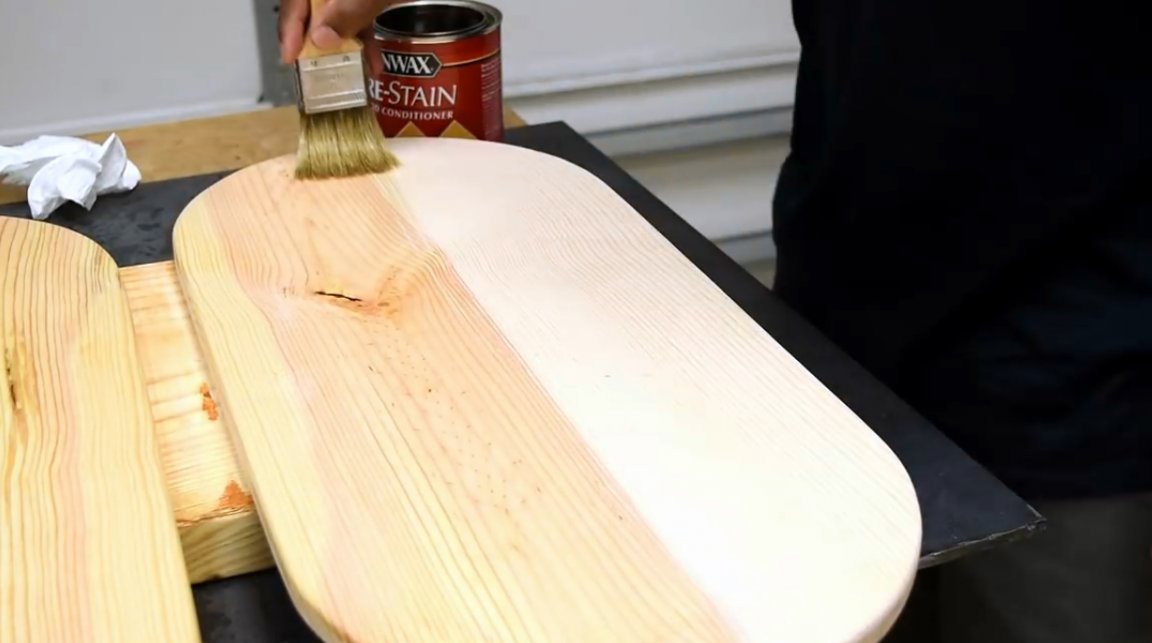
Decorative design of the rack is carried out at your choice and artistic decision. The author himself paints its lower part and secret supports in dark gray, while the remaining part is covered with colorless varnish.
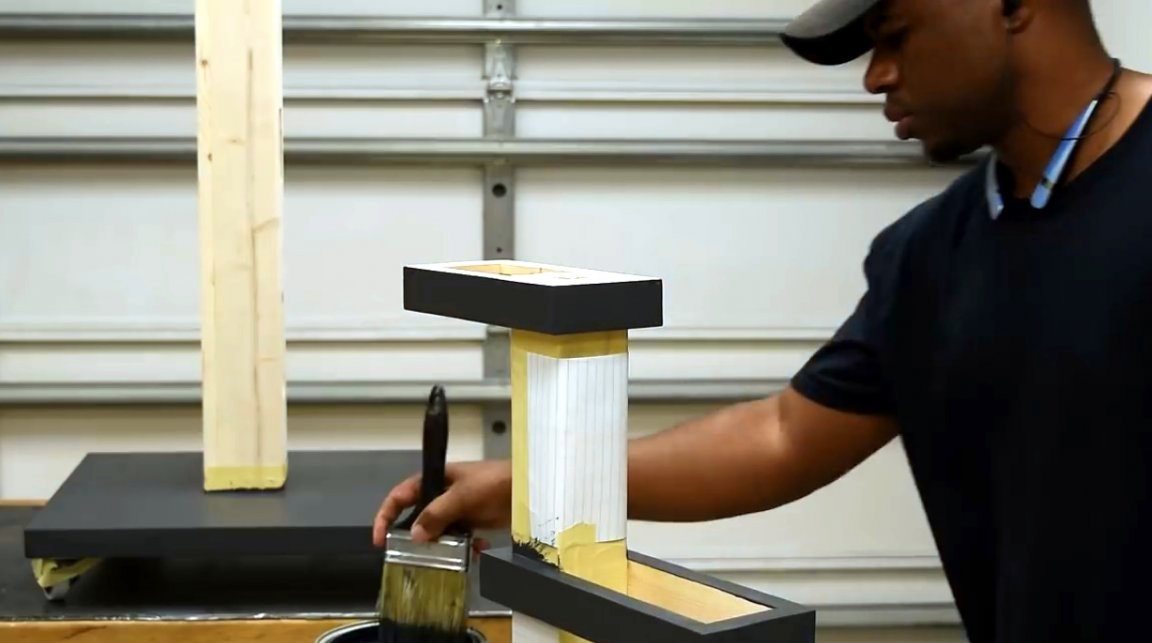
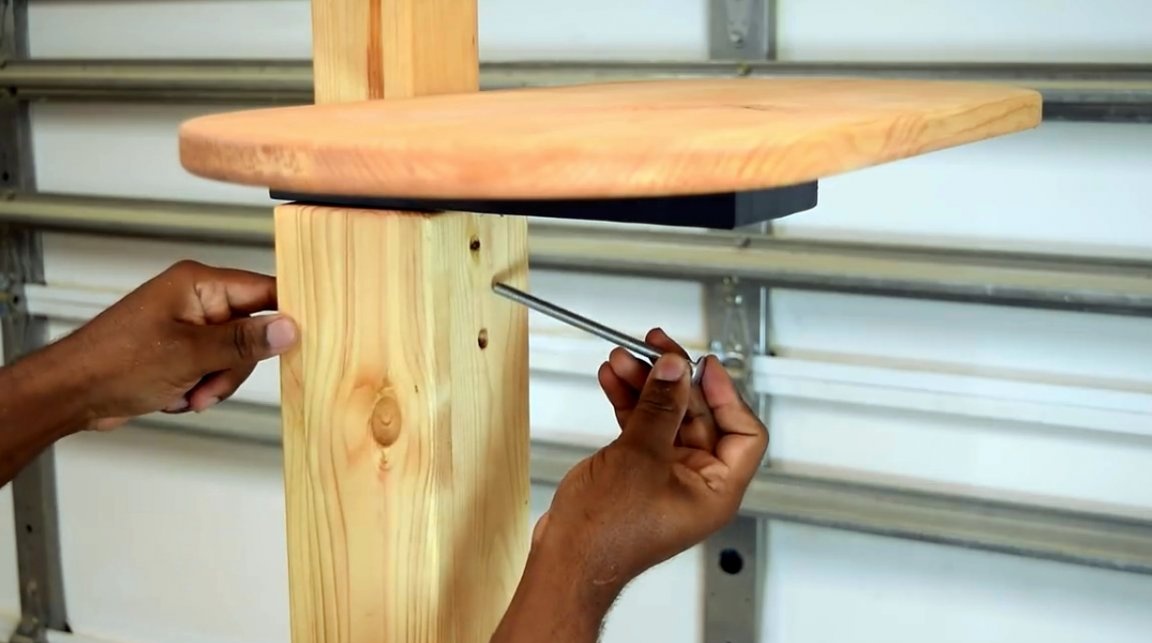
Now he marks the center on both countertops and then drills and countersinks the pilot holes for the screws on the leg itself. Both work planes are fixed on props with self-tapping screws.


In addition, the author pushes one M8 bolt with a round hat into the hole for adjusting the height of the rack. The main thing is that his hat does not protrude much above the surface.
At the end, a socket is installed, and a cord is laid in a special niche.

And now the rack is fully assembled and equipped!
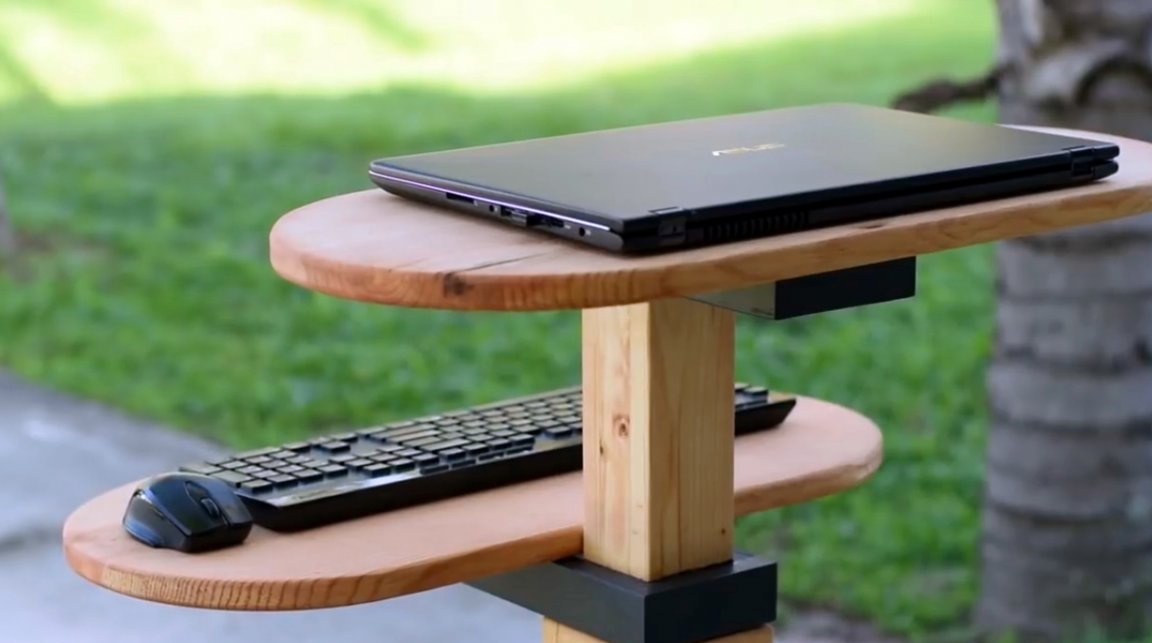
I thank the author for a simple but useful device for working with a laptop!
If you have interesting homemade products, share them on this site. Here you will get a real reward, not a “bunch of green stuff" at the entertainment forum.
All good mood, good luck, and interesting ideas!
Author video can be found here.