
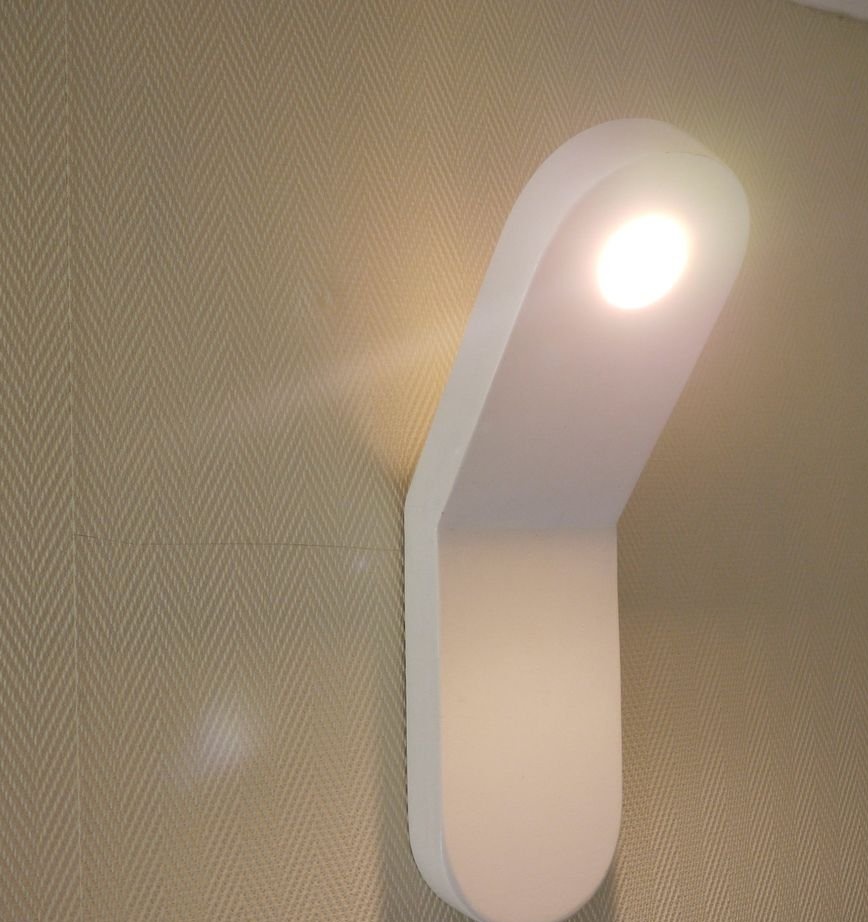
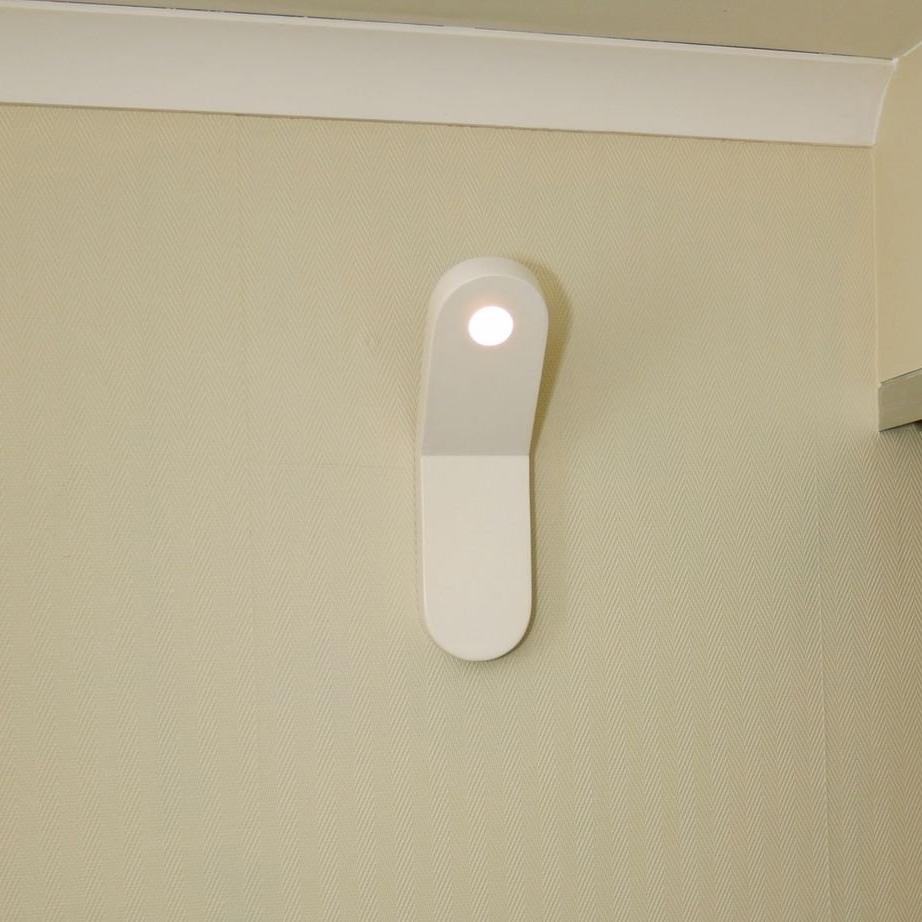
My little sister needed a new wall lamp. She asked me to make a spotlight that would illuminate a space close to daylight. You will get acquainted with the result in this article.
This lamp cost me about 1100 rubles.
Step 1: Materials and Tools
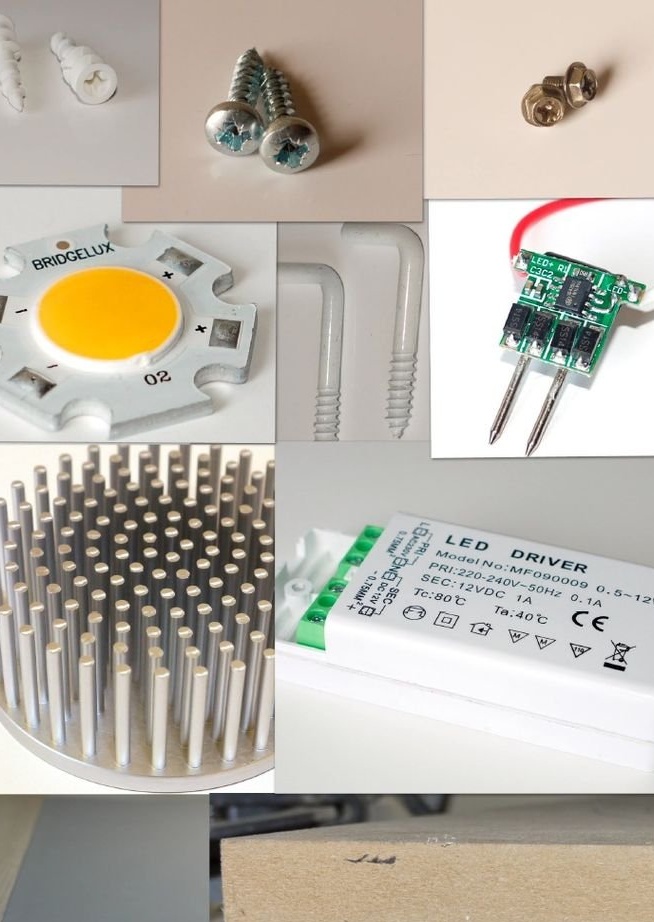
Materials
- Wooden board (fiberboard 12mm)
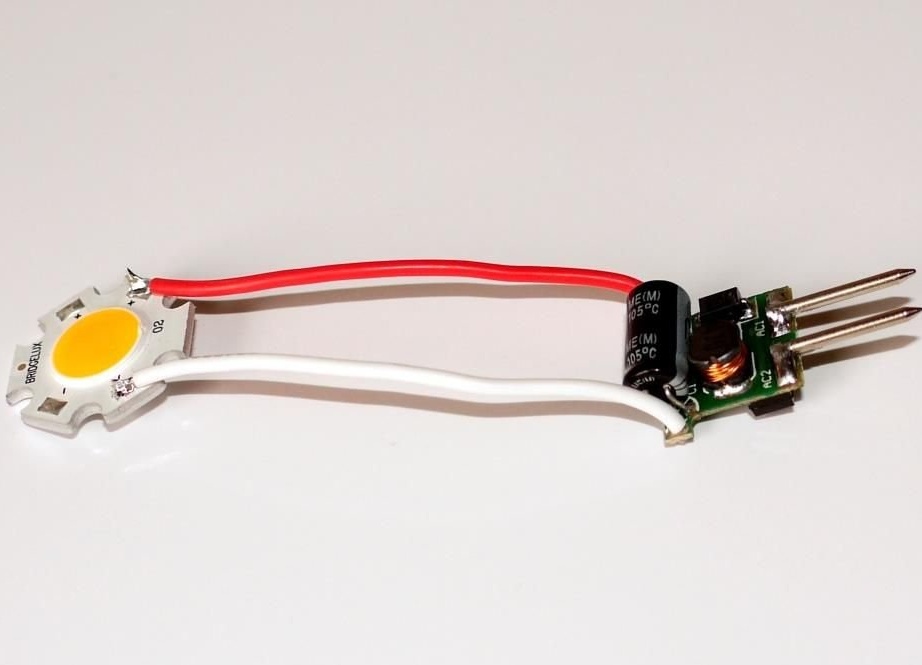
- Diode lamp (BRIDGELUX - BXRA-W0401-00000 - ARRAY, warm white, 400 lm)
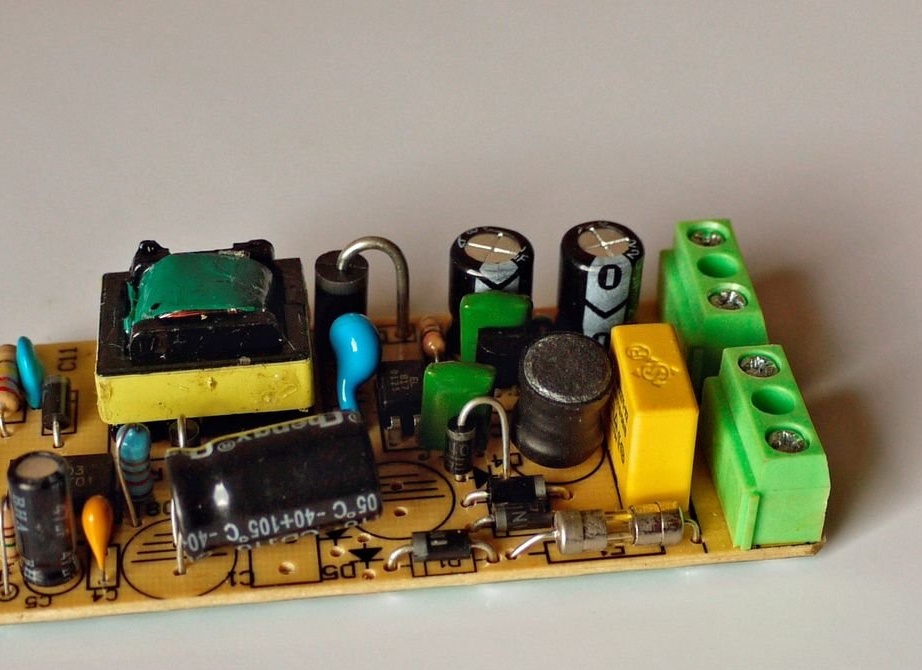
- Power supply (12V)
- LED driver (700 mA)
- Frosted glass
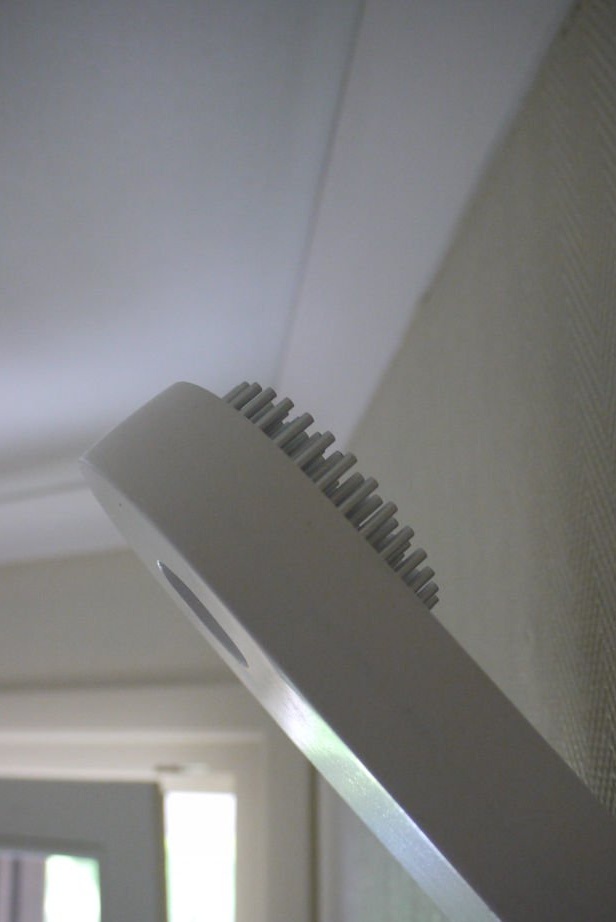
- Round needle radiator for LED (80 mm)
- Two bolts (M3)
- Two dowels
- Two L-head bolts
Instruments
- Compass
- Solder and soldering iron
- paint
- brush
- screwdriver
- drill
- Diamond drill (40 mm)
- Drills (45 mm, 40 mm, 6 mm)
- Hole Saw (90 mm)
- Jigsaw
- Miter saw
- Glue gun
- wood glue
- Bar clamp
Step 2: Draw
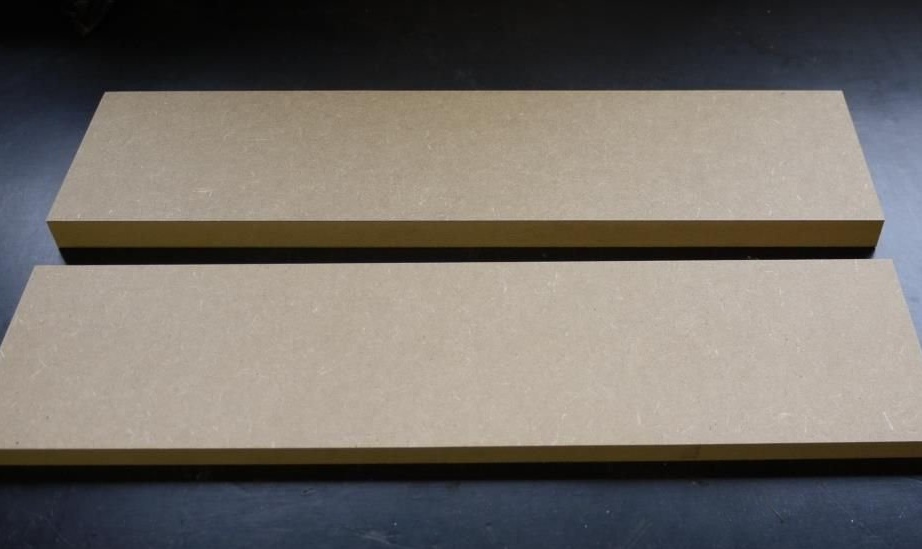
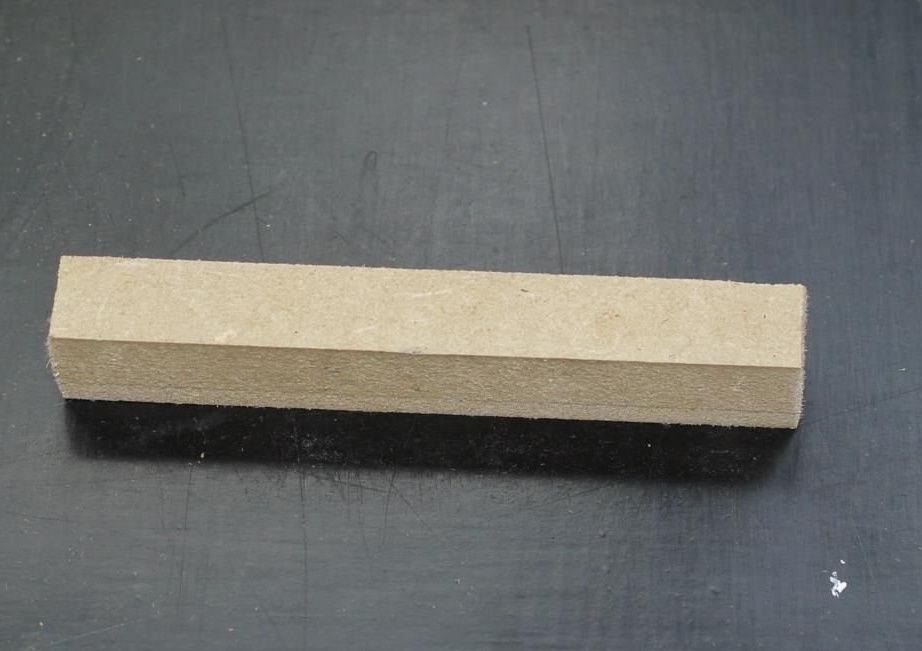
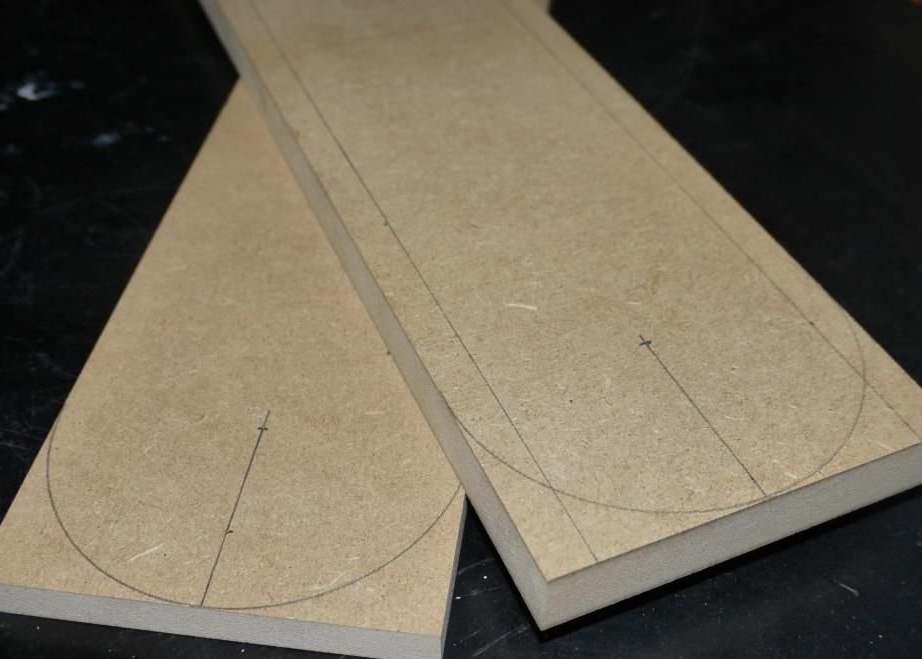
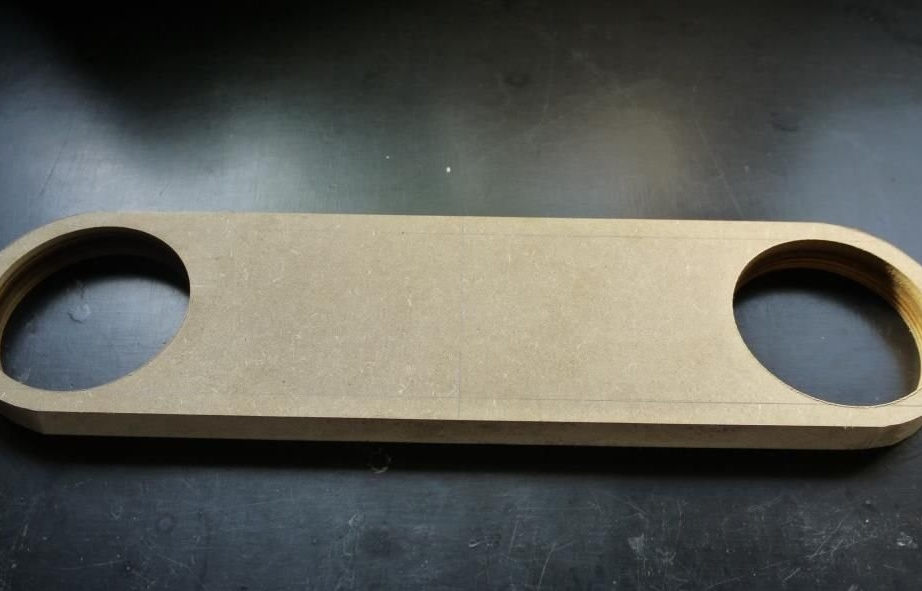
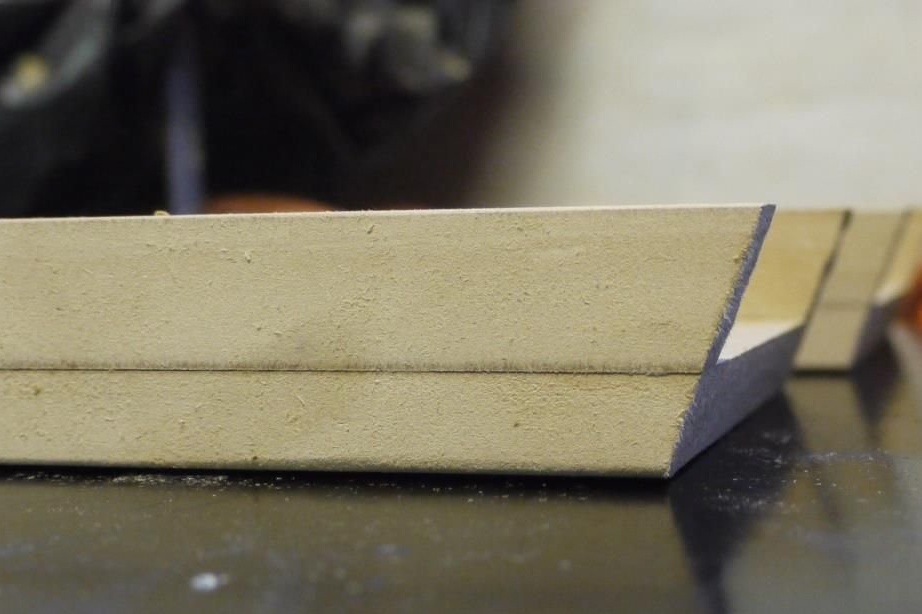
Cut two pieces of fiberboard 40 x 10 cm and one piece 8 x 1 cm. I used a sheet of fiberboard 12 mm thick.
I was cut a tree while still in the store, but you yourself can cut the sheet into the necessary parts.
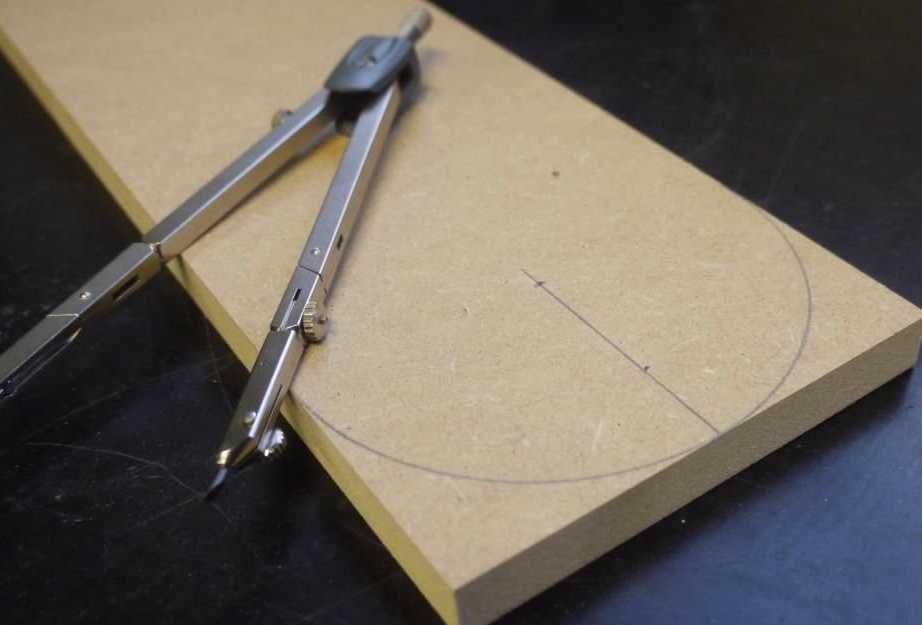
Take two pieces of 40 x 10 cm and mark in the middle a point at a distance of 5 cm from each short edge.
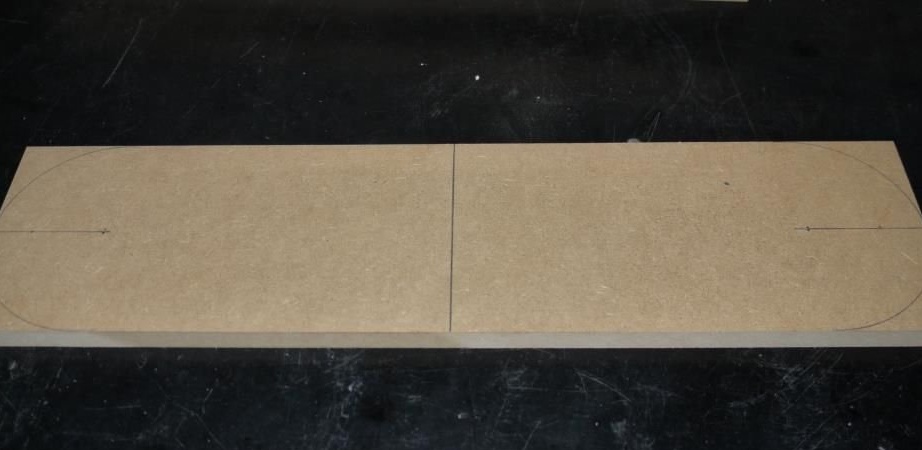
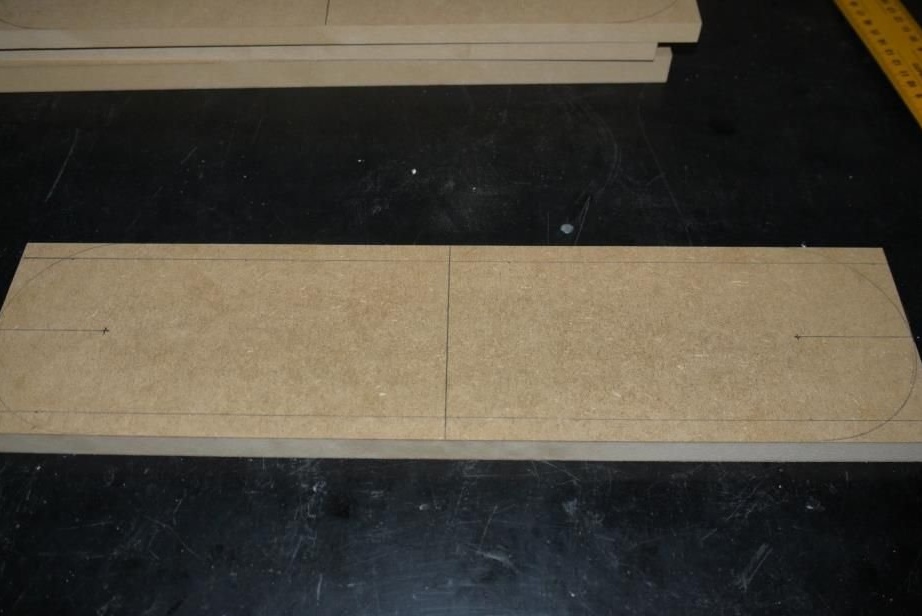
Draw a semicircle (10 cm in diameter) with a compass. The center will be the previously made notes. Draw lines at a distance of 1 cm from the long edges on one bar. Also draw a line in the middle of this bar.
Step 3: Saw, drill and glue
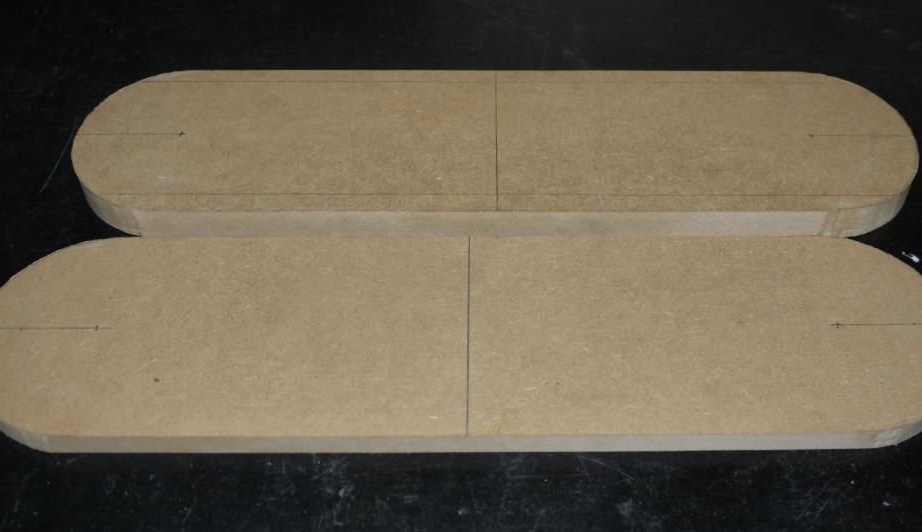
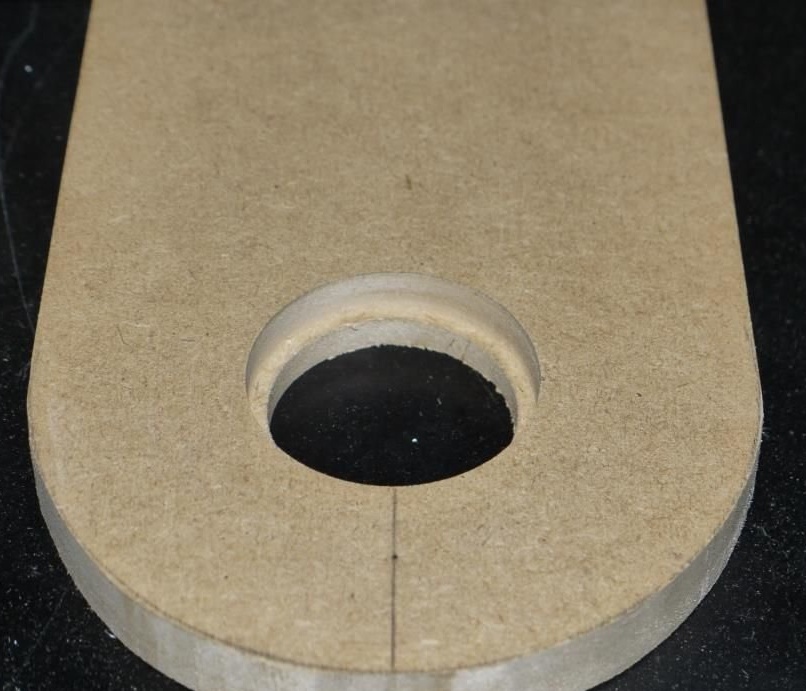
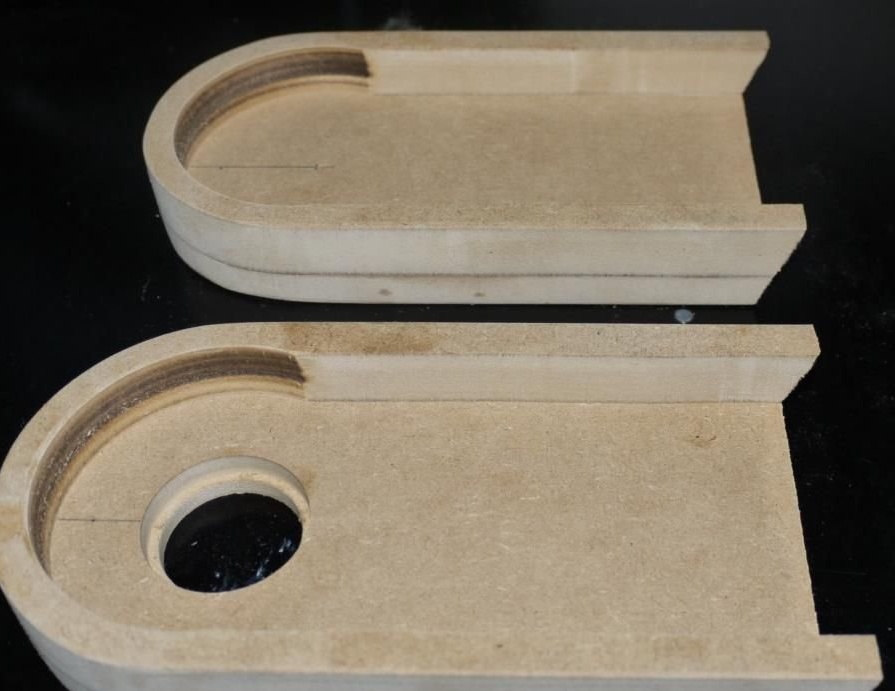
Saw out semicircles on each side with a jigsaw. Take a 90 mm drill and drill holes in the center of the semicircles.
Then drill a 40 mm hole 9 mm deep in the center of the semicircles on the second long bar. Drill a hole with a diameter of 35 mm over the 40 mm. Take a block with 90 mm holes and saw out the inner part according to the planned indentations of 1 cm (using a jigsaw).
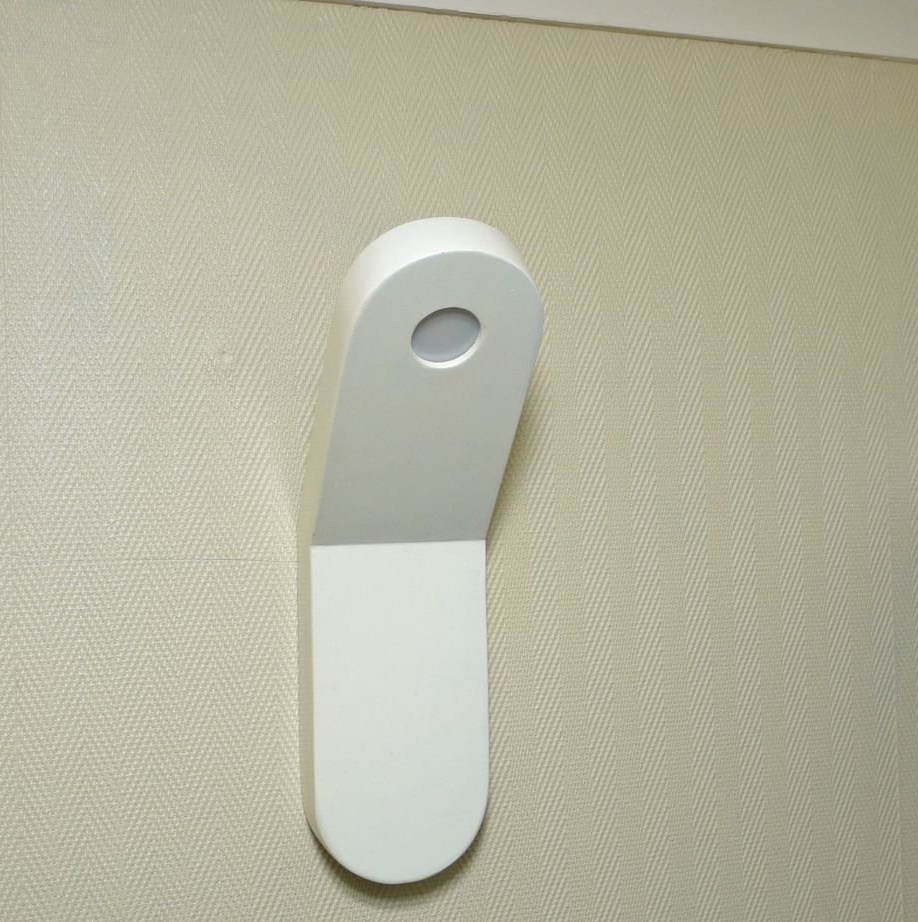
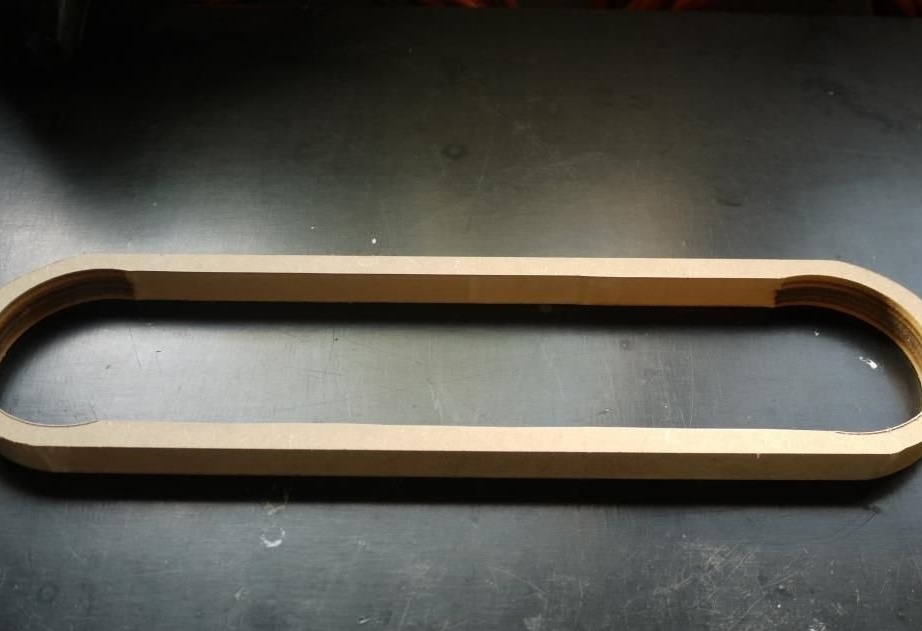
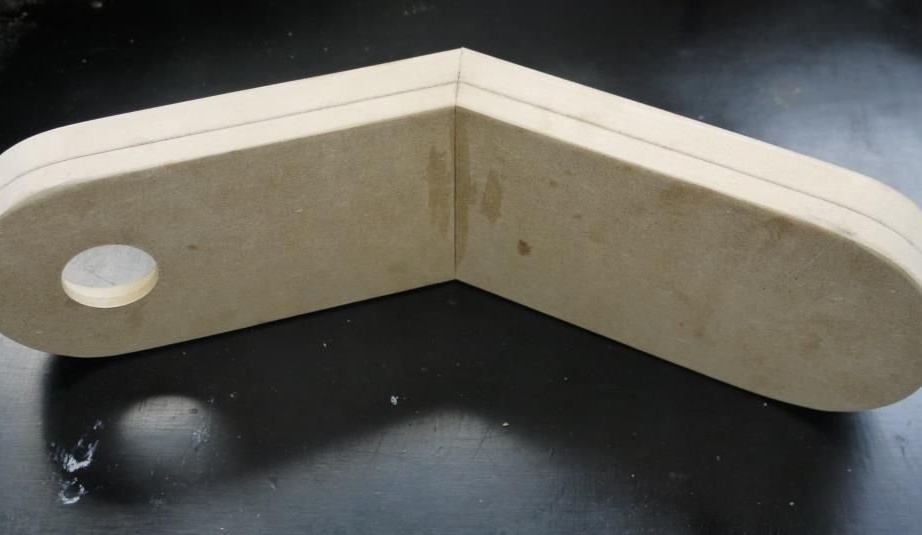
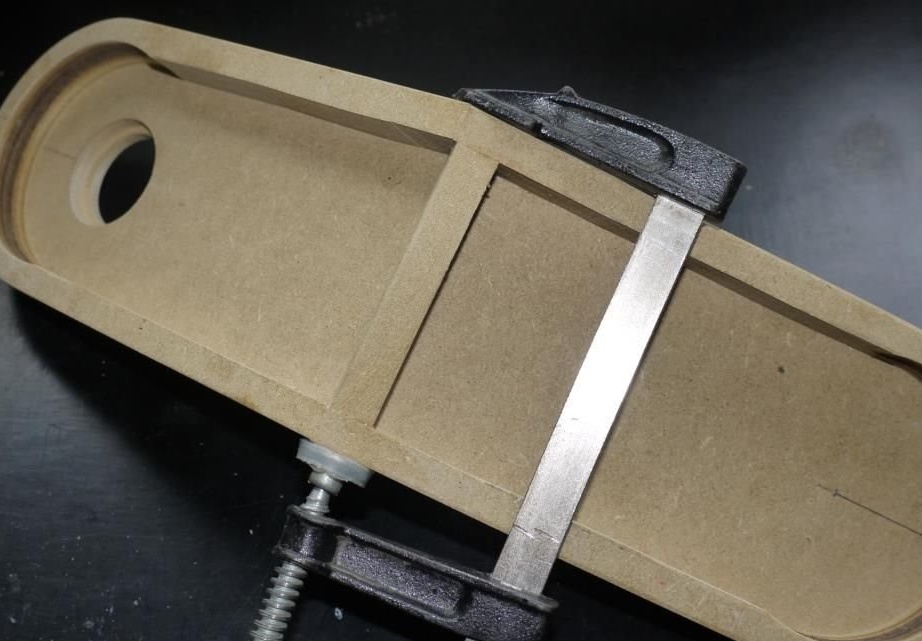
Glue both parts together with wood glue. When the glue dries, cut the workpiece in half, and then cut a 12 ° angle on each side. And glue them together again.
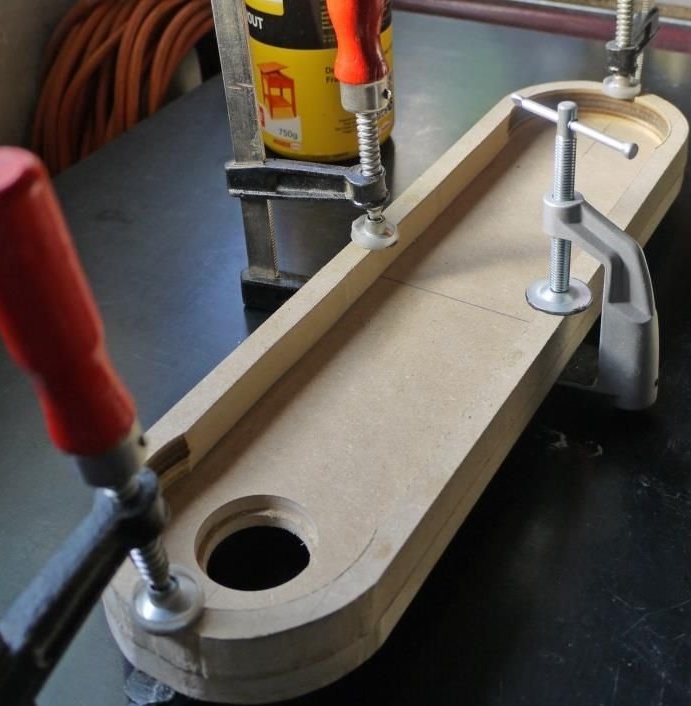
Glue the 8 x 1 cm block to the place of gluing the two halves (see photo). At this point, the lamp will be mounted on the wall.
Step 4: Grind and Paint
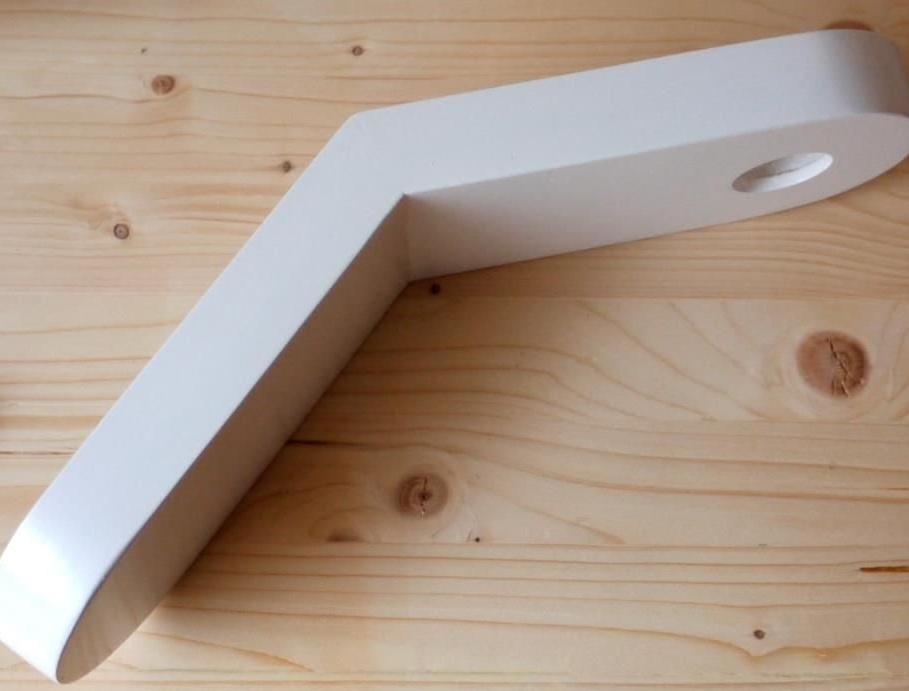
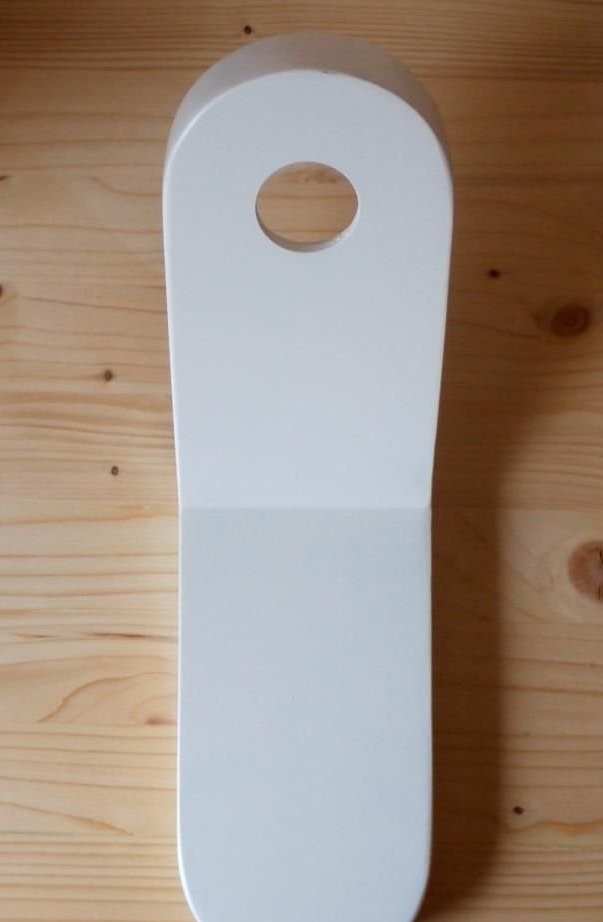
Sand the surface of the workpiece thoroughly. After polishing, paint the lamp in any color to your taste. I chose white.
Step 5: Radiator

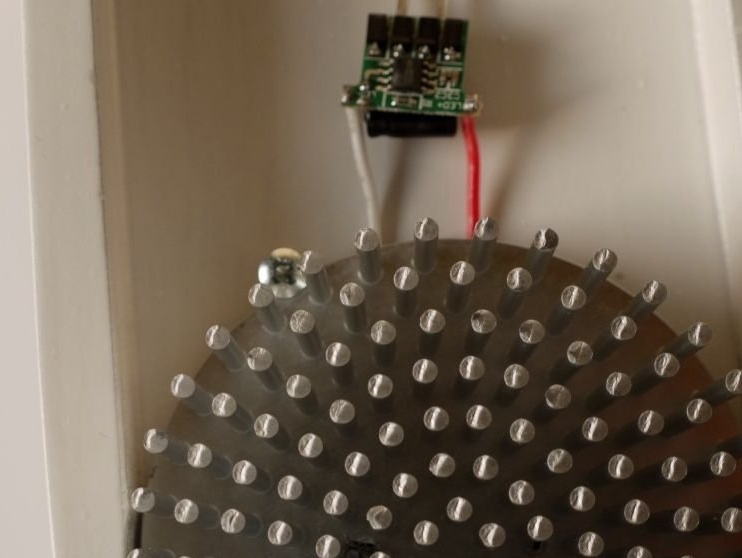
I bought a radiator without holes where I could attach a diode lamp. Draw a straight line on the flat side of the radiator (approximately in the middle). Measure the middle of the line. Of course, this is not the most accurate way to calculate the center, but for our purposes it is.
Place the diode lamp on top of the radiator and make notes on where to screw the screws. Drill holes with a diameter of 2.5 mm and a depth of 4 mm at the marks.
Step 6: Power
Solder the driver to the lamp. Check the polarity so as not to burn the lamp when turned on.
Fasten the lamp to the radiator with screws.
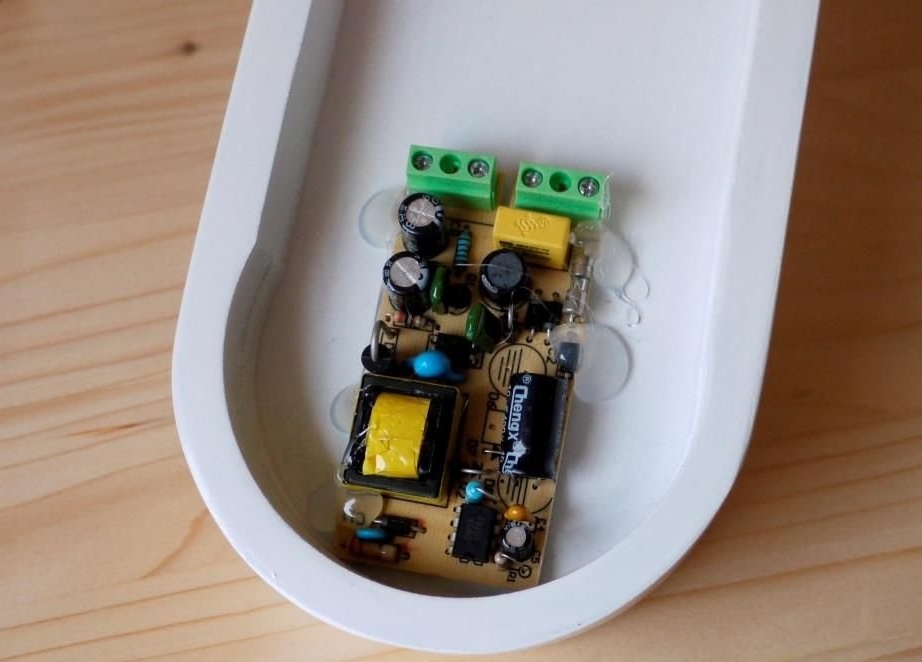
The power supply does not quite resemble the shape for this lamp (several mm more), so I removed the case. Fasten the power supply to the lamp with hot glue. Connect the wires to the terminal of the power supply. Solder these wires to the input of the diode driver.
Step 7: Glass work
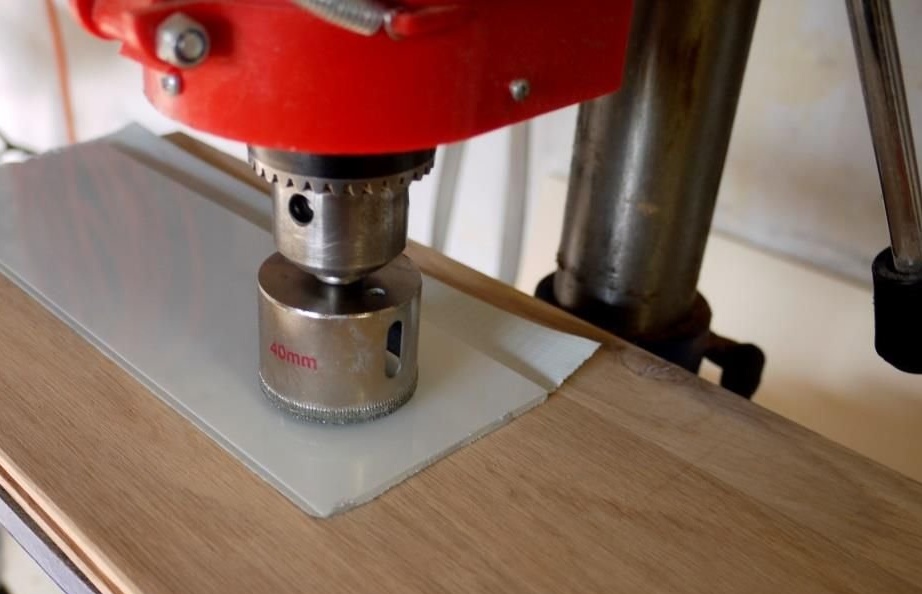
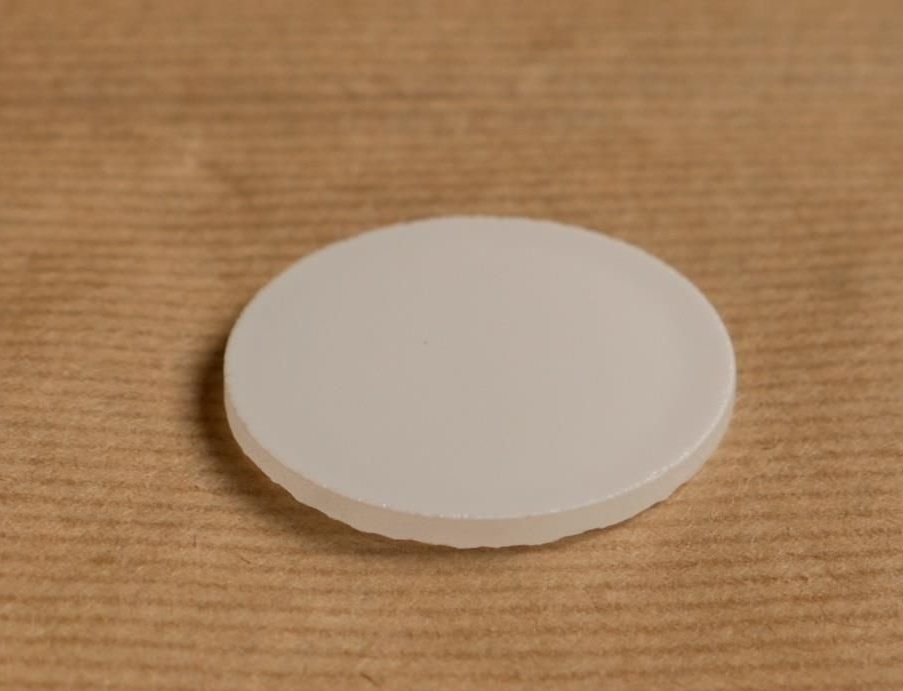
I bought frosted glass at a local store. Cut a glass circle with a diamond crown of 40 mm diameter. Place the glass disc in the 40 mm hole in the wooden frame of the lamp and secure with a wood screw.
Step 8: Wall Mount
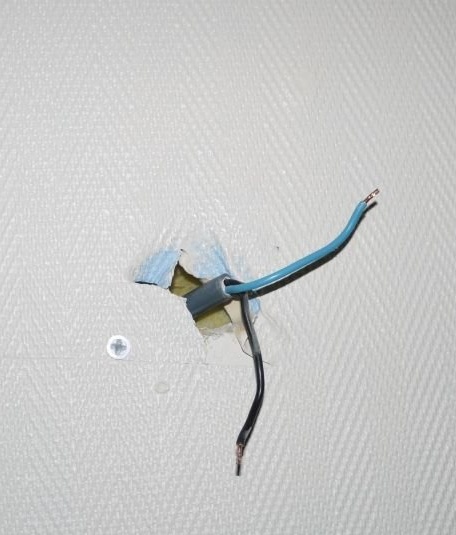
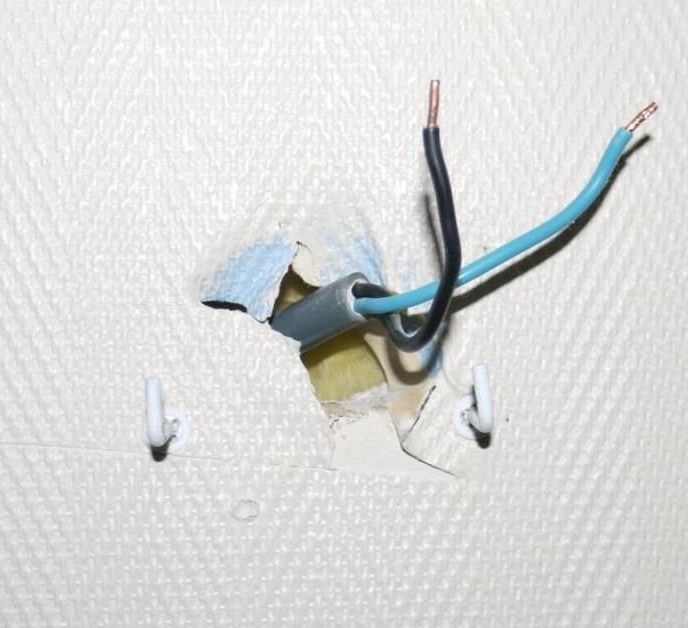
Drill two holes (6 mm) in your wall at the correct height. The distance between them should be about 6 cm.
Install the hooks in the dowels and connect the electrical wires going in the wall to the input of the power supply. Caution: Ensure that the power to the wires is turned off. Attach the lamp to the hook.
Step 9: Result
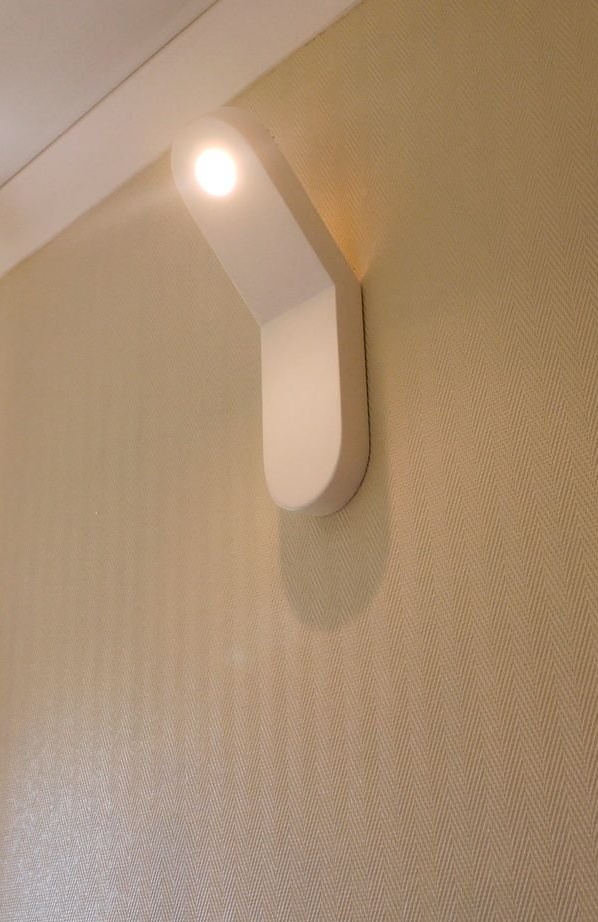
I hope my sister likes this lamp!