At one time, pocket calculators, in which the Basic interpreter was immediately launched, had a certain distribution. How in home computers popular around the same time, but with information displayed on the integrated low-resolution display. This allowed non-professional programmers to write programs for fairly complex calculations without taking up a TV. By the mid-nineties, the popularity of these calculators fell due to the growing popularity of more universal PDAs, where Basic was just one of the possible applications, along with others. In modern smartphones the same way: you need BASIC - you download from the application store. Now, when many apply in homemade microcontrollers, not uncommon steel calculators with BASIC made do it yourself. For those who found the originals, this is nostalgia; for younger masters, an opportunity to feel what they were. Here is one of many such constructions performed by the author of Instructables under the nickname SANUKI UDON.
Casio and Sharp used 4-bit microprocessors in such calculators, Kyocera - 8-bit, Angstrom and Integral - 16-bit. The master decided to choose a middle ground and applied the modern 8-bit ATmega328P microcontroller in his version, since an interpreter already exists for him ArduinoBASIC. Only here is it adapted to a lower resolution display and CardKB keyboard, which already contains the necessary microcontroller.
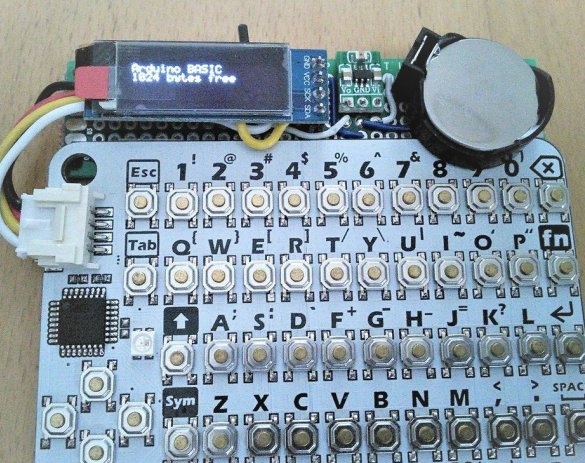
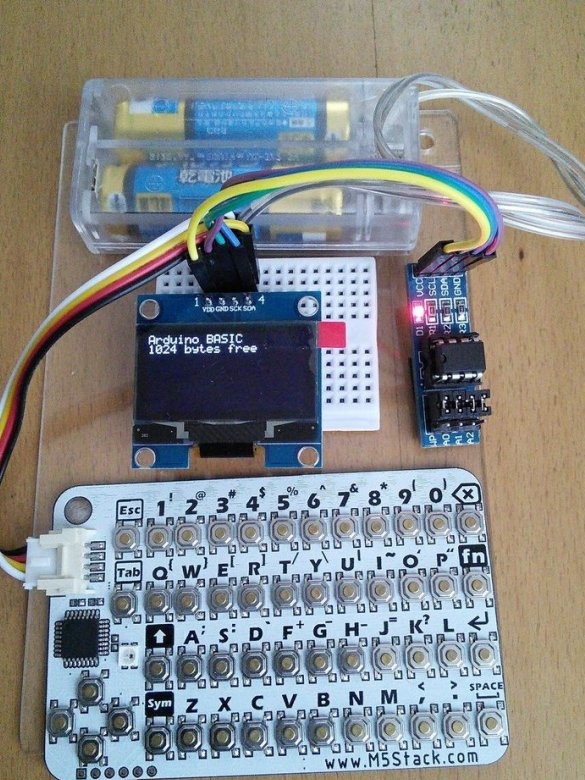
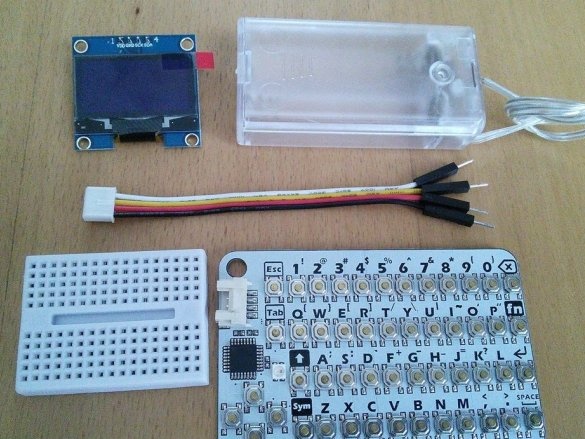
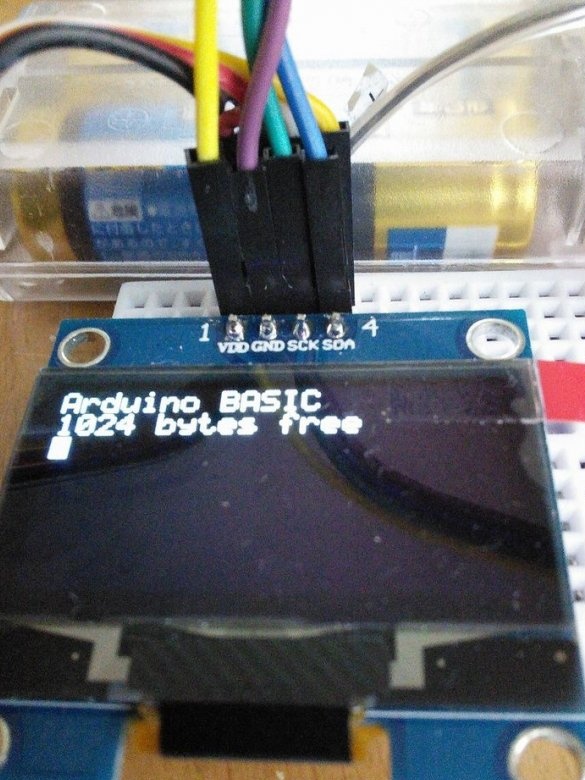
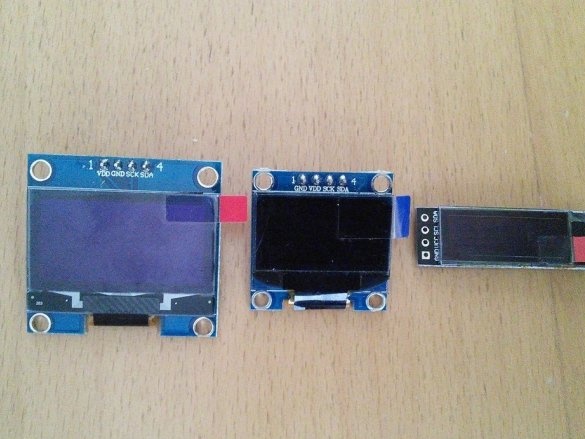
To build the calculator, in addition to CardKB, you will need: a 2xAA or 2xAAA battery compartment, a PMOLED display on the SSD1306 chip, and also if you want to save and read files - a flash memory chip, for example, 24LC256. Breadboard type breadboard and dupont jumpers are optional, it is better to connect everything by soldering. ArduinoBASIC was initially designed for a PMOLED display with SPI, but the master redid the firmware so that it works with a display with an I interface2C. The KDPV shows the second version of the calculator, the gdp display is even smaller, and the battery is of the CR2025 or CR2032 type.
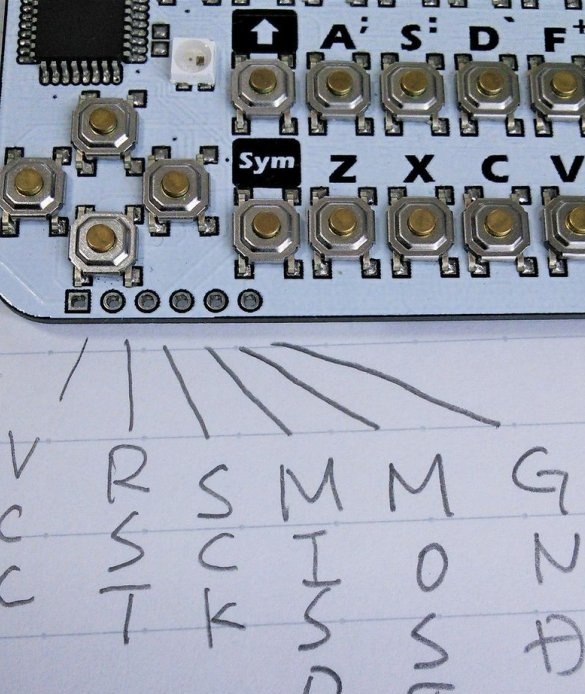
On the side of the CardKB is a connector where I bus is routed2C, food is also fed there. If there is a memory chip, on the adapter board or not, it is connected in parallel with the display according to the pinout from the datasheet.The wizard does not specify whether a cable with a mating connector is attached to the CardKB. If not supplied, and you do not have such a cable, you can solder the conductors to the board on the back side.
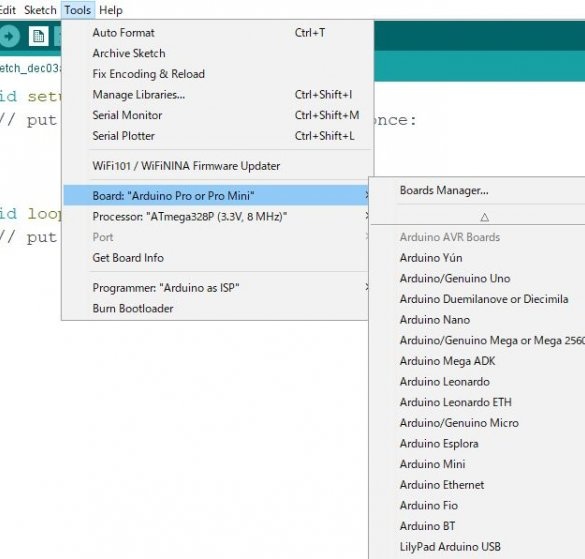
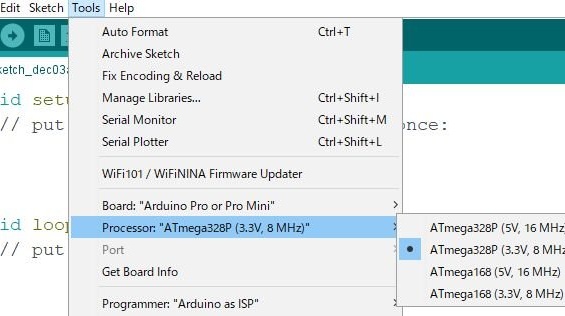
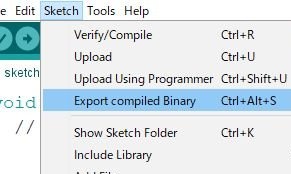
Having connected everything electrically, the master proceeds to remake the ArduinoBASIC with the iron he used. The result is laid out here. It is also necessary to extinguish the RGB LED on the board, which by default shines with all three crystals at full power. And not only increases the current consumption, but also shines directly into the eyes of the user. Therefore, you must also download the standard NeoPixel library from here, and at compilation choose ATmega328p (3.3V, 8Mhz). After compilation, select Export compiled Binary and get the binary file.
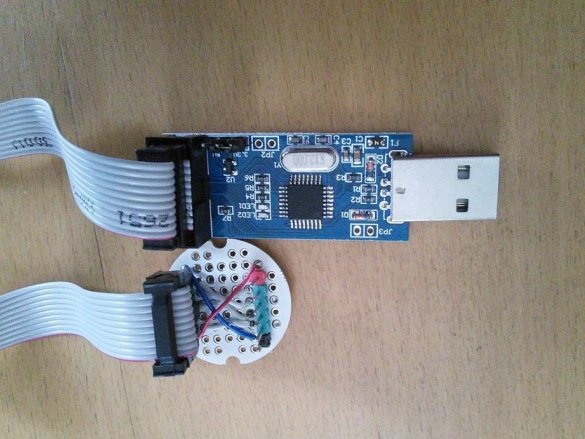
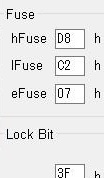
To upload a file to CardKB, you need a USB-ISP programmer and a makeshift adapter. Avrdude or avrdude-GUI (this is the same, but with a GUI) is suitable for controlling the programmer. Fyuzy cannot be rewritten. Yes, a little more complicated than with Arduinowhere the USB cable and Arduino IDE built-in are enough.
Appendix: how to correct the file SSD1306ASCII_I2C.h before compilation, depending on the resolution of the PMOLED display.
For a display with a resolution of 128 × 32:
#define OLED_WIDTH 128
#define OLED_HEIGHT 32
#define OLED_COLMAX 21
#define OLED_ROWMAX 4
For a display with a resolution of 128 × 64:
#define OLED_WIDTH 128
#define OLED_HEIGHT 64
#define OLED_COLMAX 21
#define OLED_ROWMAX 8
The Basic syntax implemented here is most similar to that used in the ZX81 home computer, so when writing programs for the calculator, you can be guided by the documentation for this computer.

