» From sites » Specialist »Making a computer table with your own hands

Do it yourself computer table


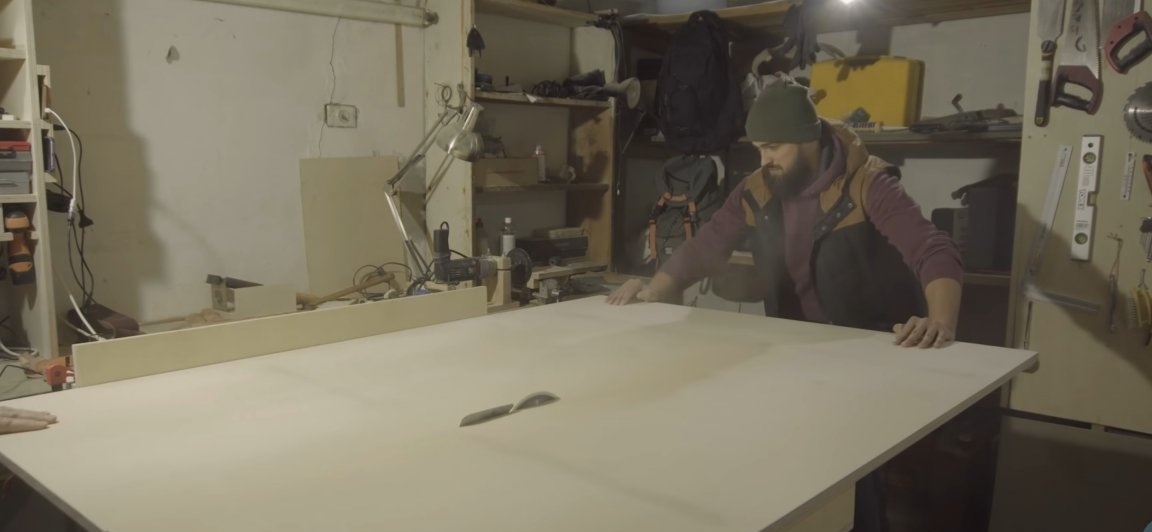
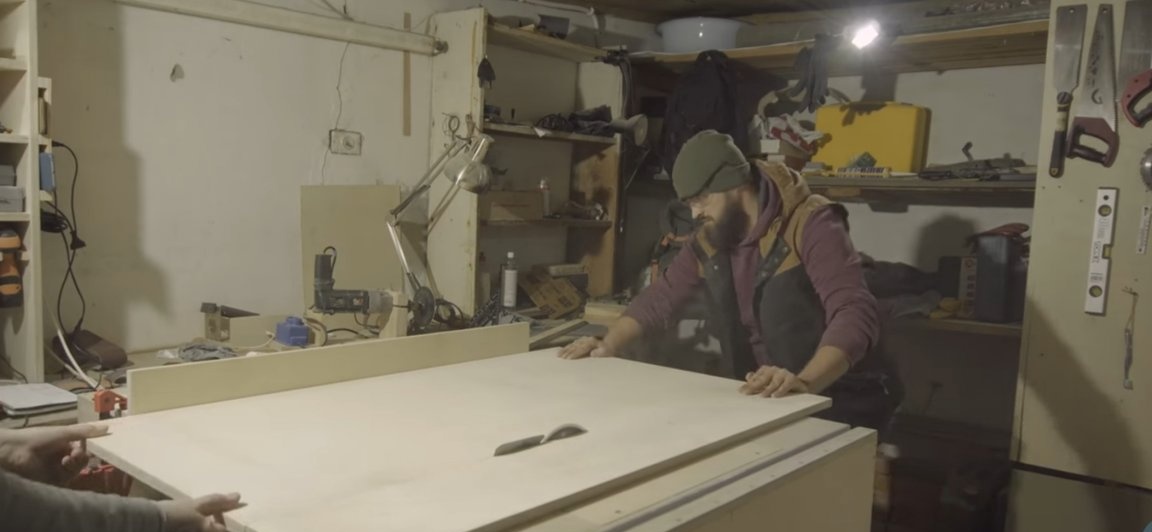
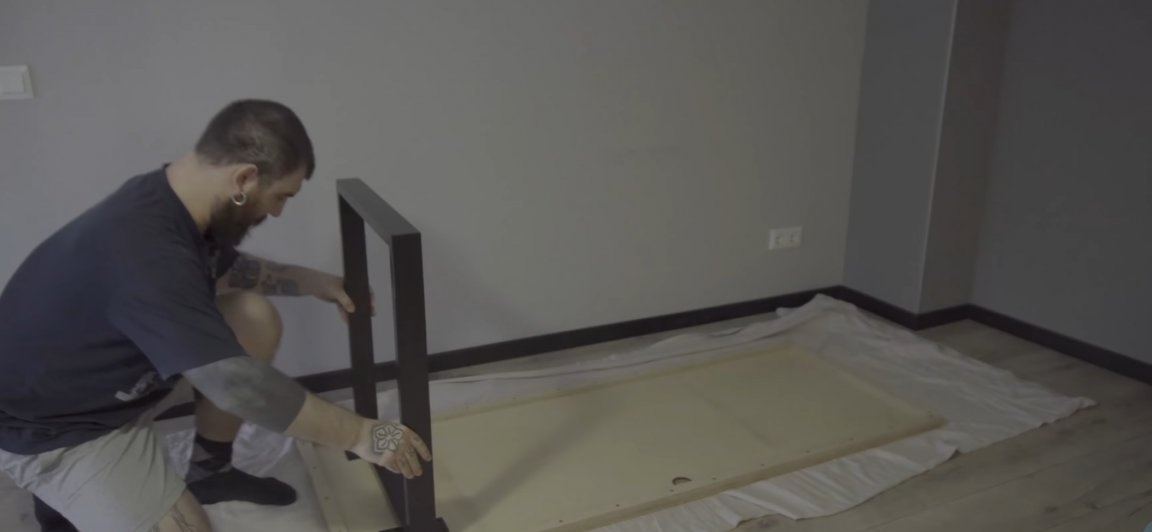
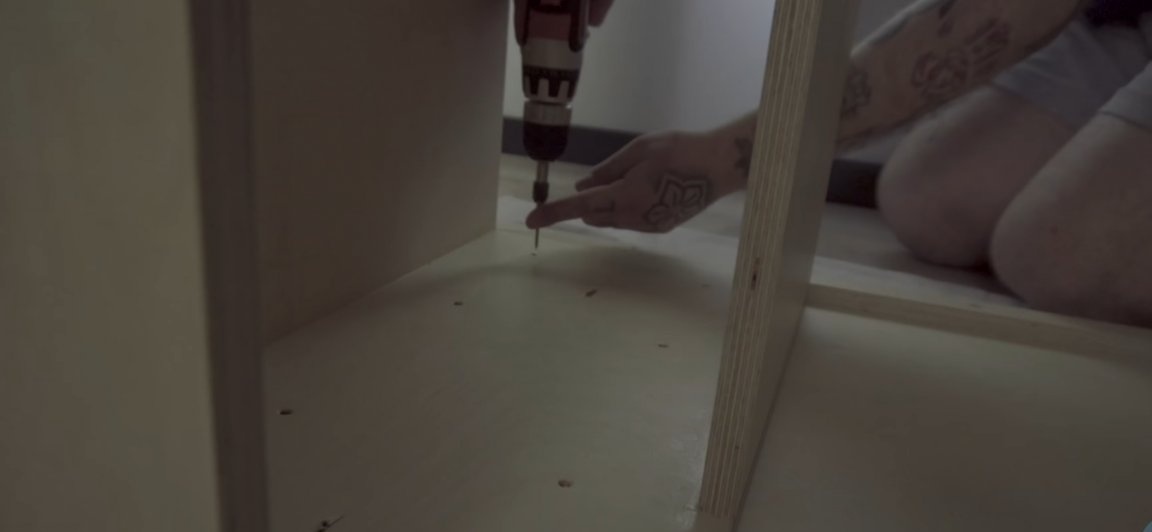
Hello! In today's article, we will take a closer look at how to make useful and practical homemade, namely a computer desk. This table will look more reliable and solid than its cheap store counterparts from pressed sawdust. Why is it compared with cheap tables? That's all, because the budget of this assembly will not be large at all and is comparable with the cheapest factory counterparts. Also, this article will be very useful for those who like to stand out and have exclusive things. And it’s just always nice to show off to guests the thing done do it yourself. Well, well, I think you should not delay with a long introduction, we drove.

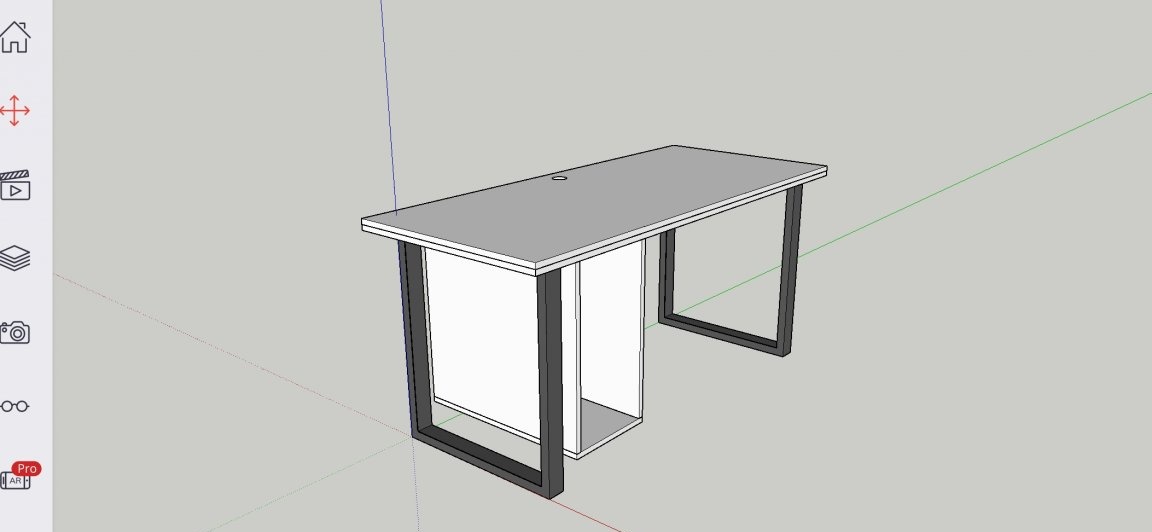
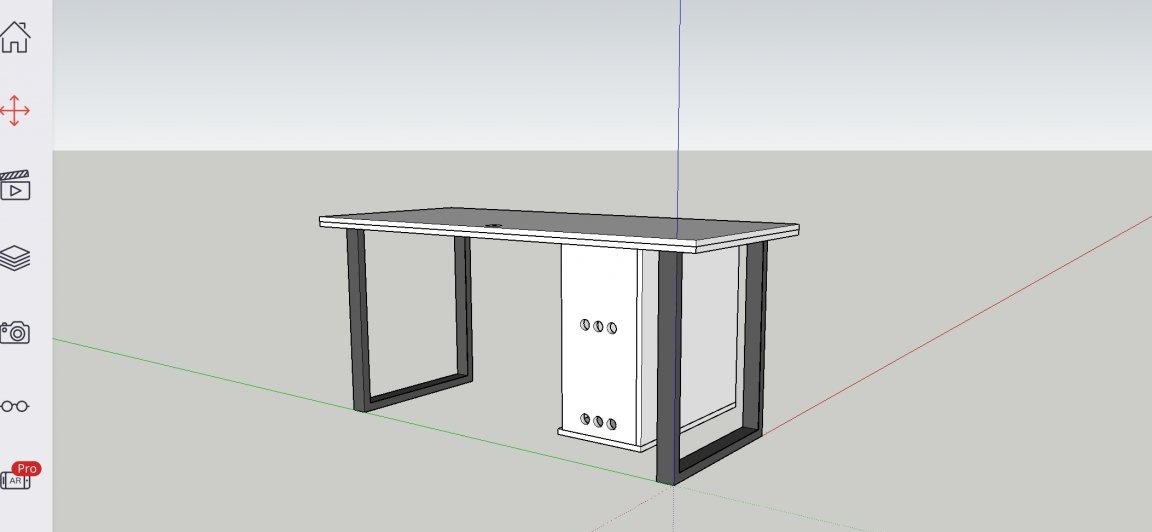
3D model this table is available for download on this

From the tools you will also need:
- A circular saw.
- Drill and / or screwdriver.
- Core drill
- Ordinary drills
- Hole drills
- Forstner drill
- clamps
- Corner and Miter Box
- Joiner's glue (PVA)
- Self-tapping screws and / or screws
- Sandpaper (for both rough surfaces and polishing)
- Welding machine and its attributes
- Bulgarian
- Chemistry for the processing of wooden elements (impregnation, varnishes, etc.)
- Paint for table legs
- Felt spacers
- A pencil.

Well, let's get started. To begin with, we will make the main element of the table, and as it was not difficult to guess, namely the countertop. To do this, it is necessary to saw off a piece of the right size from an 18mm FSF plywood sheet (the author of the homemade sawed out a worktop with a size of 1600 * 700mm), and it should be cut using a circular saw with a guide.

Then, in a freshly sawn tabletop, a round hole with a diameter of approximately 50 mm should be drilled. This hole is necessary in order to carefully lead wires through it from the computer. And this means that this hole can be located in the place where the tabletop is convenient for you, that is, if the monitor is installed in the corner, then we make the hole in the corner, respectively. But since the author had a need for a central arrangement of the monitor, he made a hole in the center relative to the sides.

In order to carefully make a round hole in the countertop and not damage it, you should use an unnecessary piece of plywood, which in turn should be placed on the back side relative to the side of the saw and temporarily fixed with clamps. And the hole itself should be drilled using a core drill.


But it is worth noting that 18mm is too thin for the countertop, so you should cut out strips of 40mm wide in order to visually add widths and at the same time maintain an acceptable weight of the product. Moreover, these procedures with thickening in addition will also add rigidity to the structure. Cut these strips from the same material as the countertop, and do this using the same circular saw. The length and number of strips must match the number and length of the sides of the countertop.


After the parts have been cut, the ends should be processed so that they are sawn off at an angle of exactly 45 degrees. This will make the seams invisible and visually make the illusion that the countertop is ~ 40mm thick. It is convenient to make exact and identical angles can be done using the same circular saw and a special carriage (corner) for it. Well, or you can use such a penny tool as a wort and an ordinary hand saw.


Then, through the newly made plywood strips, through holes should be made for screwing in the screws. To do this, on strips, with a pencil, mark the places for drilling holes, for a more aesthetic appearance at the same distance from each other. And of course, we zink the drilled holes in order to avoid chipping of the material.


The preparatory process is over and you can proceed to the assembly. To do this, put the countertop with the bottom side up, on a flat surface. After that, the strips and countertops should be fastened together. For this, carpentry glue should be used, and the best carpentry glue I consider is PVA glue. We apply glue to the glued surfaces and fasten them with clamps. Perfectly align the parts flush to create the same “plate” effect. Further, in order not to wait for the glue to dry for a long time, well, and in order to precisely tightly connect the parts together, we put them on the screws. We remove the clamps and wipe the extruded excess glue.


The next step is to make a box in which the computer system unit will be placed. So we take all the same FSF plywood, and cut it into delicate details. Namely, on the part dimensions: 316mm * 620mm, 600mm * 280mm, 620mm * 618mm, 618mm * 420mm. These sizes are taken on a 3D model given by the author of a homemade product. He used such dimensions for his particular situation, but you can adjust the dimensions of the box to your needs.


Then, in the workpiece with dimensions 620mm * 280mm cut earlier, several holes should be made using a drill and a Forstner drill, this is necessary to improve ventilation. After that, fixing holes should be made in the cut blanks (see photo below). Then we zink each hole and proceed to assembly.


For convenience, we fix one of the parts with clamps to the table, and then everything is very simple to twist all the parts together using 50mm screws.


Then we finally sanded and “polished” with fine sandpaper all the wooden parts for further processing. Namely, at this stage, the wood should be treated with chemical compounds for durability, practicality and simply for aesthetic pleasure. There are a huge number of different compositions for processing wood, in each carpentry shop they are just a dime a dozen. It is worth using special impregnations and a special varnish for countertops.

The next step is to make the legs for the table. The author of the homemade product did not have welding equipment, and he ordered legs from the welder. If you also do not have the skill of not welding, then you can also order the production of legs from local welders, and it will be extremely simple to do this, since you already have a 3D model of the table.


After the wooden part of the table is completely dry, we proceed to the finish assembly. We put the countertop on the floor, for something earlier, laying it on the floor so as not to scratch anything.We install the legs in their places and fix them with screws.


Felt spacers should be glued to the metal legs of the table themselves so that they do not scratch the floor. And we install the box, simply putting it in its place and securing it with screws. Turn the table over and you're done.


That's it! We have made a cool table, made by our own hands, which will serve you for many, many years.


Here is a video of the author of the homemade:

Well, thank you all for your attention and good luck in future projects, friends!
9
6.5
7.5

Add a comment

    • smilesmilesxaxaokdontknowyahoonea
      bossscratchfoolyesyes-yesaggressivesecret
      sorrydancedance2dance3pardonhelpdrinks
      stopfriendsgoodgoodgoodwhistleswoontongue
      smokeclappingcraydeclarederisivedon-t_mentiondownload
      heatirefullaugh1mdameetingmoskingnegative
      not_ipopcornpunishreadscarescaressearch
      tauntthank_youthisto_clueumnikacuteagree
      badbeeeblack_eyeblum3blushboastboredom
      censoredpleasantrysecret2threatenvictoryyusun_bespectacled
      shokrespektlolprevedwelcomekrutoyya_za
      ya_dobryihelperne_huliganne_othodifludbanclose
2 commentary
Bl4ck_R4bbit
the legs are not connected, and twisted in 16mm plywood - this table will leave left or right. No wonder in the photo he was crammed into a corner so that he did not swing.
will serve you for many, many years
Well, this is unlikely, the legs are not interconnected, a box without a backup. nea

We advise you to read:

Hand it for the smartphone ...