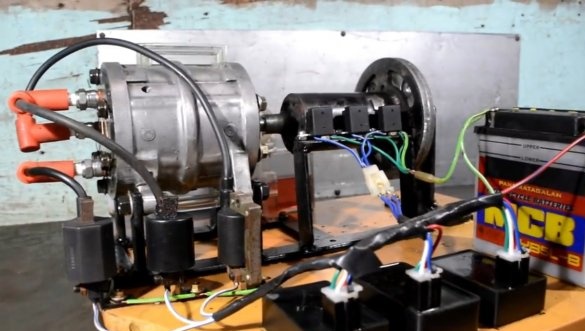
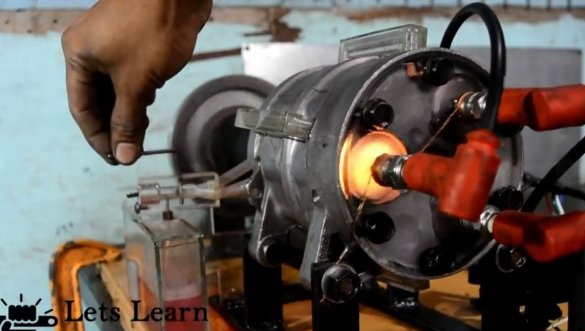
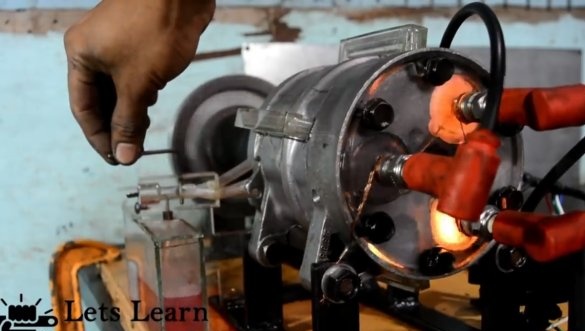
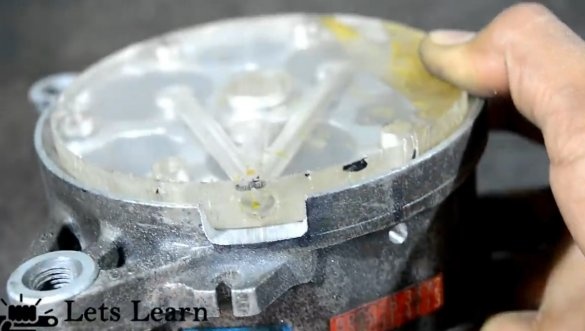
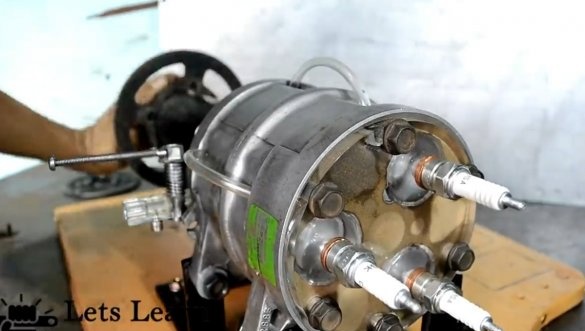
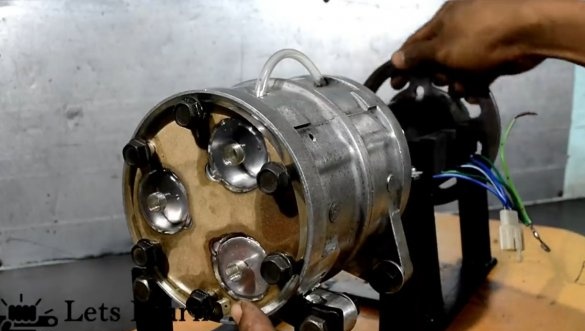
I welcome all fans to craft, I propose to consider instructions for the manufacture of three piston models of a gasoline engine do it yourself. Homemade The author decided to assemble from an automobile compressor, which is involved in the operation of the air conditioner. The author’s motor turned out to be unusual, it doesn’t look like a two-stroke one because of the unusual intake system, but because of the valveless exhaust gas discharge model can not be called four-stroke. What distinguishes this motor from a two-stroke one is that it has a separate oil sump, which provides good lubrication and cooling. To clearly see the processes inside the combustion chamber, the author made the cylinder head of thick acrylic. If you are interested in the project, I propose to study it in more detail!
Materials and tools used by the author:
Material List:
- compressor from the car (3-piston);
- thick sheet acrylic;
- acrylic glue;
- automobile spark plugs;
- steel plates;
- bolts and nuts;
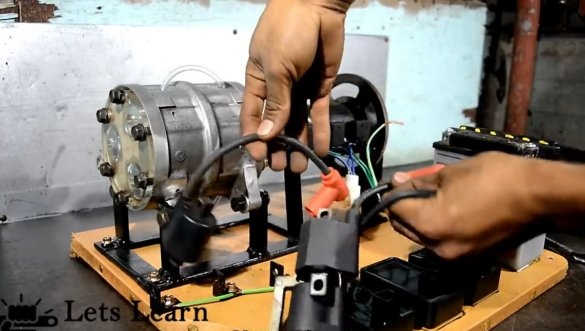
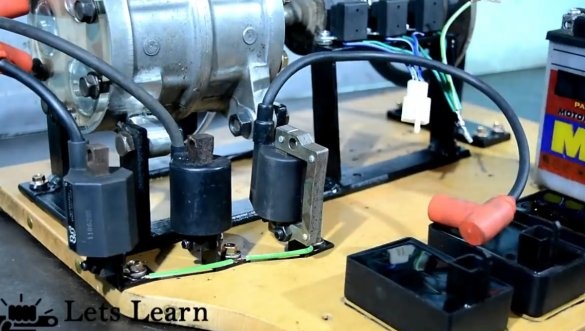
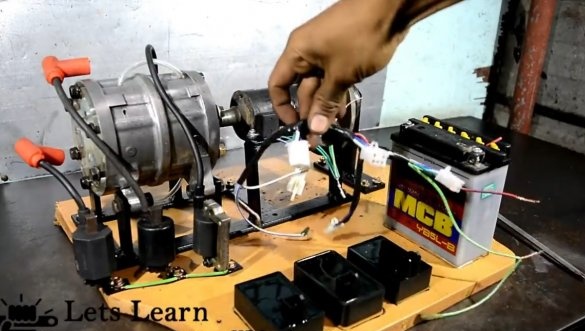
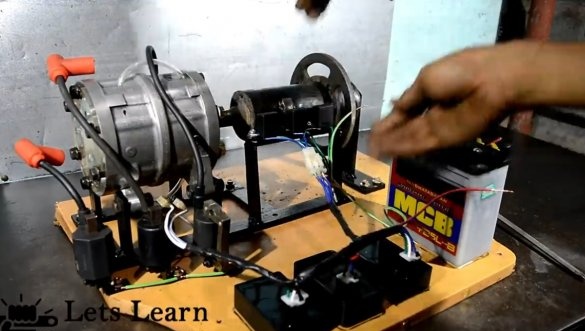
- 3 ignition coils from a moped, motorcycle or the like;
- high voltage wires;
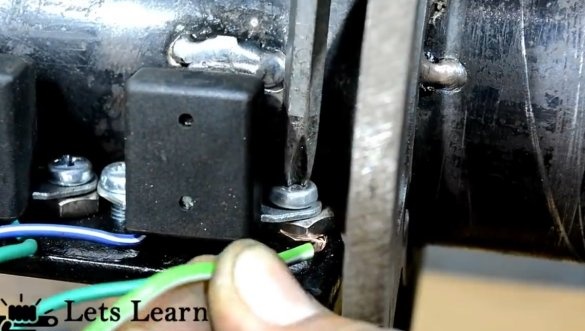
- magnetic switches;
- three CDI;
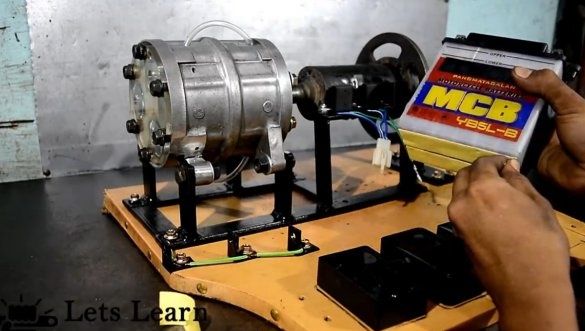
- 12V battery;
- wires;
- transparent hoses.
Tool List:
- drill;
- drill;
- wrenches and screwdrivers;
- vernier caliper;
- grinder;
- jigsaw;
- drilling machine;
- tool for threading;
- welding machine.
Homemade manufacturing process:
Step one. We disassemble the compressor
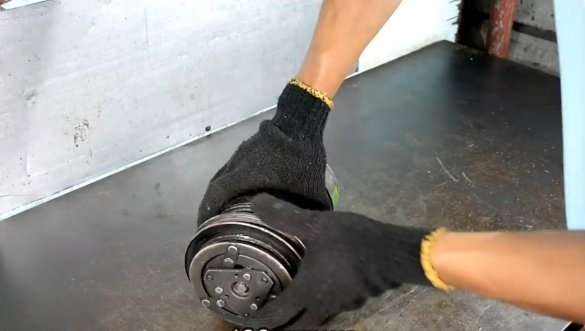
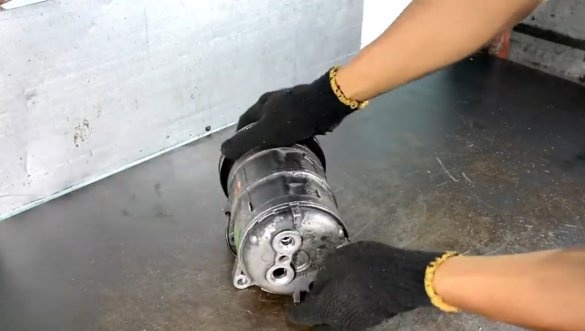
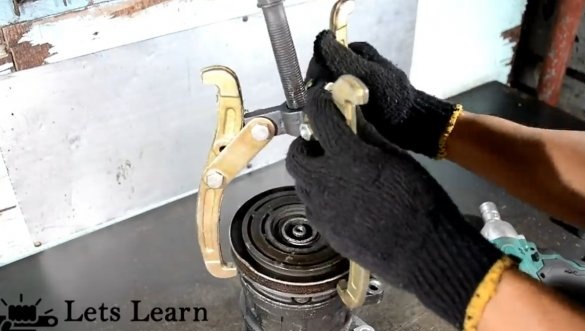
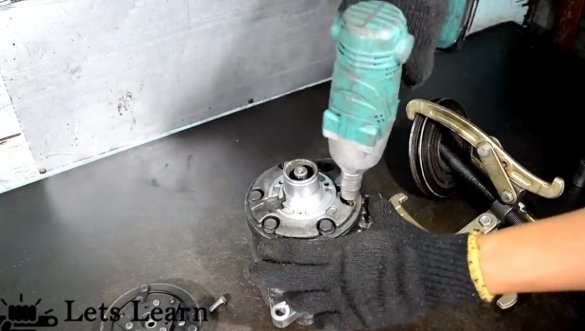
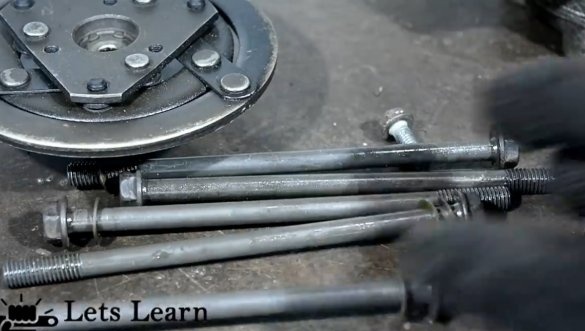
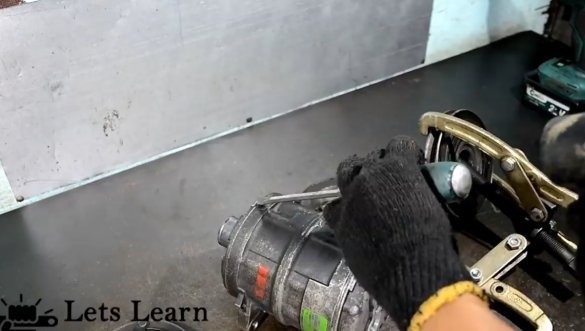
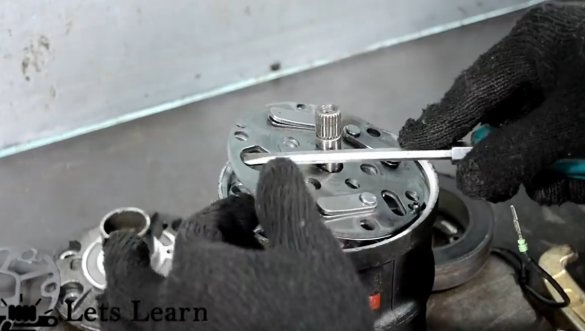
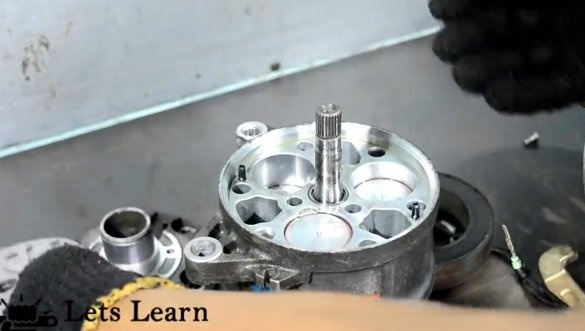
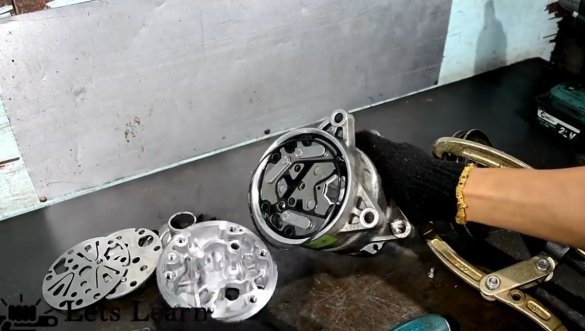
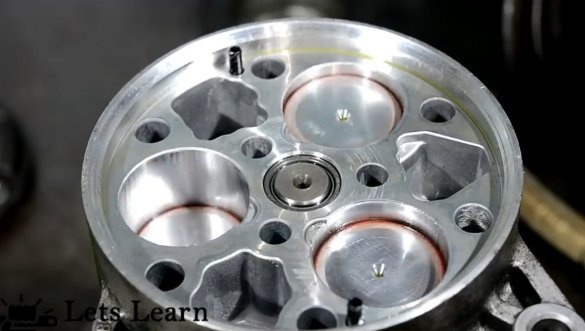
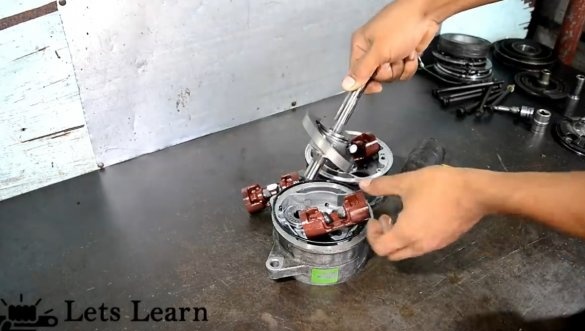
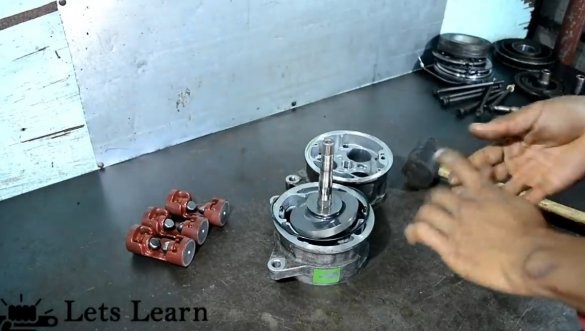
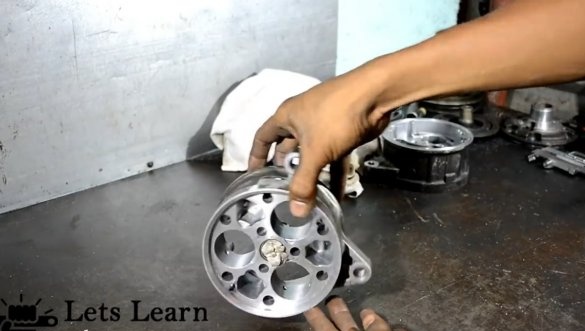
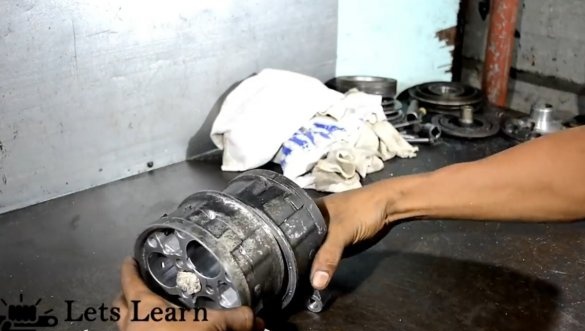
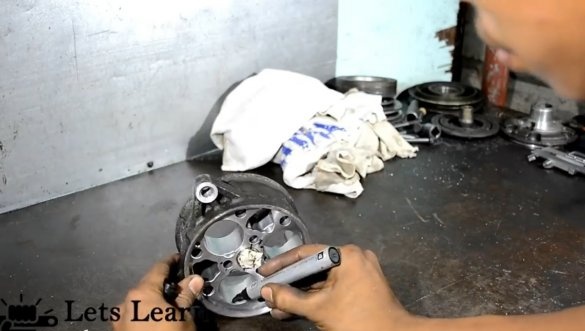
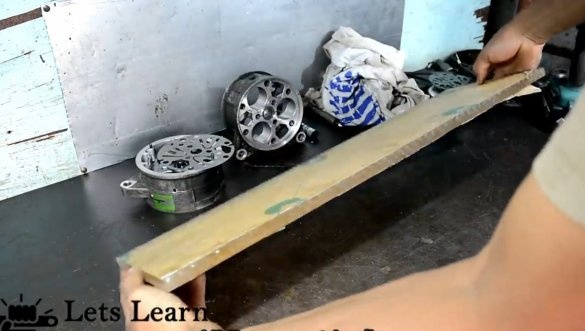
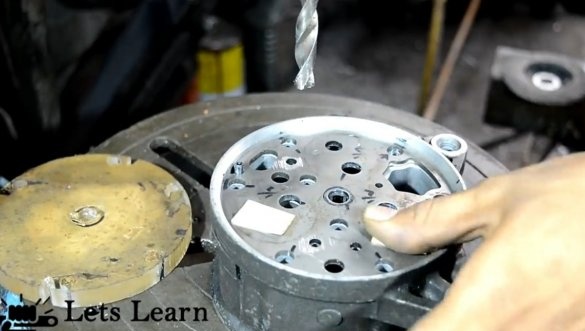
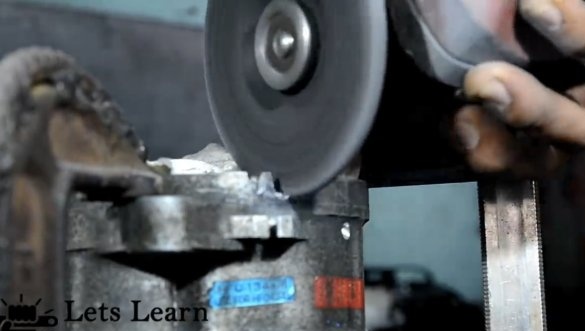
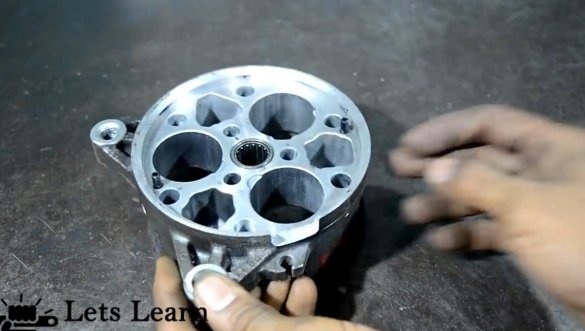
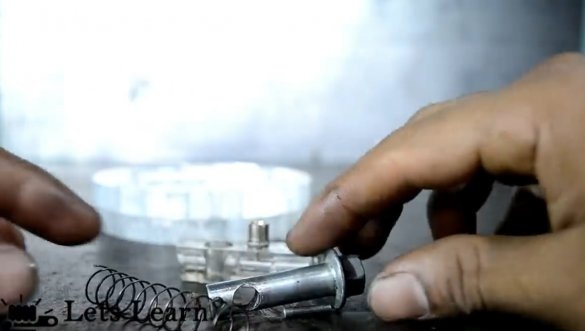
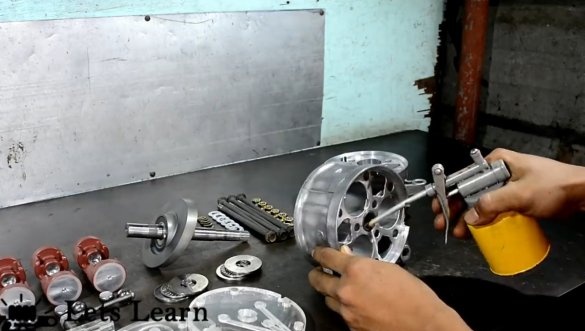
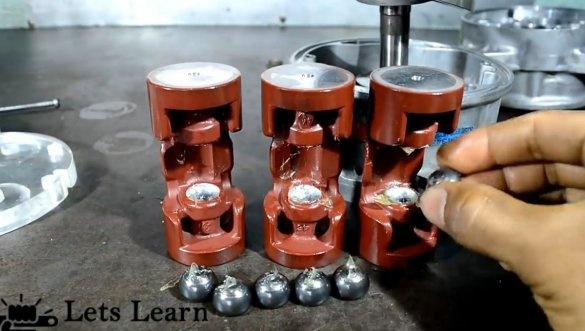
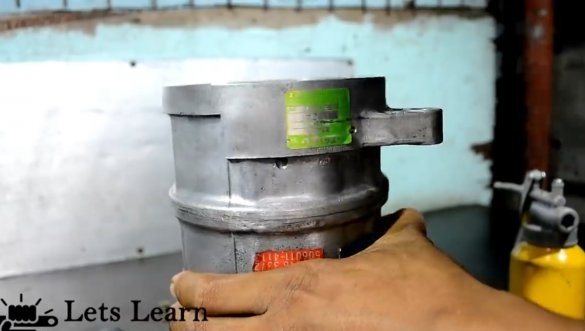
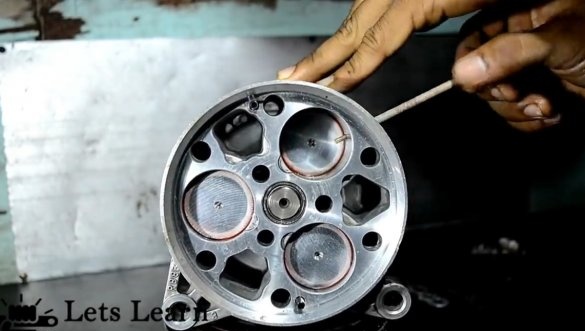
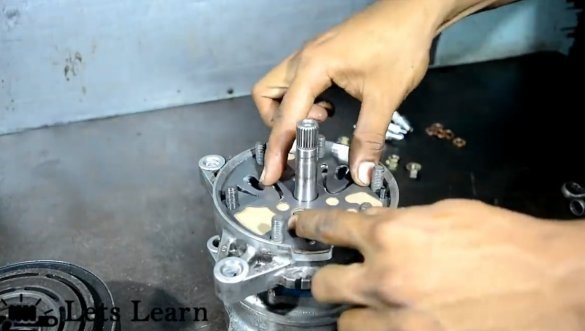
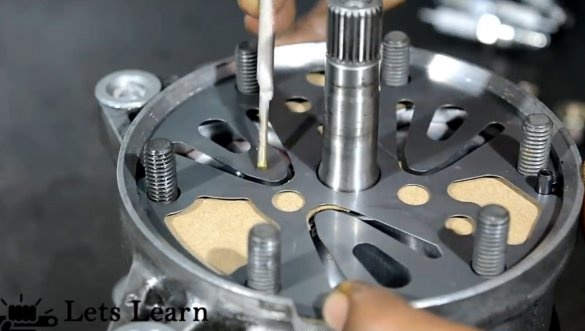
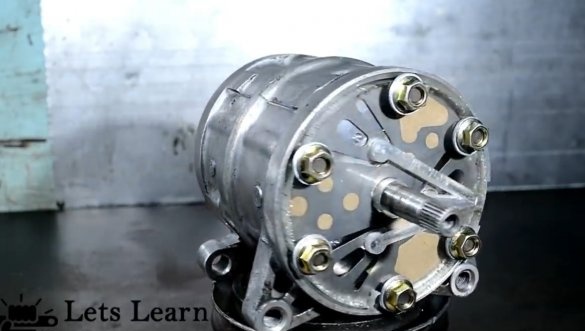
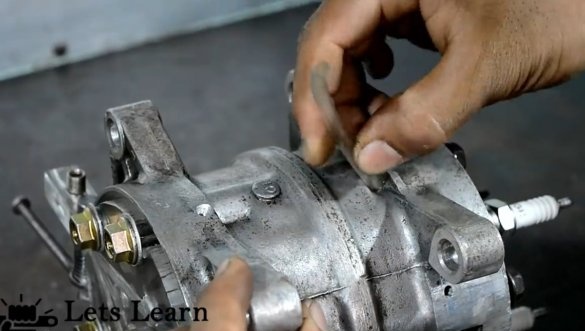
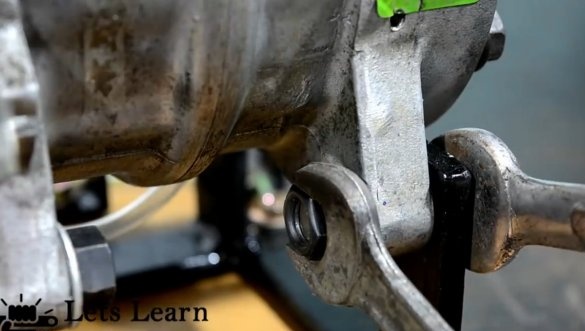
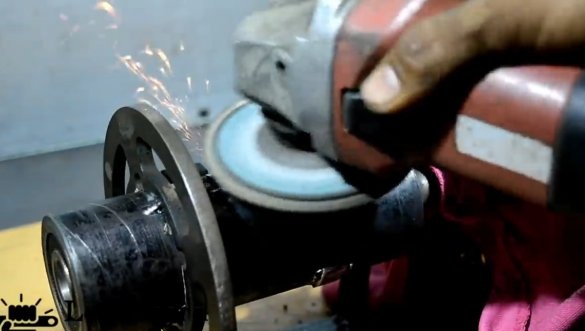
First of all, we will disassemble the compressor, clean it of dirt and wash it if necessary so that the dirt does not get inside later. Inside, the author found an eccentric in the form of a disk, which moves the pistons during rotation. The piston is only three pieces, each piston is double, that is, cylinders in fact 6, like pistons. If you wish, you can turn this engine into a six-piston, but the author has simplified the design, everything works so well.
Step Two Window
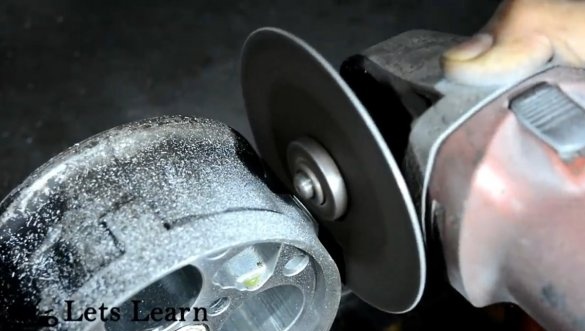
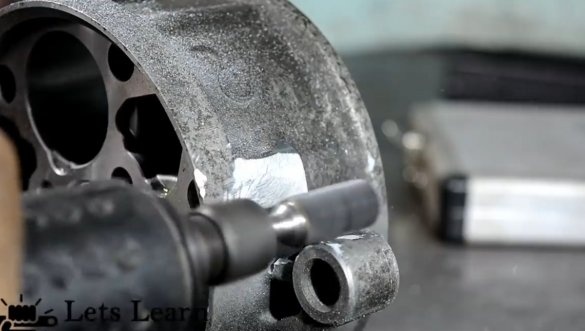
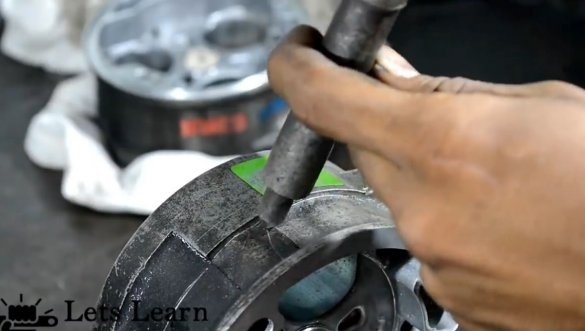
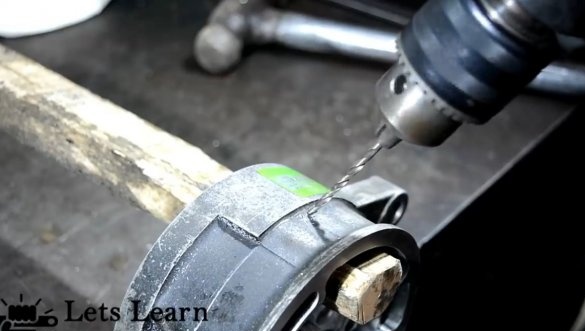
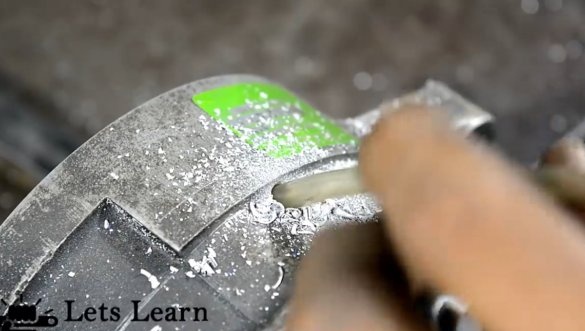
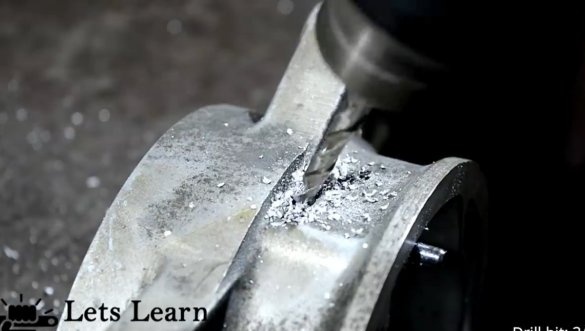
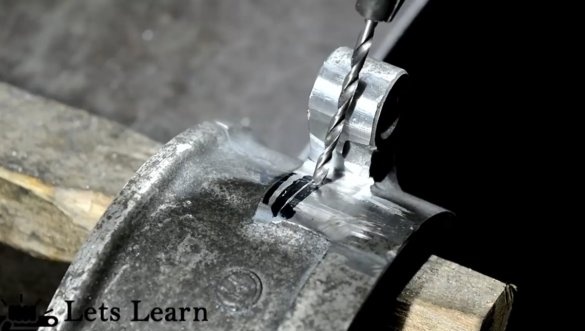
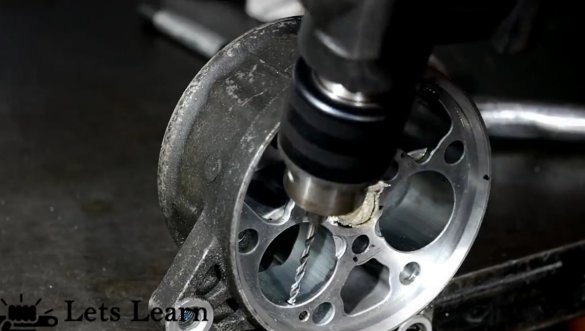
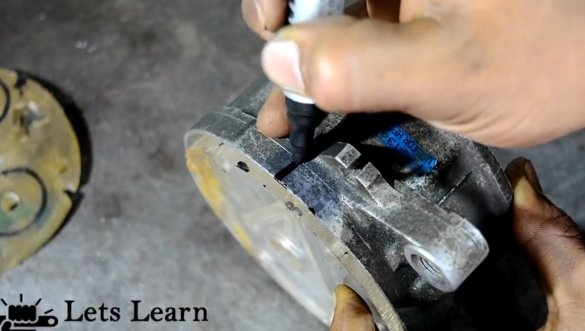
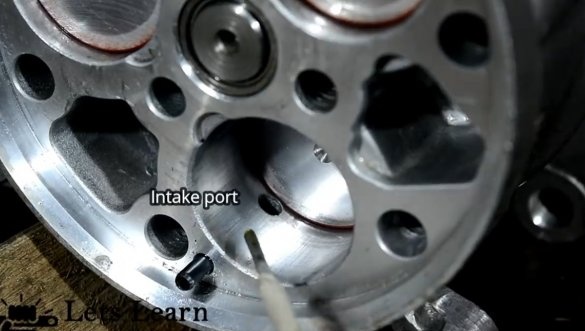
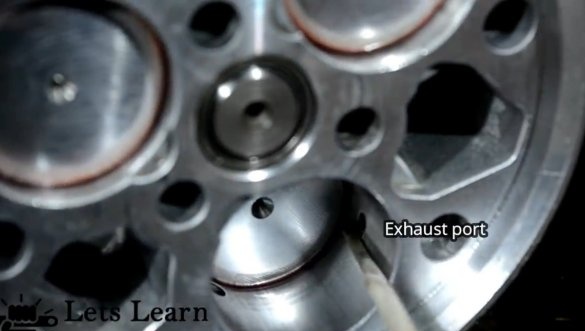
Next, we make windows in the main working cylinders, where the fuel will burn. Each cylinder should have a window for the exit of gases, as well as a window for the entrance of the fuel mixture. The exhaust window is slightly higher towards the head than the inlet. The windows open and close with the piston itself, as in a two-stroke engine.
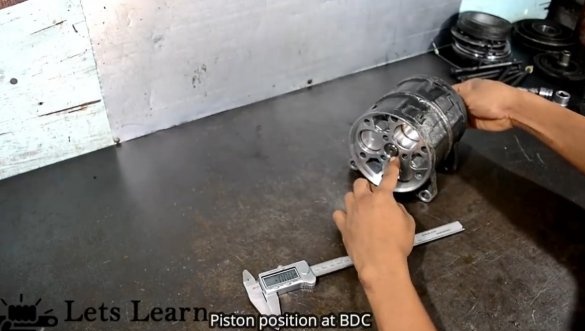
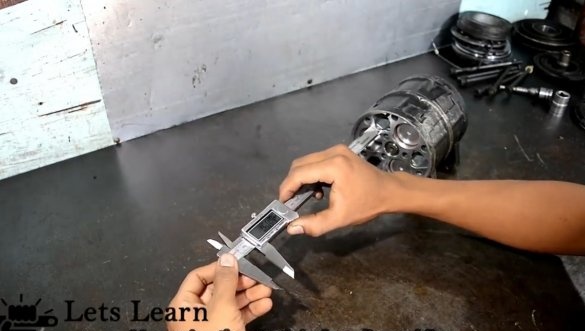
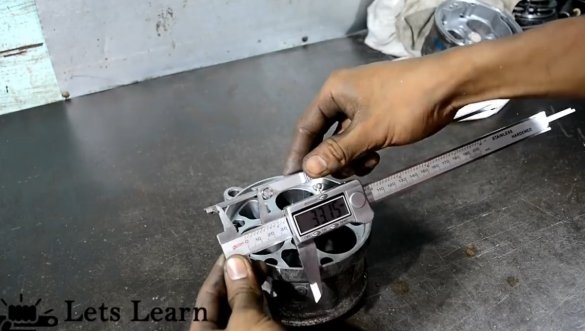
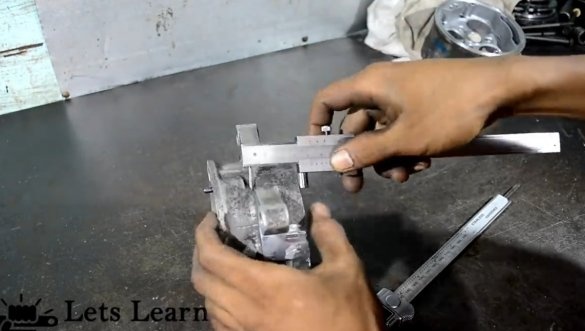
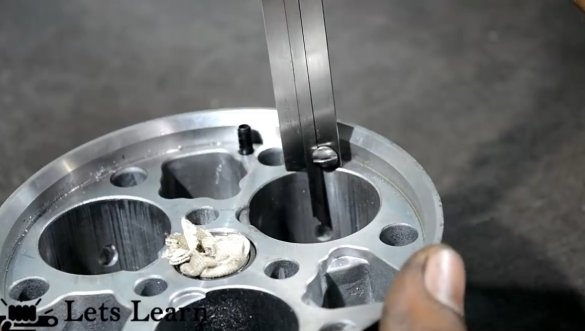
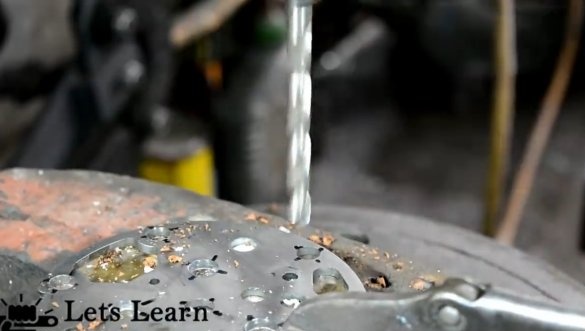
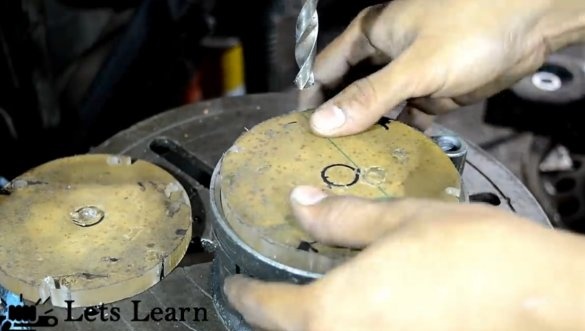
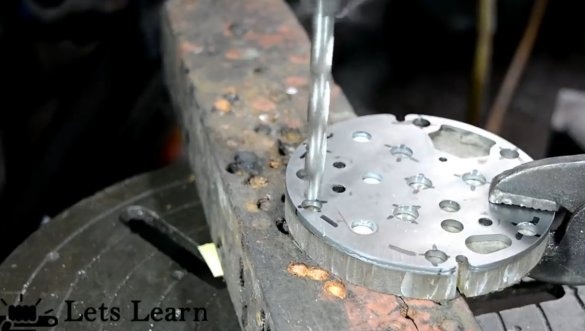
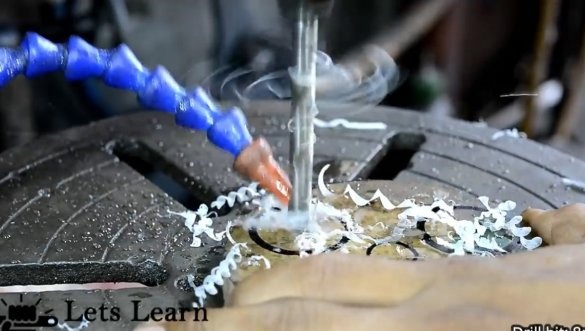
To begin with, we arm ourselves with a caliper and make the necessary measurements.You can start drilling holes, first we pass a small diameter drill, and then drill the diameter of the holes to the desired one. We carefully remove the burrs inside the cylinders so that they do not cling to the pistons.
Step Three Cylinder head
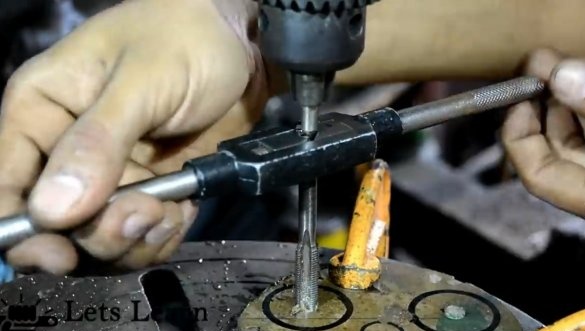
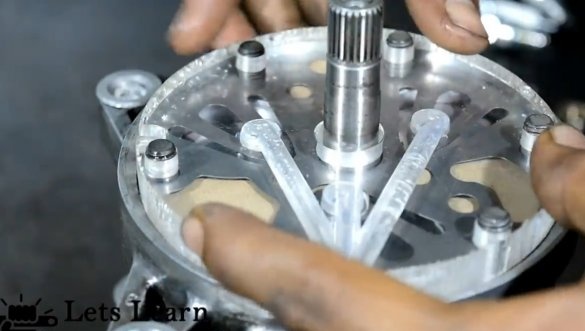
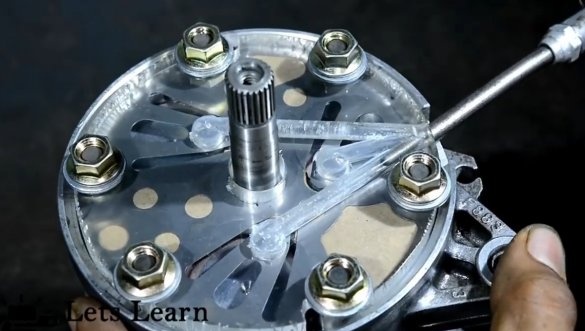
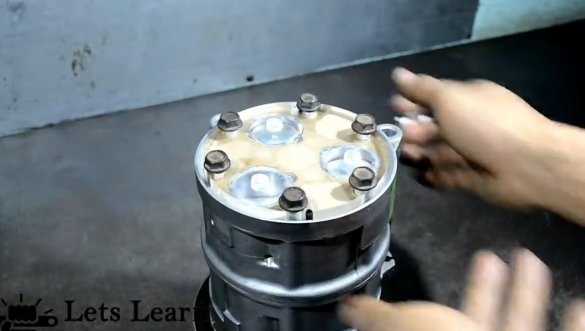
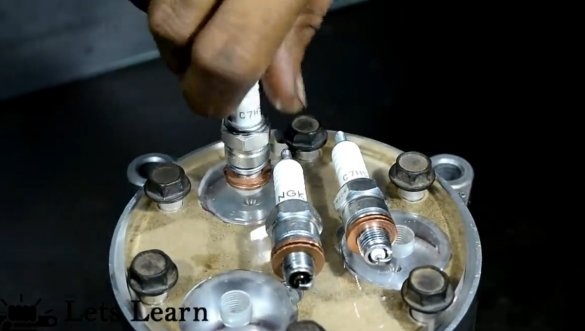
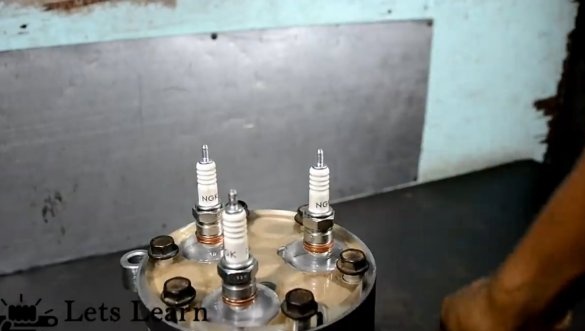
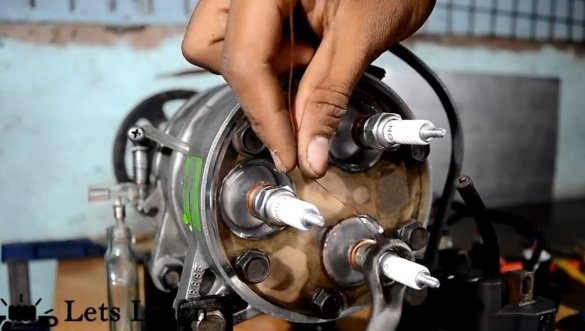
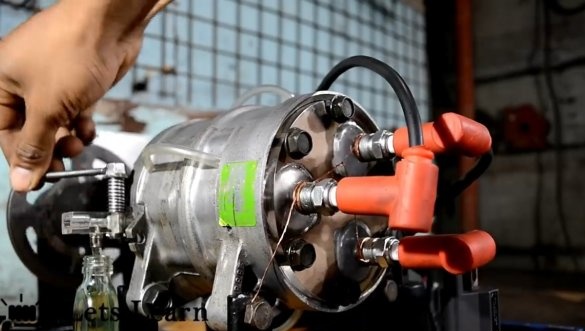
The engine will immediately have two cylinder heads. One head is placed above the working pistons, holes are drilled in it, and the thread for the spark plugs is cut.
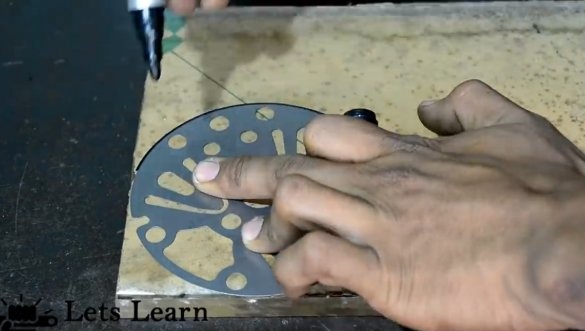
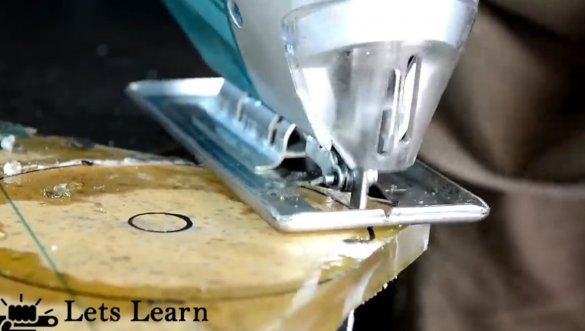
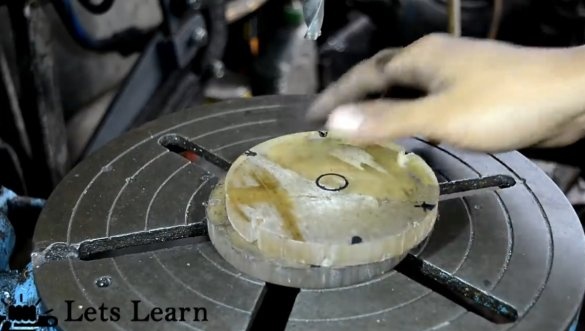
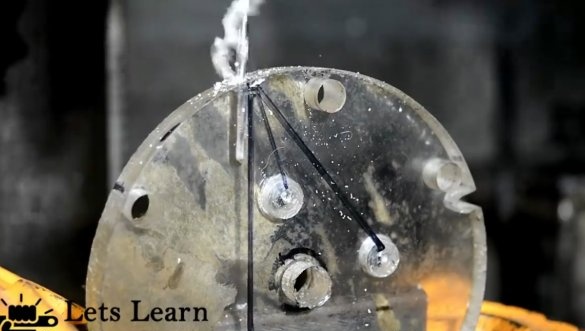
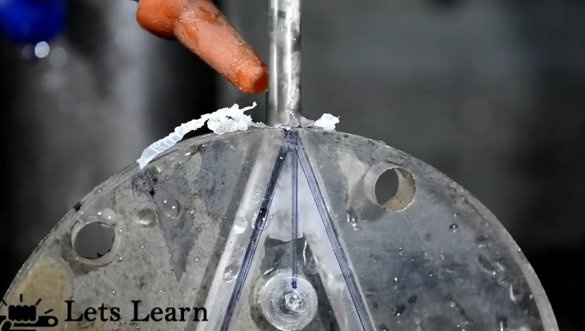
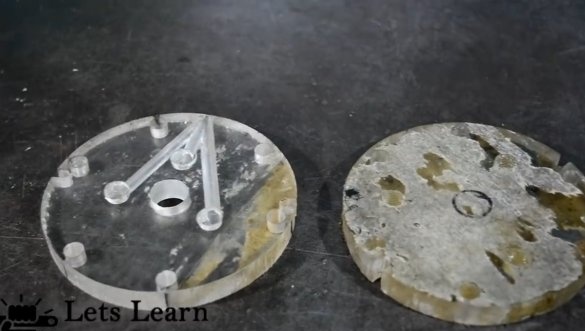
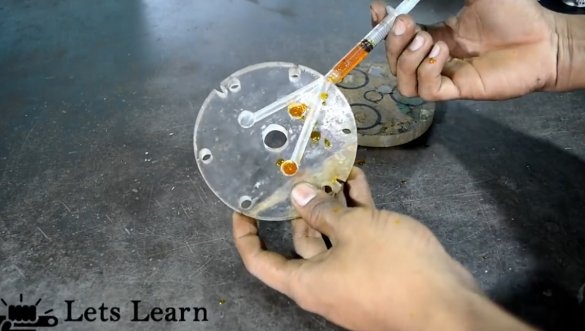
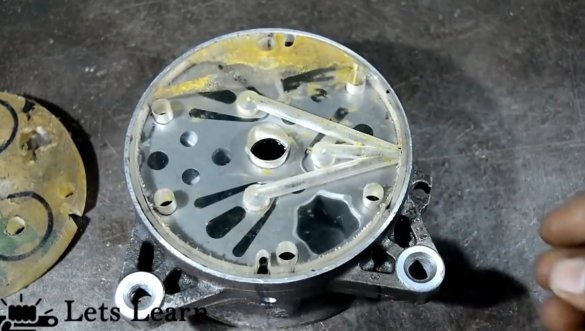
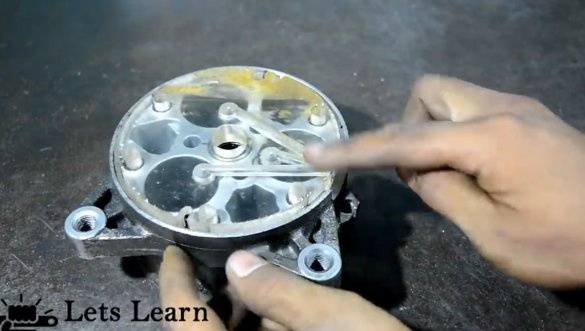
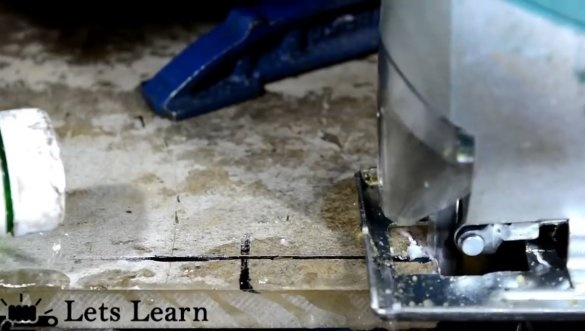
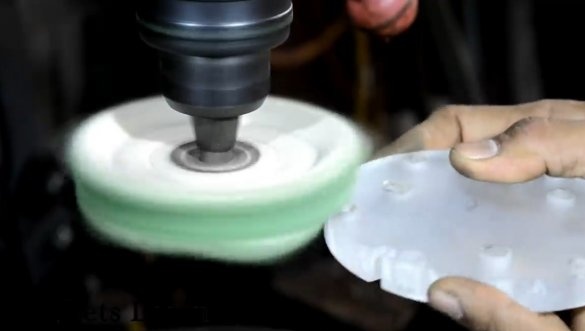
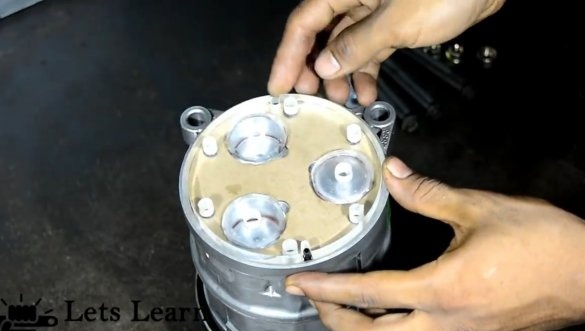
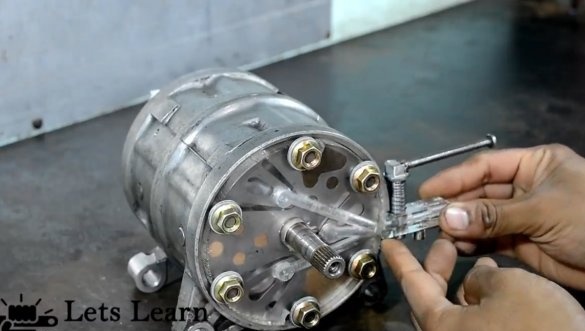
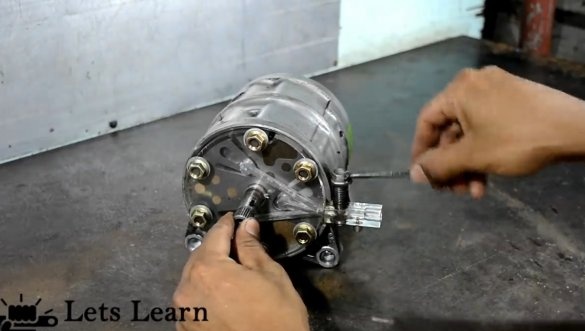
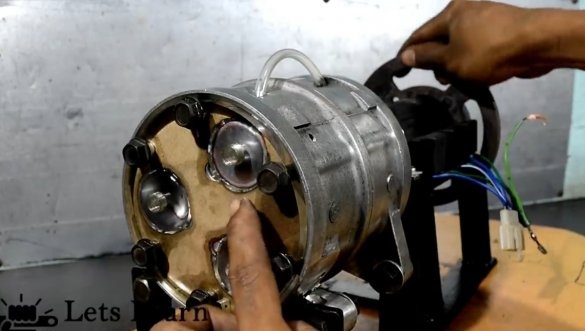
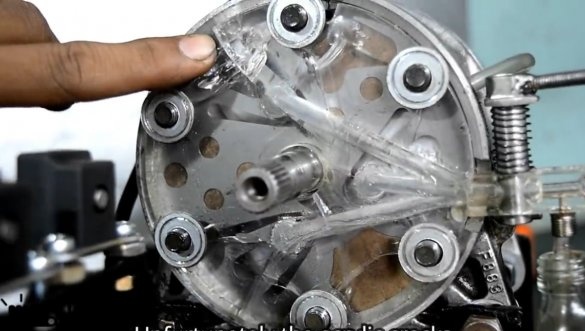
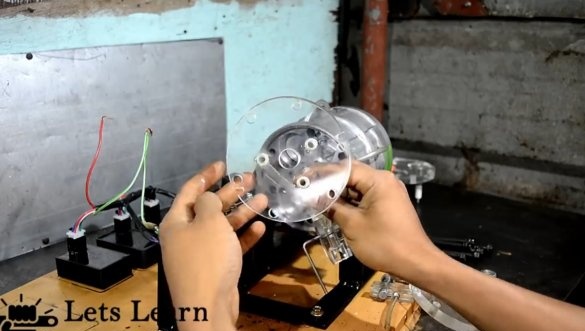
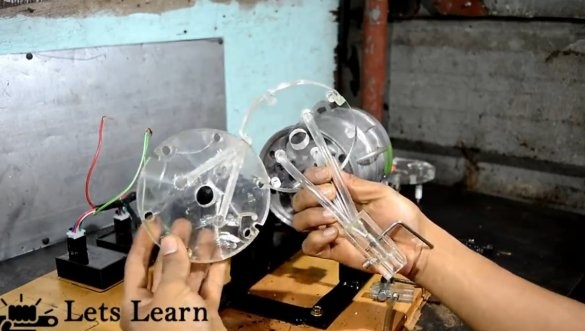
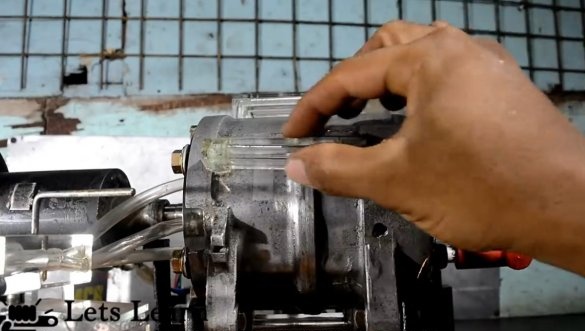
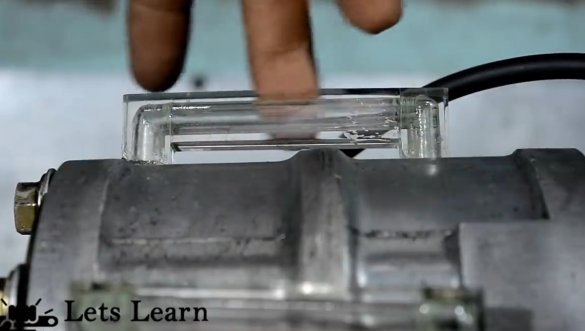
The second head is on the reverse side, above the other three pistons and cylinders into which the fuel mixture from the carburetor will be sucked. This head has blind holes and special channels through which the fuel assembly will enter the cylinders. The author made the head out of thick sheet acrylic to demonstrate all the processes inside.
A carburetor will stand on this second head, we make a place for it.
Step Four Carburetor
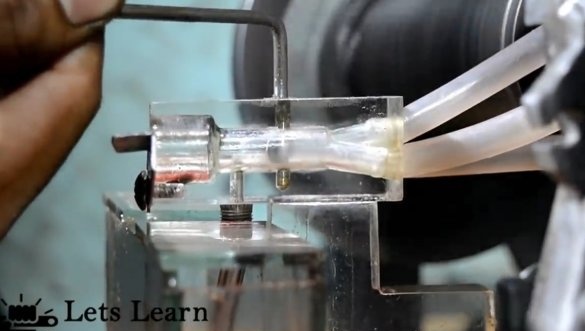
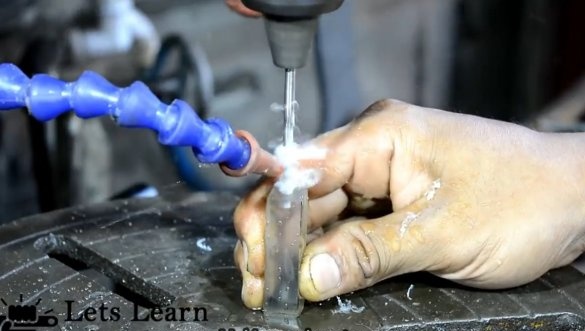
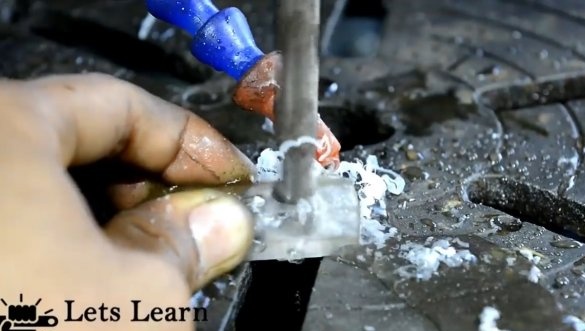
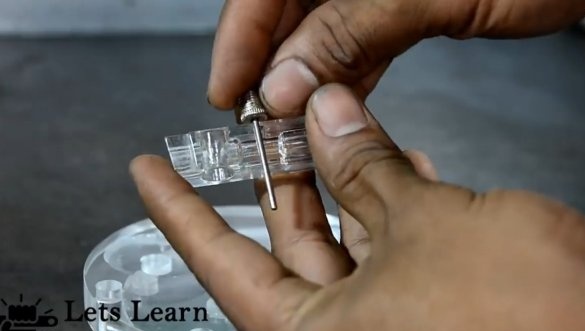
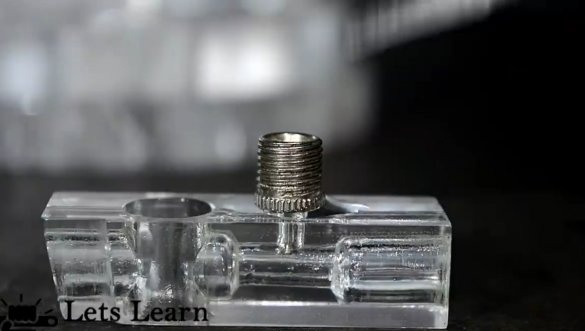
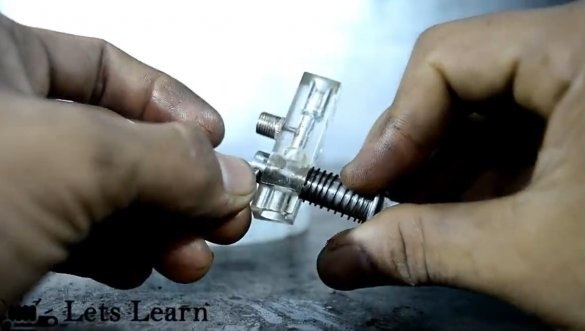
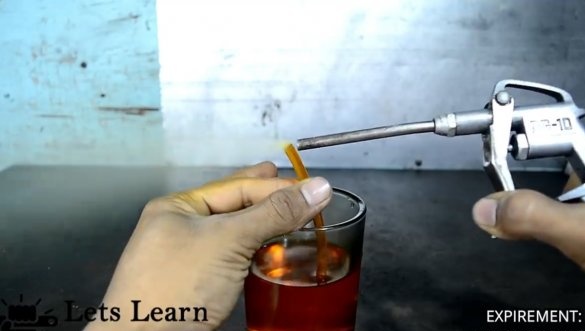
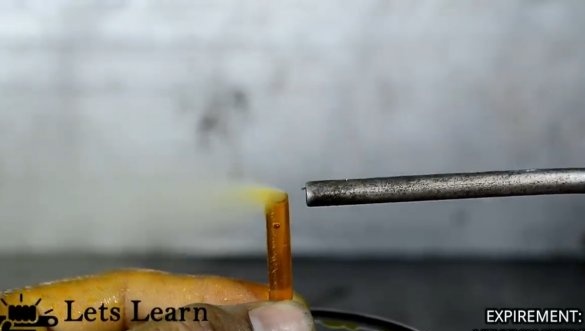
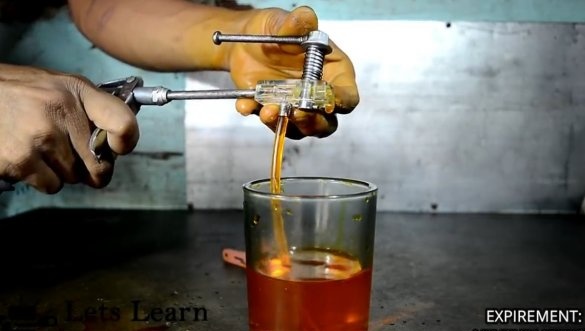
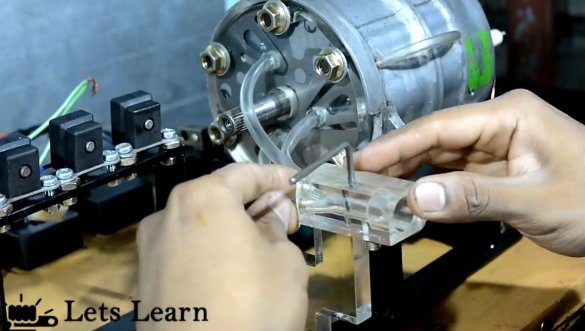
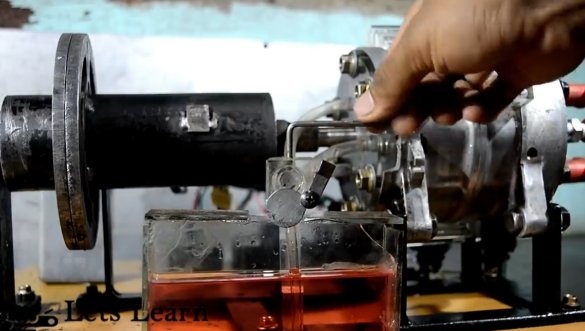
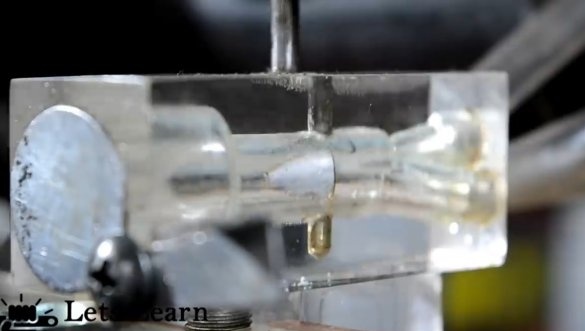
The author made the carburetor for the motor himself, acrylic was also used here. The carburetor is simple, works on the well-known Venturi effect. We drill holes on both ends of the acrylic piece with a large diameter drill, towards the center, and the author himself went through the center with a smaller drill. As a result, when air passes through a narrow area of the diffuser, pressure decreases and the carburetor sucks in fuel. The author demonstrated how everything works using a compressor and tinted water.
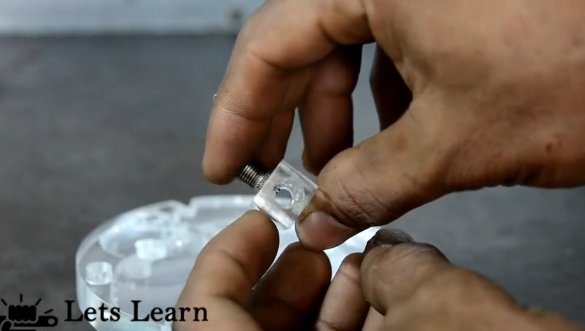
Fuel is supplied through a pump needle, which pumps the balls. As for the throttle, it can be made from a piece of bolt and spring. In the bolt, drill a hole along the diameter of the carburetor channel. The bolt will block or open the channel depending on the position.
Step Five Assembly and attempt to start
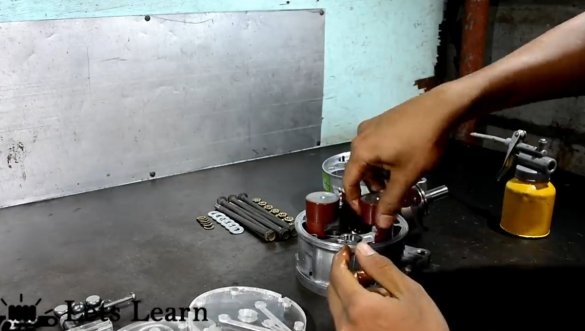
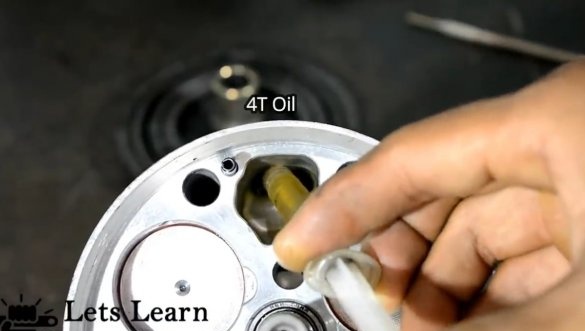
We assemble the device, do not forget to put the necessary gaskets so that there is no air leakage anywhere. Inside the compressor, oil for 4-stroke engines is poured into a separate crankcase.
The rear head with channels is placed by the inlet openings opposite the valves, which will allow the fuel to be sucked in and not to spit it back.
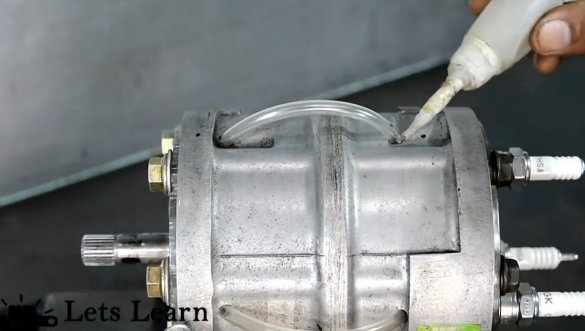
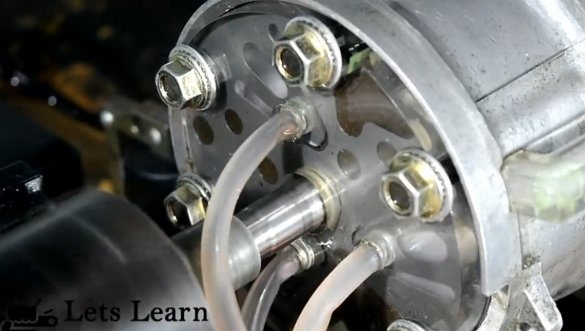
The working cylinders are connected to the “suction” transparent hoses, through them the finished mixture for arson will enter the working cylinders.
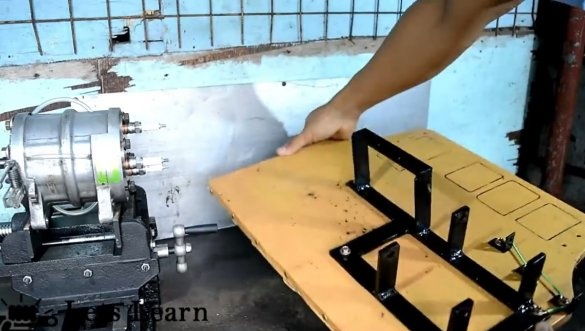
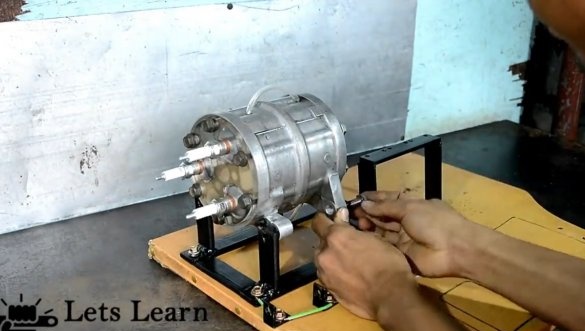
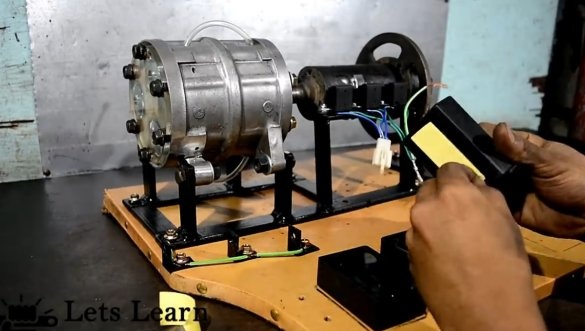
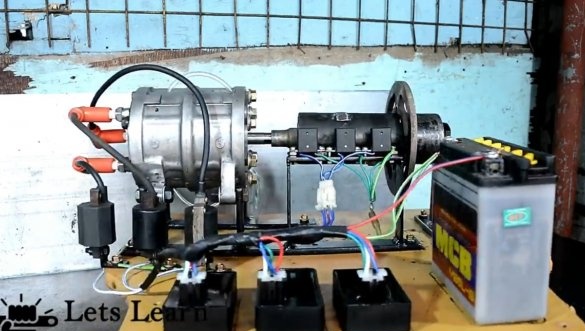
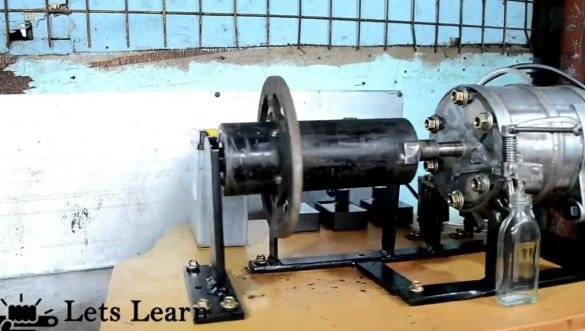
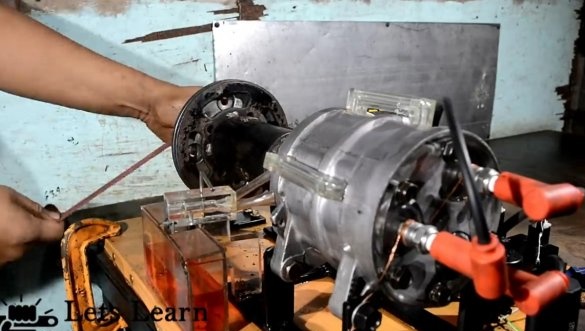
The author put the motor on a steel frame, verified from steel plates, you can screw the frame to plywood or chipboard.
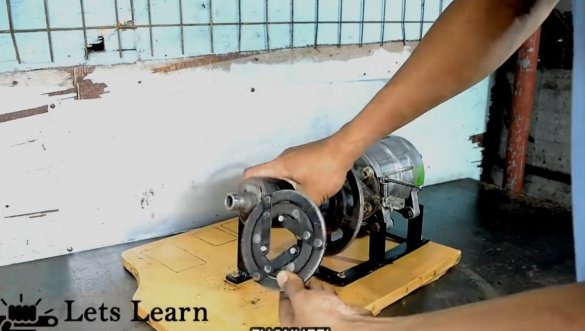
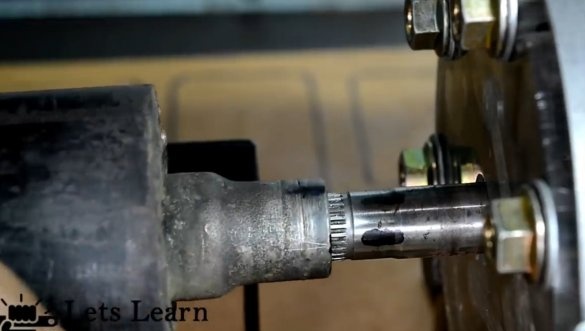
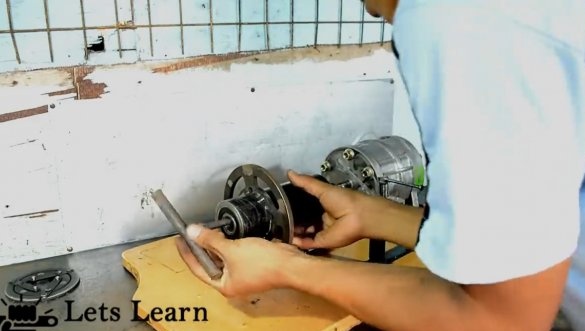
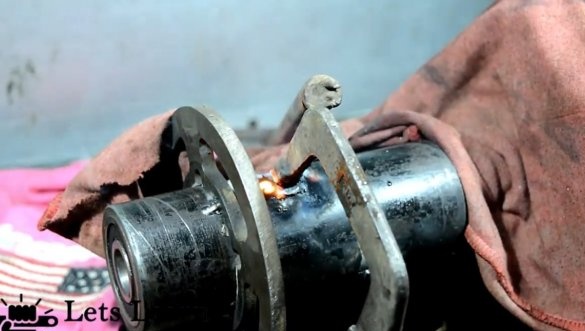
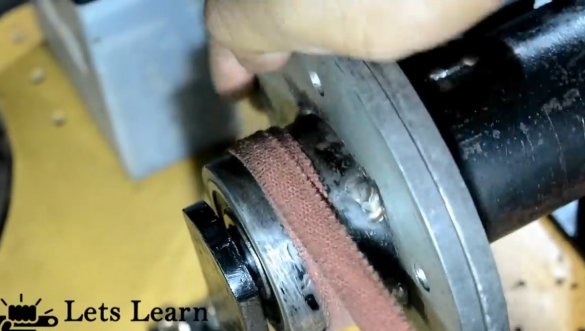
A flywheel is placed on the motor shaft, which will allow us to accumulate kinetic energy, and with it we will start the engine.
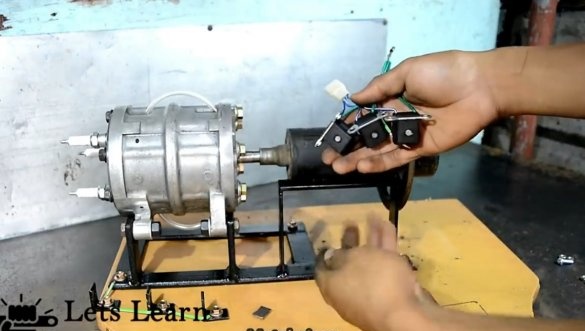
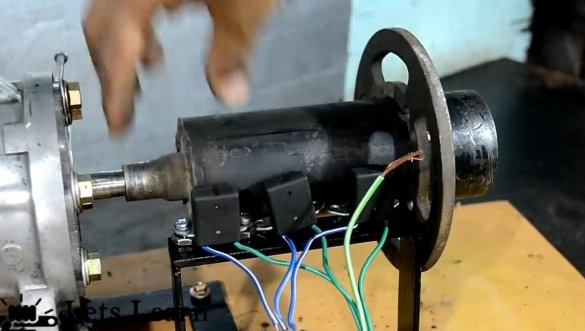
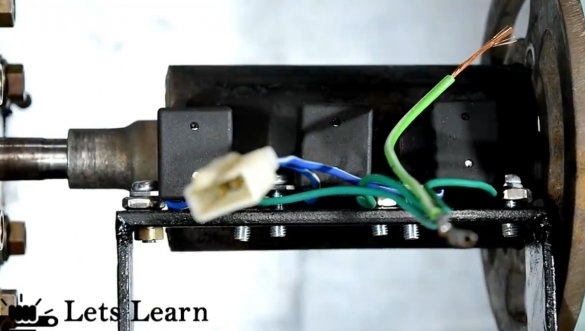
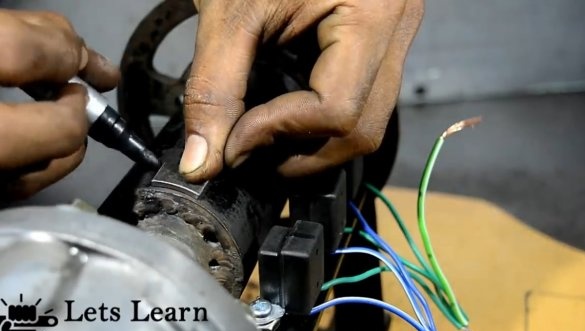
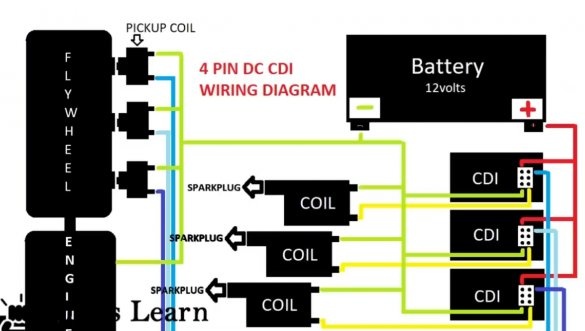
On the flywheel are pieces of steel plates that interact with magnetic switches. A spark in the cylinder should appear when the piston approaches the TDC, or even a little earlier.
Three coils from motorcycles and three CDIs for them. The author did not succeed in starting the engine for the first time, and the rear head with channels broke, since due to the large number of cavities the strength of the material was impaired.
Step Six Finalization and launch
The author redid the inlet head, simply made holes there and inserted the hoses that go to the carburetor. The author also made pipes of acrylic instead of hoses that connected the cylinders.
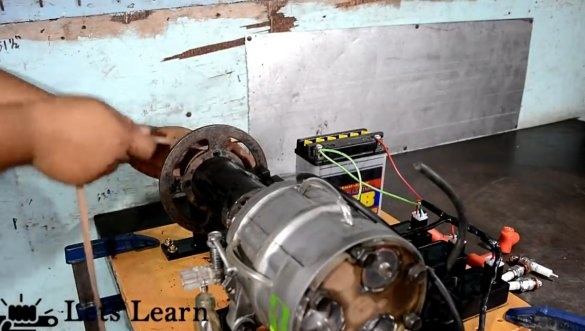
We connect the carburetor, put a bottle of gas and you can start. To spin the motor, the author winds a rope around the flywheel and pulls it. Several attempts and the engine is running! Homemade turned out spectacular, I advise you to watch video with sound!
The project is completed on this, I hope you liked the homemade work, and you found useful thoughts. Good luck and creative inspiration, if you decide to repeat this. Do not forget to share your ideas and homemade things with us!

