

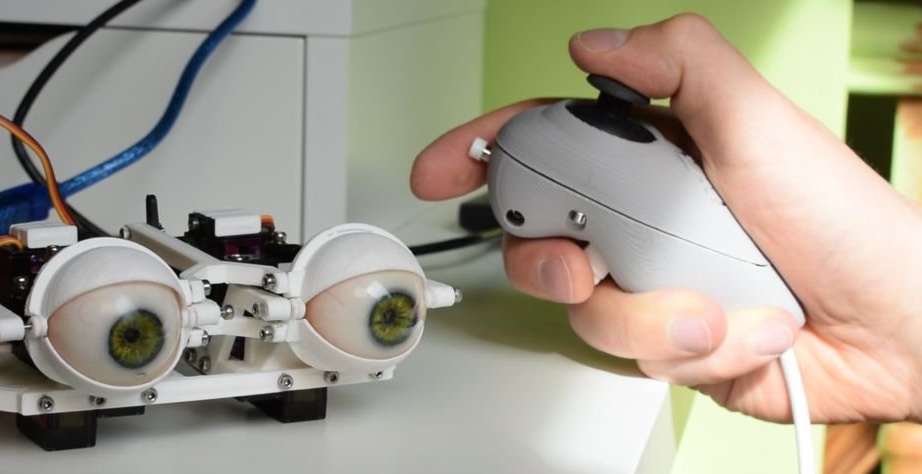
The author of Instructables under the nickname Ikkalebob made quite a lot homemade with moving fake eyeballs. And he decided to make such a joystick so that all their movements could be controlled with one hand. As well as the smooth movement of the eyelids and a sharp blink. Let's see what he did.
Files necessary for repeating the design are laid out by the wizard here. At the heart of the device is a ready-made joystick, often included in kits such as "everything you need to master Arduino right now. "It works quite well, but if you need a better joystick, you can use the Parallax company for use with their Propeller microcontrollers. There are other controls: a button (to blink sharply) and a 10 kΩ variable resistor (to smoothly move the eyelids.) Of course, if you use the joystick in a project not related to fake eyeballs (video game, robot, surround sound system, etc.), for these controls you can think of another purpose.
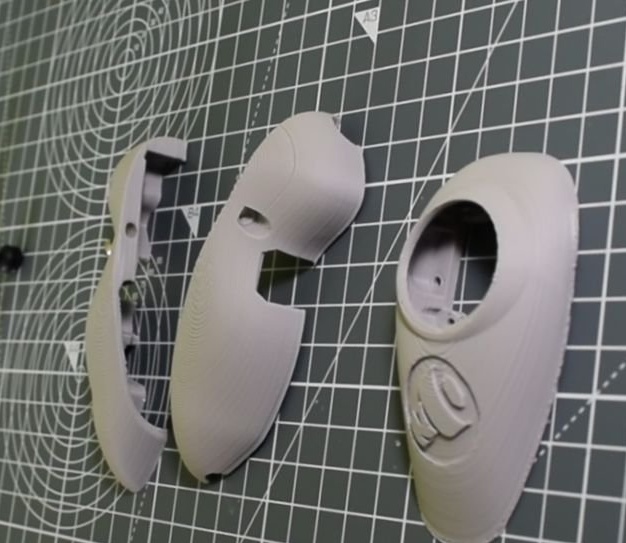
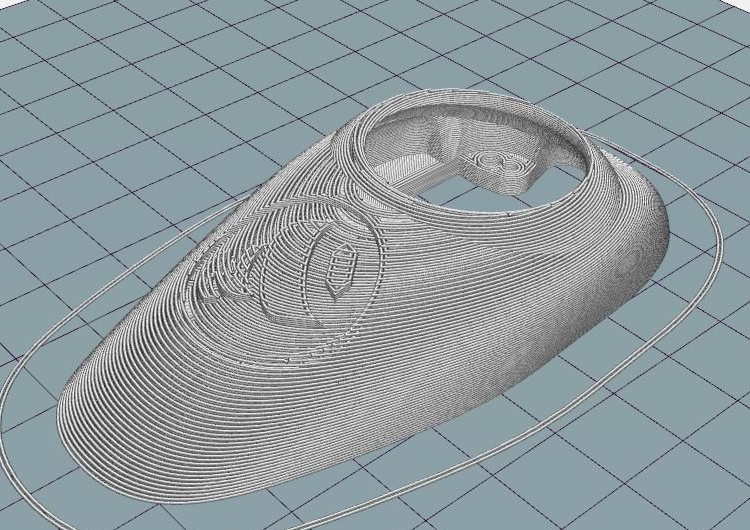
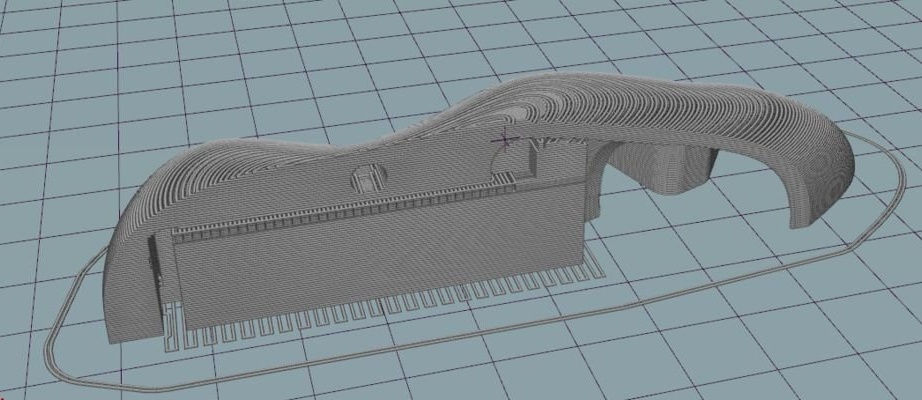
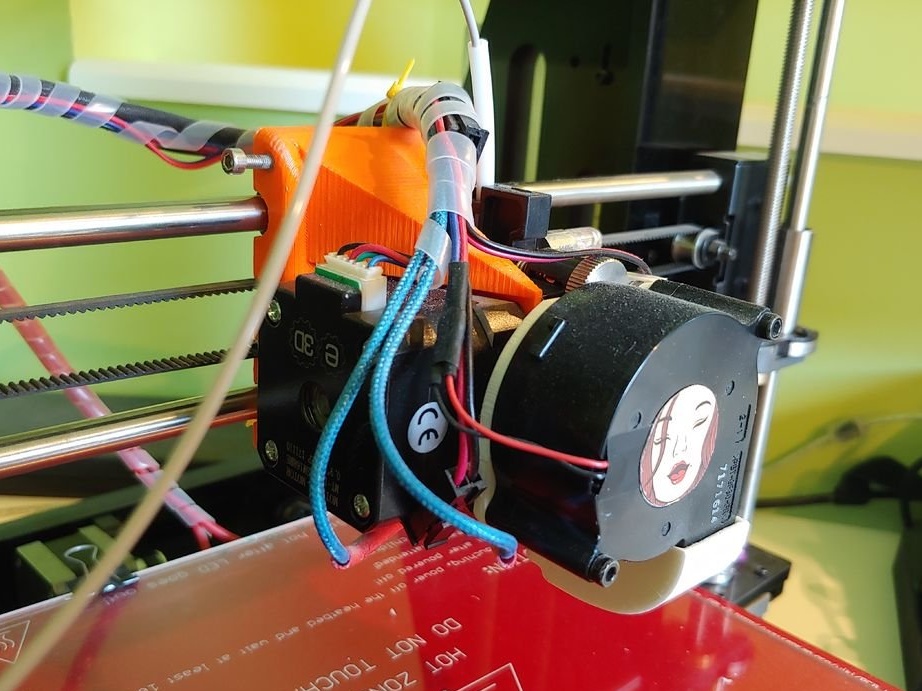
The master prints all the details of the case from PLA in two versions: the prototype - with a layer thickness of 0.3 mm, and then - the final version with a layer thickness of 0.2 mm. In both cases, the hull was assembled without any problems. You need to print with the flat side down, support is required only on elements of body parts hanging at an angle of less than 10 °. If the fan in the 3D printer is not powerful enough, more support may be required.
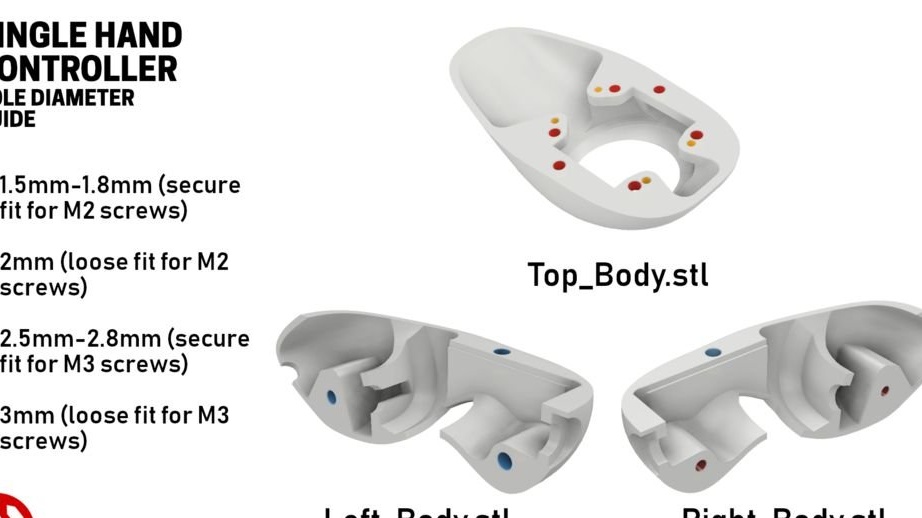
The holes for the screws are made of several reduced diameters so that they hold well after screwing. Inaccuracies in printing may result in the need to slightly drill some holes. The following shows the location of the screws and their parameters:
The only thing that with great fidelity will require sanding is the hole for the joystick handle. But perfectionists can treat her and other surfaces of body parts, which seem to them too uneven.
The joystick is connected to an external device with a six-wire cable. When using Arduino Uno, the connection diagram can be, for example, this:
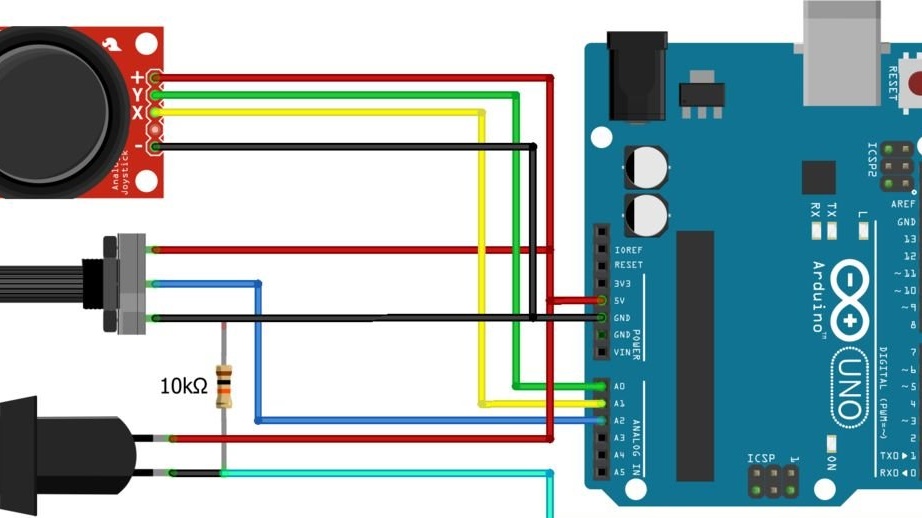
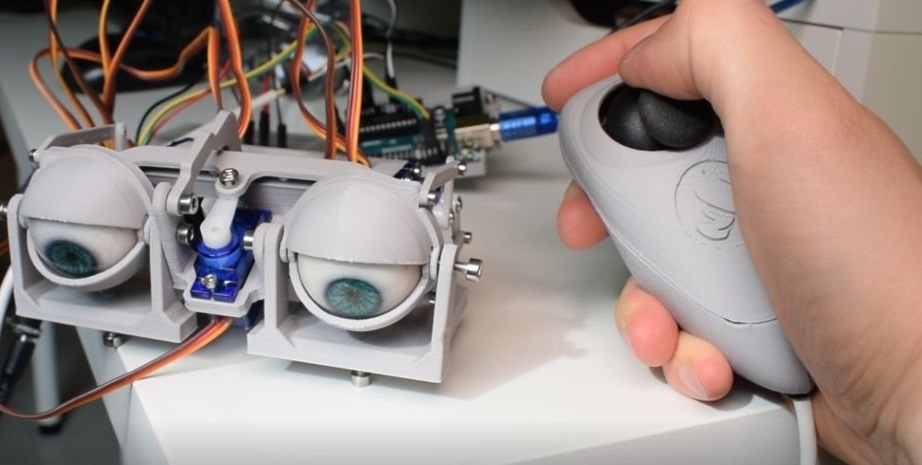
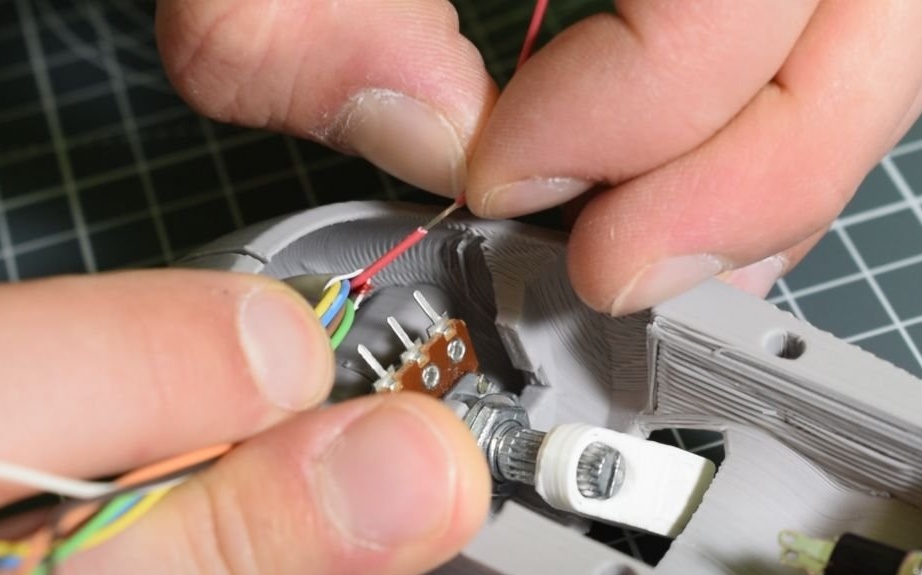
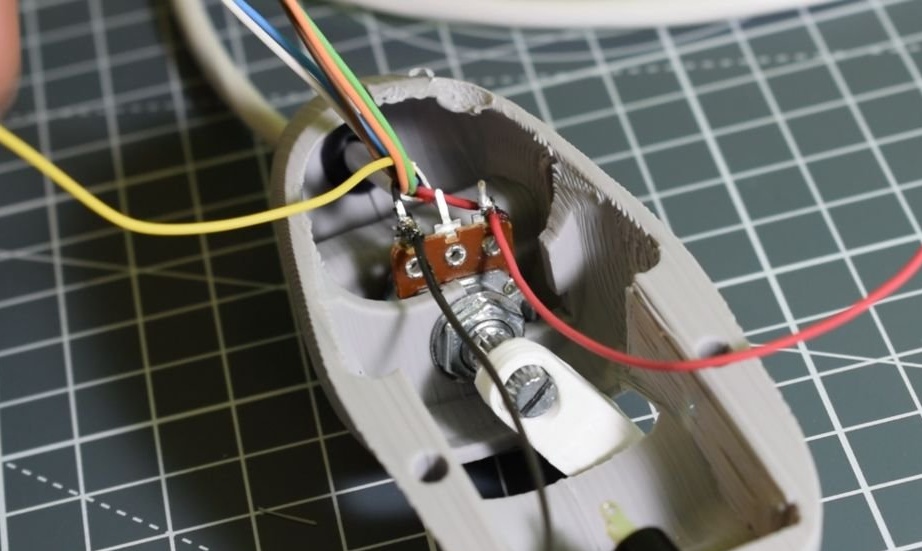
Of course, you can select other inputs of the board, and redo the circuit and program accordingly. The pull-up resistor for the button is best located in the joystick. The master is just starting to collect it:


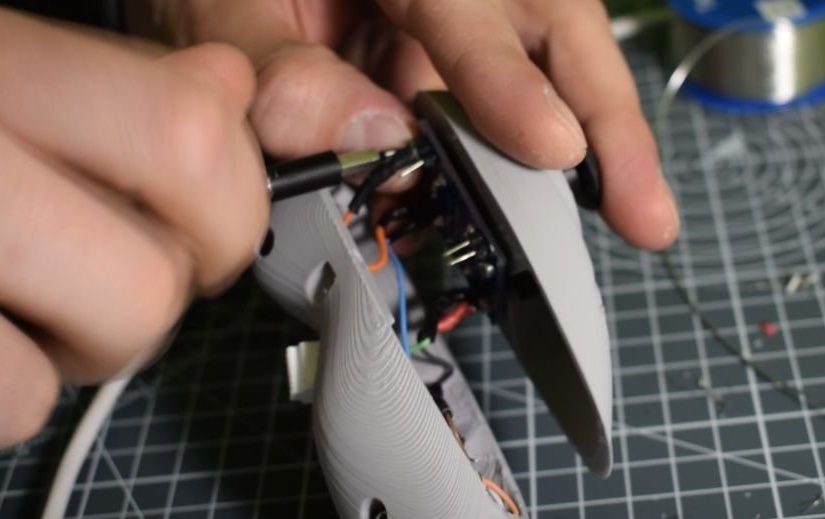
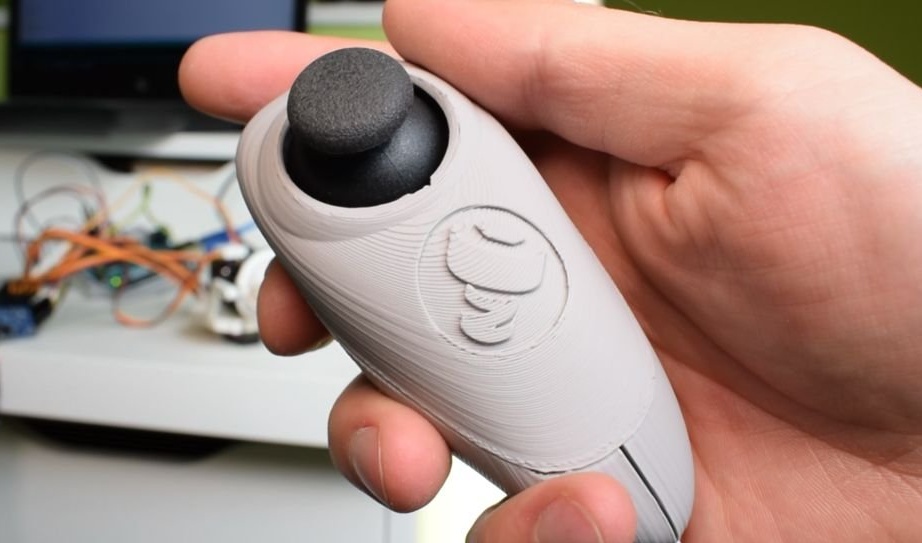
The joystick is ready. Using it with one hand, as we see, is very convenient:
By increasing the number of buttons to four, and eliminating the variable resistor, you can make "one-armed" joysticks for NES. Sketches for converting signals from buttons to those required by this console exist. Who will be the first to try to play, say, in Contra for both players at the same time?