

The device is made for emergency heating of the workspace cellars. This year, in the late autumn, a week of severe frosts struck, while the ground was barely covered with snow. For my cellar, this winter is the first thing to expect from it in terms of the temperature inside - a mystery. When internal thermometer began to crawl to + 3 ° C became somewhat alarming. For a calm and sound sleep, it was necessary to provide for some emergency heater of small power.
A textbook method - one or two incandescent bulbs, power, watt that way for a hundred. But I would have to compose a casing with holes so that the light did not pass otherwise the potatoes would turn green.
What was needed for the manufacture
A set of medium-sized bench tools, a set of tools for electrical installation. Drill (screwdriver), a tool for installing blind rivets. Marking tool. The hair dryer is construction. In addition to components, wires, a thermotube, nylon ties were needed.
Rummaging around in his bins, he found an excellent heating cable with a simple thermostat. All this was once acquired for stationary samovar carburetorhowever, the vessel did not pass the pressure test and design thought went a different way, without heating the fuel. In fact, the fan heater is a few ready-made parts, by chance caught at hand and folded into a single design.
The case is a stub. For him, I used an old roofing aluminum sheet.
so
Having decided on the length of the device (accepted by strong-willed effort) and the cross-section of the external casing (according to the size of the fan), I started manufacturing the external casing (casing).
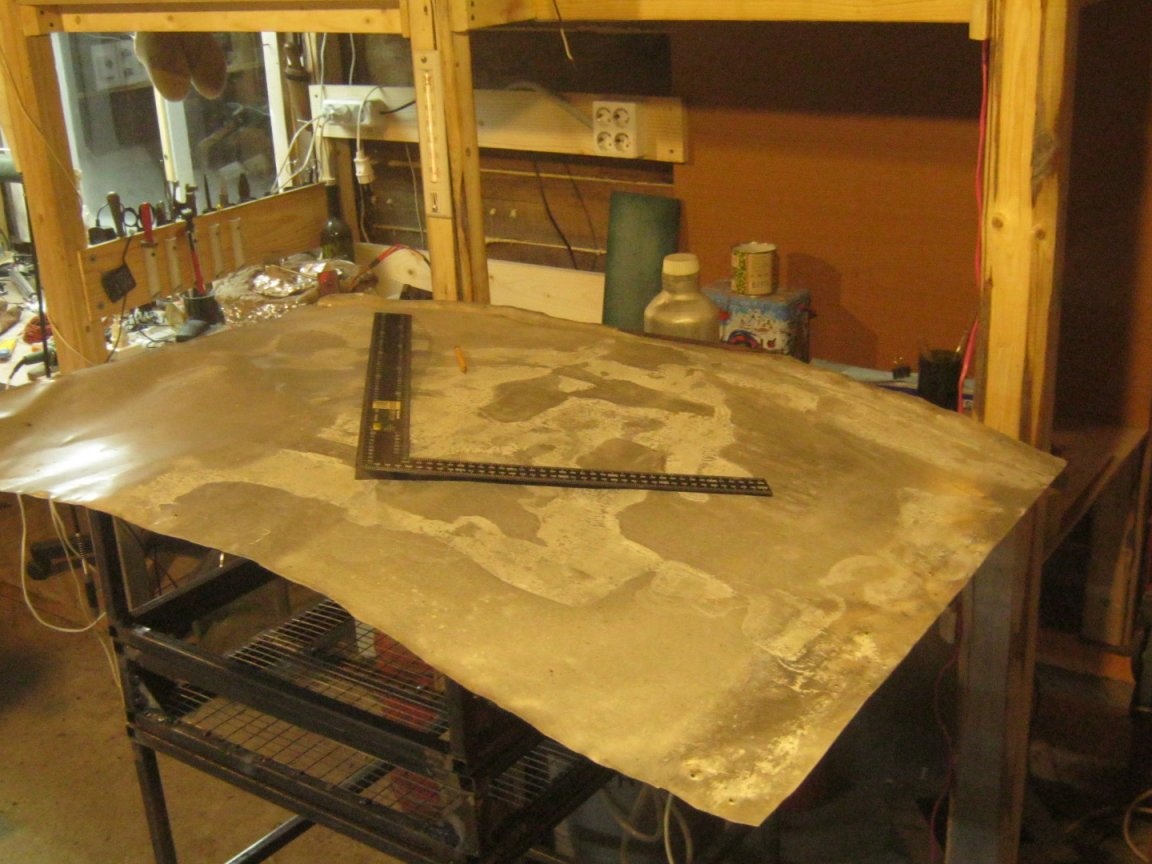
Sheet straightened as far as possible, marked out and cut out the unfolding of the case with metal scissors. Do not forget the release of ~ 20 mm for overlap.
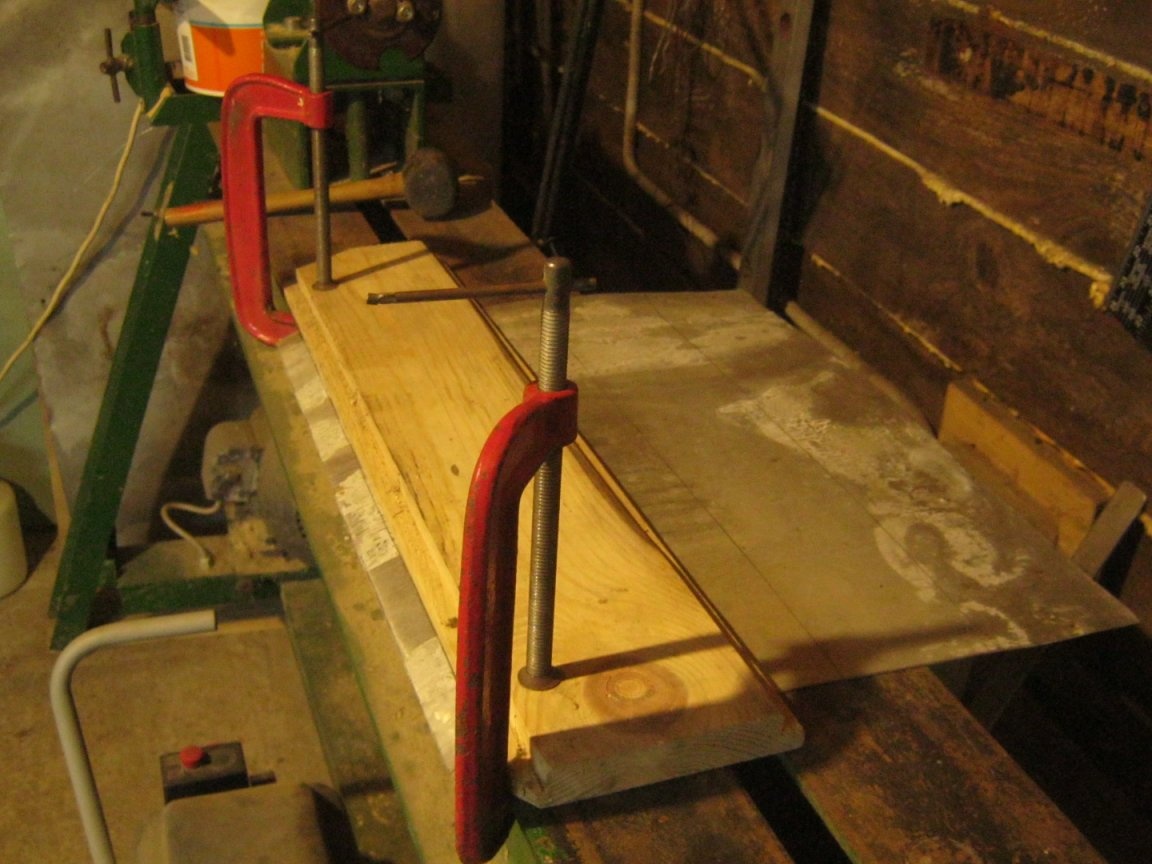
~ 0.5 mm aluminum thickness cuts very well. He did the bends by pressing the blank to the bed wood lathe a board with a smooth edge. All you need to bend stands for the edge. The board is fixed with clamps. The bend is made by a mallet through a piece of wood cutting more authentic, otherwise waves and uneven edges cannot be avoided.
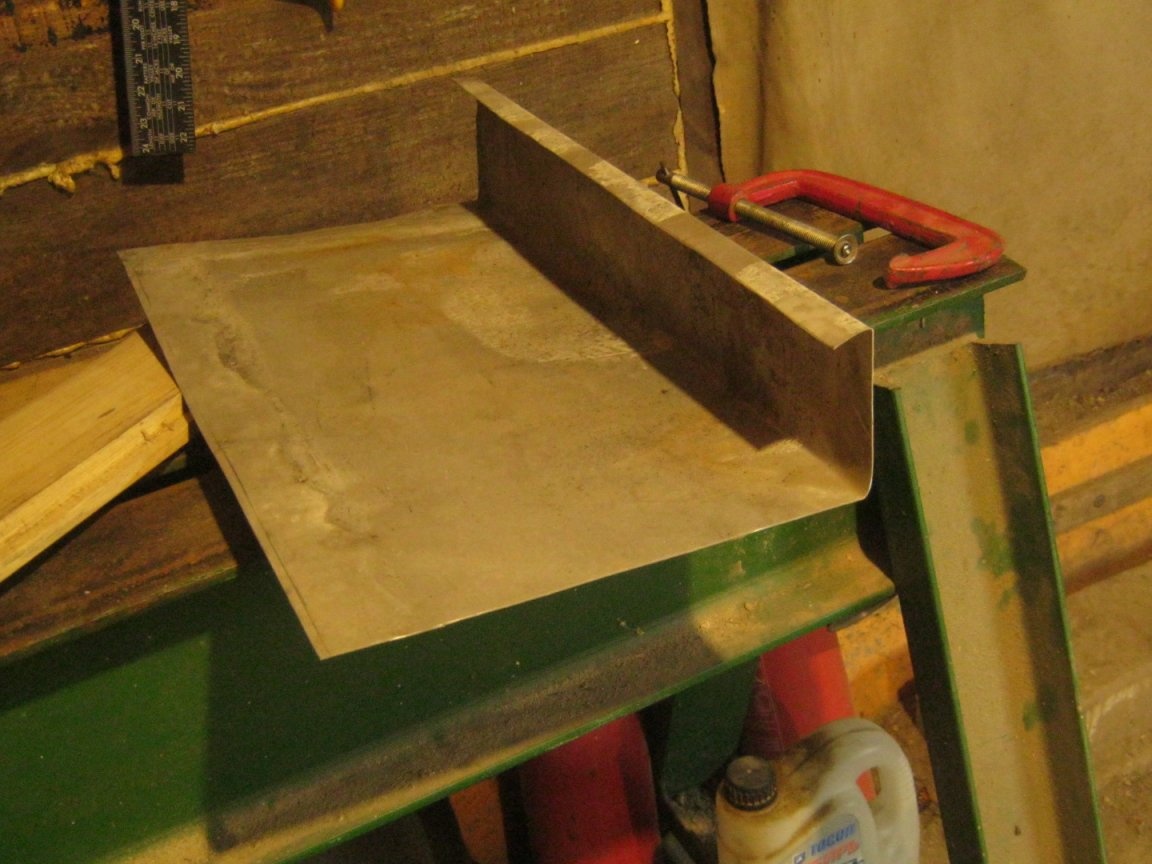
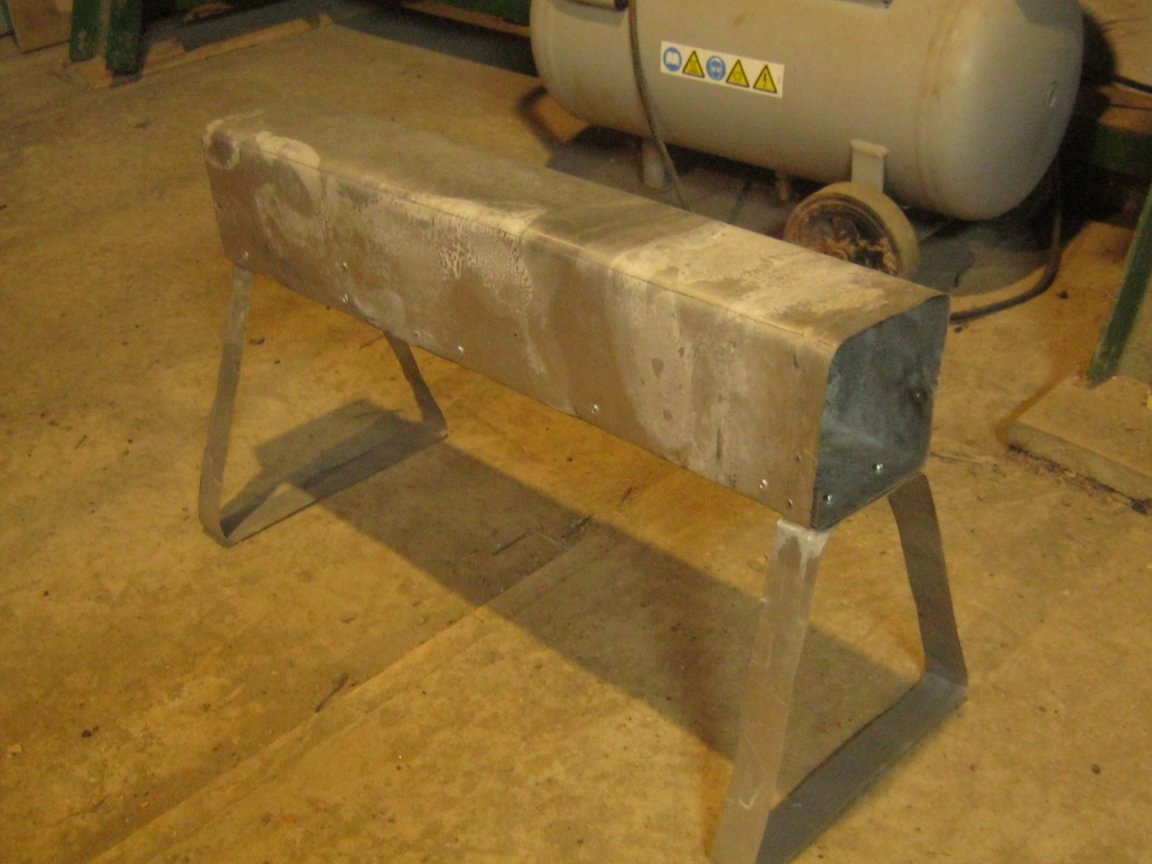
He drilled and bent the edges of the bent workpiece with blind rivets. I cut out two more strips from the sheet, uniformly formed them and riveted two legs to the body.
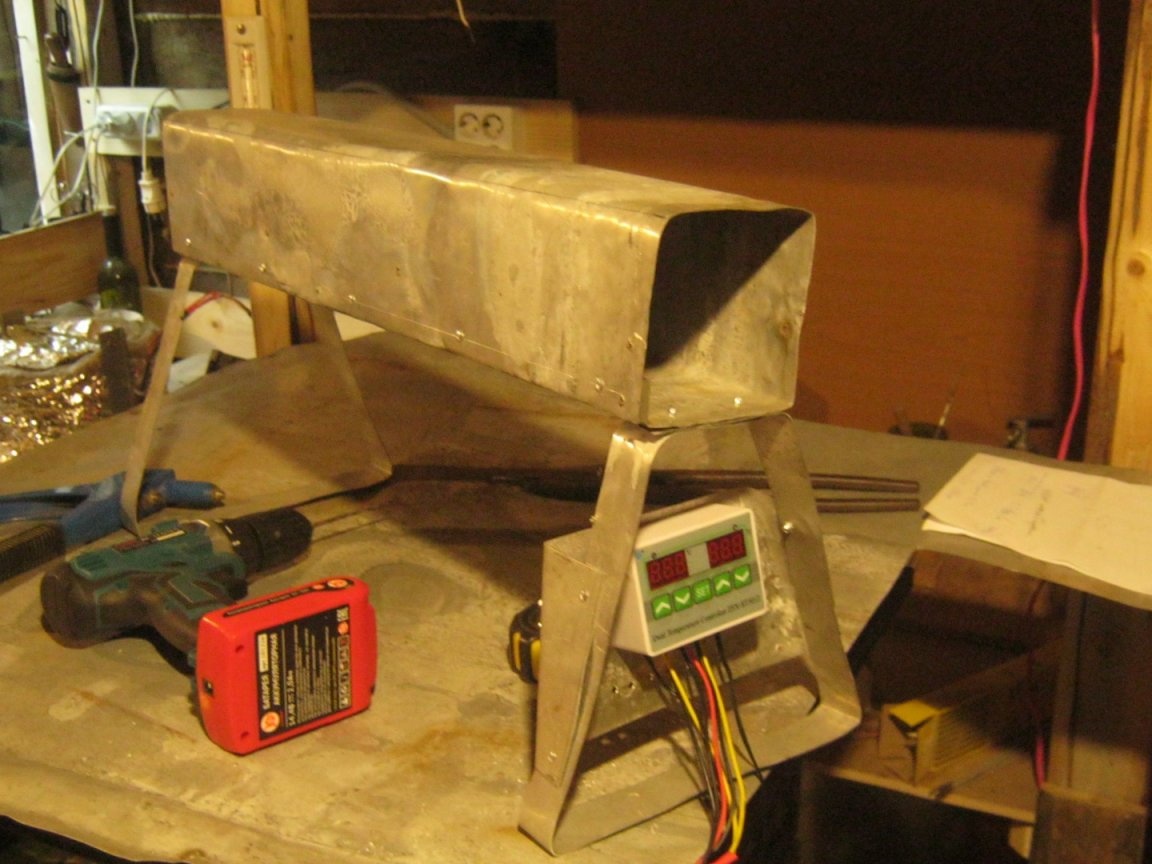
On one leg I cut, bent and riveted a small bracket for installing the thermostat.
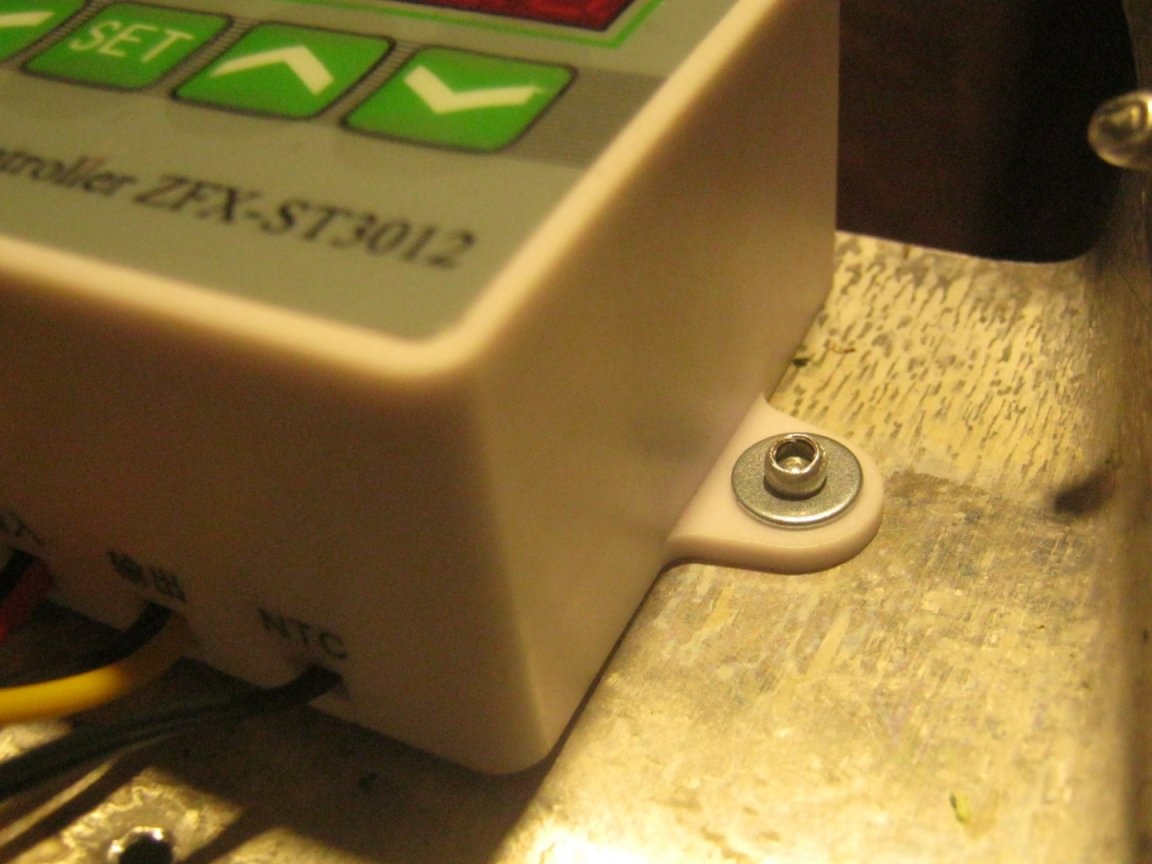
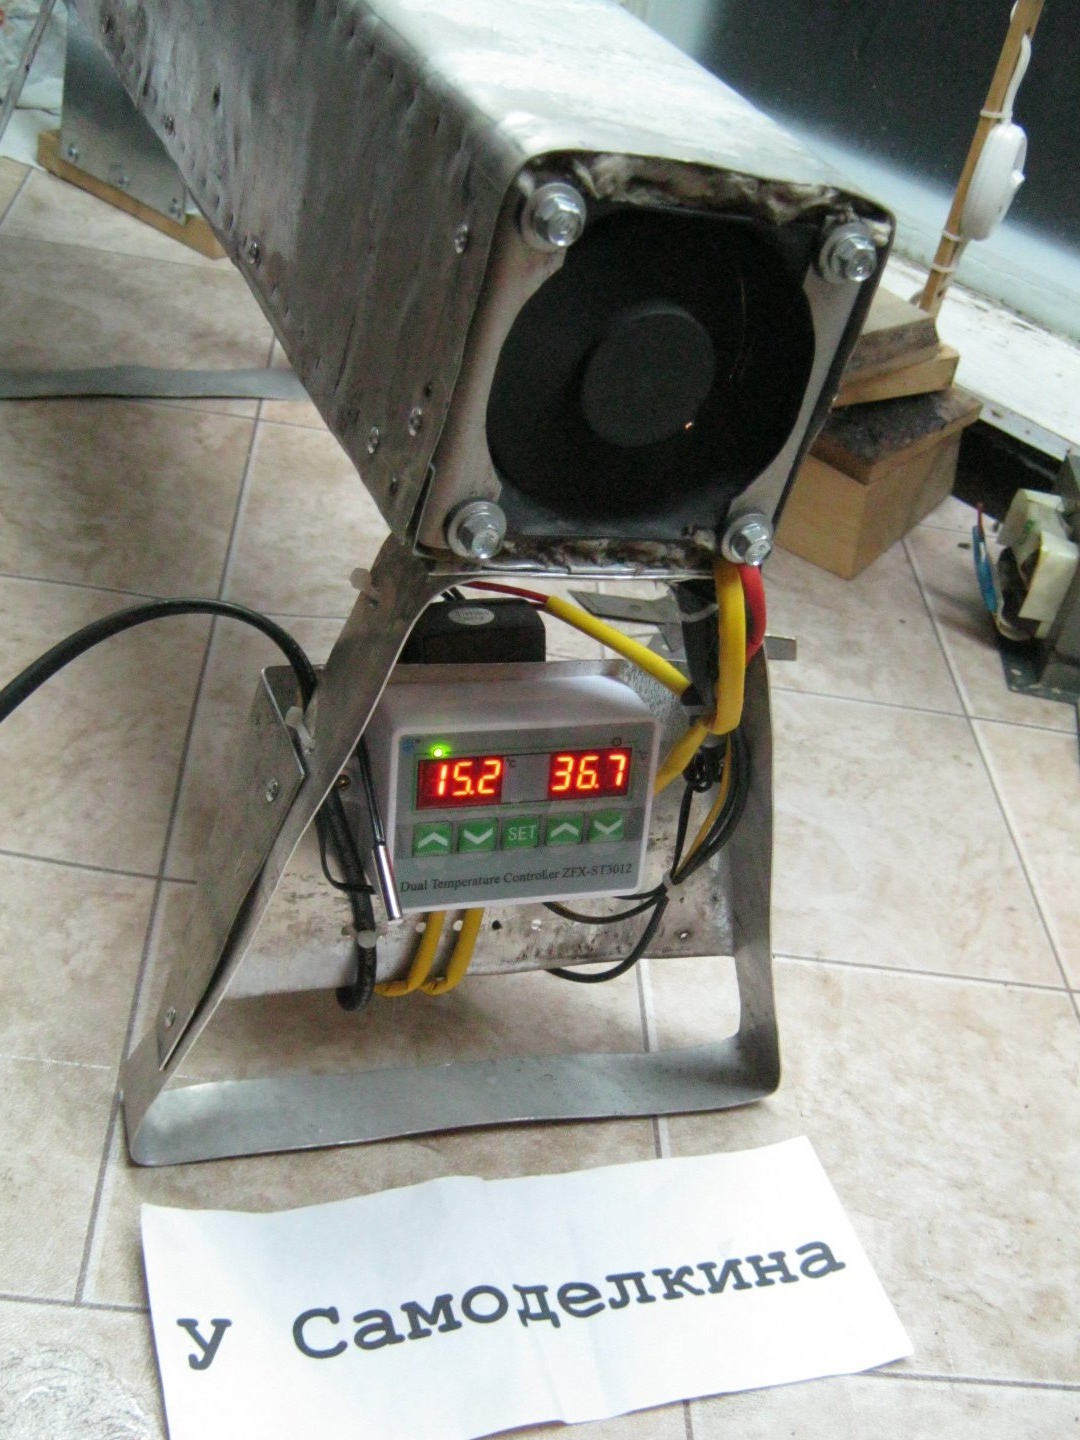
The thermostat has ears for mounting M3-M4. He carefully riveted it with the same exhaust rivets - so that the rivet would not crush the plastic part, put a reinforced M3 body washer under it. Its inner diameter just fits. In places of the alleged laying of wires and their plaits, I drilled holes for mounting in the bracket.
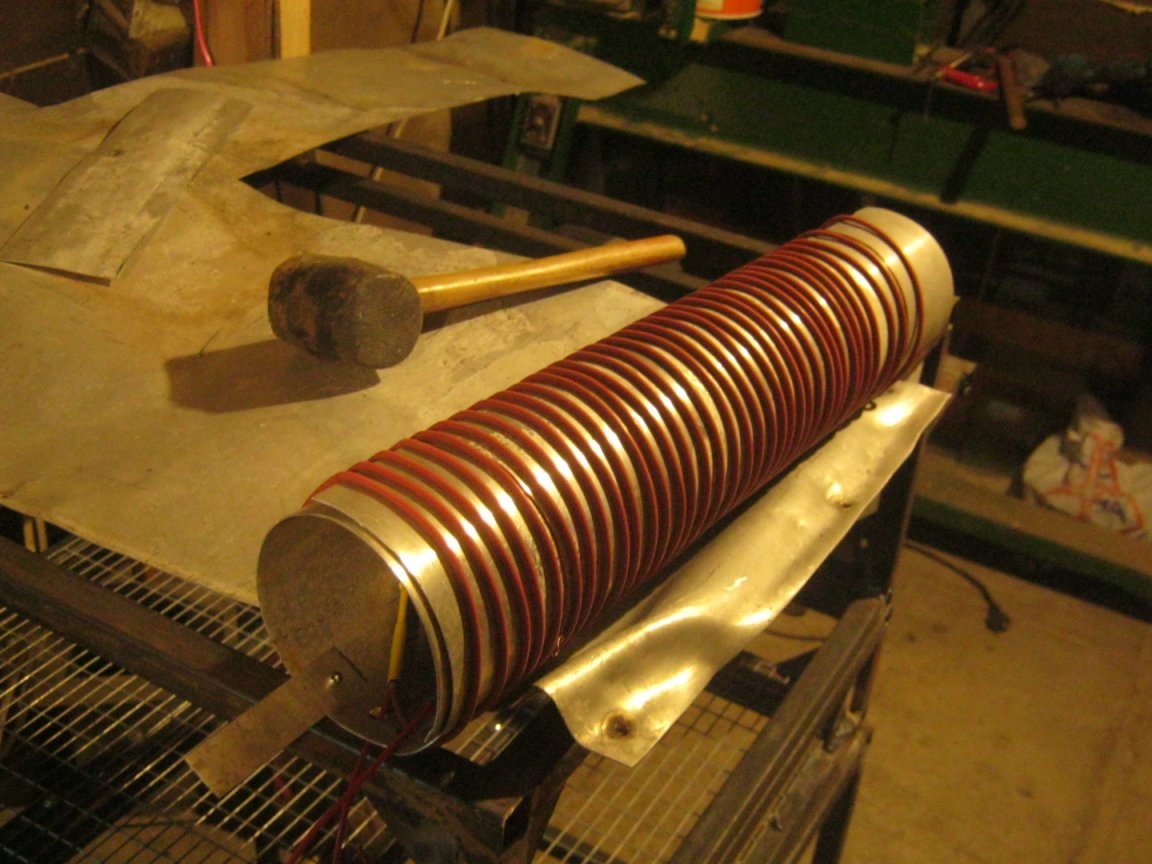
I cut a blank of the inner cylinder from a sheet onto which a heating wire is wound. I rolled the cylinder on a piece of steel pipe of a suitable diameter. The diameter of the cylinder was made to fit into the outer casing with a wire wound over it without large gaps. The rolled-up cylinder was temporarily fastened in two places by a non-thin copper wire. After winding the heating wire removed it. To the edges of the cylinder riveted small petals for mounting in the housing. To fix the beginning and end of the wire, I drilled holes from the two ends of the cylinder.
My heating wire is a core of a bundle of carbon fibers in silicone insulation. 10 meters of it have a resistance of about 330 ohms, and the power of such a heater is about 150 watts.
The ends of the wire cannot be soldered - they are clamped with a copper sleeve along with the stripped end of a conventional mounting or network wire. The kit included two sleeves and two pieces of a thermotube with an adhesive layer inside - with a counter-connection of wires, tightness and mechanical strength are ensured.
After attaching the mounting wire, the finished heater wound around the aluminum cylinder. Divided the cable length by the circumference of one turn - received the number of turns. Divided the length of the winding (its place on the cylinder) by the number of turns and got the winding pitch. It turned out something about 1 cm. I definitely could not stand it, by eye. Practice has shown that for a more even distribution of temperature along the length of the cylinder (is it necessary?), Winding can be done with a variable step - thicker to the fan, then to the exhaust, less often.
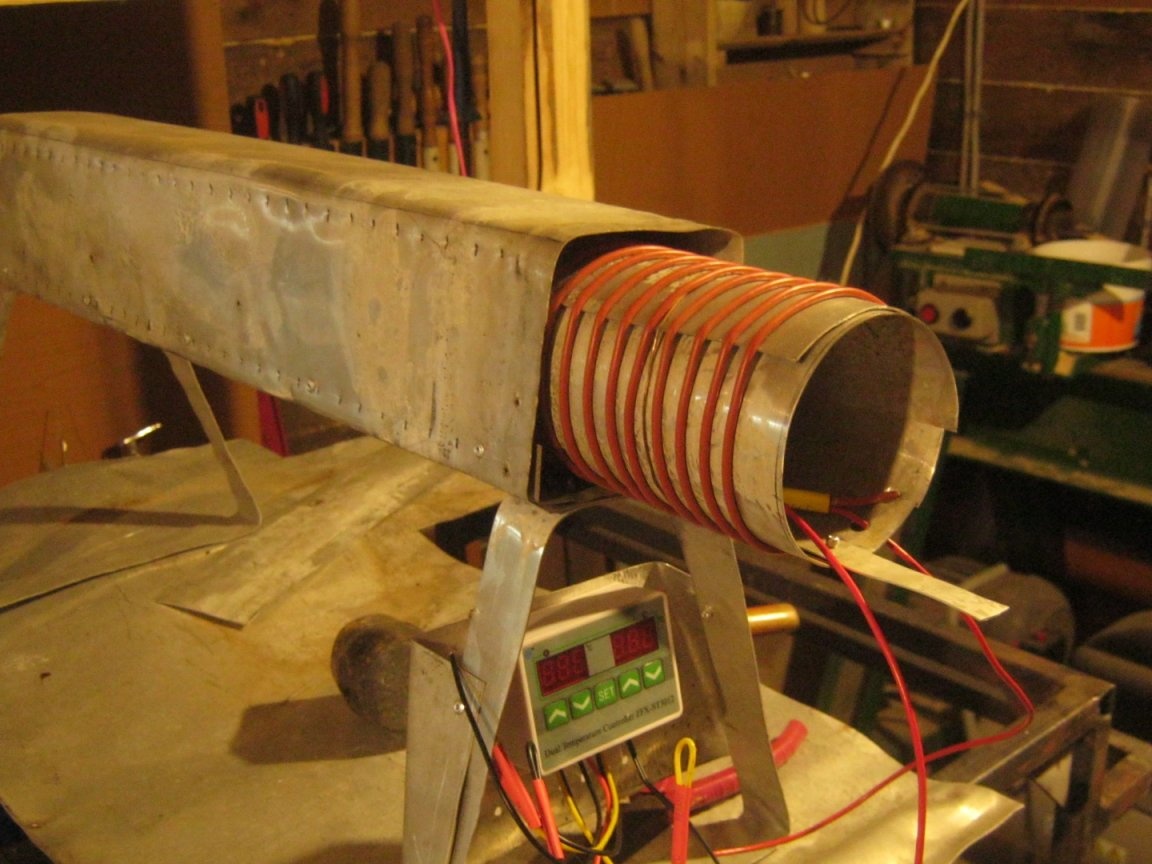
Installed a cylinder with a heater in the housing, riveted it by the petals.
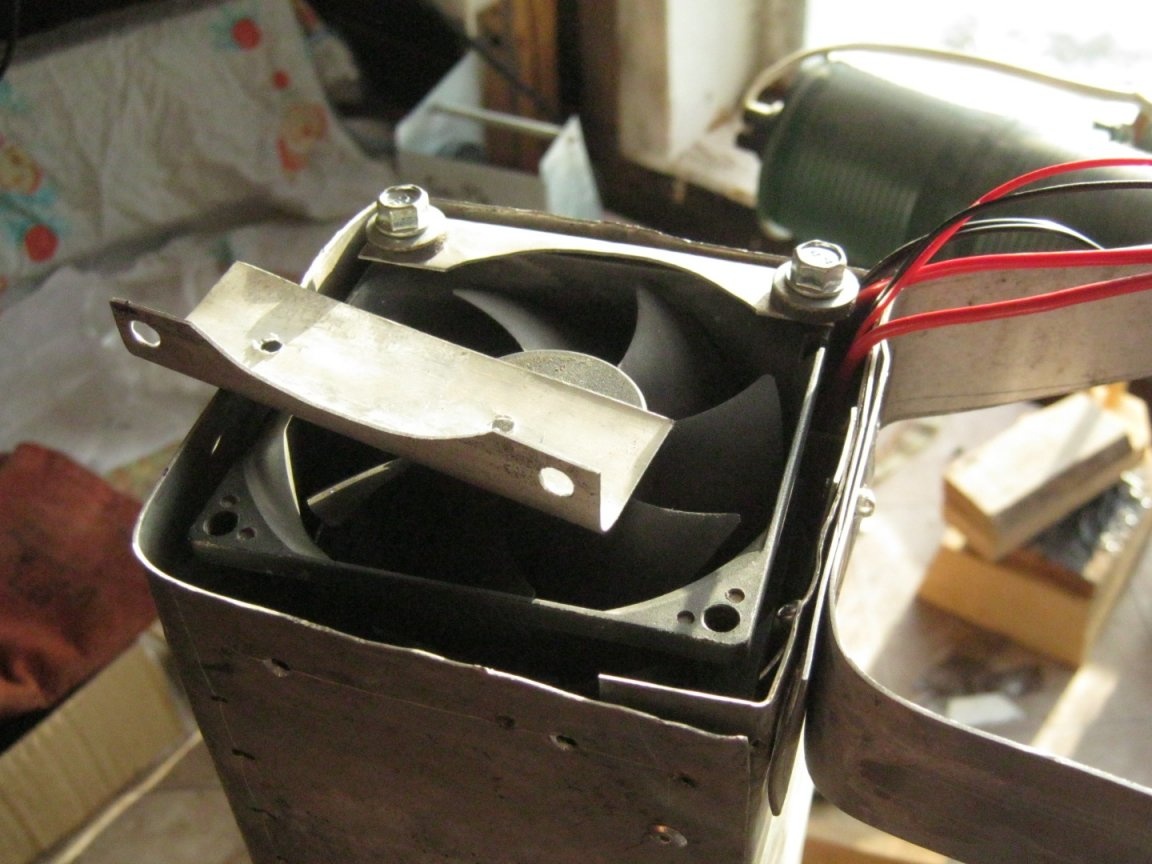
The fan screwed onto two brackets. In two steps - cut out the blanks of the brackets, bent, marked and drilled their riveted side. Riveted to the body. He put a fan on top, marked out the places of fastenings and outlined the places of the brackets narrowing his working section. He drilled rivets, drilled holes for fan self-tapping screws, and cut out excess parts with a jewelry jigsaw. Assembled the knot. As self-tapping screws, a roofing fastener for metal sheets is well suited - with a rubber washer. It is with little effort, tightly screwed into the plastic ears of the fan.

To pick up a low-voltage fan, I picked up an old pulsed network source - a charger from a mobile phone. Under load (fan), he gave out 6 ... 7 V. Very good - a small air flow is sufficient here, the fan resource will be higher.
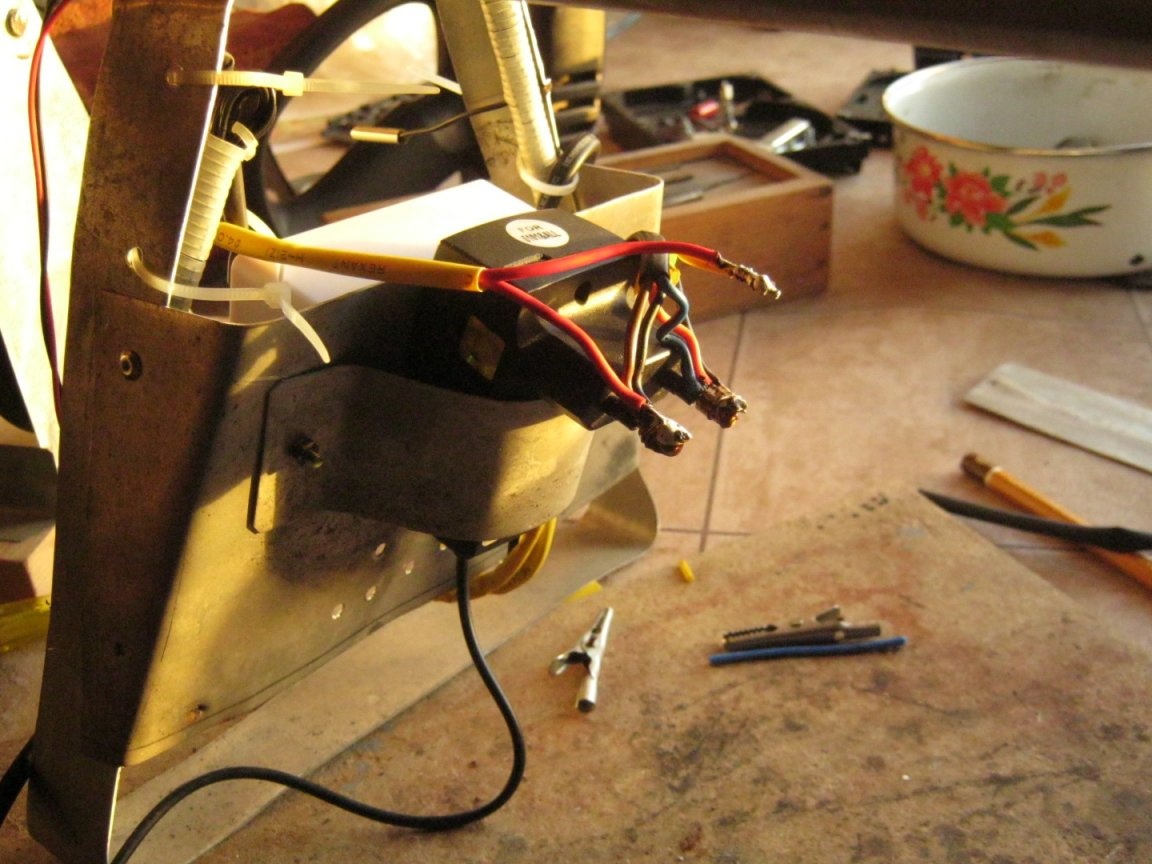
The power supply was fixed with a metal bracket on the back of the thermostat. I did not remove the power plug - I cleaned it, tinned its legs with a powerful soldering iron and used it as contact pads. After, carefully insulated these places with two layers of thermotube.

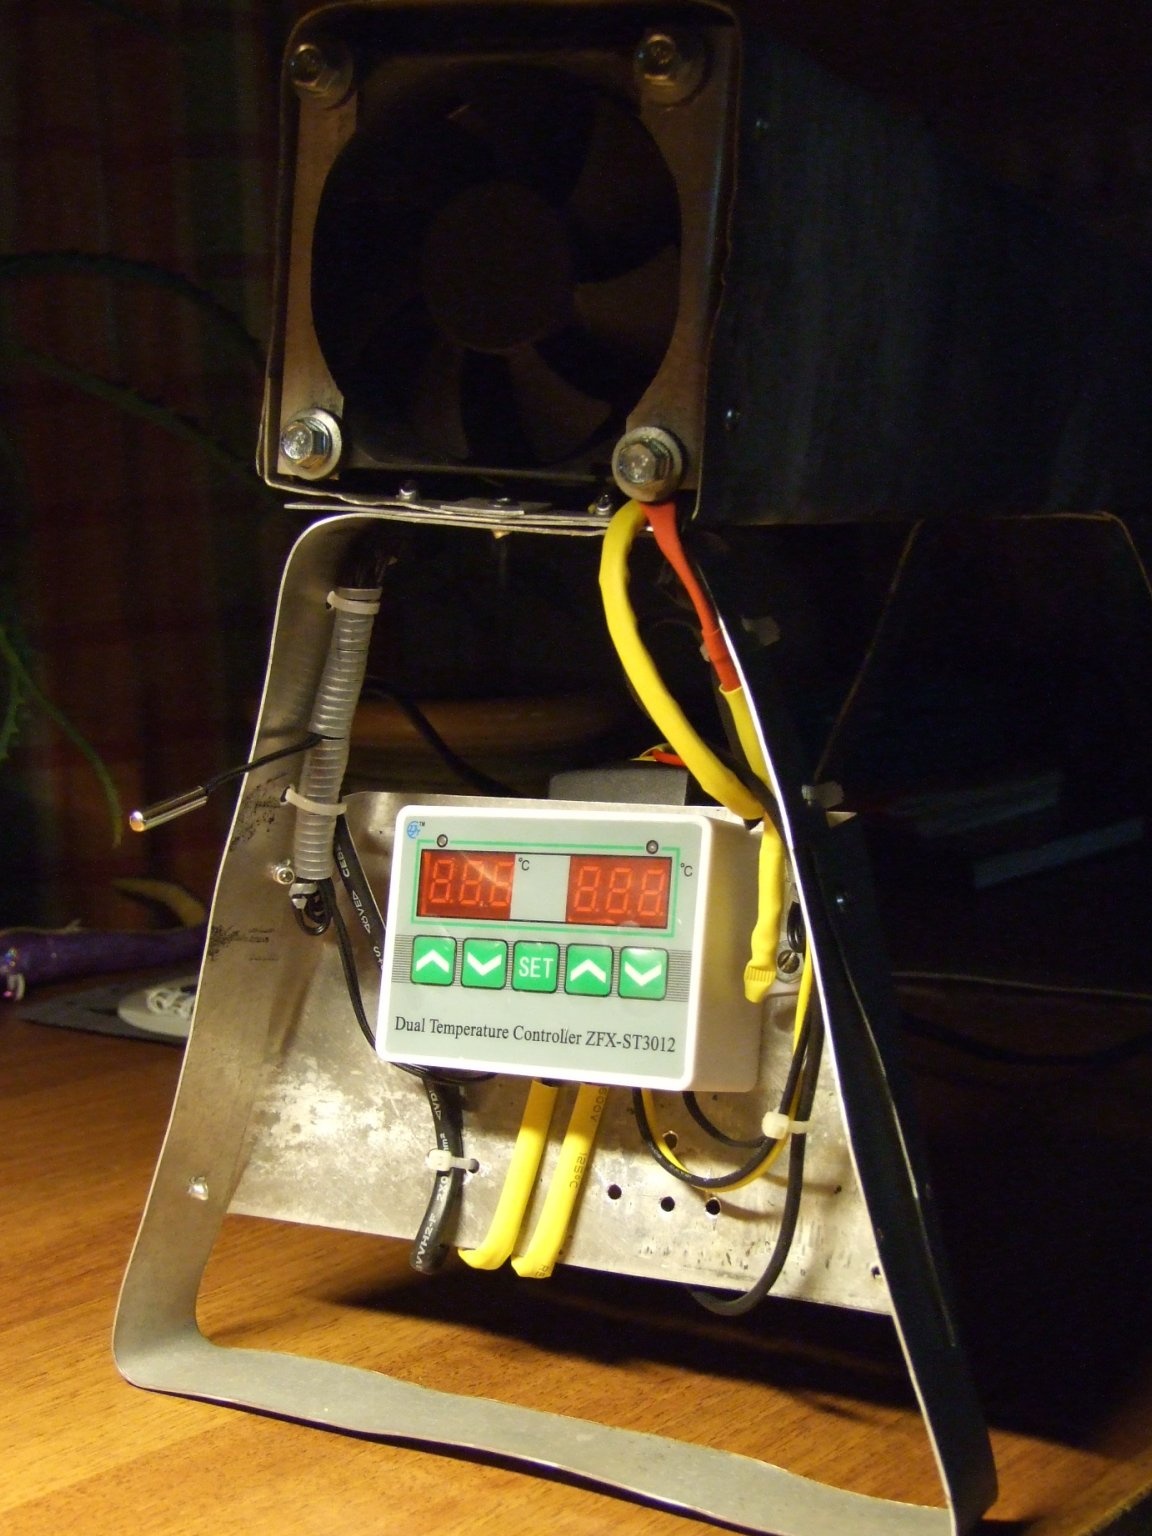
If possible, he formed the wires into bundles and fastened them with plastic straps-ties to the structural elements. He also rolled up the wires to the temperature sensors and packed them with a plastic spiral. My thermostat is two-channel. Only one channel is fully involved. It measures the ambient temperature. To prevent the second channel from lounging, its temperature sensor was tightly inserted between the overlapping edges of the heater’s aluminum cylinder and now (with some error) it shows the temperature of the hot part inside the device.
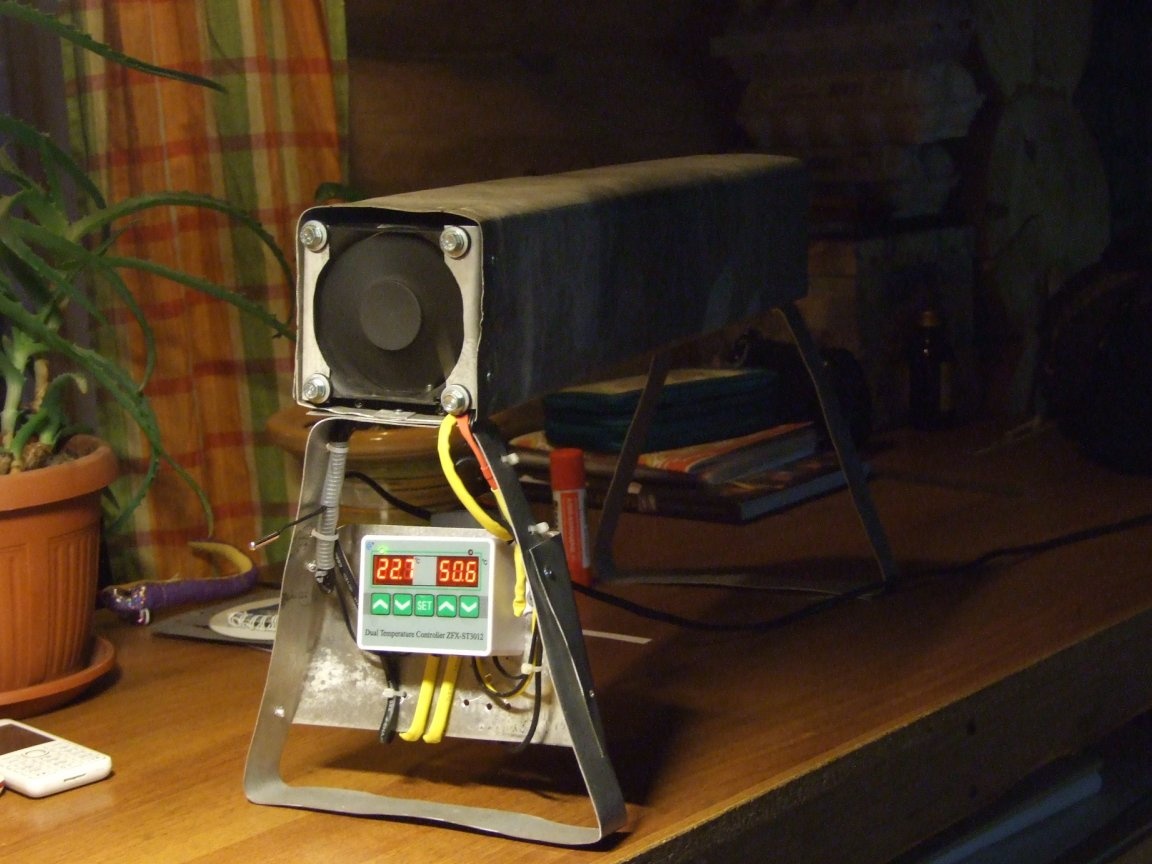
Conclusions, options
The fan heater consumes 160 W measured from the network and at room temperature its internal part heats up to ~ 70 ... 80 ° С. The fan runs all the time while the appliance is plugged in. Only the heater turns on and off.
After the run, just in case, isolated from the heating metal the lead passing from the MGShV wire passing inside the heating element - wrapped it in a strip of basalt cotton wool. In this case, the central round channel was reduced by about 1/3. This gave an unexpected effect - the resistance of the central channel increased, the air flow became more willing to penetrate into the gap between the outer rectangular casing and the heater. In general, the air began to better blow around the heating wire, its heating temperature increased slightly, the heating of the casing, on the contrary, decreased.
In addition to the emergency lifeguard in the cellar, I see the use of the described fan heater for early seedling cultivation in greenhouse. As soon as sunny spring days come, we take out boxes and boxes with plants into the greenhouse and make up on a pedestrian path between two beds. Having stuck wire arcs into the ground, we cover the seedlings with several blankets at night and put the incandescent bulb inside. For plants, however, it is better that it is dark at night — they, like humans, need periods of sleep. A fan heater of comparable power is most suitable here.
Babay Mazay, December, 2019