
From the article below you will learn how to do it yourself make a christmas candlestick. The following description and instructions are taken from the Matthias Wandel YouTube channel.
The master conceived this project after the wife of the master wanted to buy a tin candlestick for $ 130. He was very sweet. The purchase was planned for Friday and the master decided to get ahead of the purchase and come up with something of his own, original and fast.
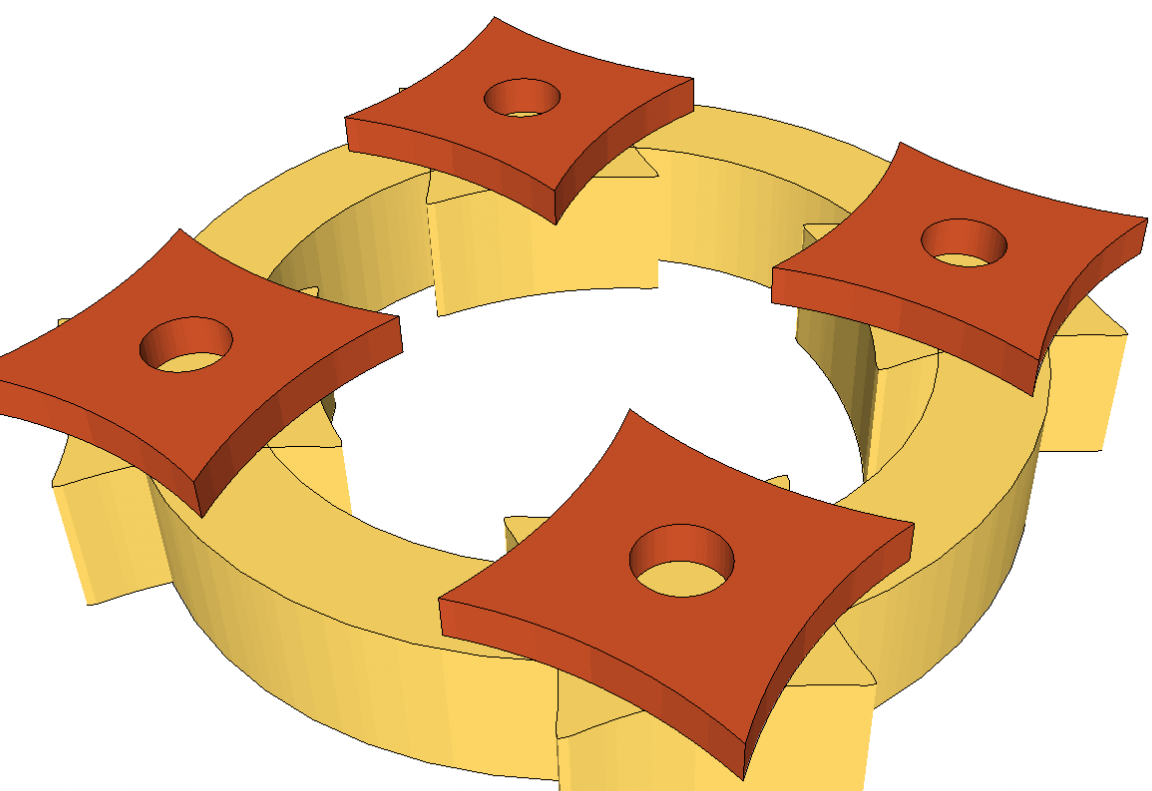
He made sketches in SketchUp because he thought he would be done pretty quickly.
Necessary tools and materials:
- light wood board measuring 50x150 mm;
- trim the boards of dark wood;
- stationary grinding machine;
- band-saw;
- a pencil;
- a printer with paper for printing templates;
- clamps;
- grinder (aka grinder);
- a chisel;
- milling machine;
- PVA carpentry glue;
- drilling machine;
- Forstner drills;
- table saw;
- roulette;
- candles;
- clerical glue;
- scissors;
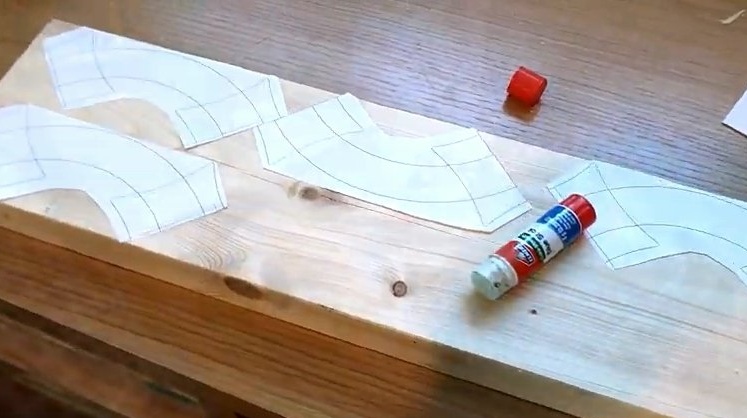
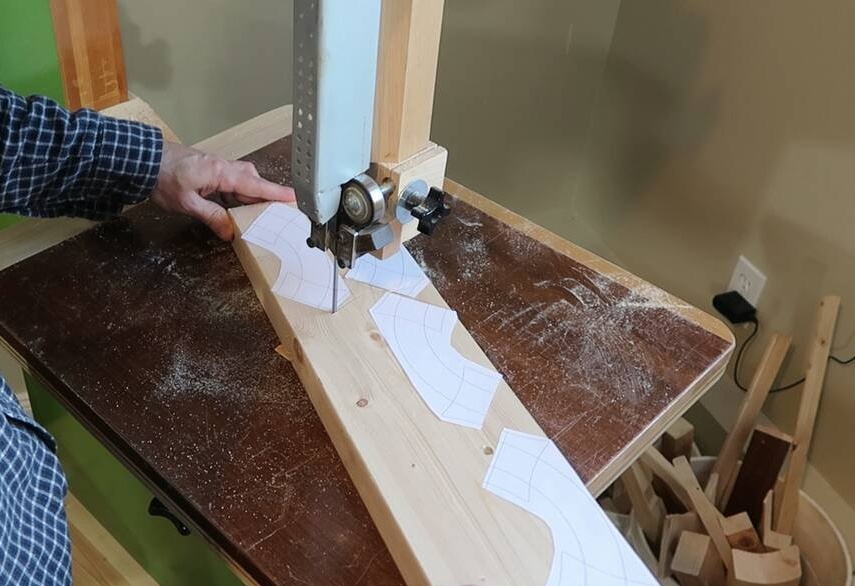
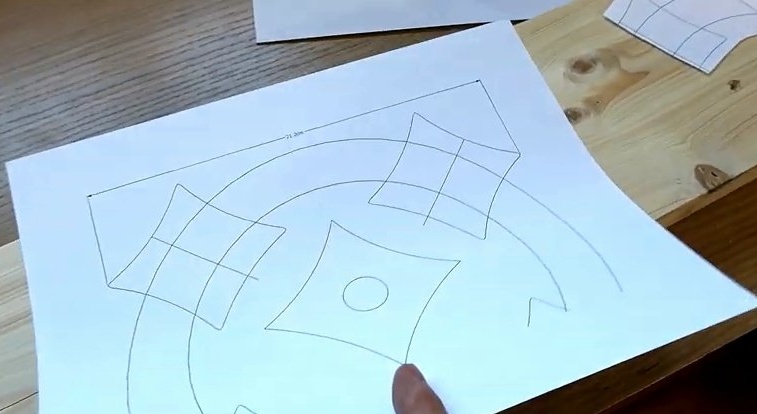
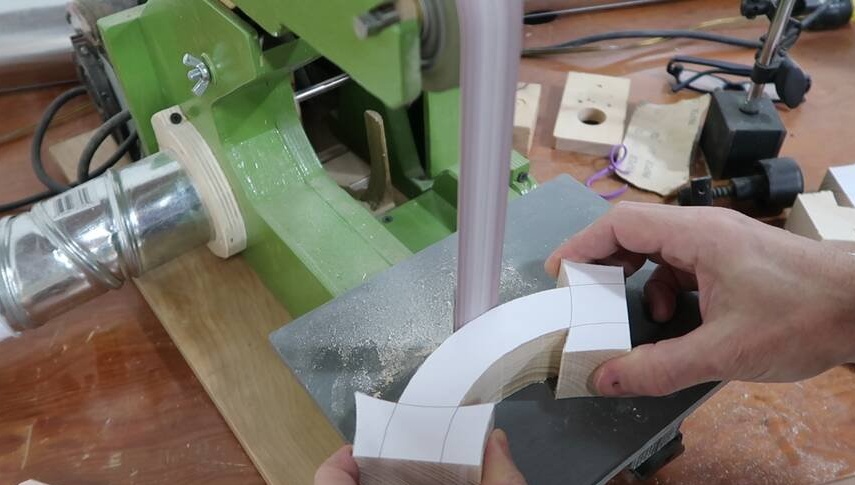
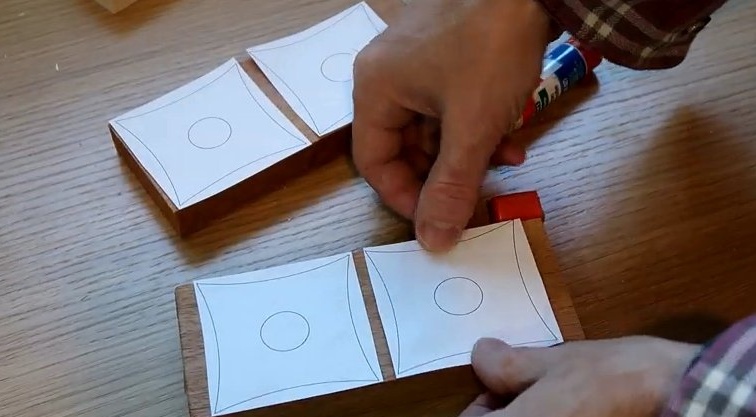
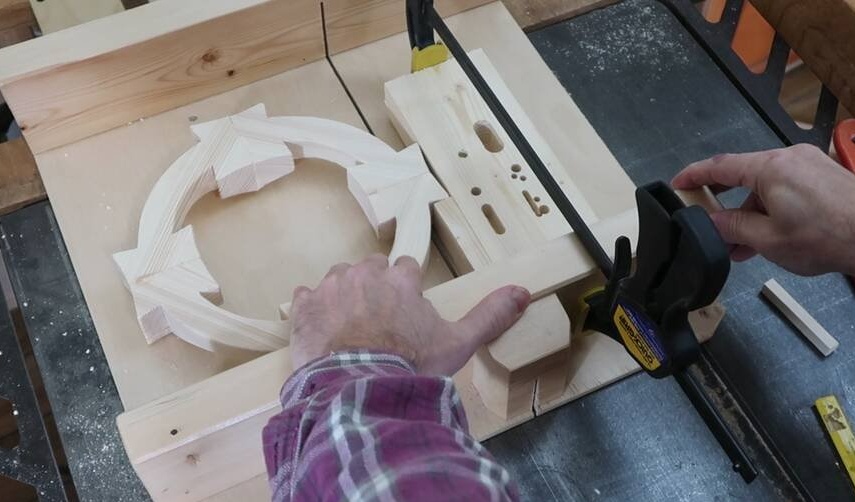
The master used the program for printing in large print to print the image of the main ring on top in a ratio of 1: 1, four times, and then cut it and paste it on a 50x150 mm board.
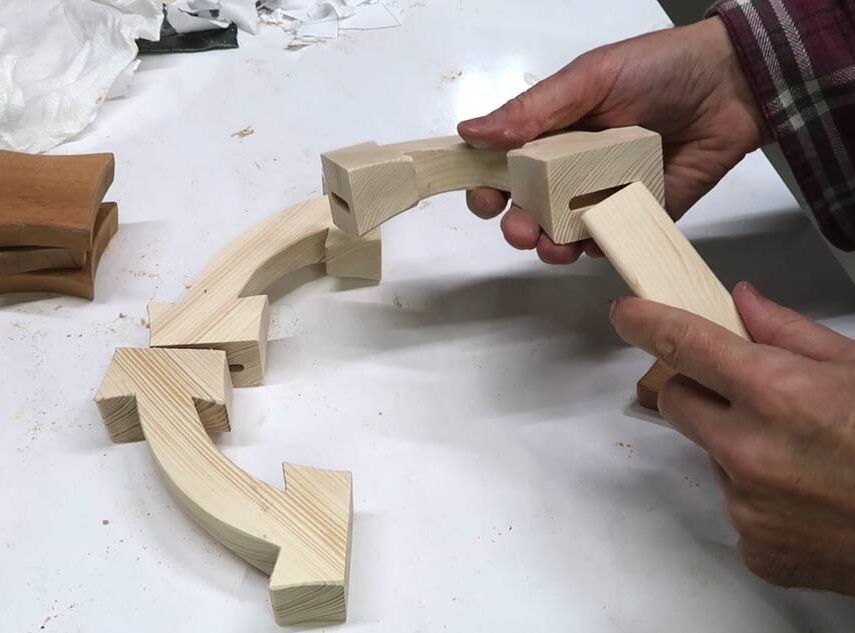
The original idea was to make a candlestick of two halves, which would be much simpler, but it would depend too much on the lateral strength of the wood, so that it would be quite easily destructible. Therefore, instead, he decided to make a candlestick of four parts.
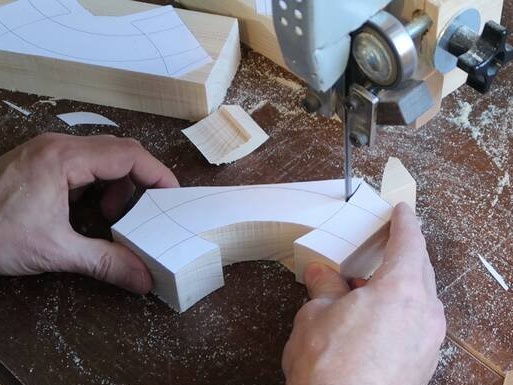
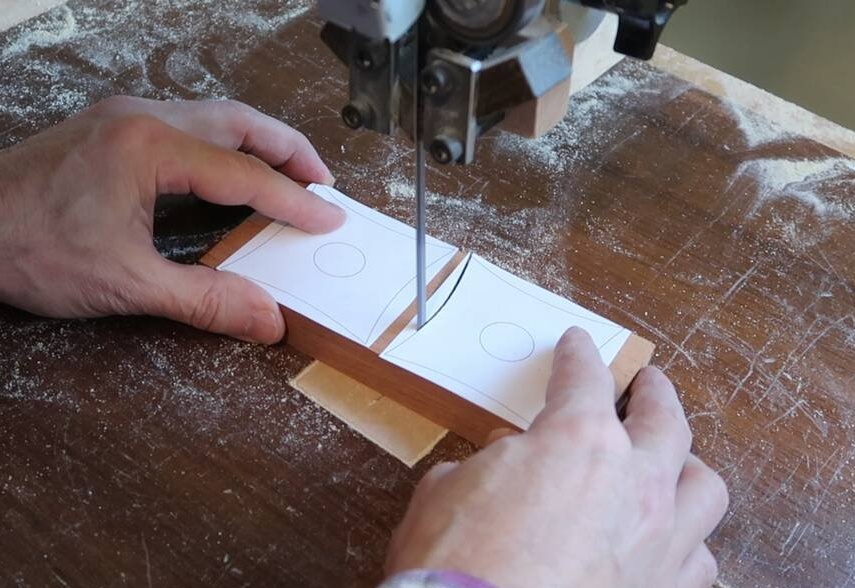
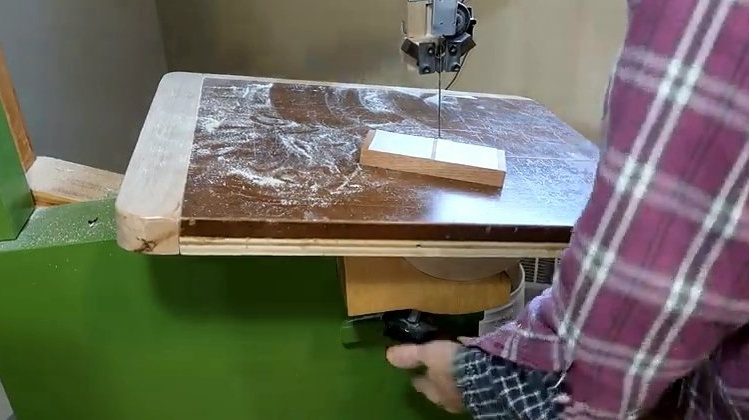
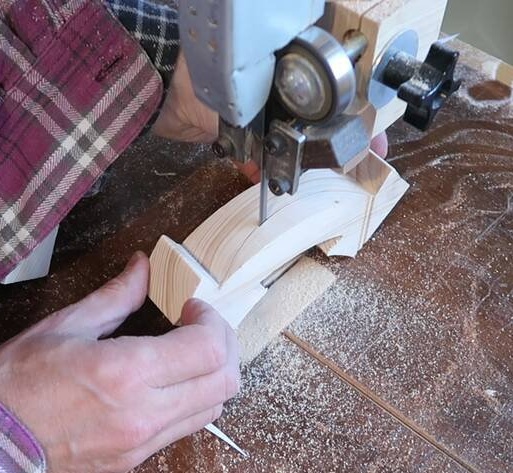
He carved them on a band saw.
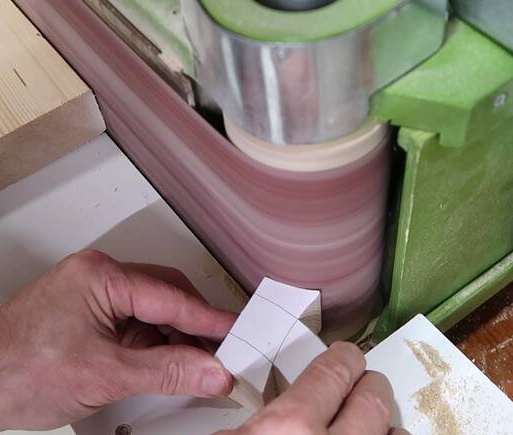
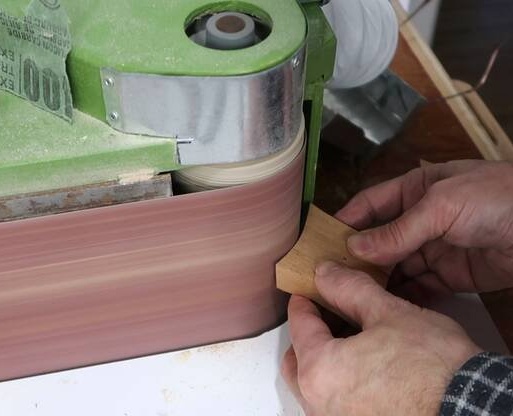
The edges where the segments are connected, the master carefully sanded on a belt grinder to provide a direct angular emphasis of the segments.
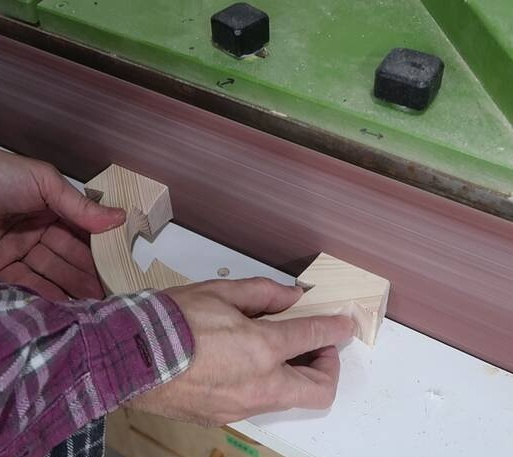
Checking fit after grinding. As the master brought them together, the segments gave a nice click.
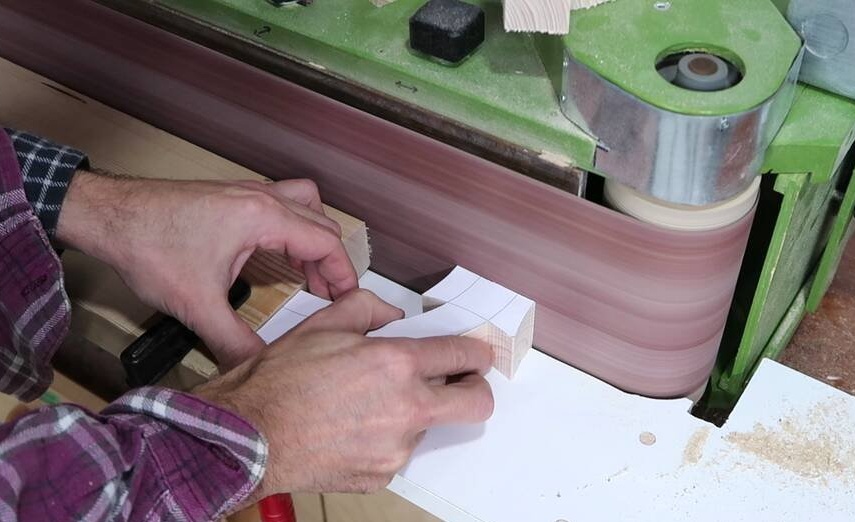
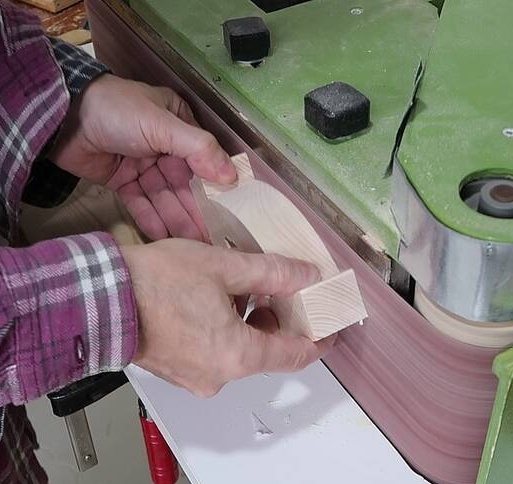
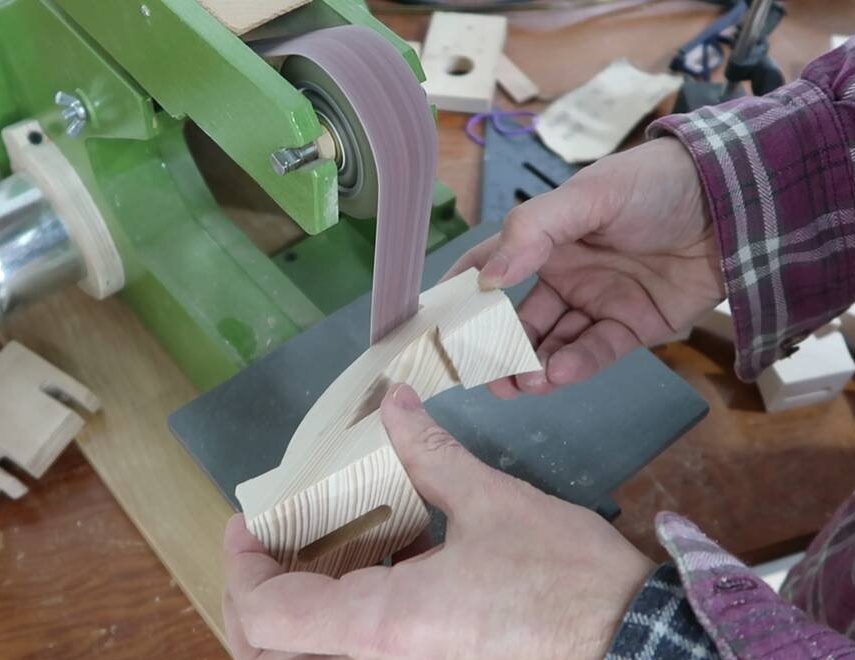
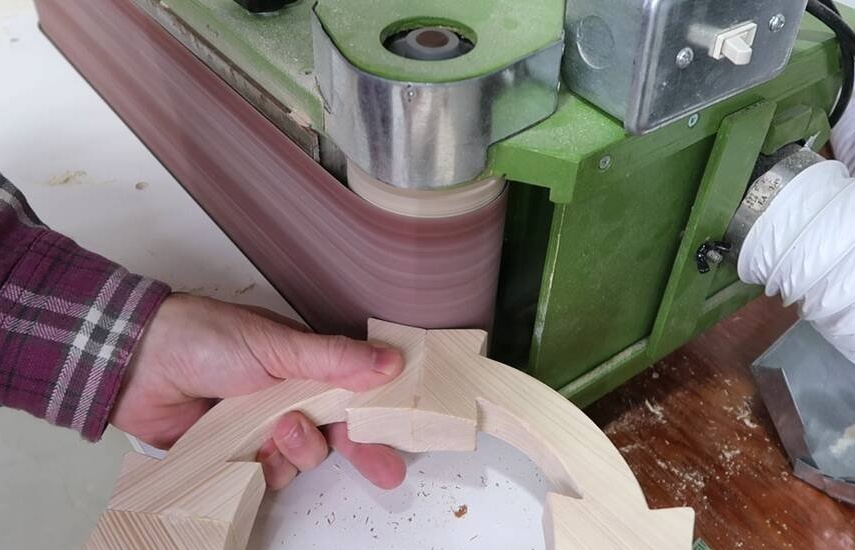
Here you can see the grinding of a single convex curve using a belt grinder (grinder).
The master polished some of the concave bends of the parts on a belt sander.
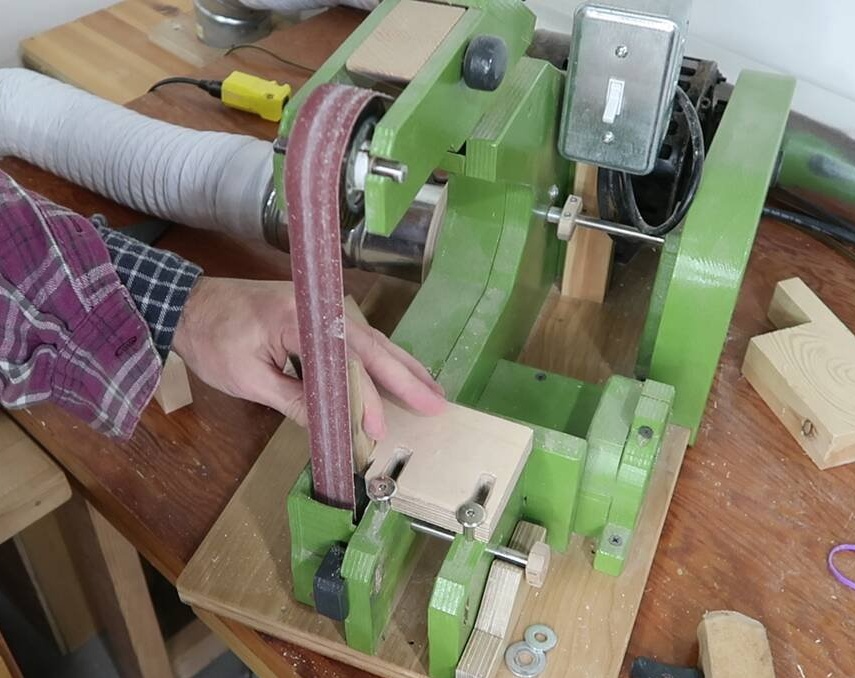
The master had to change the convex plate on a belt grinder in order to be able to grind complex concave bends. This plate is located behind the sanding belt. It is on it that the emphasis is placed on grinding.
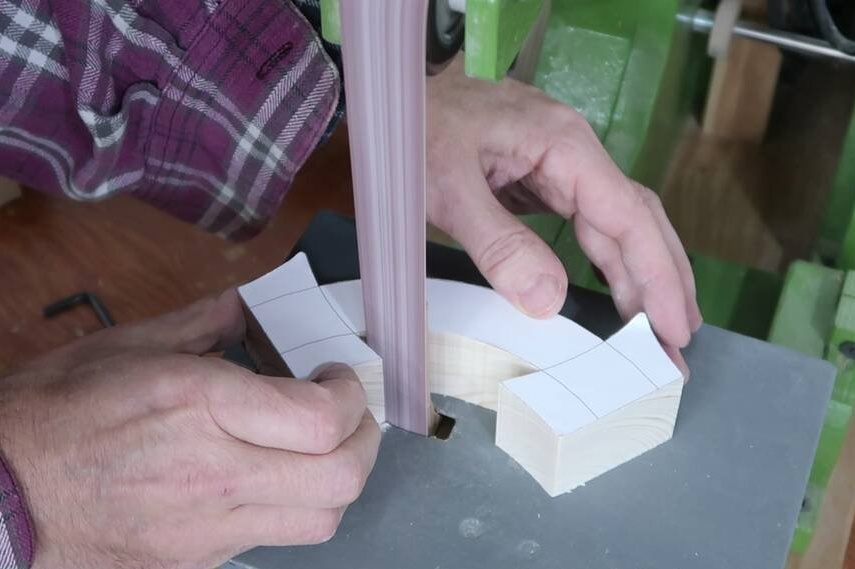
Grinding concave curves right in the corners.
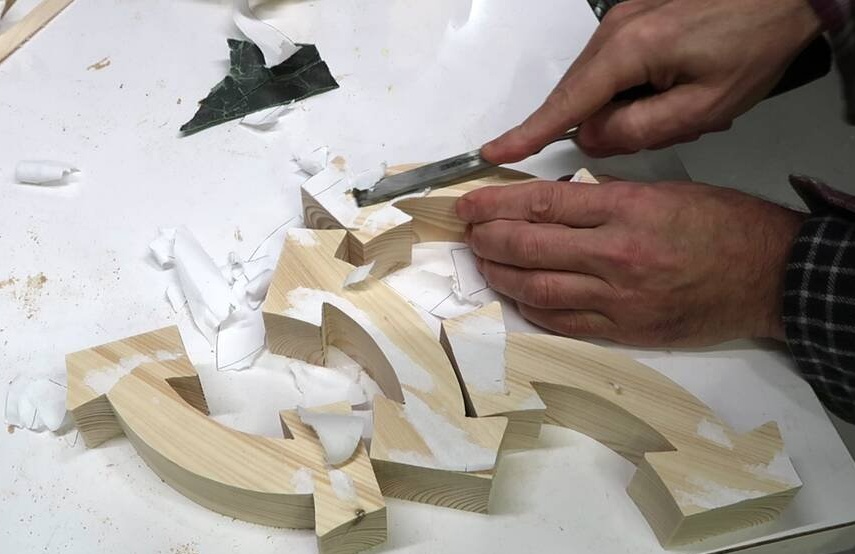
After that, the templates were no longer needed and the master freed the parts from them. They were glued with sticky pencil to make them relatively easy to remove.He removed the remains with a belt sander.
To connect the segments into a single unit, the master decided to use the connection with the help of pins.
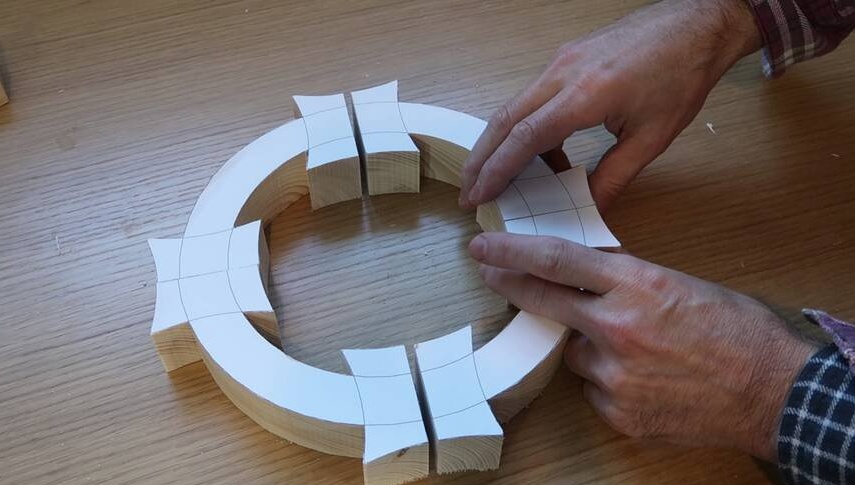
The square details that are placed on top of the main ring are made of darker wood. The master tilted the table of the band saw to saw them at a slight angle. Then it took to clean the parts and mow the corners on a belt sander.
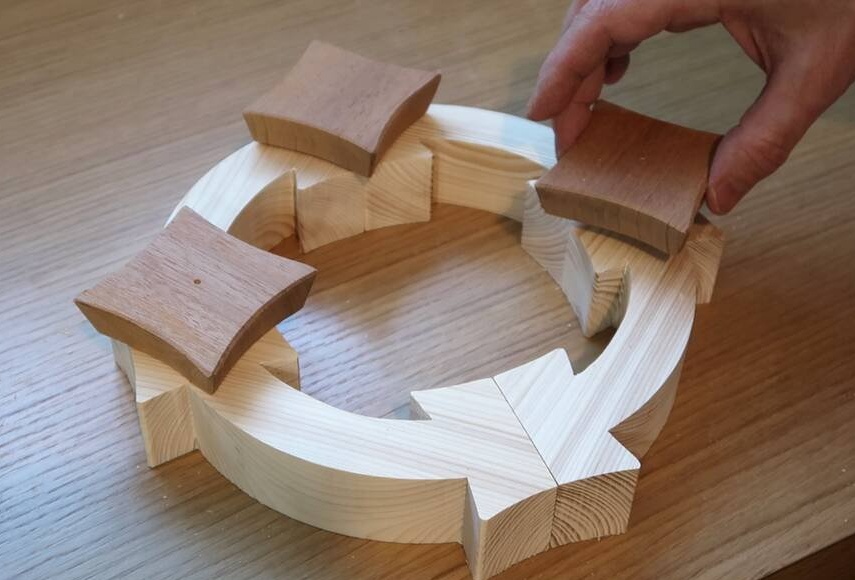
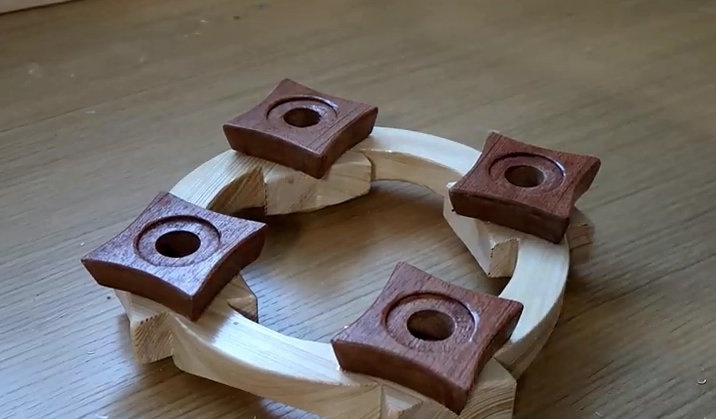
Now you can put these squares on the main ring to see what the finished candlestick will look like.
At this point, it became clear that the main ring looks too bulky.
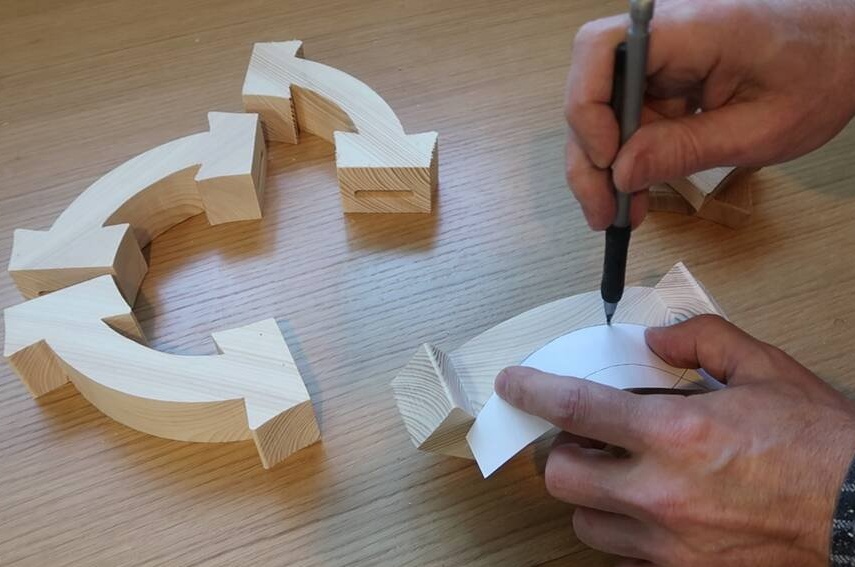
The master used the main ring curve from one of the fragments remaining above the templates to mark the arc on all curved fragments, and then trim the excess on the band saw.
After that, the master again polished all the corners of the parts. After assembly, it would be difficult to approach the inner edges with a belt sander.
To connect the segments, the master made rectangular pins so that they fit snugly in the grooves. He made it so that the pins fit exactly with the grooves, but then he realized that the grooves were not quite in the center, so he had to tighten the pin a little so that it loosened a bit, which would help align the segments.
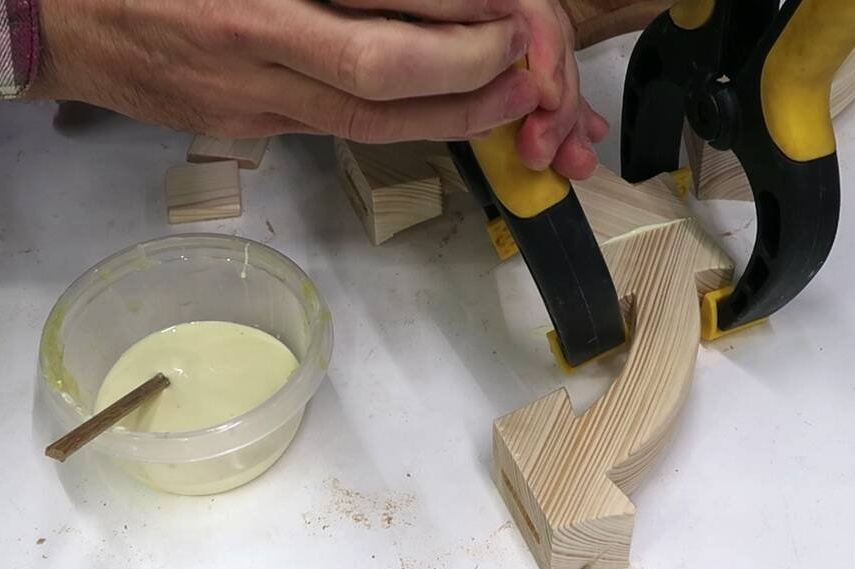
Then he first glued the first two pairs.
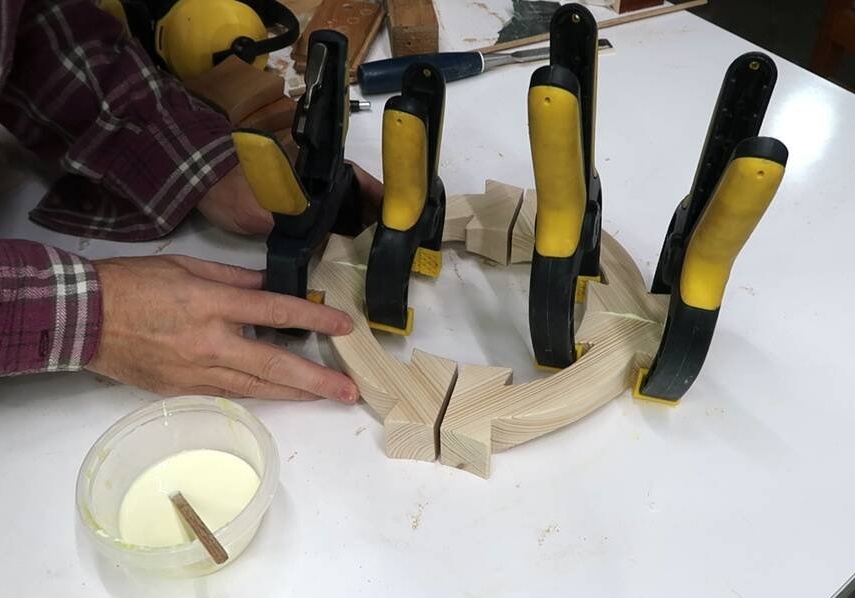
The ends of these pairs are not very well connected to each other, so the master polished the ends to a flatter state on a belt sander.
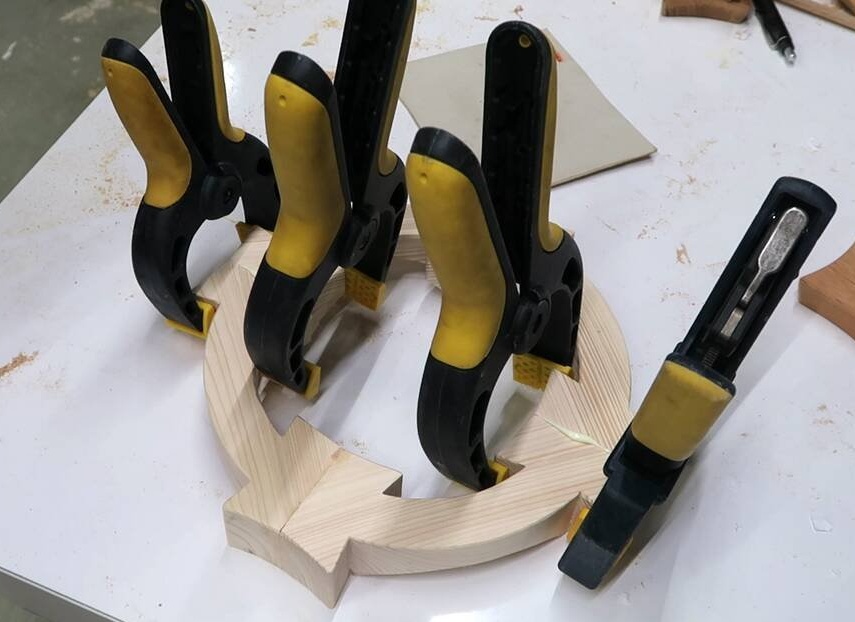
After grinding the surface of the segments, they combined perfectly.
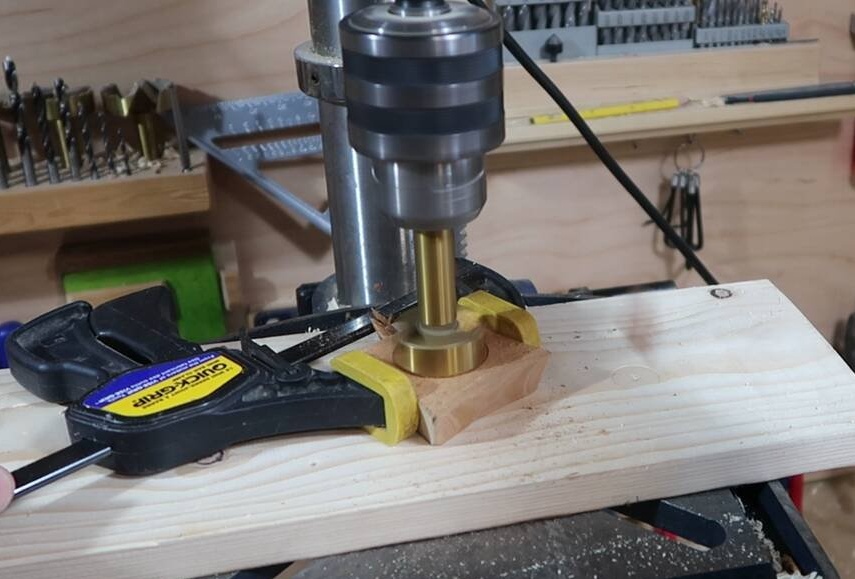
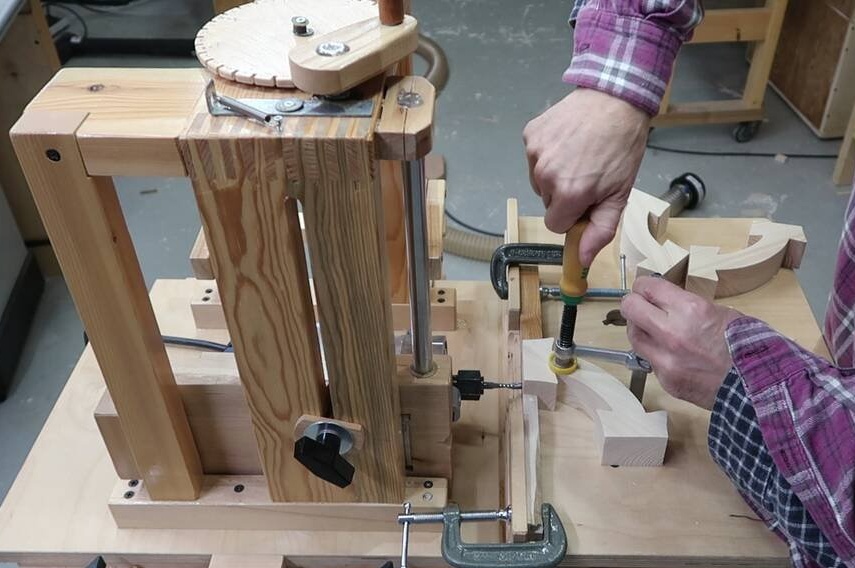
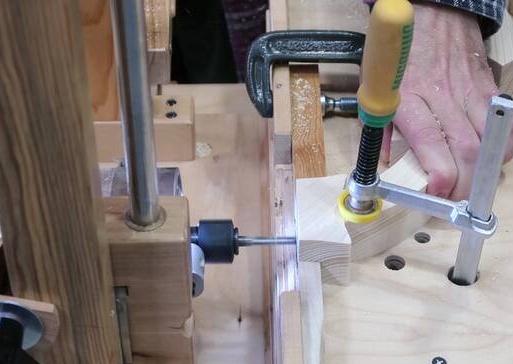
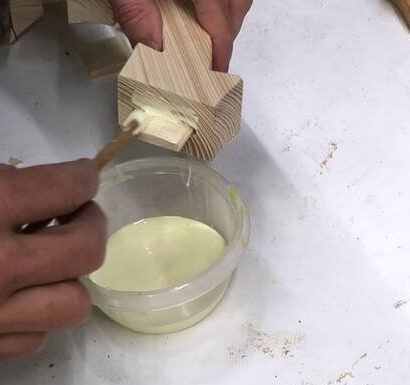
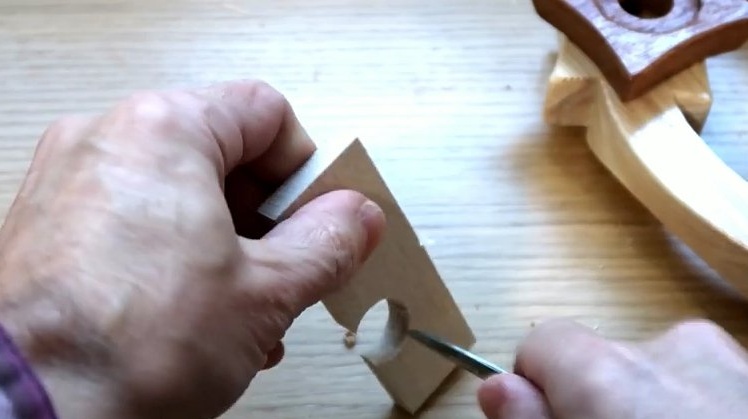
The master then drilled holes in the dark squares with a Forstner drill. First, he carved a larger hole, which will be a cavity for collecting wax and at the end of a hole for a candle.
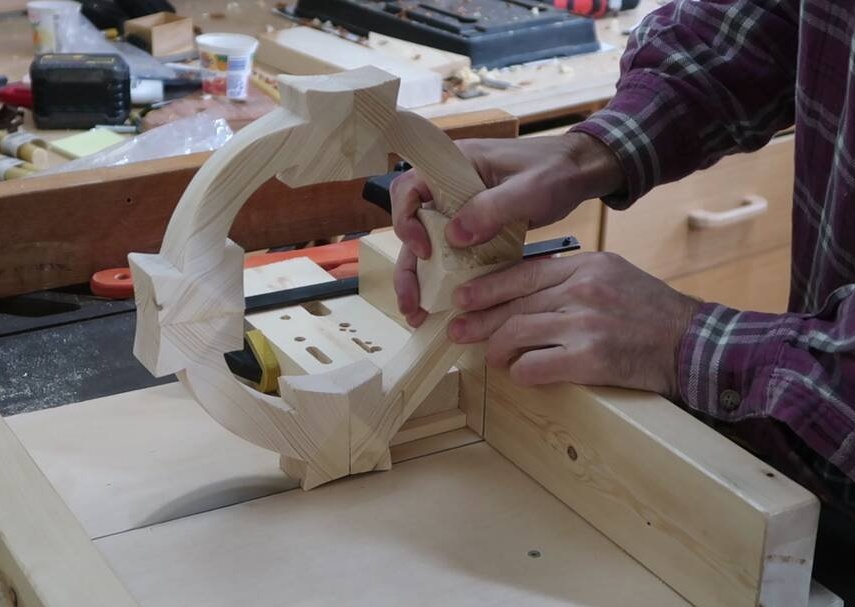
The master also decided to trim the main ring a little more so that the integral squares of this ring become less deep and do not touch the table. He began to saw the product from the edge ...
He then trimmed the parts from the underside of the outside corners using a table saw sled.
After this, a little more needs to be sanded to smooth the junction of the segments.
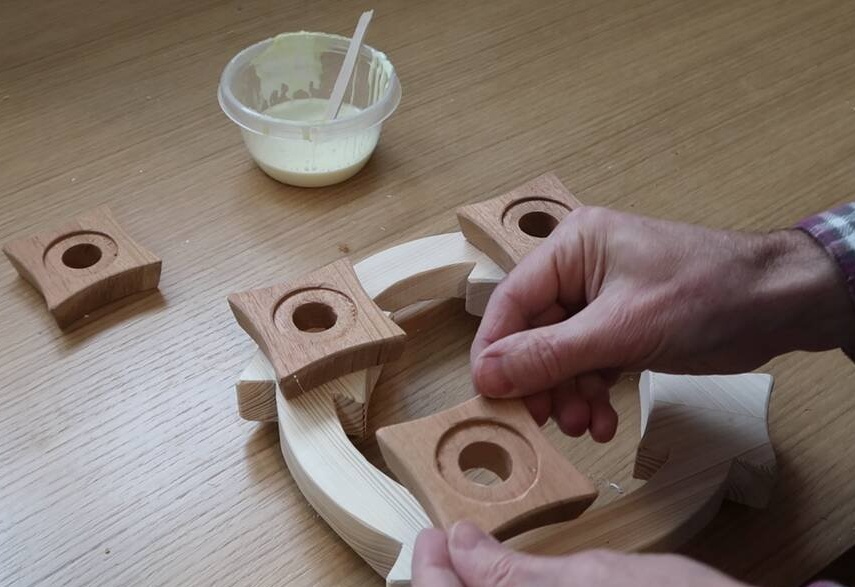
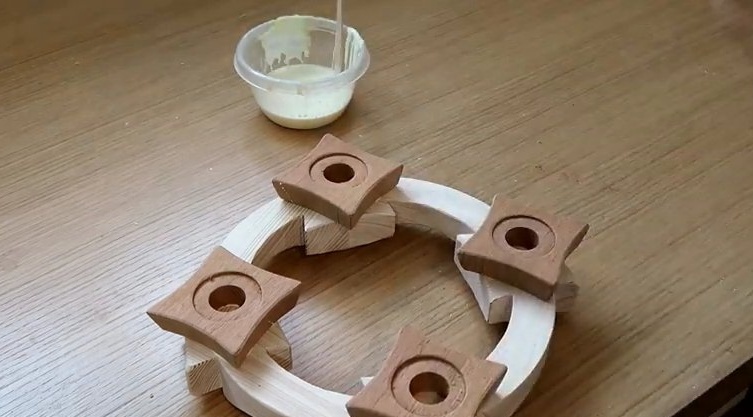
Then it remains to stick the dark brown squares for the candles.
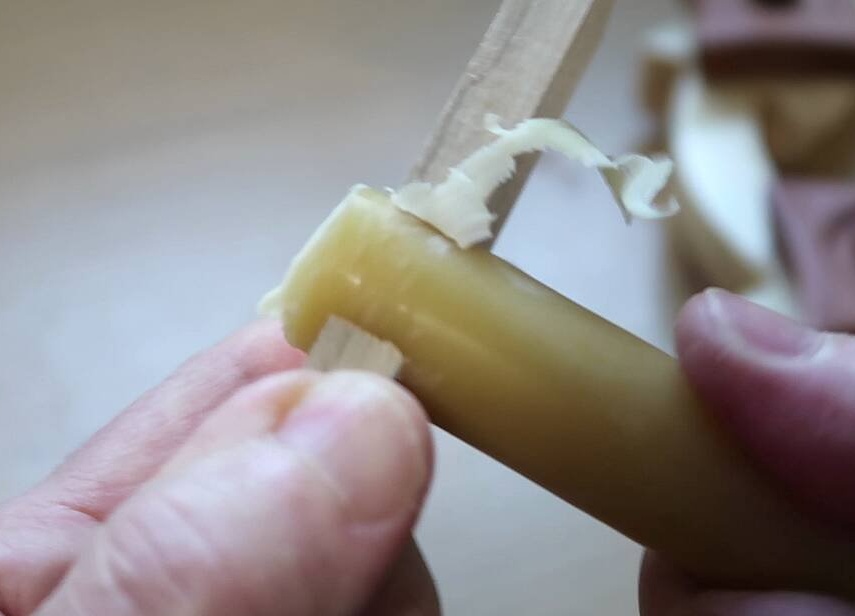
The candles were about half a millimeter larger than the master drilled holes, so the master made a kind of candle sharpener. To do this, he drilled a hole from the edge of a wooden block. This sharpener did not work as elegantly as he had hoped, but it helped put the candles in their place.
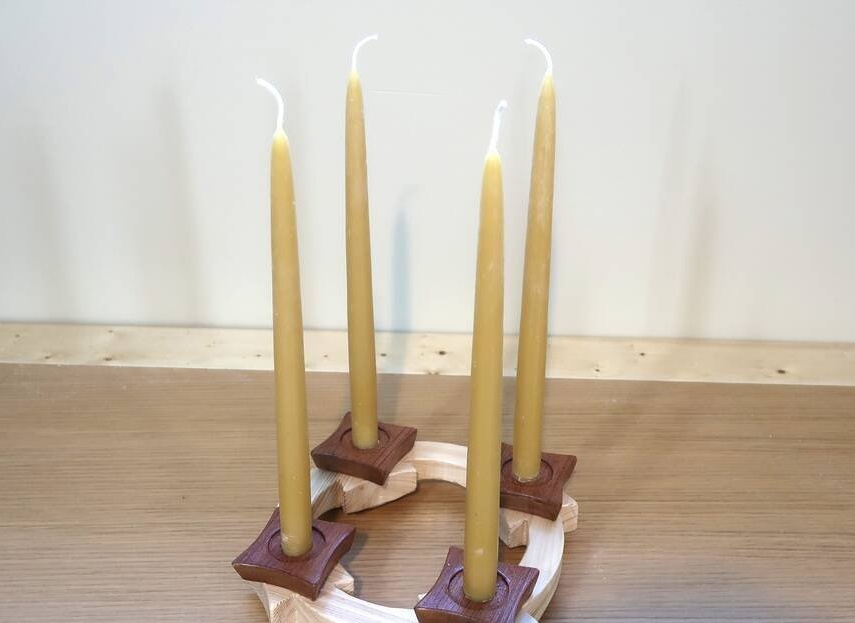
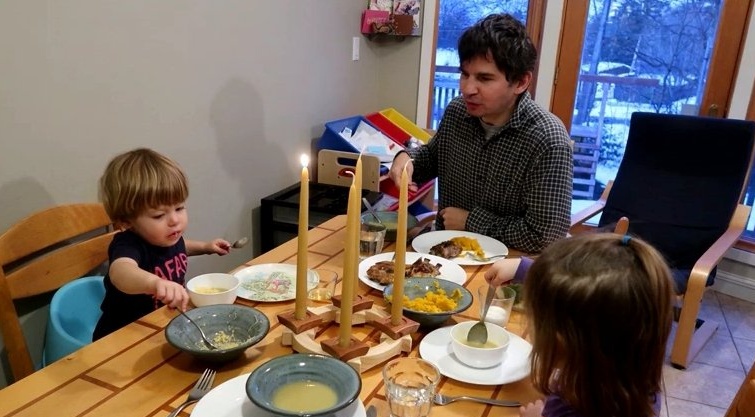
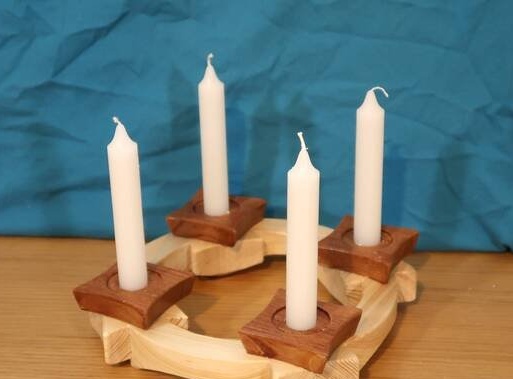
And here are the candles. These candles may be too long, but the master did not want the candle holder to become wider. He bought a few more candles and cut them to length just to get the best thumbnail for a YouTube video.
If you liked this homemade master, then you can try to repeat and make it. Thank you for your attention. See you soon!