

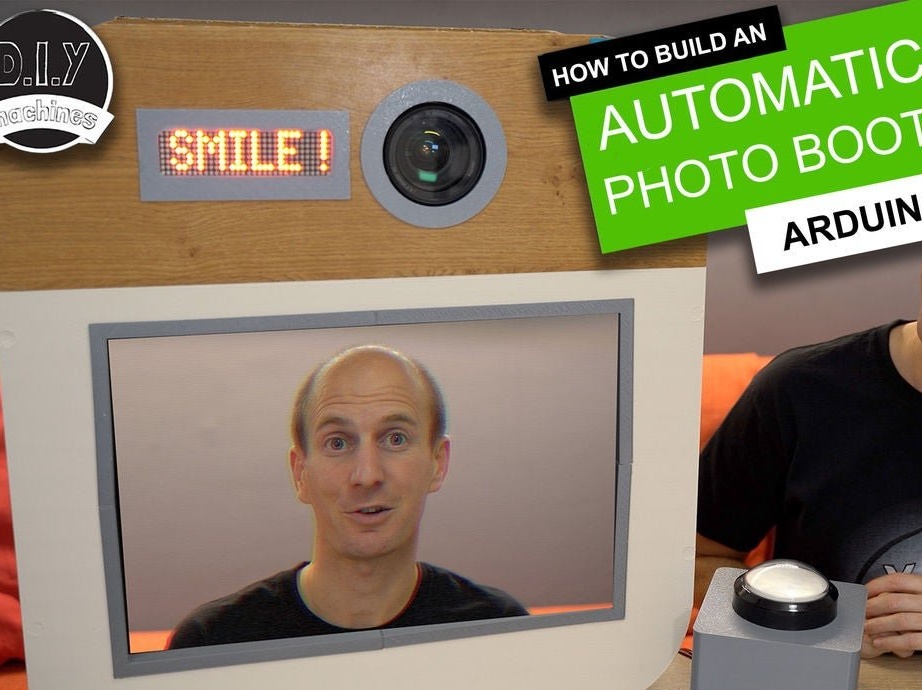
Renting photo booths is quite expensive. When the author of this project had a need for such a device, he decided to make it on his own.
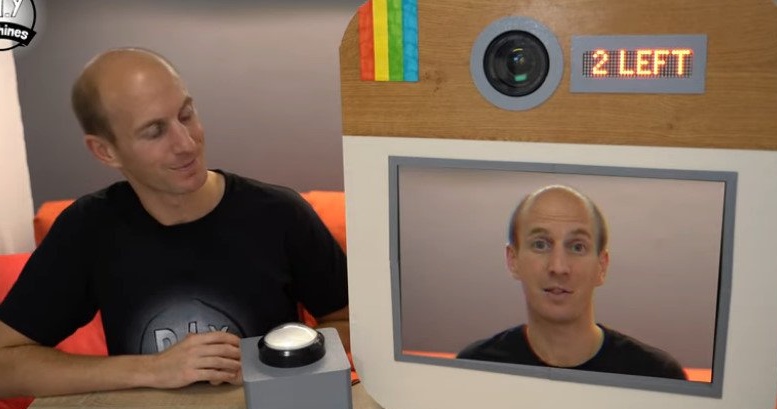
The photo booth can be configured depending on the event, and it will work in automatic mode.
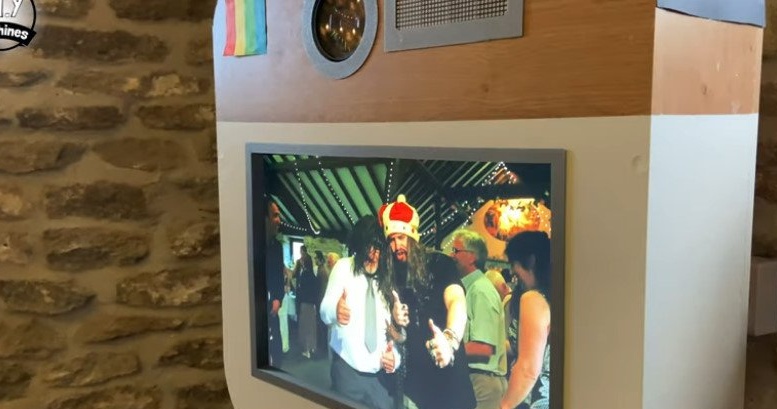
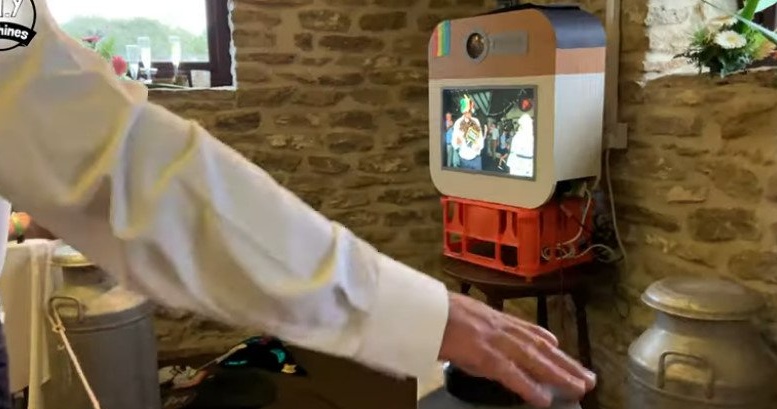
Guests simply press the large button, and the photo booth itself conducts a photo session. Three photos are taken at intervals of 10 seconds (this can be changed in the code). Photos are displayed after each shot on a large screen. High-quality copies of photos are saved on the camera’s memory card for later viewing or printing.
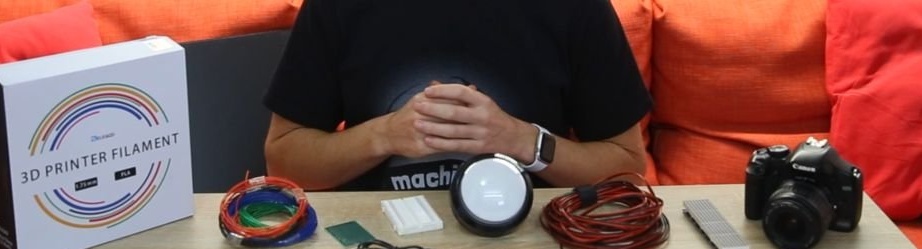
Tools and materials:
-Arduino Nano;
- Resistor 1 kOhm;
- Resistor 2.2 kOhm;
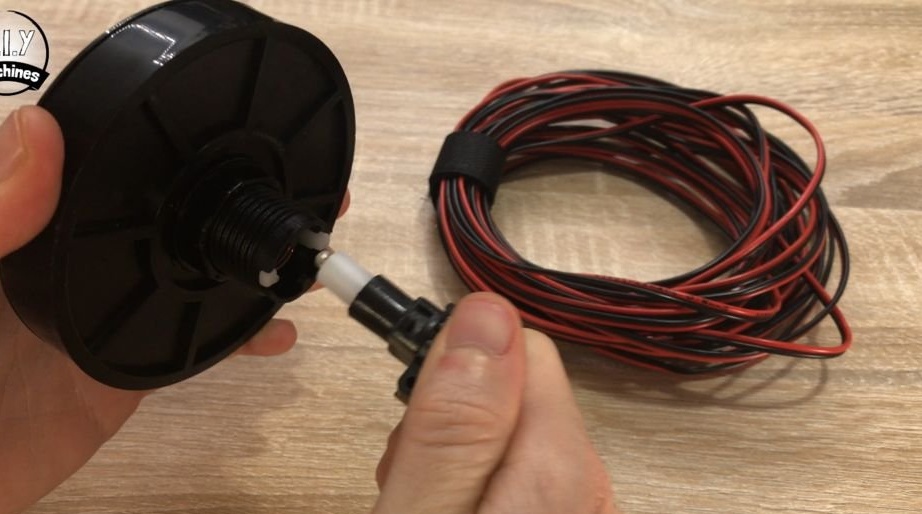
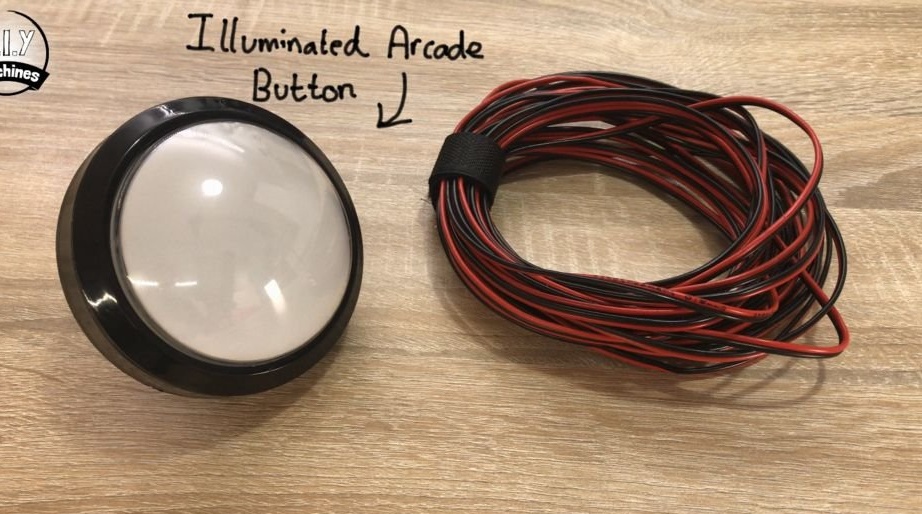
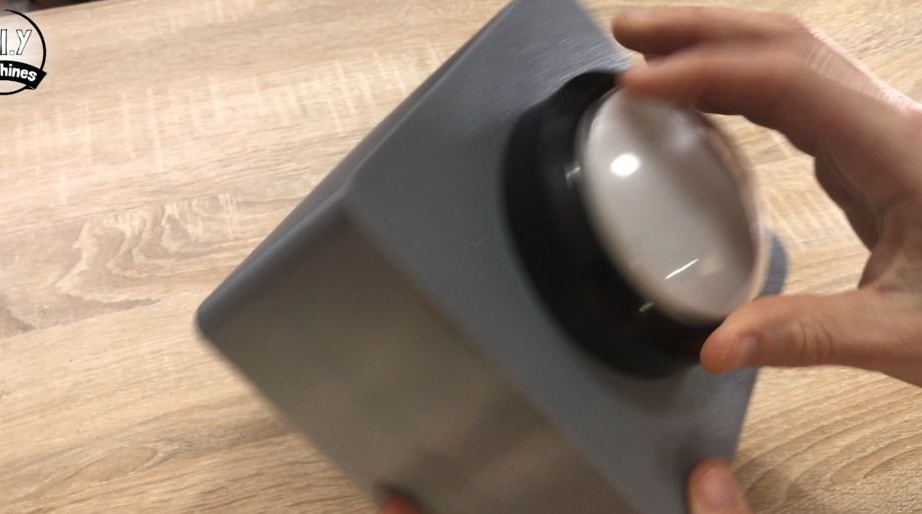
-Large luminous button;
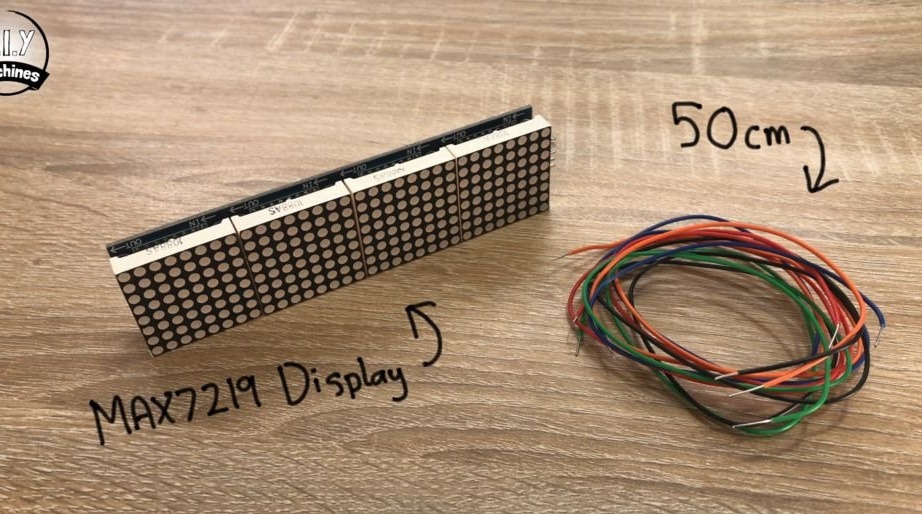
-Matrix display MAX7219;
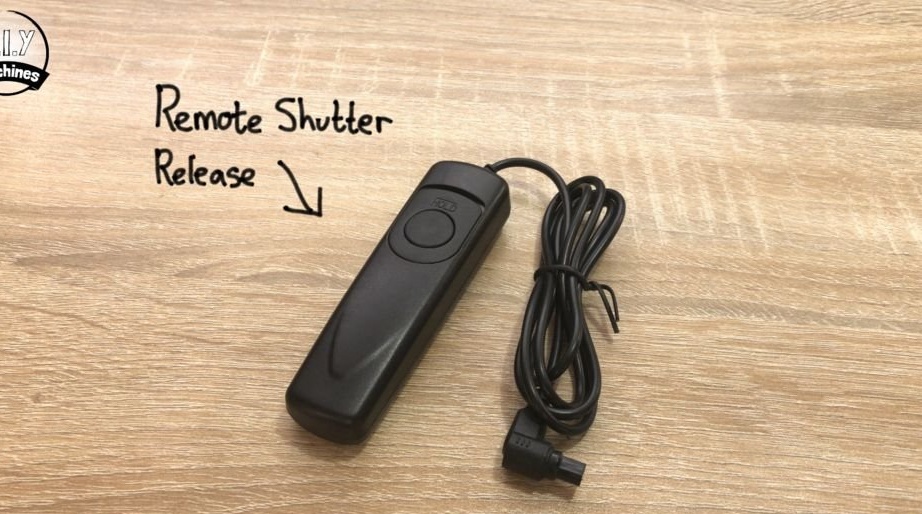
- Remote shutter cable for the camera;
-Camera;
-Bread board;
-Monitor;
-Wire;
-Fasteners;
-Paint;
- MDF 18 mm;
-Circular Saw;
- Electric jigsaw;
-3D printer (optional);
-Marker;
-Rule;
- Putty;
-Sandpaper;
- Painting tape;
-Paint;
-Brush;
-Glue;
Step One: Sawing
For the body you need to cut five panels of MDF. It is necessary to cut panels of the following sizes:
580 x 620 mm (x2)
200 x 420 mm (x2)
200 x 380 mm (x1)

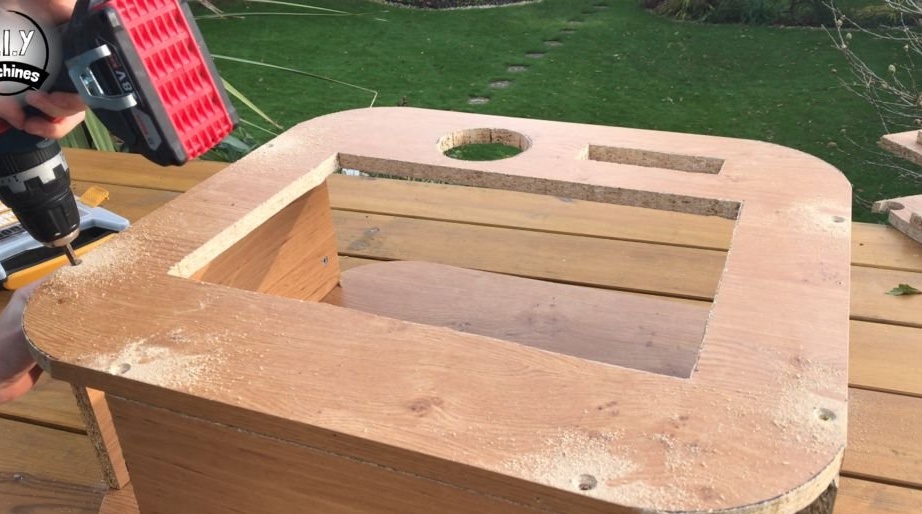
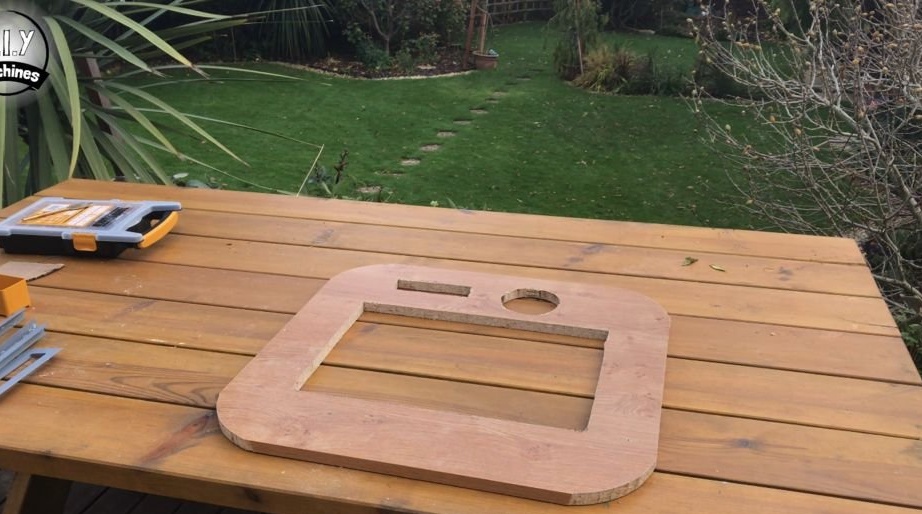
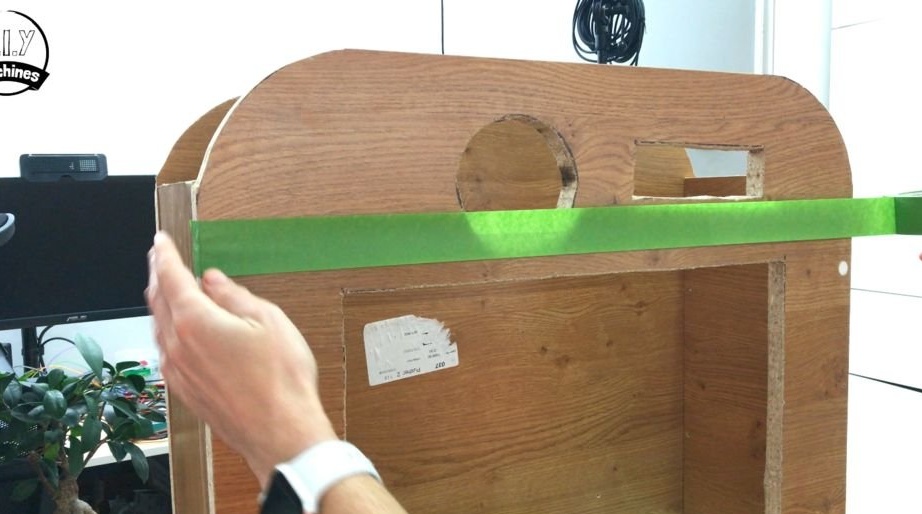
Step Two: Holes
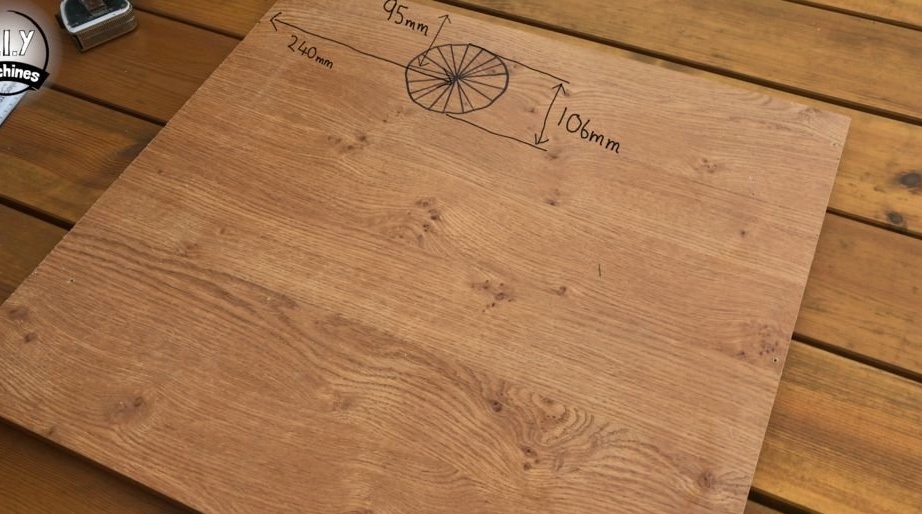
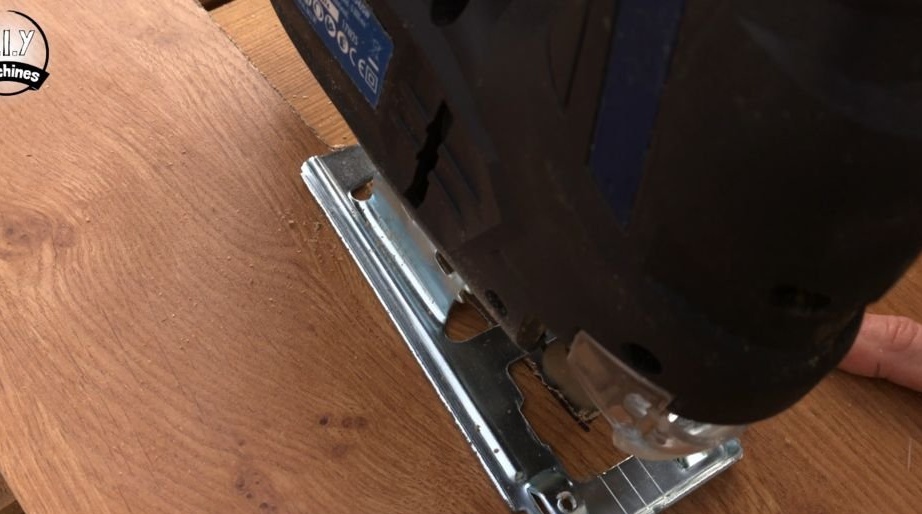
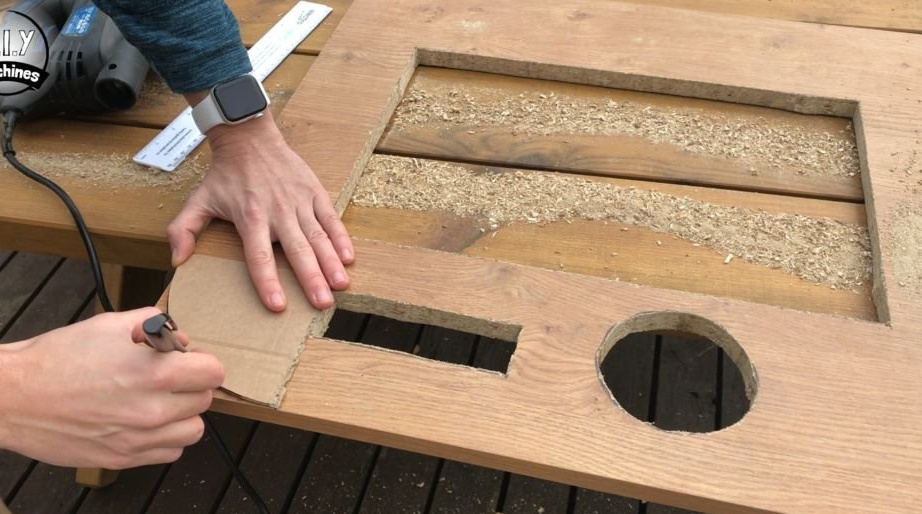
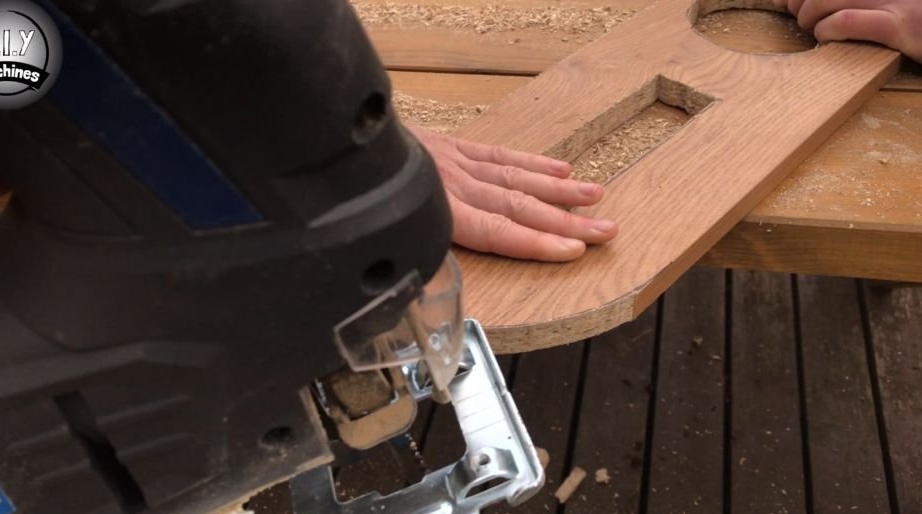
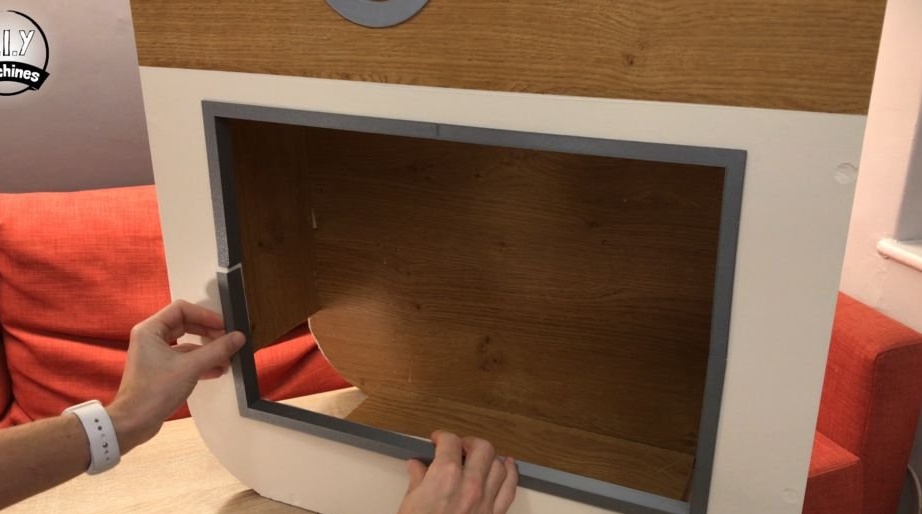
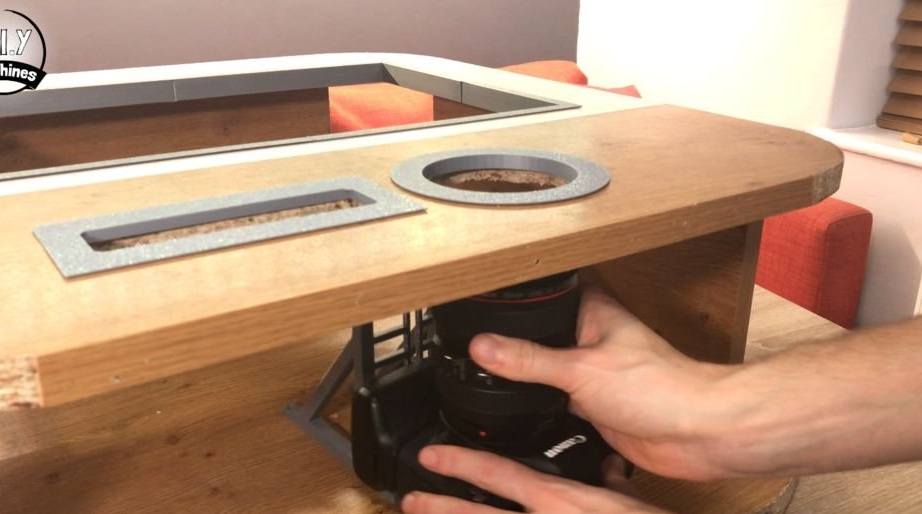
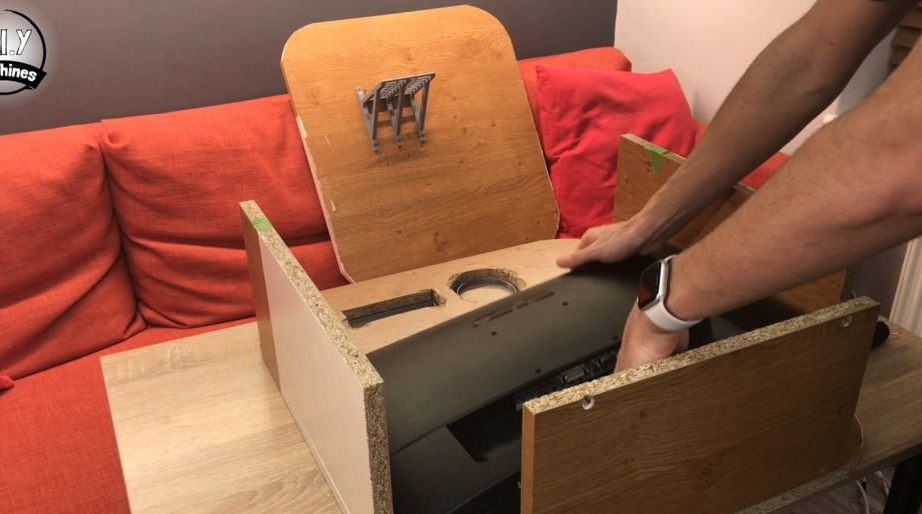
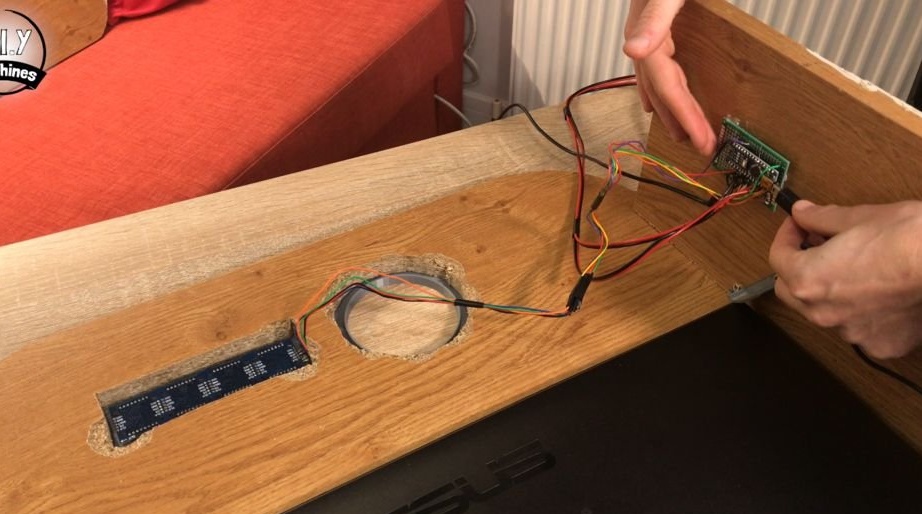
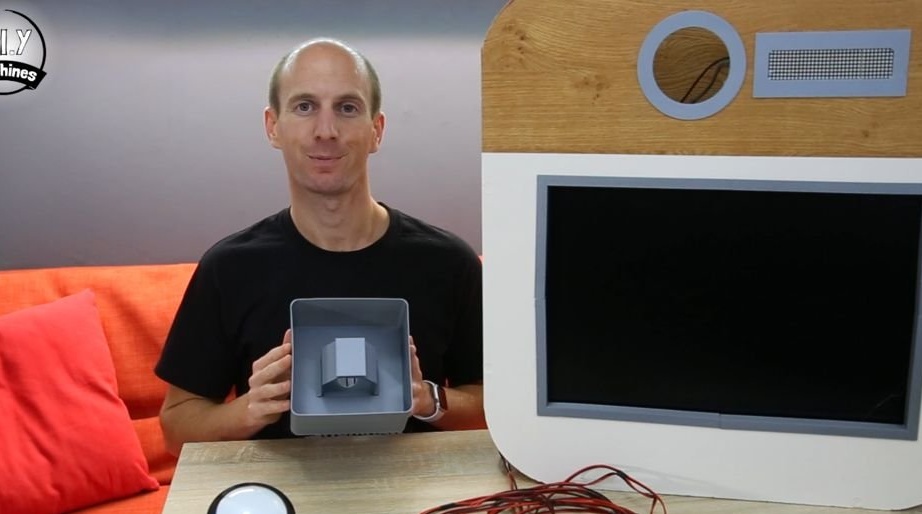
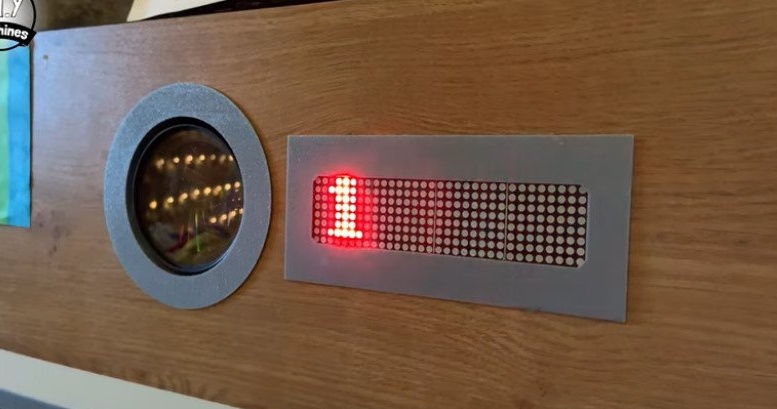
On the front panel you need to make three cutouts. They are designed for LED display, camera lens and monitor.
The round hole for the lens should have a diameter of 106 mm, the center point should be about 95 mm from the top and 240 mm from the side.
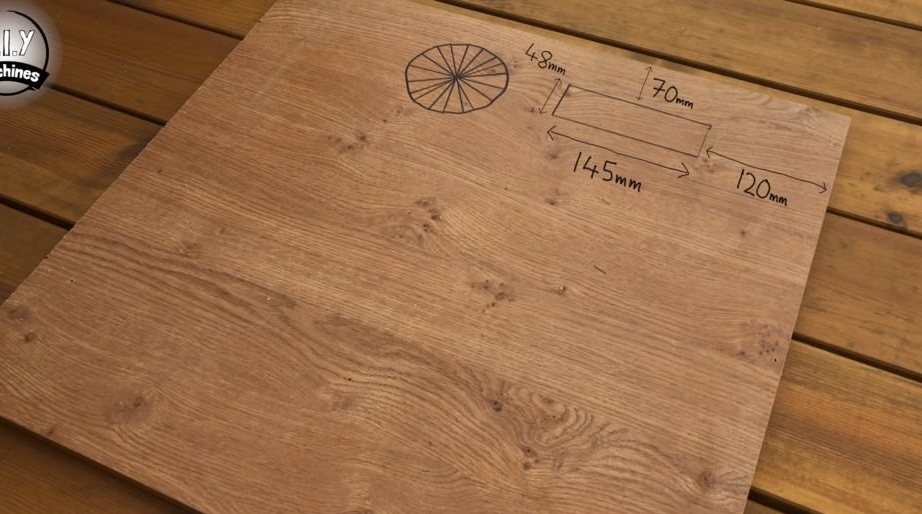
The rectangular cutout for the LED display has a width of 145 mm and a height of 48 mm.
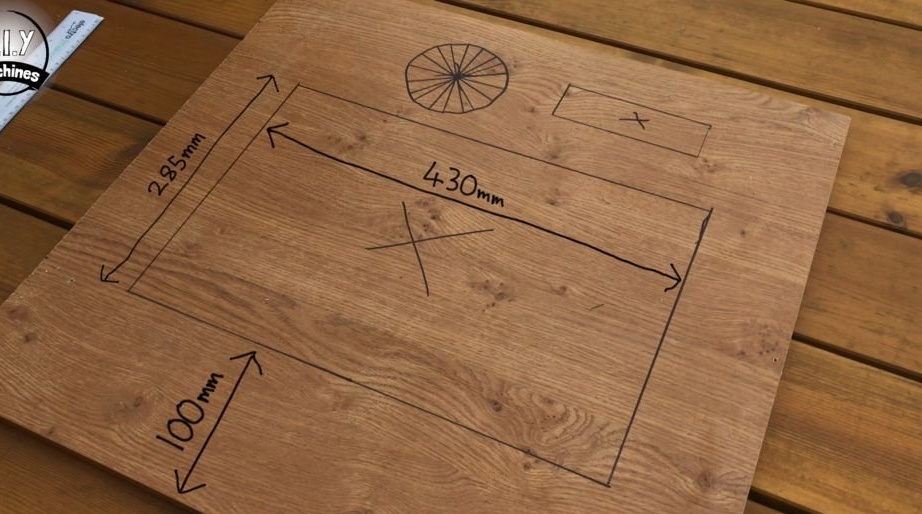
The cutout for the monitor should be 285 mm high and 430 mm wide. Orient it across the width of the board so that its lower edge is at a distance of 100 mm from the outside of the board.
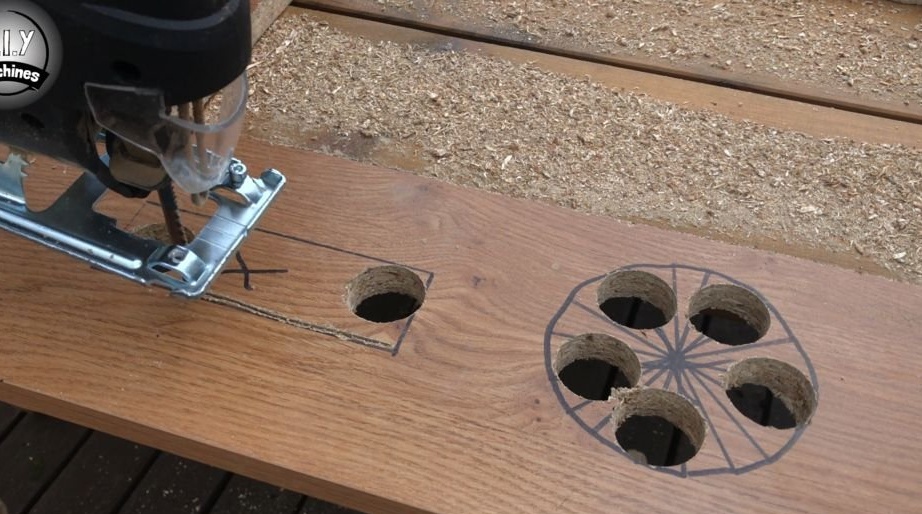
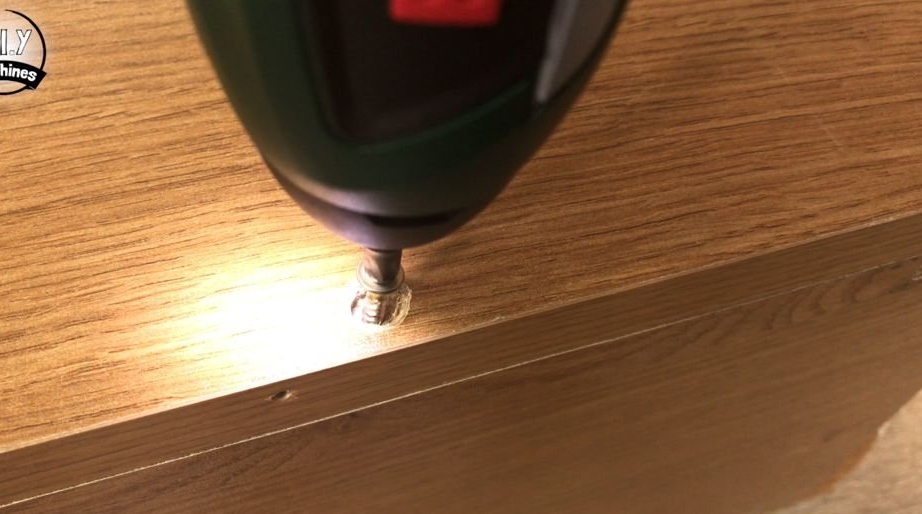
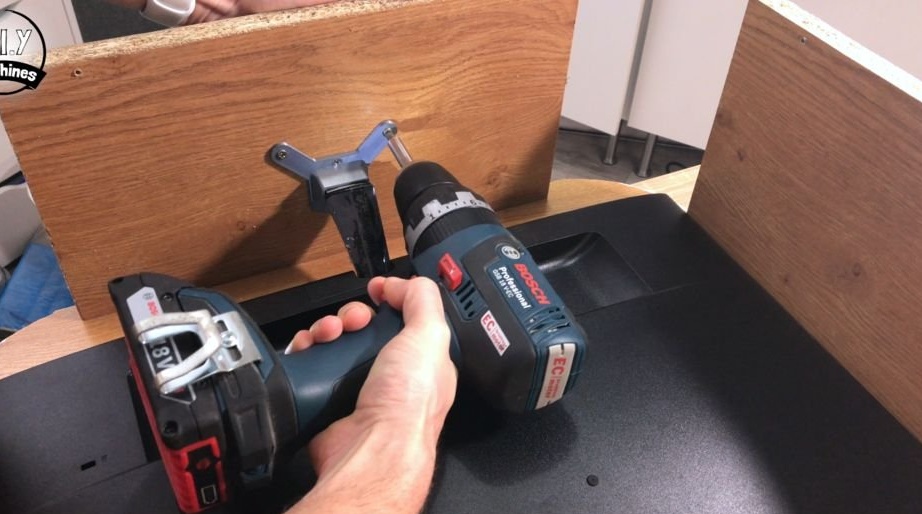
The master makes these holes using a drill and a jigsaw.
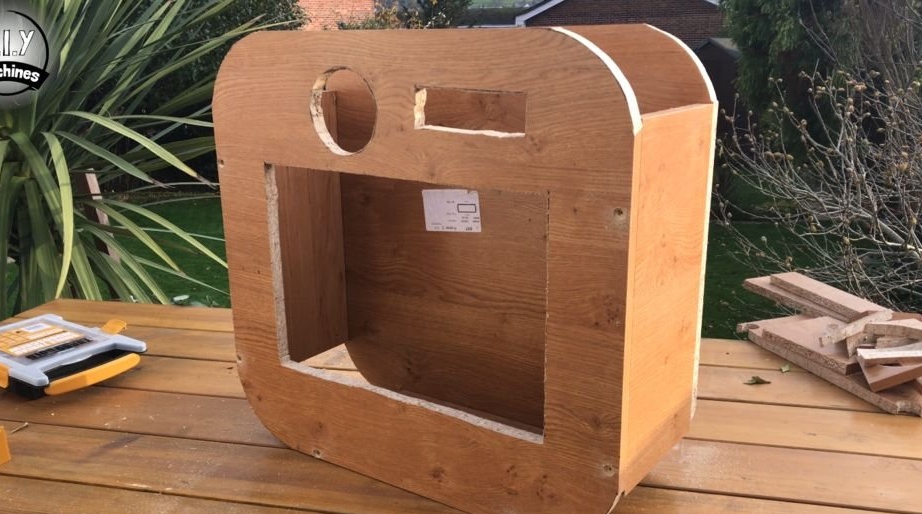
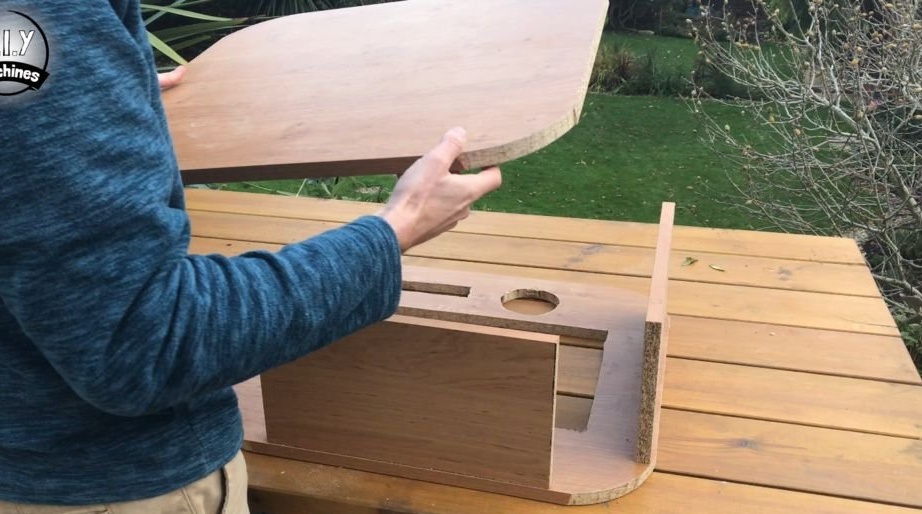
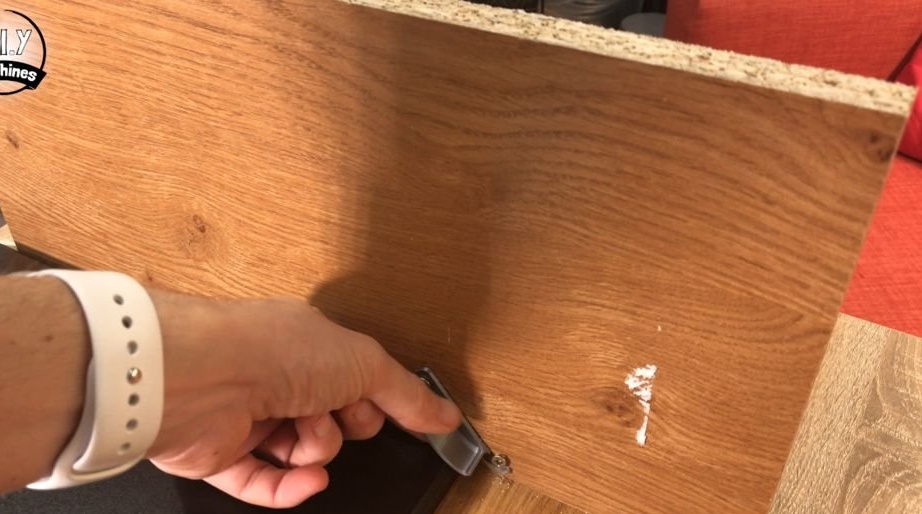
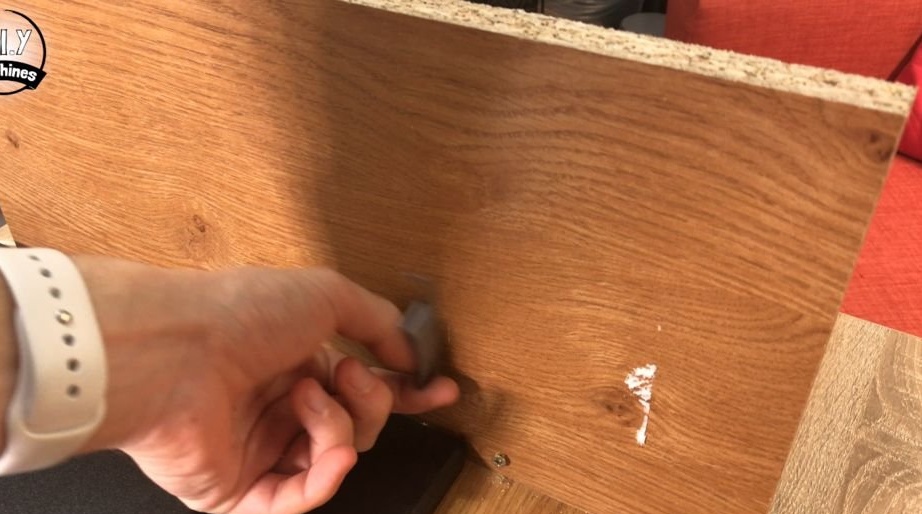
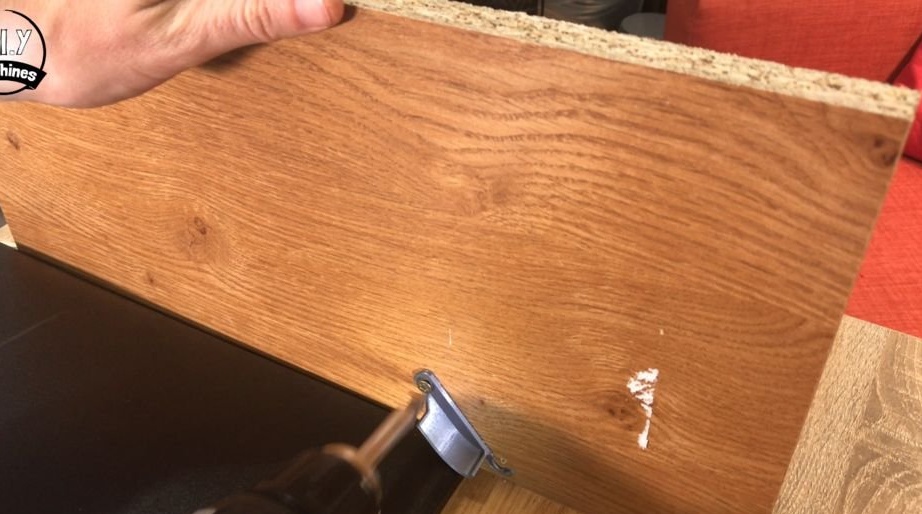
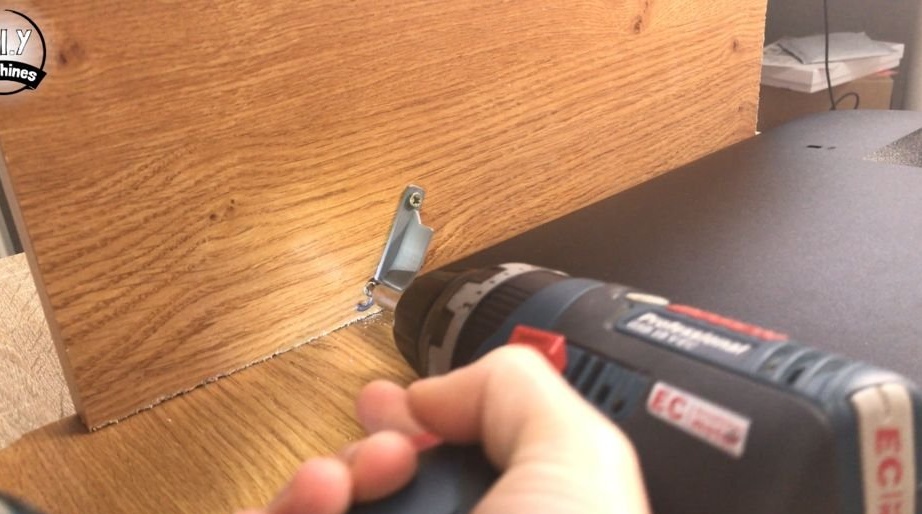
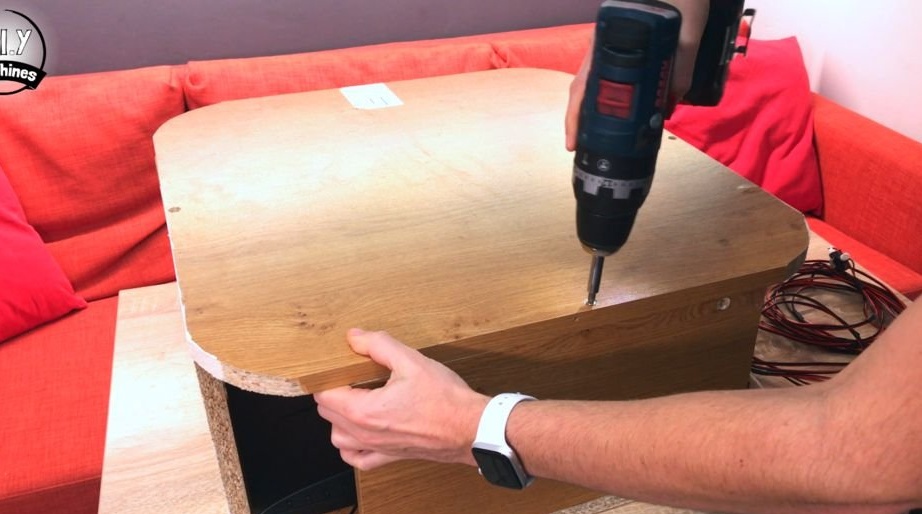
Step Three: Assembly
Now you need to assemble the case. To fix the parts, the master uses screws.
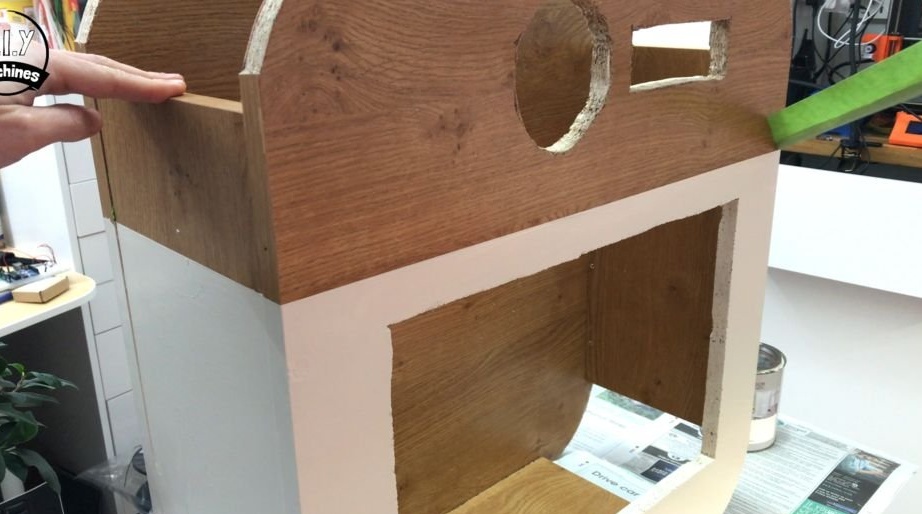
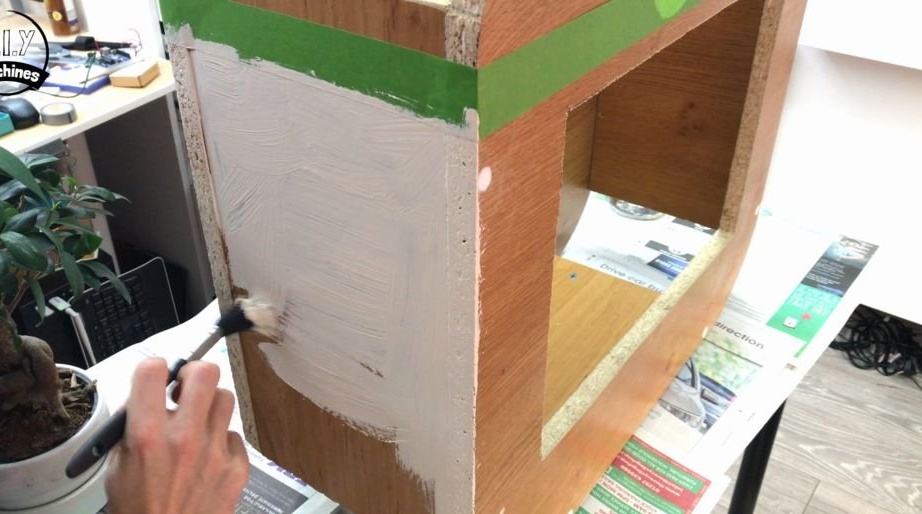
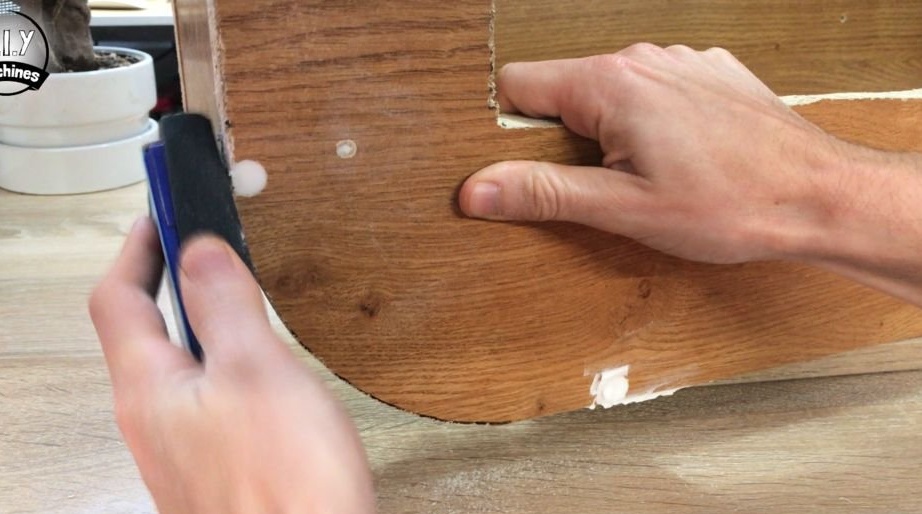
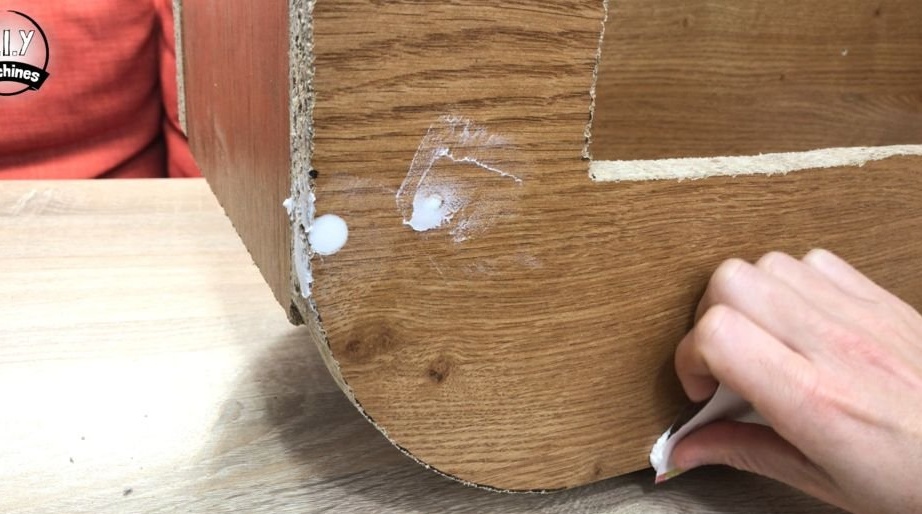
Fourth step: sanding, painting
Putty problem areas, polishes, stains.
Step Four: Pads
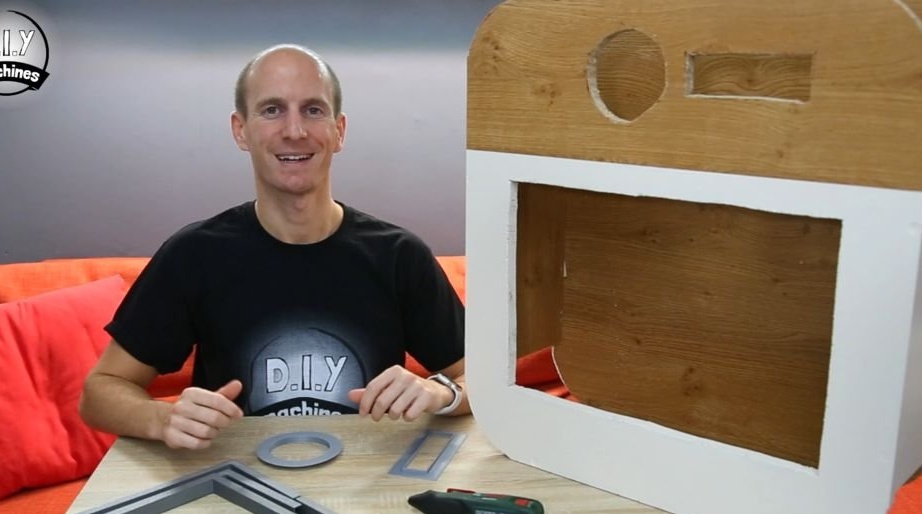
This step is optional.
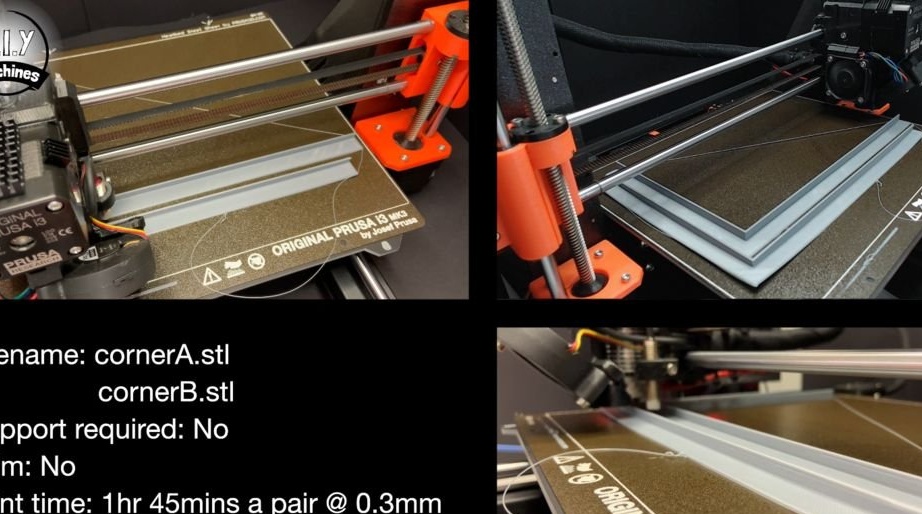
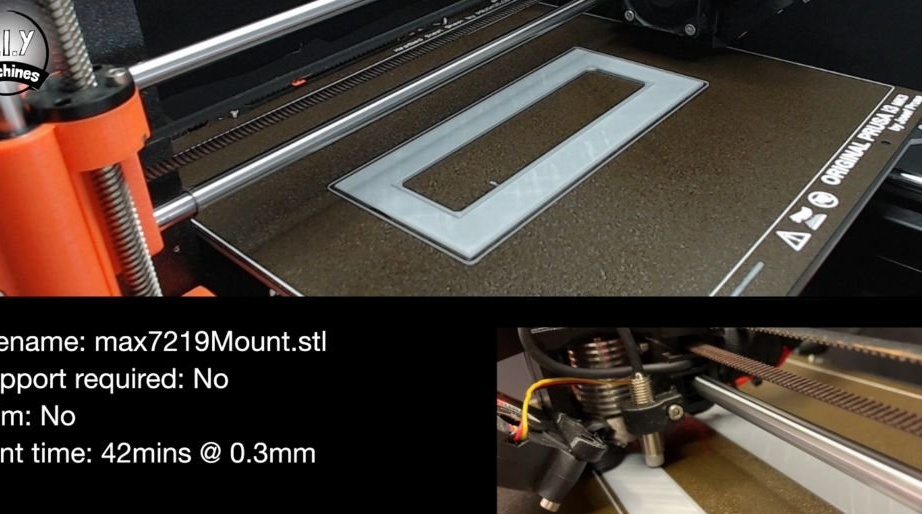
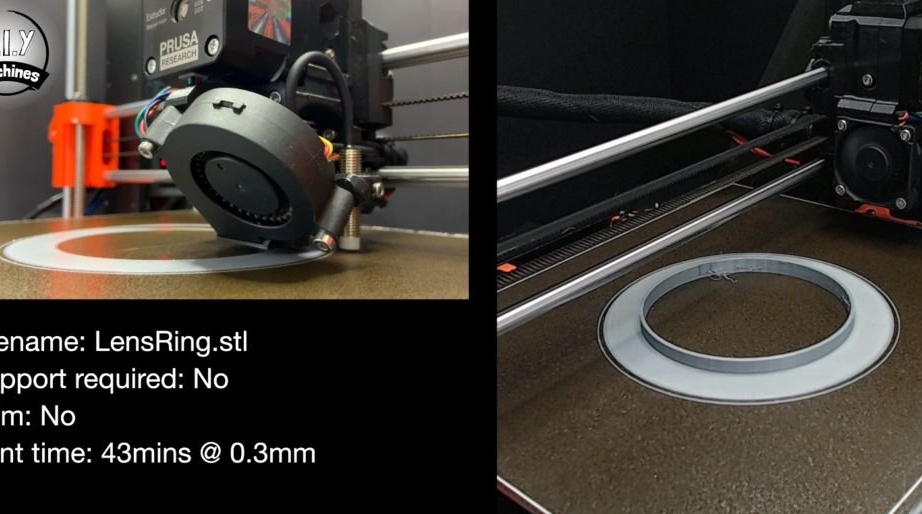
To decorate the holes, the master prints the covers on a 3d printer.
In a single copy:
lensring.STL
max7219mount.STL
In two parts:
cornerA.STL
cornerB.STL
After printing, glues the pads.

Step Five: Preparing Electrical Parts
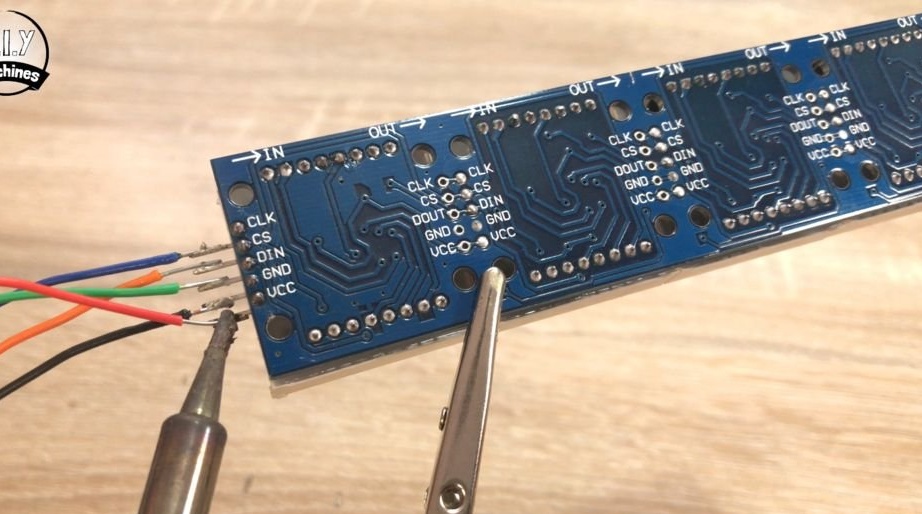
Prepare and solder the five 50 cm (22 AWG) connecting wires to the five terminals (VCC, GND, DIN, CS, CLK) of the display.
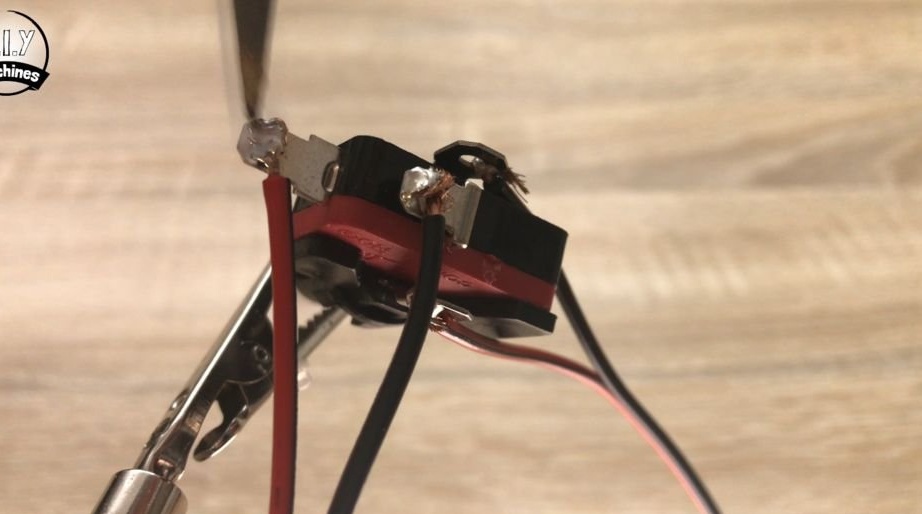
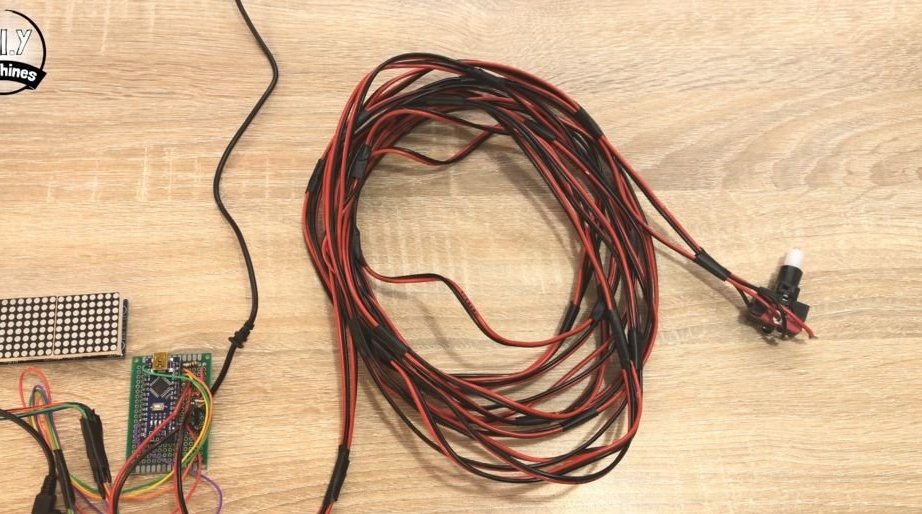
Now you need to prepare the button. The master takes out the switch from it. Four meters of wire are soldered to each of the four contacts (two wires for the switch, two for the LED). Sets the switch in place.
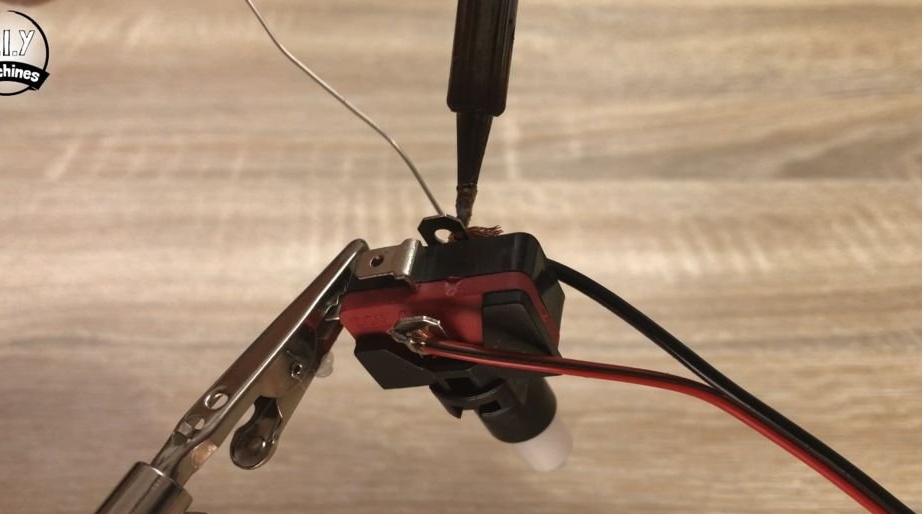
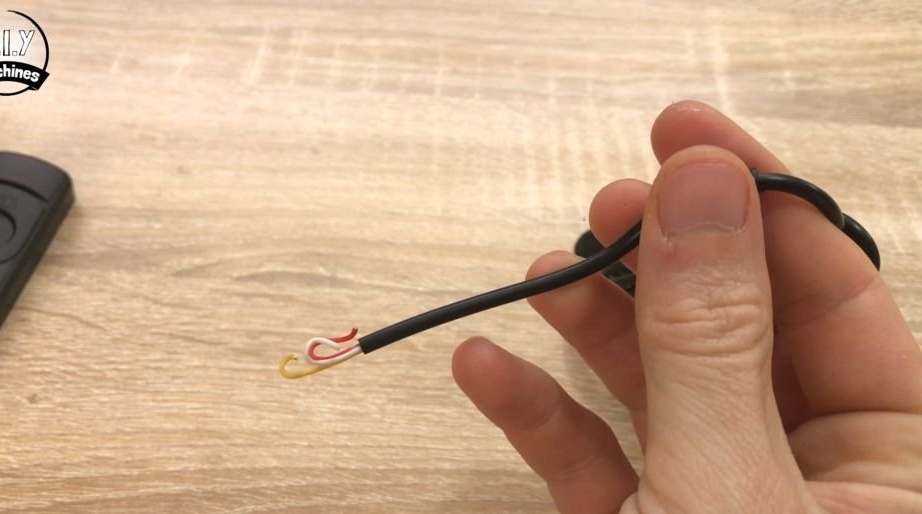
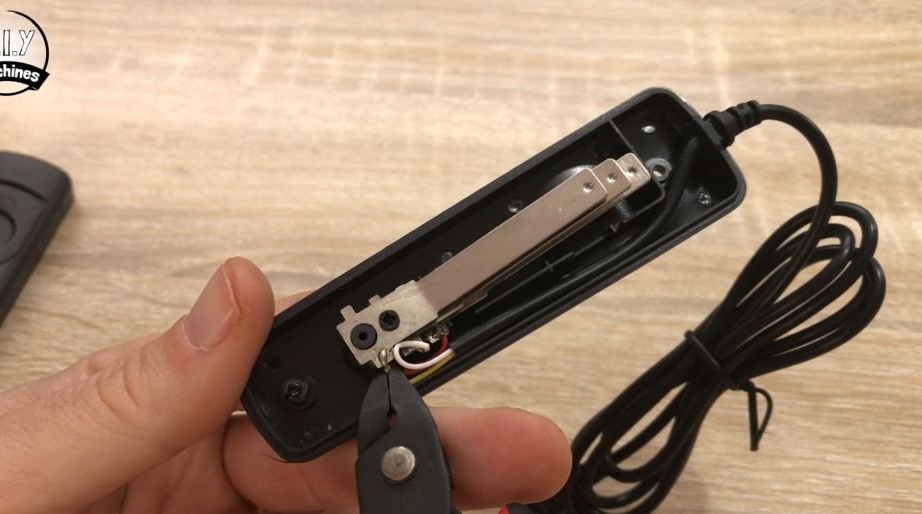
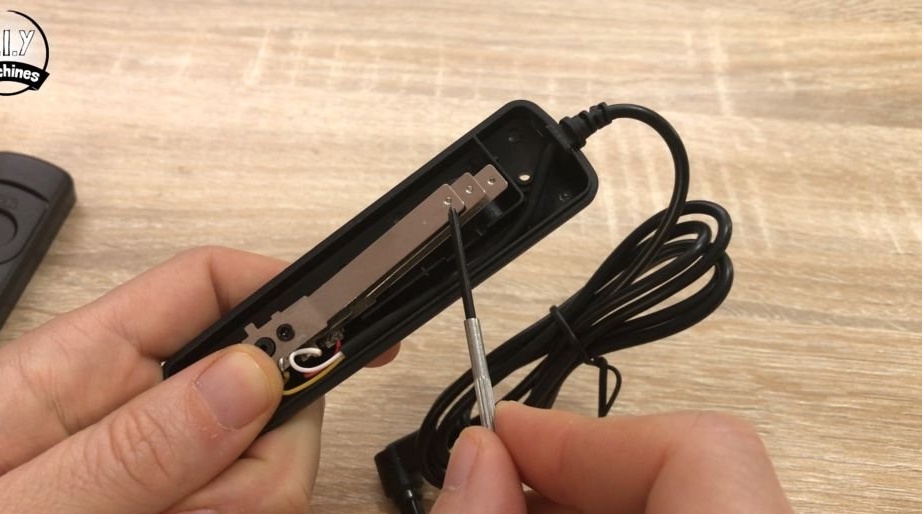
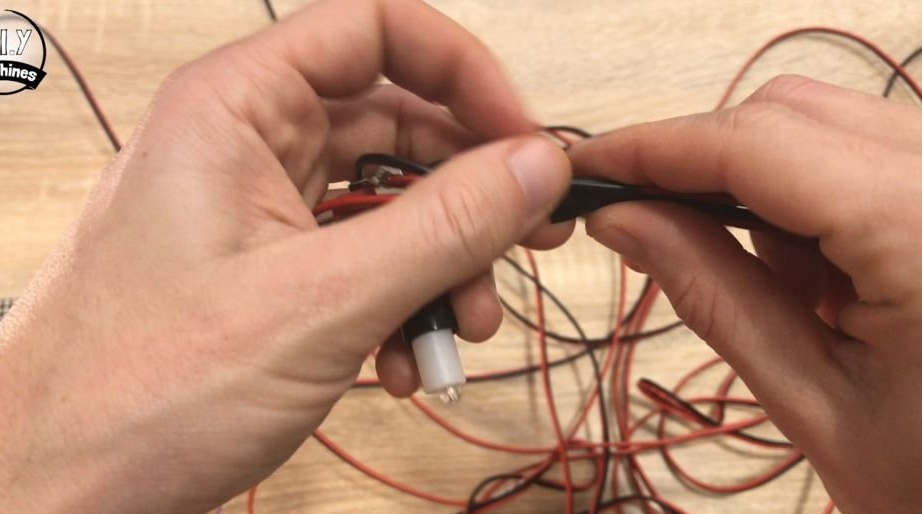
Next, the master disassembles the remote shutter release housing. There are three metal plates in the case. Wires are connected to the plates. It is necessary to write down the wire of what color is suitable for each plate.
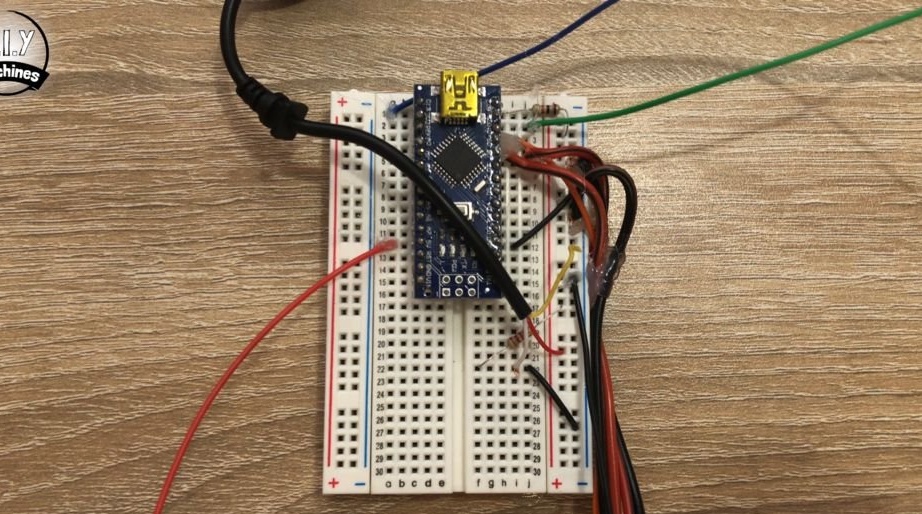
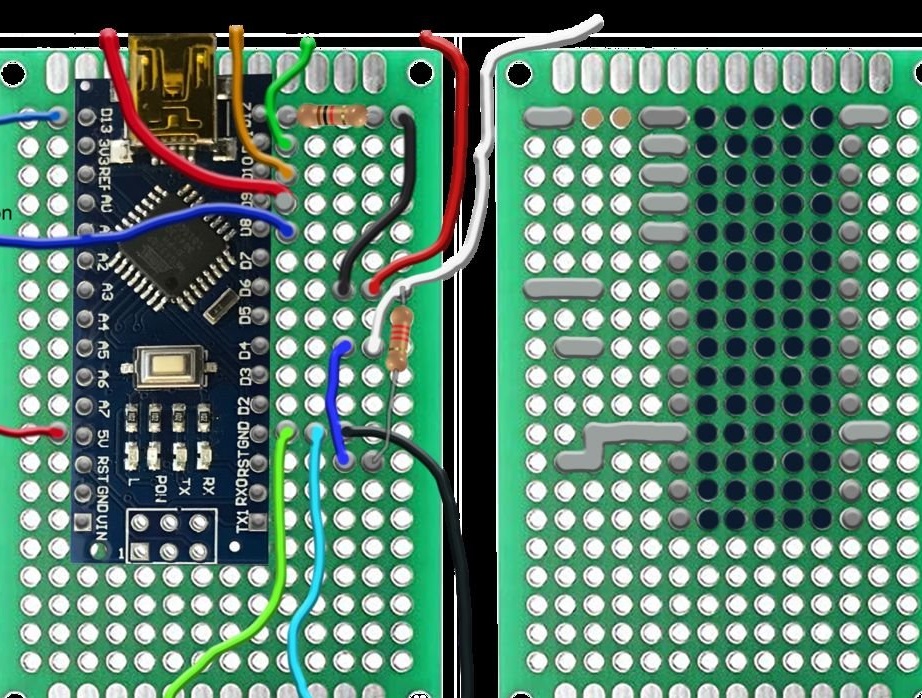
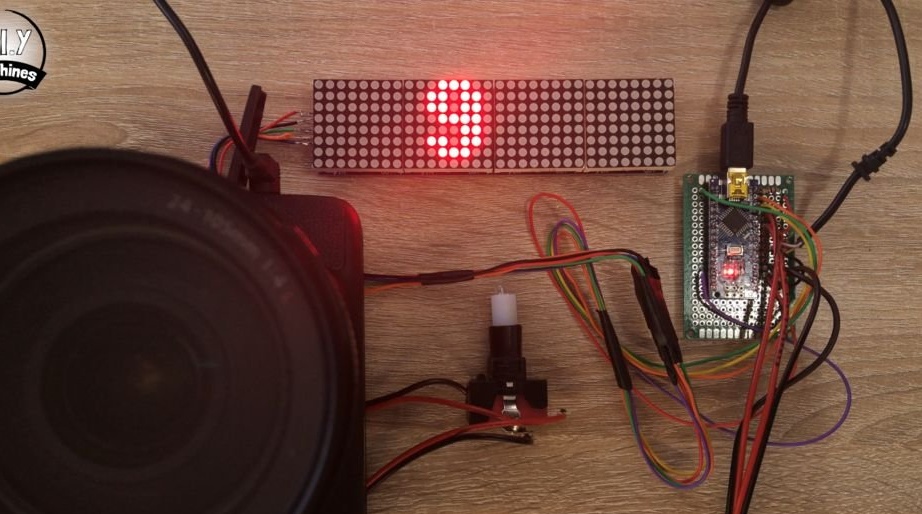
Step Six: Board
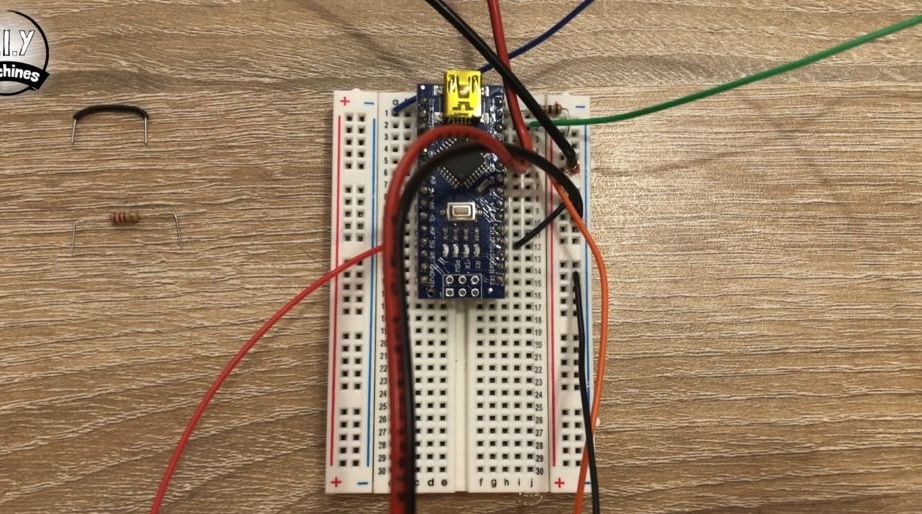
It was necessary to assemble a photo booth in a short time and the master first assembled electronics on the solderless breadboard, and after the event I soldered the board.
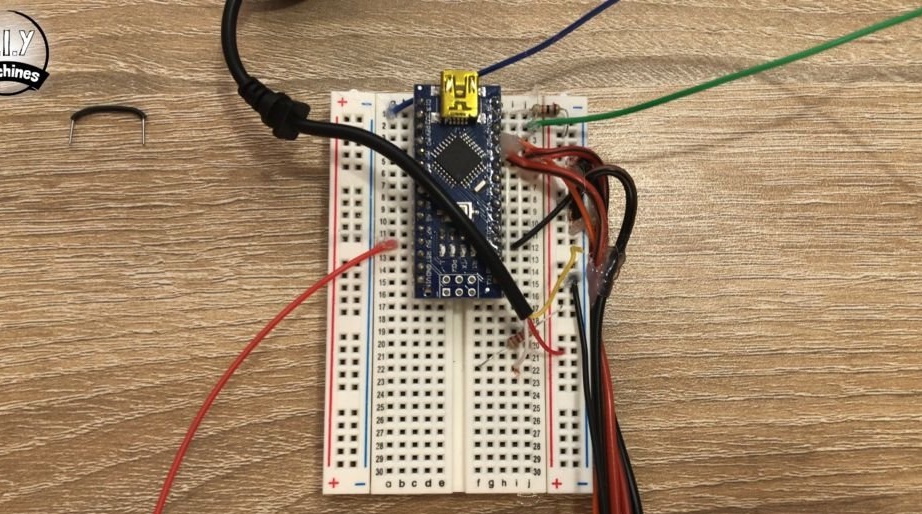
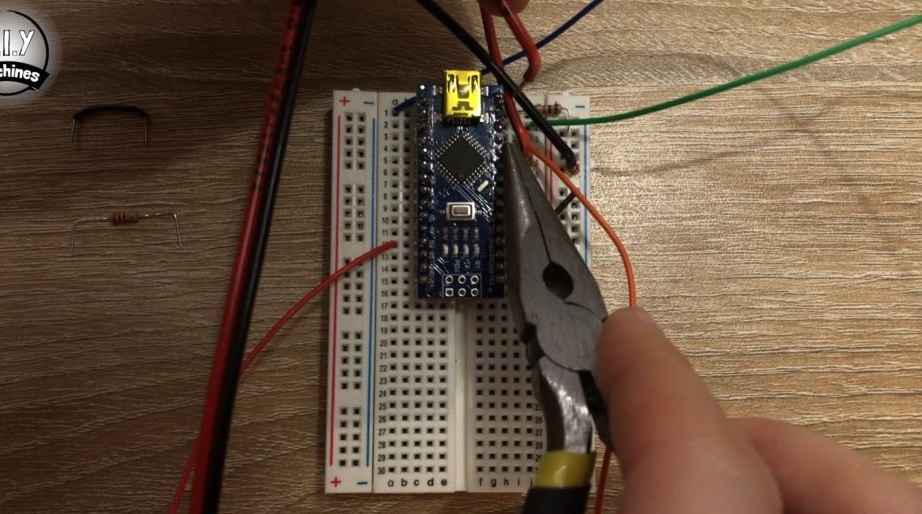
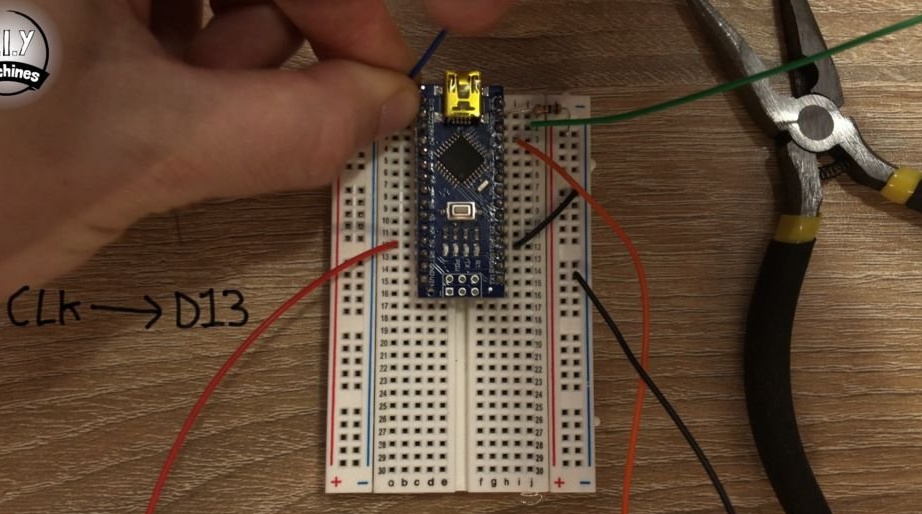
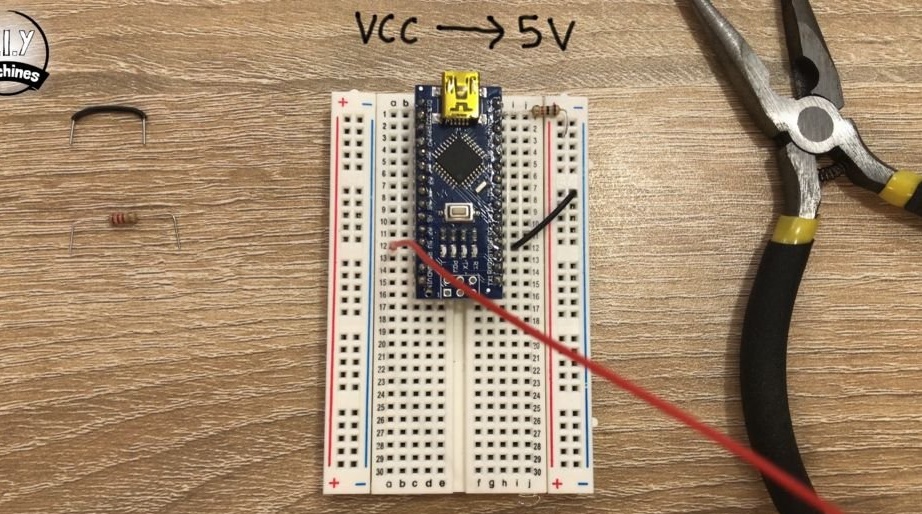
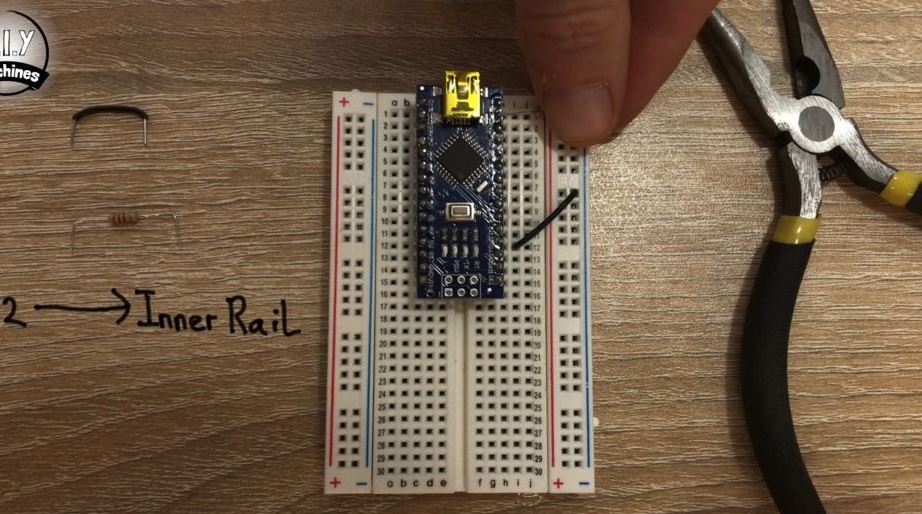
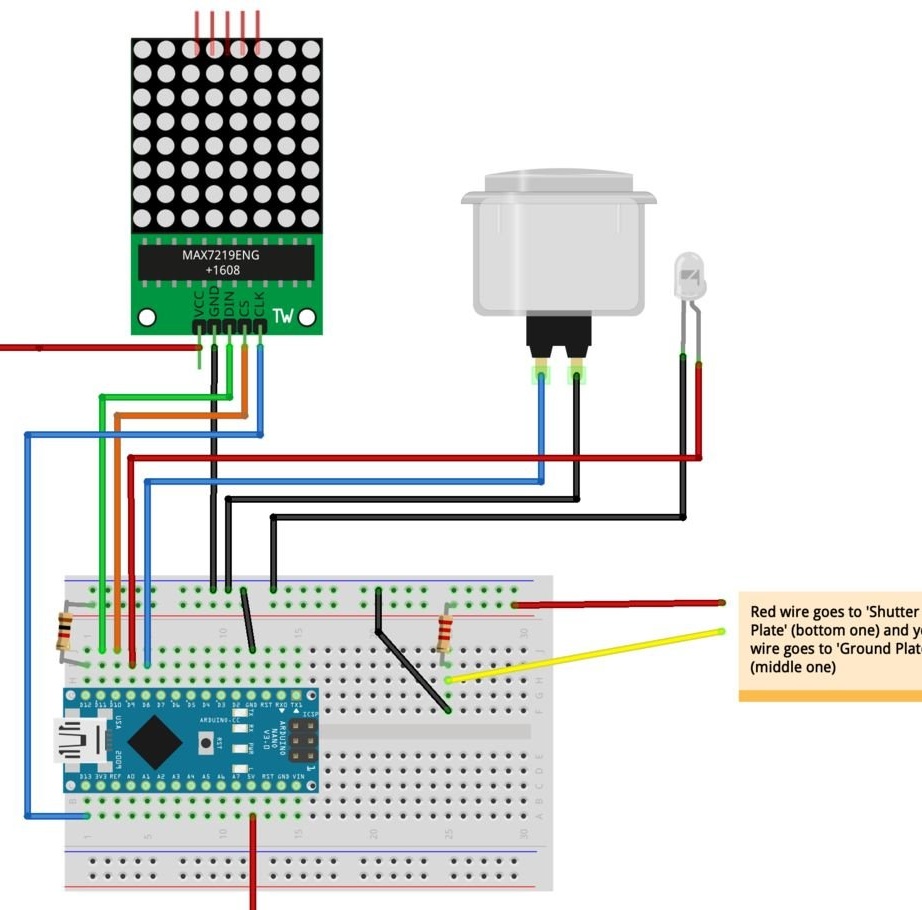
Place the Arduino Nano on top of the board so that the module legs are between the center line. Connect GND to ground. Connect a 1 kΩ resistor (brown-black-red) between pin D12 and the internal bus.
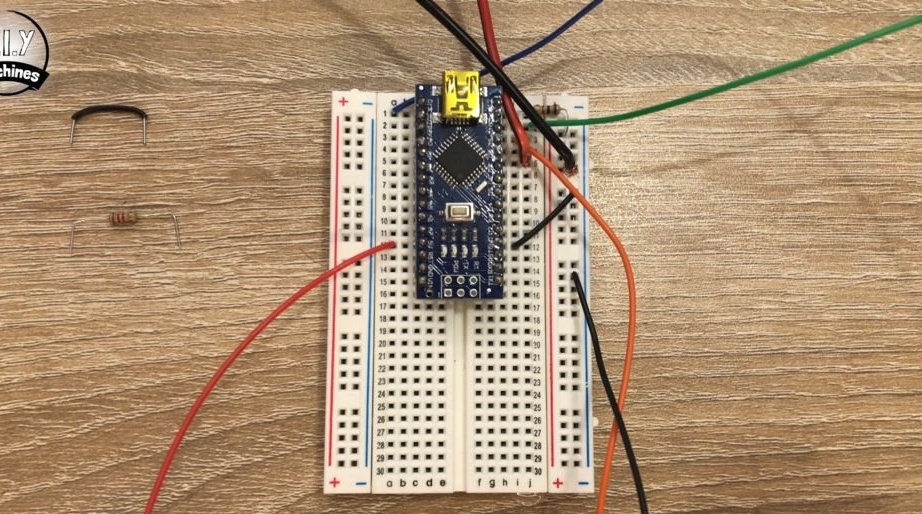
To connect the MAX7219 LED display to the layout, connect:
VCC -> 5 V
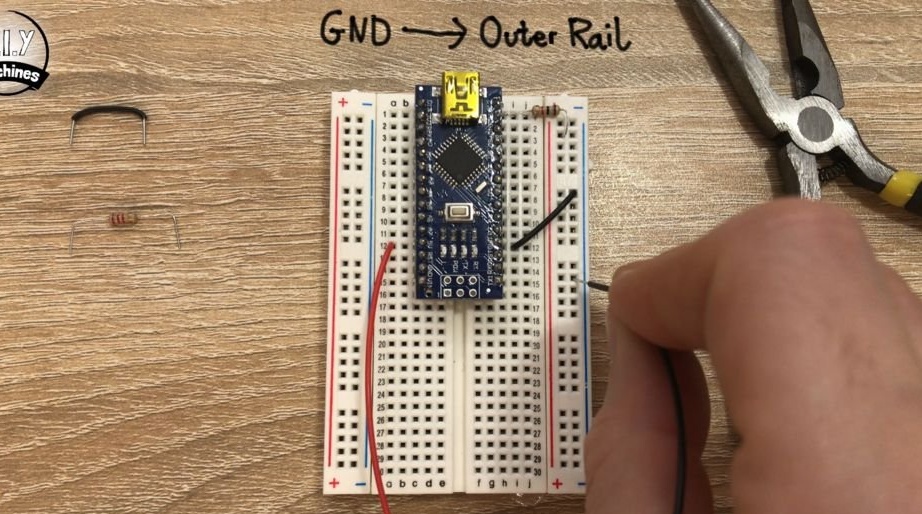
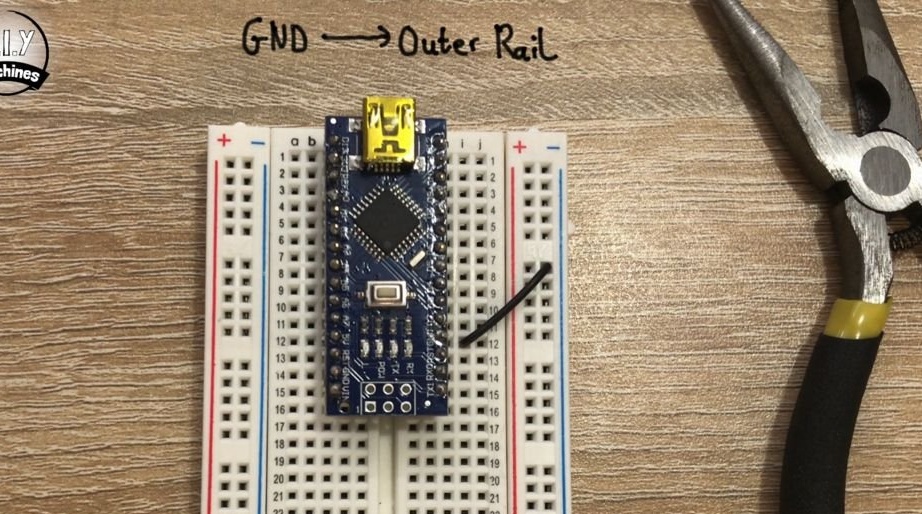
GND -> Earth
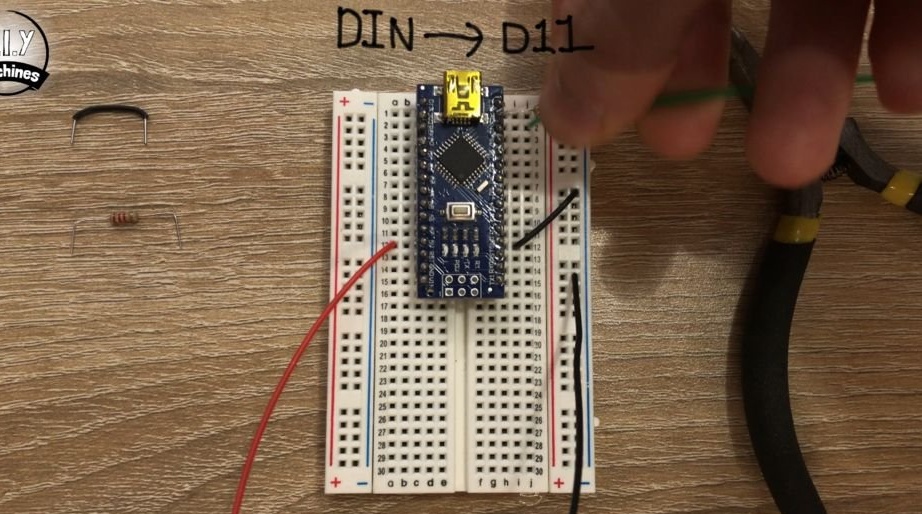
DIN -> D11
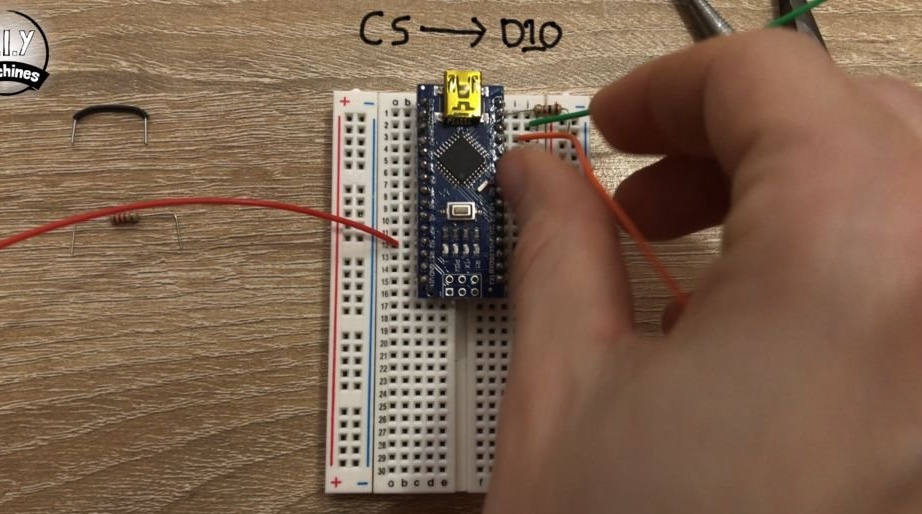
CS -> D10
CLK -> D13
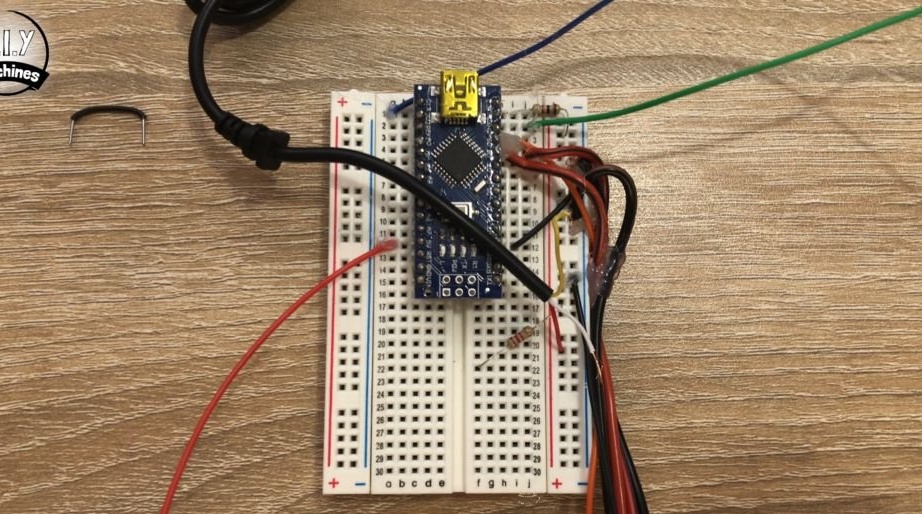
One wire from the large button connects to the D8, the other to ground. Positive wire from LED to D9, negative to ground.
Installs a 2.2 kΩ resistor. A wire going from the bottom plate of the remote shutter releases a resistor connected to one leg, a wire going from the middle plate to the other leg. The second leg of the resistor connects to the ground.
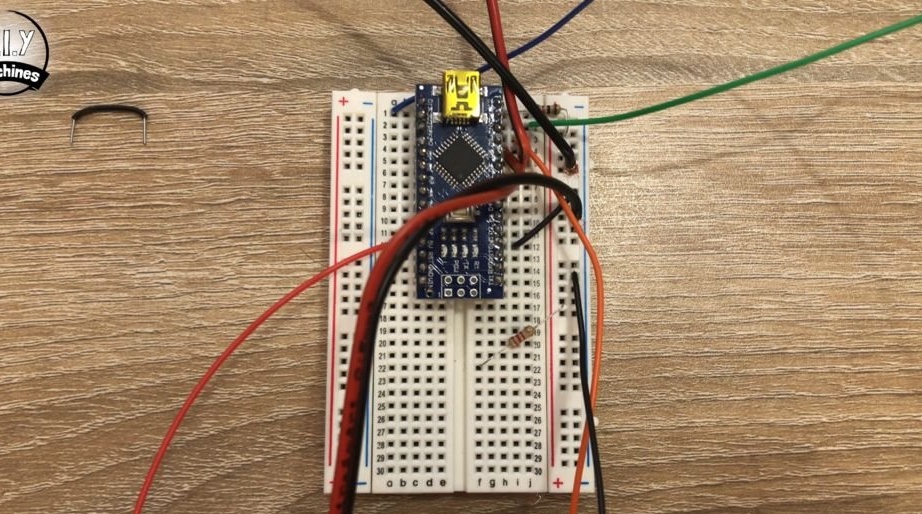
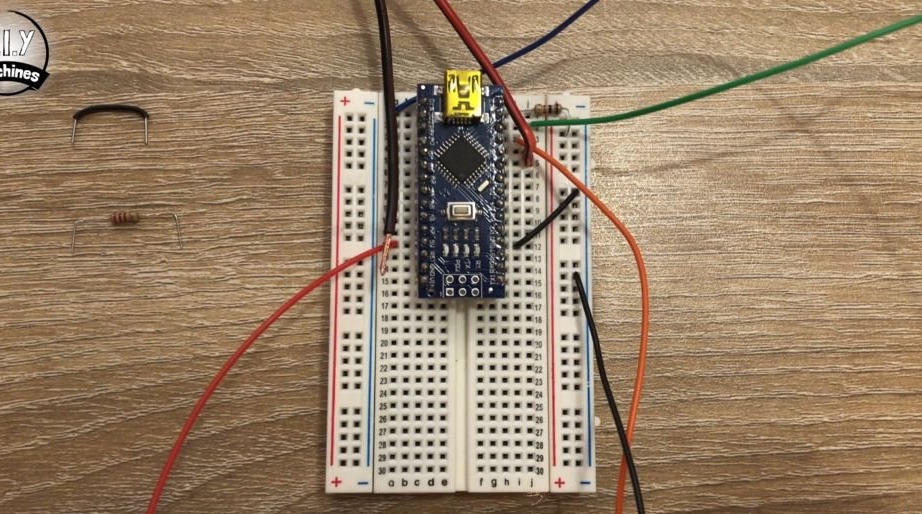
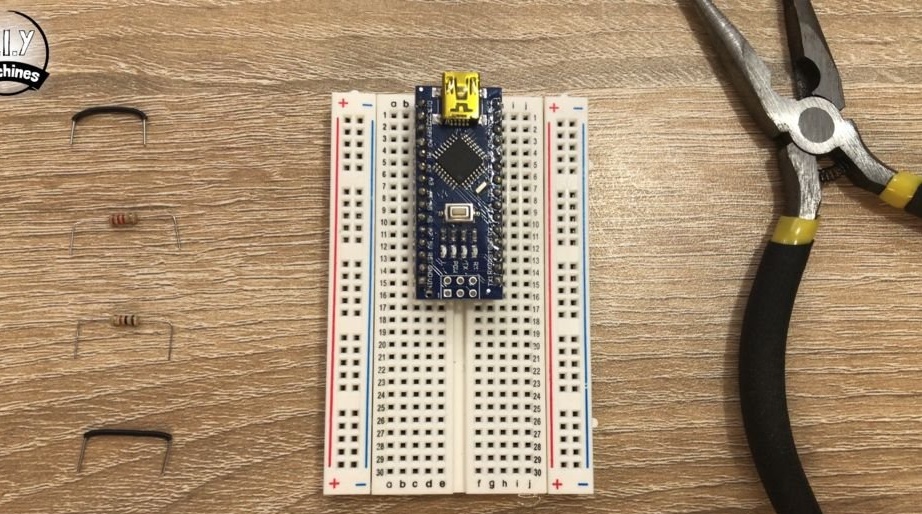
Installation of both boards can be seen in the video at the end of the article.
Step seven: download the code
Now you need to download the code for Arduino.
Connect your Arduino Nano to your computer using a USB cable.
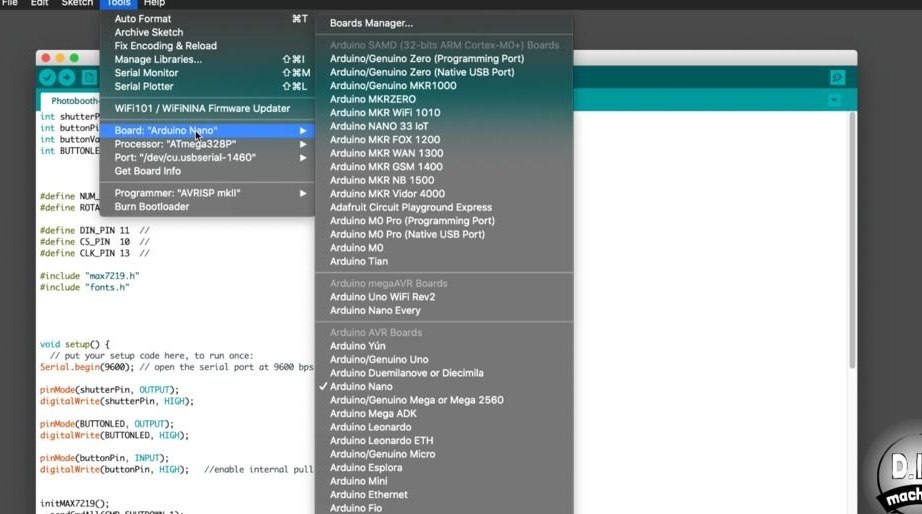
Download the code for the project: https://github.com/DIY-Machines/PhotoBooth and open it in the Arduino IDE.
Select the Arduino Nano board type and ATmega328p processor. Select a serial connection for Arduino and download the code.
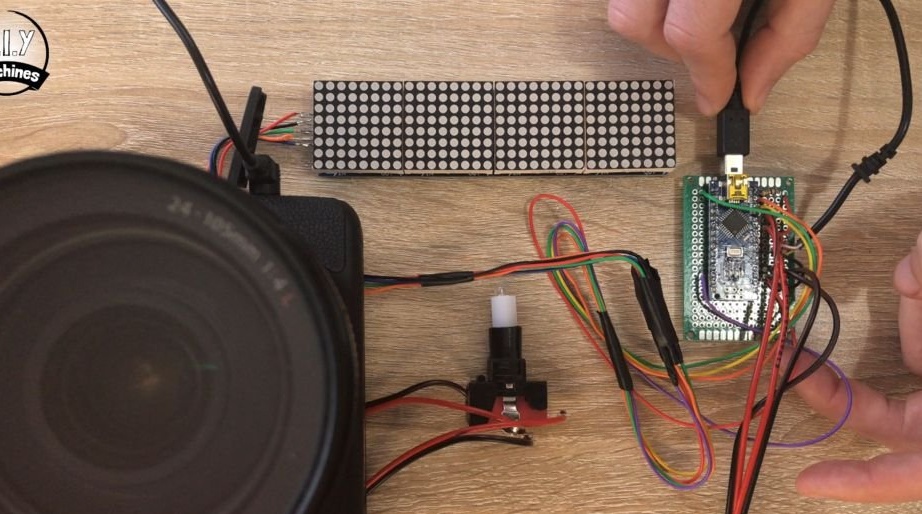
After installing and downloading the code, the wizard checks the operation of the circuit. You need to press the button and the countdown should go from 10 to 0, and then the message lights up and, if the camera is connected, take a picture.


Everything is fine and the master connects the wires with electrical tape.
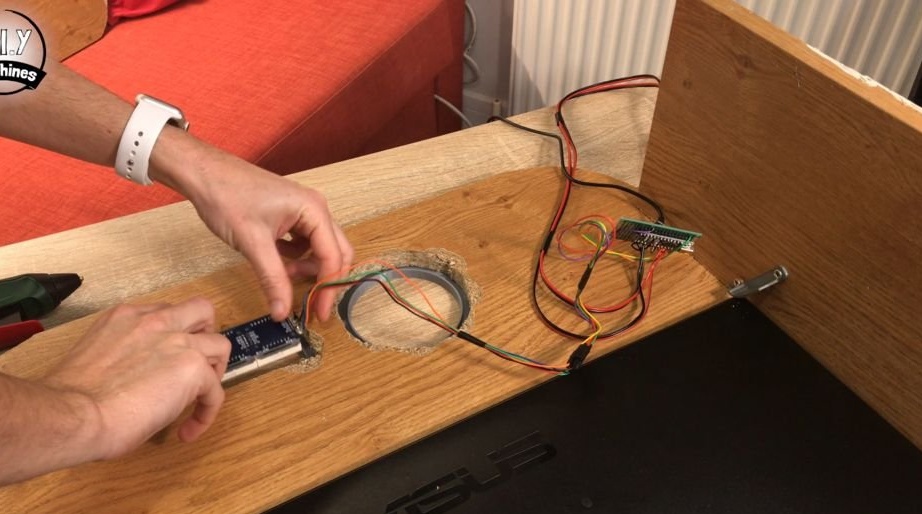
Step Eight: Build
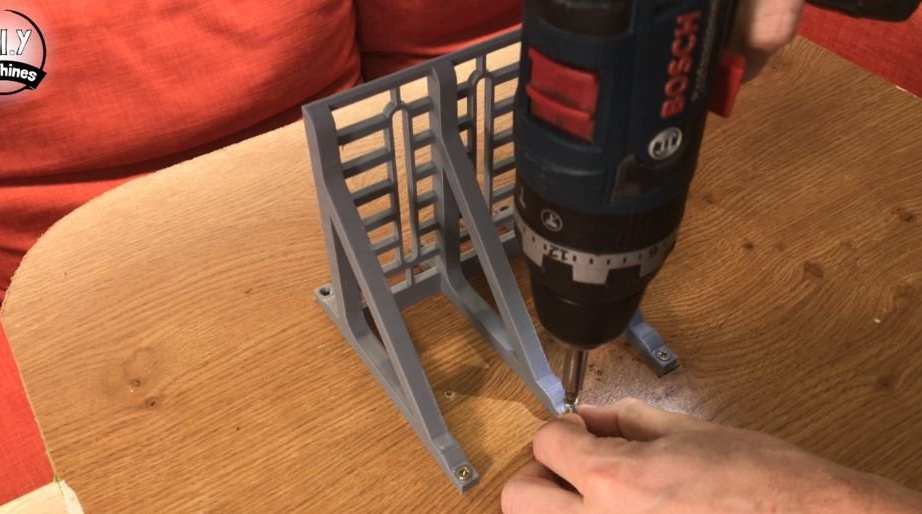
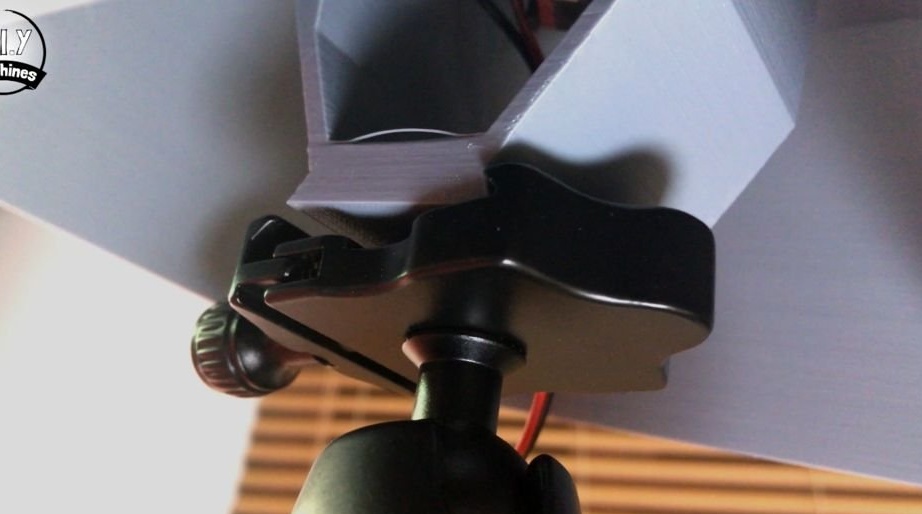
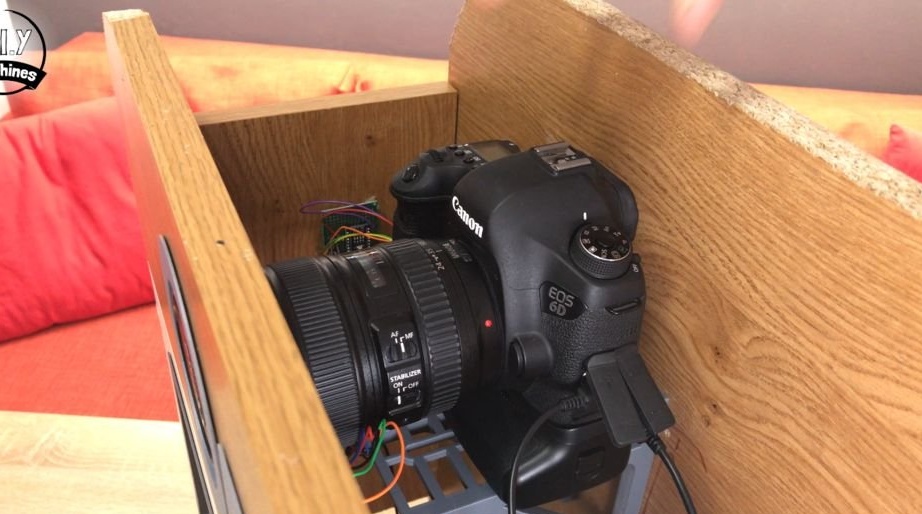
To mount the camera, the master printed the holder. Unfortunately, the wizard did not provide the file for printing. The camera is attached to the holder with a screw, and then the holder is fixed in the body of the photo booth.
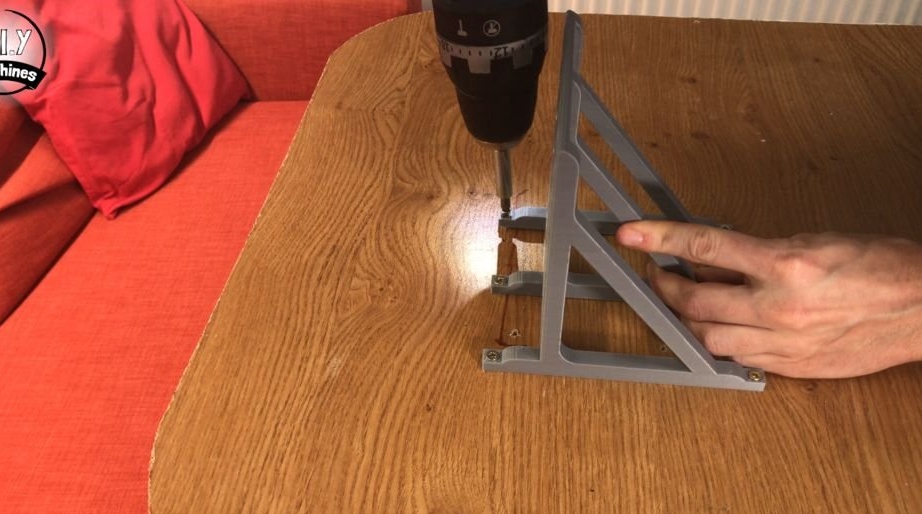
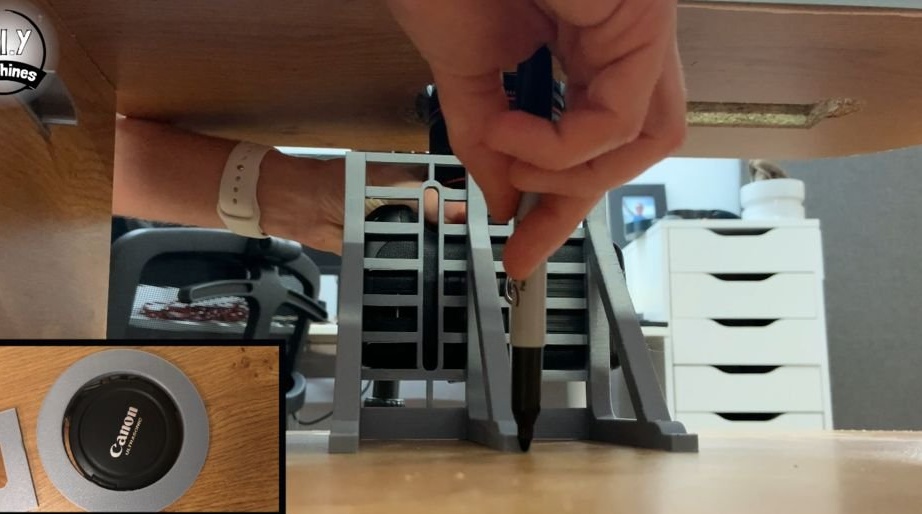
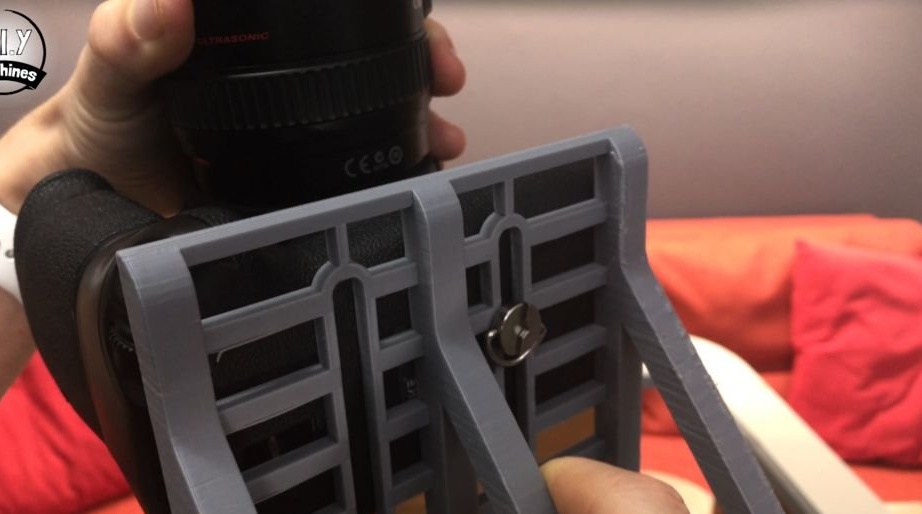
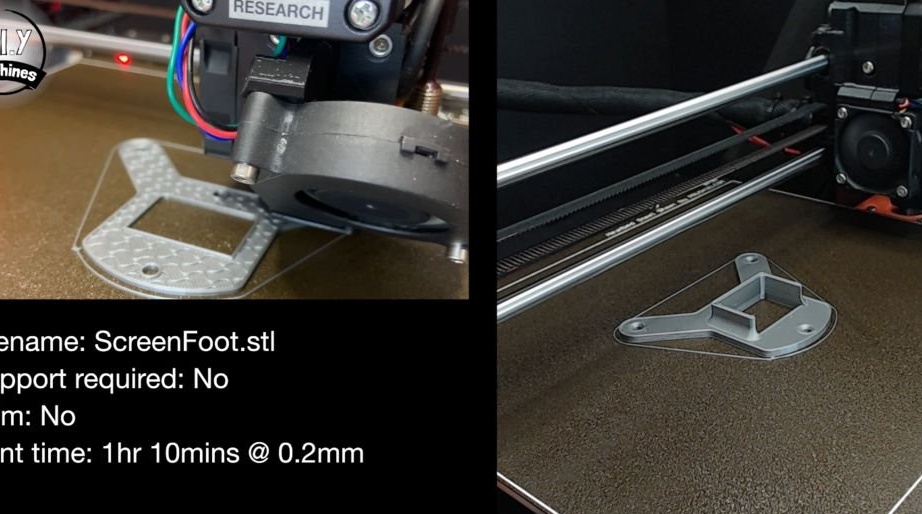
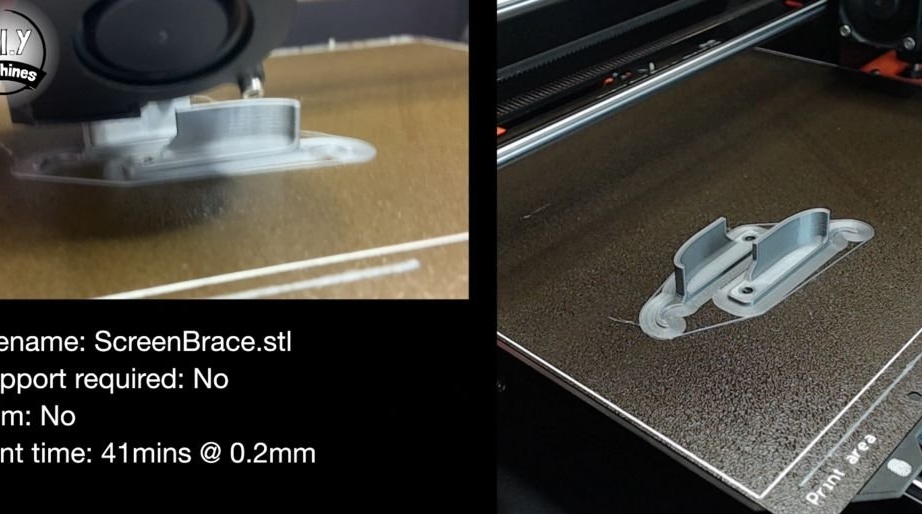
The wizard prints the details and secures the monitor.
ScreenBrace.STL
ScreenFoot.STL
ScreenBrace2.STL
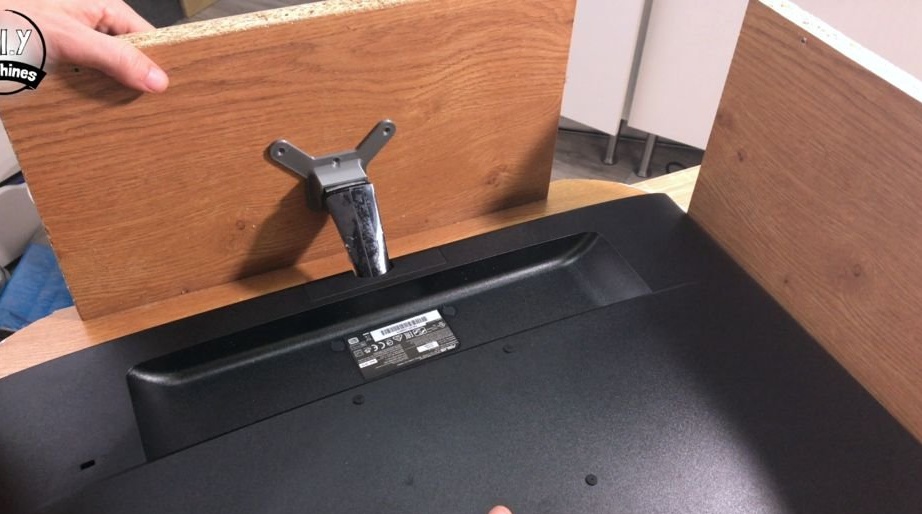
Fixes the LED display. Secures the board. Connects power wires. Screws on the lid.

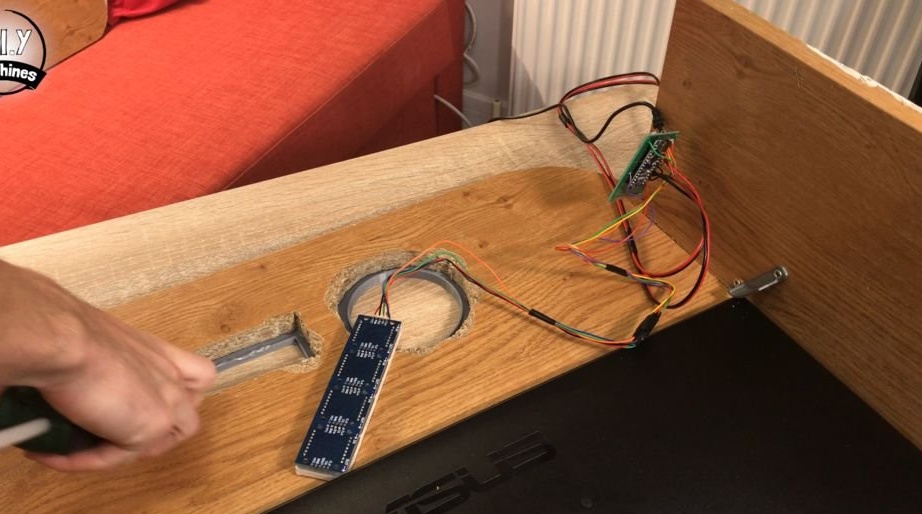
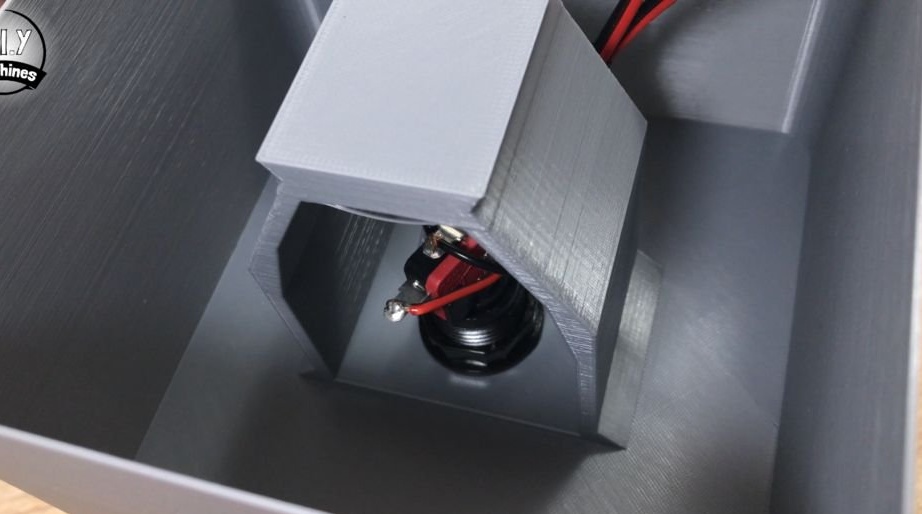
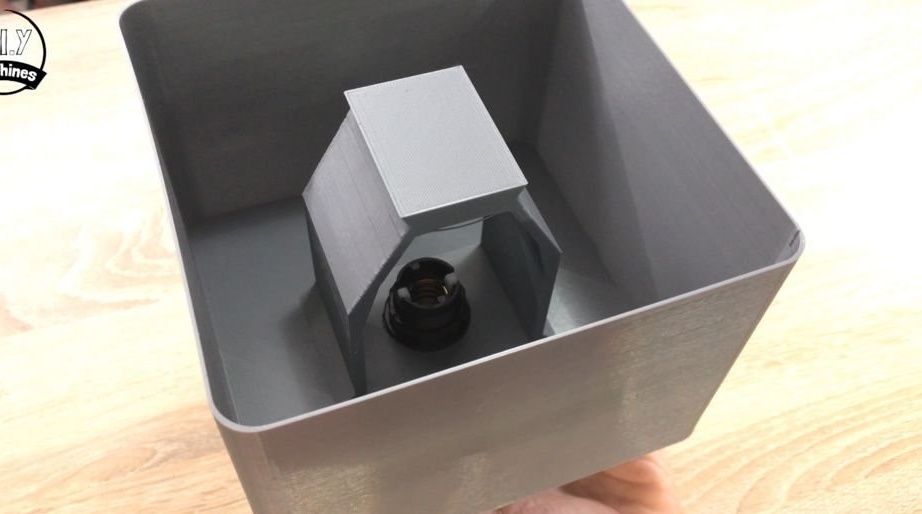
The wizard printed the case for installing the button on a 3D printer. The button itself is installed in the case, and it, in turn, is mounted on a rack or placed on a table.
Step Nine: Camera Settings
On the camera, the wizard sets automatic settings including focus. In the menu option “View image” set to “Hold”. This means that after the photo was taken, it will remain for viewing on the large display until the next photo is taken.
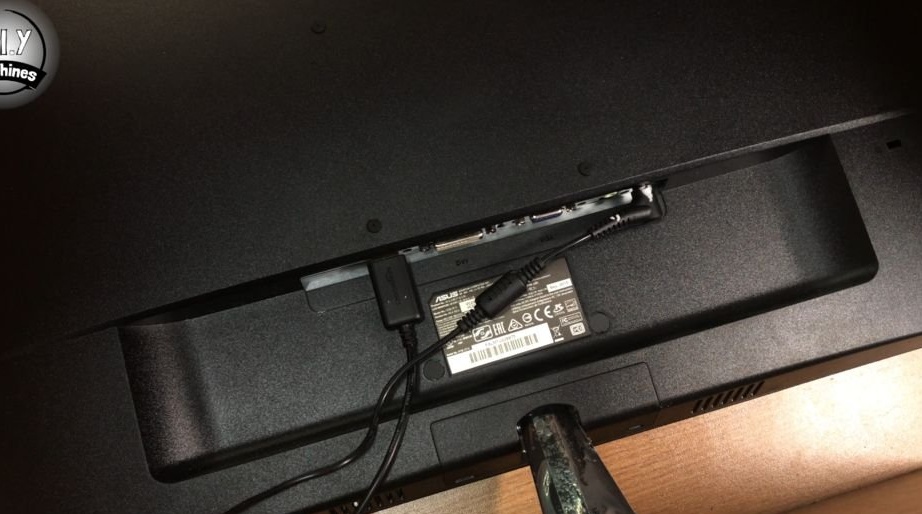
Now the camera can be installed back and fixed. Then you need to connect the video cable to the monitor, which in this case is a mini-HDMI connector. Another pin to connect is the Arduino camera shutter.

All is ready. Quite an interesting solution, which is easy to implement, and which will add a festive atmosphere to any event.
The whole process of creating such a device can be seen in the video.