I welcome all fans to craft, I propose to consider the instructions for making a small grill do it yourself. As starting material for homemade The author used an old accumulator. Inside the tank there is a place for loading coal, and also inside is a skewer that rotates around its axis. If you put a fork inside, you can completely bake chickens and cook various other meat dishes. Making homemade goods is not difficult, but the device turned out to be quite useful and you will not be left without a festive dish. If the project interests you, I propose to study it in more detail!
Materials and tools used by the author:
Material List:
- An old accumulator or other suitable cylinder;
- door hinges;
- thick wire or fittings;
- pipes for legs;
- heat resistant paint;
- gear motor for rotating the skewer;
- finished skewer or stainless steel rod;
- a gear ring from a flywheel (the author used for the basis);
- cable with good insulation, plug;
- Digital furnace thermometer as desired.
Tool List:
- grinder;
- welding machine;
- tape measure, marker;
- drill.
Homemade manufacturing process:
Step one. Tank preparation
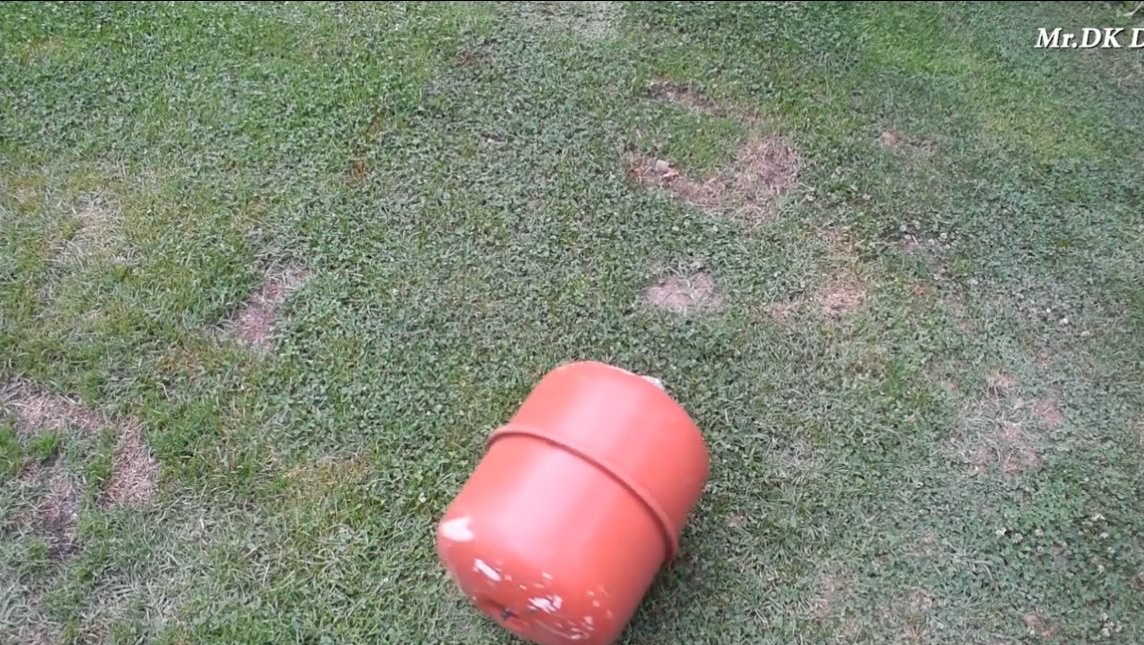
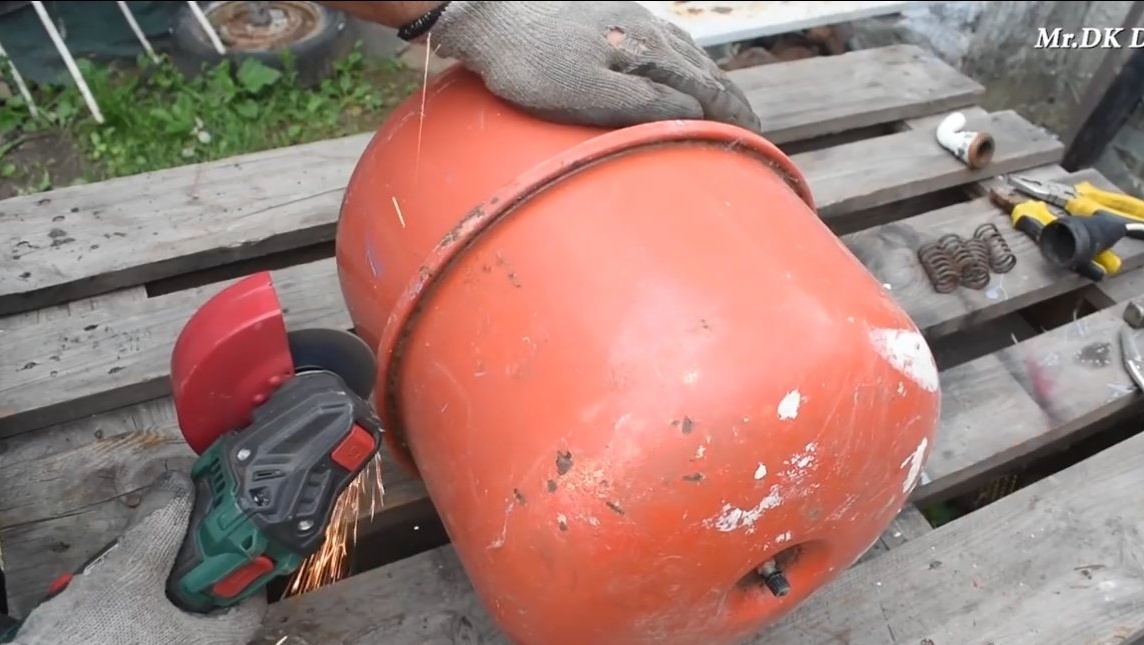
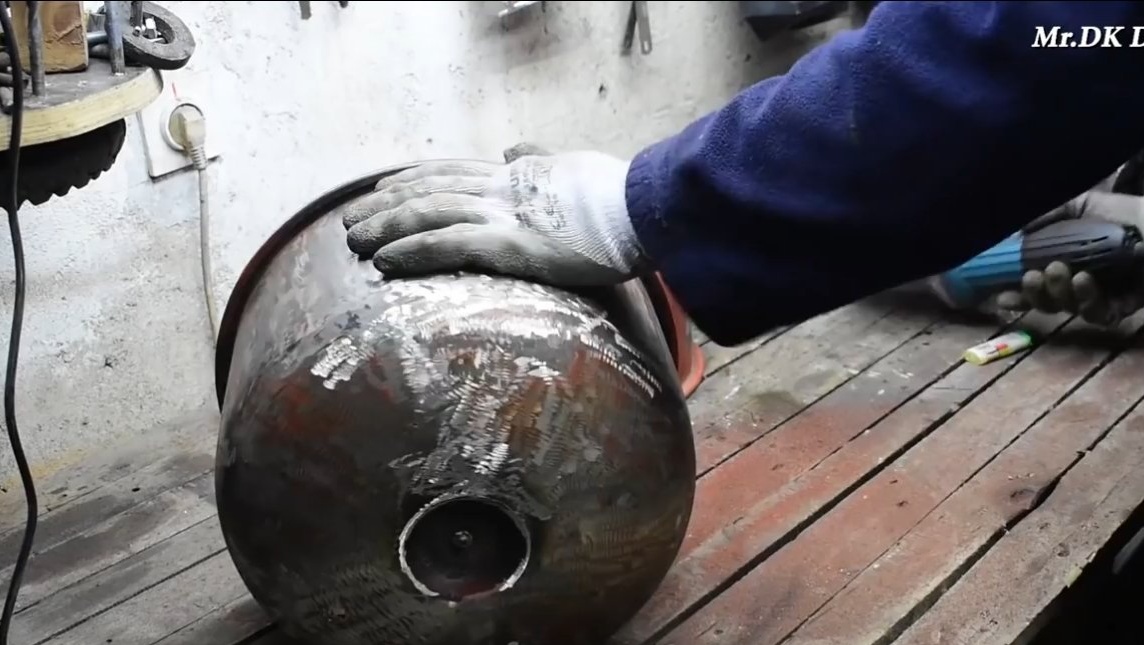
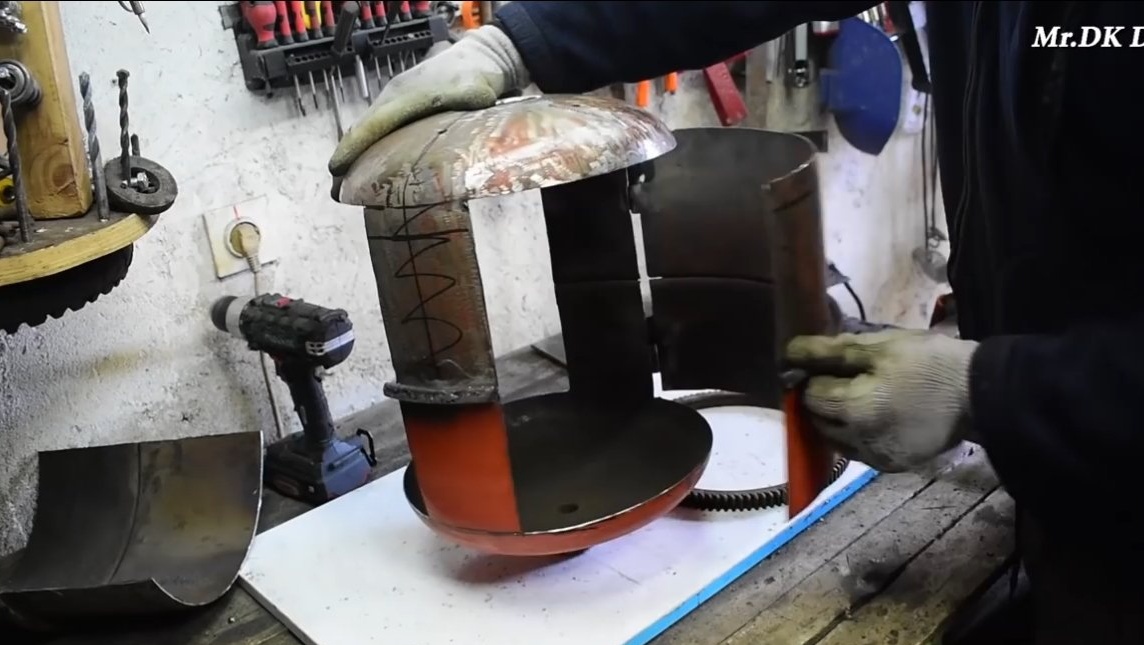
The author decided to use the old accumulator for the manufacture of the furnace, in appearance it is 20 liters or so. You can use a gas cylinder, but before cutting it, rinse it thoroughly or fill it with water for the duration of the cutting.
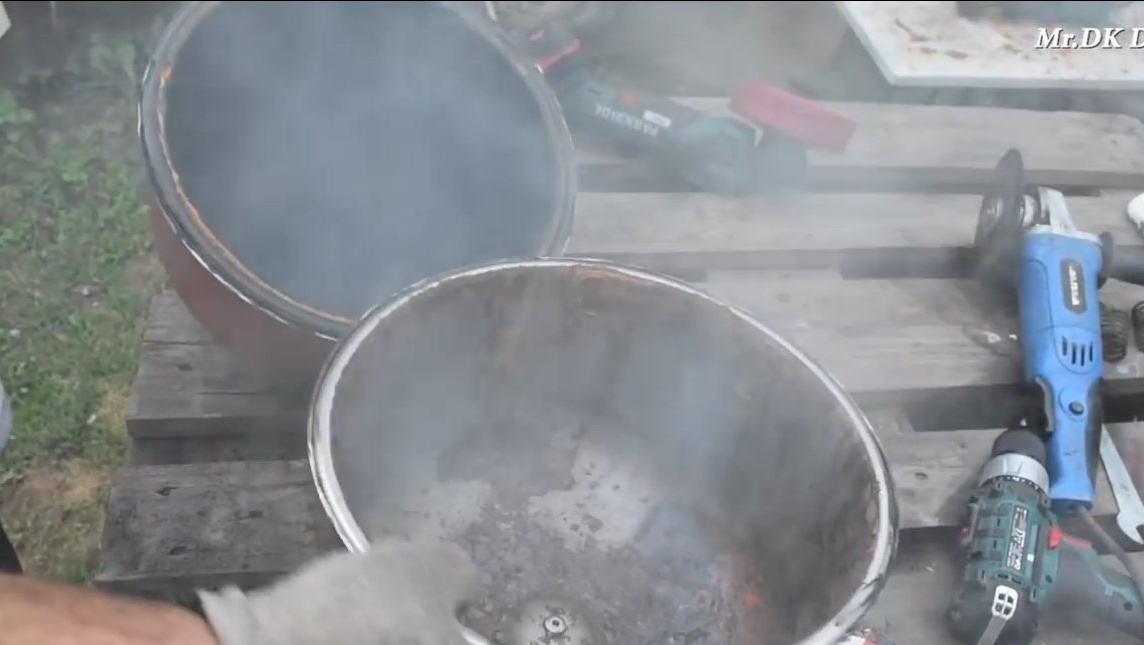
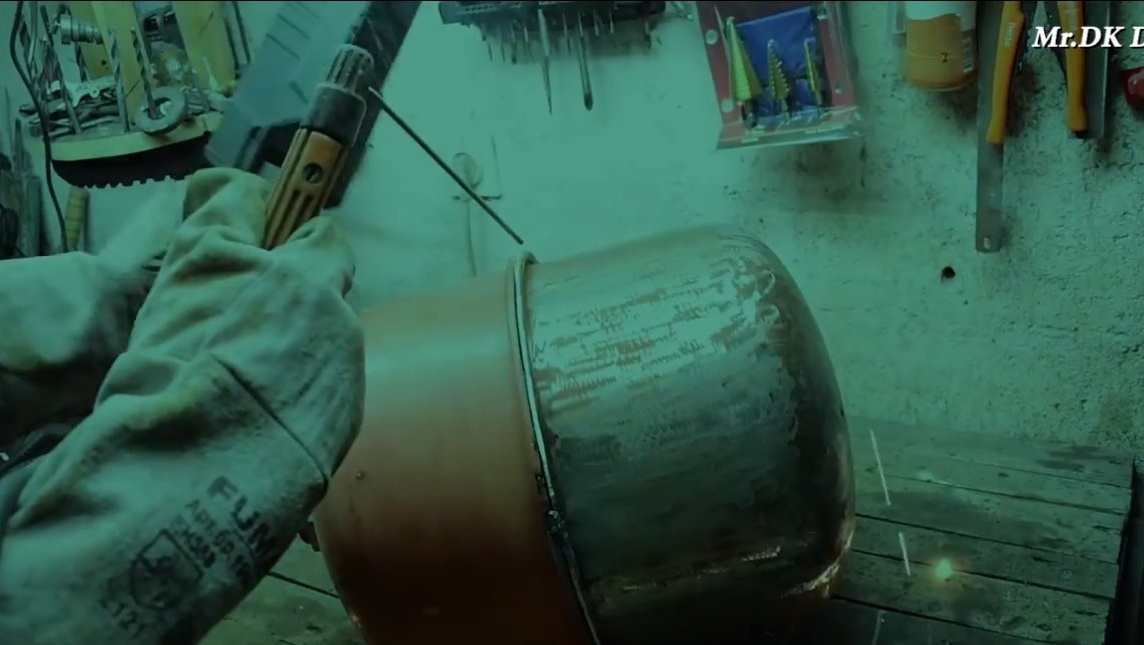
The accumulator cylinder can be cut without risk, cut into two halves and clean the interior. Inside such a tank is a rubber membrane, it must be pulled out. Also walk inside the brush, clean all the rust. At the end, the container can be welded back.
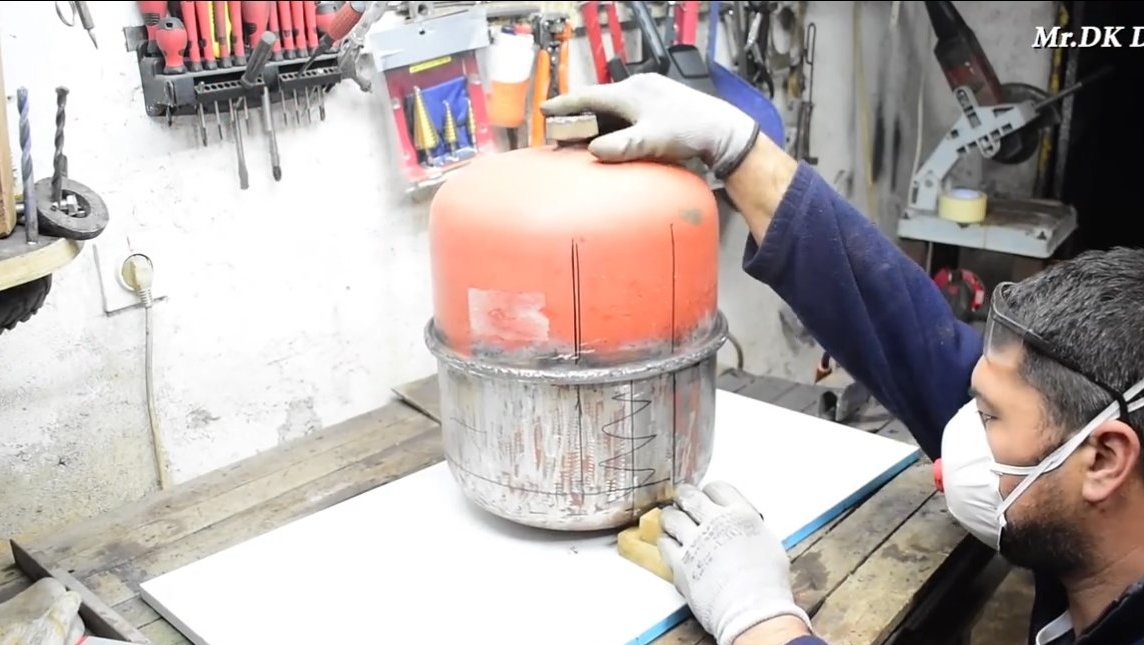
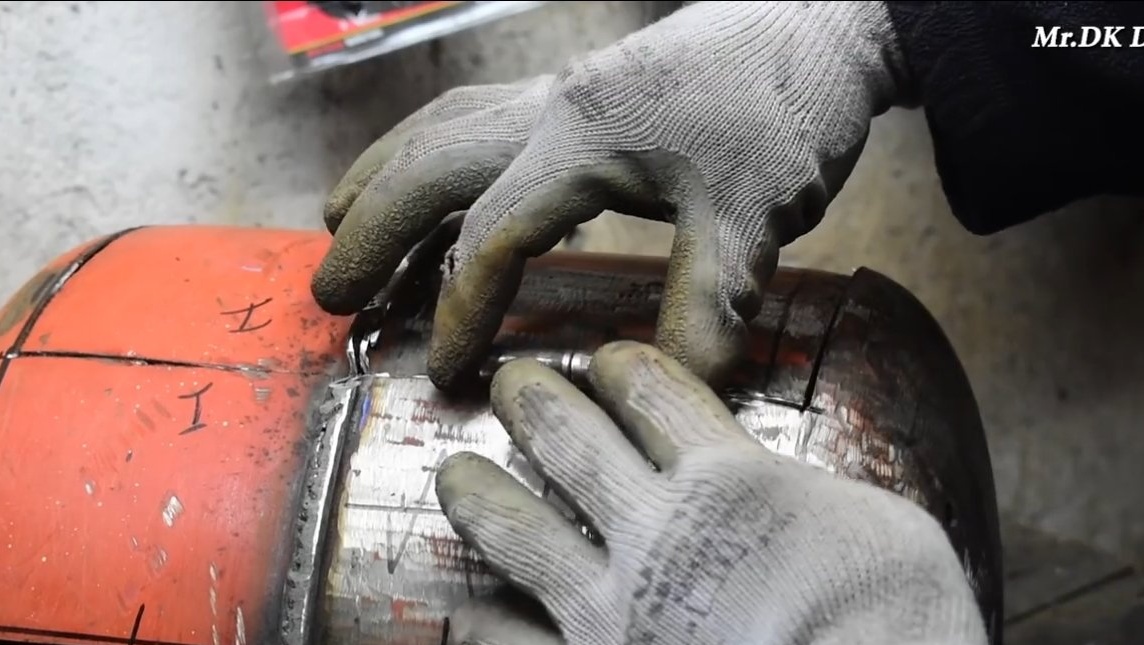
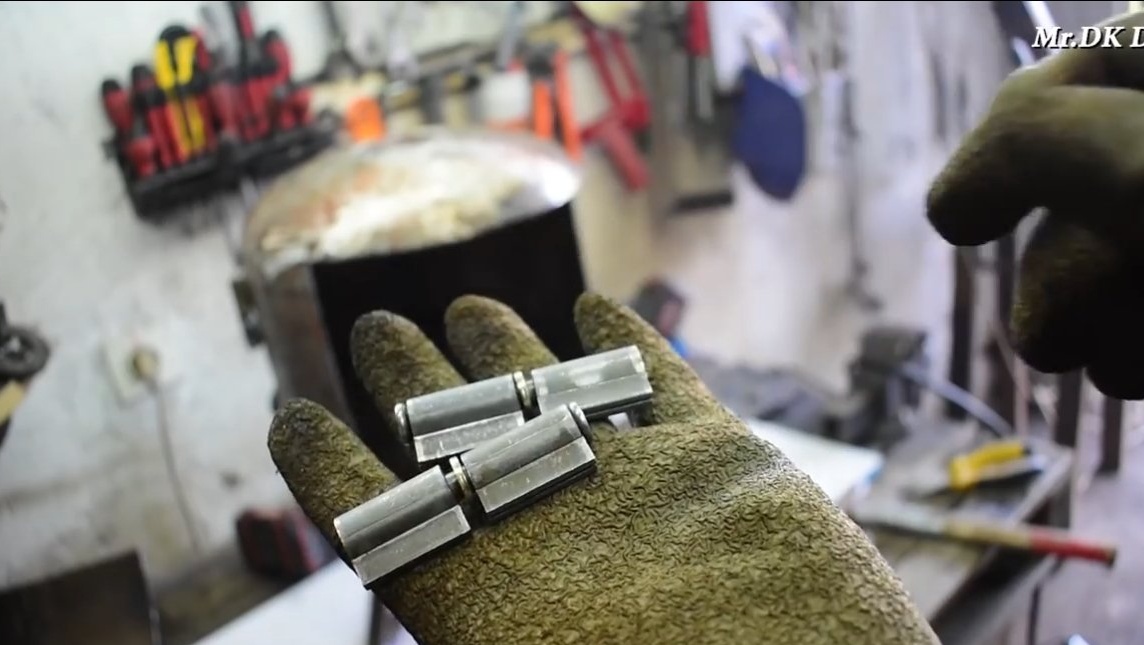
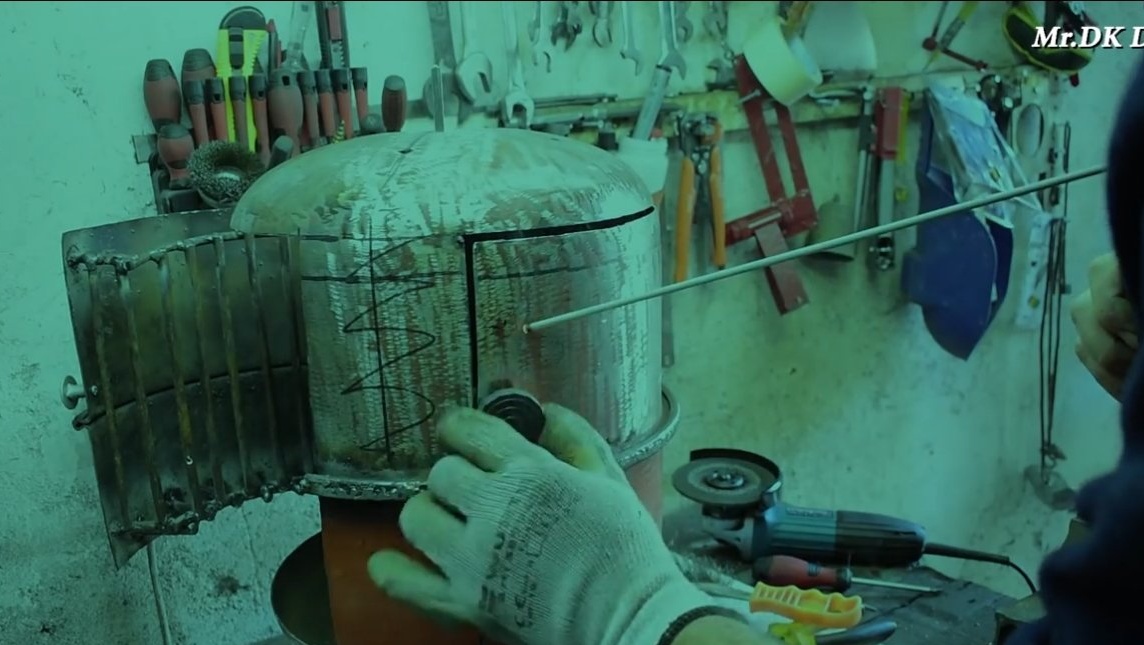
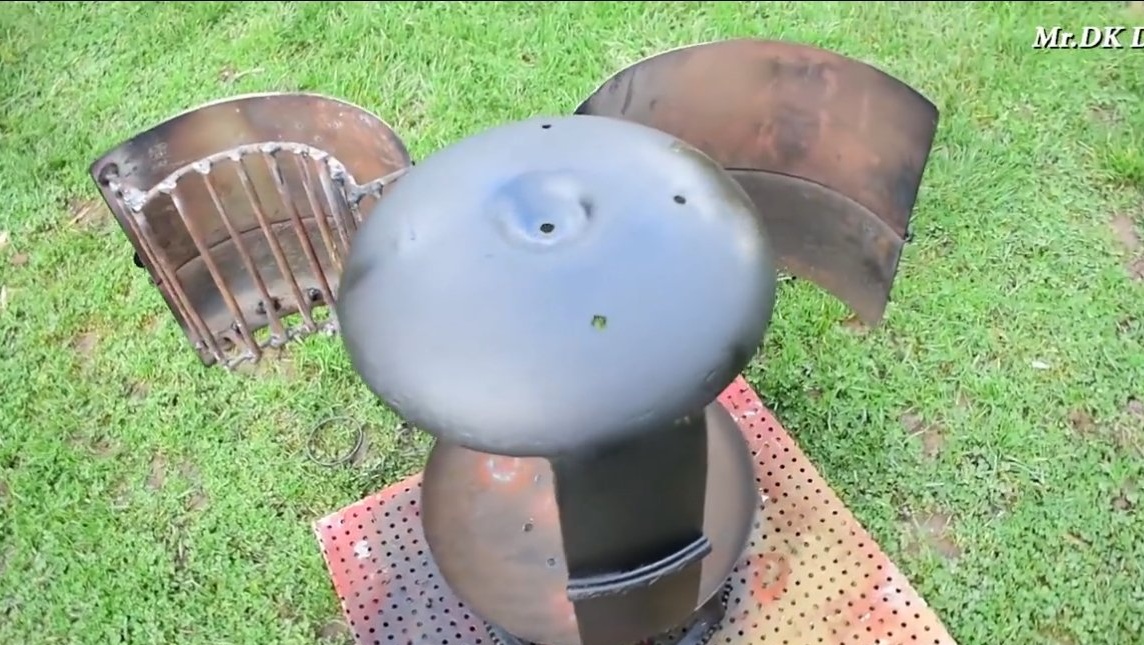
Step Two Doors
We arm ourselves with a marker and mark out places for doors, in total there will be two doors at the stove, there will be a niche for coal in the water, and the other will be for access to the skewer with meat. Having cut out the doors with a grinder, the author hung them on reliable door hinges.

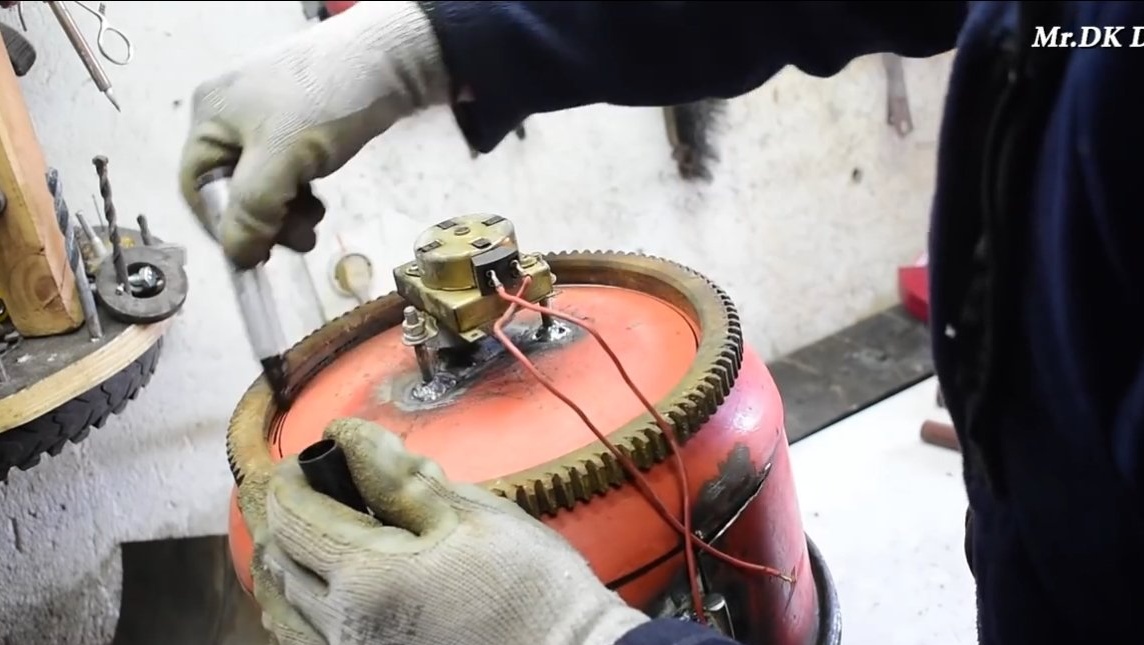
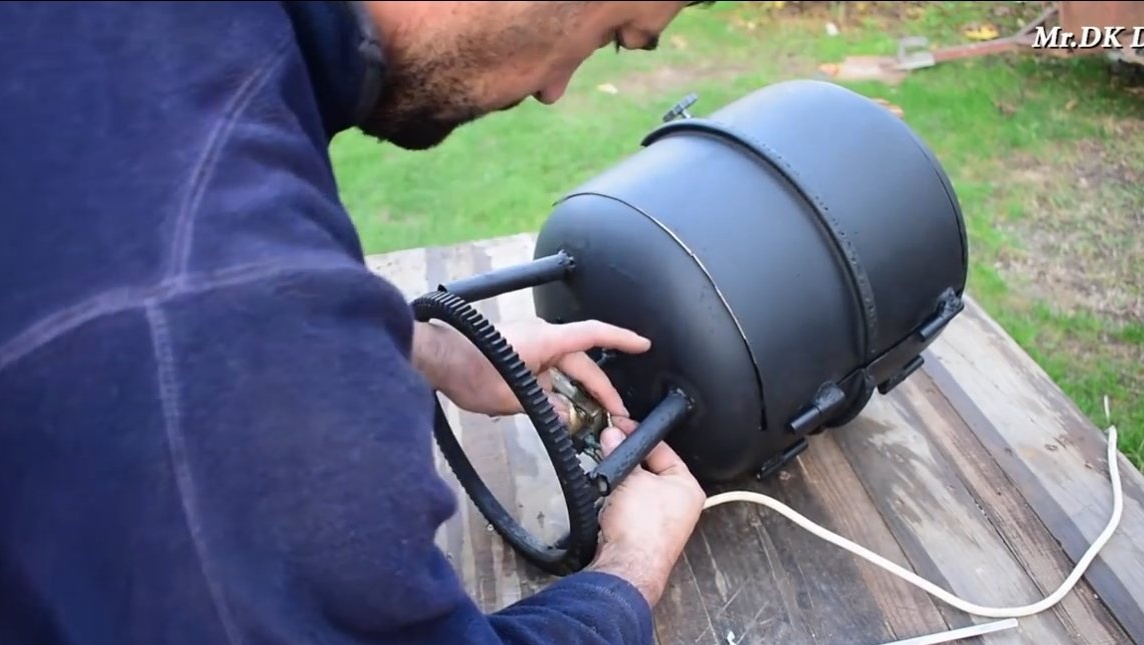
Step Three Motor
Grilling involves the use of a rotary device that will rotate the skewer to evenly fry the meat. The author used a small gear motor that runs on 220V. Of course, this is an unsafe option, although convenient, it is better to use a 12V motor, it is safe in case of insulation breakdown, the furnace will not be shocked.
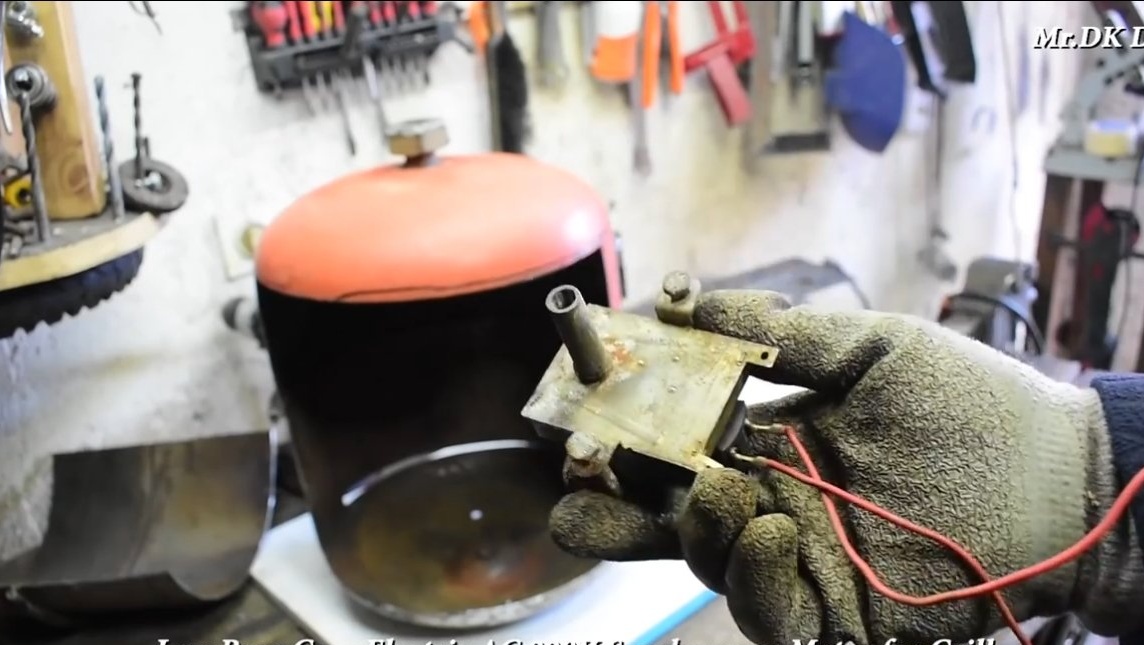
However, if you do not drink alcohol near the oven and turn it off while you touch it with your hands, everything is already quite safe. As a 12V motor, you can adapt the motor from car wipers, it has enough power with a margin, and you can power it from the battery or through the power supply.
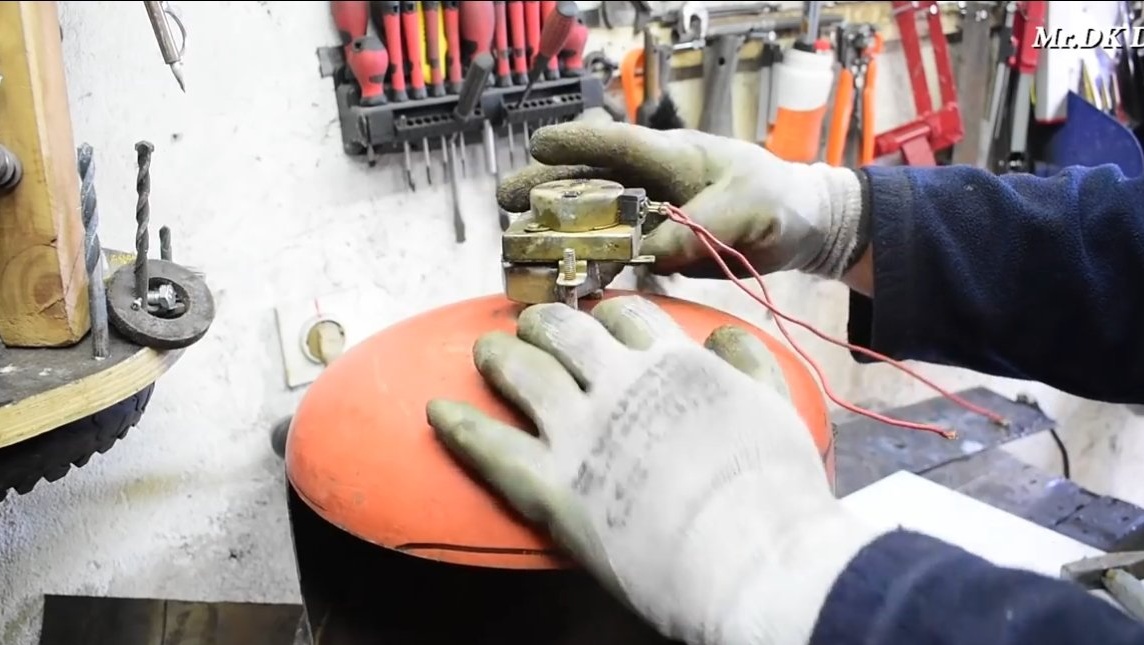
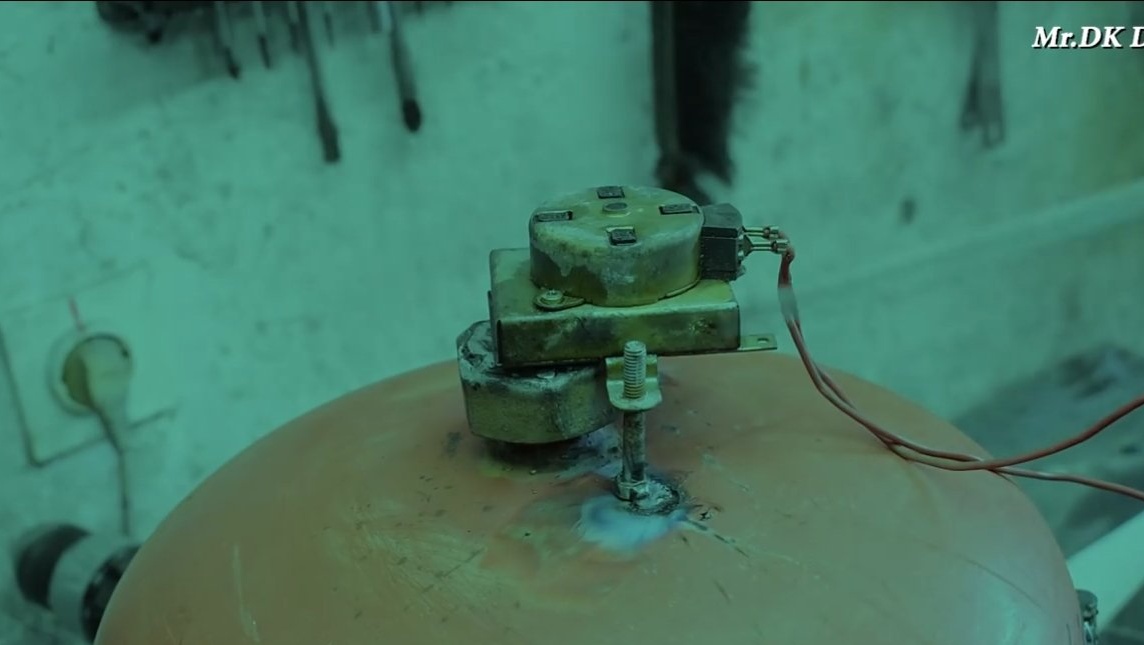
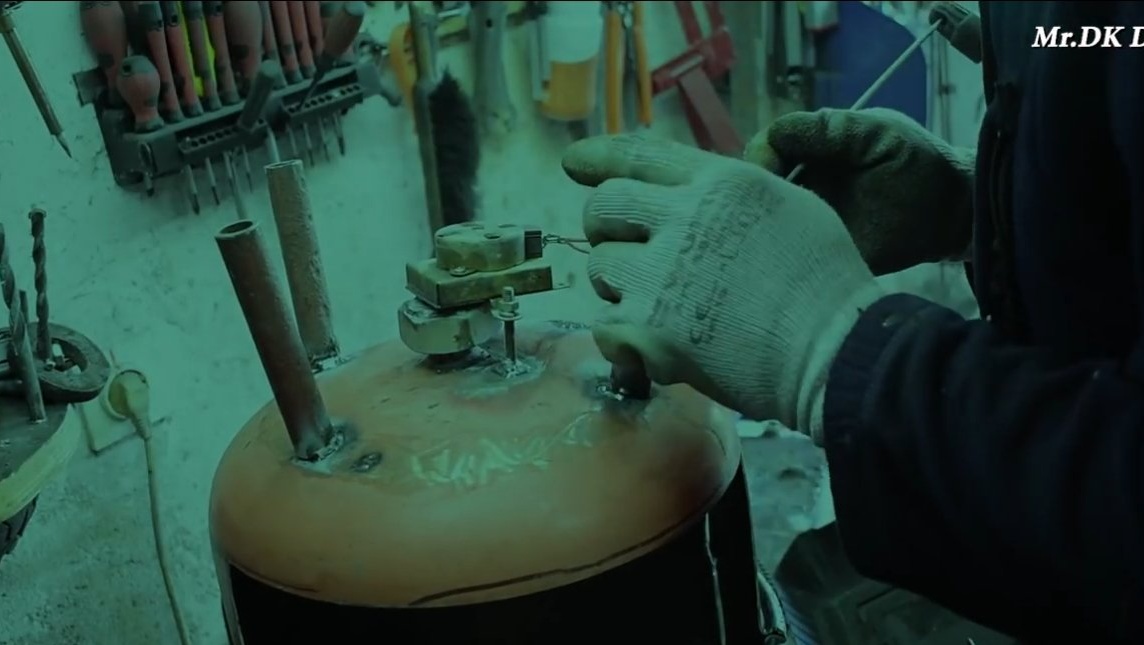
The author installed a motor in the lower part of the future furnace; bolts and nuts were used for fastening.
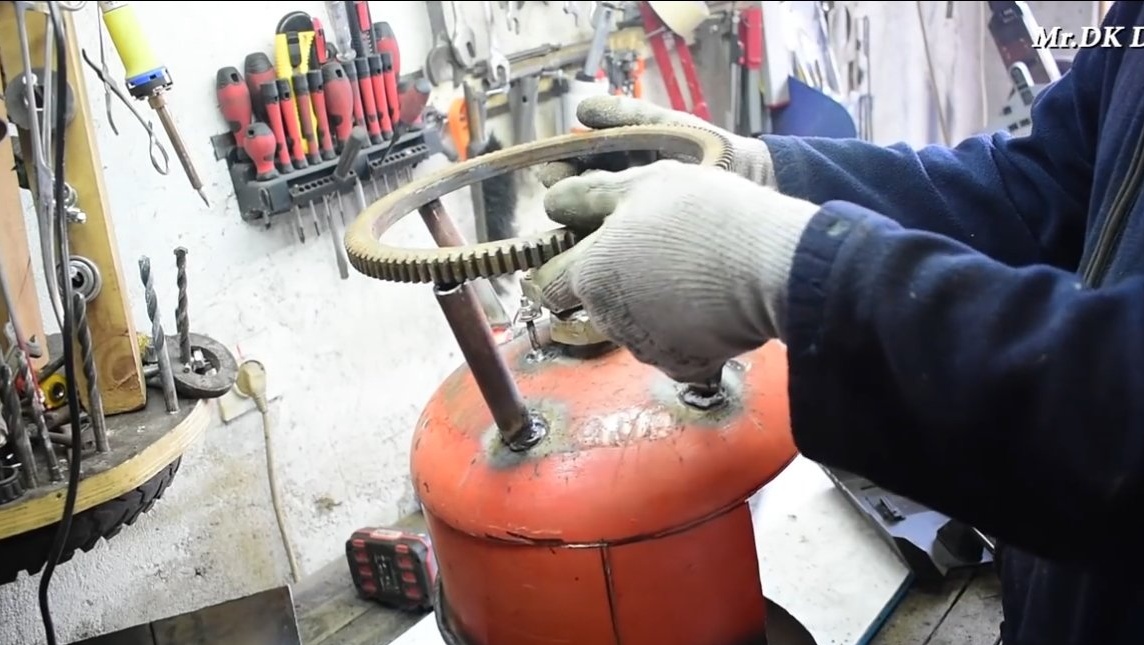
Step Four Legs
We make legs for the furnace, the author simply welded pieces of pipes. To the end of the legs, the author welded a crown from the automobile flywheel. With a toothed rim, the stove looks interesting, but due to its weight and large area, the stove will be very stable.
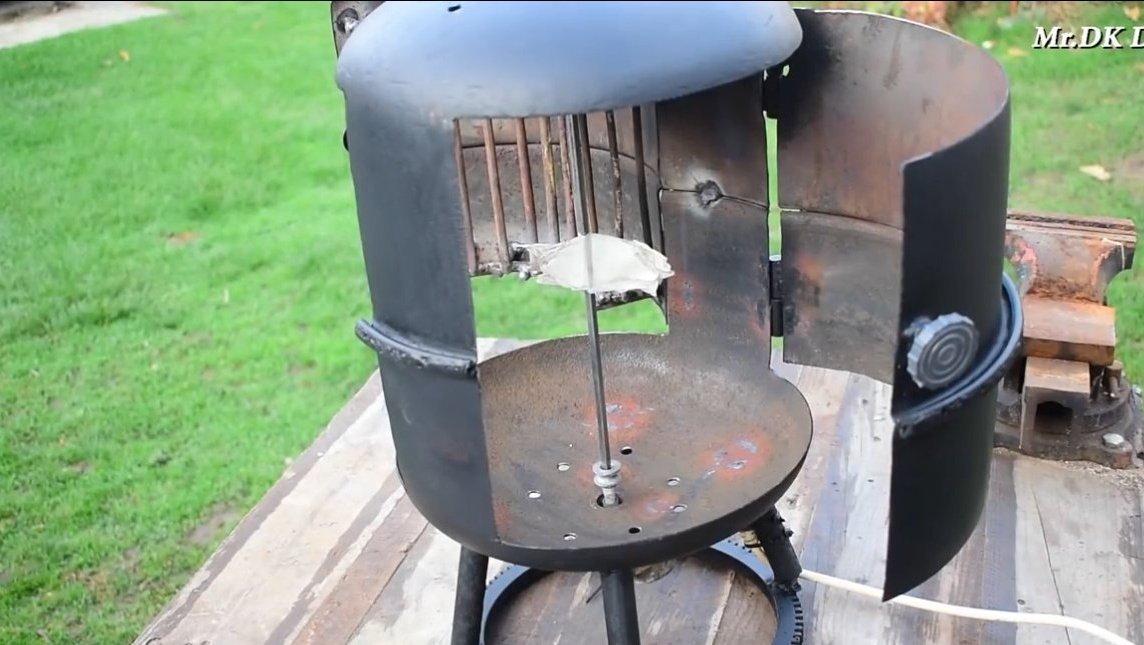
Step Five Skewer
We make a skewer for the oven, it is highly desirable to use stainless steel, such a skewer will not rust. However, you can use ordinary steel so that it does not rust, you can burnish. We redden the steel and immerse it in oil, there will be a reliable protective crust on the steel.
In the upper part, the skewer should go into the hole, abut. In the lower part we make an adapter for the shaft of the motor used. If you wish, you can make a skewer in the form of a fork, you can put on chickens on it, and also at the same time bake meat, vegetables, sausages and so on.

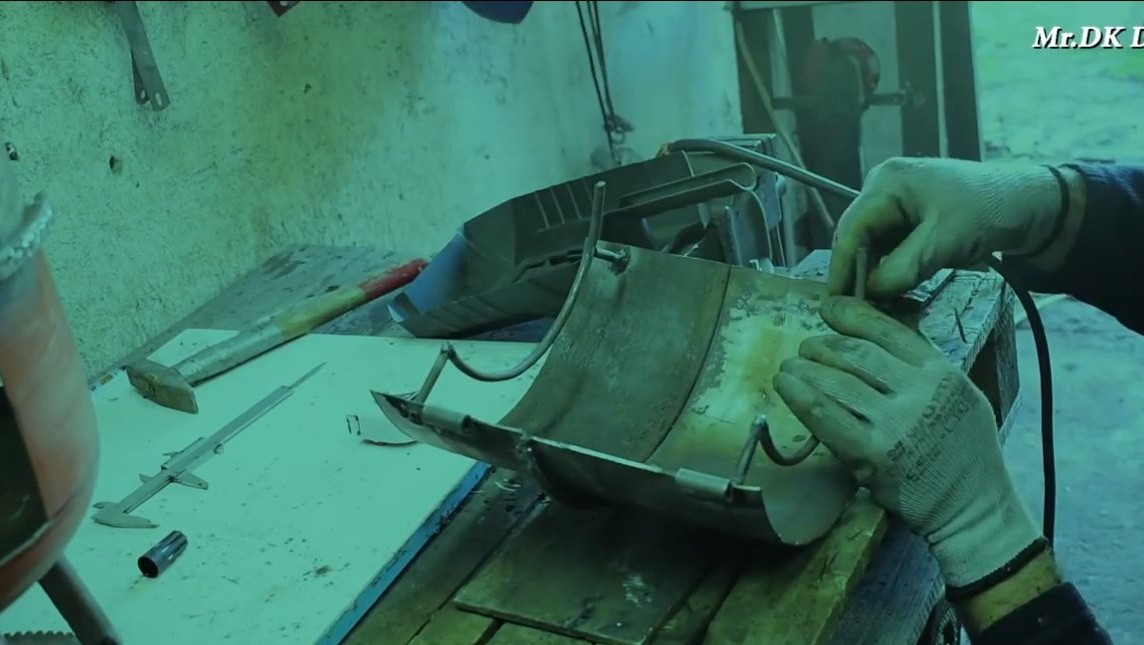
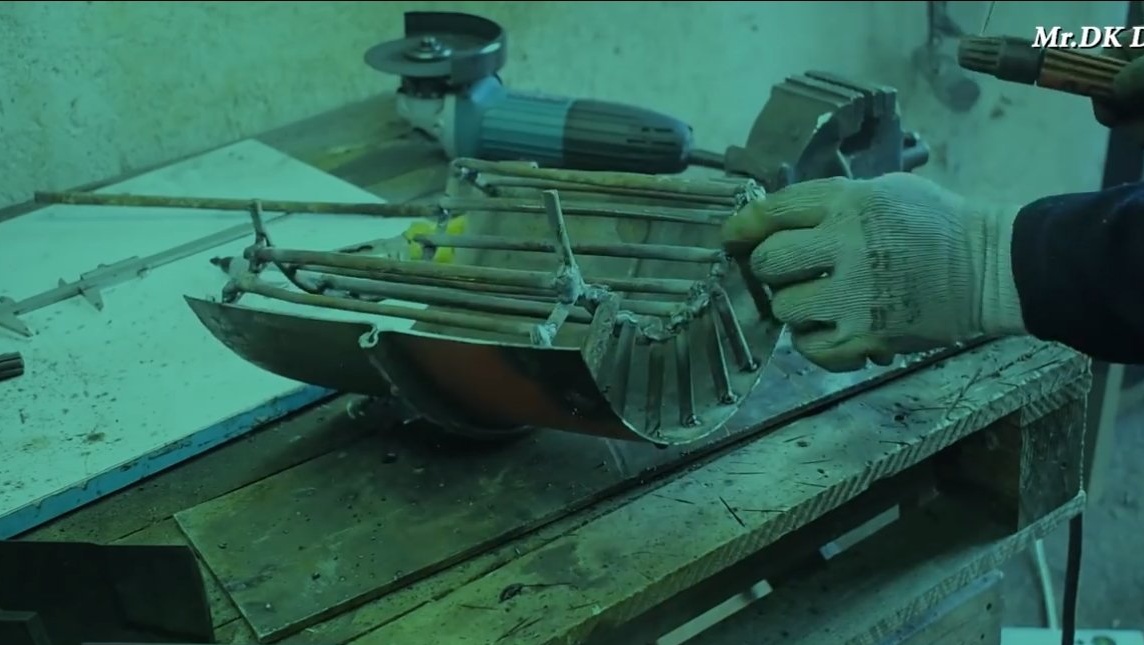
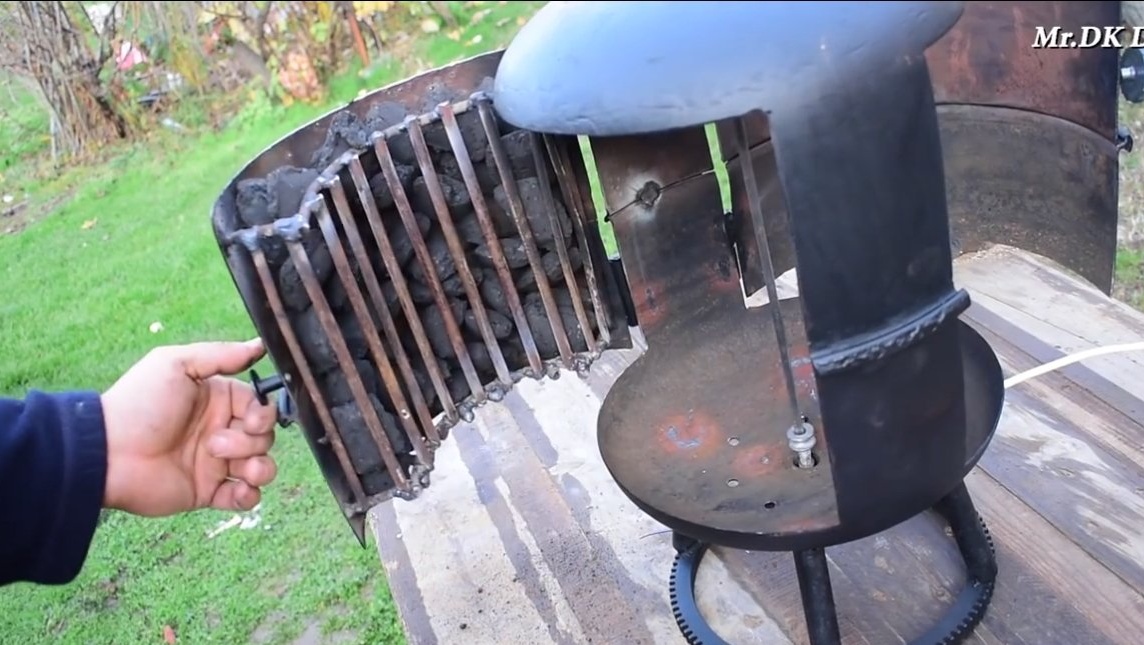
Step Six Niche for coal
We make a niche for coal, it will be in one of the doors. To make a niche, we weld a lattice from thick wire or reinforcement. It is better to make the cross section of the grating smaller so that the coal does not wake up. By the way, you can use the finished grid by welding a bar frame under it.
Seventh step. Pens and painting
The author welded nuts to the doors, handles are wrapped in them. It is important to make pens from a material that will not heat up. You can make them from wood by attaching them to bolts of suitable length.
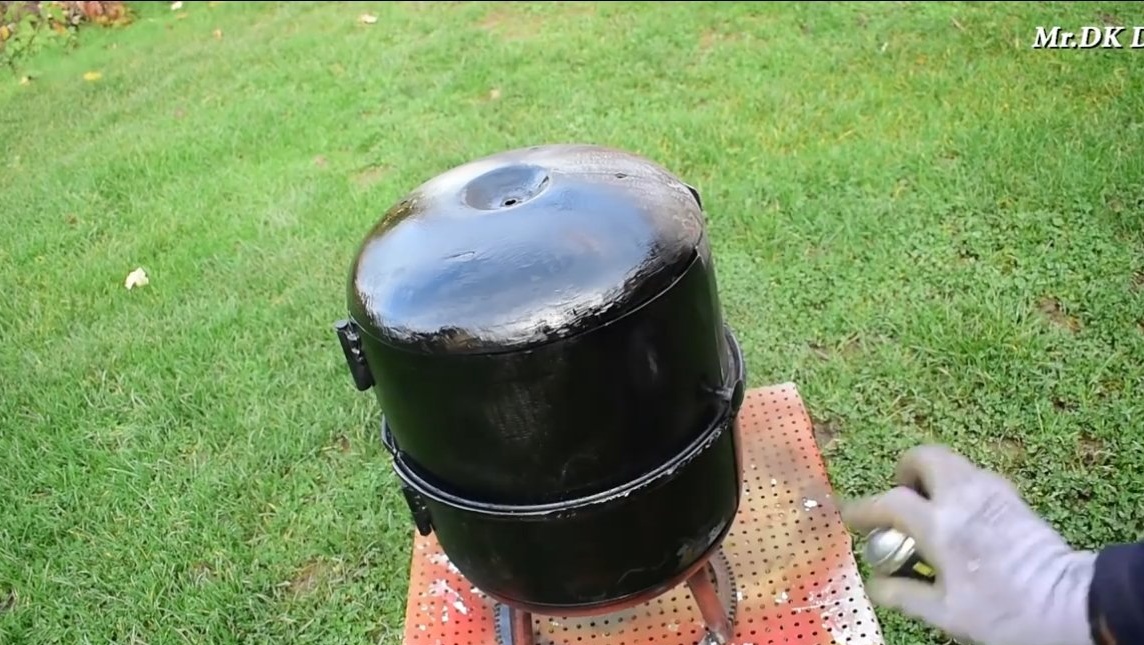
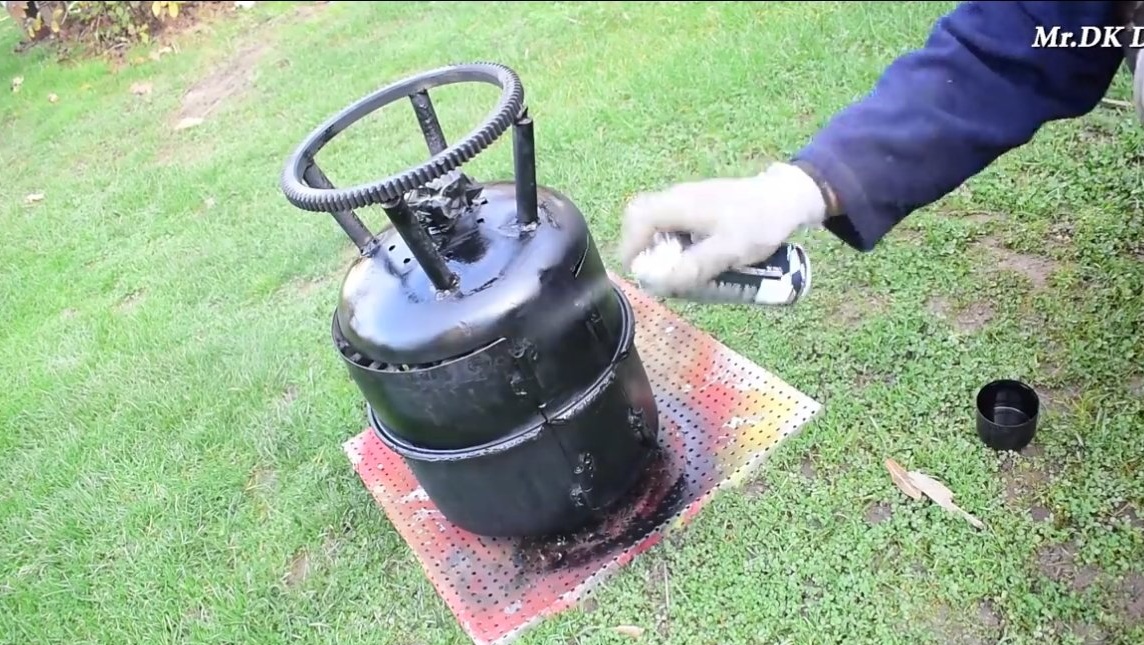
Everything is ready, the oven can be painted so that it does not rust and does not frighten guests. Paint will need a special heat-resistant, you can paint the oven from the inside. After drying, you can proceed to the tests of the furnace, we do the first launch without frying the meat so that everything comes out.
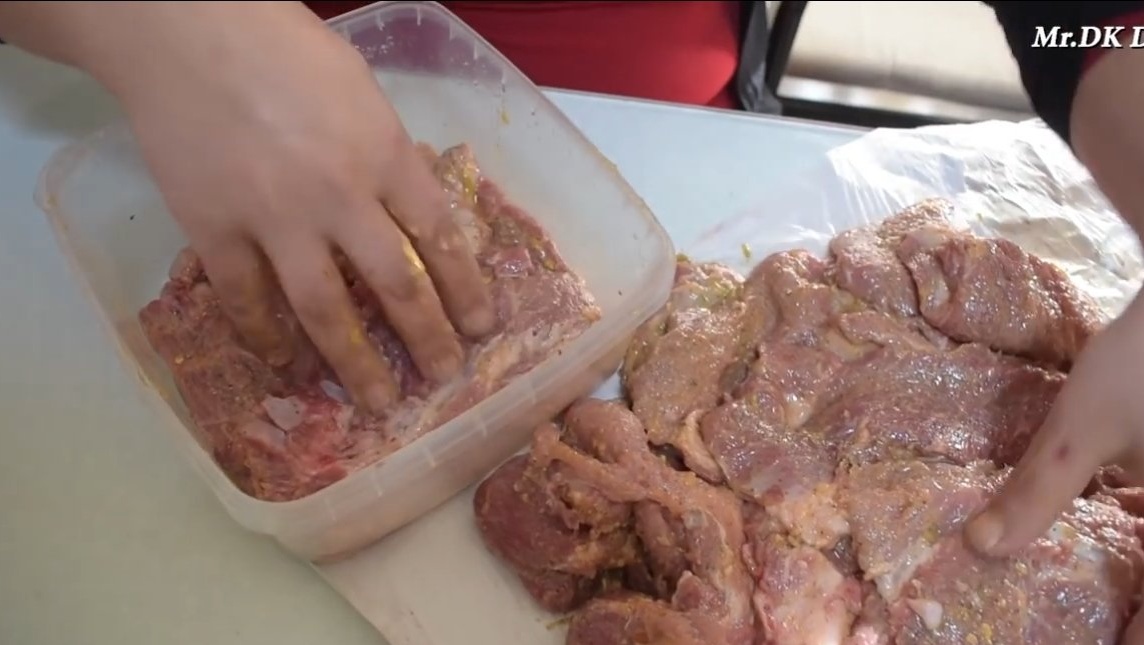
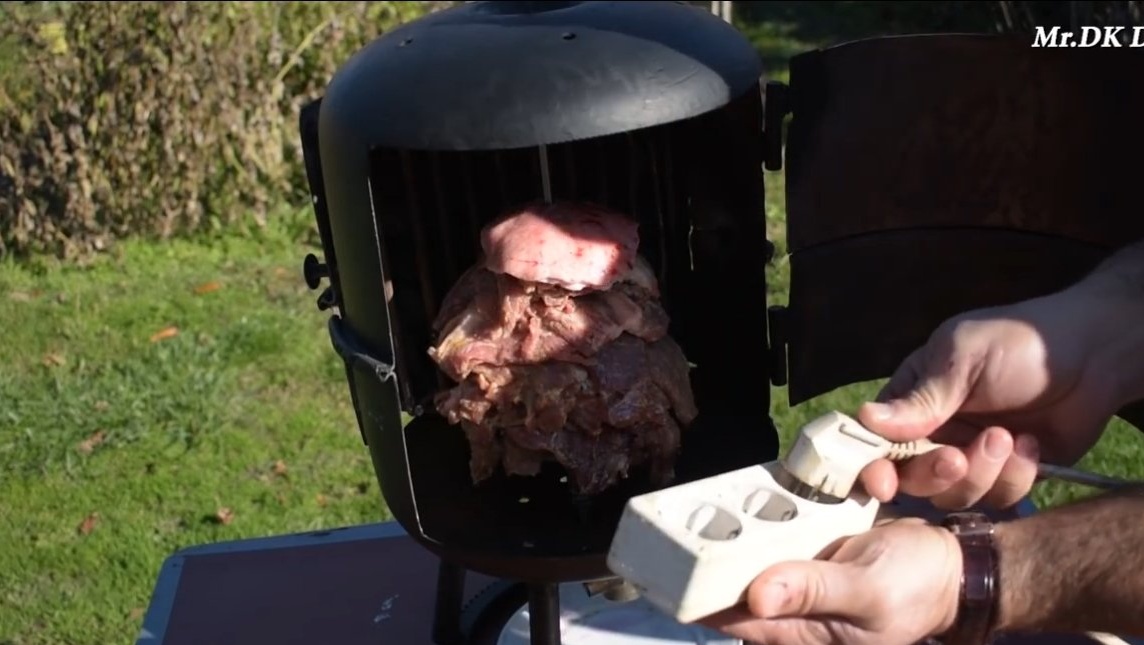
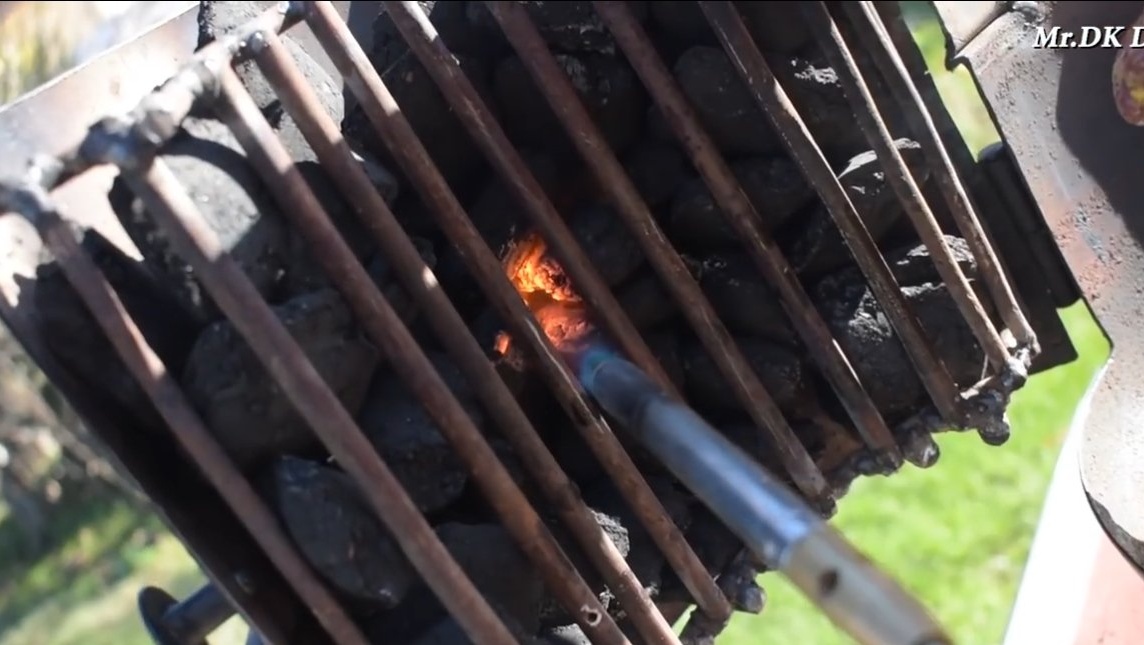
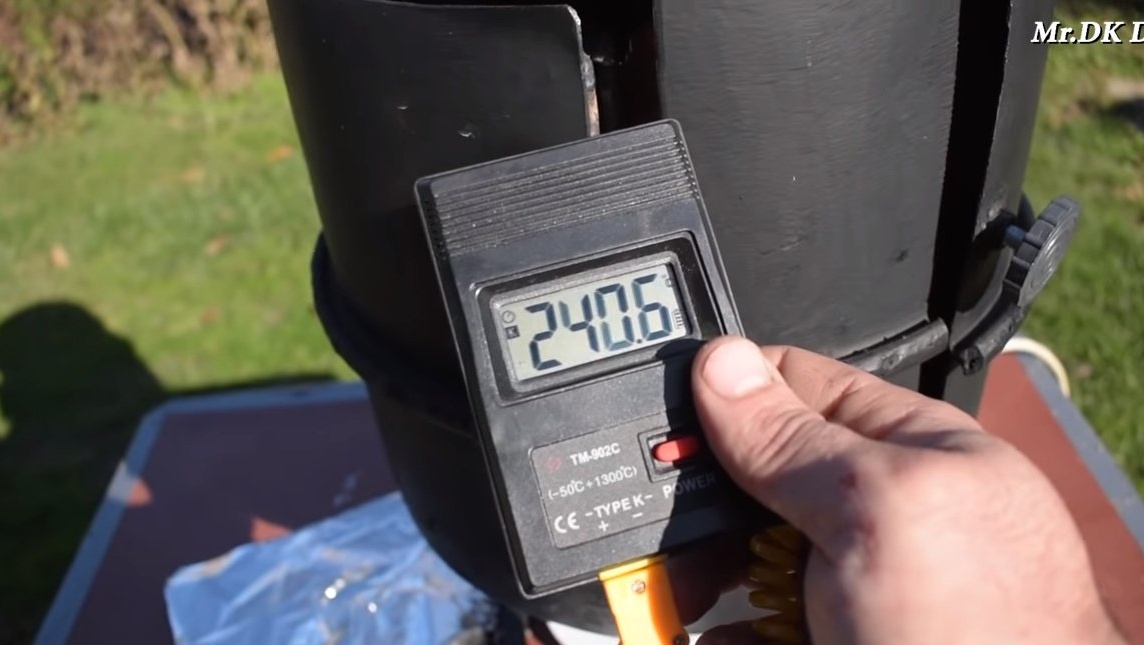
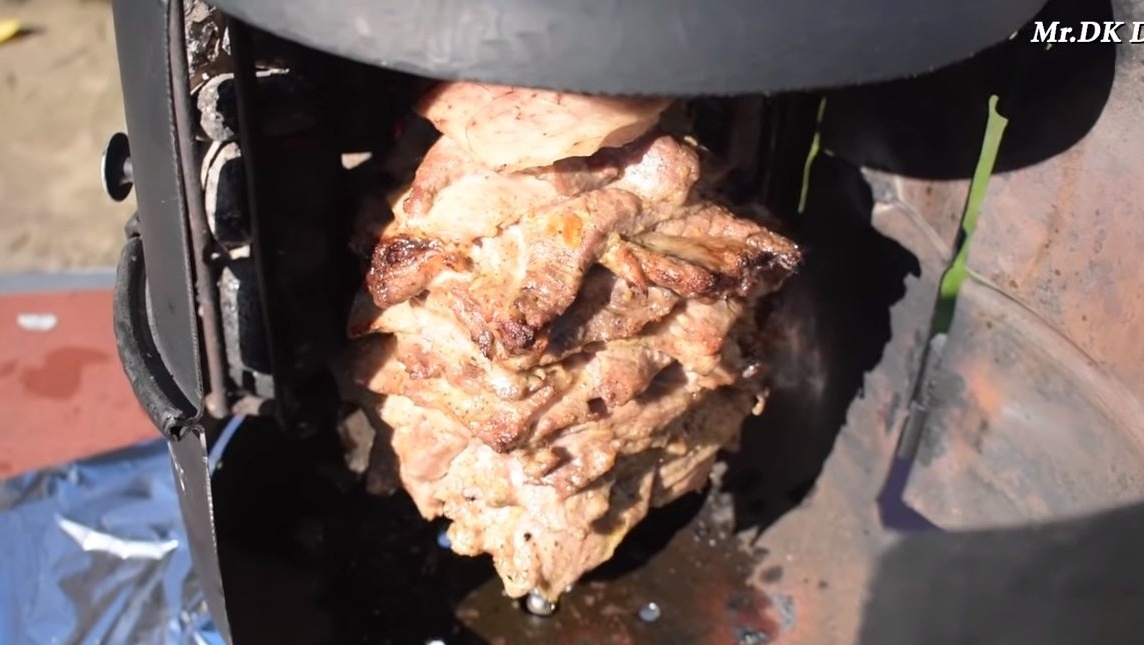
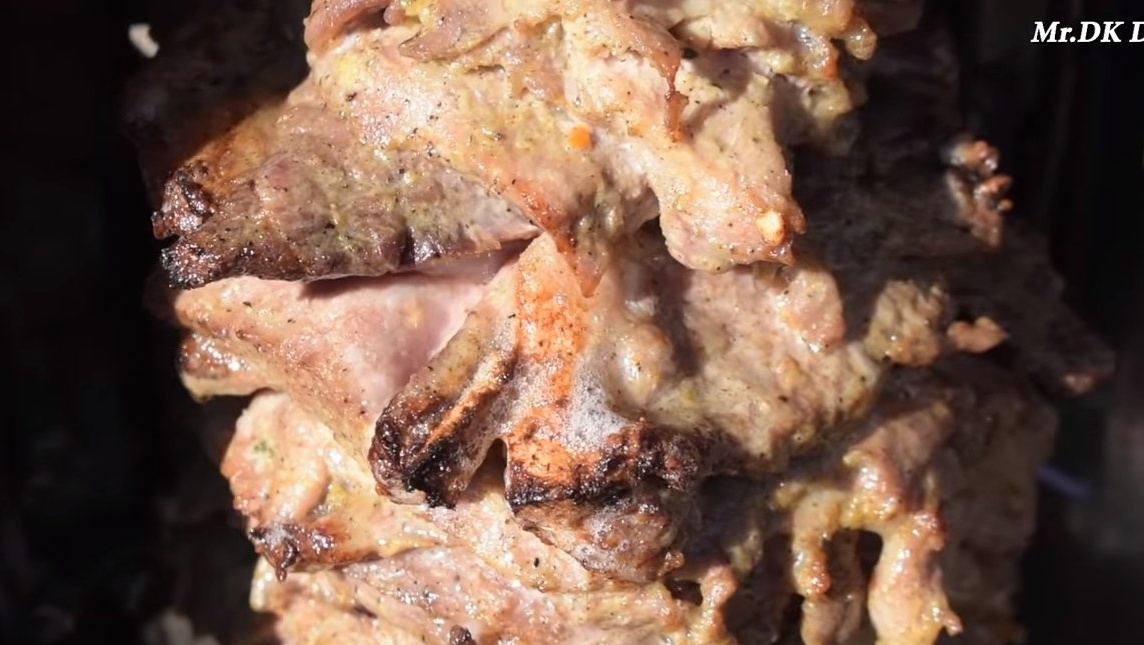
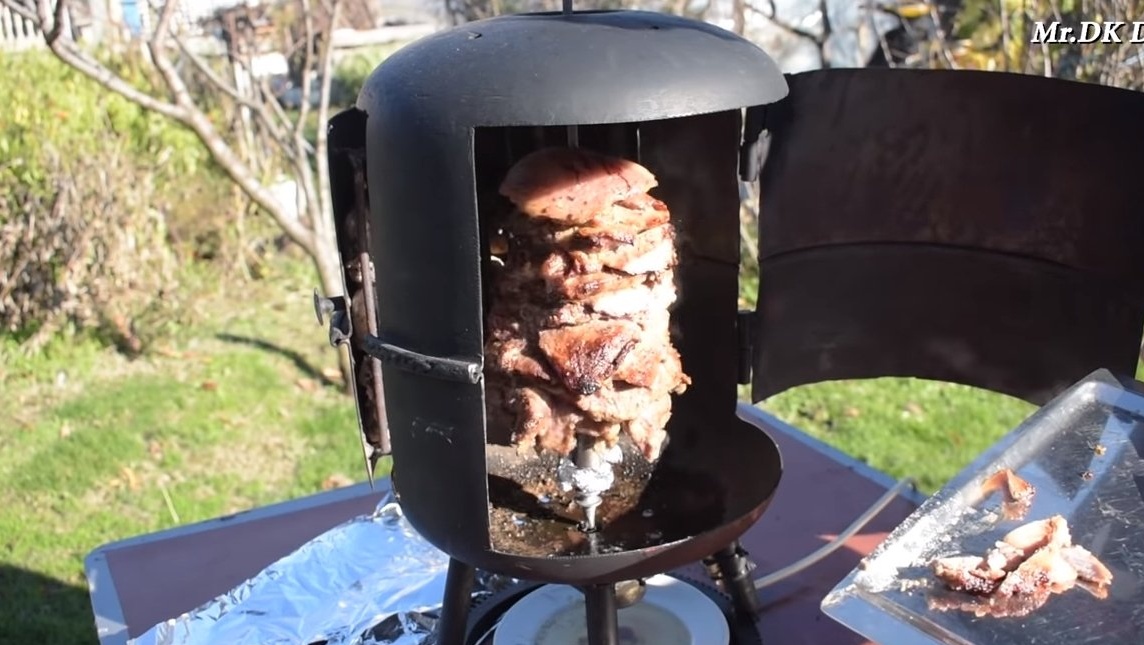
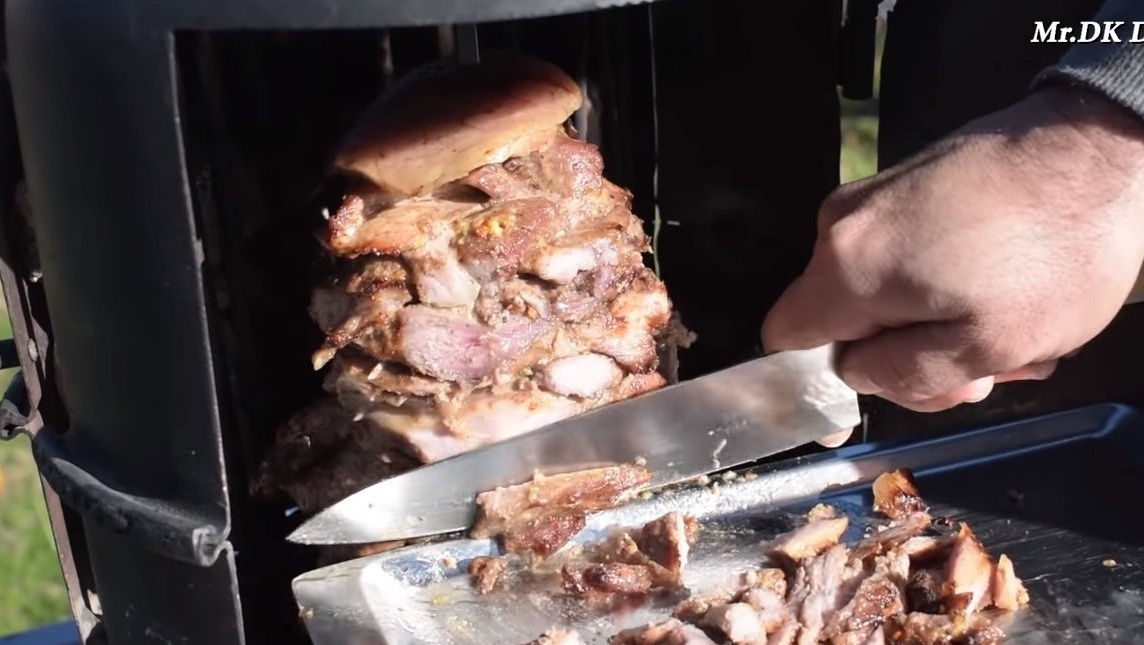
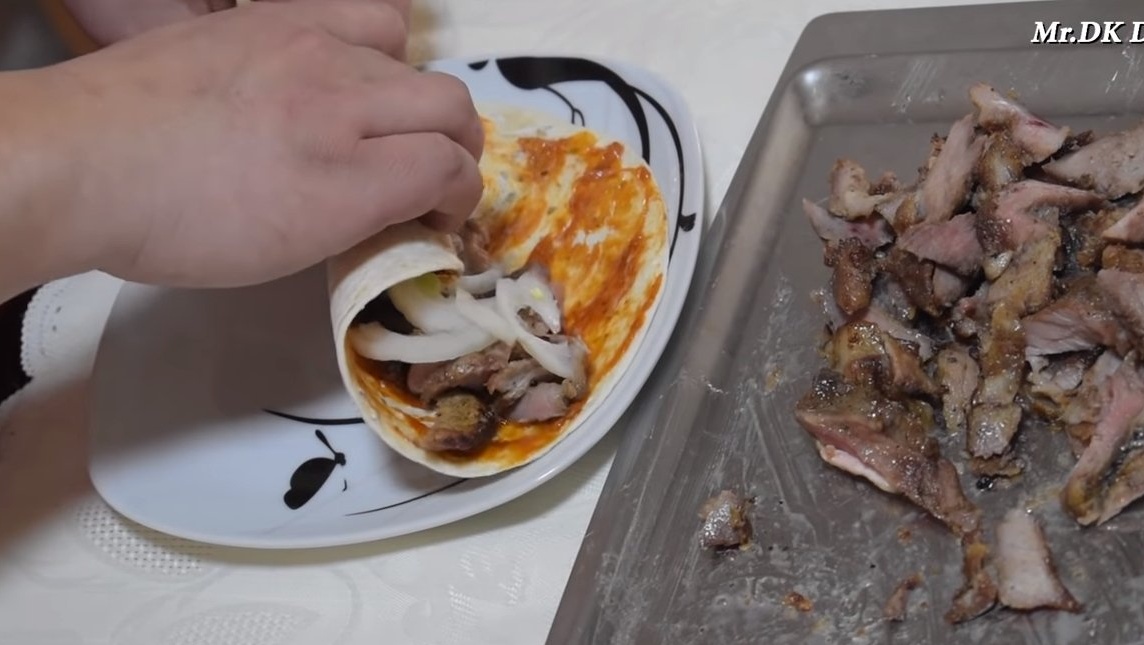
When everything is ready, we load coal into a niche, and we put meat on a skewer. After supplying food for later, the meat will begin to rotate. The author ignites the coal with a burner, burning is supported by the flow of air through the holes in the bottom of the furnace. Everything works fine, the temperature inside the oven rises to more than 200 degrees Celsius. As a result, the author receives a large portion of well-fried meat.
The project is completed on this, I hope you liked the homemade work, and you found useful thoughts. Good luck and creative inspiration, if you decide to repeat this. Do not forget to share your ideas and homemade things with us!