From the article below you will learn how to do it yourself to make a walking self-propelled car for kids from wood. The following description and instructions are taken from the Matthias Wandel YouTube channel.
Having successfully mastered the electric rocking chair for kids, the master had another idea - to make a walking self-propelled car for kids.
The little wizard really likes to drive a car and ride wheelchairs, so he thought about the car to simulate this movement. Ideally, with slowly rotating jagged cams to provide irregular movement. The next thought was to do something that slowly pulls the stroller along the bumpy lawn. From this thought came the idea, why not make some kind of motorized stroller so that it would carry the child in circles on the lawn?
Necessary tools and materials:
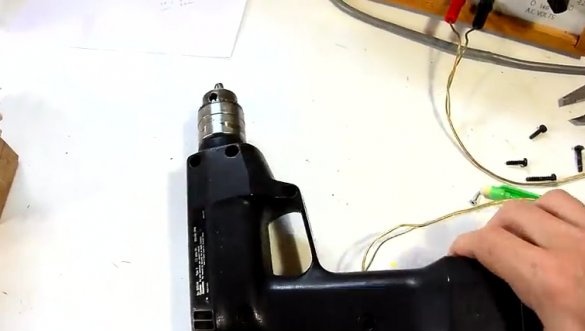
- An old screwdriver without batteries;
- trimmed plywood;
- beam 50x50 mm;
- drilling machine;
- screwdriver;
- self-tapping screws;
- desktop circular saw;
- Forstner drill with the same diameter as the diameter of the axes;
- roulette;
- joiner's compass;
- a pencil;
- PVA carpentry glue;
- clamps;
- baby car seat;
- band-saw;
- hammer;
- screwdriver;
- wax grease;
The engine from a car wiper may be ideal for realizing this idea, but the master did not have it at hand.
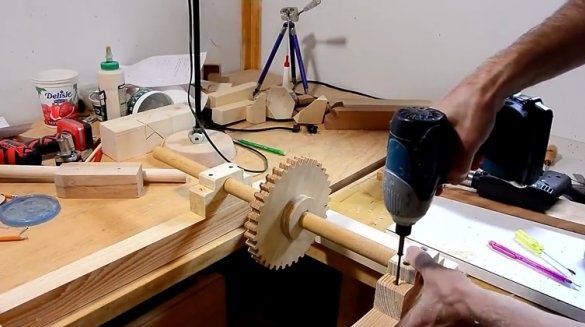
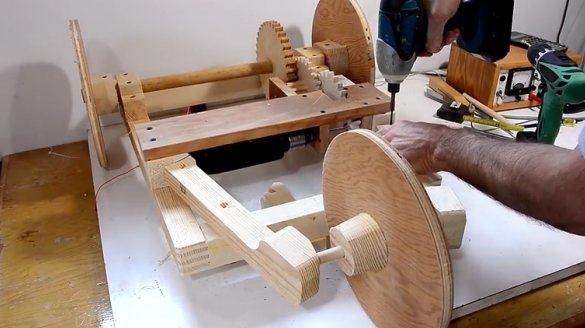
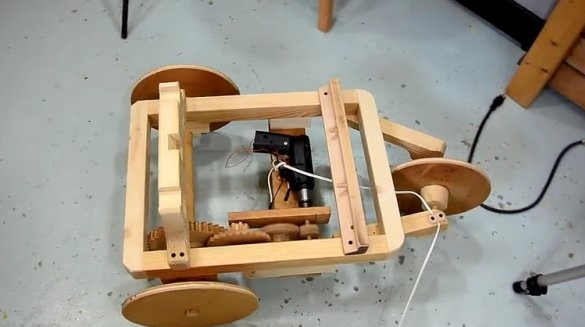
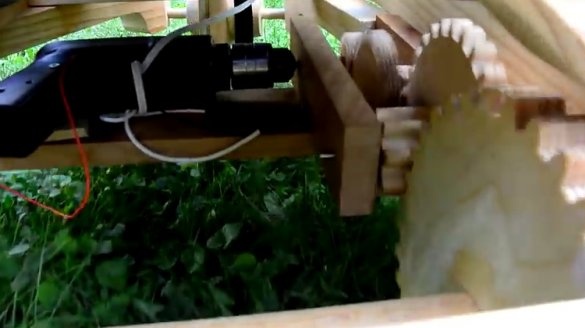
The next idea was to use an old cordless drill (the batteries were dead for a long time) to spin the wooden gears.
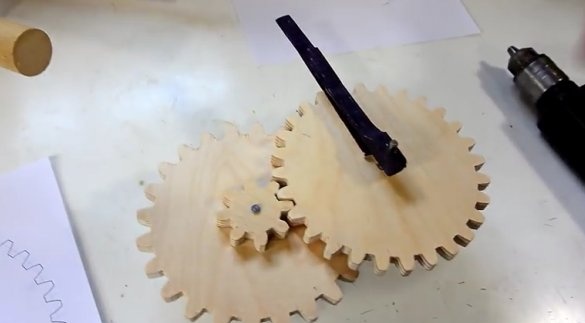
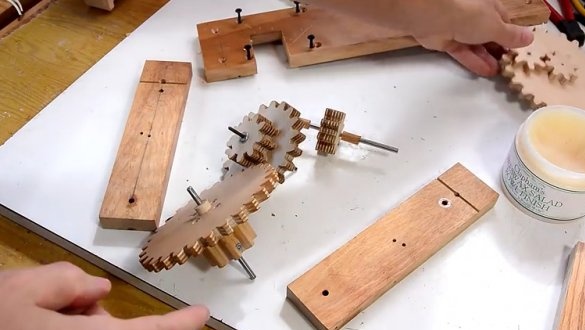
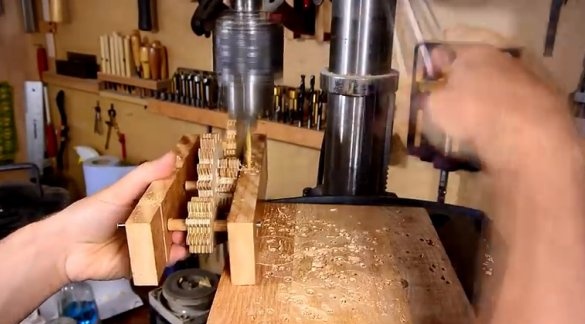
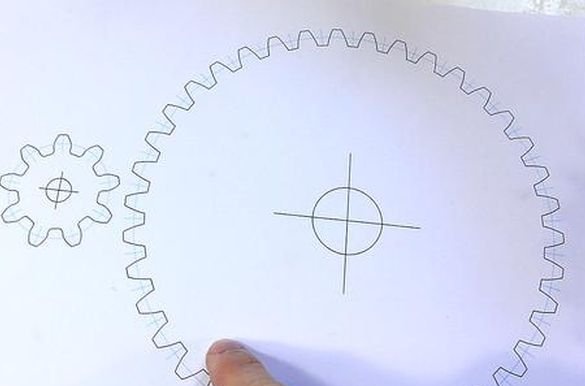
But then it occurred to the master that he could just use the parts that had been made before. In the photo - a gear pair from a previous attempt to motorize an apple grinder.
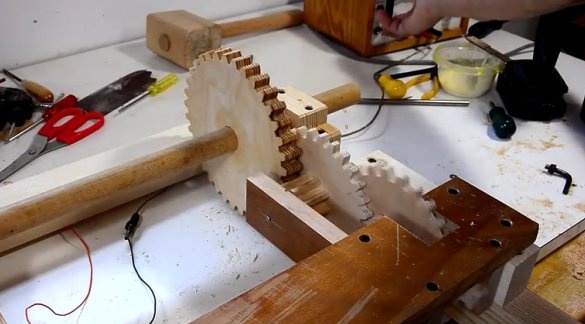
He combined these gears into one gear wheel mechanism. This is more than a perfect combination, but for now the master will stick to them, as they are available.
The gears creaked slightly, so I had to oil the place where the shafts rotate in wooden racks until the creaking stopped.
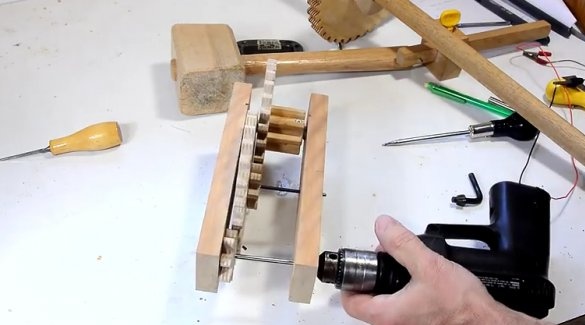
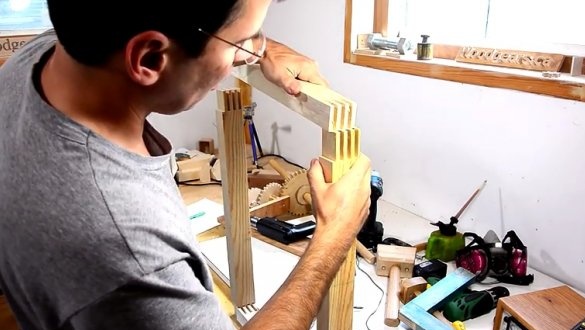
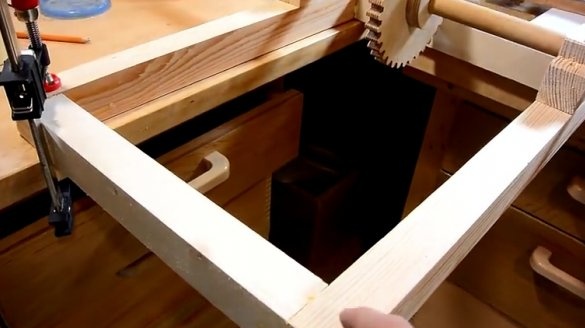
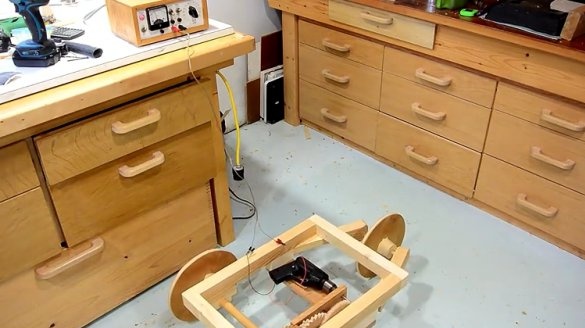
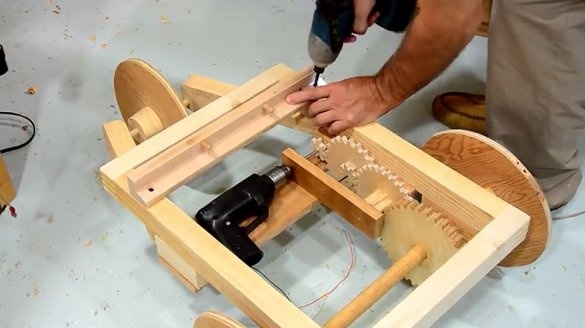
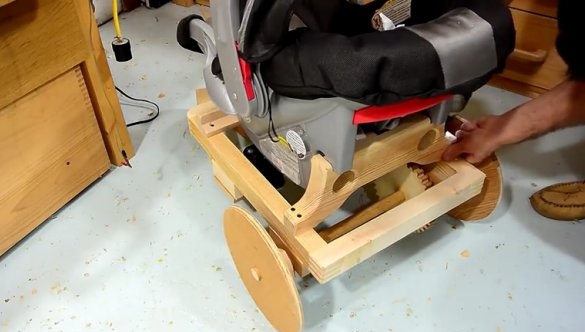
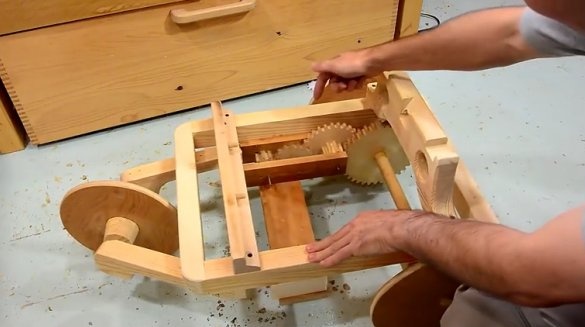
Having developed a gear transmission, the master built a wooden frame that will be used as a chassis for a self-propelled car for a baby.
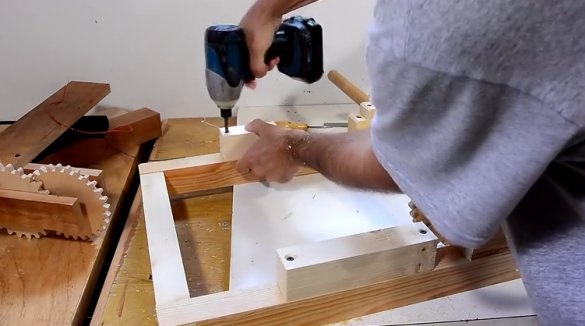
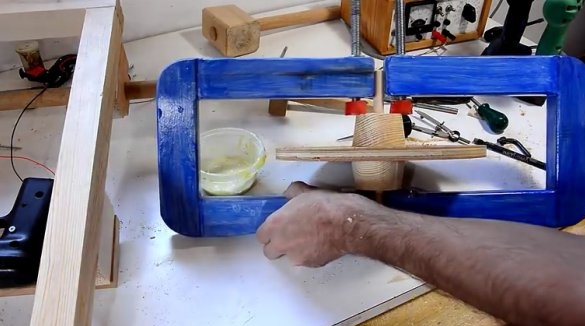
The master used his boxed clamping deviceto make a 6 mm stud connection in the corners.
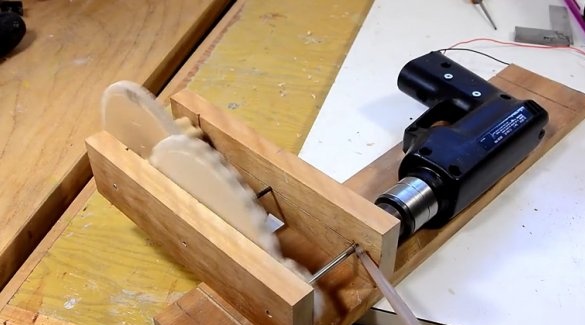
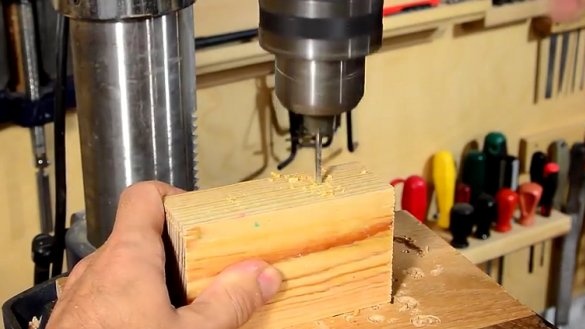
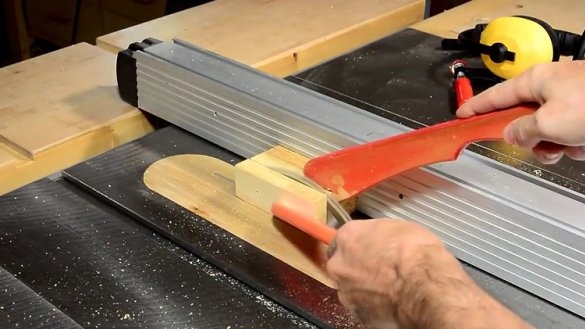
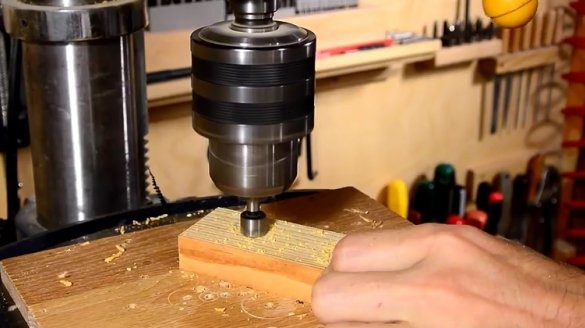
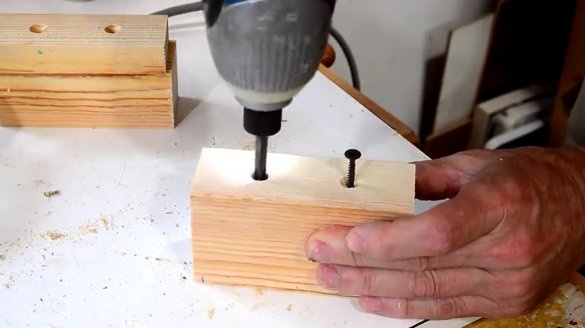
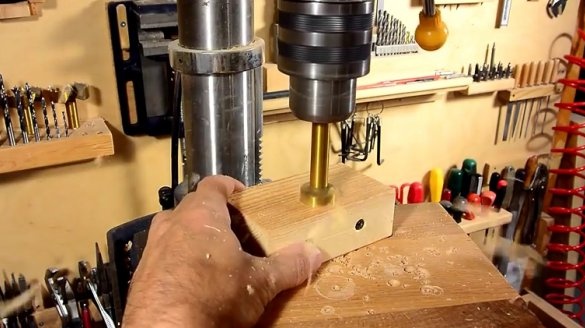
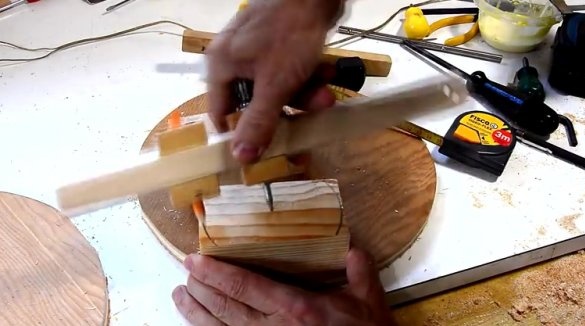
The master made wooden blocks of pillows for the bearings of the main axis. Begin manufacturing with a solid wood block. Then drill the holes for the screws in the right places. After cutting the block into the upper and lower parts. Then fasten both parts with self-tapping screws and only then drill a hole for the main bearing.
The master cut part of the pillow blocks at the top so that it would be easier to screw them to the frame of the machine.
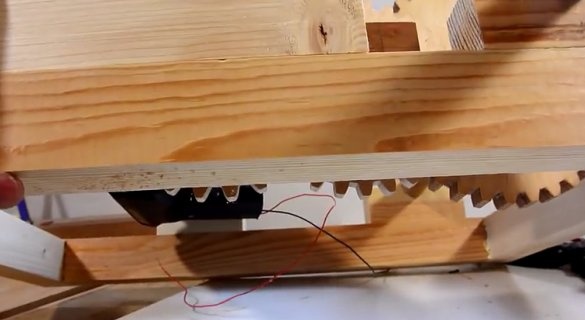
The wizard added several spacer blocks to the bottom of the frame for installing the gear. Thus, the gears dropped low enough so that they could not protrude from the top of the frame.
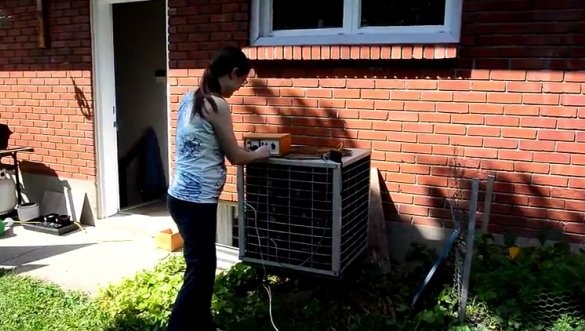
Gear test. The cordless drill is powered by a desktop power source.
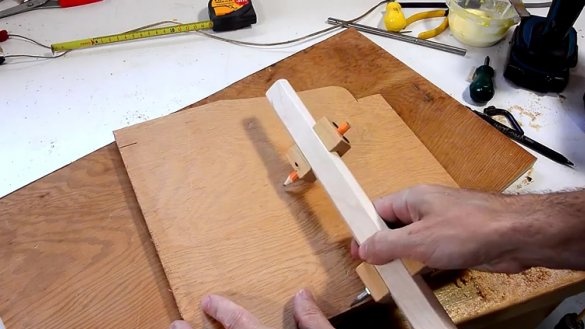
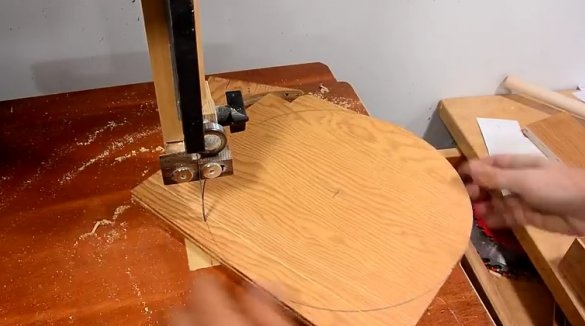
Then it was time to make some wheels. Here, with the help of a joiner's compass, the master draws circles on scraps of plywood.
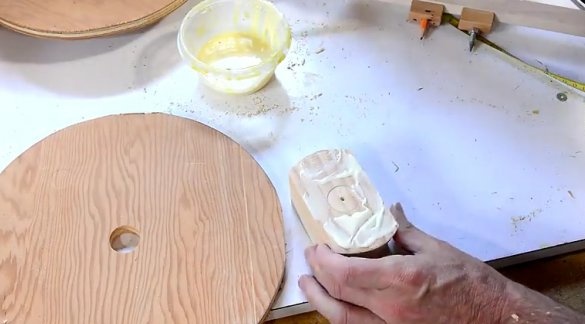
Then you need to add a few blocks where there should be a hole so that the wheels are much easier and more reliable to mount on the main axis. The master pasted them before drilling a hole in the blocks. Thus, there was no need to worry about a slight displacement of the holes.
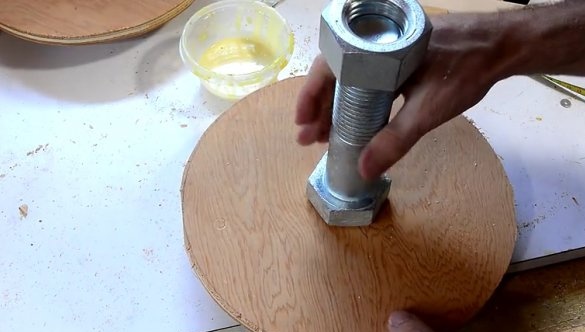
He also made a front wheel (with flanges on both sides) and glued it to 12 mm. the pin.
Two wooden levers were also made to hold the front axle in front. The axis rotates in several large holes in the brackets.
First test. It moves very slowly, but it works.
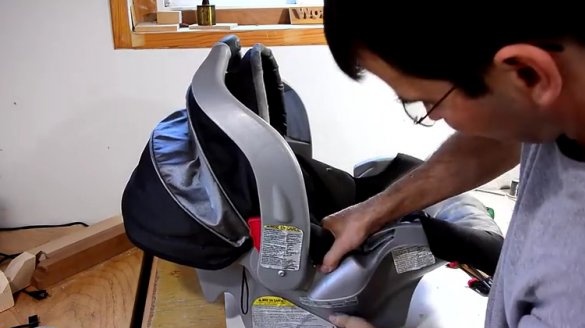
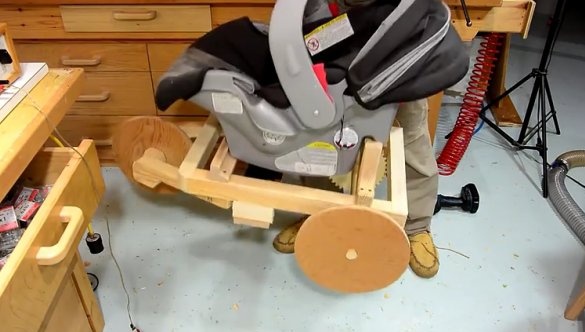
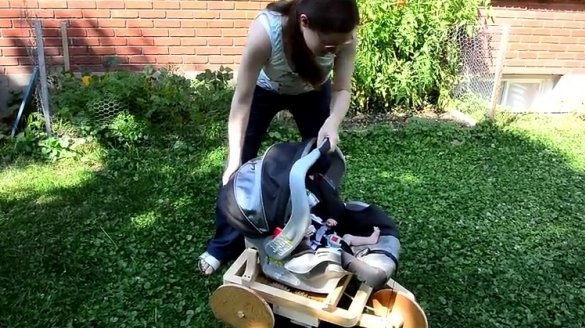
The master decided that the best option for the seat would be a child car seat. It should be pretty safe.
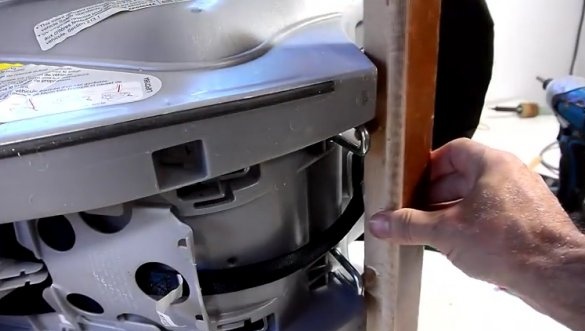
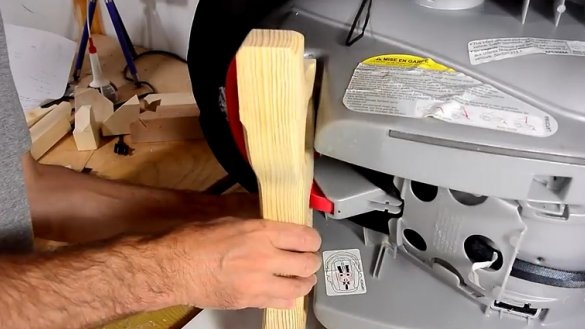
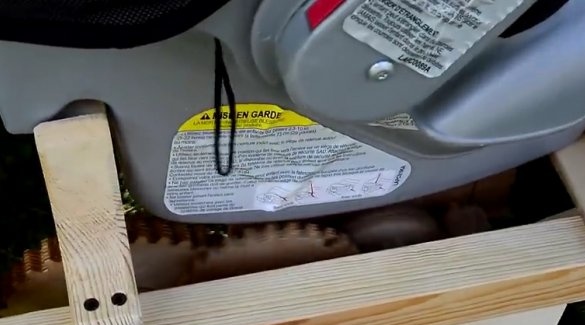
Several wooden rails were made to connect them to the attachment points of the car seat. This tire has an L-shaped profile, with two dowels for fixation with metal hooks in the lower part of the seat.
The large bar at the back of the chair fits the seat supports and the red hook to secure the seat.
Lock check. With a locked seat, you can lift the entire cart. But if you pull the seat unlock handle, it is released from the cart, front and rear.
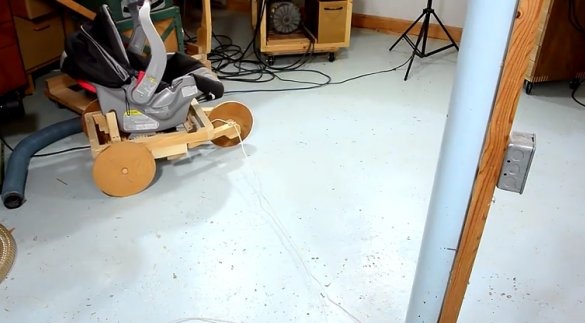
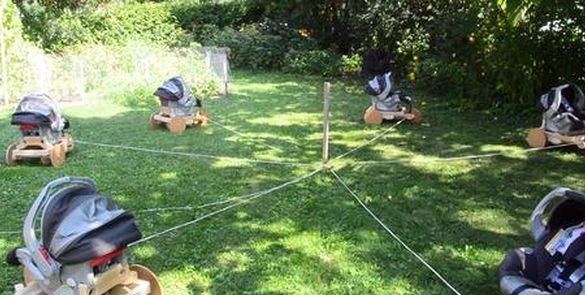
The master’s extraordinary plan is to start the machine with a long power cord and attach the cord to the peg in the middle of the lawn. Tensioning the power cord will guide the machine in a circle. Here in the photo there is a test with a rope on a column in the middle of the workshop.
I had to conduct the exercises pretty quickly to achieve the desired speed. The car was too loud. It is time to change the gear ratio.
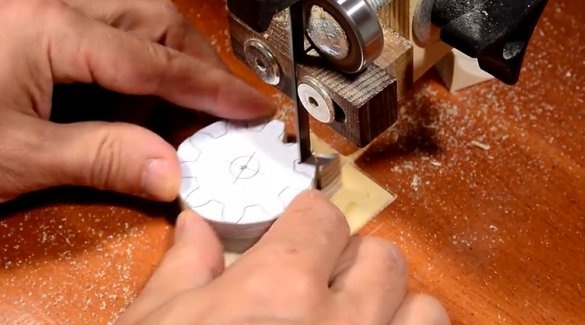
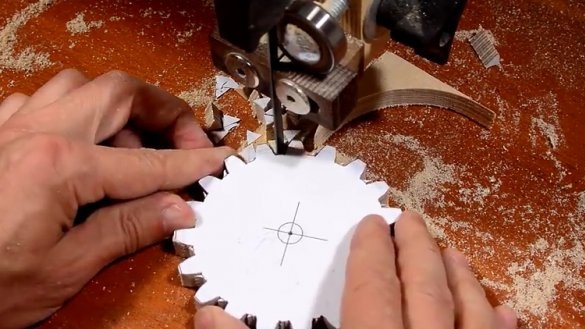
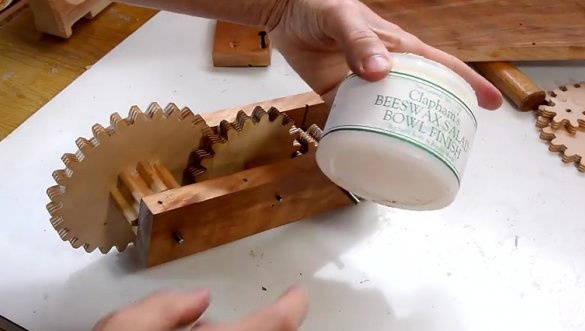
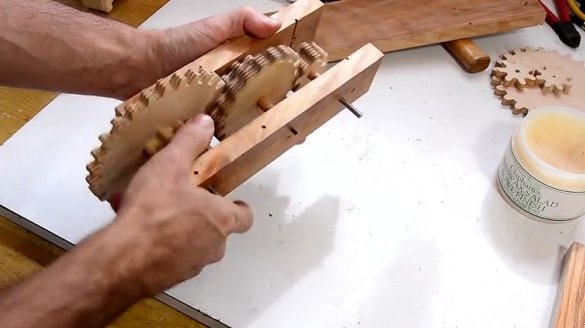
Therefore, the master made new equipment. He also greased the gear teeth with a wax salad bowl. This grease is rather greasy. In this case, the gears work noticeably more smoothly. Of course, you could use grease for the axles, but it is very dirty.
Modified gearboxes installed. It was also possible to assemble the axles a little closer to each other.
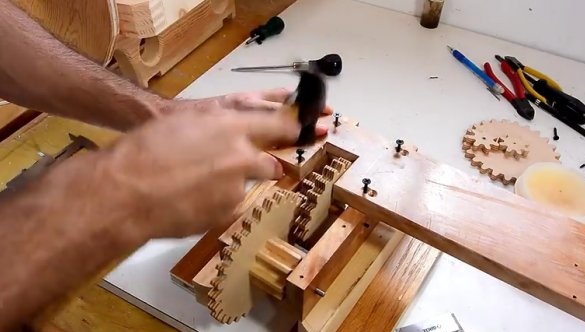
Marking the location of the pilot holes for modified gears.
Improved gear mounted.
The master also changed the front wheel mount so that it is at an angle. He believes that if the machine is already shifted in the direction of movement along the curve, then less tension on the cord will be required to direct it into a smaller circle.
Checking the car in the yard. He rode in a circle rather nicely, winding the cord around the pillar and slowly turning inward. Thus, the wheels will not cut round grooves on the lawn.
But testing with the baby did not go as well as expected.
The car she didn’t like it.
If you like homemade author, then try to repeat and make. Thank you for attention. See you soon!

