

I welcome all fans to craft, I propose to consider the instructions for making a simple and very useful nozzle for a drill, which you can make do it yourself. The nozzle will turn your drill into a manual mill, you can easily make grooves in the material, process the edges of the boards and not only. Of course, a drill for such purposes is better to take more powerful, because it is not for nothing that the power of the milling cutters is measured in kilowatts. In assembly homemade very simple, you do not need a lathe, or any other serious machines. The nozzle is adjustable in height for the desired mill, threaded rods and nuts are responsible for this. The design of the nozzle is such that, if desired, the drill can be fixed even at an angle. If you are interested in the project, I propose to study it in more detail!
Materials and tools used by the author:
Material List:
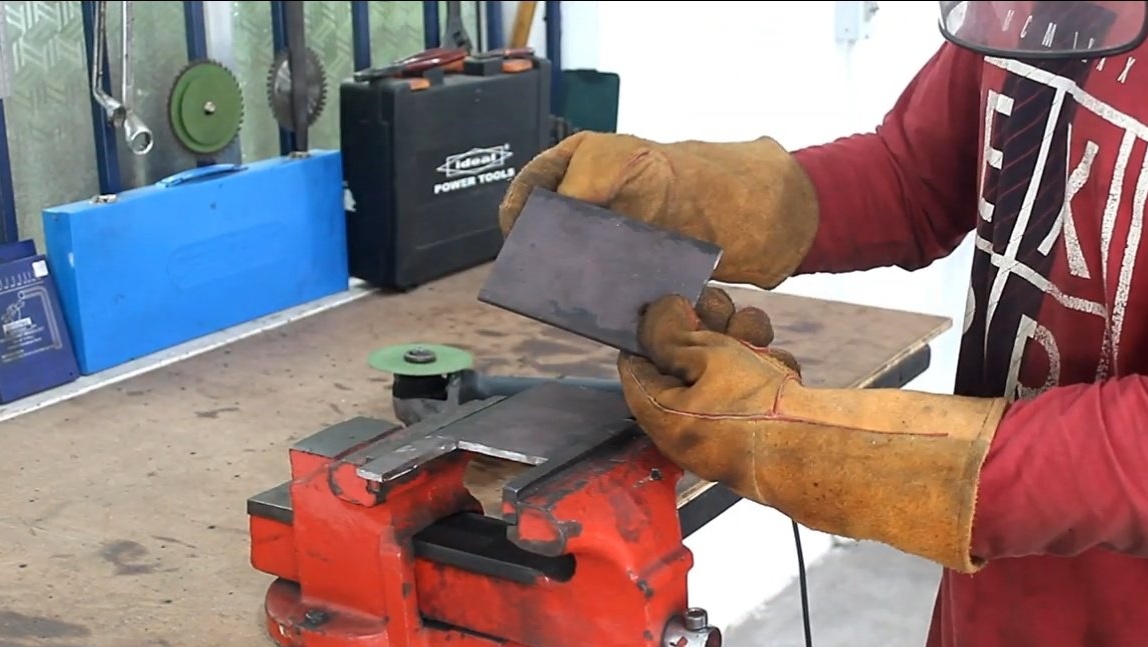
- steel plate;
- two threaded rods;
- 4 nuts;
- a piece of a round pipe;
- screws.
Tool List:
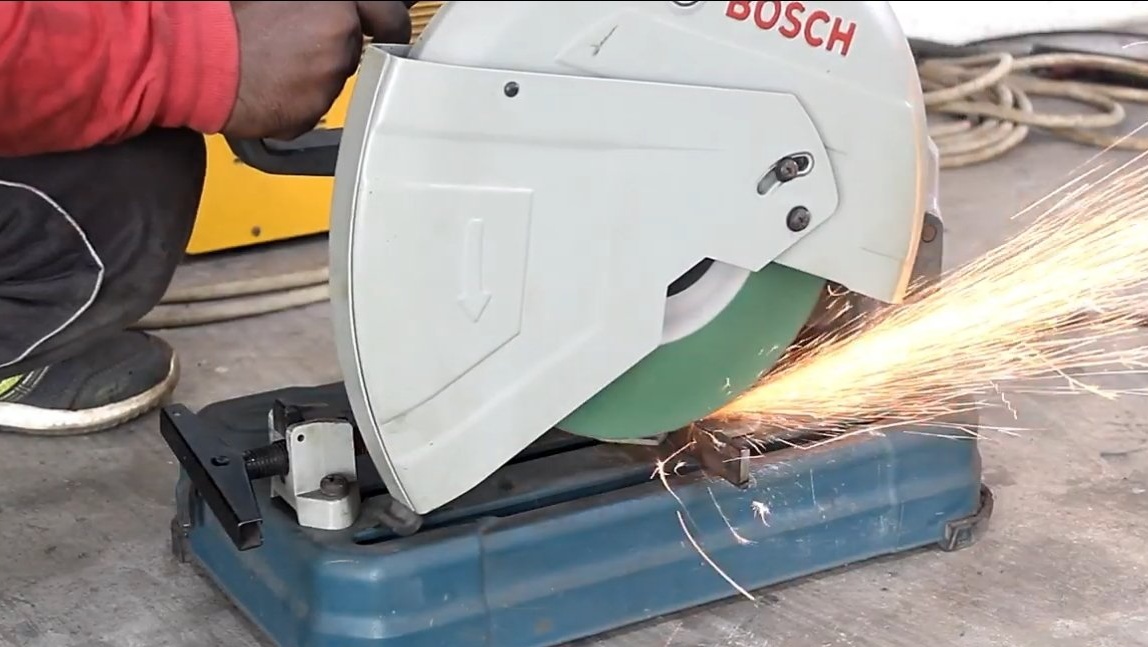
- grinder;
- welding machine;
- drill;
- marker;
- roulette;
- a lathe (optional).
Homemade manufacturing process:
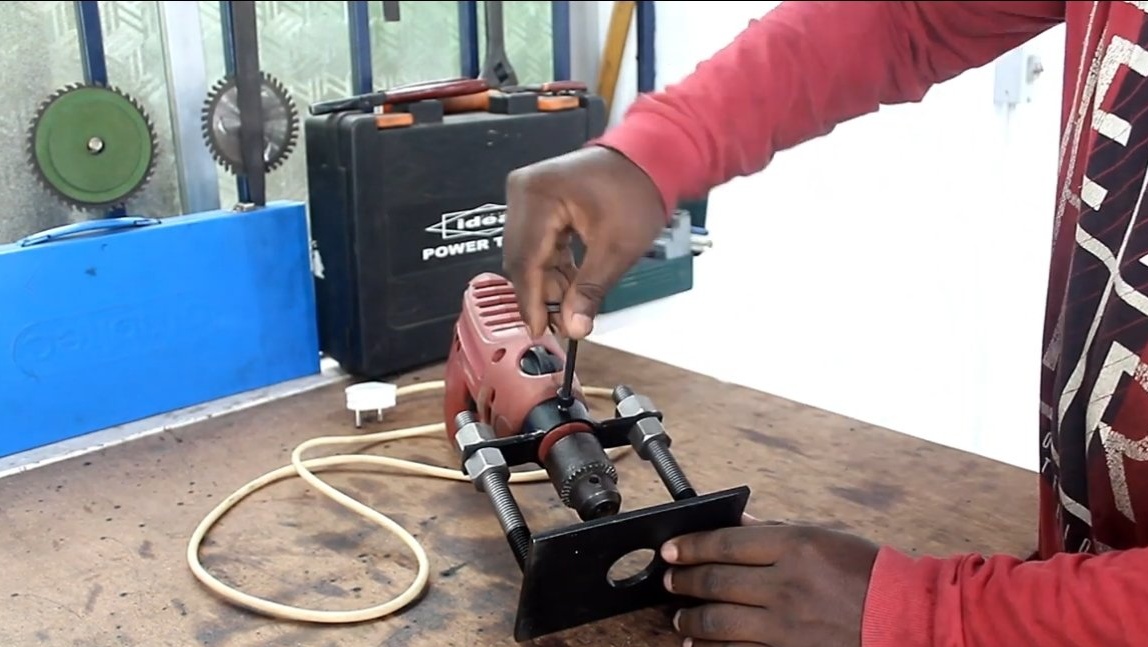
Step one. Drill clamp
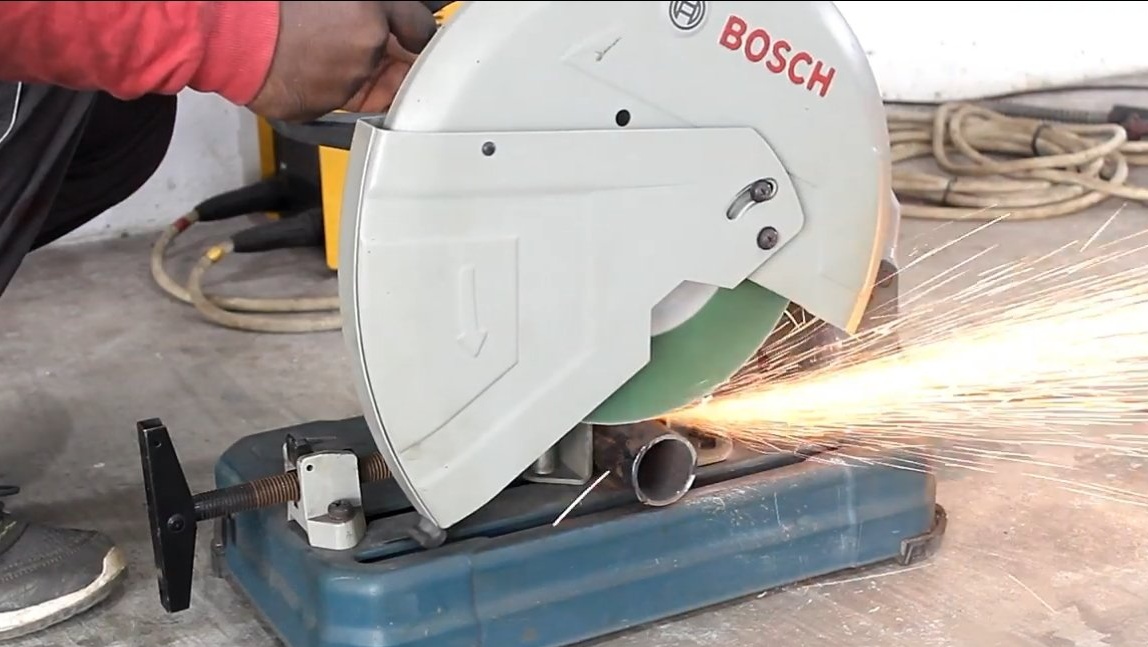
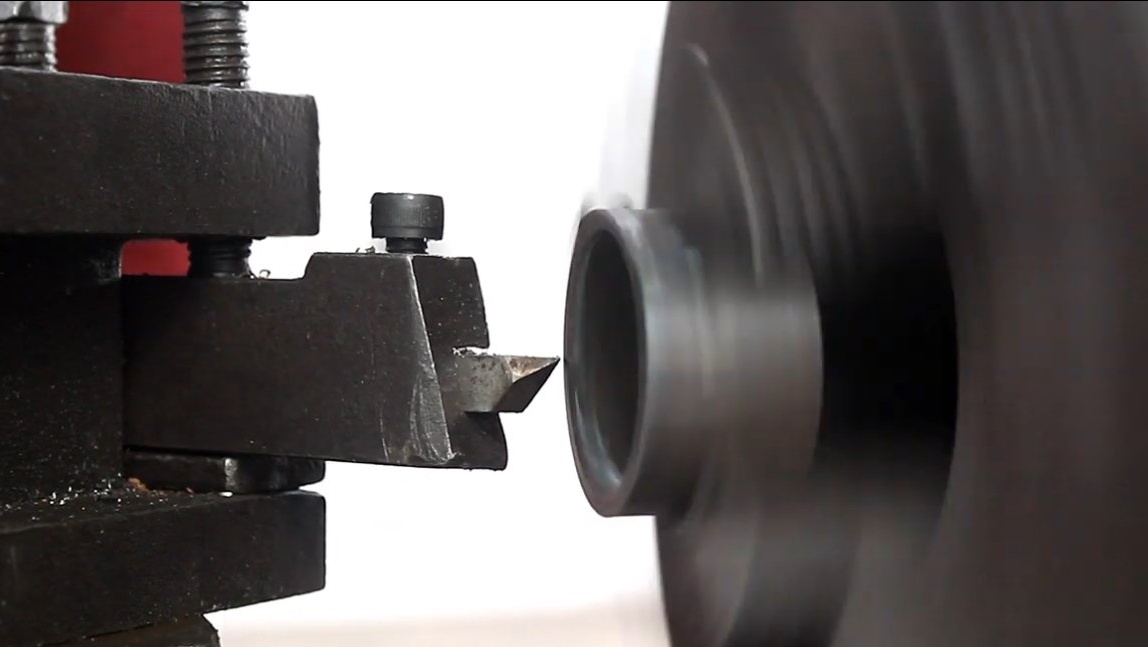
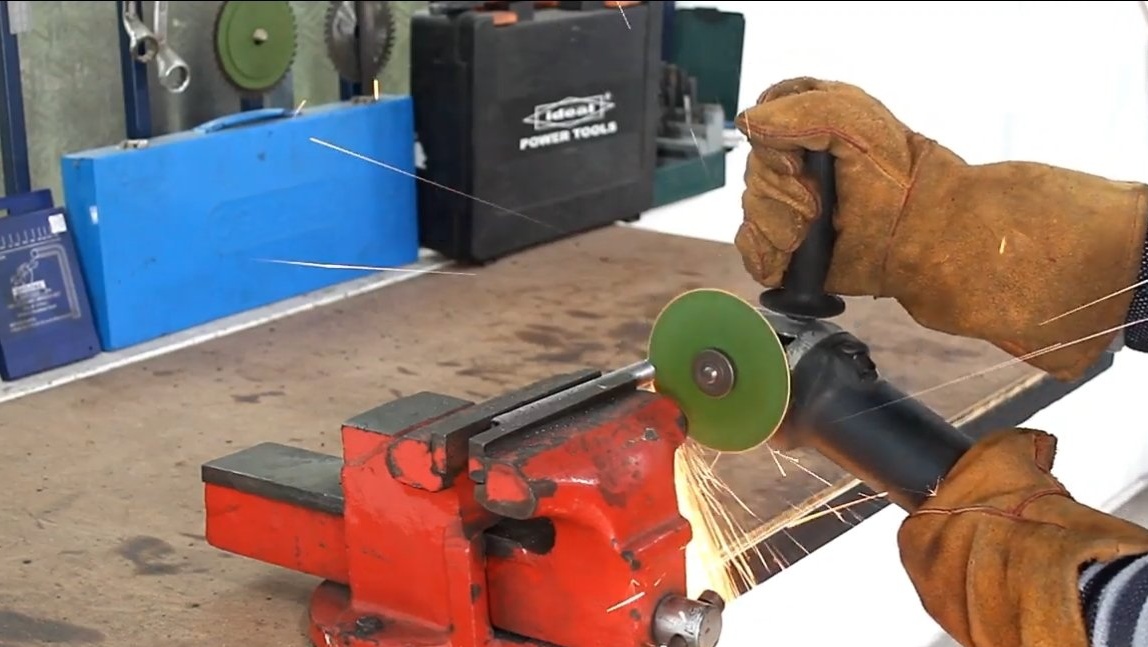
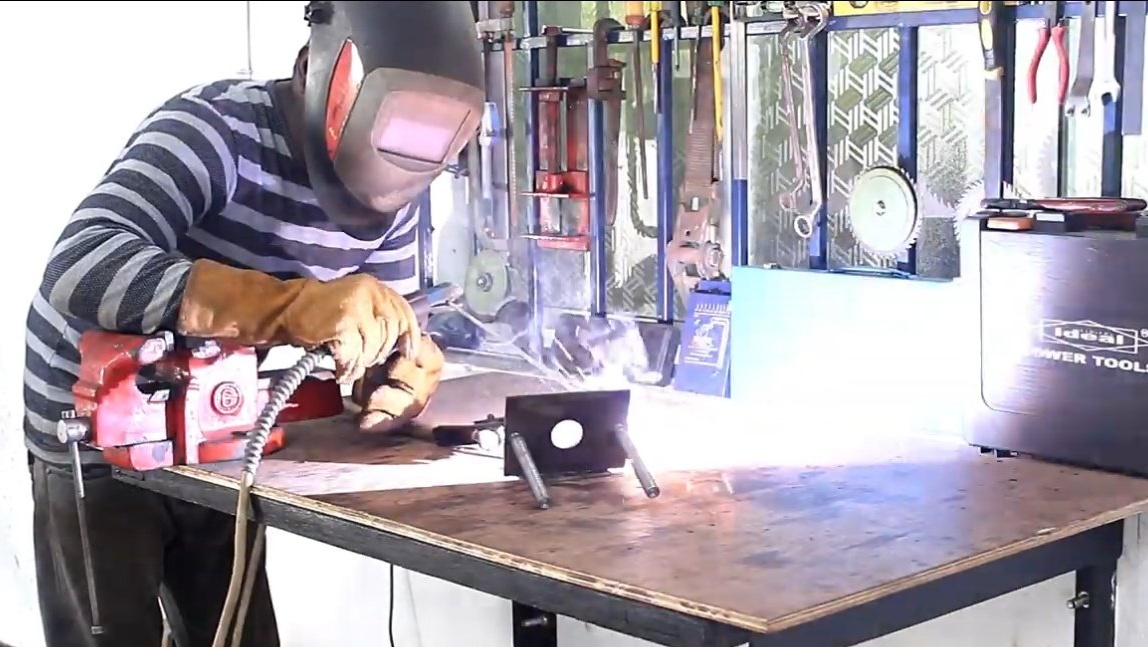
First of all, we will make a clamp for a drill, however, in our case this is not a clamp, but rather a holder. The author simply found a piece of pipe of such a diameter that it was put on the front of the drill with a small gap. If there is a lathe, the pipe can be bored to the desired diameter. And you can simply cut the pipe, and then weld to the desired diameter.

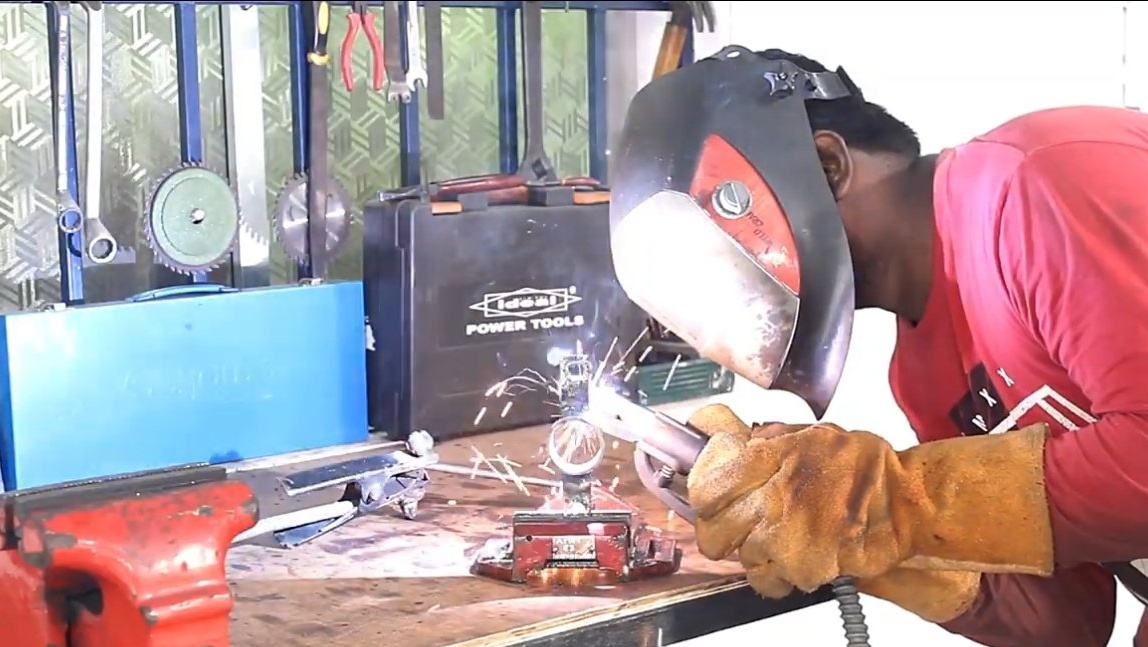
To fix the drill in the pipe, drill holes and cut the threads for screws. In total, the drill will be fixed with three screws, this is more than enough for a secure fit.
At the end, we weld plates with holes at the ends to the clamp, these plates will move along the guides (threaded rods).
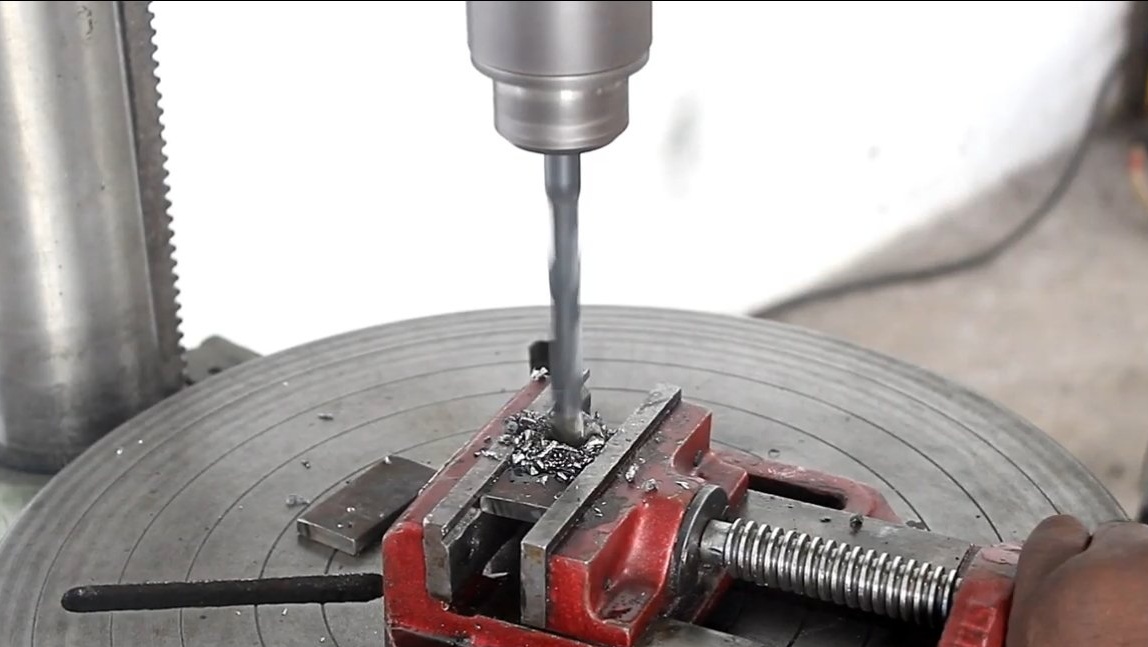
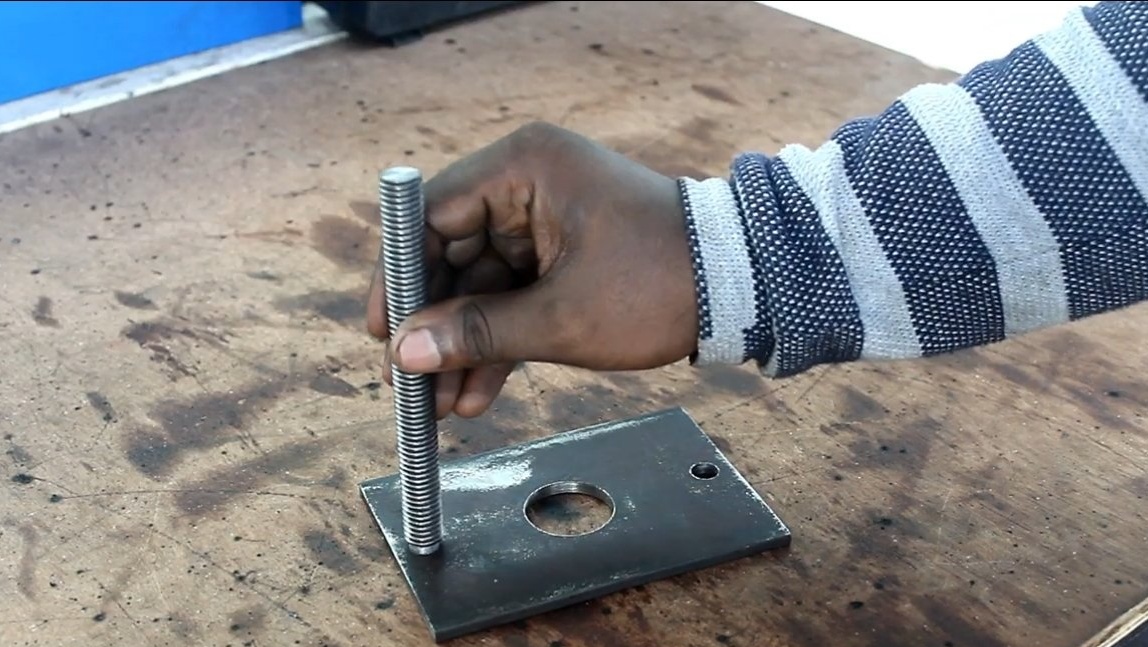
Step Two Base
We make the base, for this you need a piece of sheet steel with a thickness of the order of 2-3 mm. In the center of the plate, we drill a hole into which the mill will go, and it will also be a viewing hole.
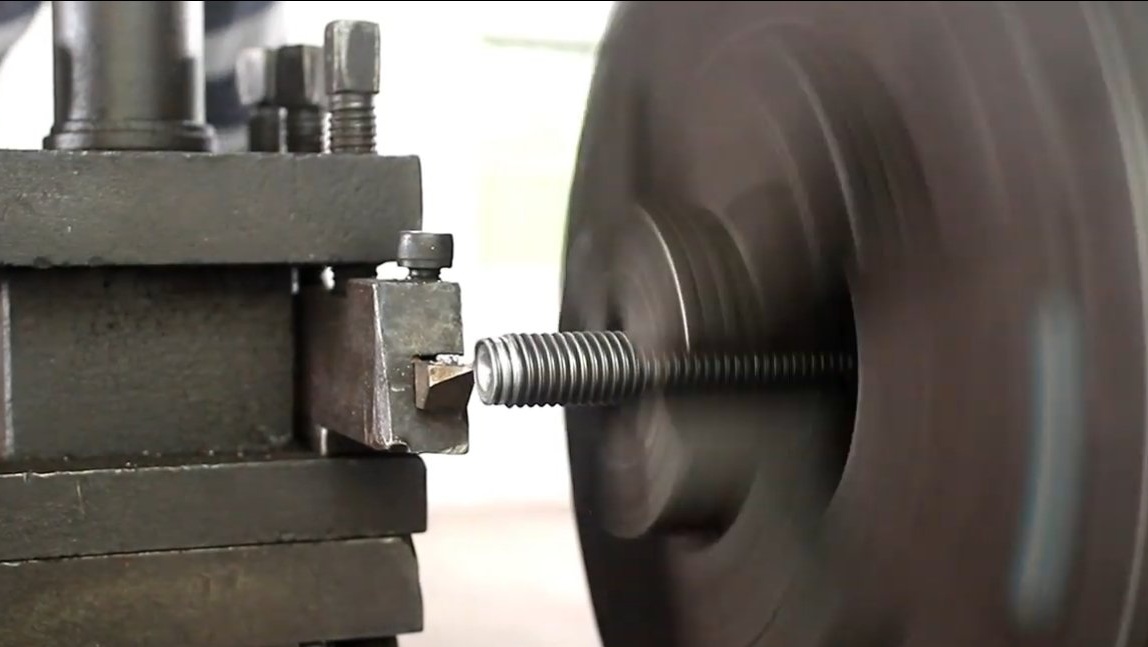
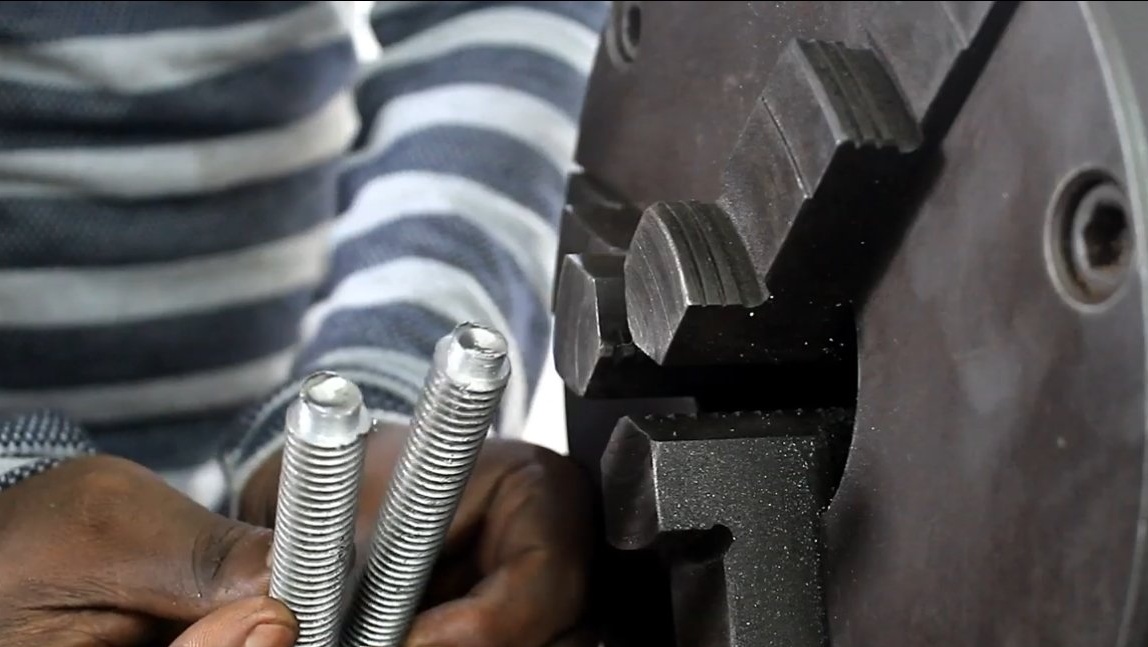
We also need to drill holes for threaded rods, they need to be welded clearly vertically. In order for the rods to fit tightly into the holes, the author turned them on a lathe. If you wish, you can evenly weld the nuts to the base, and then just wrap the rods in them, and the alignment will be good, and everything will be tight.
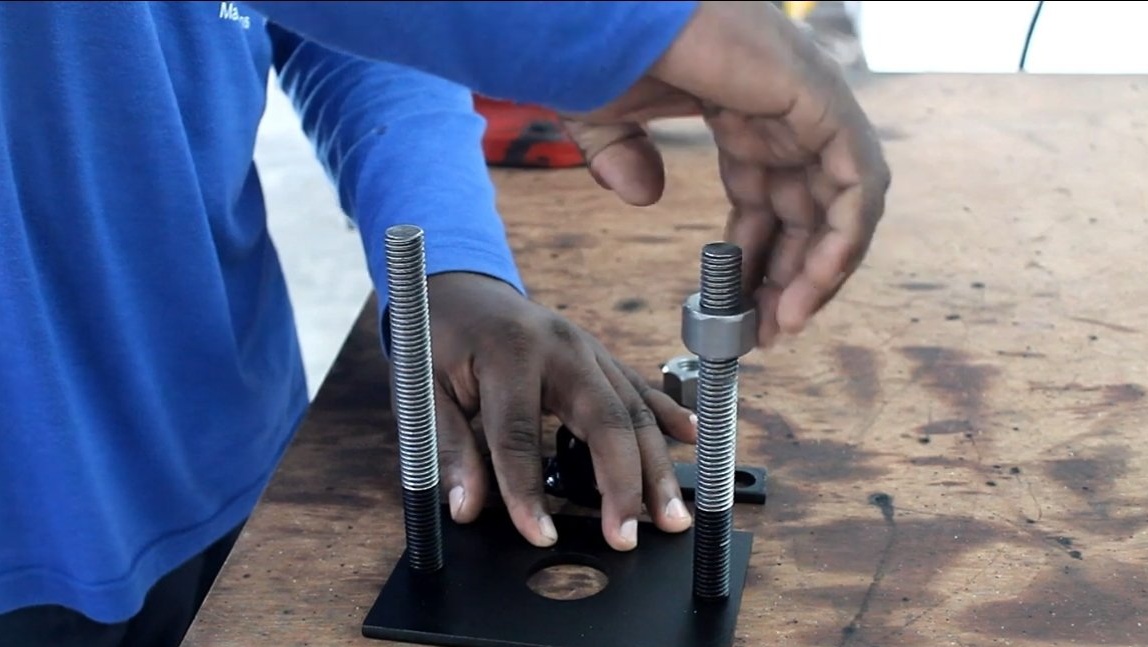
Step Three Assembly and testing
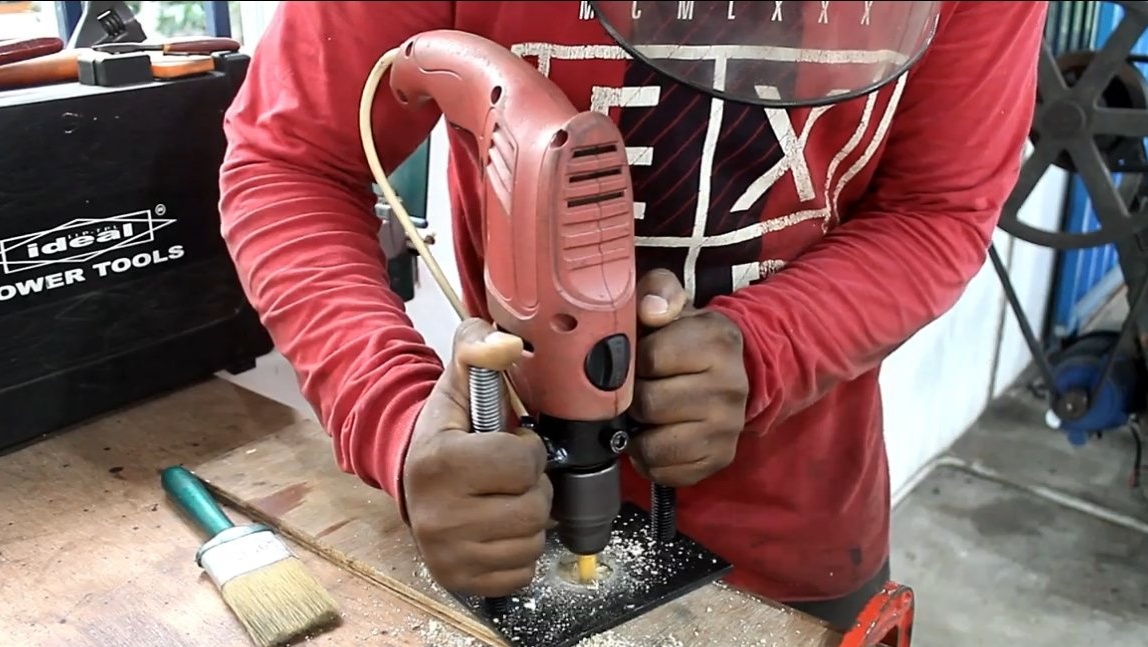
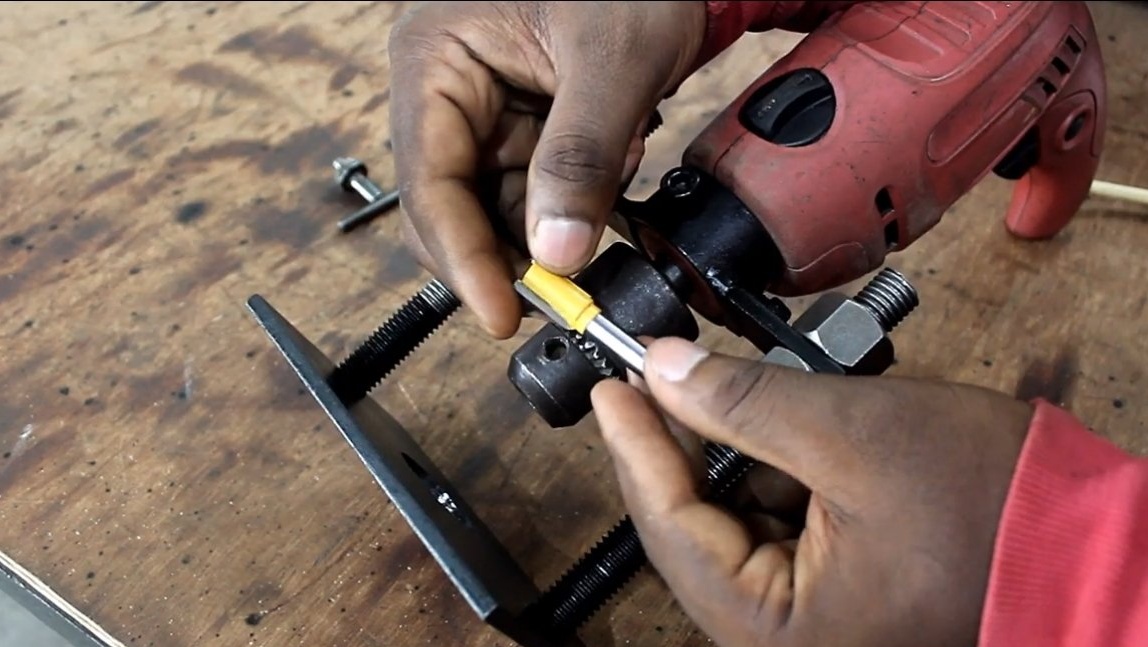
What all? Yes all! The milling cutter is ready, paint the base and wrap the nuts on the threaded rods to the desired height.It is important that the nuts are on the same level, otherwise the cutter will be crooked, for accuracy, everything can be done with a ruler. We put the drill in the clamp and clamp it with screws, at the end we put the drill with the clamp on the threaded rods and fix it with nuts.
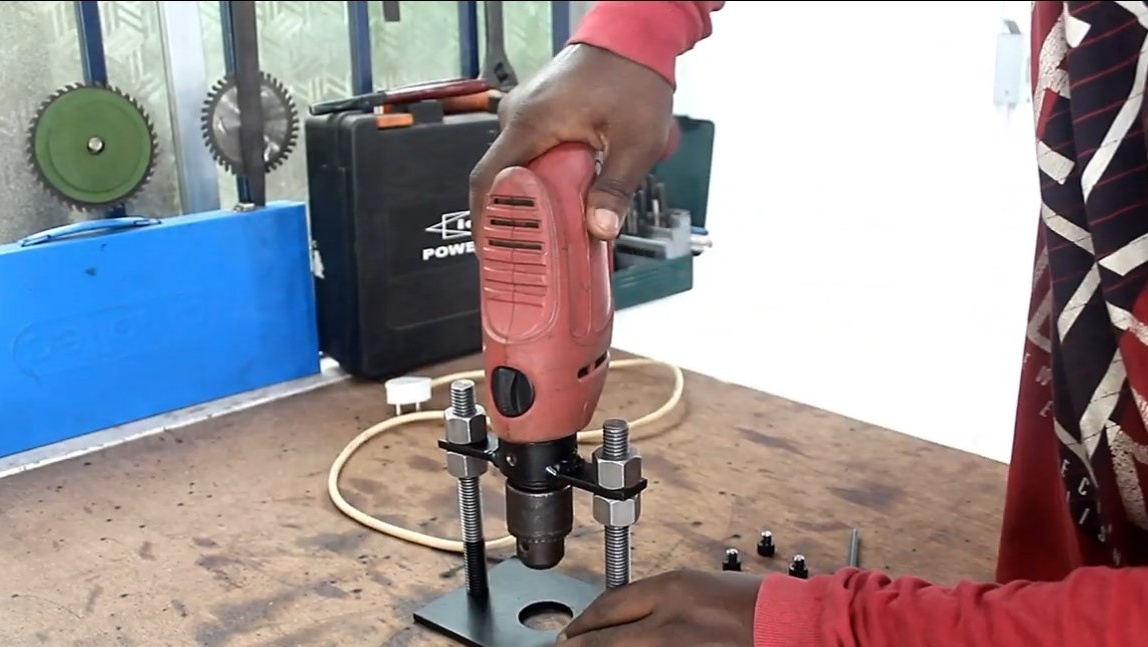
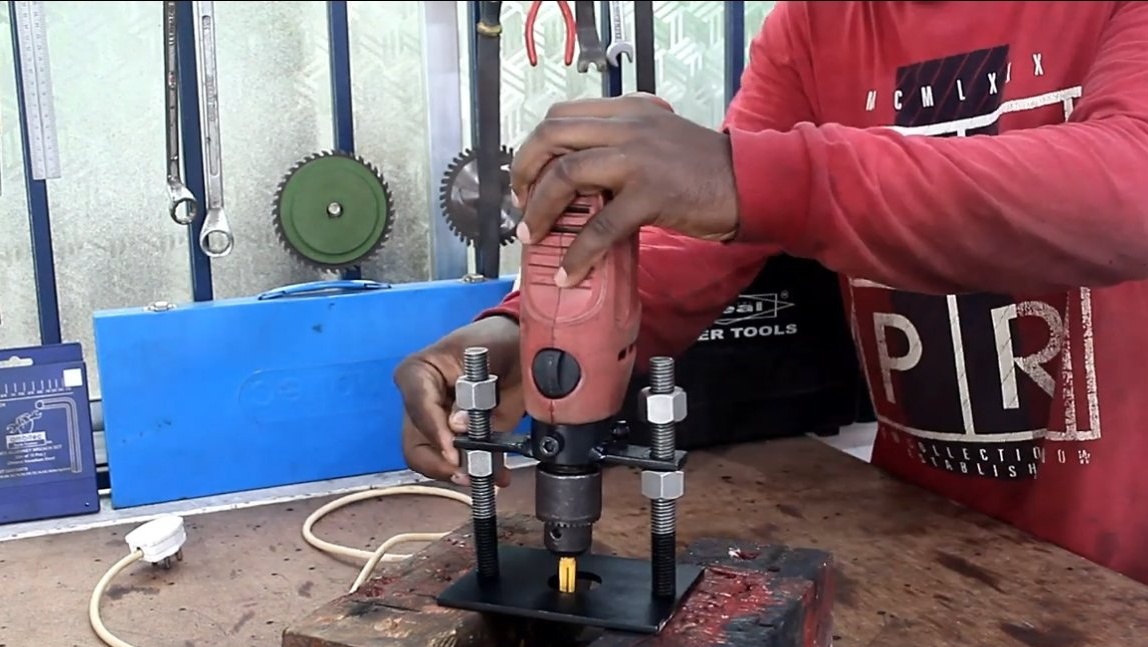
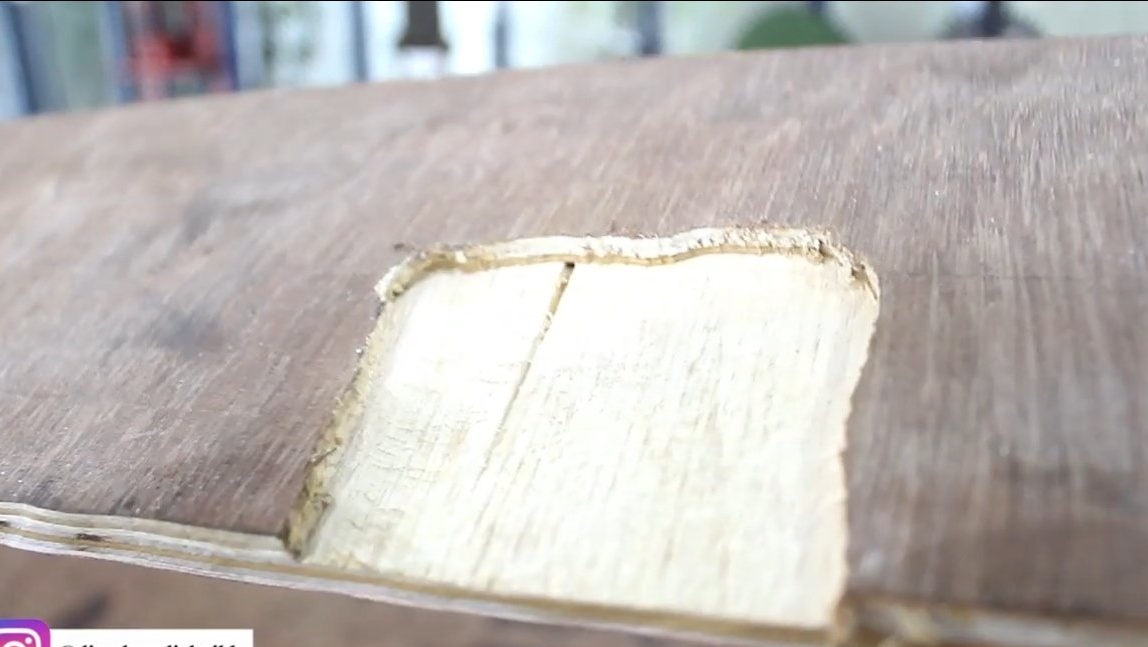
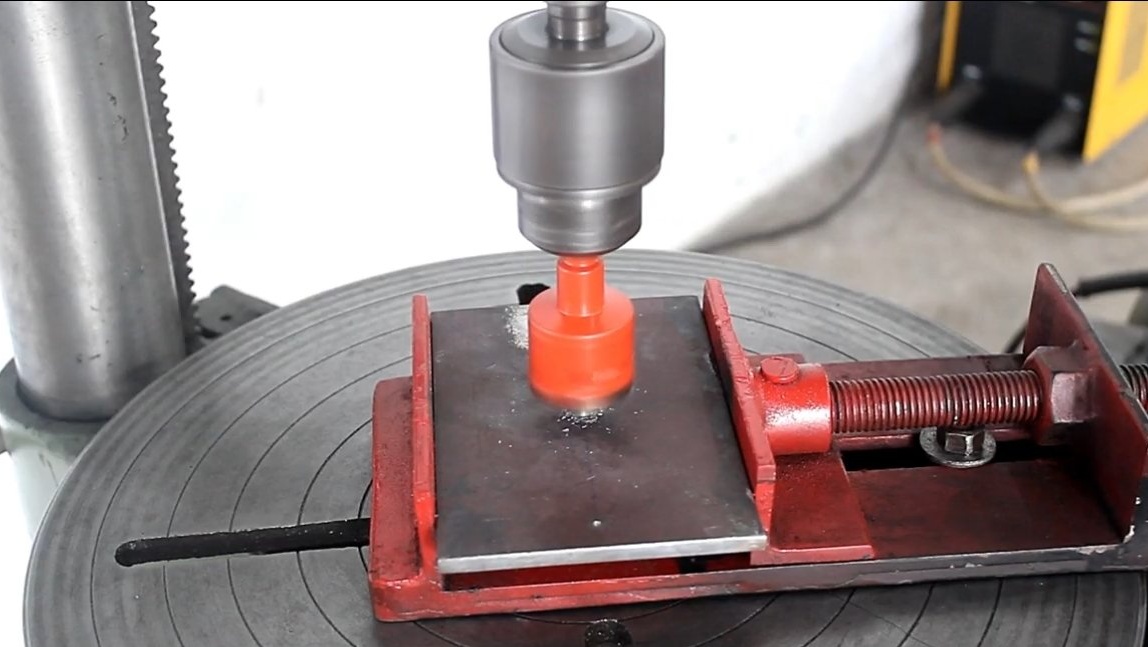
You can work, for demonstration, the author mills plywood and it turns out quite well for such a simple homemade product.
The project is completed on this, I hope you liked the homemade work, and you found useful thoughts for yourself. Good luck and creative inspiration, if you decide to repeat this. Do not forget to share your ideas and homemade things with us!