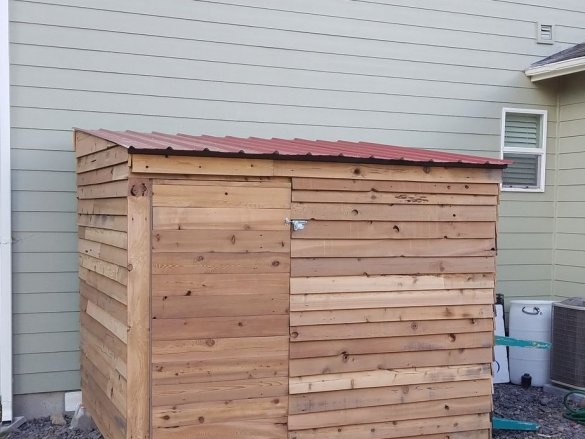
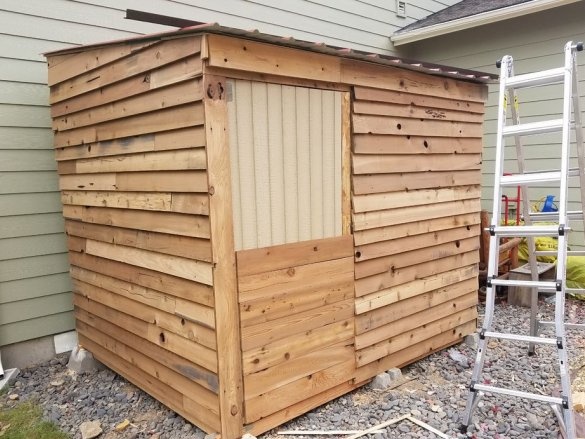
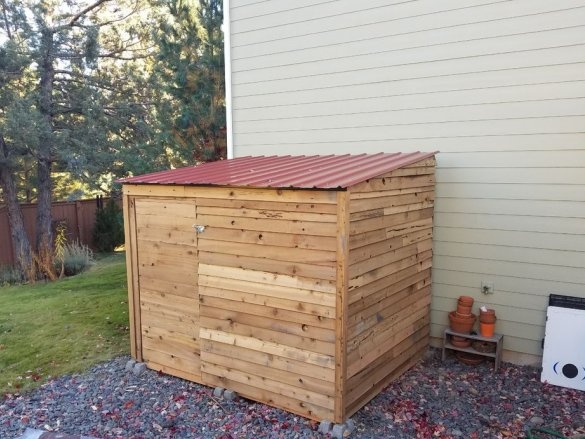
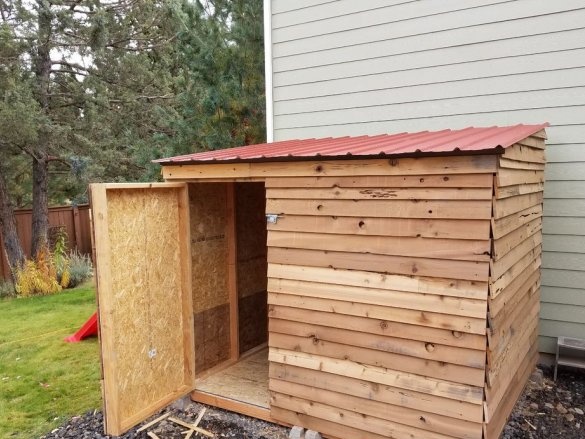
Greetings to all readers and masters. If you live in your home or you have country house, you definitely come in handy the idea of a small shed for storing garden tools or other "useful trash" that has been accumulating with us since the site appeared. Below, by the example of one craftsman, I will tell you how easy it is to make such a building.
For construction we need the following
Materials and tools:
• Board with a section of 100x20 mm
• OSB plates
• Ready-made blocks for the foundation (but if you want to make them mono yourself)
• Nails
• Self-tapping screws
• Decking
• Shovel
• Building level
• Drill
• Miter saw
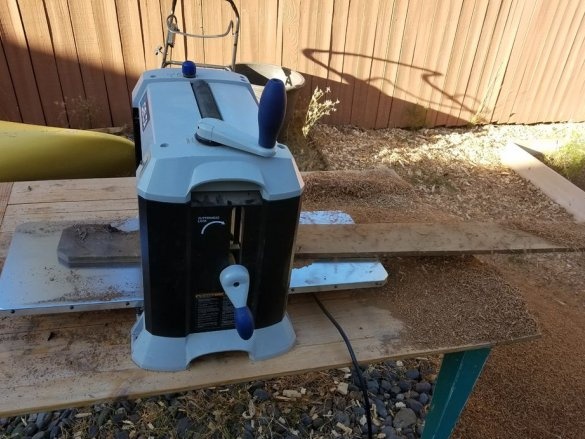
• Planing machine.
Step 1
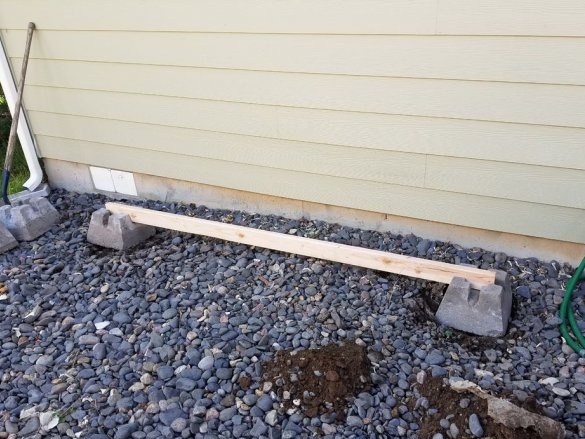
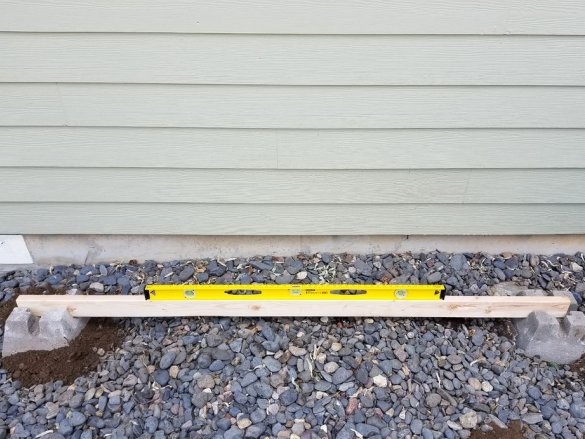
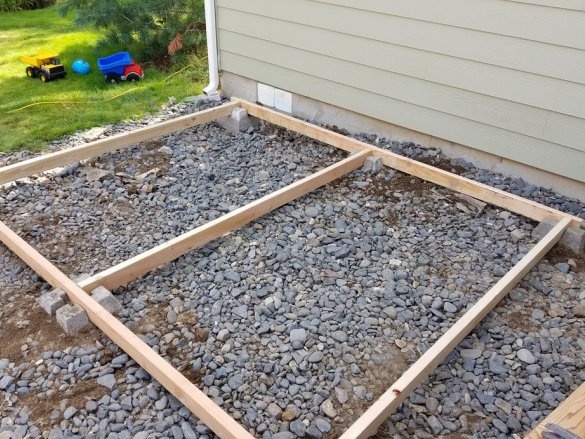
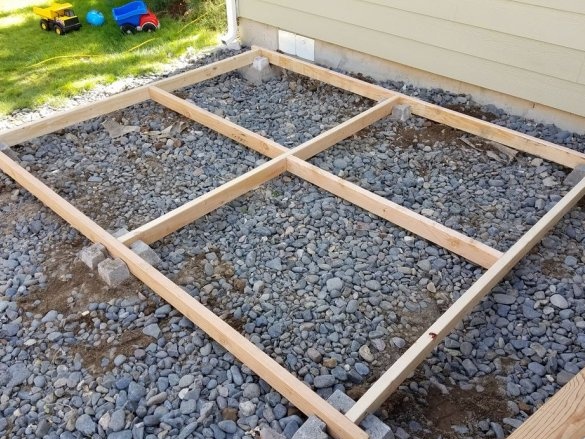
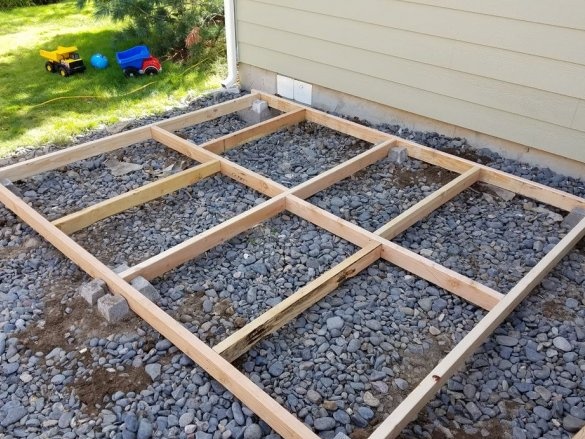
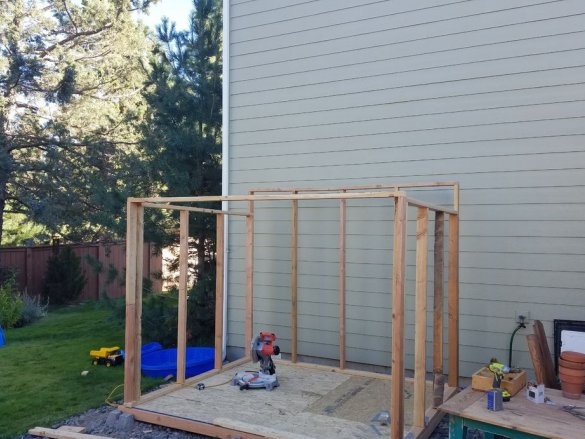
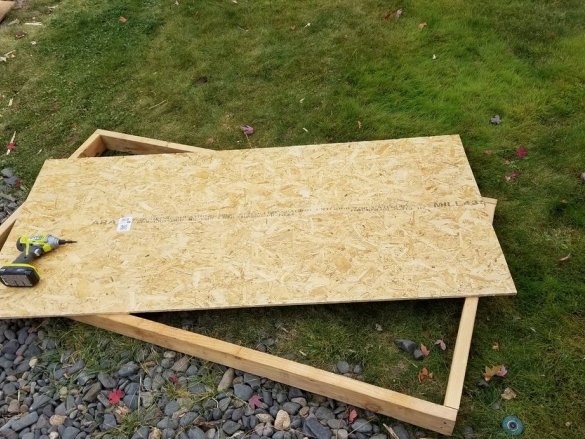
First, we determine the place and prepare the site. We mark it and put the thumbs on the marks using the level. On the prepared foundation, we mount the floor frame from the boards. To connect the parts, the author used wood screws.
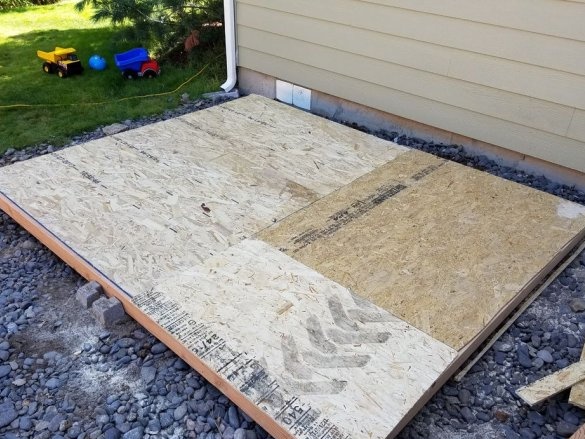
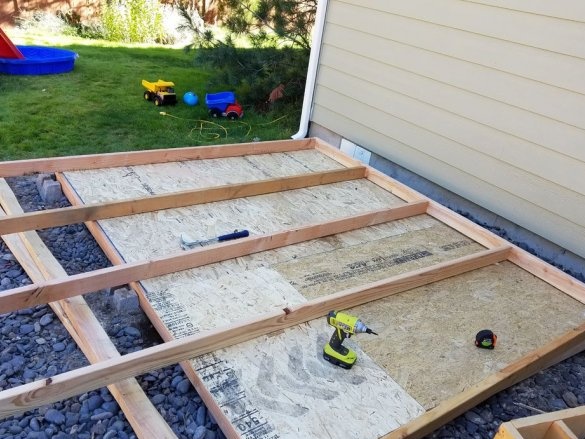
On the finished base we lay OSB boards.
Step 2
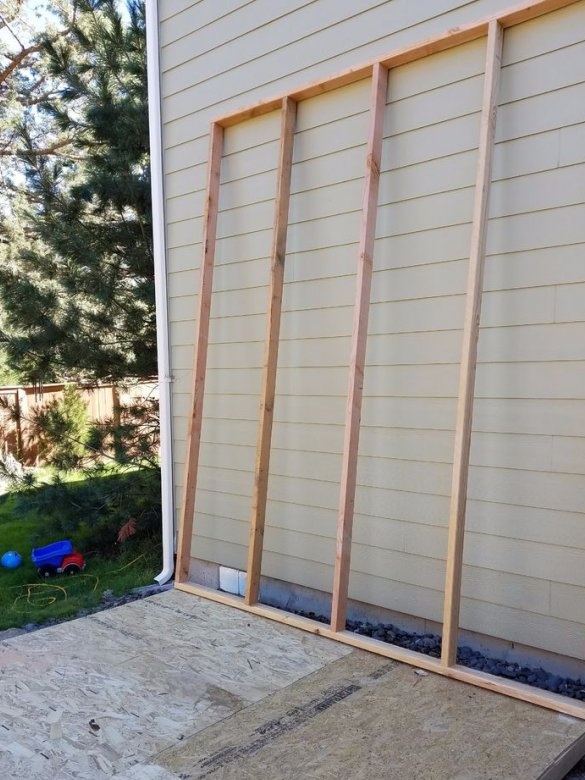
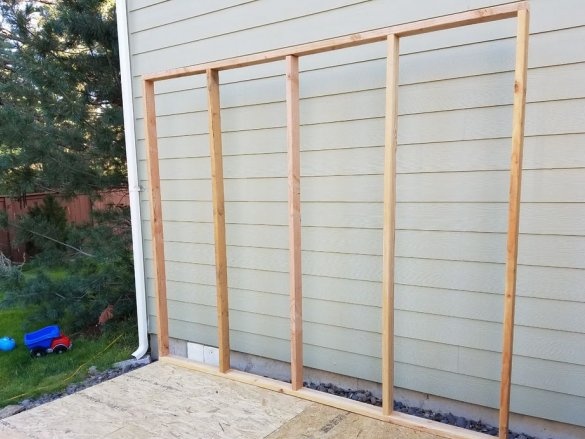
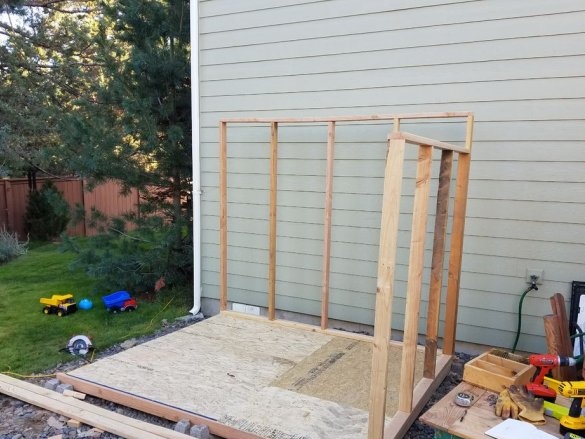
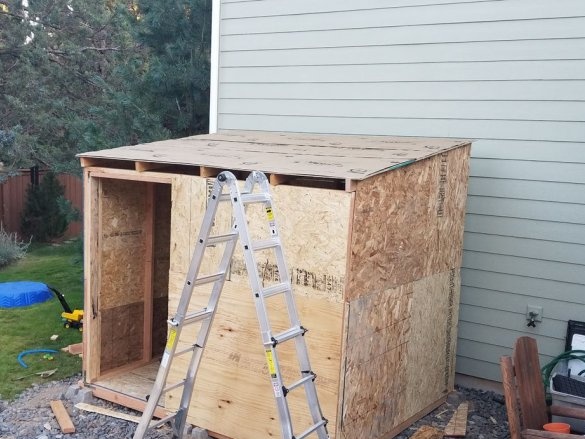
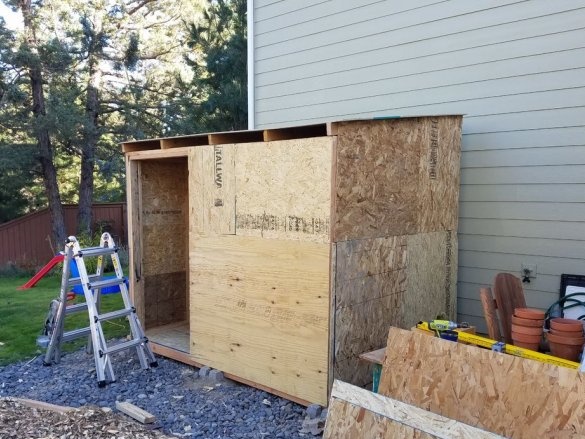
After installing the floor, you can safely proceed to the walls. First, we assemble the frame of the back wall, it should be slightly higher than the others, so that in the future the building had a pent roof.
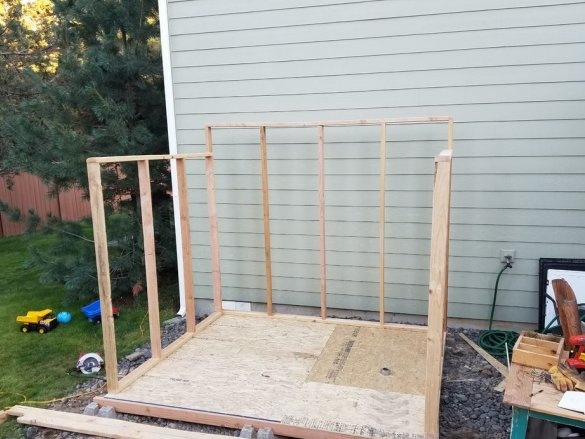
Then, by the same principle, we collect the remaining walls. We connect them together with a board and mount the roof battens.
Step 3
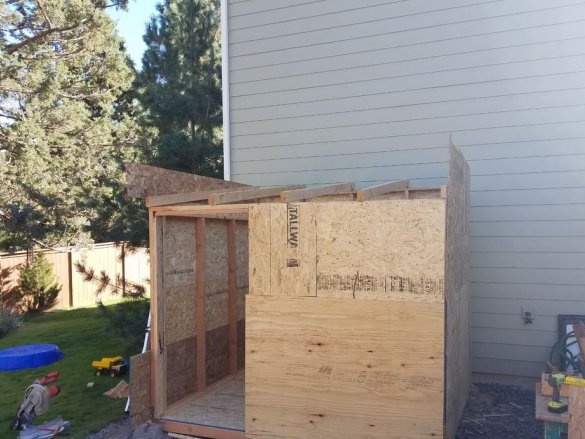
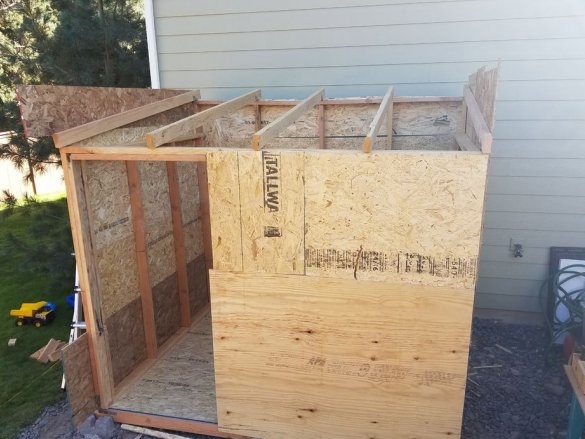
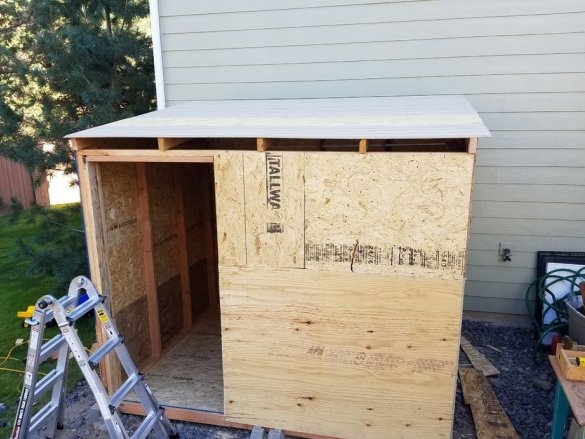
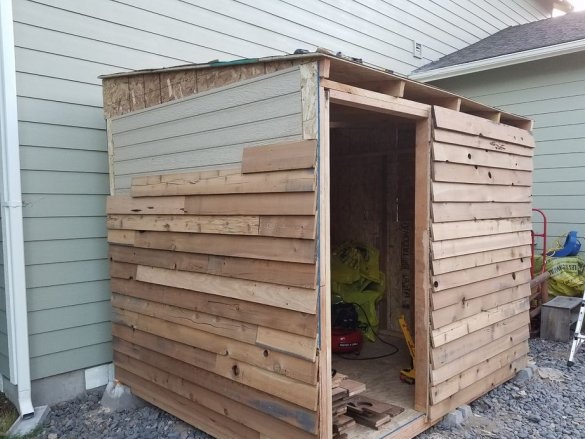
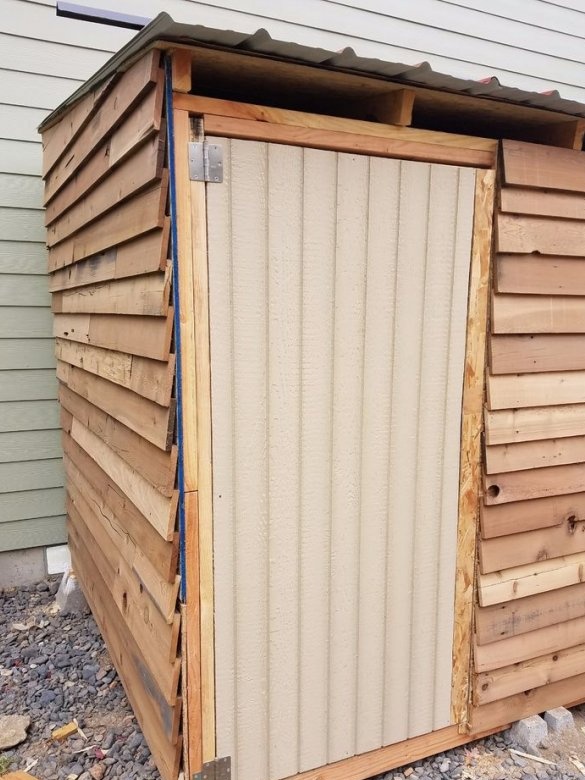
When the frame is ready, proceed to lining it with OSB plates, leaving an opening for the door.
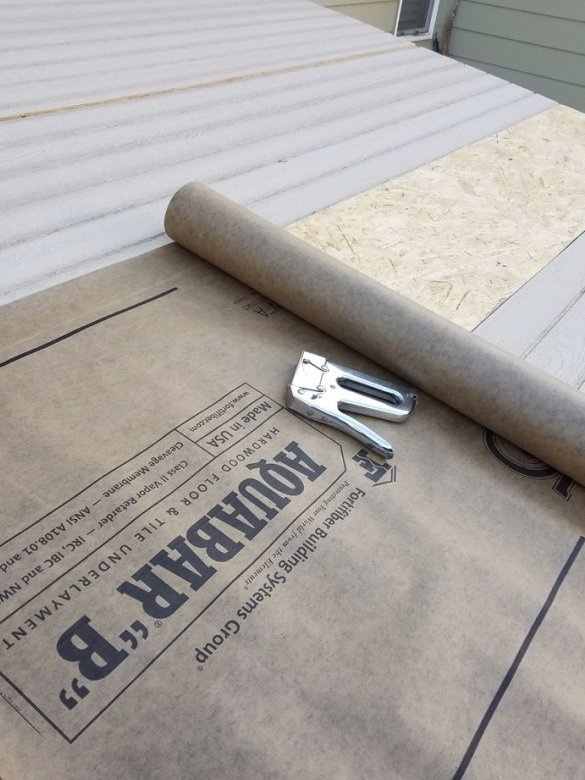
We lay the boards on the roof lathing and close them with a waterproofing coating (you can use roofing material).
Step 4
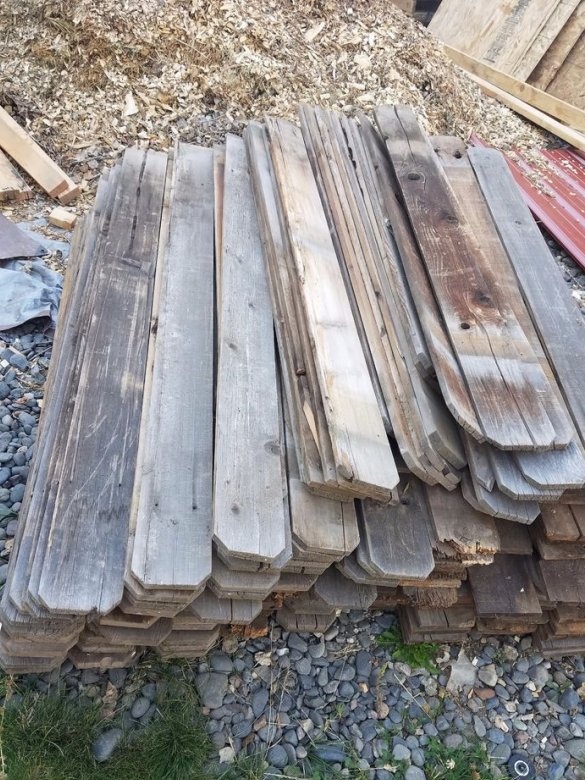
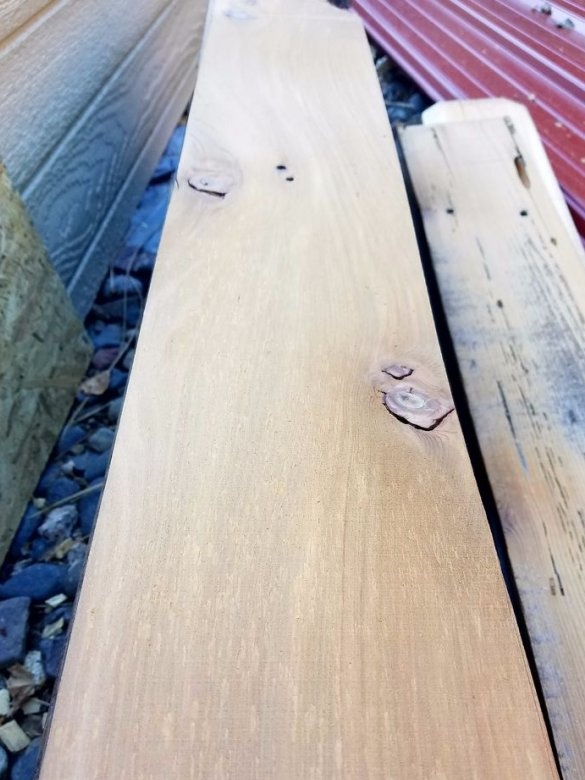
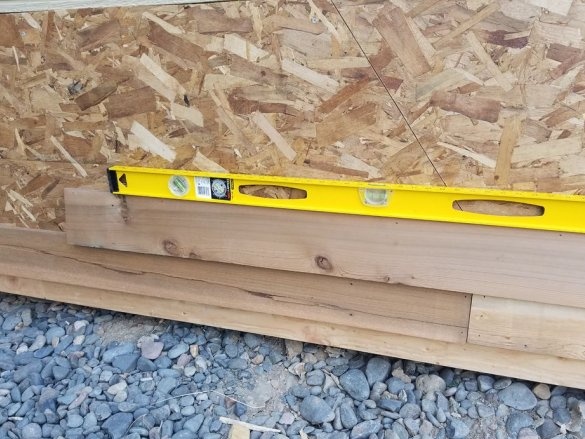
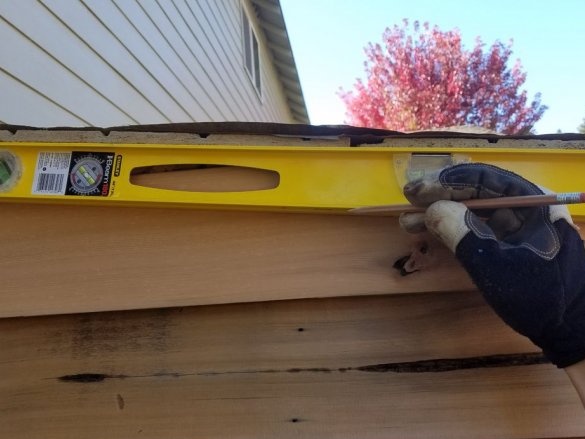
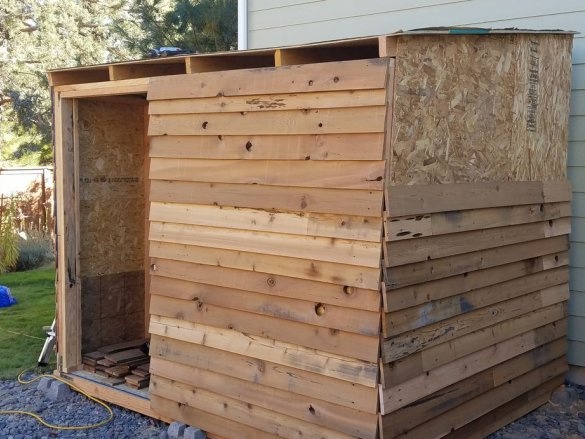
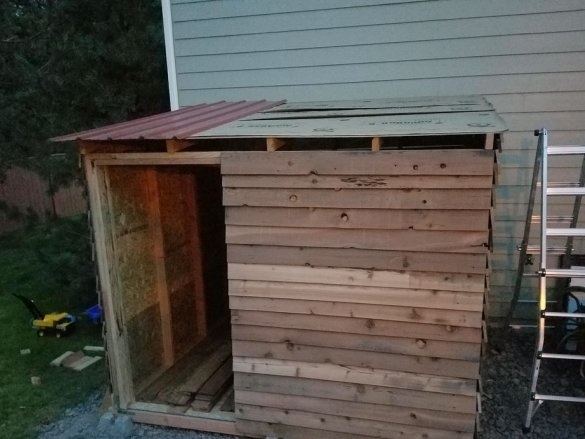
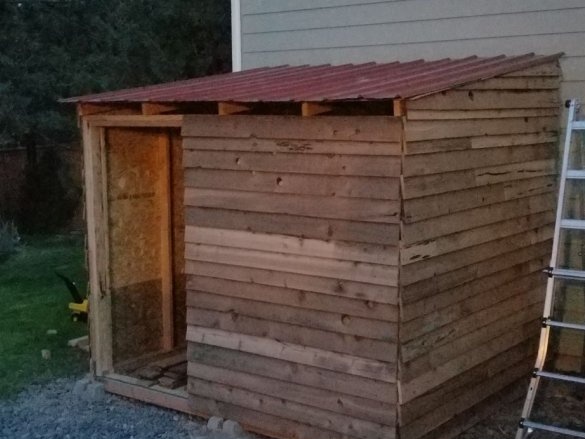
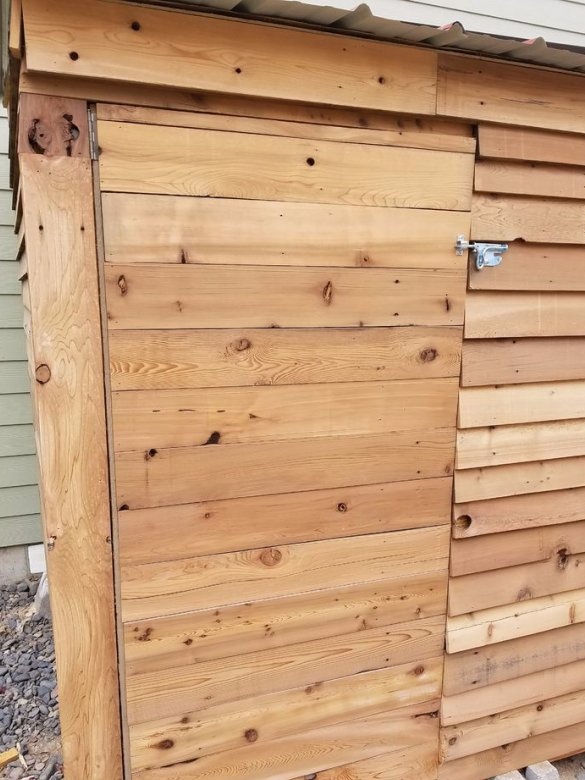
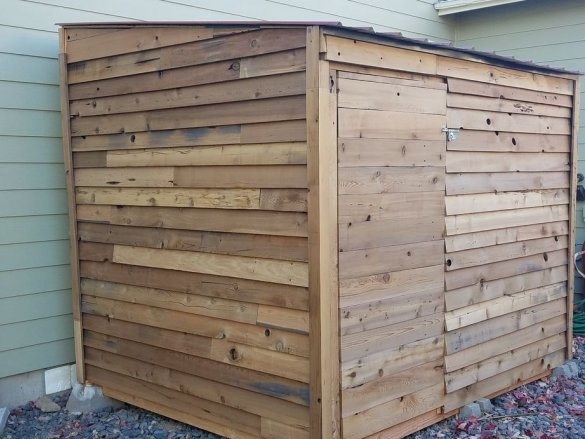
The thrifty author has, apparently after replacing the fence, a cedar board. He also decided to put this material on the skin of the structure. First I passed each board through the planer, and then secured them on the principle of attaching siding to the barn. To ensure that everything was smooth and tidy, I used a level during installation.
Step 5
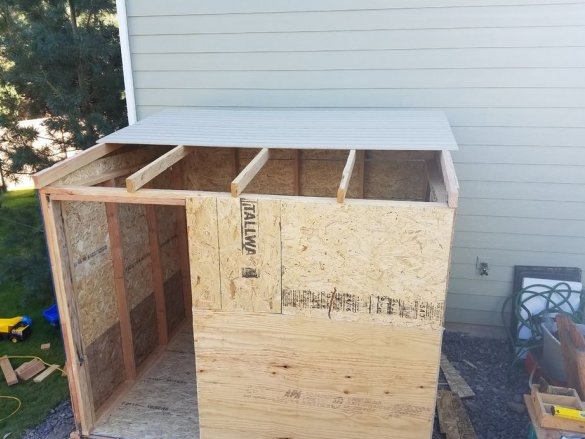
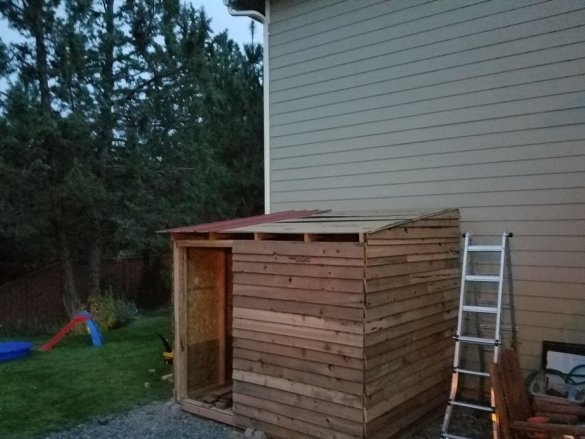
After covering the walls, we cover the roof with corrugated board.

