
Hello to all lovers to craft something do it yourself. Today in this article we will look at how to make a very interesting toy for both a child and an adult. Namely, we will assemble today a “mini radio-controlled boat”. Why mini? Because it’s winter and having assembled a full-size radio-controlled boat (1/10), you won’t be able to test it, well, or if you have a large pool at home. So the boat itself is extremely simple to manufacture, and will consist of components of “professional” radio-controlled models, which you can use later on in other homemade. Well, I think it’s not worth pulling with a long introduction, they drove.
Links to the main components of the homemade product can be found at the end of the article.
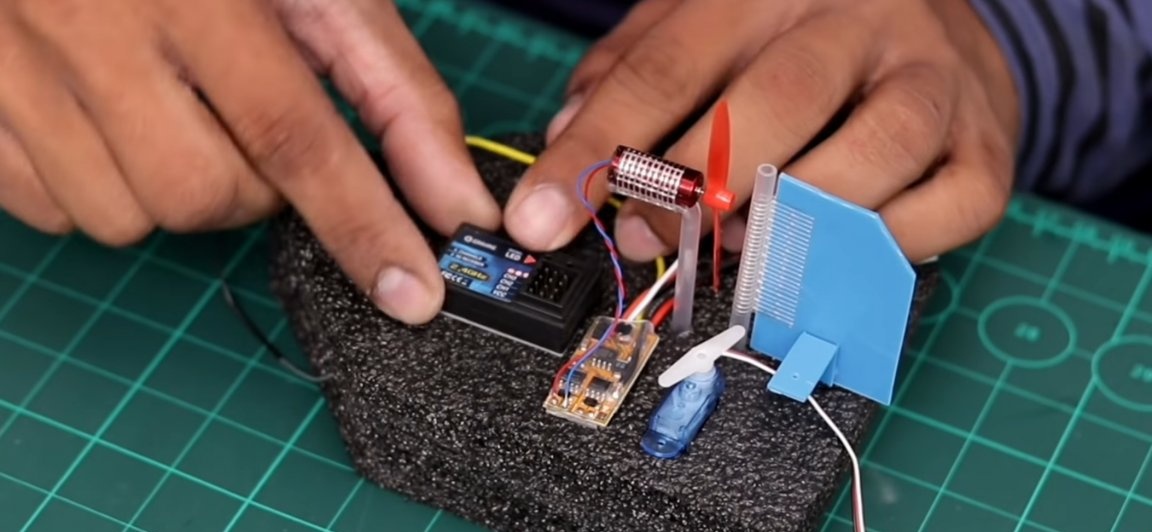
For a “mini radio-controlled boat” we need the following:
- A small sheet of something light and floating, for example; polystyrene, polystyrene, etc.
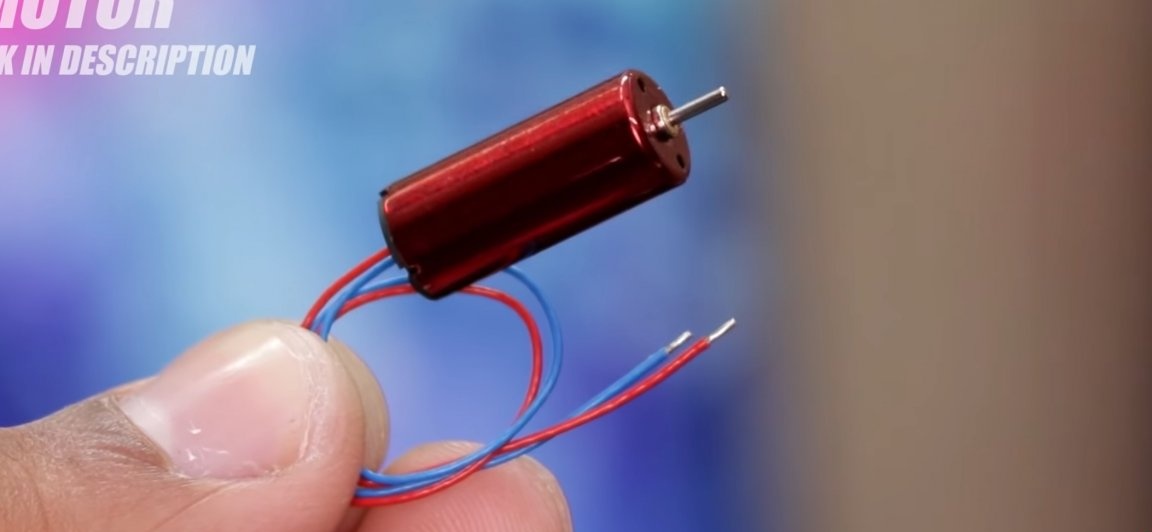
- electric motor
- A pair of rods from a ballpoint pen
- propeller
- A small piece of plastic sheet
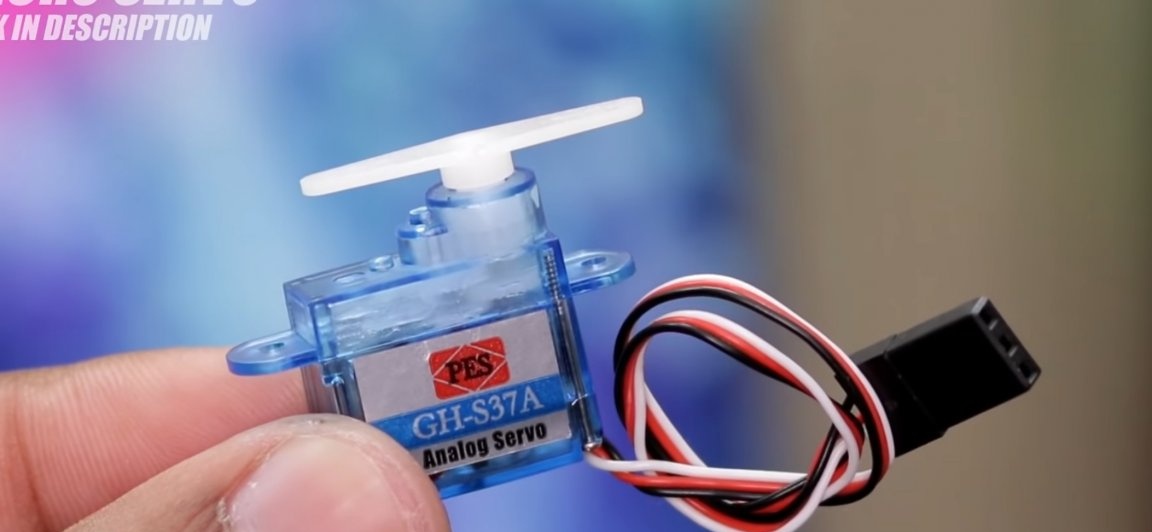
- Micro servo
- Engine speed controller
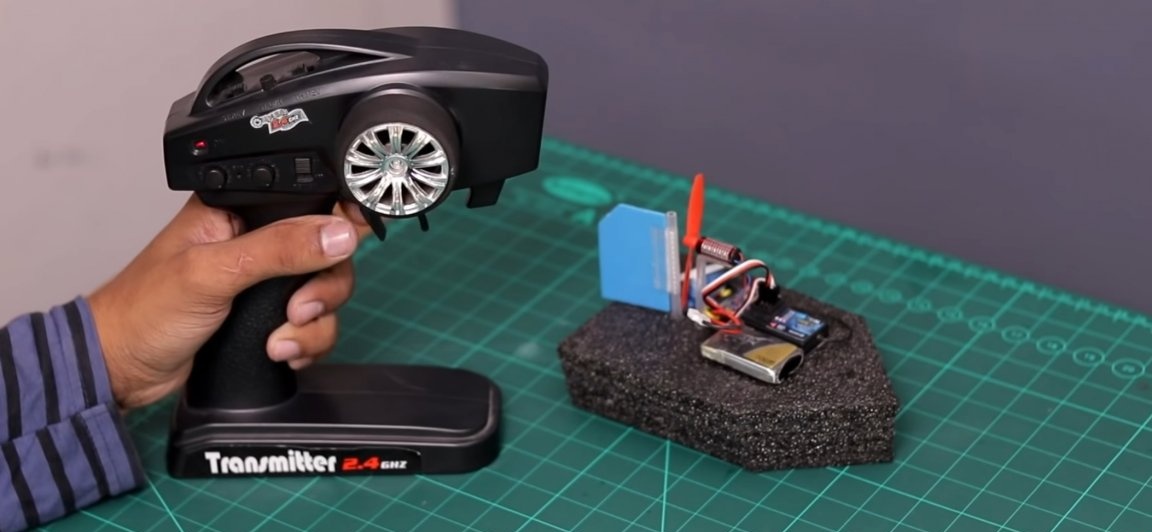
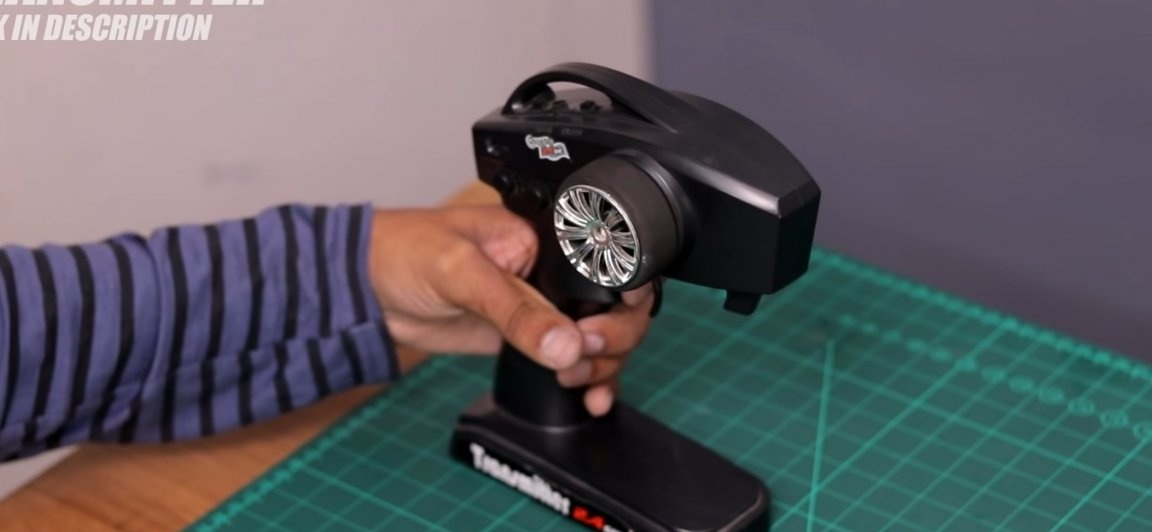
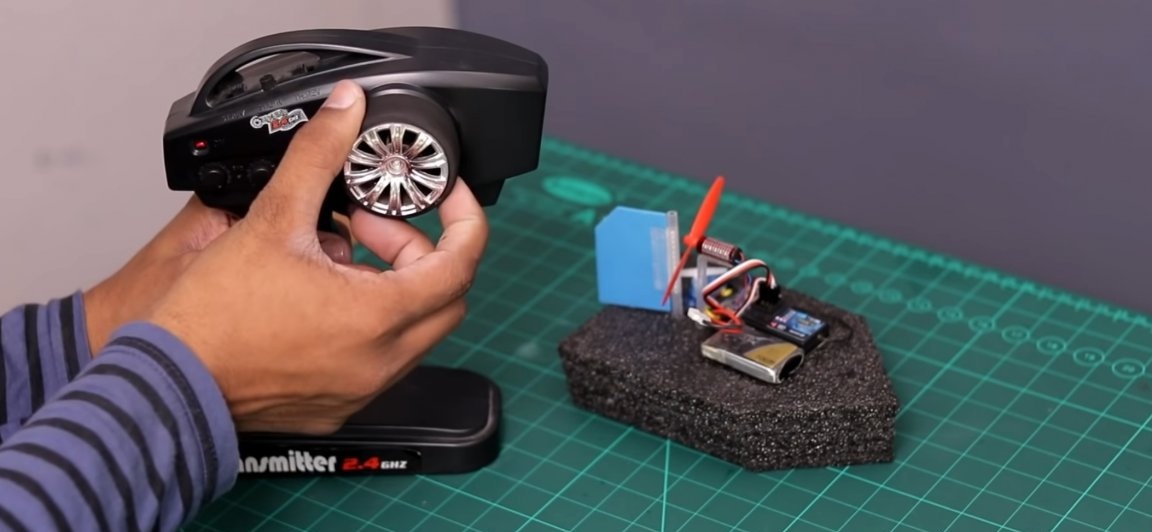
- Pistol-type radio control equipment and a receiver for it.
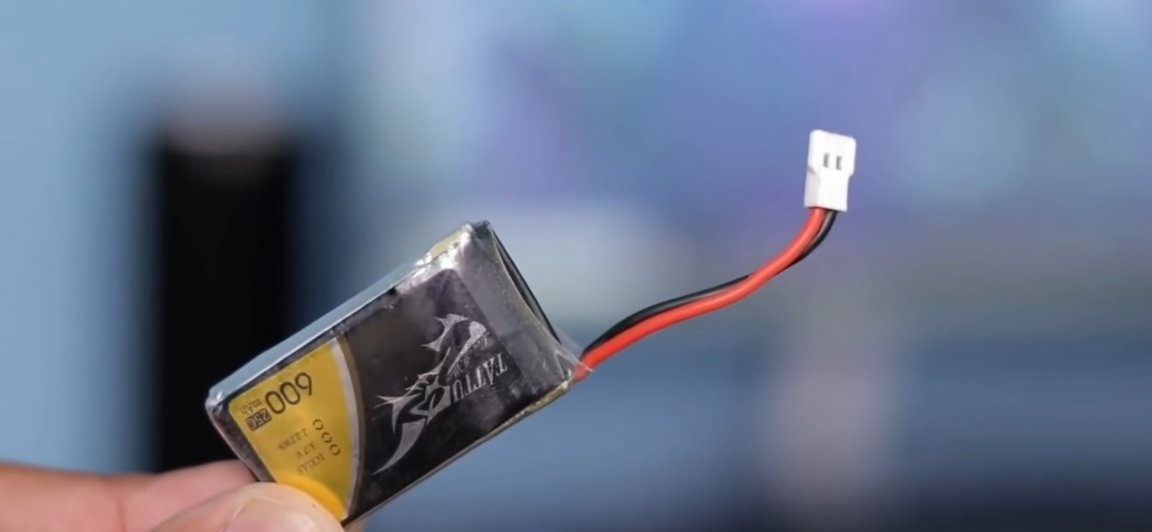
- Li-po battery at 3.7v
- A small piece of wire (or a simple paper clip).
From the tools you will also need:
- Soldering iron with soldering accessories
- Super glue (you can also use hot glue)
- Stationery knife
- Reinforced and double adhesive tape (It is best to use adhesive tape from "3M")
- Lighter or technical hair dryer (Something to heat plastic with)
- A small screwdriver.
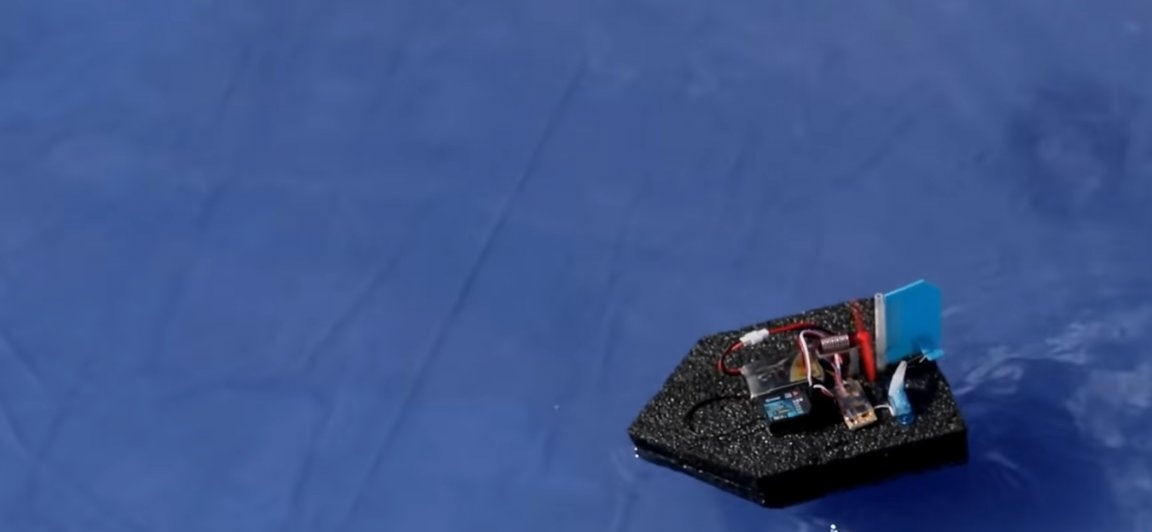
We proceed to the assembly of the "mini radio-controlled boat." The first thing we need to do is probably make the most important element of homemade work, namely the boat itself, on which to install all of the above components. The author took as a basis material similar to polystyrene foam, but you can use any material with similar properties, for example the same polystyrene (which, by the way, also has a large number of types).
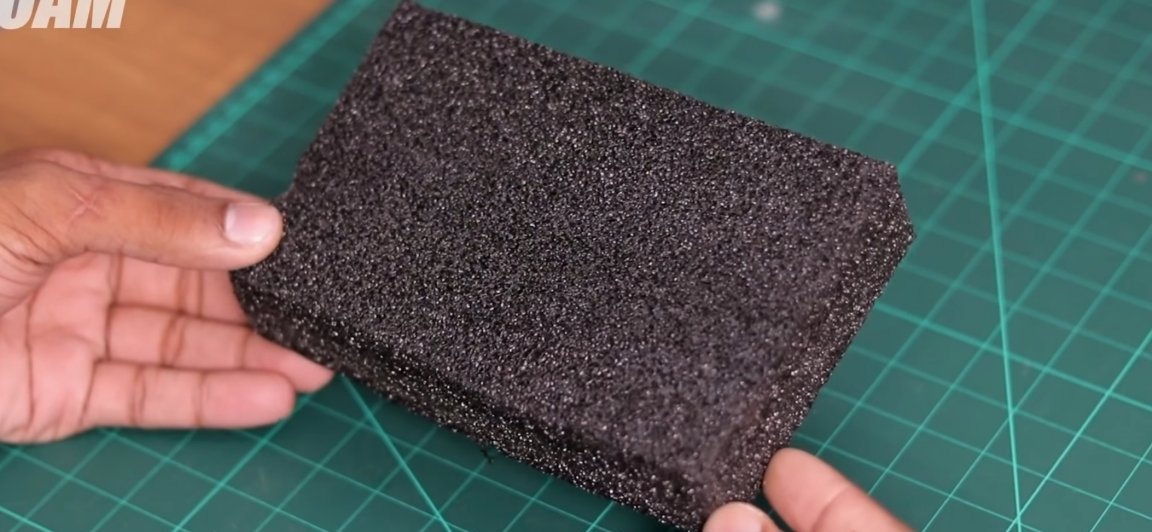
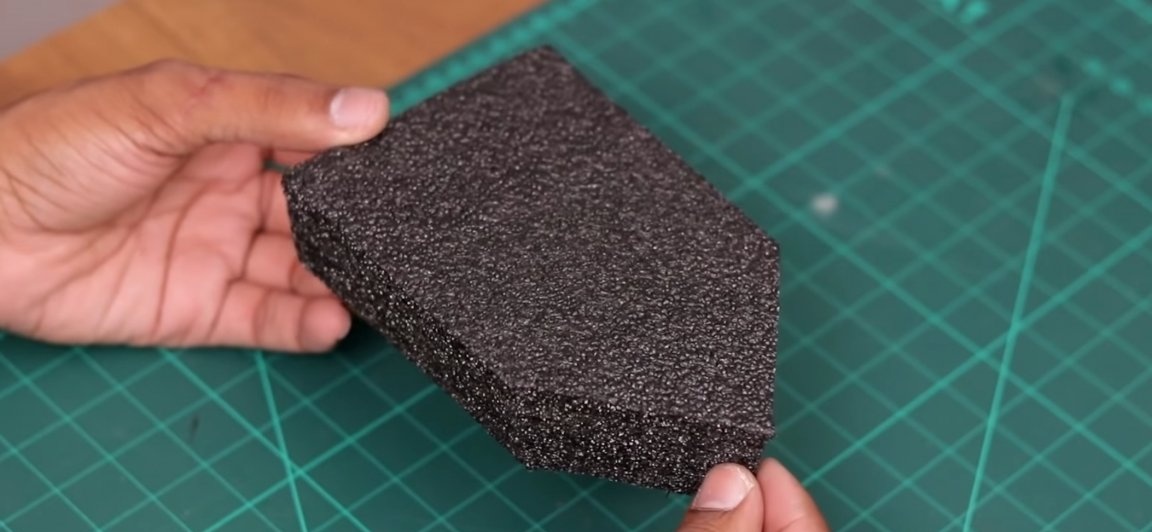
Having decided on the material of the main part, we proceed to its formation, and bringing it to a form resembling a boat. You can at this stage make the shape and size of the boat the way you like, you can play the engineer yourself or look for drawings on the Internet. The author, with the help of an ordinary clerical knife, cut an ordinary primitive boat (see photo)

Then we pass to the motor part.Namely, we will need an electric motor, for which we should make a “motor frame” on which it will be located. It is worth noting the fact that the electric motor will be used from a micro quadrocopter.
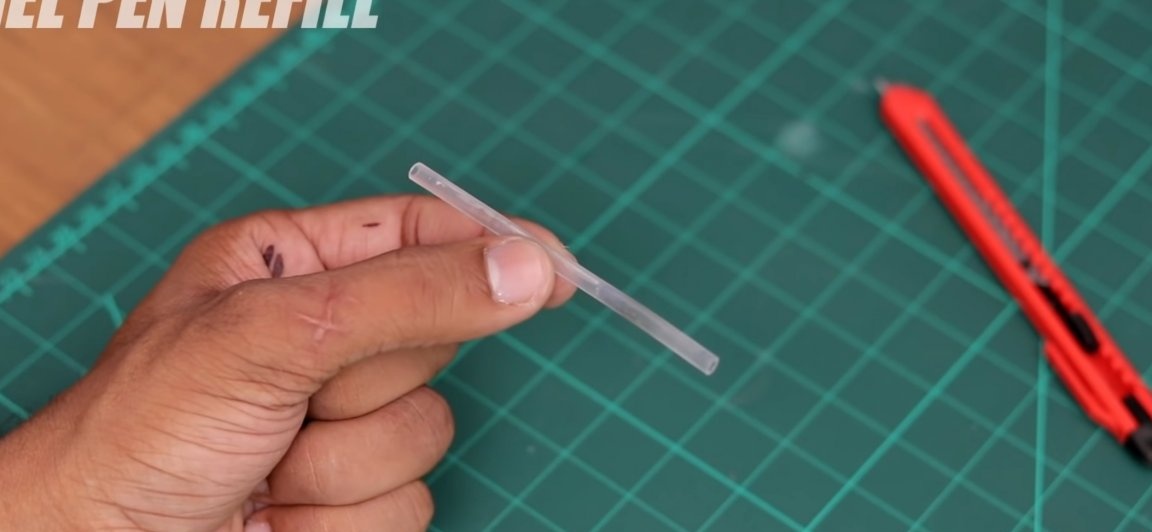
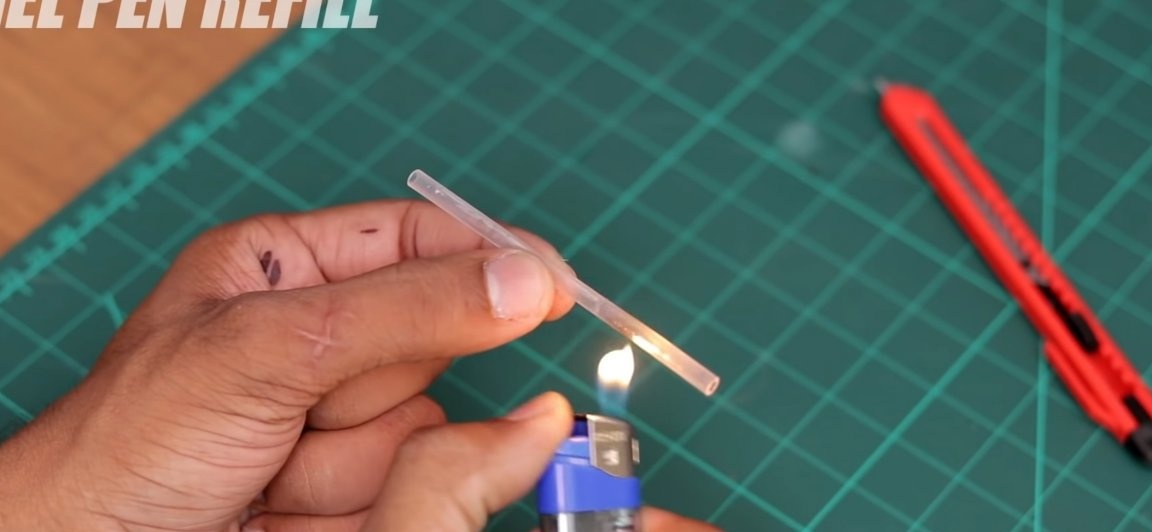
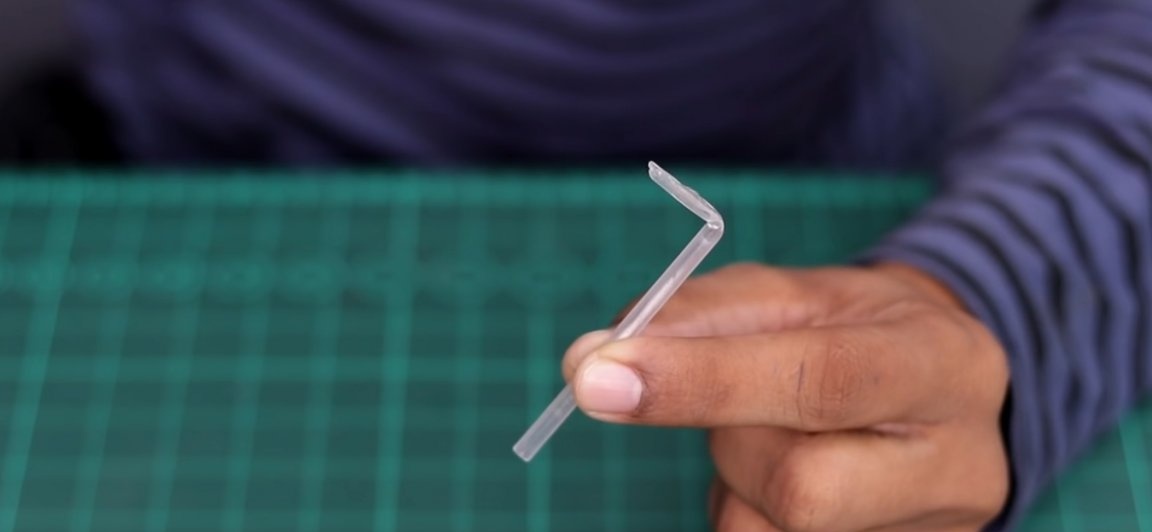
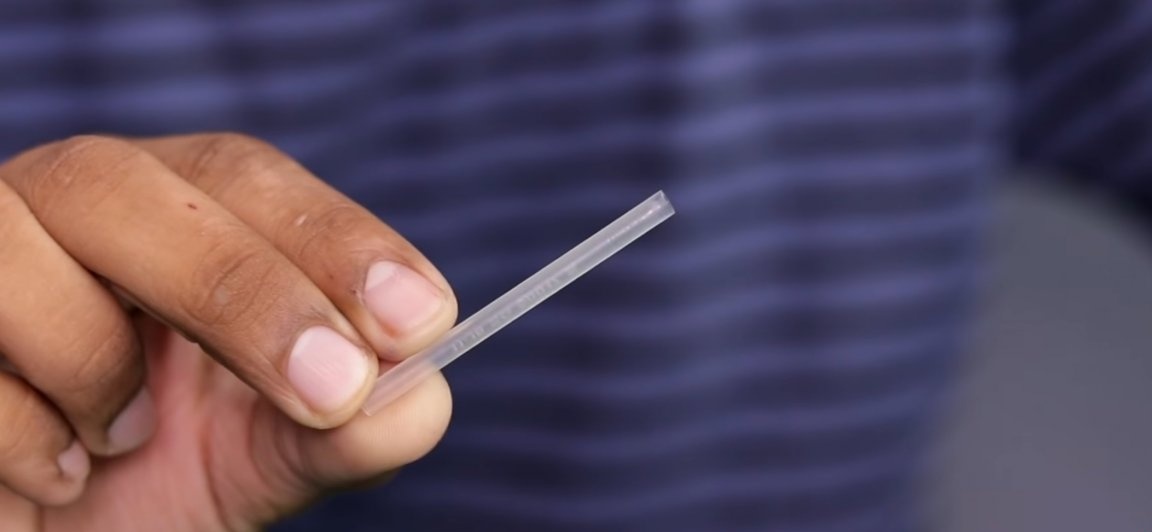
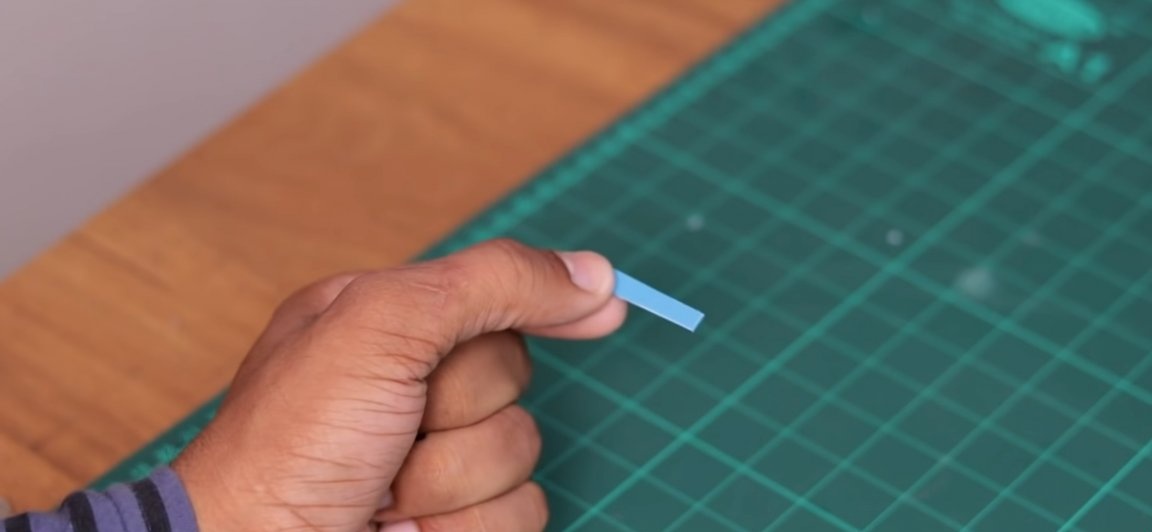
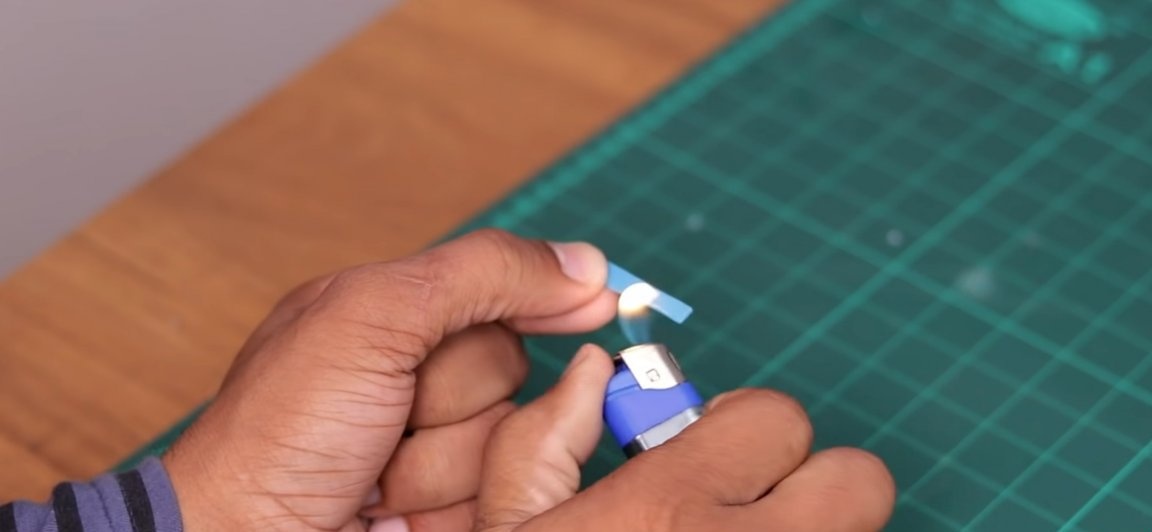
For the manufacture of the “engine mount” we take the rod from the ballpoint pen, from which we take out the metal tip. And we wash the rod under running water from the remnants of ink. Then stepping back from the edge of the rod, a couple of centimeters and slightly heat this place with a lighter (be careful not to overheat the rod!). While the core has not cooled, we bend it in the place where it was just warmed up so that you get a “G” shaped part.
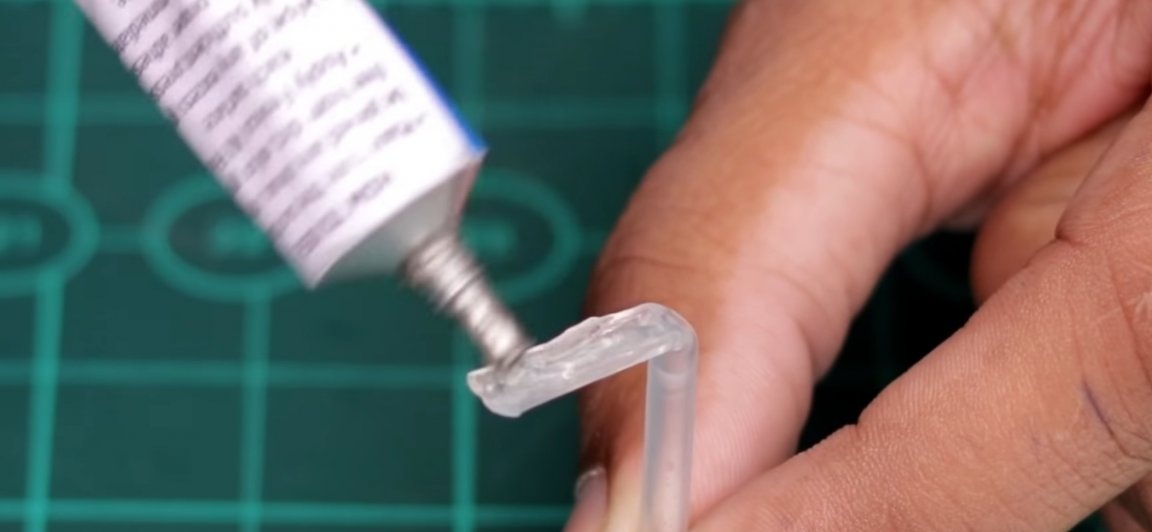
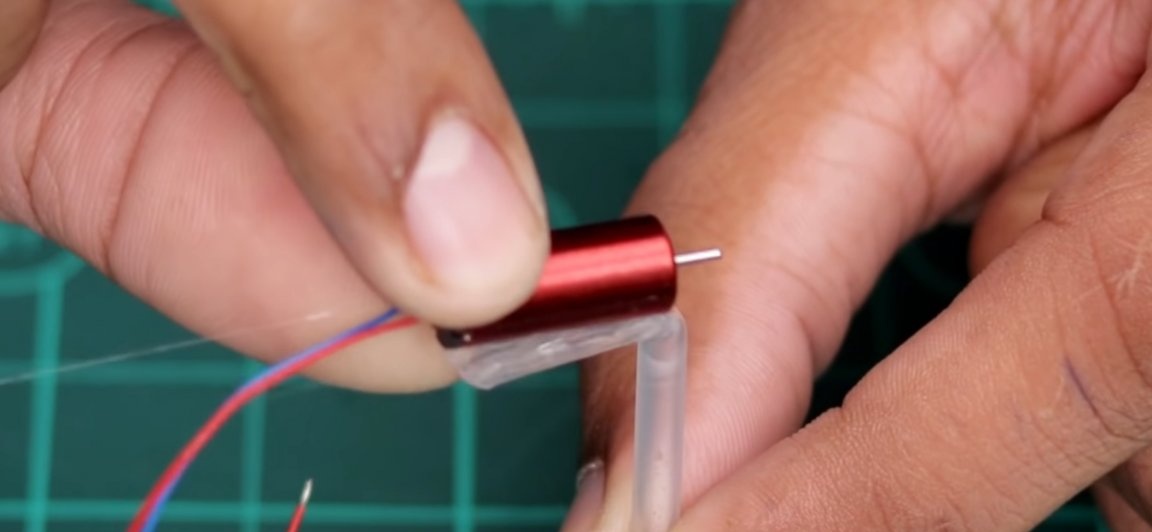
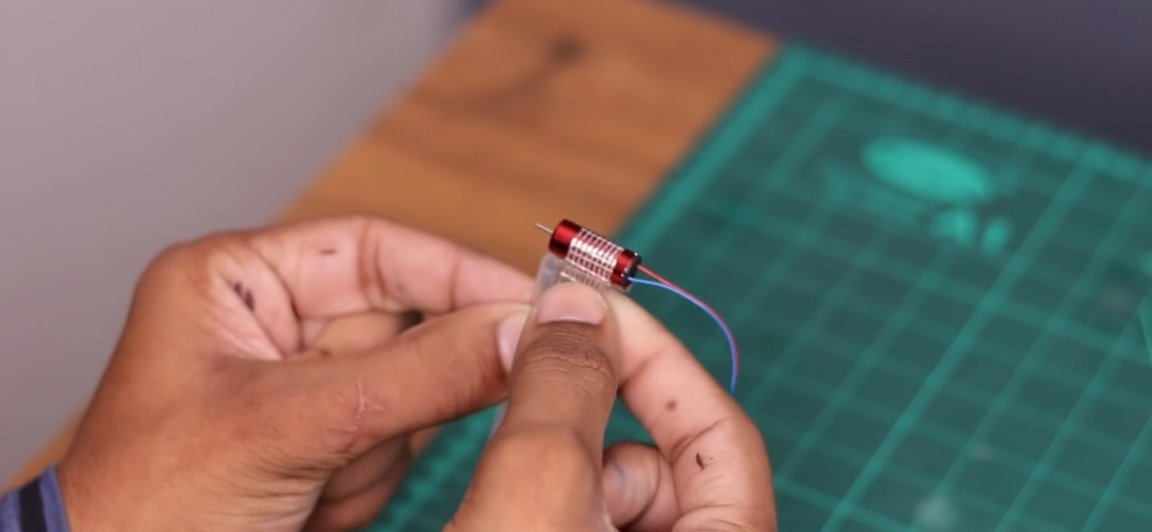
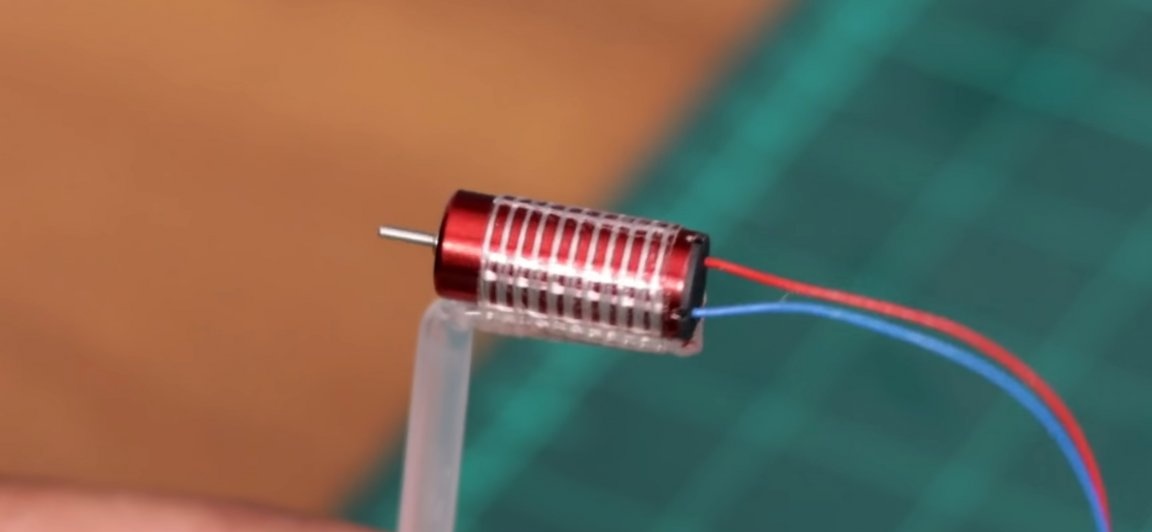
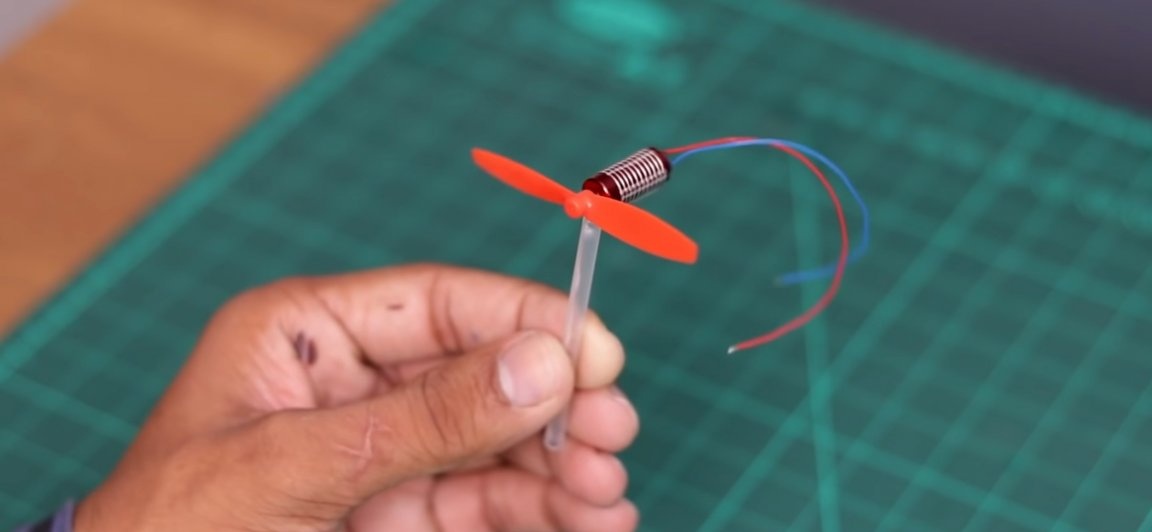
We fix the electric motor to the just-made “G” shaped part (“motor frame”). To do this, first put a little glue on the short of its ends, and then glue the electric motor so that its shaft is closer to the axis of rotation of its mount. In order not to wait for the glue to solidify completely, and of course, for a more reliable connection, we wind a small strip of reinforced adhesive tape to the engine.
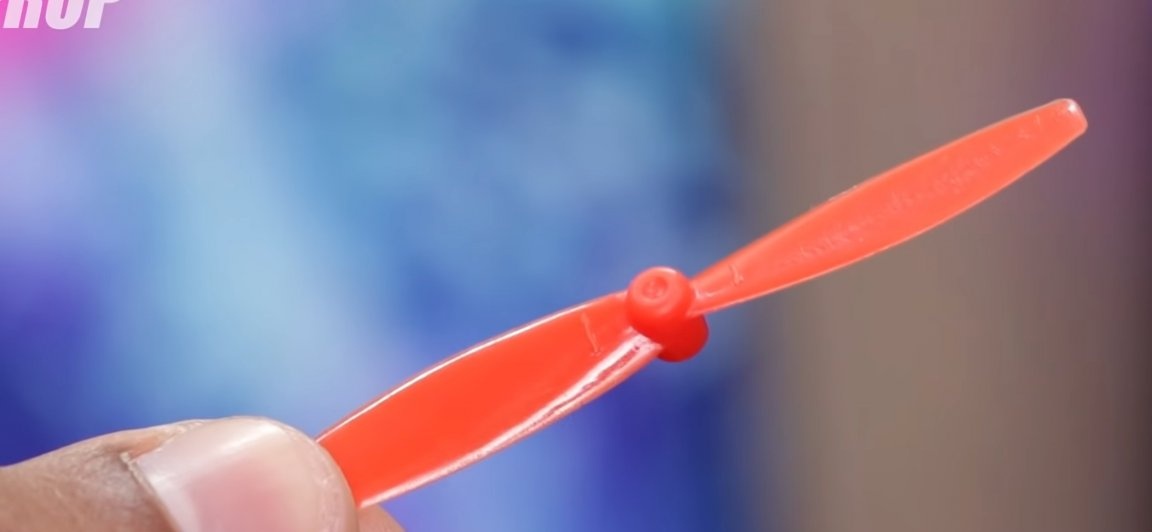
And of course, we fix the propeller (from the micro drone) on the shaft of the electric motor.
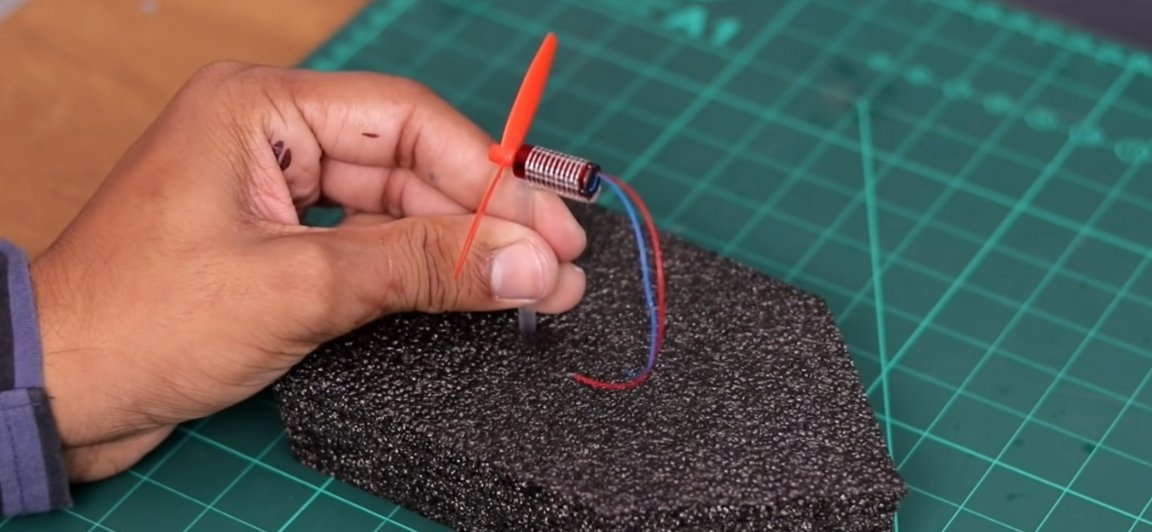
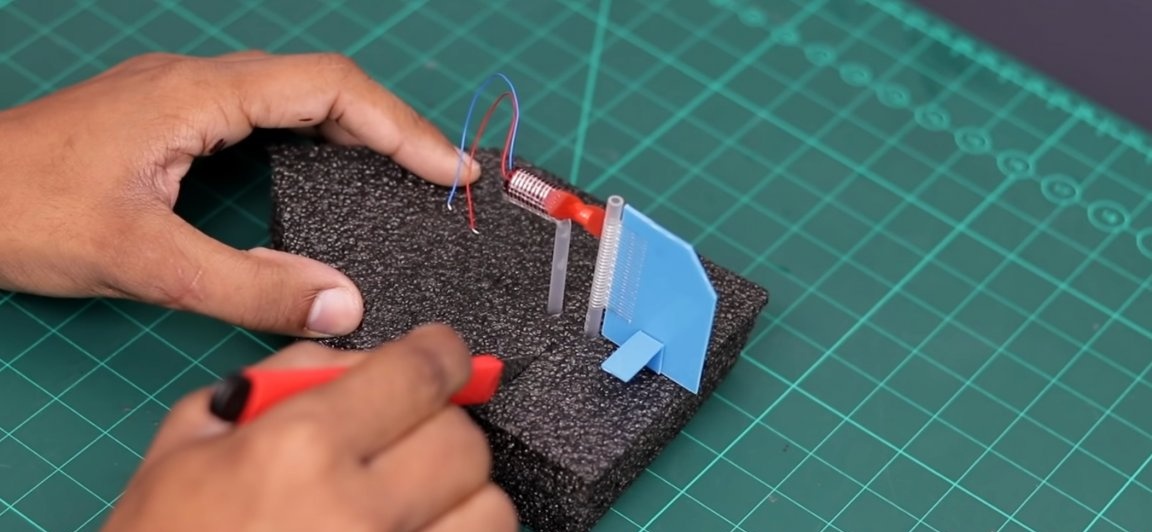
Then the “engine mount” with the electric motor should be fixed on the boat. To do this, use a small screwdriver in the center of the rear of the boat to make a small hole. Insert the “engine mount” into the hole just made. It is important that the hole is such that the "engine mount" enters the hole with little effort, and not just fails.

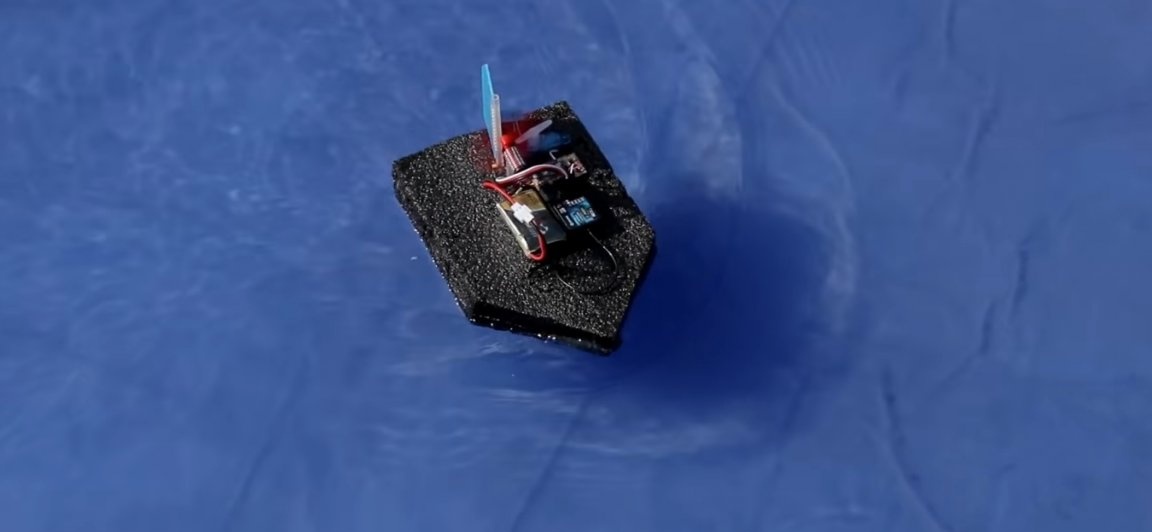
The next step is to manufacture the steering wheel. And for this you should take a small piece of sheet plastic (well, for example, such a piece can be cut from the old packaging from a DVD disc). From this “raw material”, exactly the same pentagon (a rectangle with one of the ends cut off) should be cut out as in the photo below.

Take another rod and do the same steps with it to clean it as with the first rod. Using a small piece of reinforced tape, we will connect the rod and the previously prepared plastic blank, so that the blank looks like a “flag”.


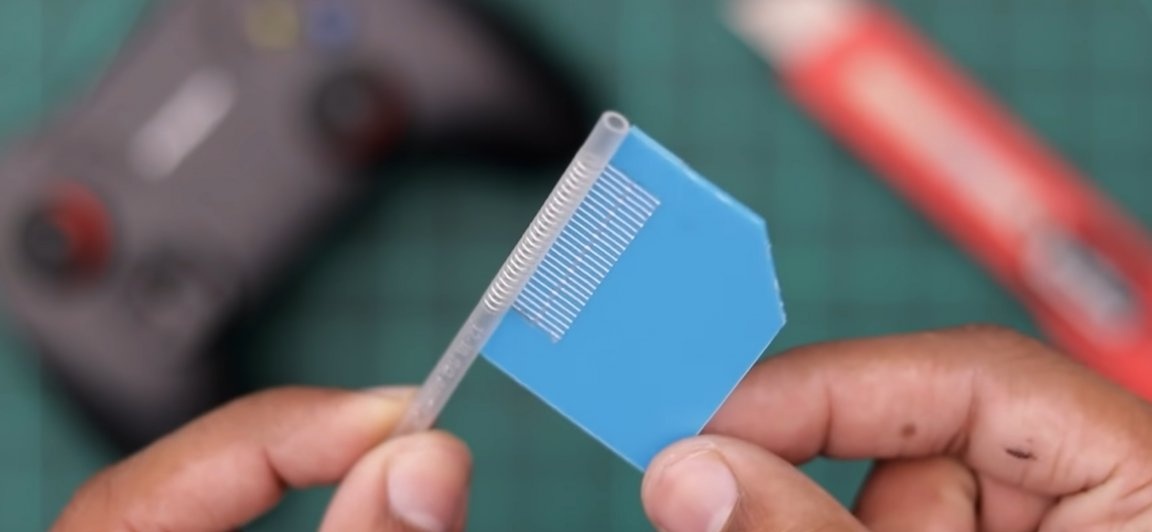
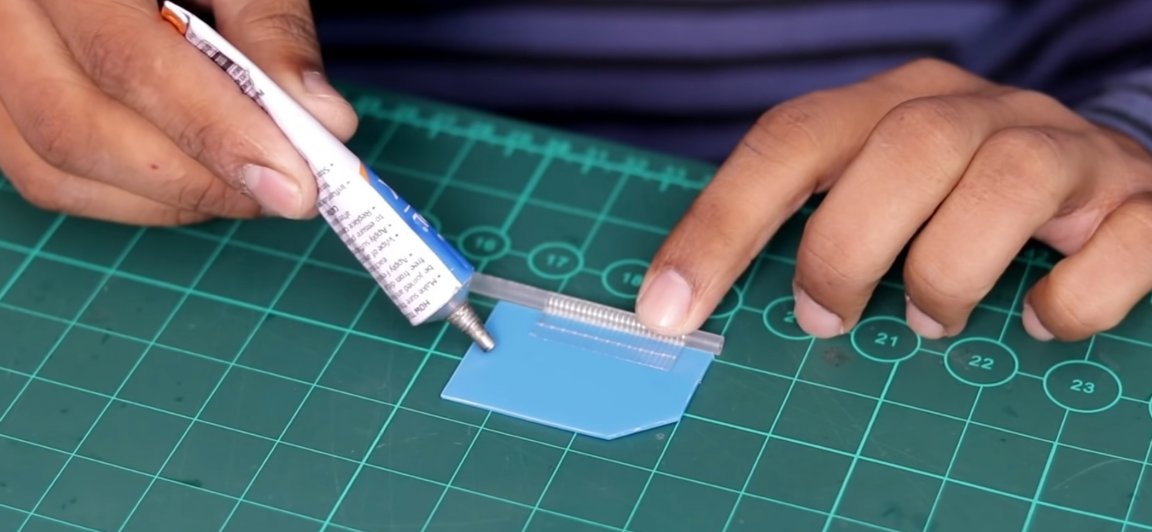
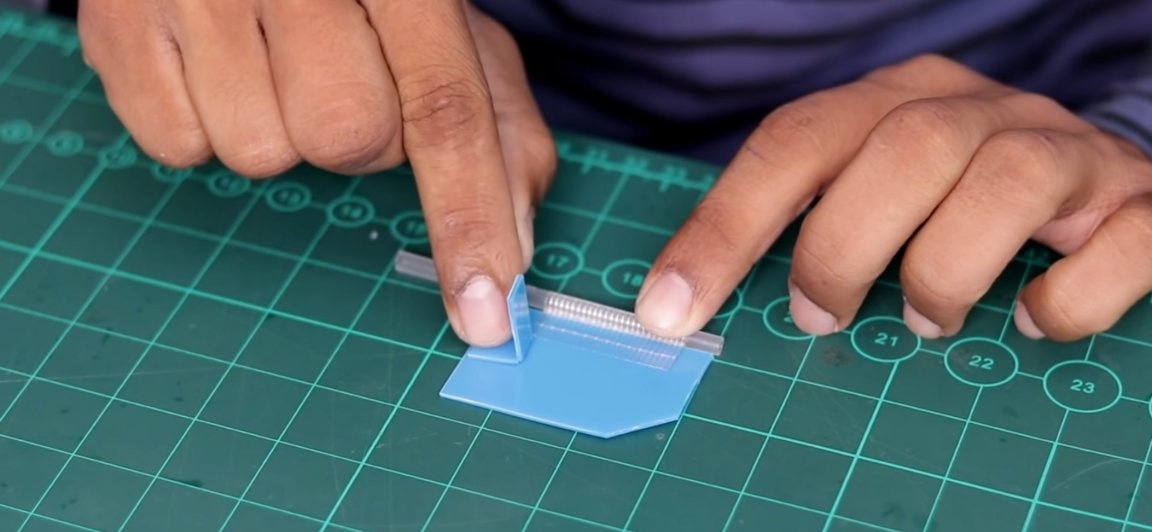
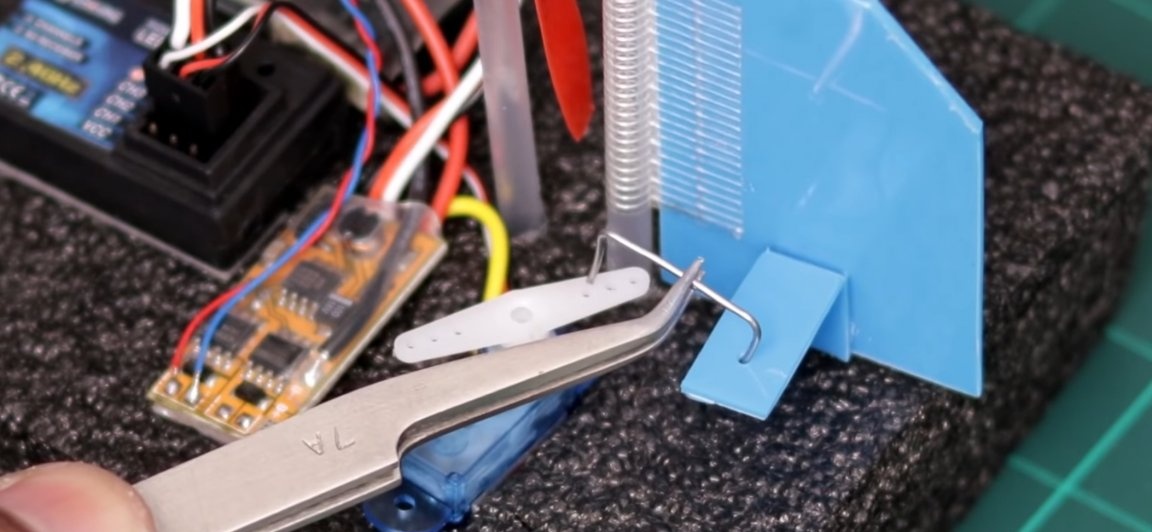
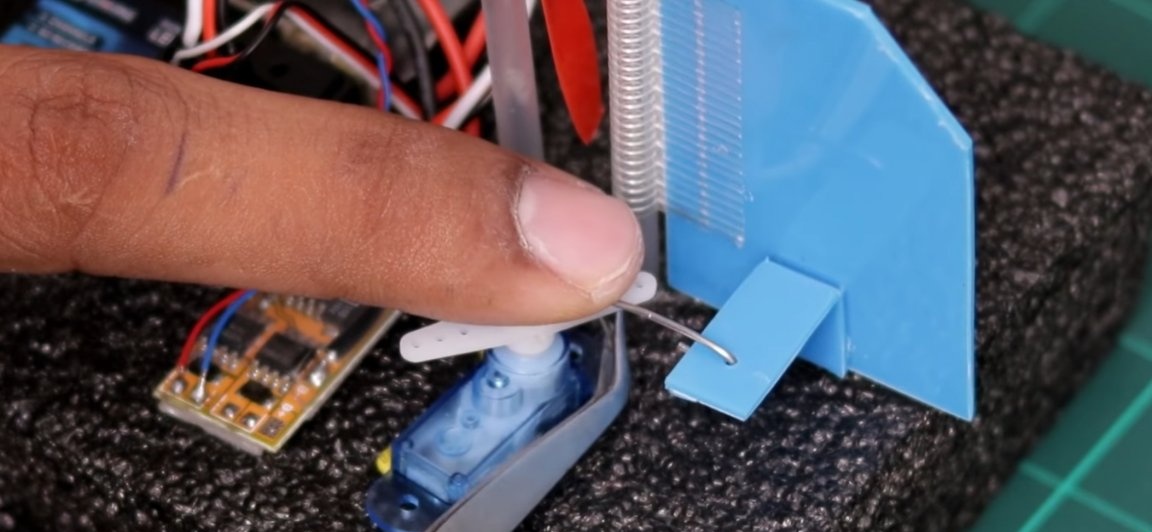
In order for the servo to control the steering wheel, a special “eye” should be attached to it. For this, a strip should be cut out of previously used plastic, which should be warmed up and bent to form a “D” part. We glue this part with glue to the steering wheel instead of the one shown in the photo below.
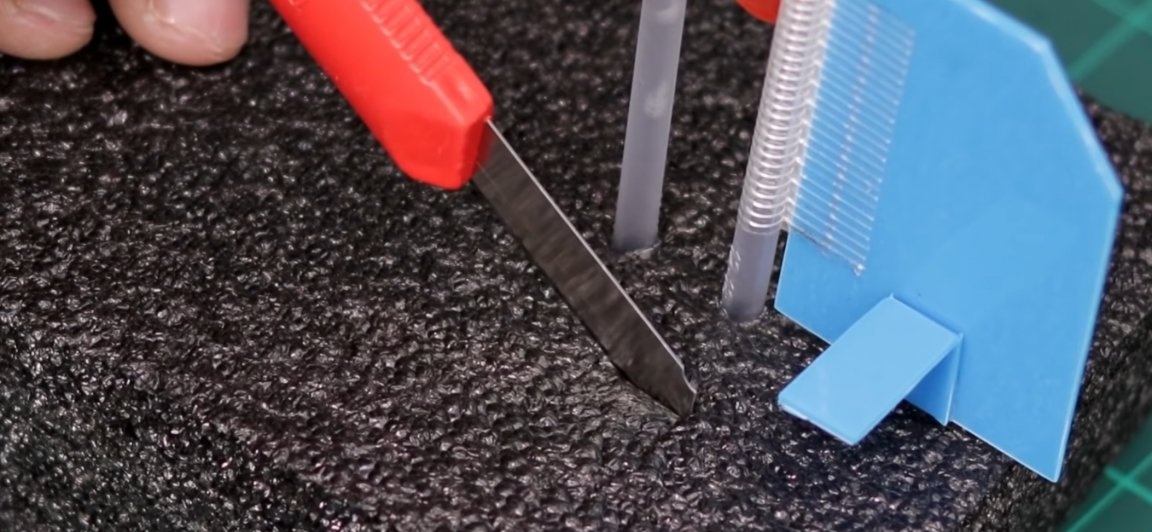
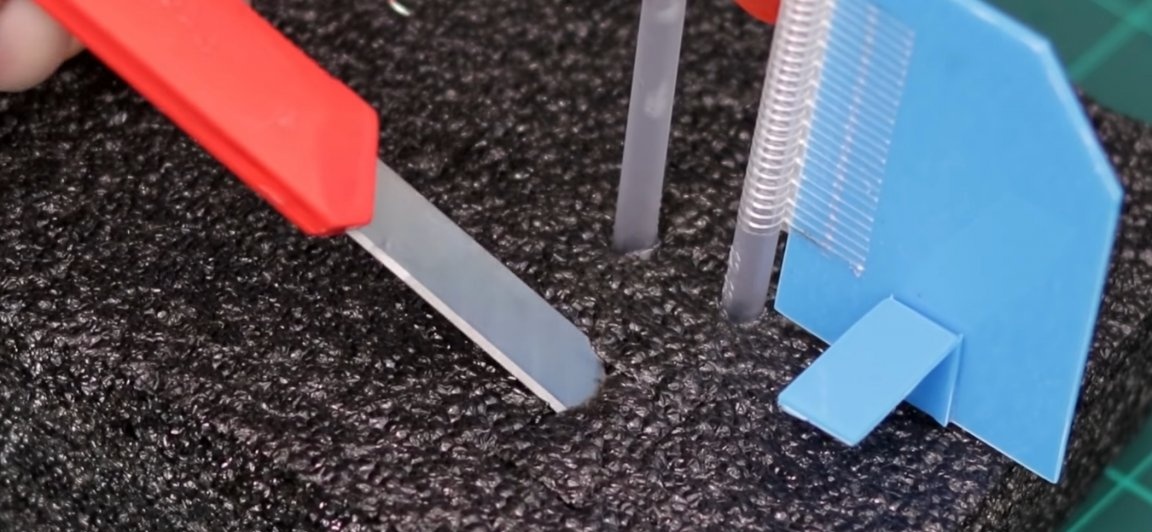
For the steering wheel, in the same way as for the “engine mount” we make a hole in the boat, but already behind the engine (see photo). We insert the workpiece into the hole just made and proceed to the next step.

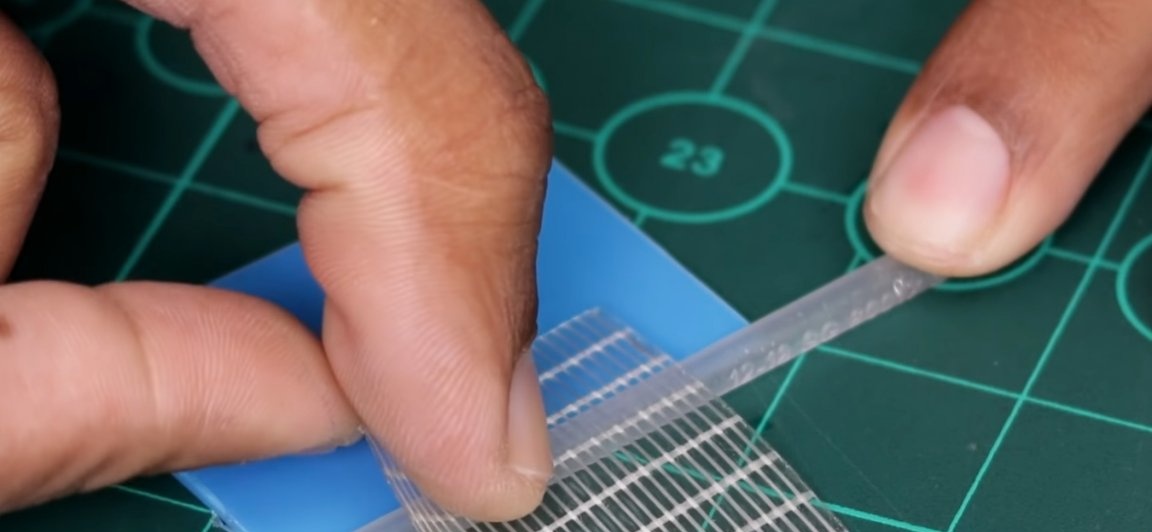
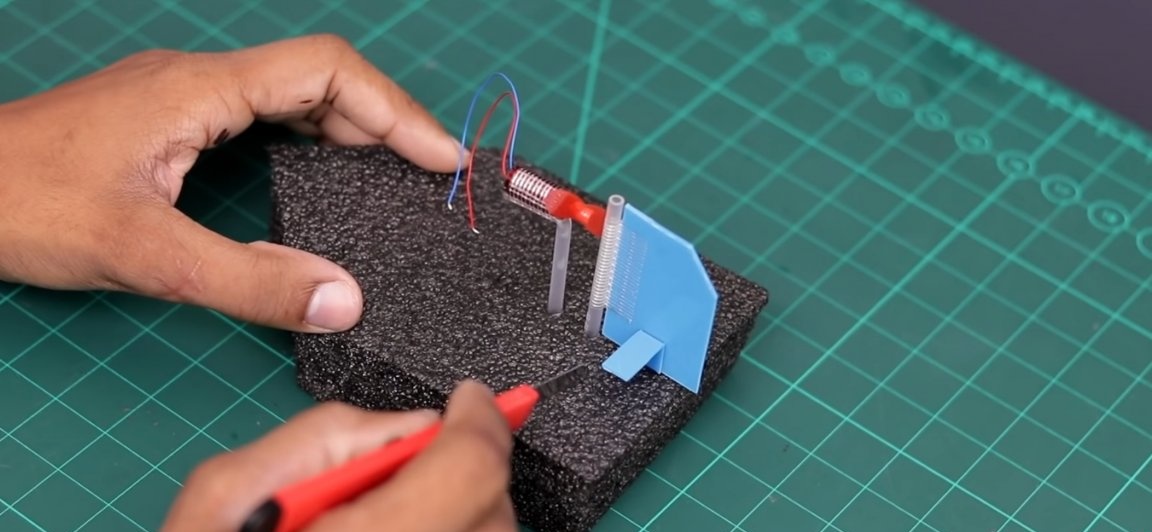
The next step is to install the servo. To install the servo on the boat, cut the landing hole under it. It will be most convenient to cut with the help of a clerical knife, repeating the steps indicated in the photo below. And install the servo in its place.
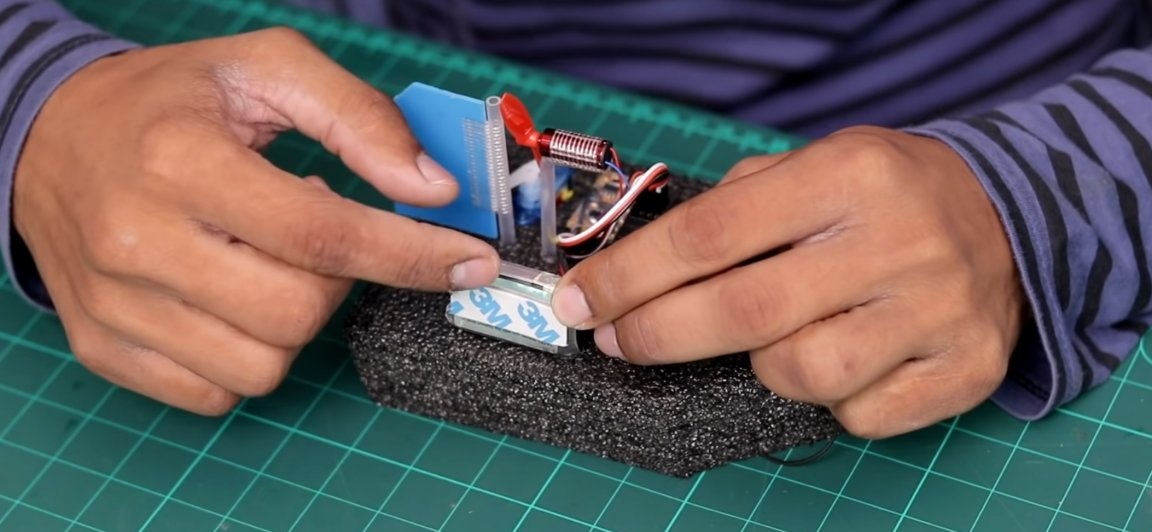
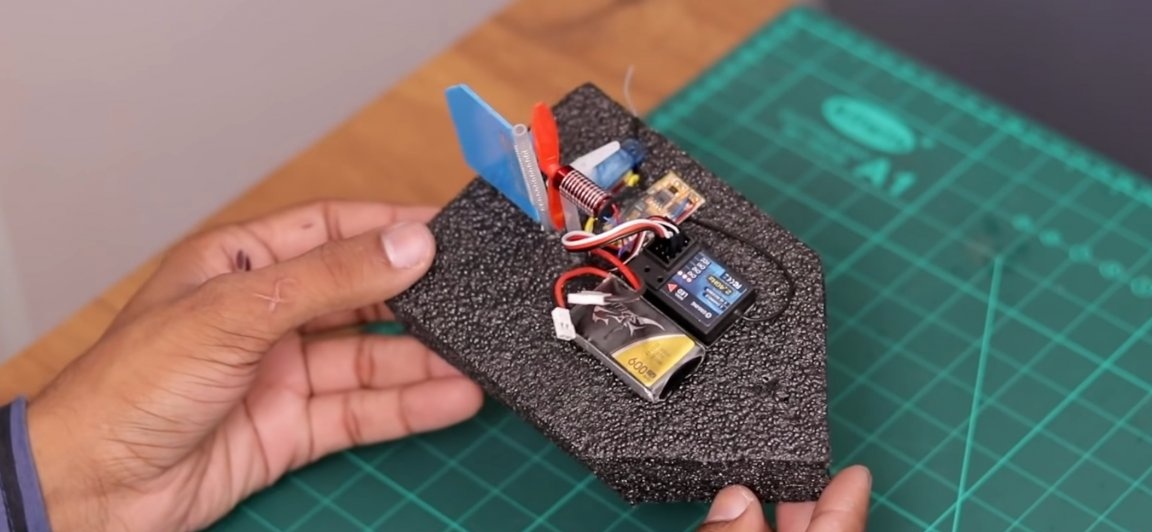
Then you should install the motor speed control on our boat. To do this, glue a piece of double-sided tape on the regulator and then glue the regulator itself. Of course, this is not enough for the regulator to work, therefore, wires coming from the electric motor should be soldered to the “outlet” on the regulator using a soldering iron (polarity does not matter in this case).


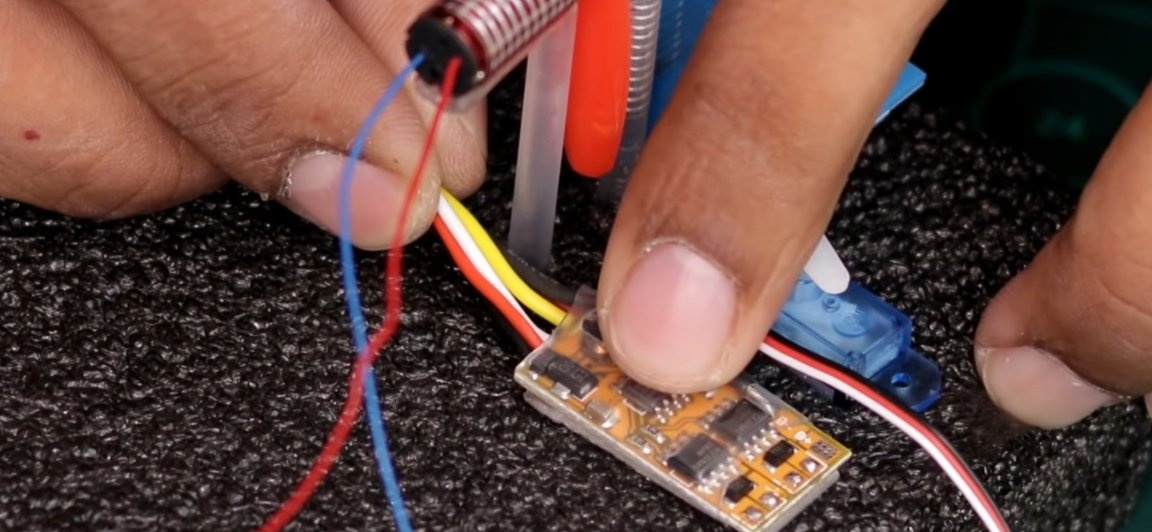
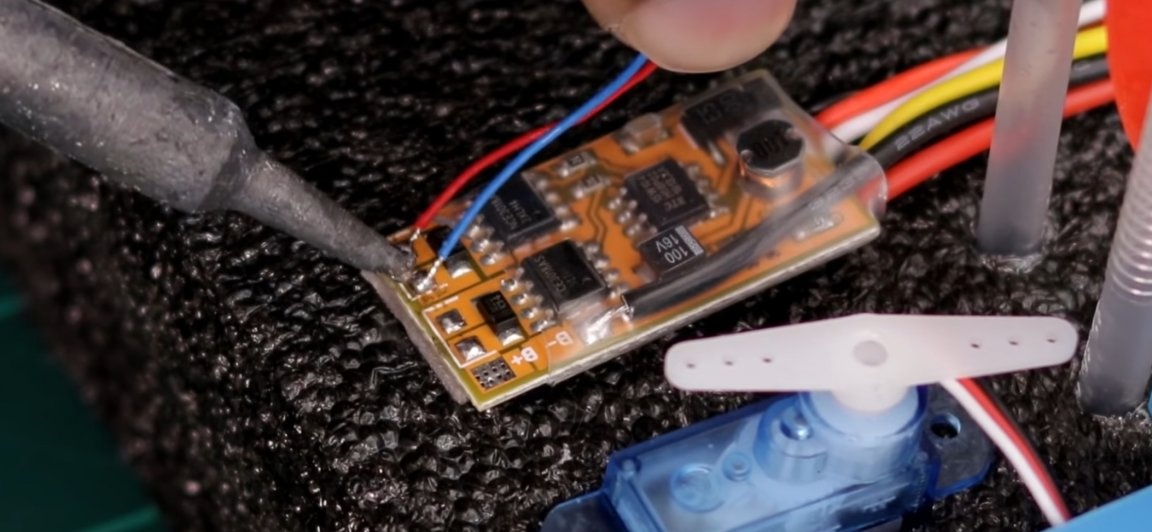
Then we fix the receiver from the radio control equipment. It is worth noting the fact that the receivers, as a rule, do not have any kind of water protection, therefore it is necessary to provide it. The easiest way to do this is to “fill” the board with nail polish or special plastic 71. Only after the receiver has been waterproofed, do we install it on the boat using the same double adhesive tape used earlier.
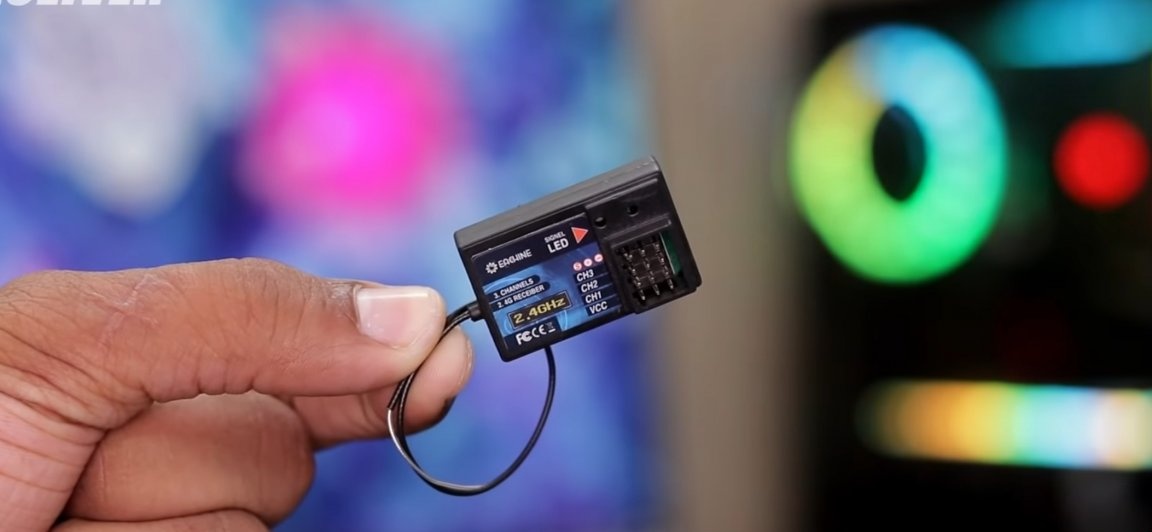
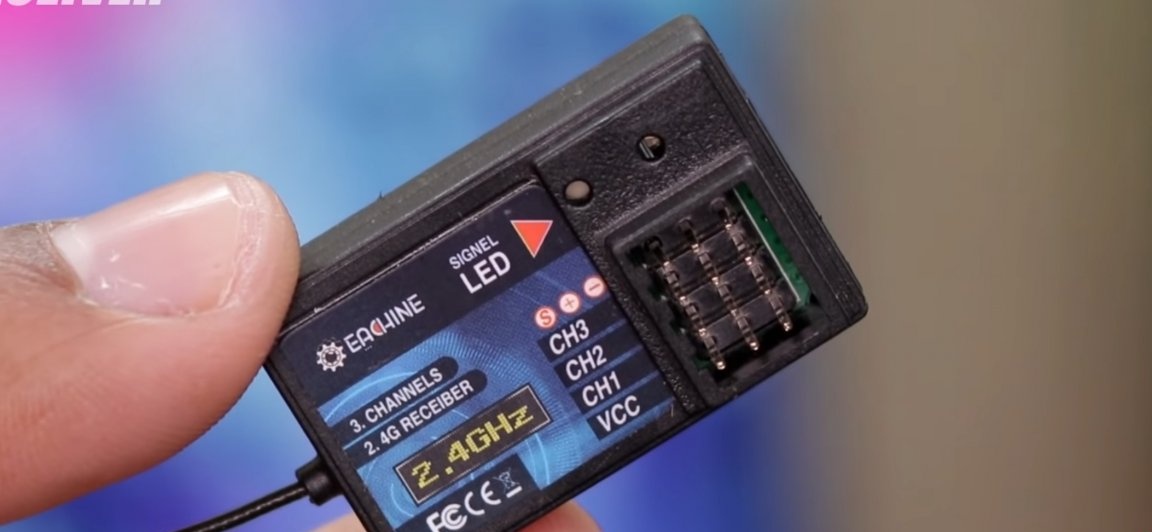

We connect a servo drive and a regulator to the receiver.The servo drive is connected to the first channel of the receiver, and the controller, respectively, to the second channel.

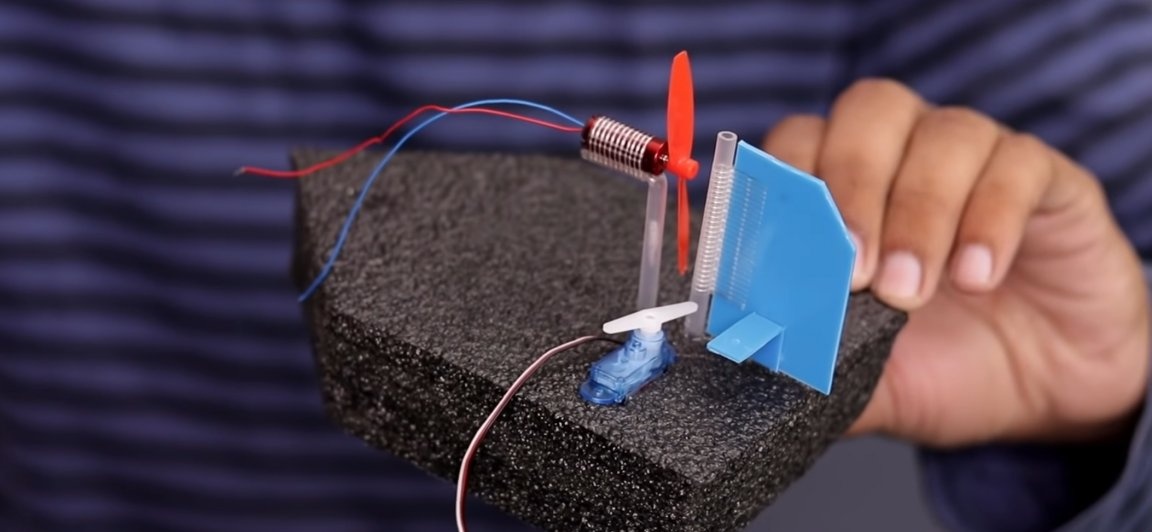
Then we install and fasten the battery on the boat using double Li-po tape. After that, you should make the steering rod, for this we take a paper clip, unfold it and bend exactly the same detail from it as in the photo below.
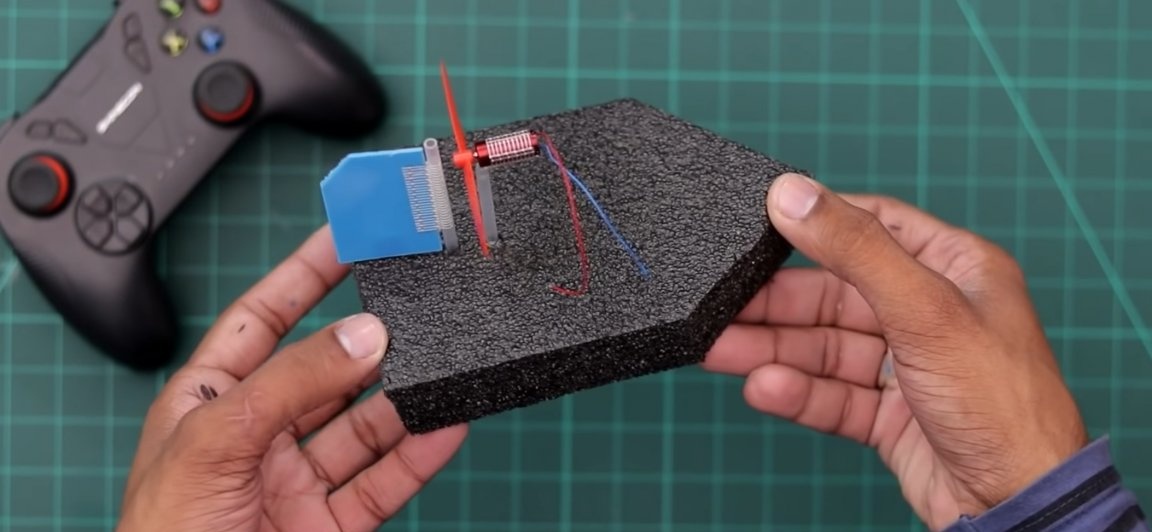
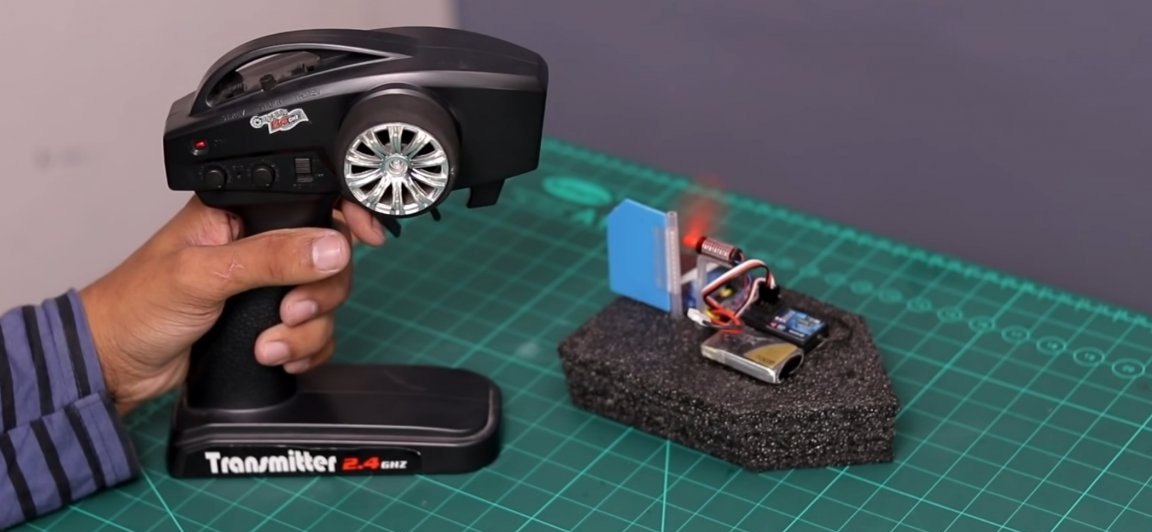
All is ready! But do not rush to fill the bathroom, since before the first swim you should calibrate and adjust. To do this, first turn on the equipment, then the battery to the regulator, pull the trigger a couple of times and everything should connect to you.
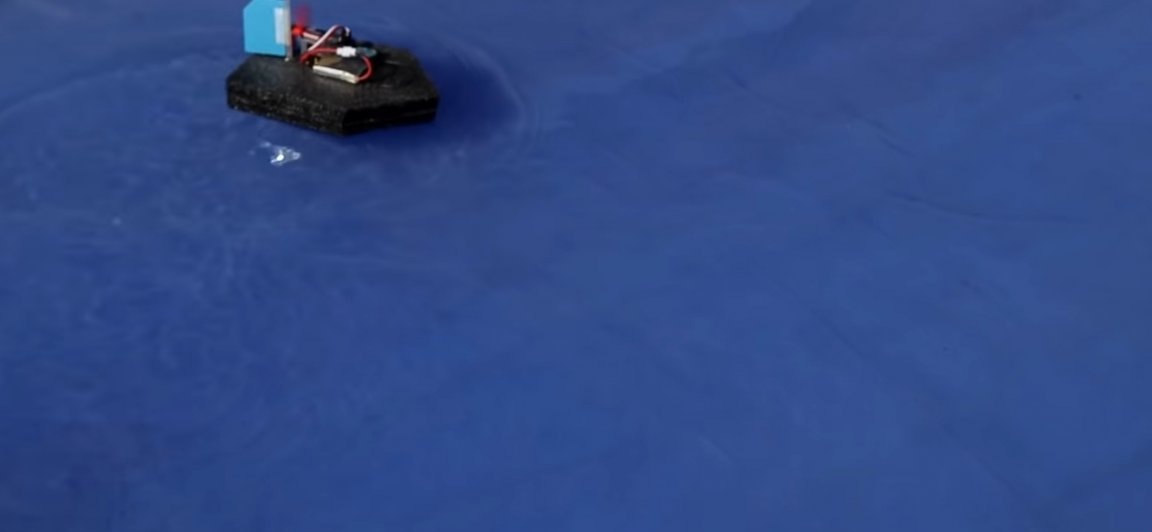
Perhaps the engine will begin to spin and the steering wheel will turn. Therefore, you should set the trimmer responsible for the gas set in such a position that the engine stops. We adjust the steering wheel as follows: on the equipment we set the zero position of the steering trimmer, unscrew the rocker from the servo drive and set it so that the steering wheel is level. Then you can swim!
You can purchase accessories that can be useful for assembling this homemade product here:
Radio control equipment
Micro servo
Electric motor
Speed control
Battery
Here is a video of the author of the homemade:
Well, thank you all for your attention and good luck in future projects, friends!