Remember what it was like
robotvacuum cleaner "Cybernetics" in the book of N.N. Nosova "Dunno in the Solar City"? Did he have to be reminded that it was time to get to work? Now that such devices have become a reality, it turned out that it is necessary. Take the remote control and press the button on it. The hero of Pachkul’s work Pestrenky, having seen this, would have surely noticed: “What kind of automation is this, if you need to press a button, if only he would have it without any buttons.” The author of Instructables under the nickname ShaperG also thought so. And did
do it yourself device for starting a robot vacuum cleaner on a schedule.
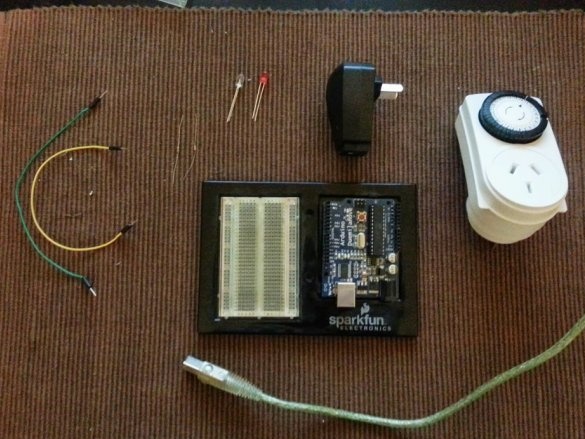
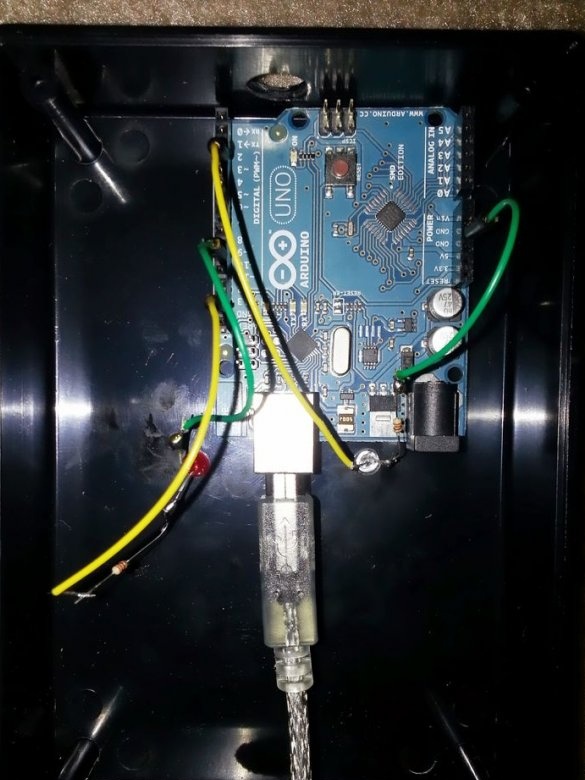
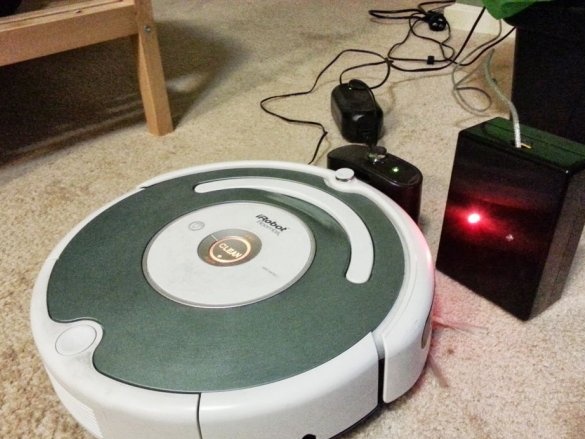
Homemade consists of a mechanical timer to turn on various electrical appliances on a schedule (Ikea or any other), a power supply,
Arduino, breadboard type breadboard and dupont jumpers (optional, you can connect everything by soldering), two LEDs - visible glow and infrared, two 330 Ohm resistors, Sparkfun housing or any other.
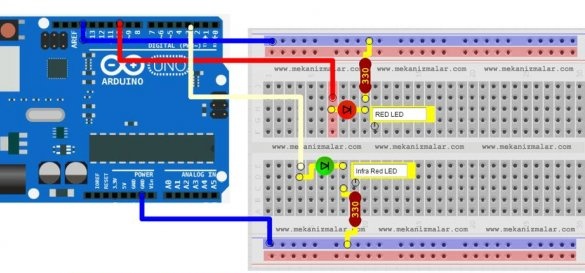
Having picked up all the necessary components, the wizard draws up a diagram. And again in the Fritzing-like program, in this case, in the Mekanizmalar online application. Not everyone likes this way of drawing up diagrams, but how to connect everything is understandable.
Having decided on the scheme, the wizard starts programming:
Takes a library
hereand the sketch is
here. Simplifies the sketch so that when the power is on, it continuously sends a “clean” command every five seconds. The sketch will have to be finalized if
model the vacuum cleaner differs from iRobot Roomba 530. Well, the master turns out this:
#include

/ *

Super Simple Arduino Powerd Roomba Scheduler


2013-08-03 Instructables release

Code adapted from: https://gist.github.com/probonopd/5181021

       Send infrared commands from the Arduino to the iRobot Roomba
by probono

2013-03-17 Initial release

Copyright (c) 2013 by probono
All rights reserved.

Redistribution and use in source and binary forms, with or without
modification, are permitted provided that the following conditions are met:

1. Redistributions of source code must retain the above copyright notice, this
list of conditions and the following disclaimer.
2. Redistributions in binary form must reproduce the above copyright notice,
this list of conditions and the following disclaimer in the documentation
and / or other materials provided with the distribution.

THIS SOFTWARE IS PROVIDED BY THE COPYRIGHT HOLDERS AND CONTRIBUTORS "AS IS" AND
ANY EXPRESS OR IMPLIED WARRANTIES, INCLUDING, BUT NOT LIMITED TO, THE IMPLIED
WARRANTIES OF MERCHANTABILITY AND FITNESS FOR A PARTICULAR PURPOSE ARE
DISCLAIMED. IN NO EVENT SHALL THE COPYRIGHT OWNER OR CONTRIBUTORS BE LIABLE FOR
ANY DIRECT, INDIRECT, INCIDENTAL, SPECIAL, EXEMPLARY, OR CONSEQUENTIAL DAMAGES
(INCLUDING, BUT NOT LIMITED TO, PROCUREMENT OF SUBSTITUTE GOODS OR SERVICES;
LOSS OF USE, DATA, OR PROFITS; OR BUSINESS INTERRUPTION) HOWEVER CAUSED AND
ON ANY THEORY OF LIABILITY, WHETHER IN CONTRACT, STRICT LIABILITY, OR TORT
(INCLUDING NEGLIGENCE OR OTHERWISE) ARISING IN ANY WAY OUT OF THE USE OF THIS
SOFTWARE, EVEN IF ADVISED OF THE POSSIBILITY OF SUCH DAMAGE.

* /

IRsend irsend; // hardwired to pin 3; use a transistor to drive the IR LED for maximal range

int LED = 10;

void setup ()
{
  Serial.begin (9600);
  pinMode (LED, OUTPUT);
  digitalWrite (LED, HIGH); // turn the LED on (HIGH is the voltage level)

}

void loop ()
{
  roomba_send (136); // Send "Clean"
  delay (5000); // Wait 5 seconds
}

void roomba_send (int code)
{
  Serial.print ("Sending Roomba code");
  Serial.print (code);
  int length = 8;
  unsigned int raw [length * 2];
  unsigned int one_pulse = 3000;
  unsigned int one_break = 1000;
  unsigned int zero_pulse = one_break;
  unsigned int zero_break = one_pulse;

  int arrayposition = 0;
  // Serial.println ("");
  for (int counter = length-1; counter> = 0; --counter) {
    if (code & (1 << counter)) {
      // Serial.print ("1");
      raw [arrayposition] = one_pulse;
      raw [arrayposition + 1] = one_break;
    }
    else {
      // Serial.print ("0");
      raw [arrayposition] = zero_pulse;
      raw [arrayposition + 1] = zero_break;
    }
    arrayposition = arrayposition + 2;
  }
  for (int i = 0; i <3; i ++) {
    irsend.sendRaw (raw, 15, 38);
    delay (50);
  }
  Serial.println ("");

  Serial.print ("Raw timings:");
   for (int z = 0; z
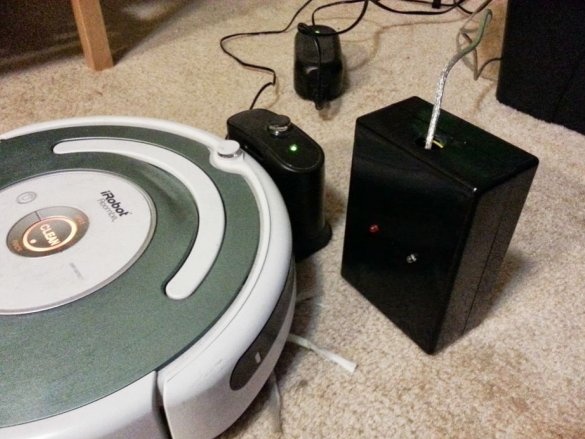
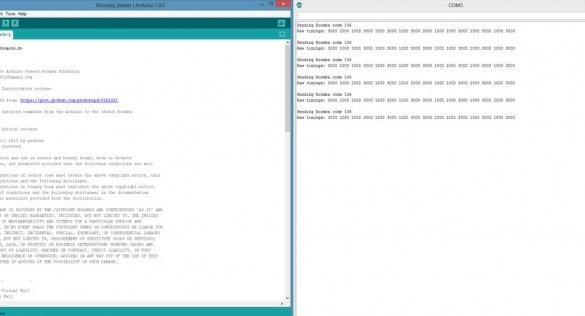
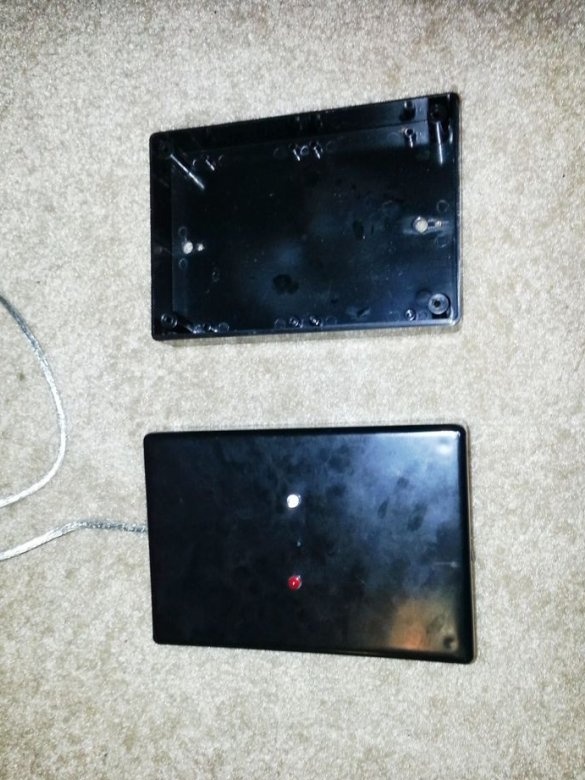
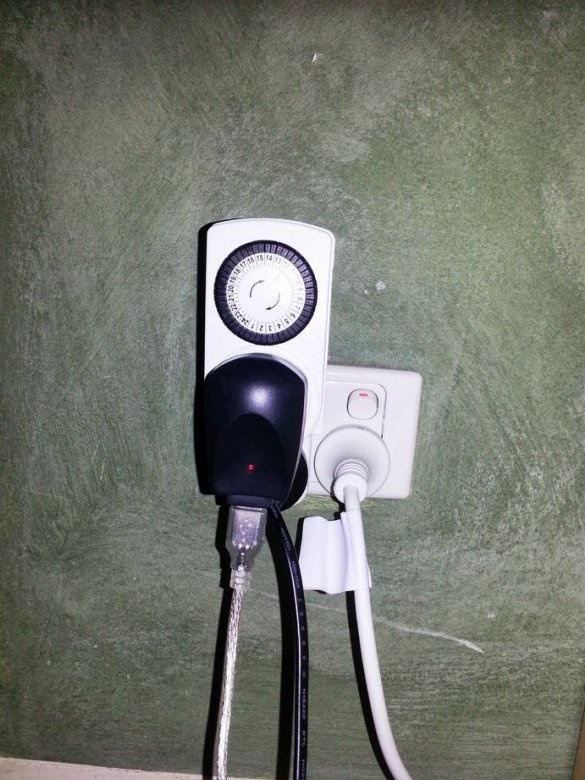
Initially, the wizard checks the operation of the sketch for outputting the serial port to the monitor. Then it puts everything in the case and powers the Arduino not from the computer, but from the power supply turned on via a mechanical timer.
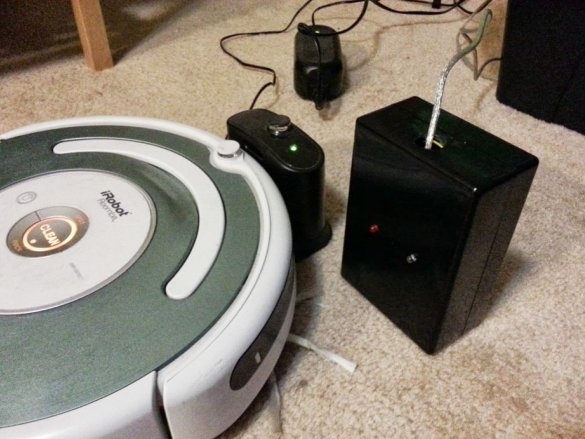
Now, having placed the device near the charging station, to which the robot vacuum cleaner always returns, you can set the folding schedule for the mechanical timer to launch it. Best of all - once a day. Only not at night, as in the work of N.N. Nosova.

