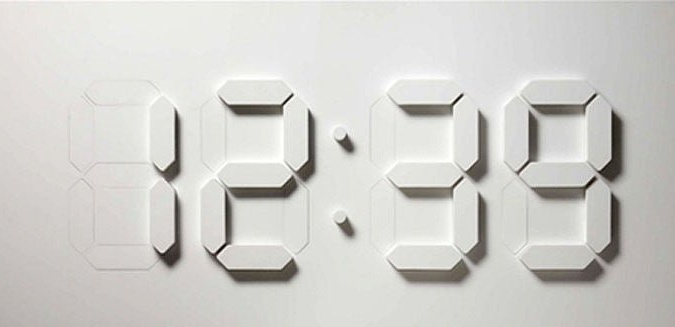
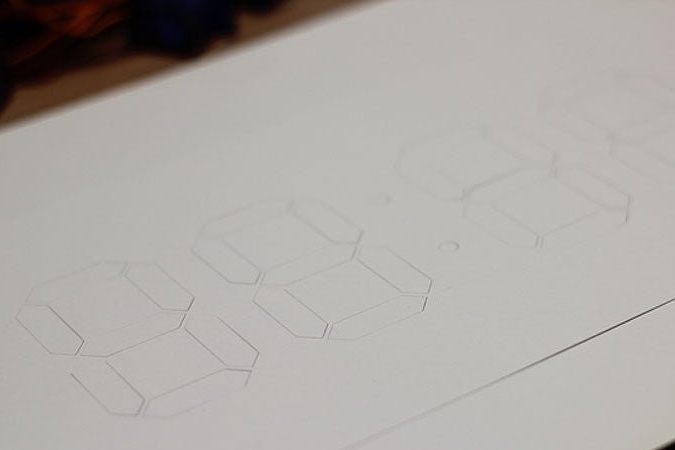
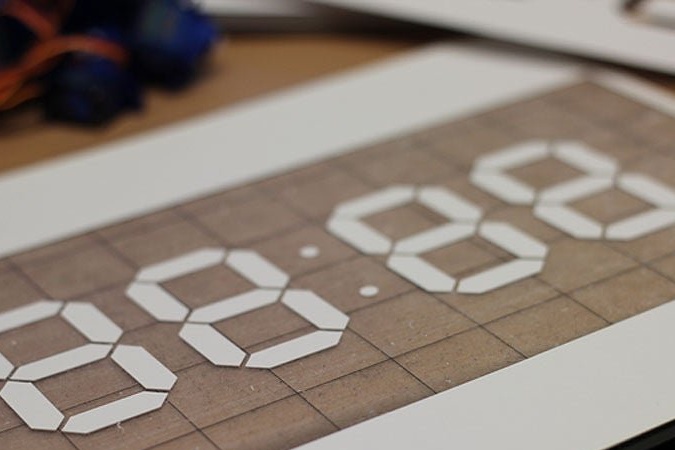
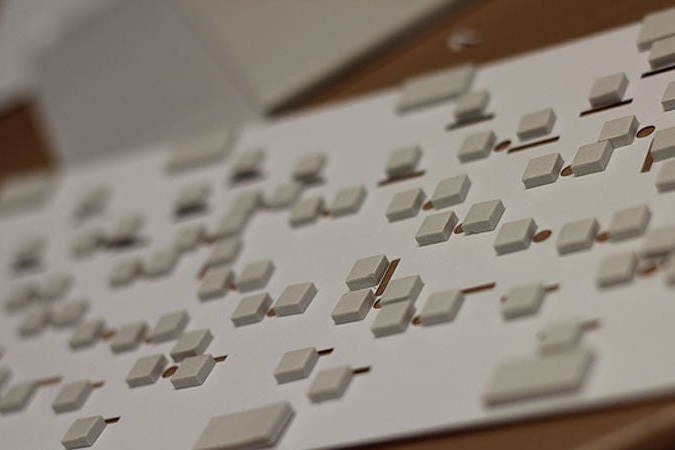
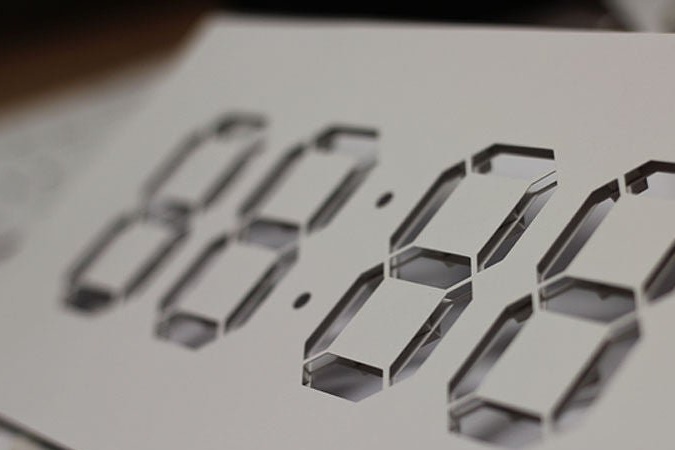
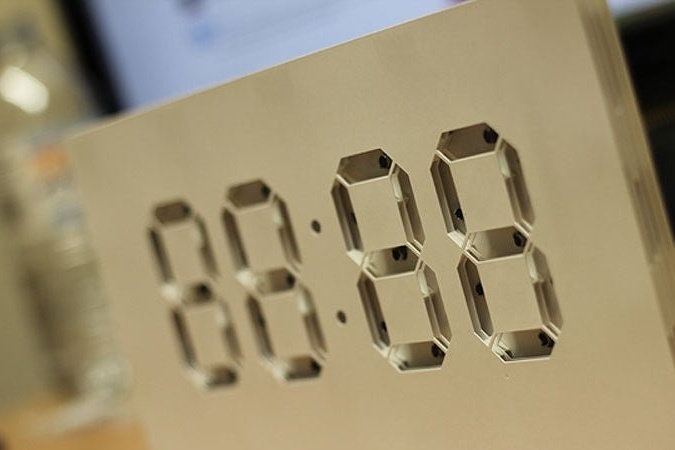
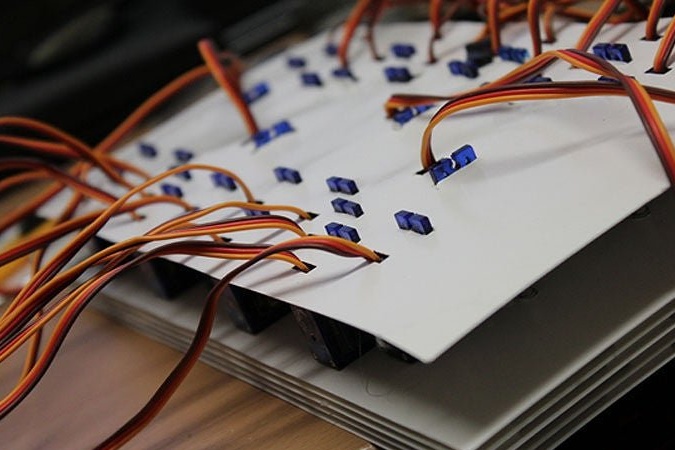
The principle of operation of the proposed display, which was made and built by Instructables under the nickname alstroemeria, is as follows: segments advanced by servos cast a shadow, which makes them visible. The remaining segments, located in the same plane with the background, merge with it.
It is clear that
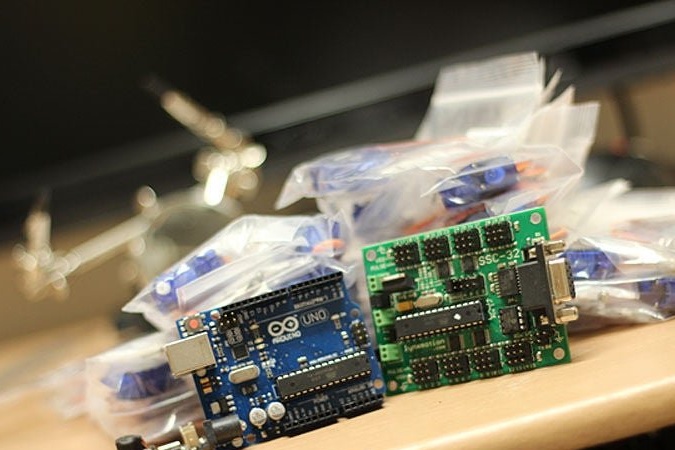
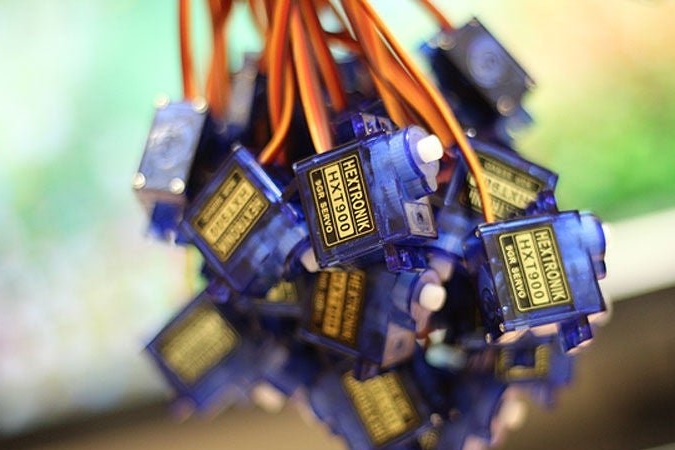
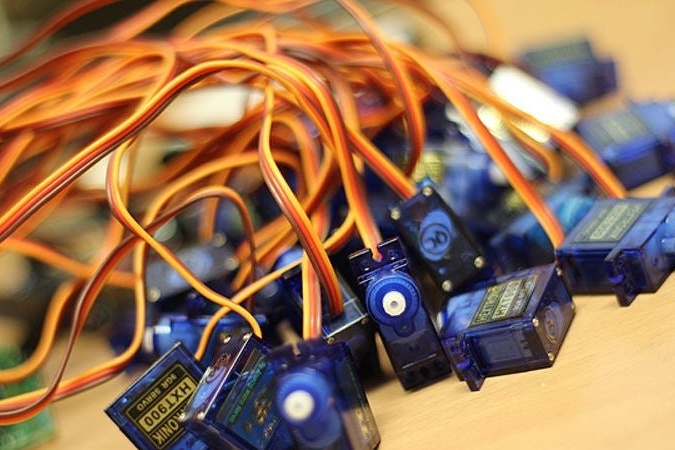
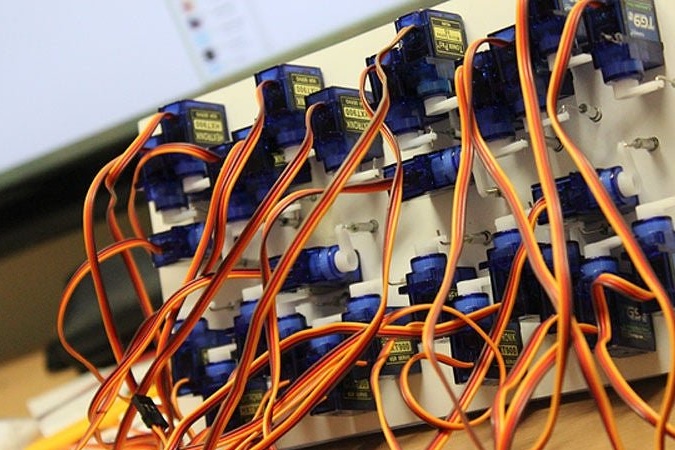
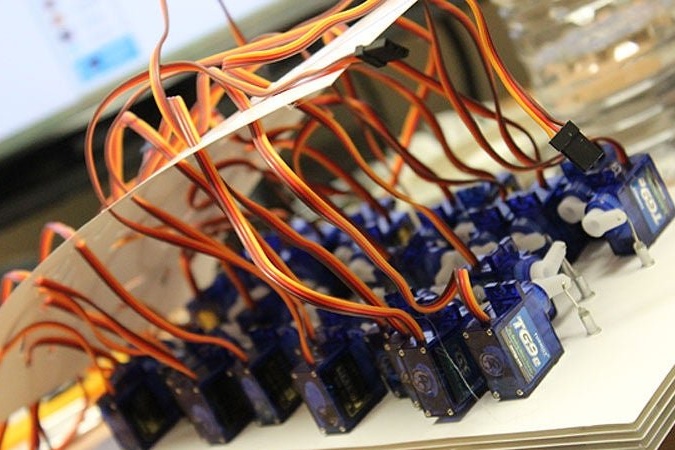
homemade It turns out to be expensive, because for her the master acquires as many as 28 such servos:
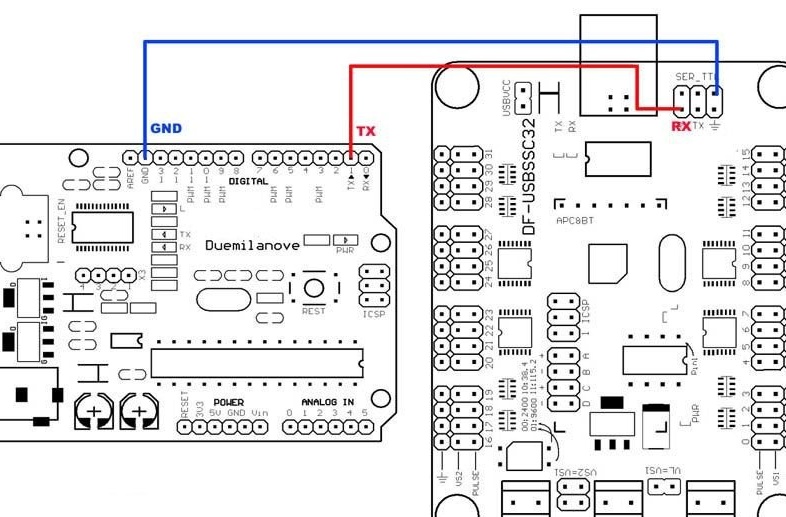
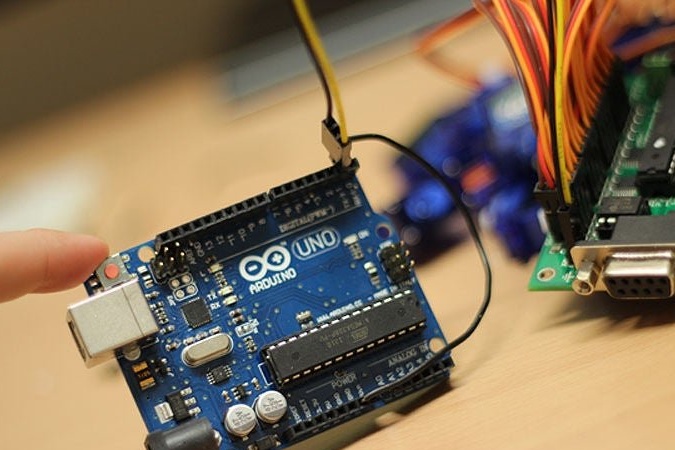
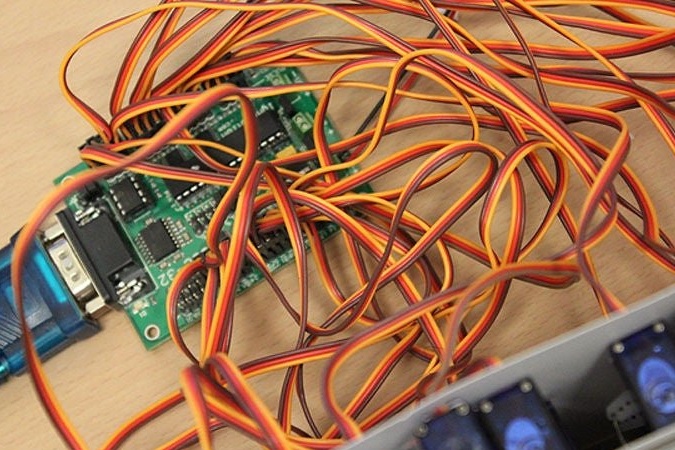
And a management module that connects to
Arduino like this:
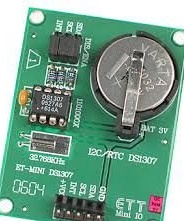
The real-time clock (RTC) module against this background seems to be a very small expense.
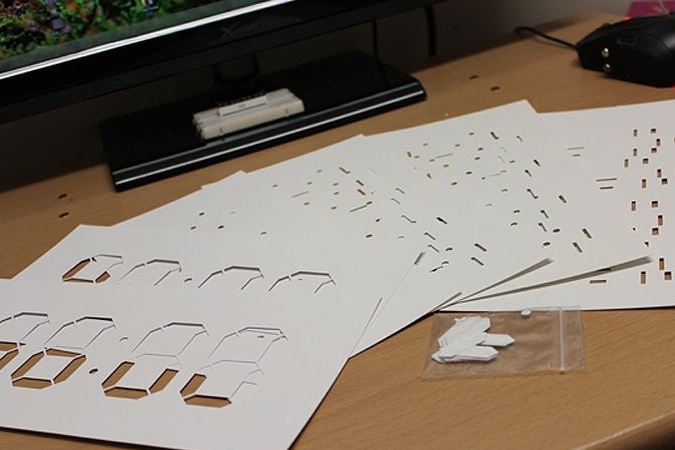
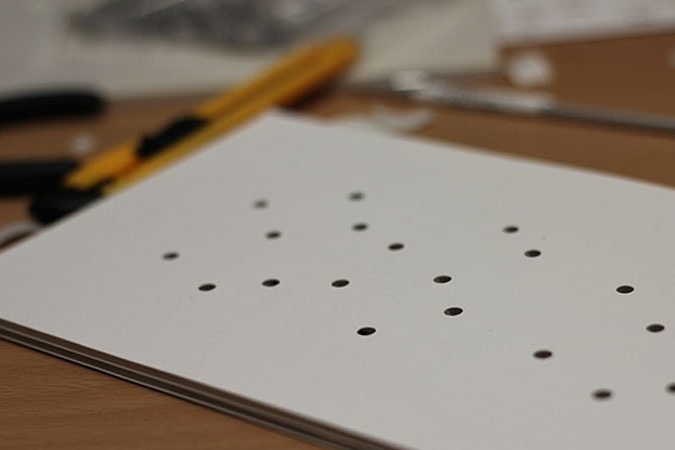
Having acquired all the necessary components, the master so far puts them aside to work on templates for making the mechanical part of the display. He gets four files:
1,
2,
3,
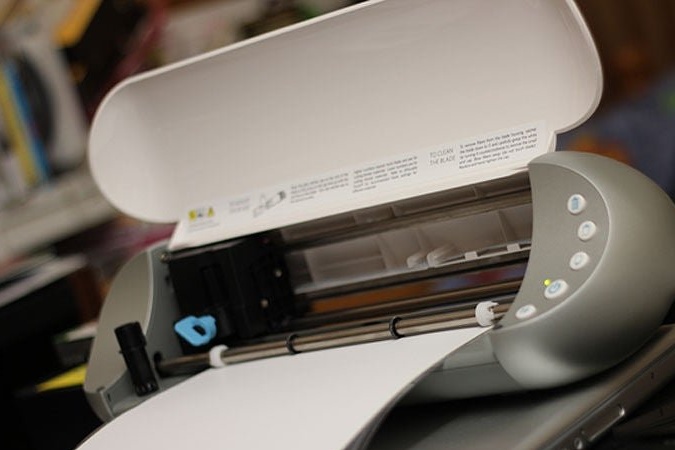
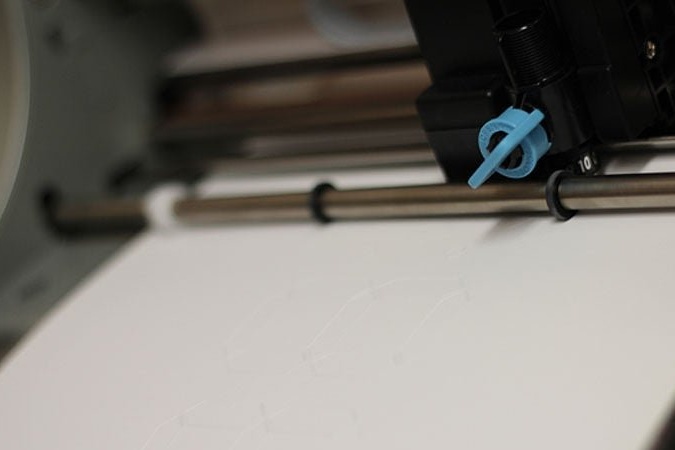
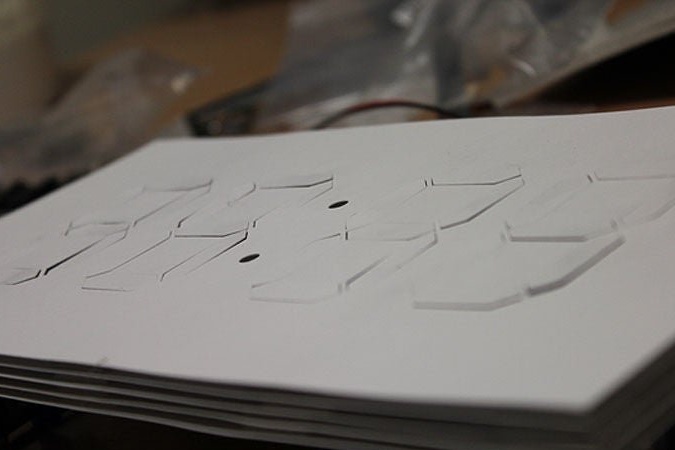
4. The wizard displays files 1 and 3 twice on a cutting plotter, and 2 and 4, one at a time, all on a 1: 1 scale, and gets six parts, some of which resemble old punch cards in some way. You can also print, also on a scale of 1: 1 and in the same quantities, and cut manually.
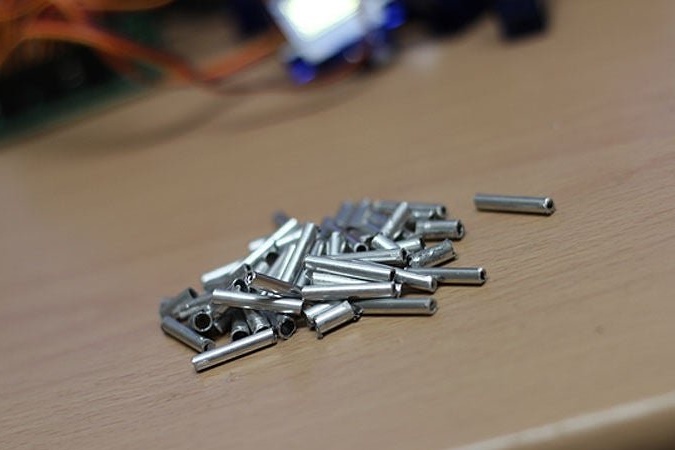
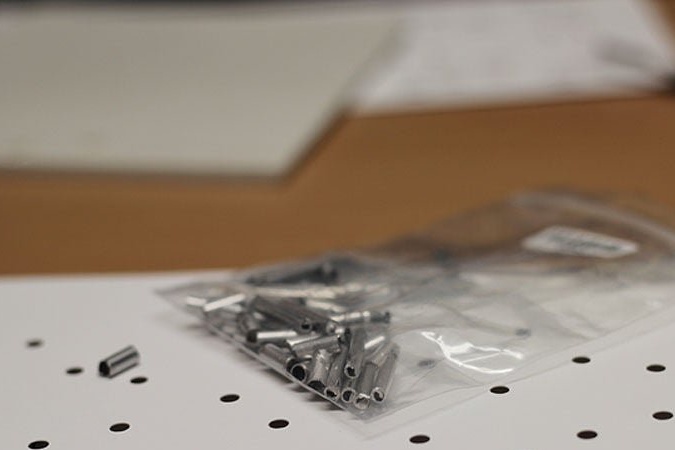
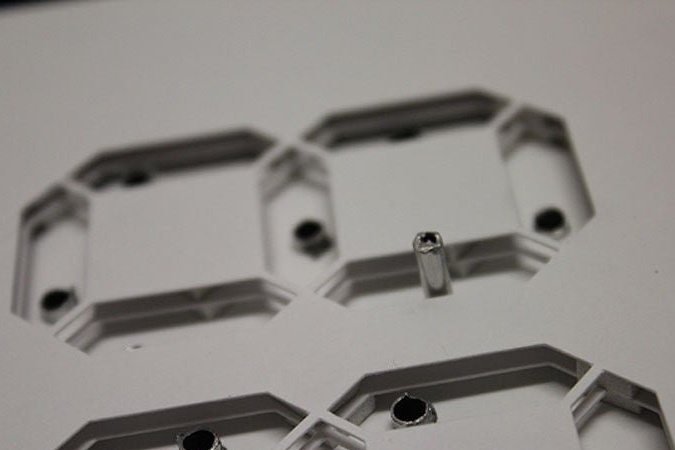
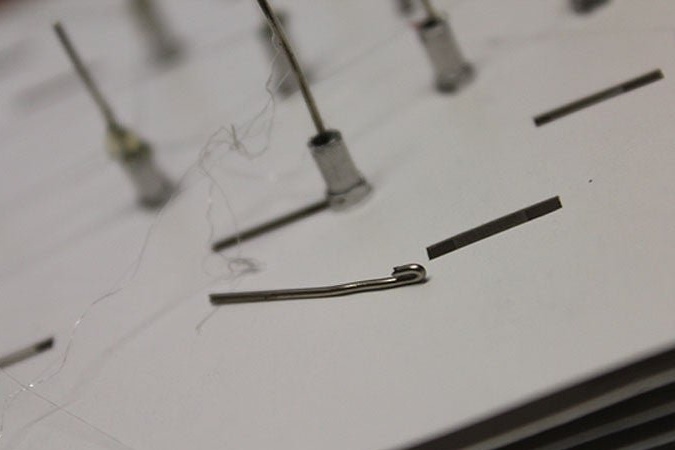
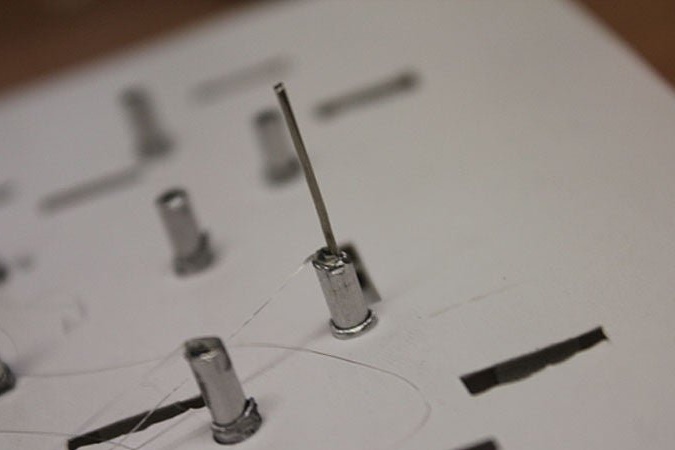
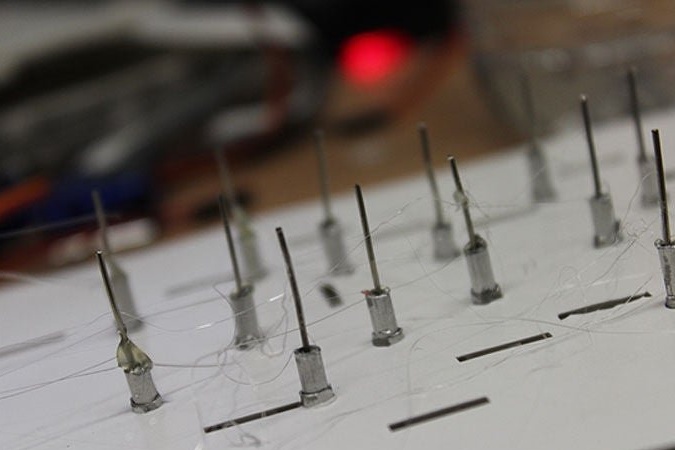
Dremel cuts hollow metal pins with a length of 20 mm and tubes with an external diameter slightly larger than the external diameter of the pin with a length of 10 mm:
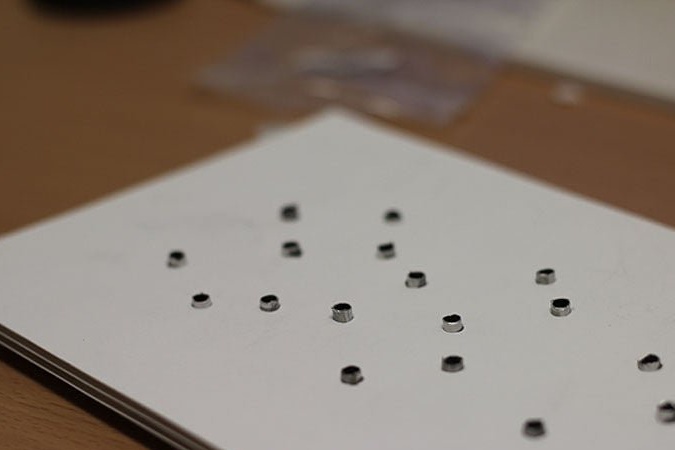
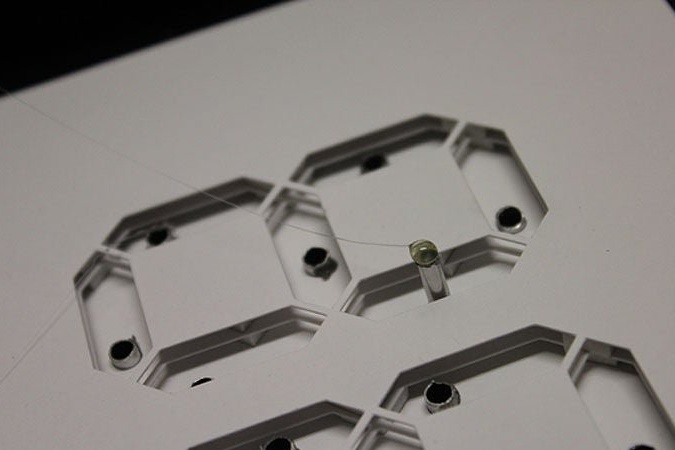
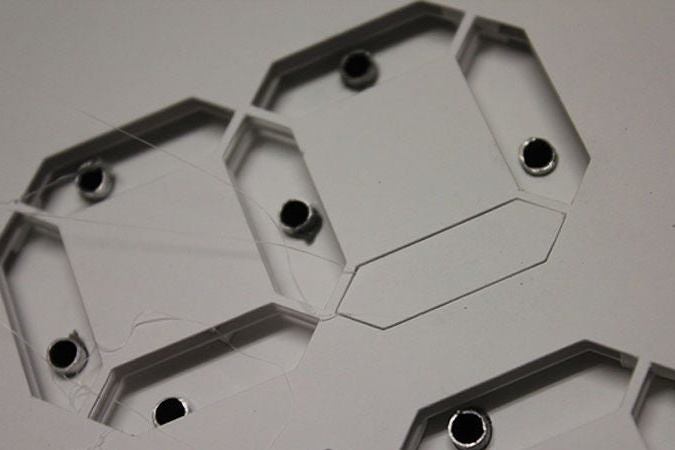
Glues layers with thick double-sided tape, adds tubes:
It adds movable segments glued to the pins passed through the tubes, on the reverse side glues steel wire pushers to the same pins, and this is where the pins are hollow:
It bends pushers, glues servos and connects to them:
Closes the servos with the remaining perforated sheet:
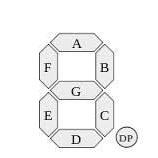
The servo control module connects according to the scheme given at the beginning of the article. The drives themselves are connected to the module in the order corresponding to the standard segment designations:
The RTC module connects as follows: SDA - pin 4 of the Arduino, SCL - pin 5, plus power and common wire - parallel to the corresponding Arduino lines. Here is the result:
The wizard sets the time in the RTC module with this sketch (you need the RTClib library):
#include
#include "RTClib.h"

RTC_DS1307 RTC;

void setup () {
    Serial.begin (57600);

    Wire.begin ();

    RTC.begin ();

    if (! RTC.isrunning ()) {
    Serial.println ("RTC is NOT running!");
    RTC.adjust (DateTime (__ DATE__, __TIME__));
    }
}
Then it fills in the main sketch requiring the same library:
#include
#include "RTClib.h"

RTC_DS1307 RTC;

short segA = 0; // Display pin 14
short segB = 1; // Display pin 16
short segC = 2; // Display pin 13
short segD = 3; // Display pin 3
short segE = 4; // Display pin 5
short segF = 5; // Display pin 11
short segG = 6; // Display pin 15

short segA_OUT = 110;
short segB_OUT = 110;
short segC_OUT = 110;
short segD_OUT = 110;
short segE_OUT = 110;
short segF_OUT = 110;
short segG_OUT = 110;

short segA_IN = 90;
short segB_IN = 90;
short segC_IN = 90;
short segD_IN = 90;
short segE_IN = 90;
short segF_IN = 90;
short segG_IN = 90;

int TIME = 2000;

DateTime datePast;
DateTime dateNow;

// house keeping
void setup () {
  Serial.begin (9600);
  Wire.begin ();
  RTC.begin ();
  RTC.adjust (DateTime (__ DATE__, __TIME__));
  datePast = RTC.now ();
}

// main loop
void loop () {
  dateNow = RTC.now ();
  if (! (datePast.hour () == dateNow.hour () && datePast.minute () == dateNow.hour ()))
  {
    displayNumber (dateNow.hour () * 100 + dateNow.minute ());
    datePast = dateNow;
  }
}

// Given a number, we display 10:22
// After running through the 4 numbers, the display is left turned off
void displayNumber (int toDisplay) {
  for (int digit = 4; digit> 0; digit--) {
    lightNumber (toDisplay% 10, digit);
    toDisplay / = 10;
  }

  // start movement
  Serial.print ("T"); Serial.println (TIME);
}

void move (int servo, int position) {
  Serial.print ("#");
  Serial.print (servo);
  Serial.print ("P");
  Serial.print (position);
}

// Given a number, turns on those segments
// If number == 10, then turn off number
void lightNumber (int numberToDisplay, int segment) {

  int offset = (segment - 1) * 7;
  switch (numberToDisplay) {

  case 0:
    move (segA + offset, segA_OUT);
    move (segB + offset, segB_OUT);
    move (segC + offset, segC_OUT);
    move (segD + offset, segD_OUT);
    move (segE + offset, segE_OUT);
    move (segF + offset, segF_OUT);
    move (segG + offset, segG_IN);
    break;

  case 1:
    move (segA + offset, segA_IN);
    move (segB + offset, segB_OUT);
    move (segC + offset, segC_OUT);
    move (segD + offset, segD_IN);
    move (segE + offset, segE_IN);
    move (segF + offset, segF_IN);
    move (segG + offset, segG_IN);
    break;

  case 2:
    move (segA + offset, segA_OUT);
    move (segB + offset, segB_OUT);
    move (segC + offset, segC_IN);
    move (segD + offset, segD_OUT);
    move (segE + offset, segE_OUT);
    move (segF + offset, segF_IN);
    move (segG + offset, segG_OUT);
    break;

  case 3:
    move (segA + offset, segA_OUT);
    move (segB + offset, segB_OUT);
    move (segC + offset, segC_OUT);
    move (segD + offset, segD_OUT);
    move (segE + offset, segE_IN);
    move (segF + offset, segF_IN);
    move (segG + offset, segG_OUT);
    break;

  case 4:
    move (segA + offset, segA_IN);
    move (segB + offset, segB_OUT);
    move (segC + offset, segC_OUT);
    move (segD + offset, segD_IN);
    move (segE + offset, segE_IN);
    move (segF + offset, segF_OUT);
    move (segG + offset, segG_OUT);
    break;

  case 5:
    move (segA + offset, segA_OUT);
    move (segB + offset, segB_IN);
    move (segC + offset, segC_OUT);
    move (segD + offset, segD_OUT);
    move (segE + offset, segE_IN);
    move (segF + offset, segF_OUT);
    move (segG + offset, segG_OUT);
    break;

  case 6:
    move (segA + offset, segA_OUT);
    move (segB + offset, segB_IN);
    move (segC + offset, segC_OUT);
    move (segD + offset, segD_OUT);
    move (segE + offset, segE_OUT);
    move (segF + offset, segF_OUT);
    move (segG + offset, segG_OUT);
    break;

  case 7:
    move (segA + offset, segA_OUT);
    move (segB + offset, segB_OUT);
    move (segC + offset, segC_OUT);
    move (segD + offset, segD_IN);
    move (segE + offset, segE_IN);
    move (segF + offset, segF_IN);
    move (segG + offset, segG_IN);
    break;

  case 8:
    move (segA + offset, segA_OUT);
    move (segB + offset, segB_OUT);
    move (segC + offset, segC_OUT);
    move (segD + offset, segD_OUT);
    move (segE + offset, segE_OUT);
    move (segF + offset, segF_OUT);
    move (segG + offset, segG_OUT);
    break;

  case 9:
    move (segA + offset, segA_OUT);
    move (segB + offset, segB_OUT);
    move (segC + offset, segC_OUT);
    move (segD + offset, segD_OUT);
    move (segE + offset, segE_IN);
    move (segF + offset, segF_OUT);
    move (segG + offset, segG_OUT);
    break;

  case 10:
    move (segA + offset, segA_IN);
    move (segB + offset, segB_IN);
    move (segC + offset, segC_IN);
    move (segD + offset, segD_IN);
    move (segE + offset, segE_IN);
    move (segF + offset, segF_IN);
    move (segG + offset, segG_IN);
    break;
  }
}
Everything works:
So the mechanical display of a non-trivial design is ready.