
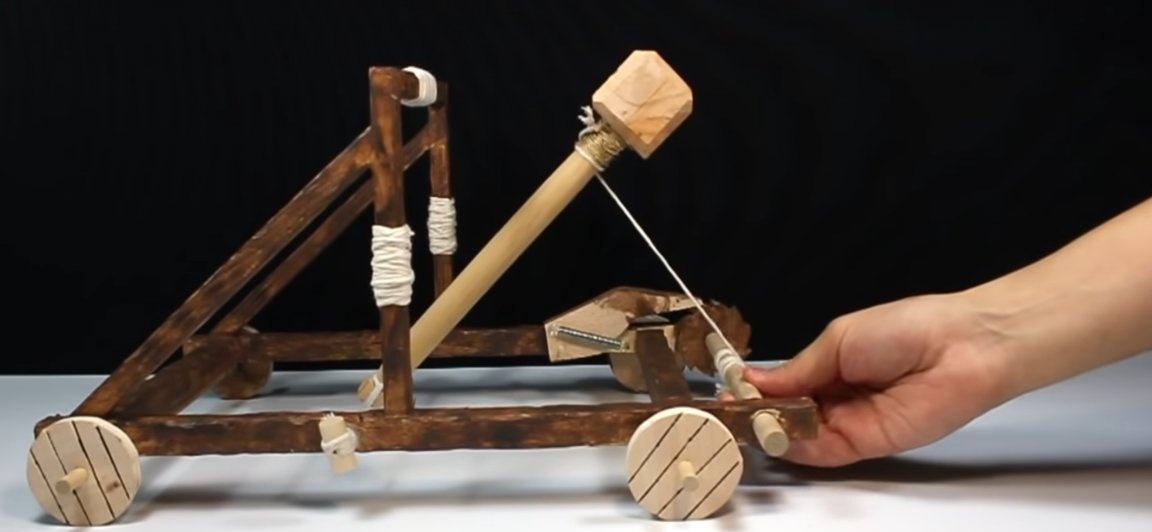
Hi all lovers to create and create something do it yourself. In this article, we will consider making toys with which you can not play millet! It can also be used to complement the decor of the room of a lover of medieval strategies. It will look very close to the real model, but only in a miniature format. And also if you are an office worker and sometimes you have nothing to do there, you can arrange "medieval" office battles. Generally, homemade it turns out fun and interesting and most importantly simple and inexpensive to perform. Well, I think that’s enough of the long introductions, we’ve driven.
And so, for a miniature catapult we need the following;
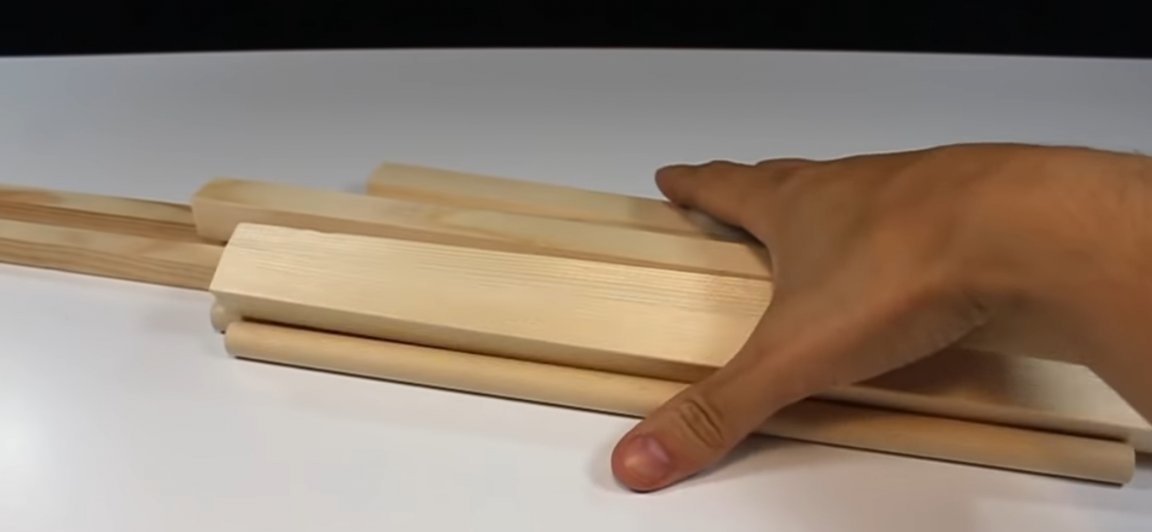
-Wooden blocks (approximately 20 mm and 15 mm wide)
- A small piece of plywood
- Round wooden stick (this can usually be taken from a wooden hanger)
- Transparent silicone hose.
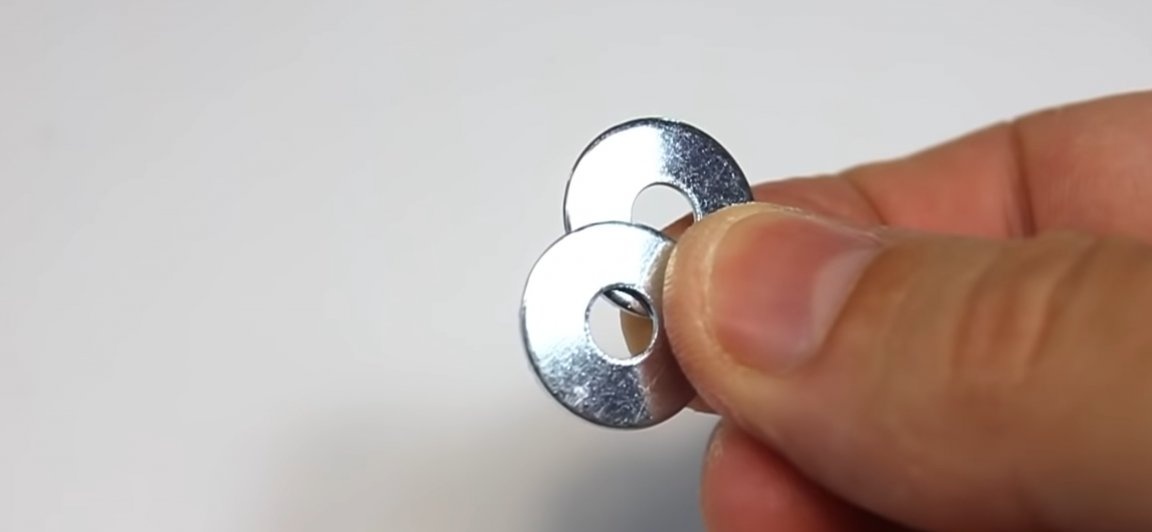
- Two small metal washers
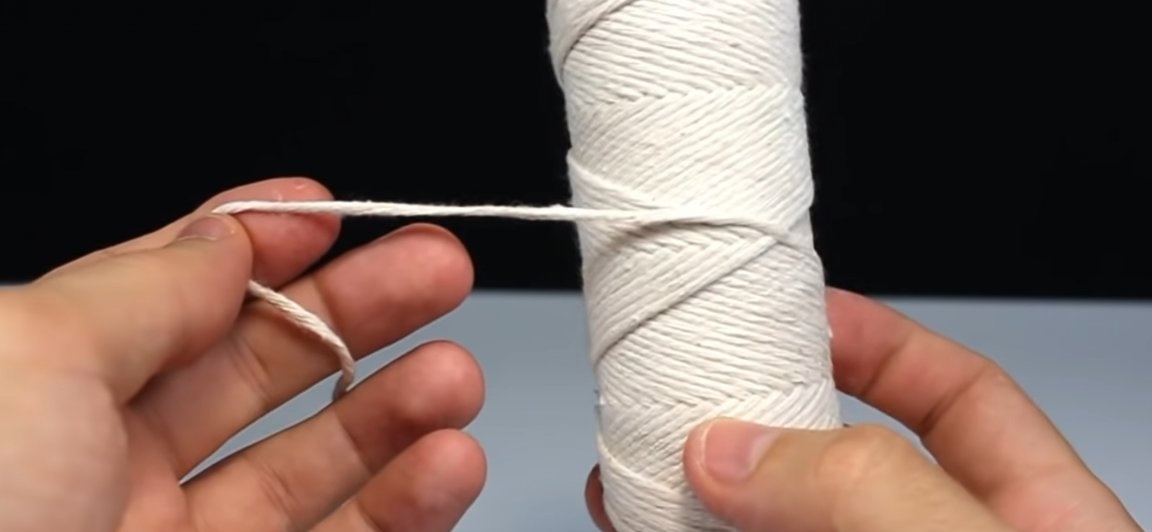
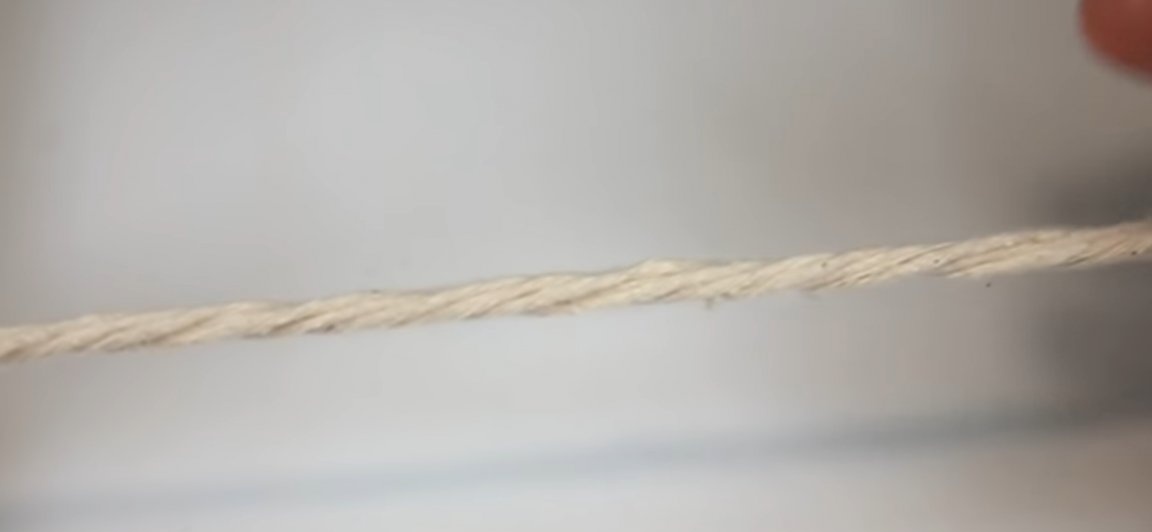
- Elastic twine (rope)
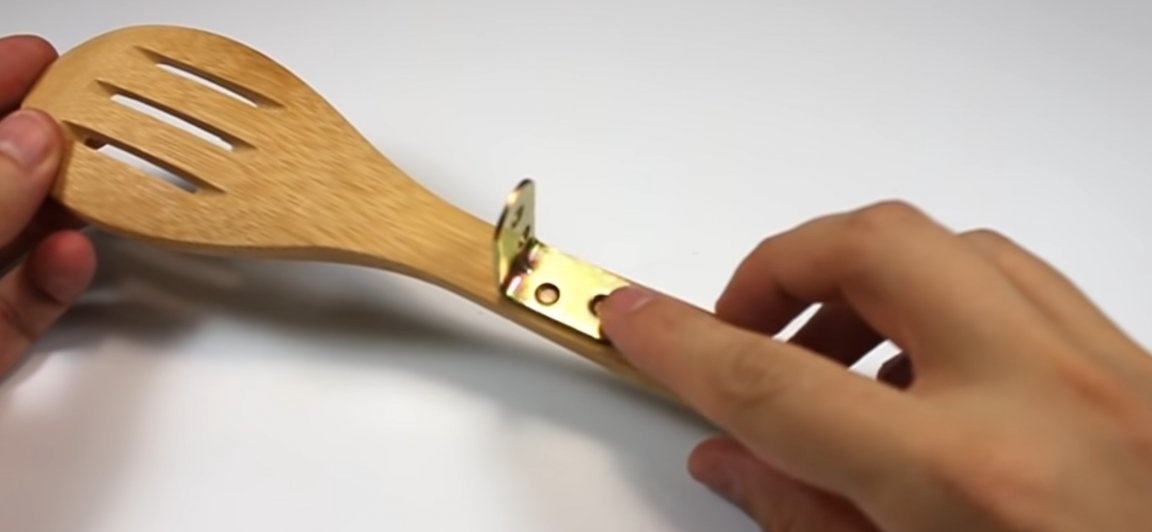
- Wooden kitchen hammer for beating meat or a kitchen wooden spatula
- A small metal corner
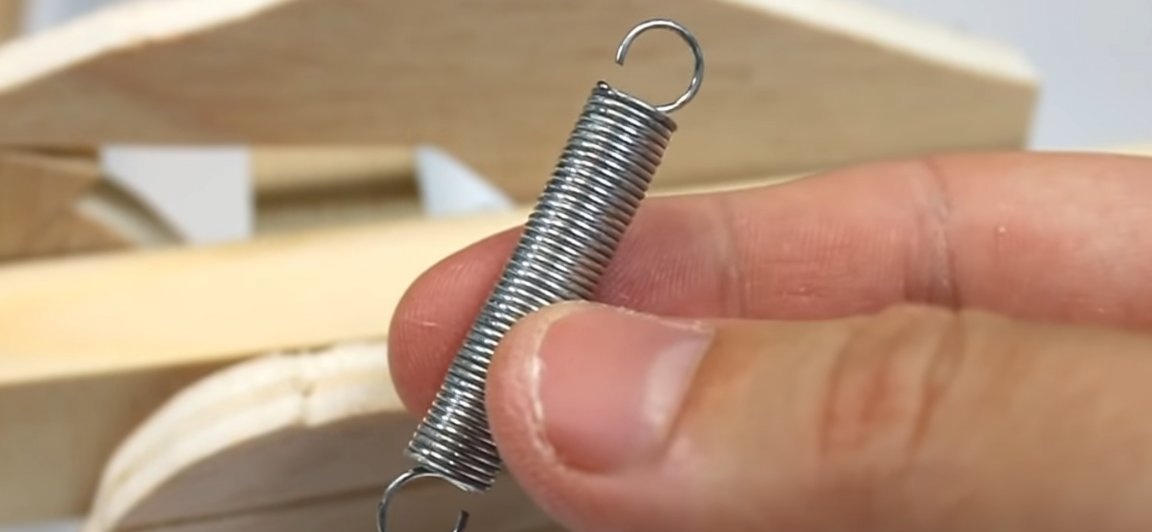
- tension spring
Of the tools we will also need:
- Joiner's glue
- A small hacksaw
- Joiner's scalpel
- Gas-burner
- Ruler
- pencil
- scissors
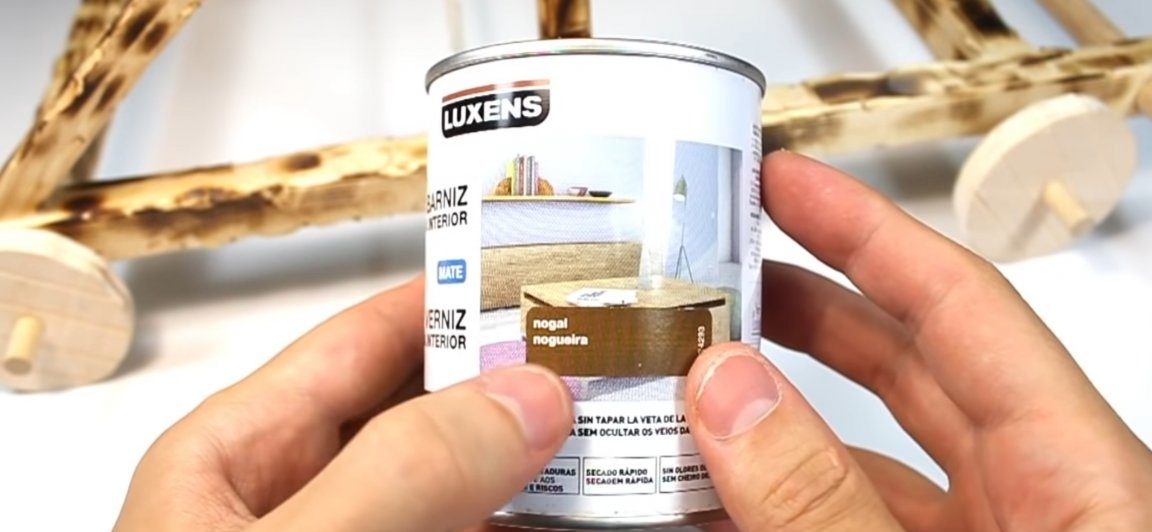
- Dark impregnation for wooden products
- brush
- Compass
- Jigsaw.
- Drill with drills
- Hot glue
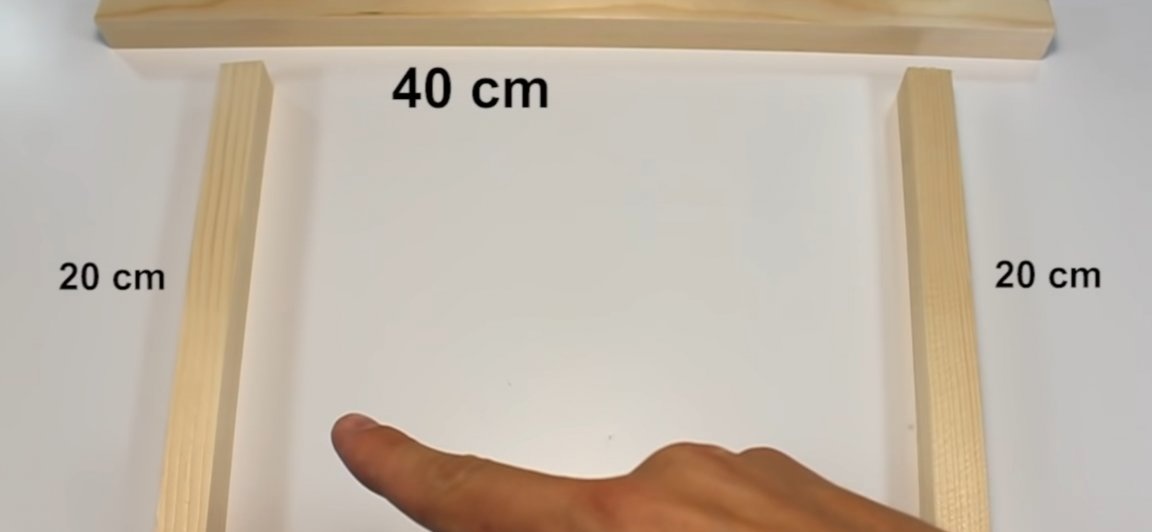
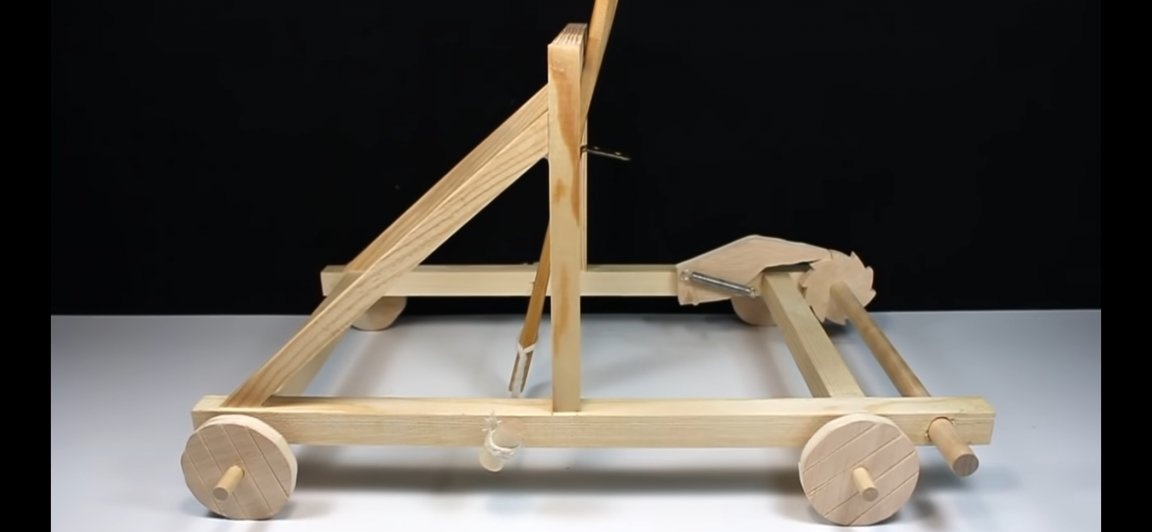
And so let's get started. To begin with, we need to take wooden blocks or a bar (about 20 cm thick), from which we should get two bars 40 cm long and two bars 20 cm long.
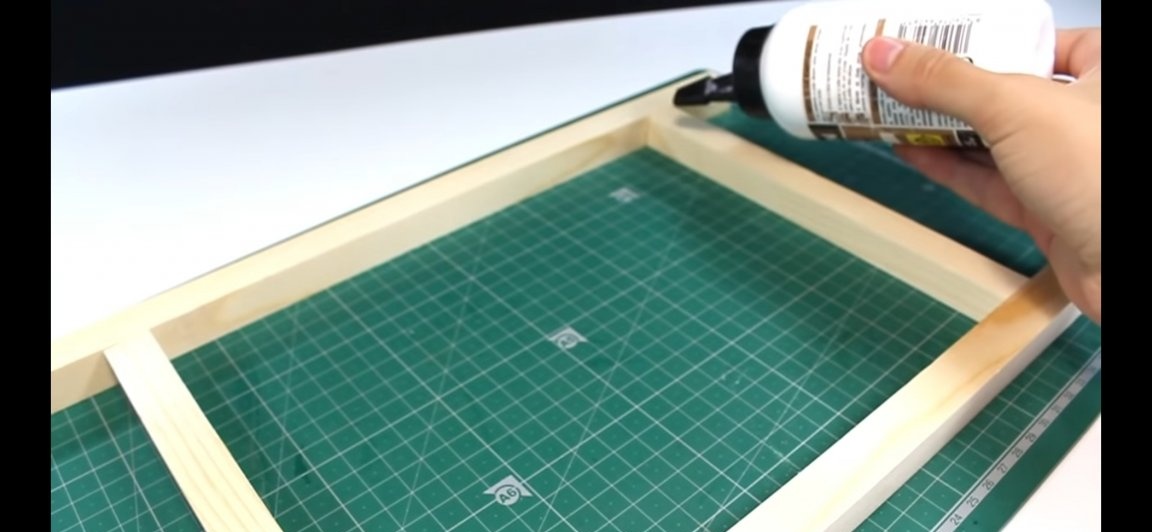
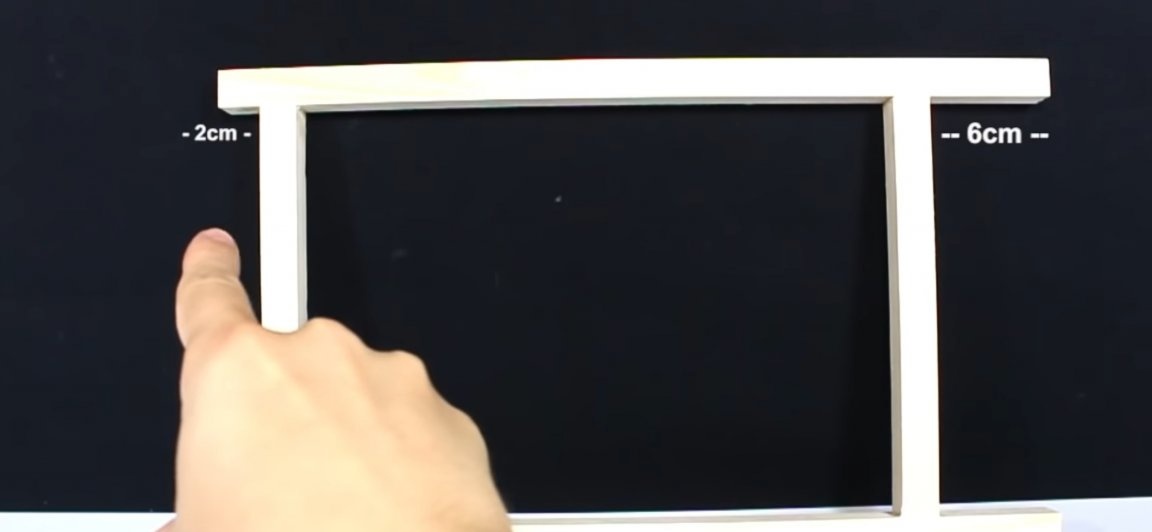
Then these bars should be fastened together. And for this, carpentry glue, or simple PVA glue, is perfect. The bars should be fastened into one rectangle, where the same sides are parallel to each other. Short bars should be glued to long ones, departing from their edge by 2 cm on one side and 6 cm on the other (see photo).
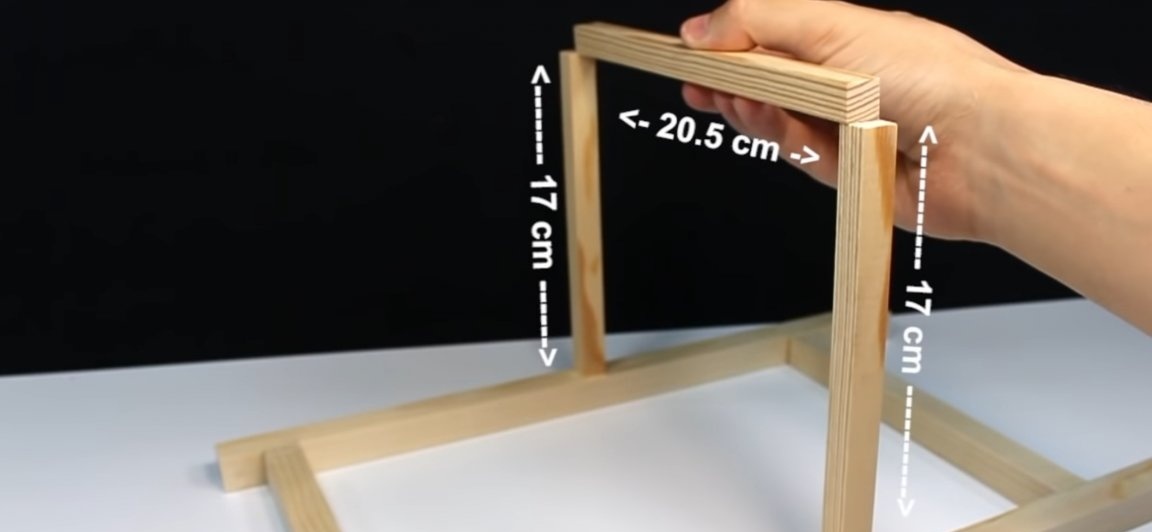
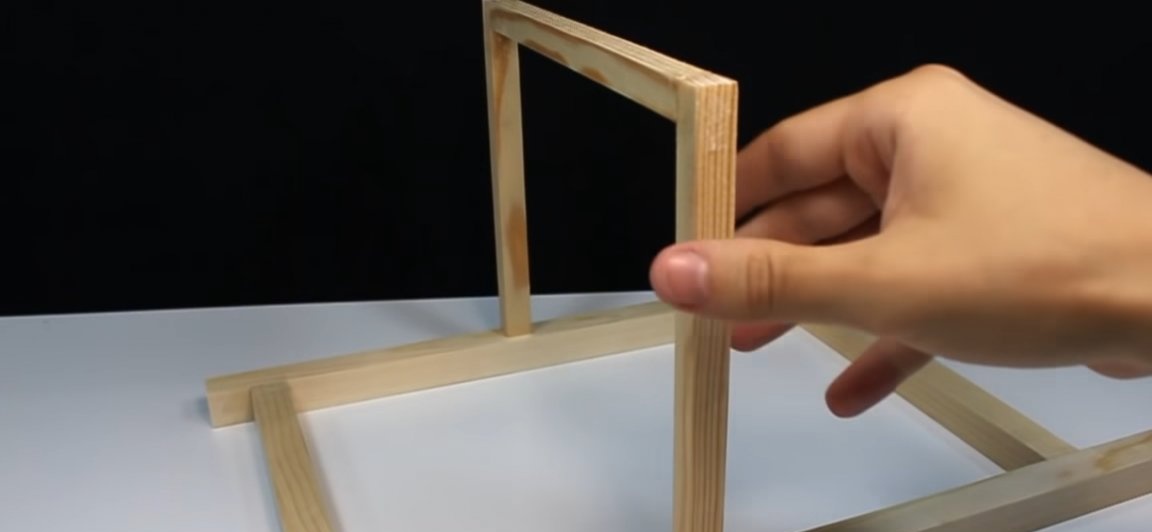
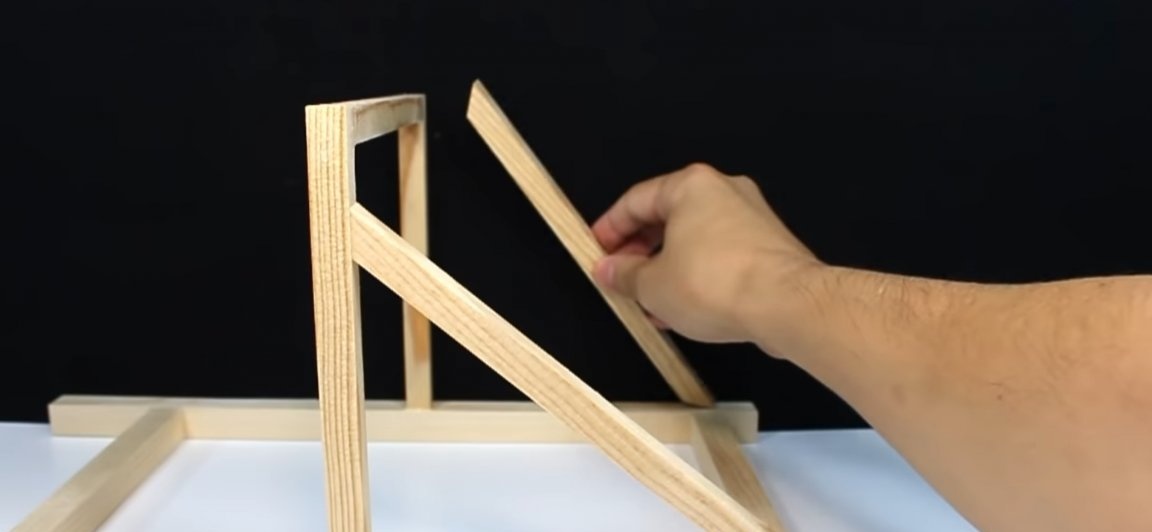
The next step is to take a block with a width of 15 mm, we need to saw off it with two blocks of 17 cm each and one block of 20.5 cm long. From the blocks just cut out, we should assemble an “U” shaped part, exactly the same as in the photo below. To fasten the bars together, we still use carpentry glue. Gathering this "crossbar" and waiting for the glue to dry, glue it to the center of the rectangular blank made earlier (see photo)
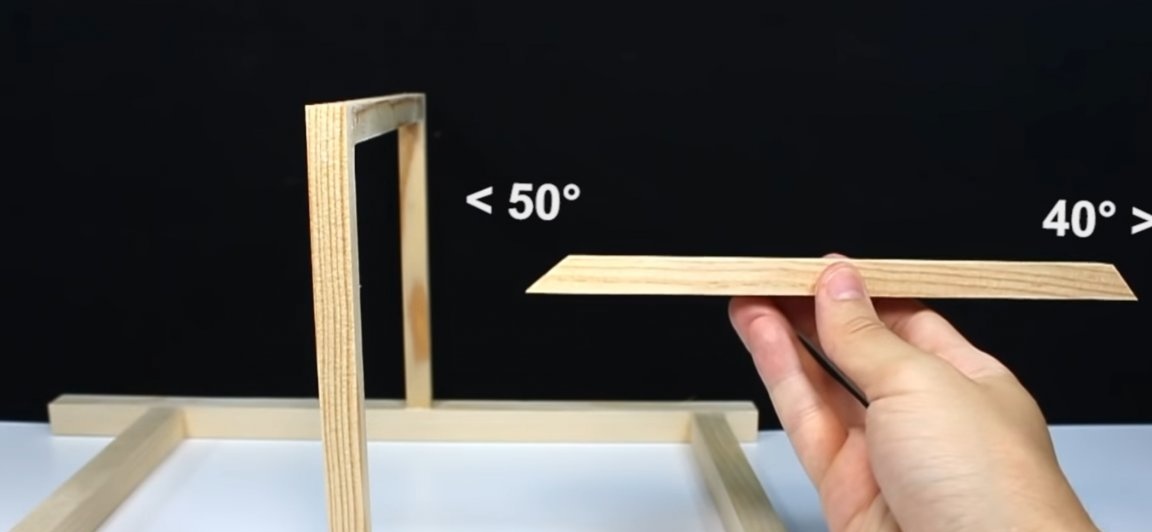
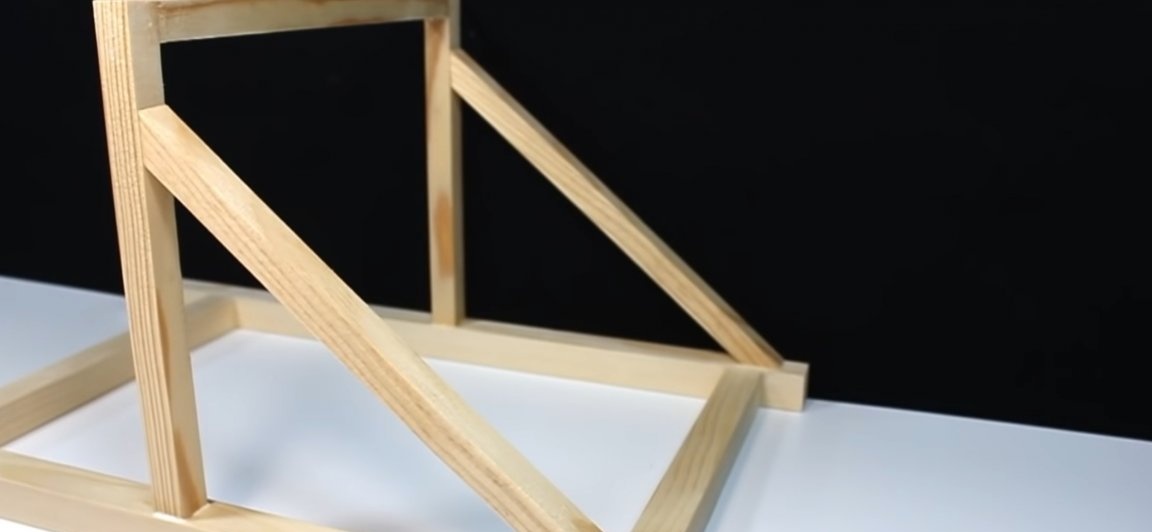
The newly assembled structure must be strengthened.To do this, we will produce additional cross members. From the same bar we cut off two identical whetstones about 20 cm long. But it should be sawed at an angle so that on one side the saw cut angle is 50 degrees, and on the other 40 degrees. And glue these blanks to the structure in the places indicated in the photo below.
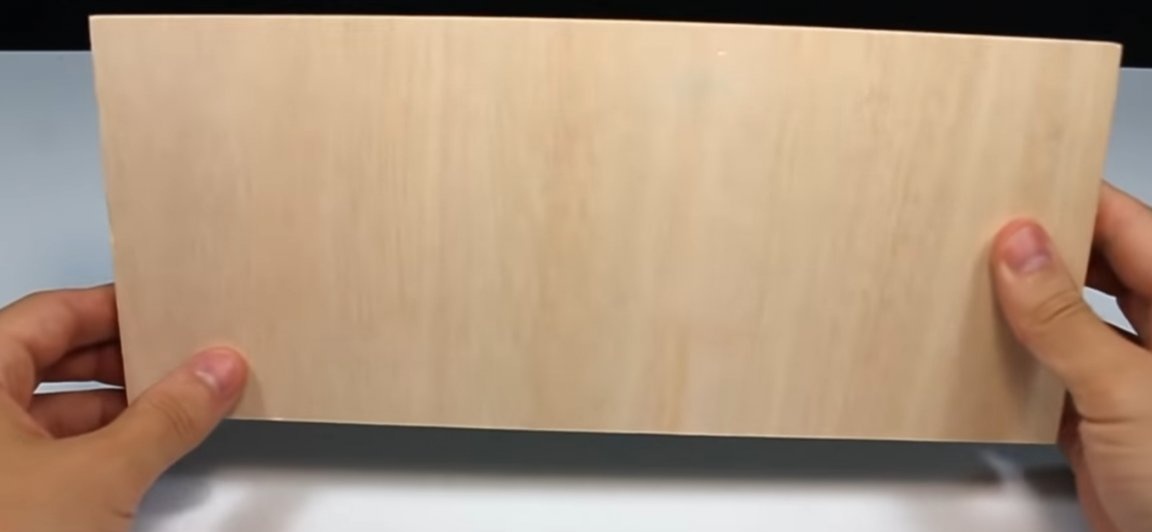
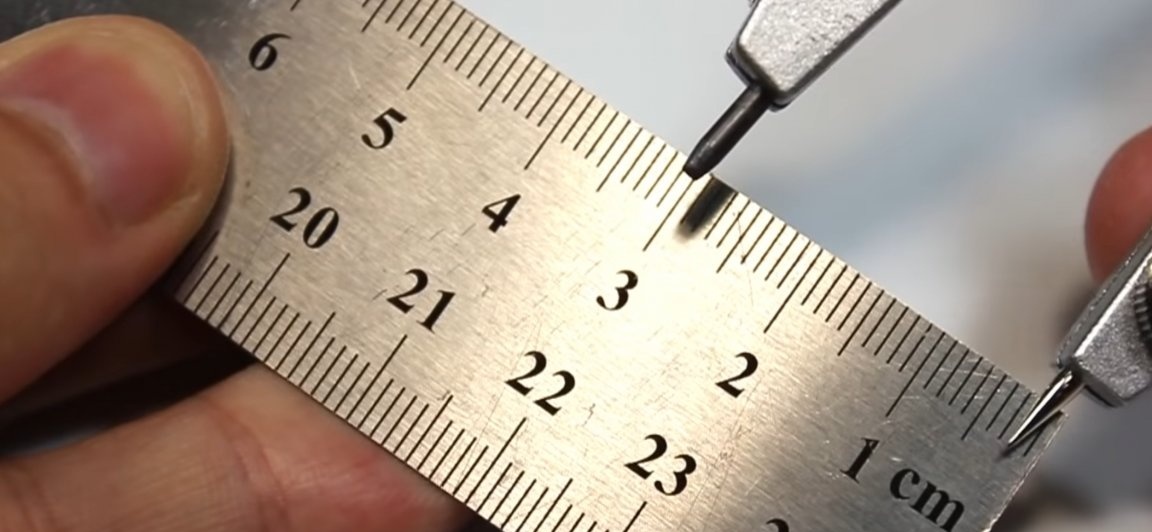
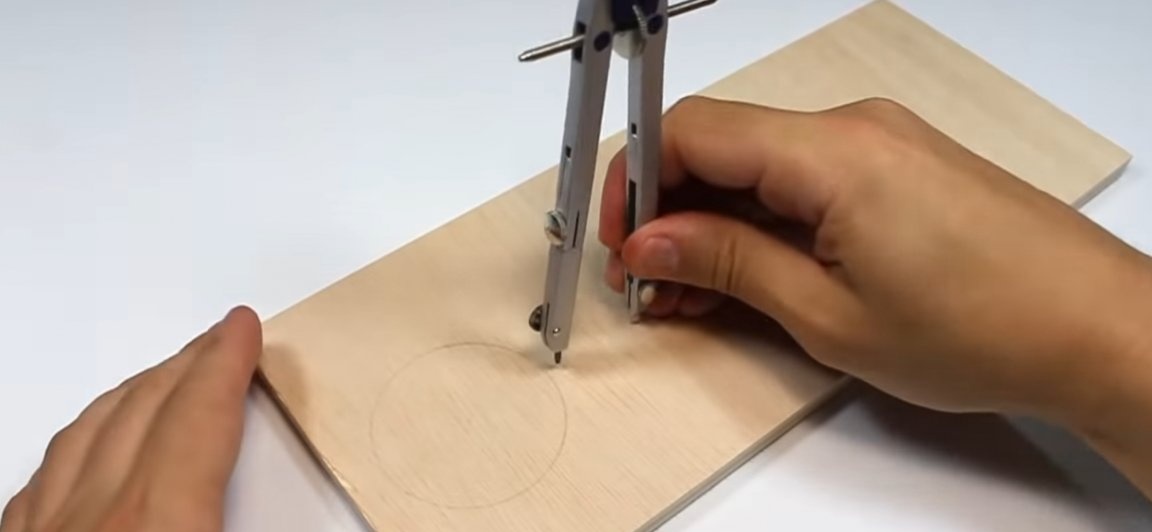
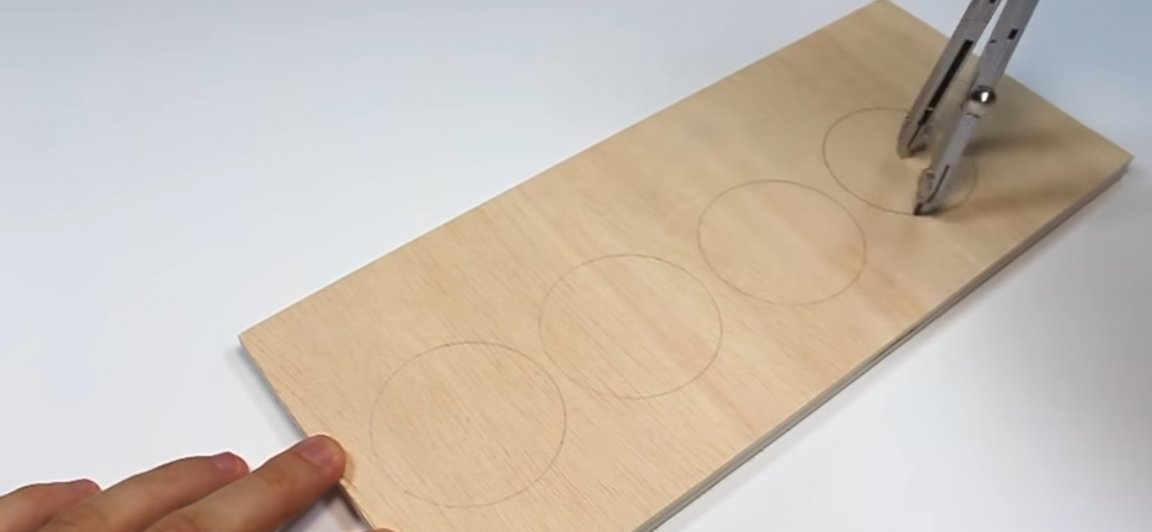
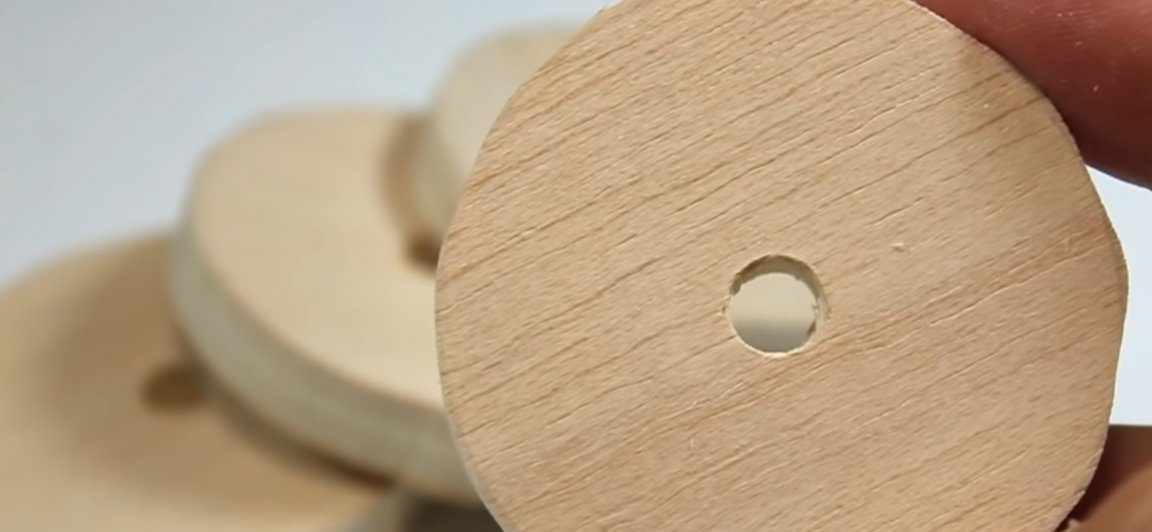
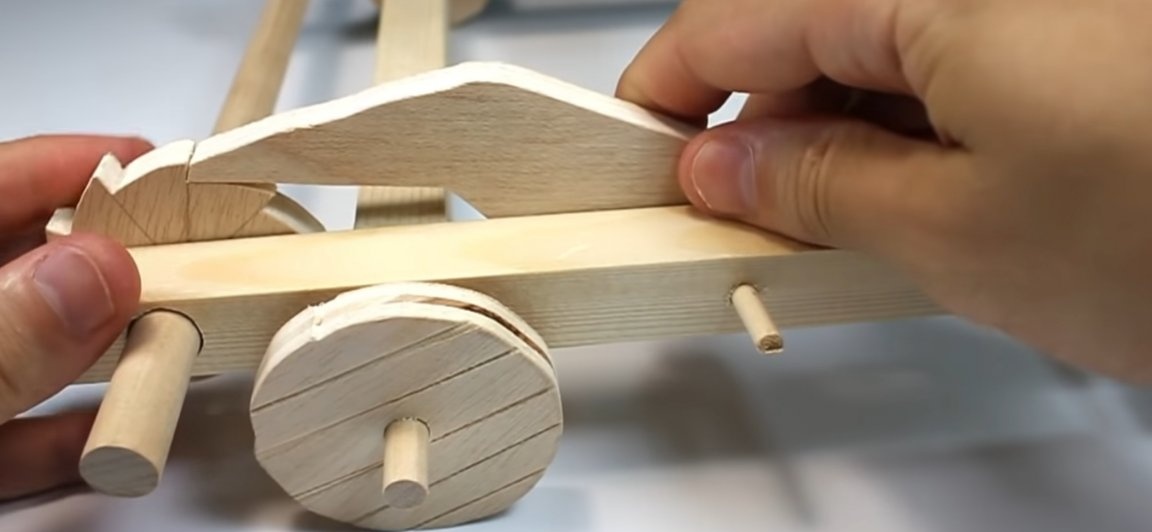
Next, you need to take care of the "mobility" of the structure, and it is now that we will manufacture the wheels for the catapult. To make the wheels, take a piece of some plywood and a pair of compasses with a ruler. Using a ruler and a compass on plywood, draw four circles with a diameter equal to 3 cm. Then, using a jigsaw (manual or electric, it doesn’t matter), we cut out these circles.
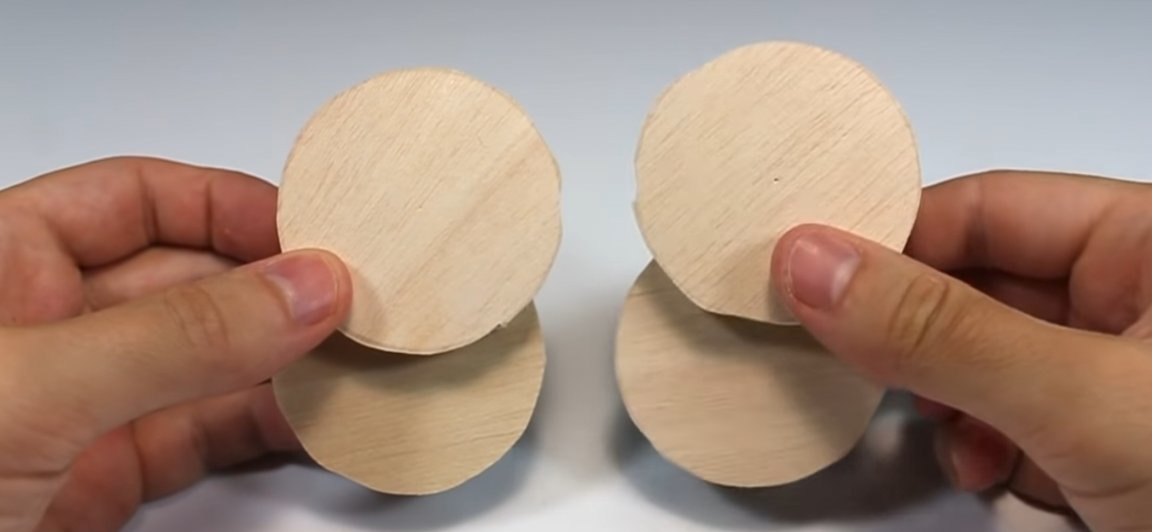
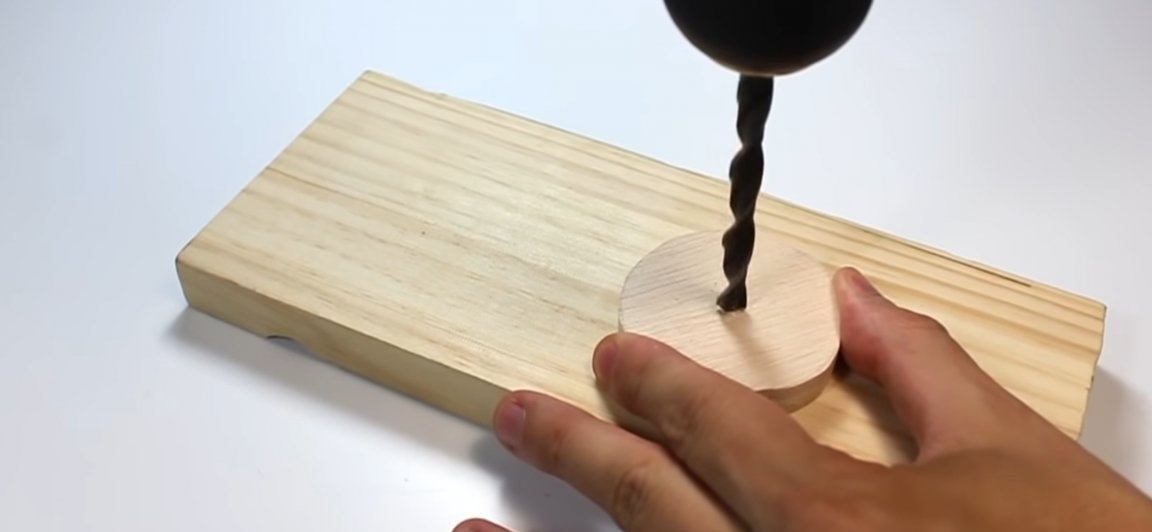
Now, wheels should be made from the newly cut circles. In the center of each circle, we drill with a drill a hole with a diameter equal to the diameter of the round stick you took.
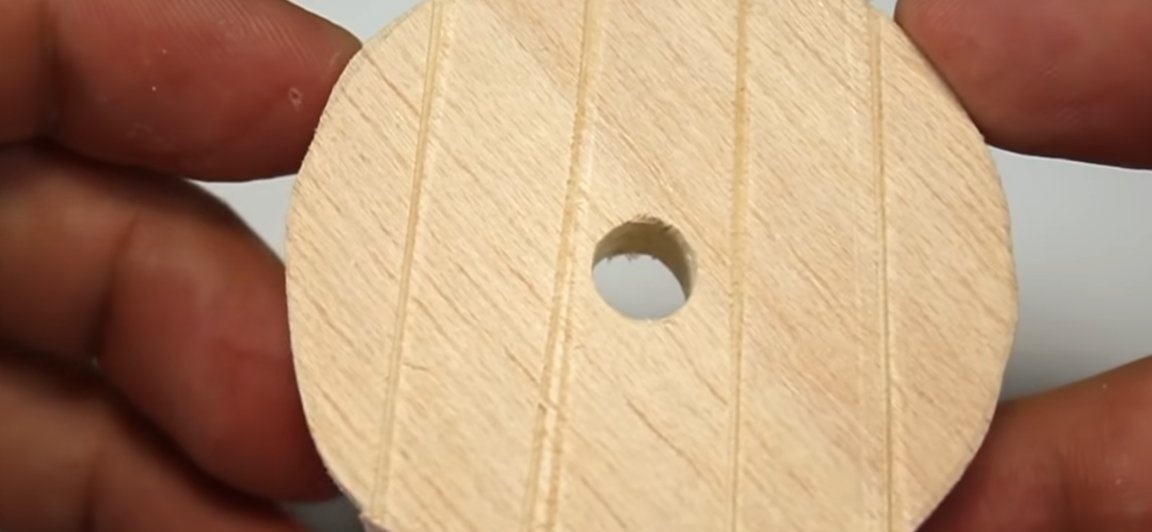
As you know, in the Middle Ages it was not possible to make wheels from plywood. Therefore, the wheels should be given a more realistic look. To do this, make a parallel slot on the wheels with a hacksaw, so that it looks like the wheels are knocked together from boards.
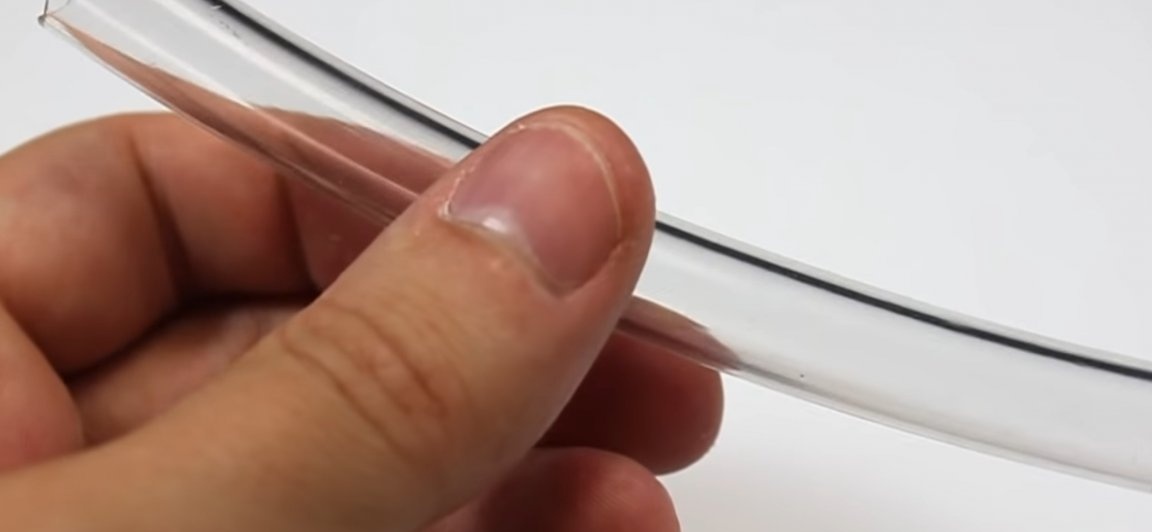
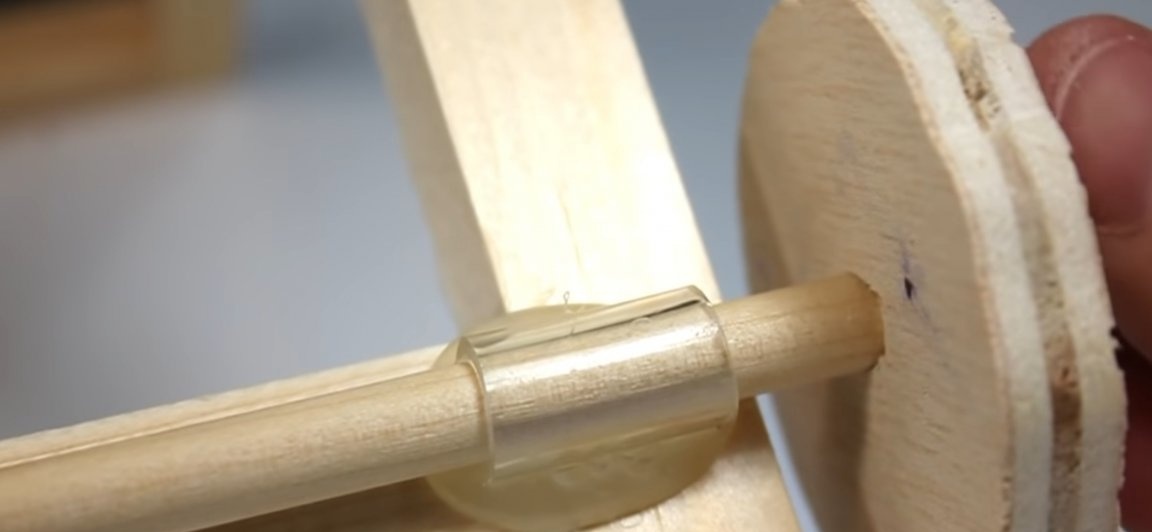
But in order for the wheels to fully function and rotate after we fix them on the catapult. The axes themselves should be secured to the catapult through the bushings. We will make bushings from a transparent silicone hose. The hose should be transparent only because in that case it will be less noticeable. It should be noted that the inner diameter of the hose should slightly exceed the outer diameter of the round sticks (axes)
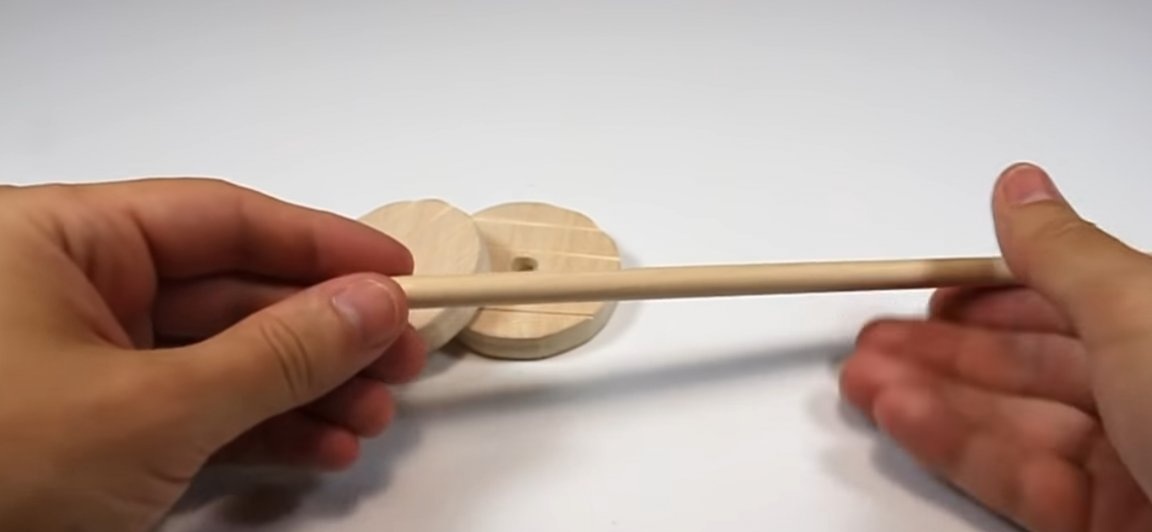
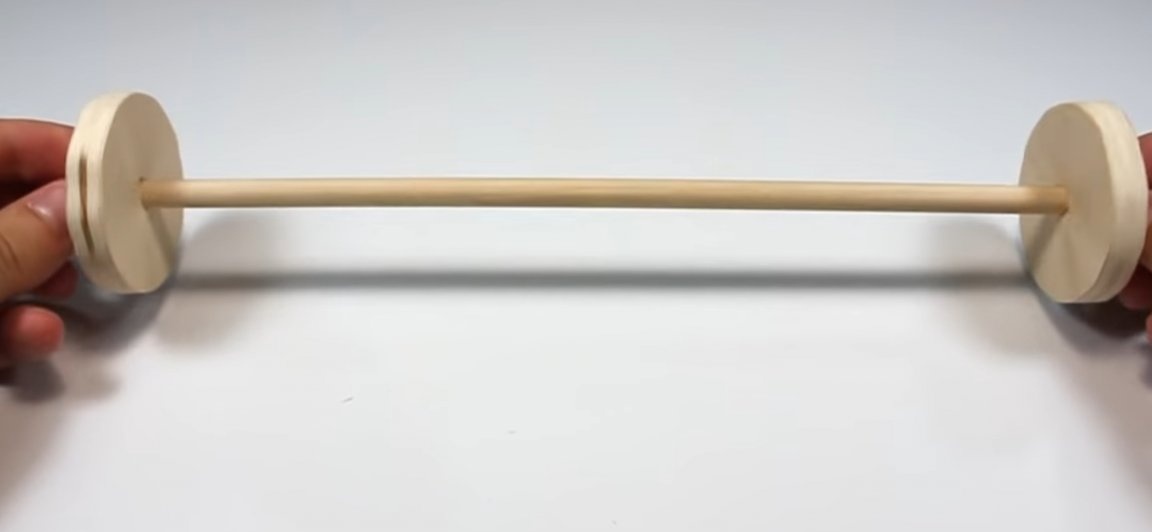
Then collect the axis. To do this, we put silicone bushings on round sticks and only then the wheels.
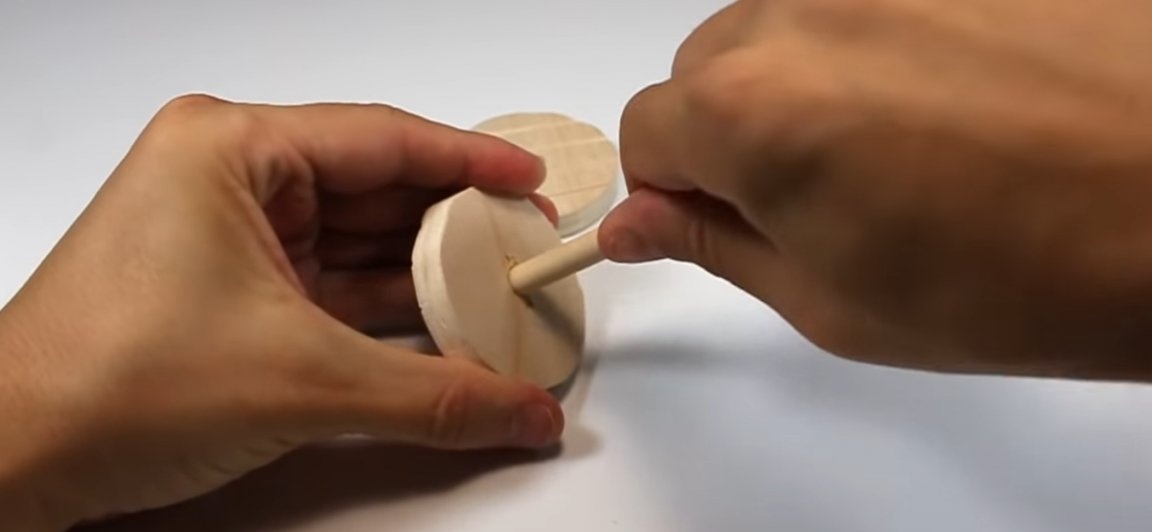
The wheels to the axles should be glued to the glue. Then we attach the axis to the catapult. The axles should be fixed using hot-melt adhesive, which should be applied to the axle bushings.
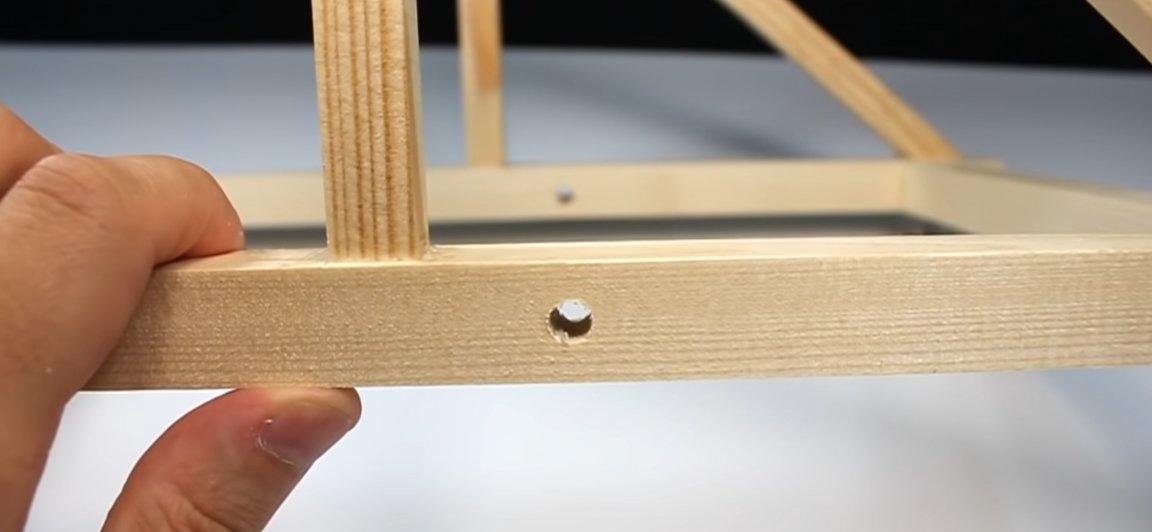
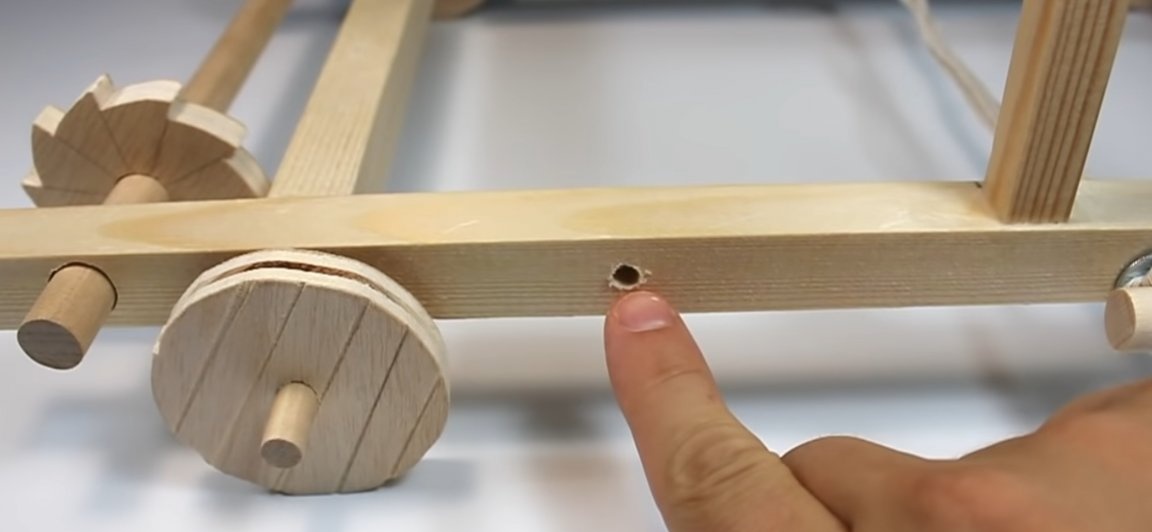
Next, in the lower part of the catapult, a pair of holes parallel to each other should be drilled.
These holes should be approximately 17 cm from the edge of the front. That is, almost in the center, but slightly offset towards the front.

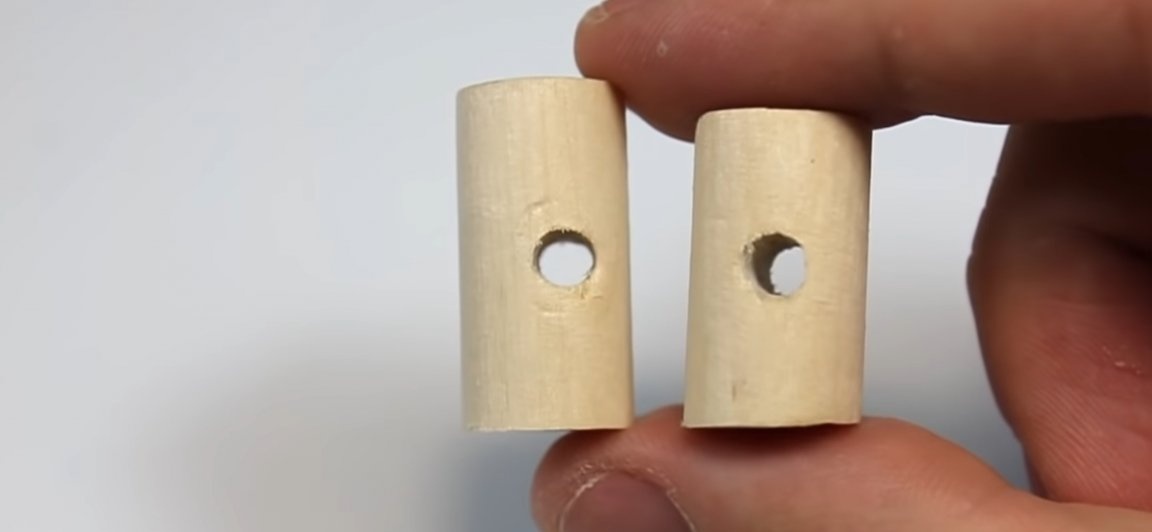
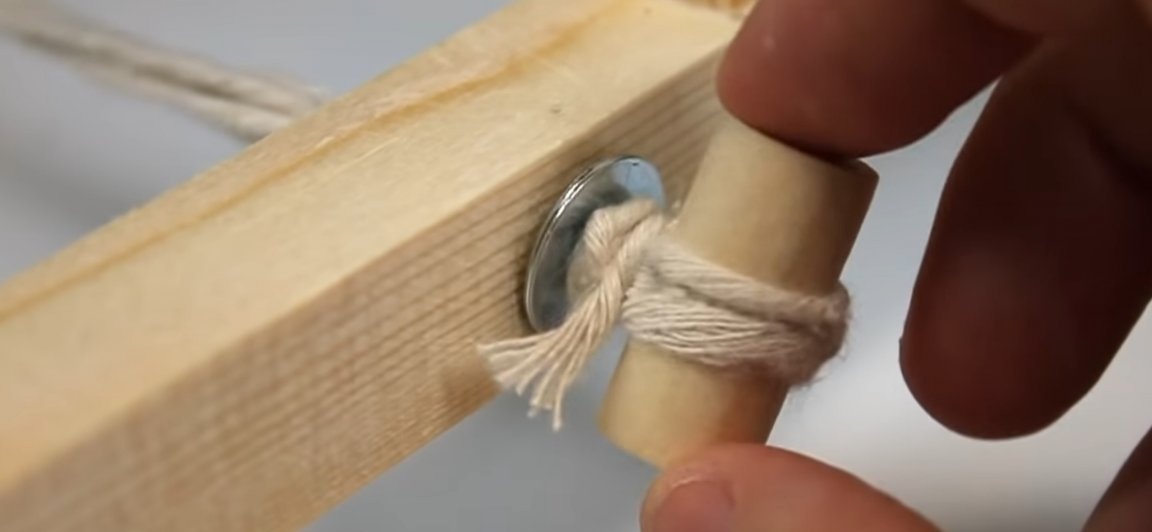
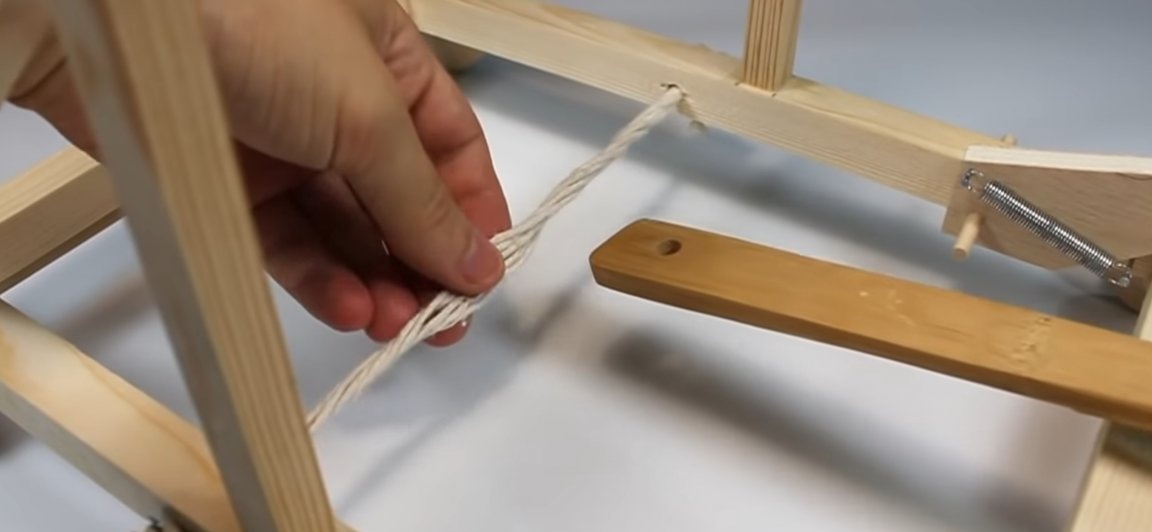
The next step is to make a pair of cylindrical parts. We’ll cut out a couple of small cylinders from the remnants of a round stick, the cylinders should be no more than 3 cm long. In the cylinders, in the center of their side surfaces, make one through hole
Also now we need two not big metal washers and twine (rope). Now do the following. We unwind about a meter of twine and fold it several times and put it into the hole of one of the cylinders, then we put one washer on the twine, and we put it through the parallel holes on the catapult. Putting it through the second hole, put on the washer and insert the remaining cylinder, tying it. In the end, you should get exactly the same as the author of the homemade below.
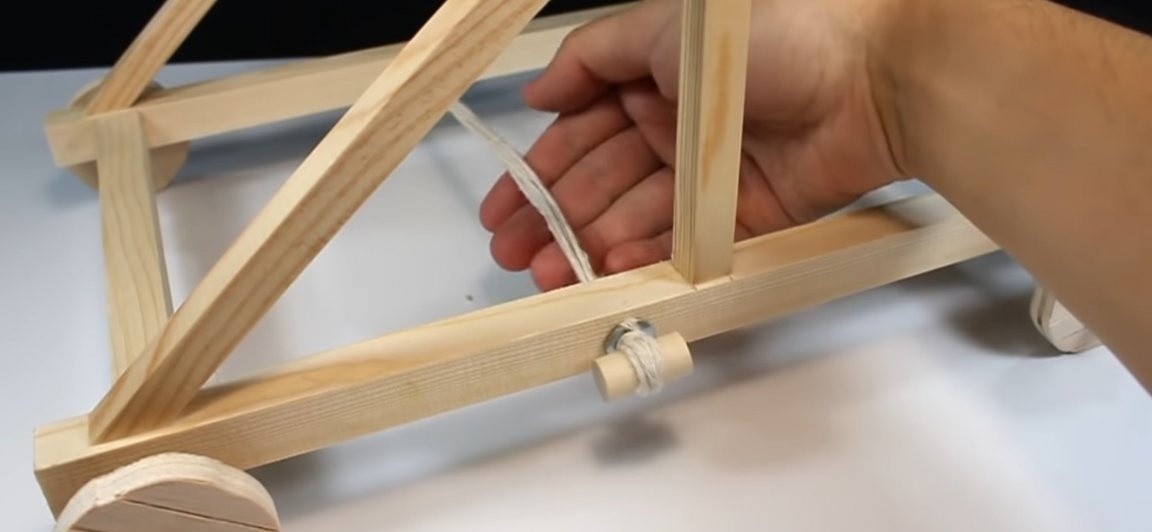
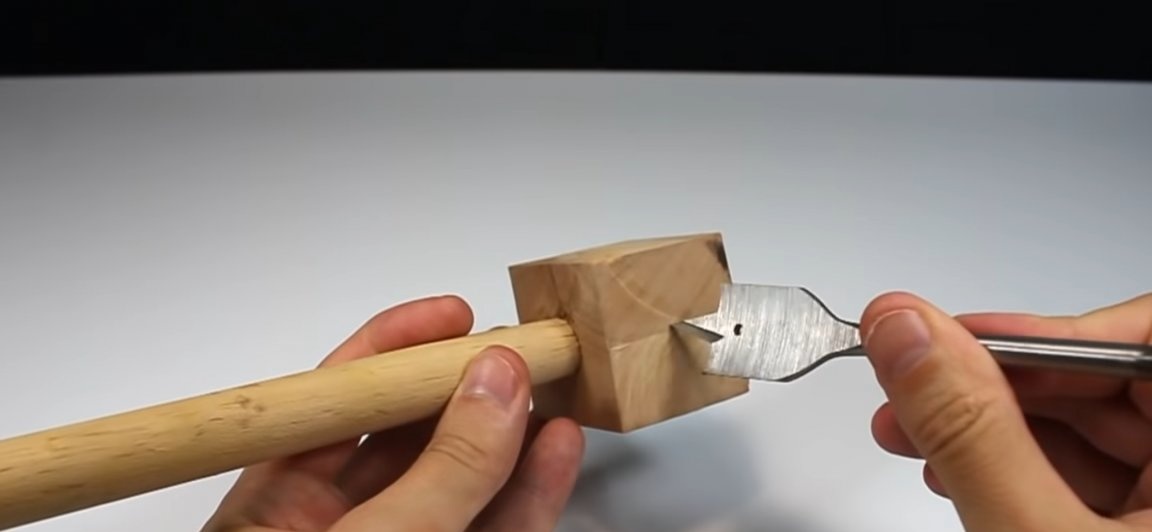
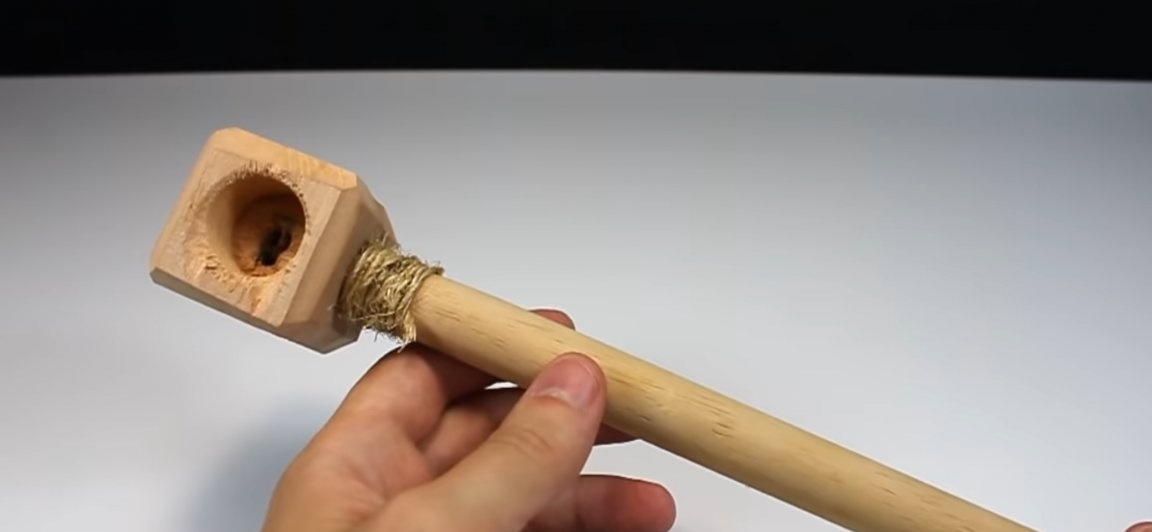
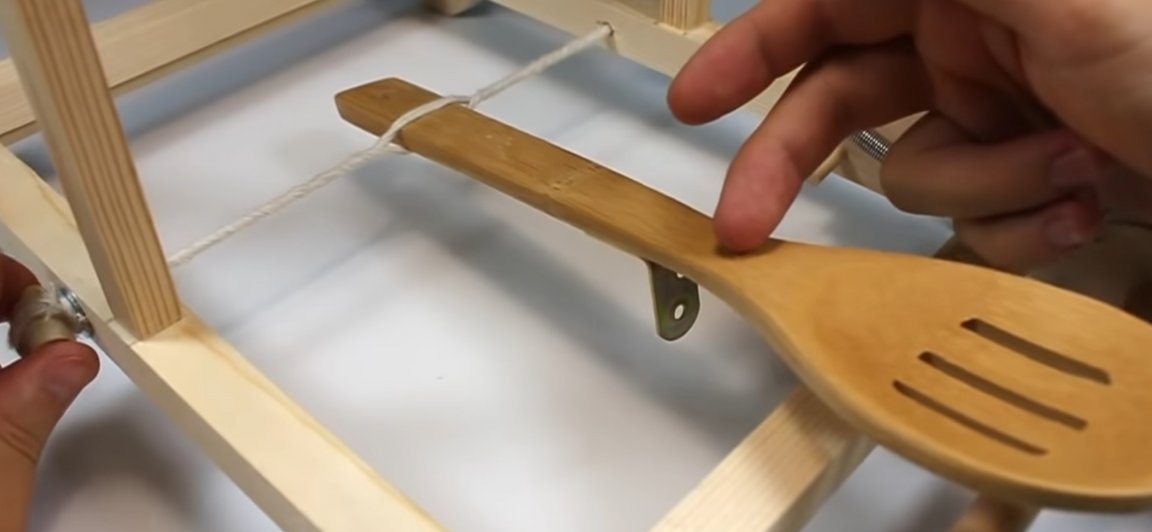
Then rotate both cylinders in opposite directions to create twine tension. And we proceed to the manufacture of the propelling part (lever). To do this, take a kitchen wooden mallet. From which we saw off the teeth, forming a block. And with a drill bit cutting a hole for shells. Or you can use a spatula with it will be much less fuss.
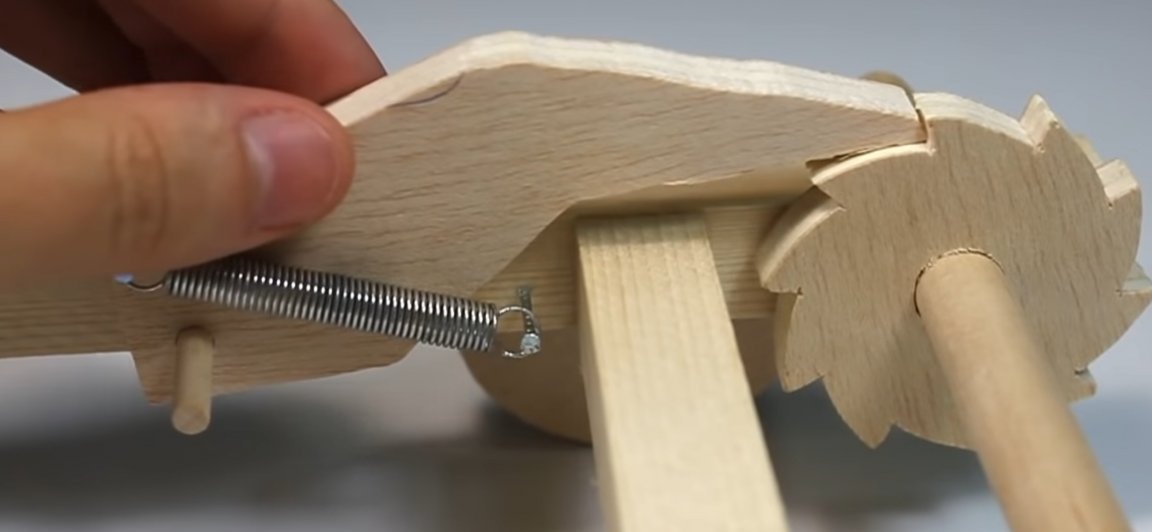
Let's make the lever tension mechanism. To do this, we find on the Internet a drawing or draw it ourselves on plywood. Namely, we should get a gear wheel with the mechanism of its stopper (see photo). We put the cut gear on the axis of rotation (round stick). We insert it into the catapult, into the holes that should be made in the back of the structure (see photo).
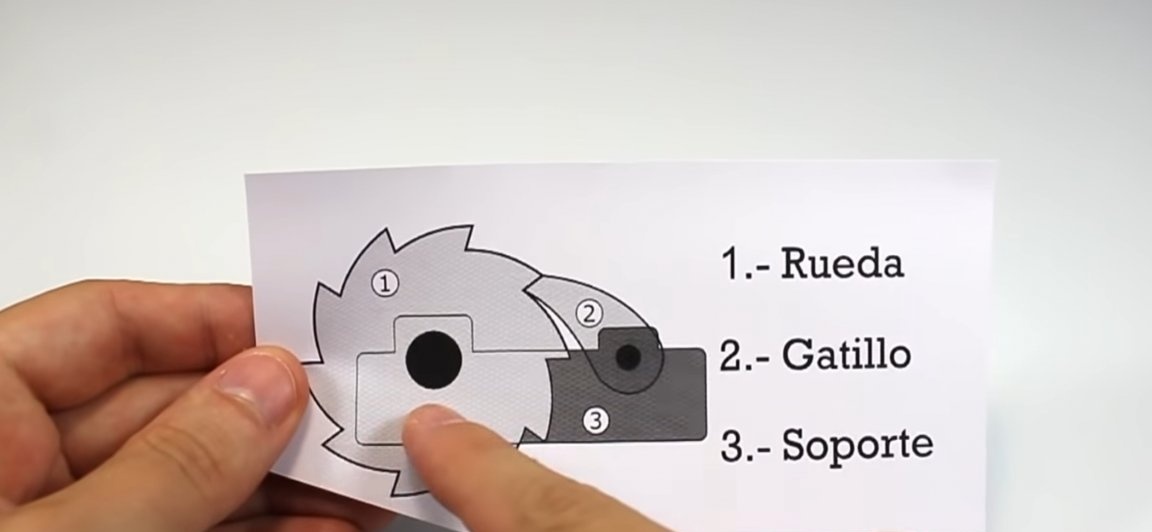

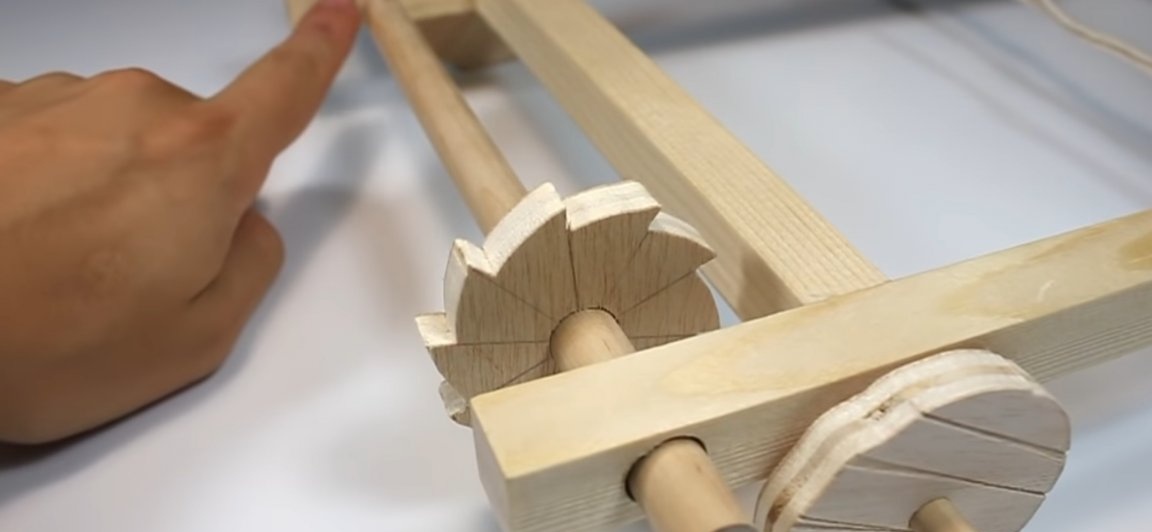
Next, install the stopper cut earlier. But before that, you should make a hole in it and insert a wooden skewer into it in order to get the part as in the photo.Next, in the catapult opposite the toothed drill, a hole should be made at such a distance that when we insert the stopper into it, it can function. And we install a tension spring on the mechanism. As a result, it should turn out so that the axis rotates in one direction, and can rotate in the other direction only if we bend the stopper.

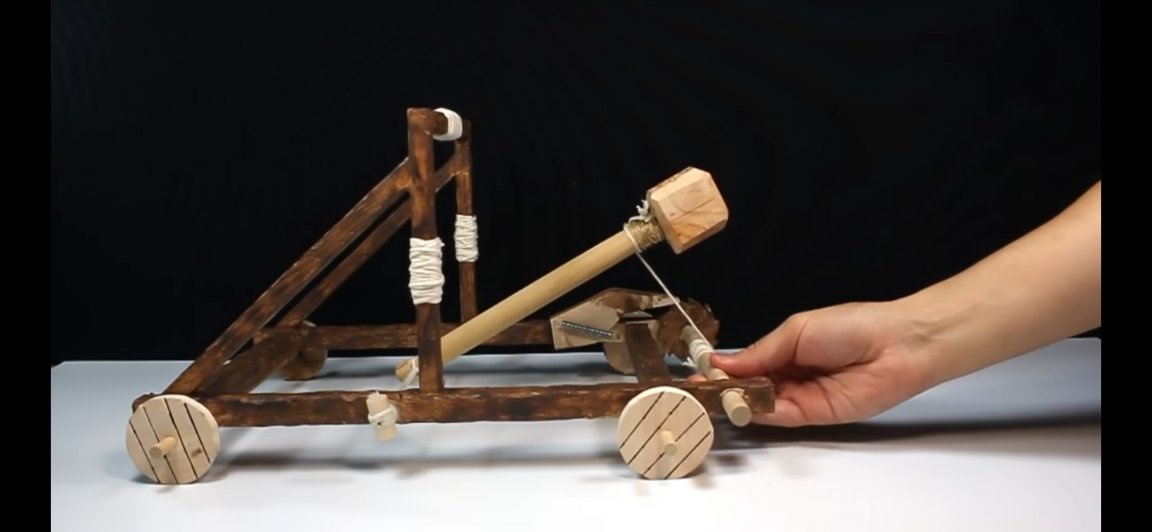
Pull the lever through the tensioner and tighten it. The stronger you tighten, the farther you shoot.
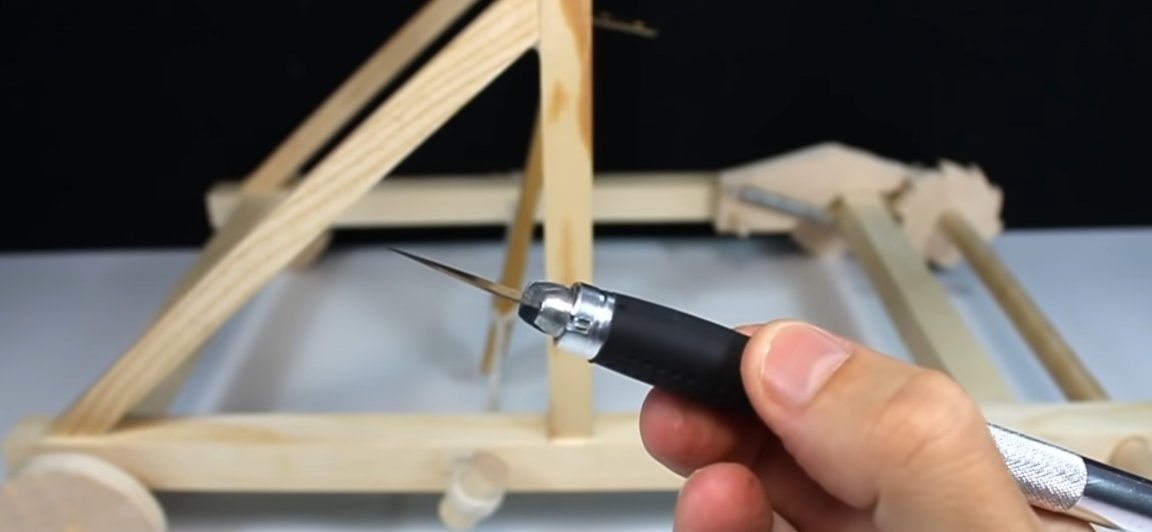
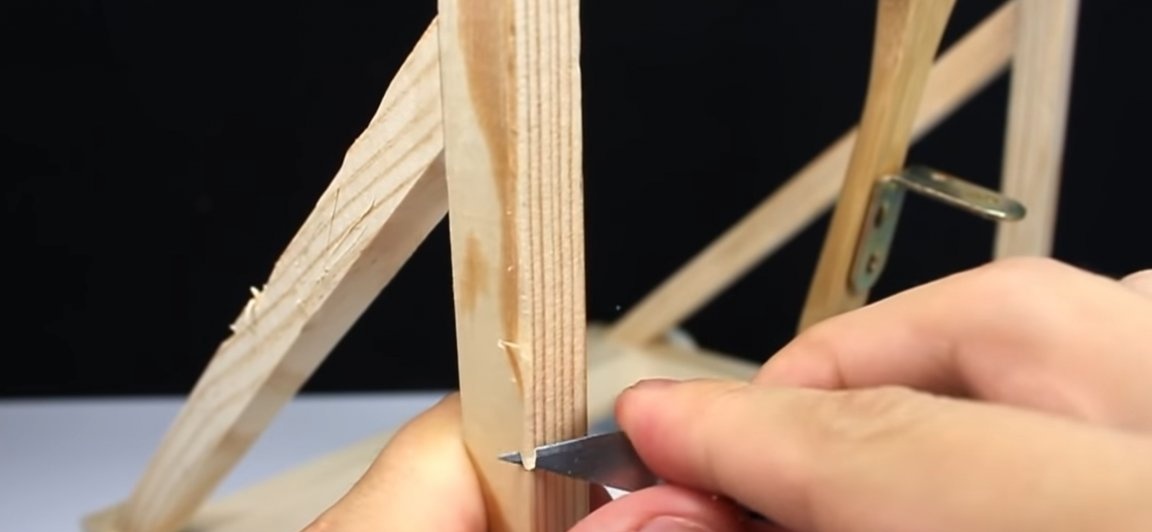
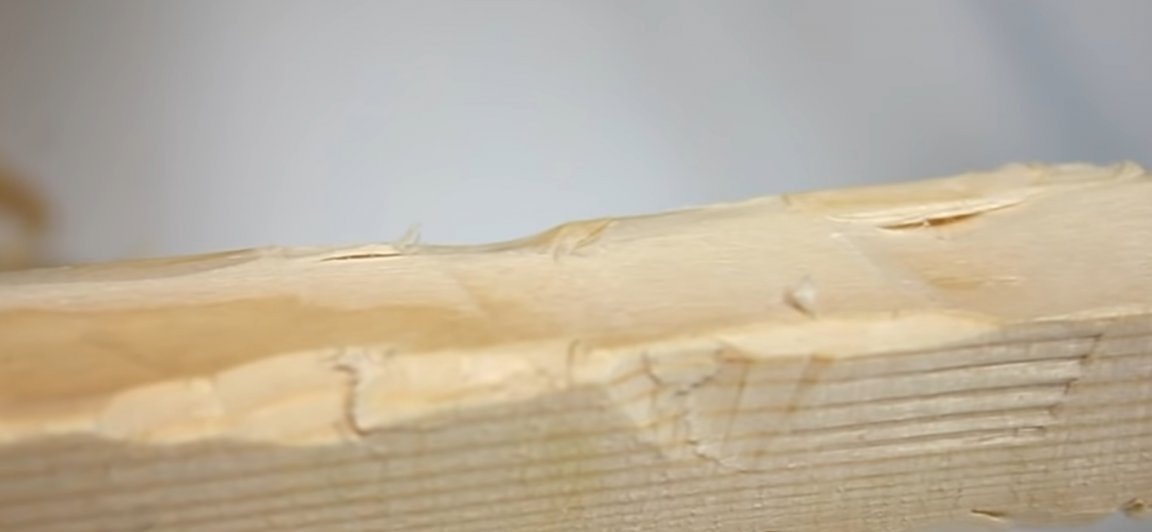
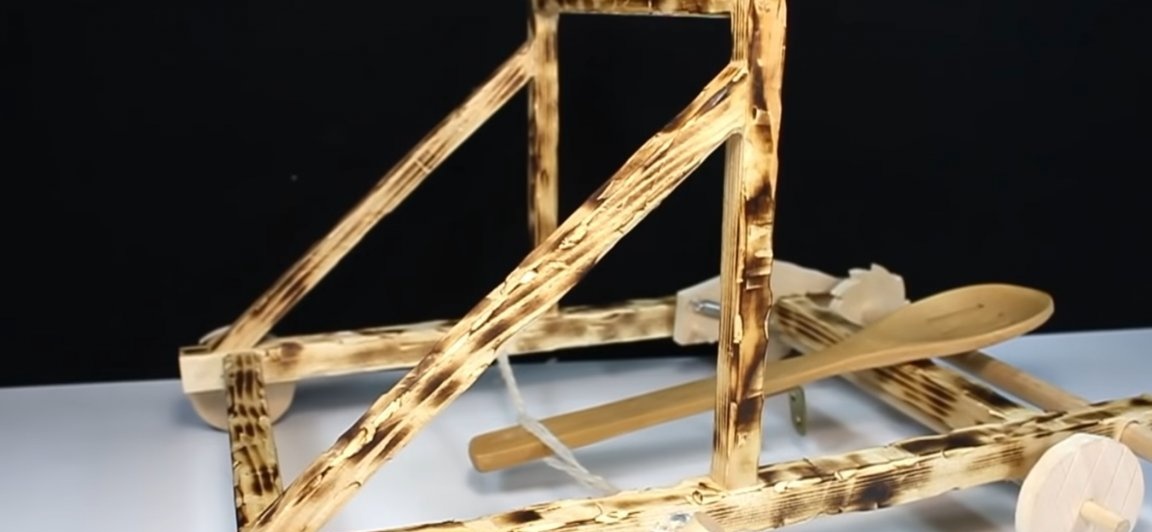
The catapult is almost ready only to age her. To do this, we will create cuts and chips with a joiner's scalpel, then we will burn the tree with a gas burner, and finally, impregnate with a dark color impregnation.

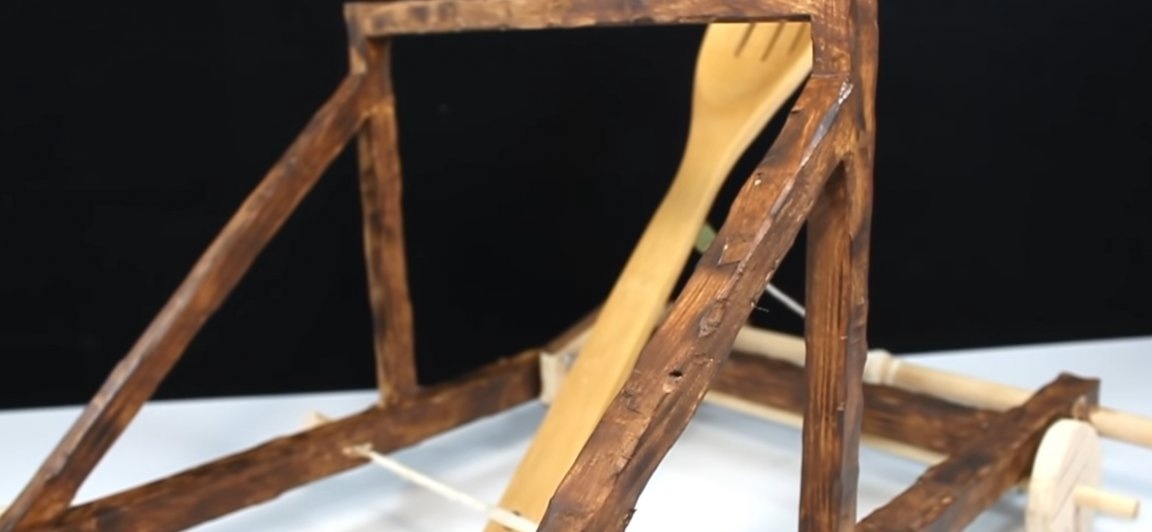
On the upper crossbar, where the lever will crash, we wind the rope to soften the blow. Well, on the side racks, too, for a more finished look.
That's all done! As a result, we got an interesting toy that can take a lot of your time.

Here is a video of the author of the homemade:
Well, thank you all for your attention and good luck in future projects, friends!