
Usually to receive from Arduino The video signal is used either with an external TellyMate hardware device or with the arduino-tvout library. In the second case, an additional microcontroller is no longer needed, but the resolution of the image is small. The MRETV library set described by Instructables under the name Mr. E, combines the advantages of both methods: the microcontroller is one, as in the second case, and the resolution is the same as in the first. But that’s not all: at the same time as solving any tasks, you can output not only an image, but also stereo sound, as well as work with input devices.
Of course, from Arduino or a compatible board for the simultaneous implementation of all this requires quite a lot of resources. Therefore, a set of libraries works only with motherboards based on ATmega168, 328, and 2560 microcontrollers. We are not talking about work with, say, motherboards with ATmega8 or ATtiny85 microcontrollers (for example, Digispark).
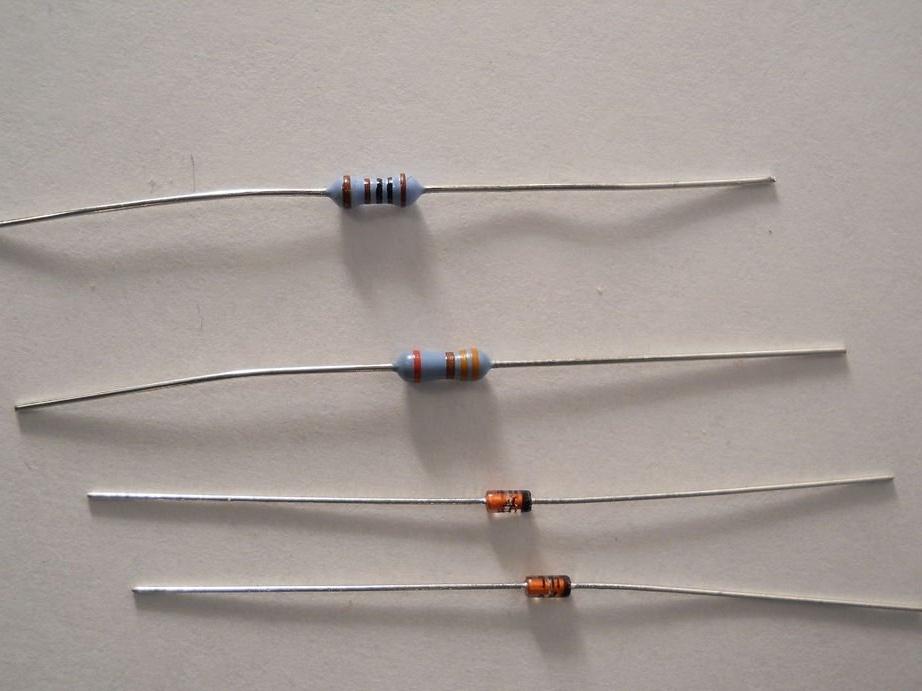
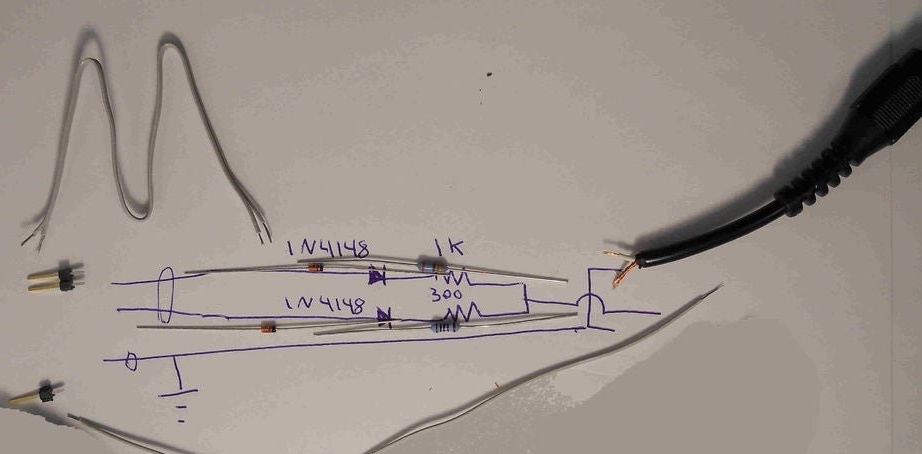
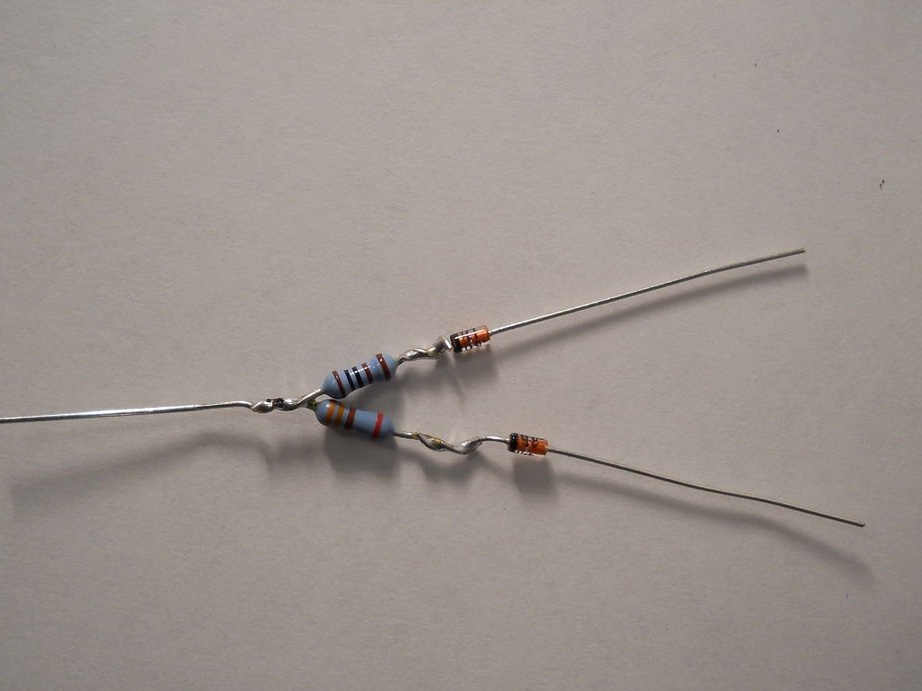
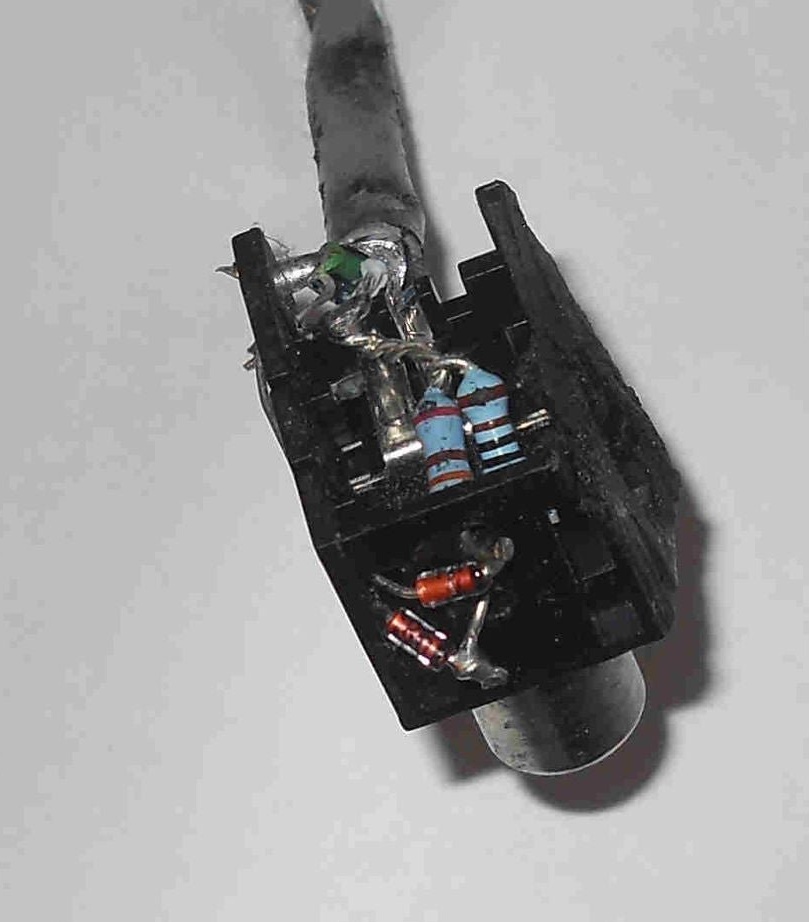
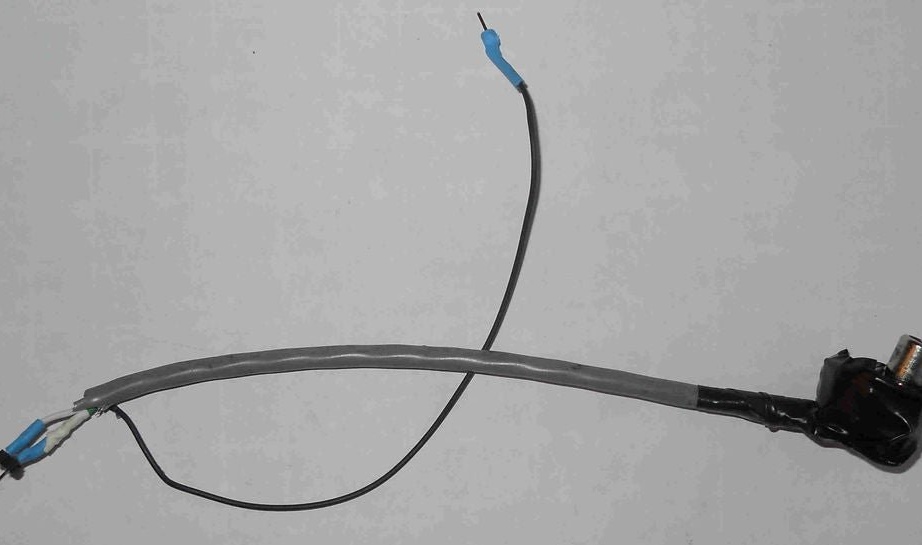
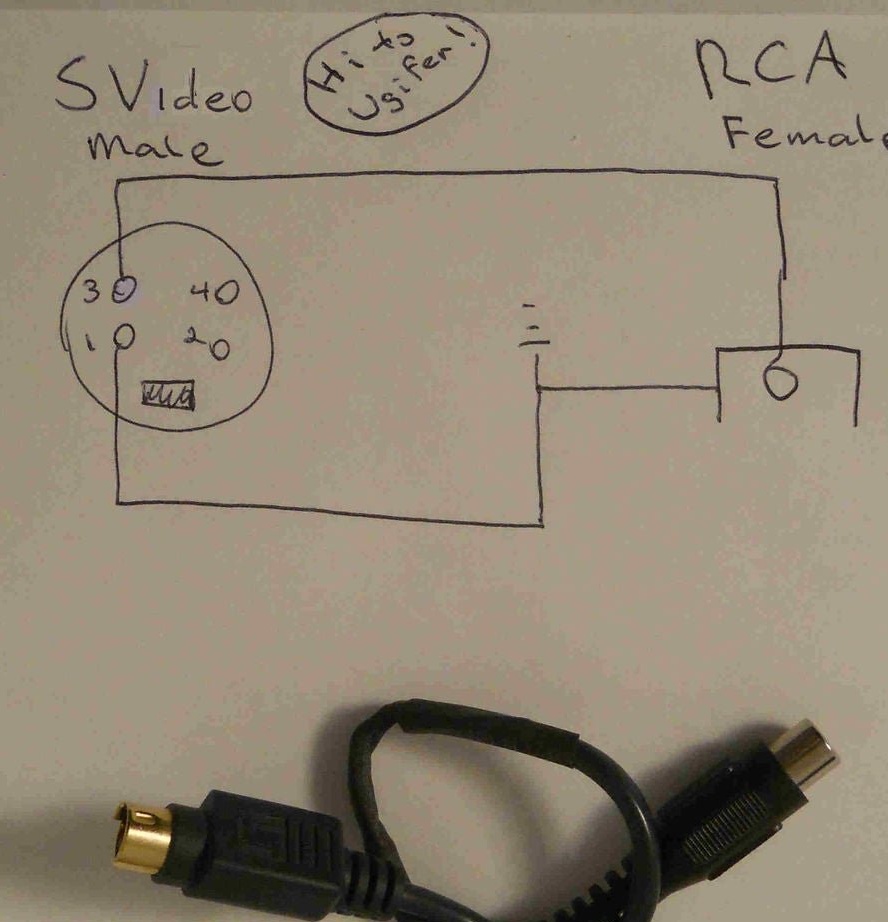
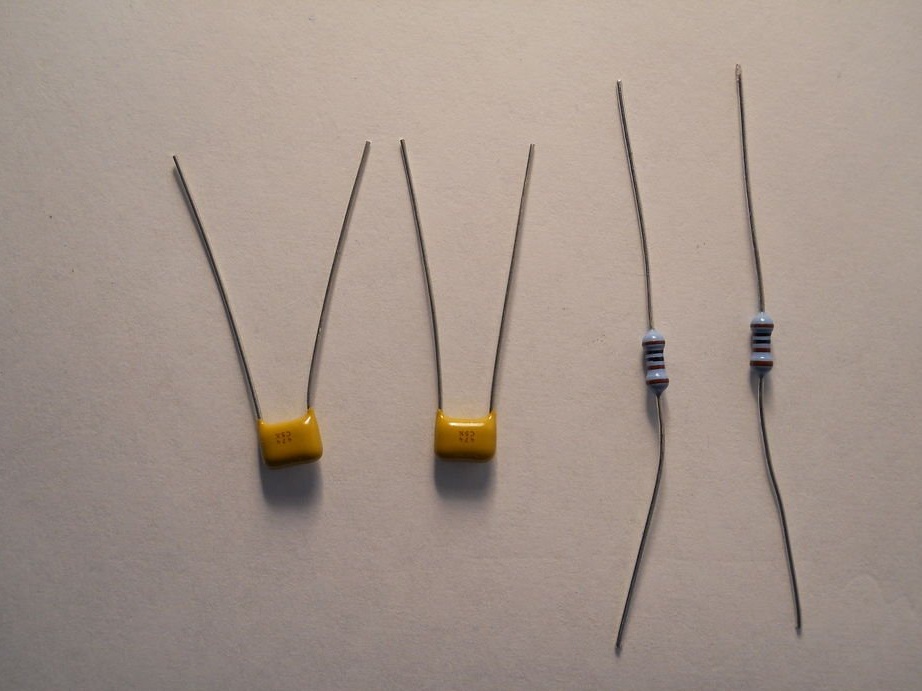
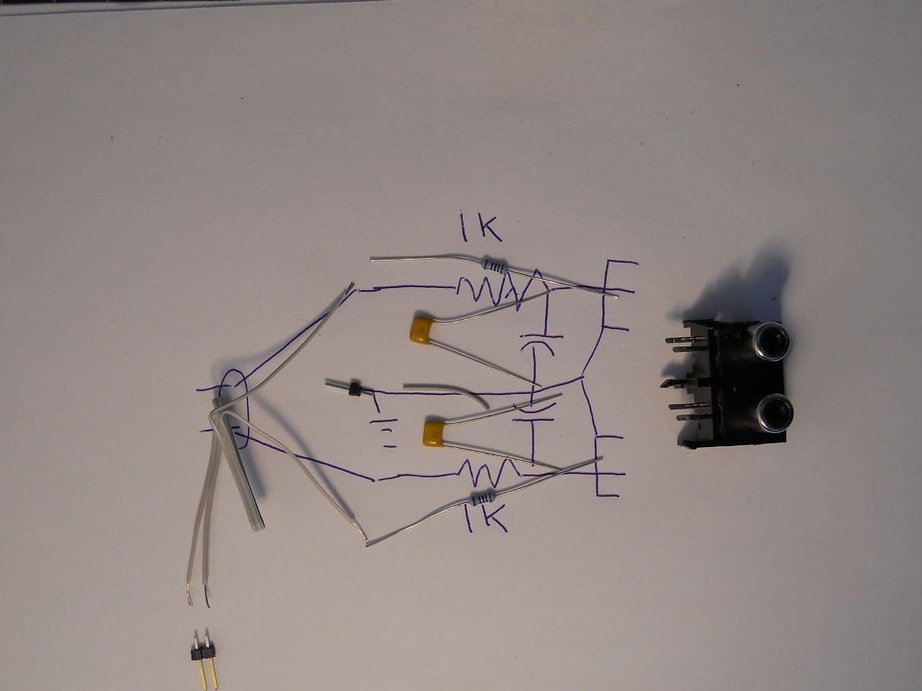
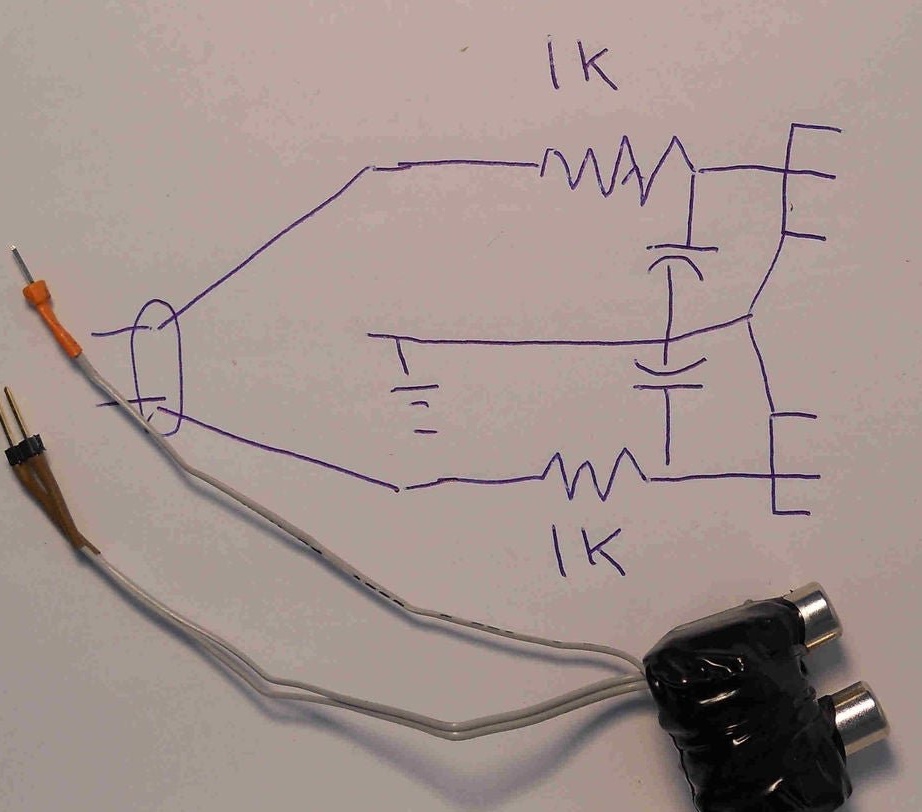
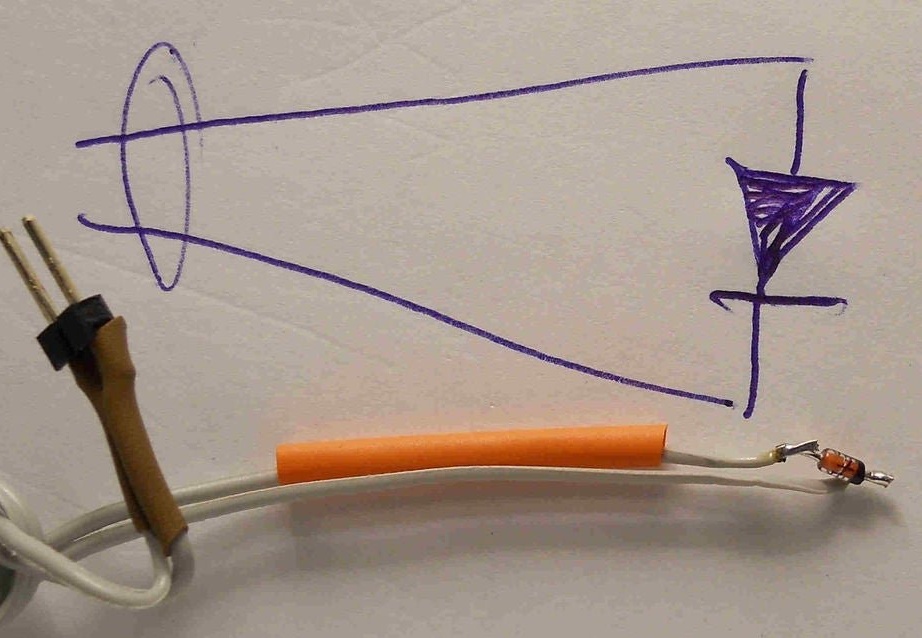
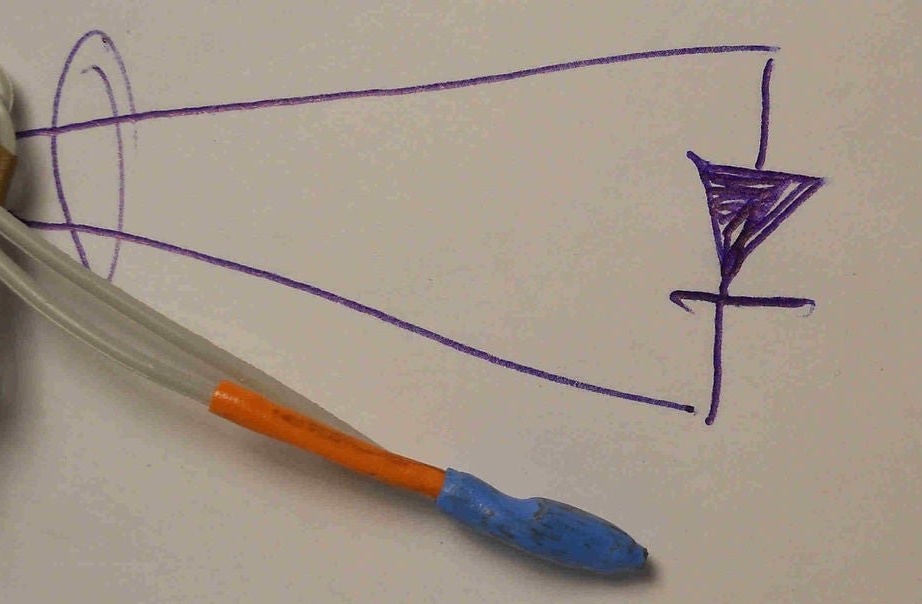
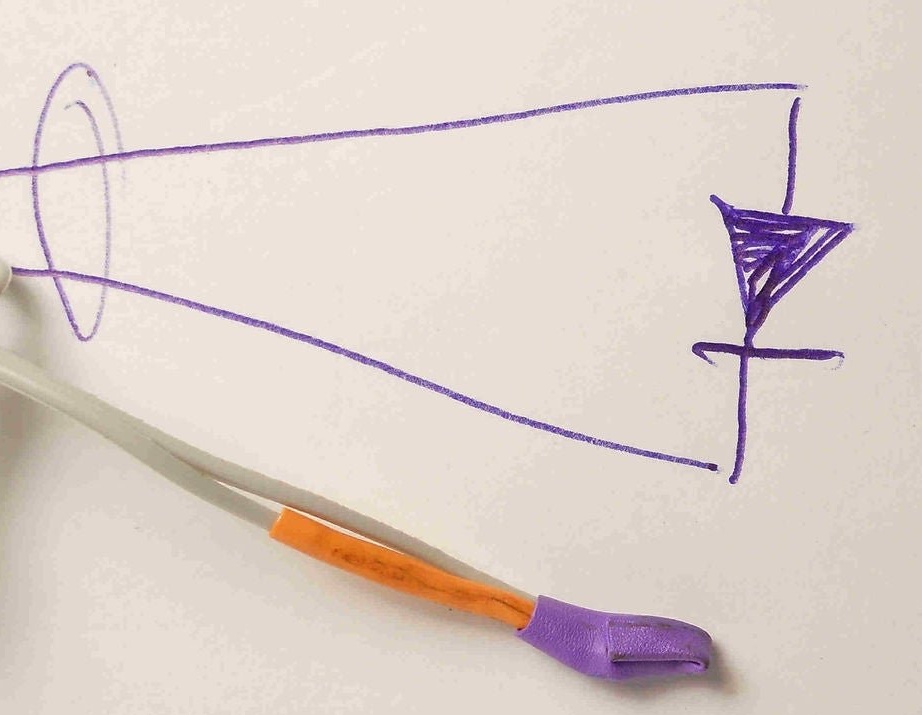
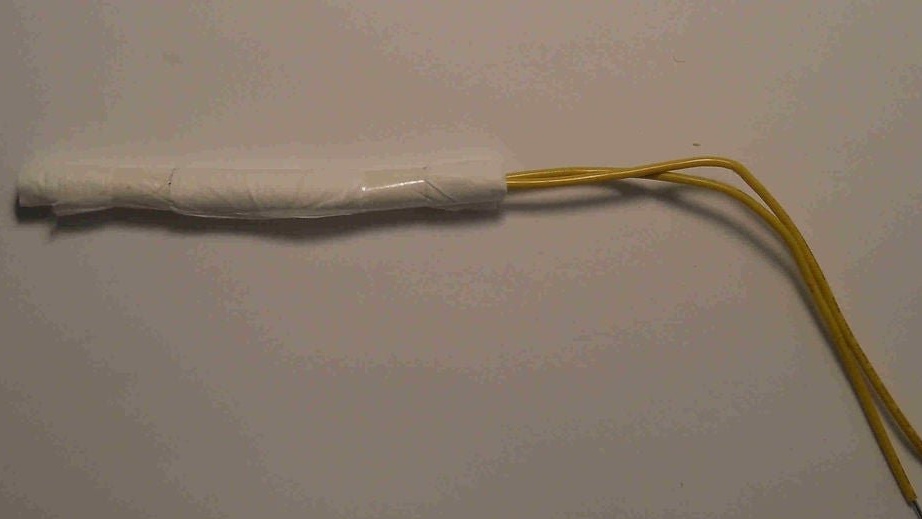
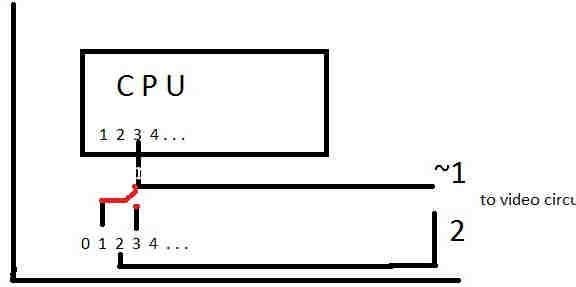
To connect external devices, the master collects simple circuits on resistors, diodes and capacitors. He begins with a circuit for capturing a video signal. This is the simplest mixer, mixing signals of brightness and synchronization in a certain proportion. Circuits for different types of boards differ only in pin numbers for removing these signals.

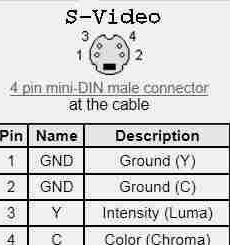
The master collects this scheme in options for the "tulip" and S-Video. In the second case, the input for the chroma signal is, for obvious reasons, not involved.
To check the video output in action, the wizard installs libraries (archives with them and examples are here, newer version - here) in Arduino IDE manually, automatic installation will not work. To do this, it closes all windows related to the IDE, and then puts the libraries from the archive into the libraries folder of this programming environment, and the examples in its Examples folder. And for a start it starts such a sketch:
#include "MRETV.h"
#include "textfont.h"
char mystring [] = "Hello world";
void setup () {
Screen.begin (textfont, mystring, 2 * fontheight, 6,30,30,1);
}
void loop () {}
After making sure that the phrase "Hello world" is displayed on the TV, the wizard experiments with examples:
SimpleDisplay.ino - I / O interface to existing projects
TVText.ino - Arduino as an external graphics card
TestPattern.ino - test chart
Bounce.ino - work with moving and bitmap images
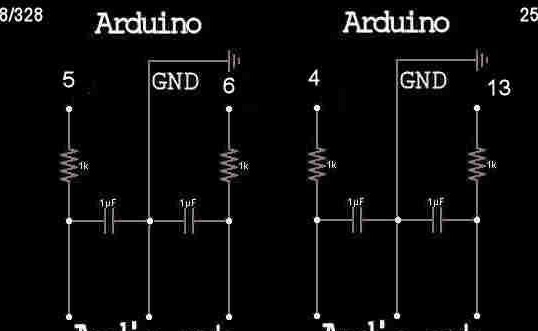
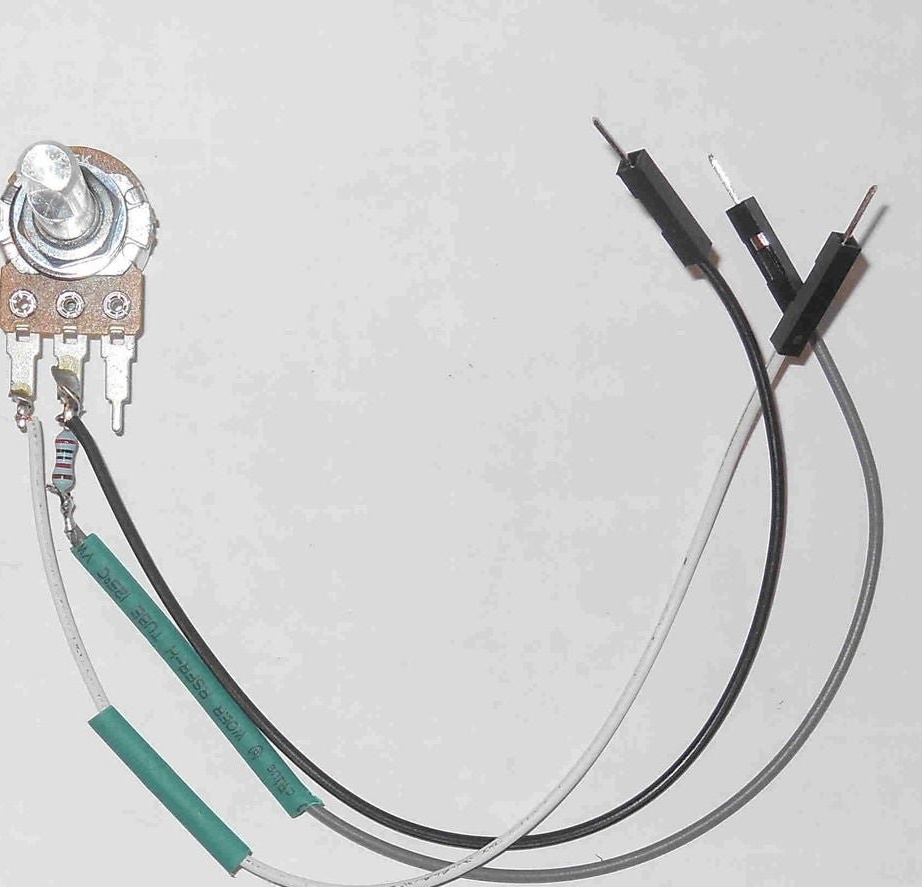
It is the turn of stereo audio output.Here you do not need to mix signals, but if you connect dynamic heads or headphones not directly, but through an amplifier, you cannot do without a low-pass filter. And again - the circuit in two versions, depending on which microcontroller the board is made on:
This device also collects the master:
And tries the examples:
Arudion.ino - sequencer
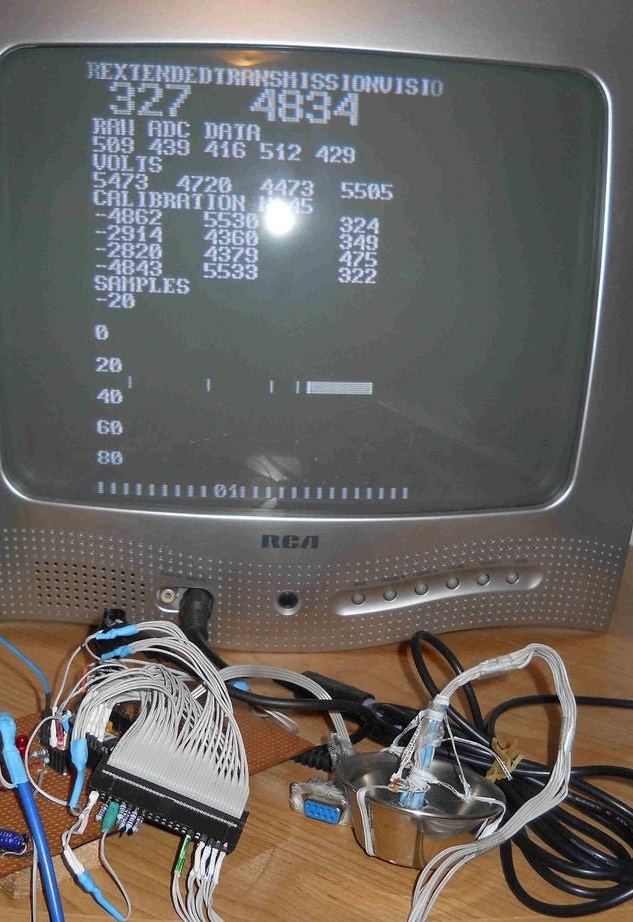
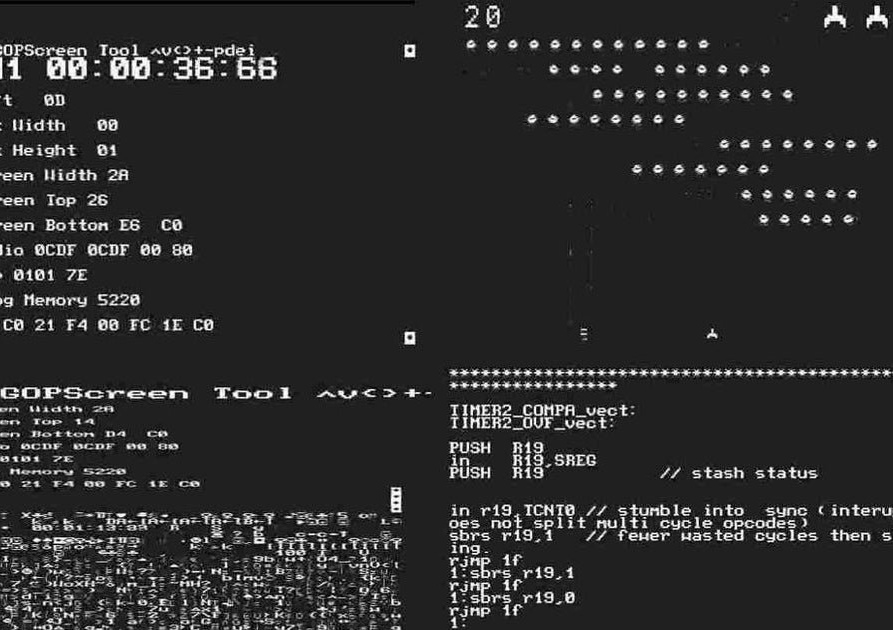
ScreenTool.ino is a multifunctional utility that requires a keyboard (see below) or a terminal emulator on a PC
Ponguino.ino - A clone of Pong, with sound, requires a keyboard (also see below).
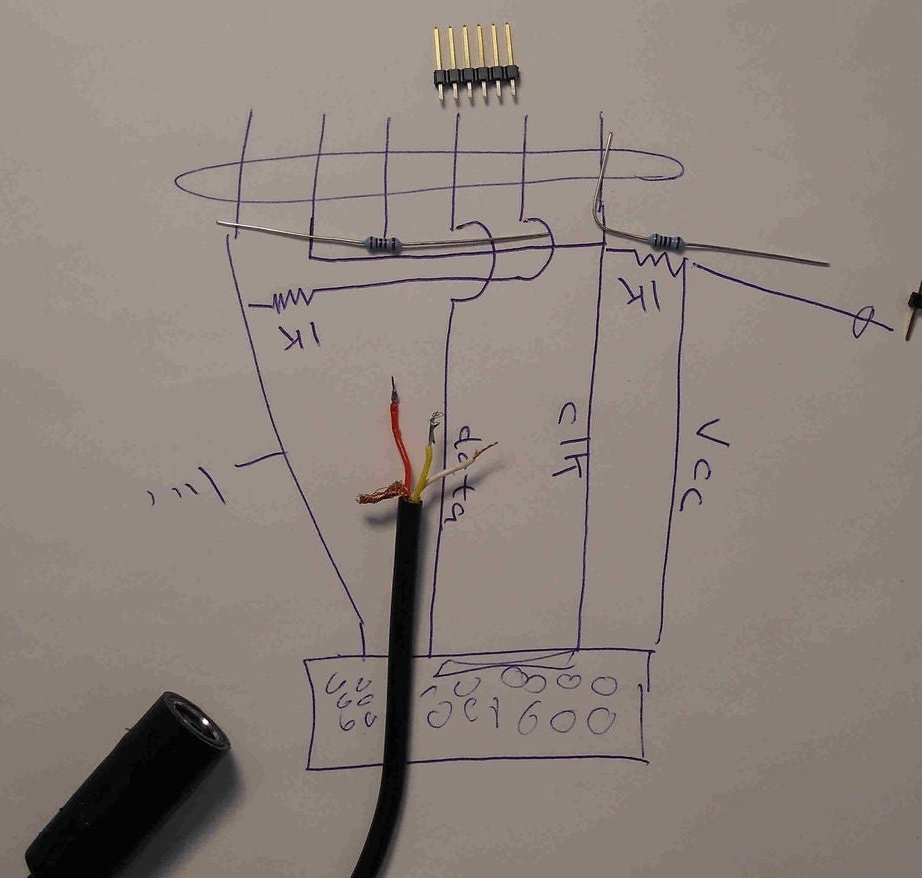
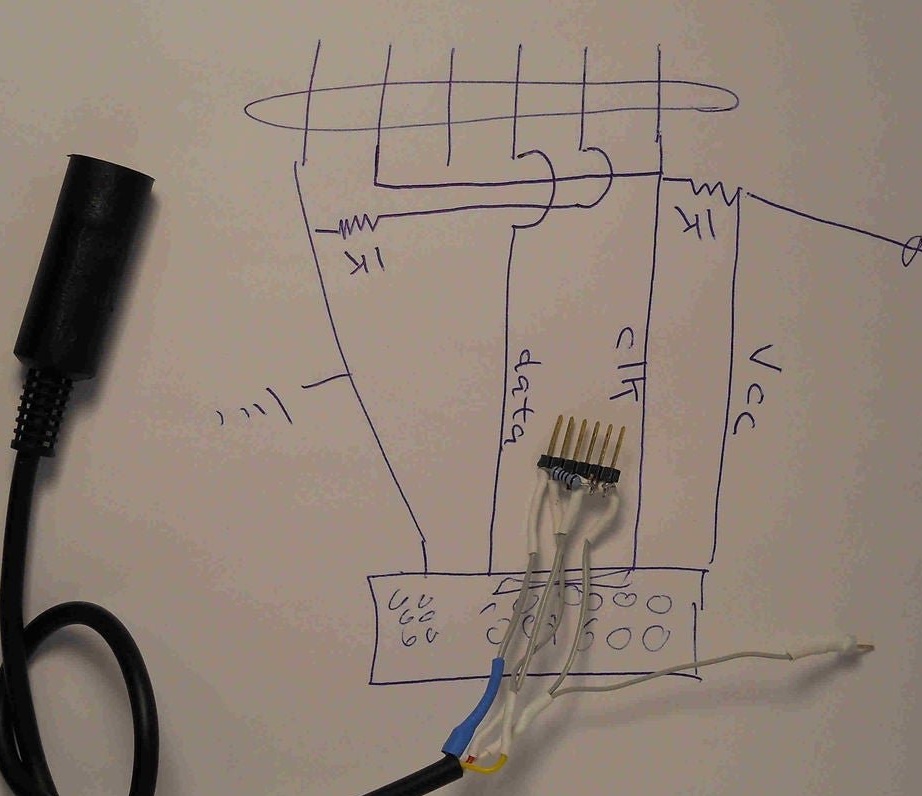
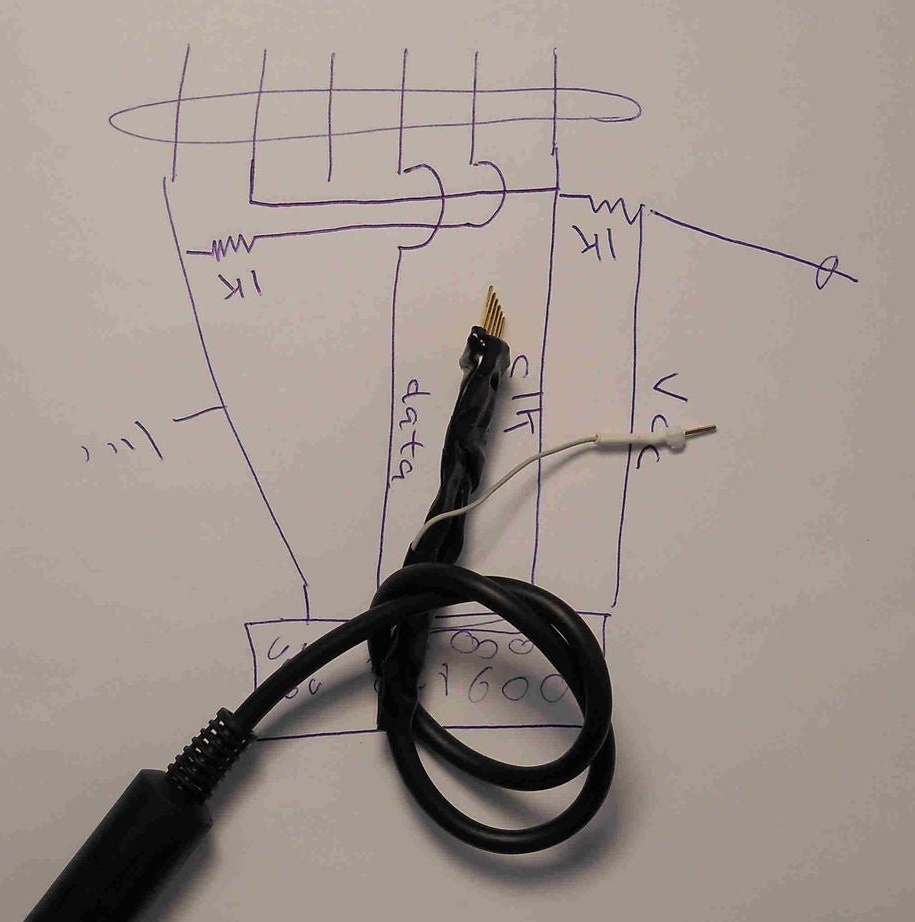
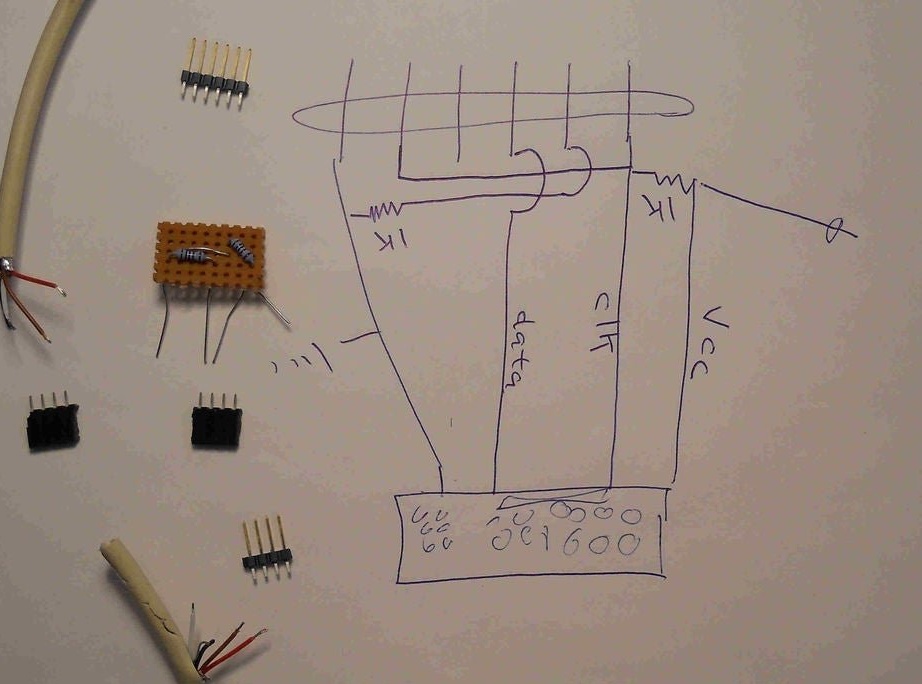
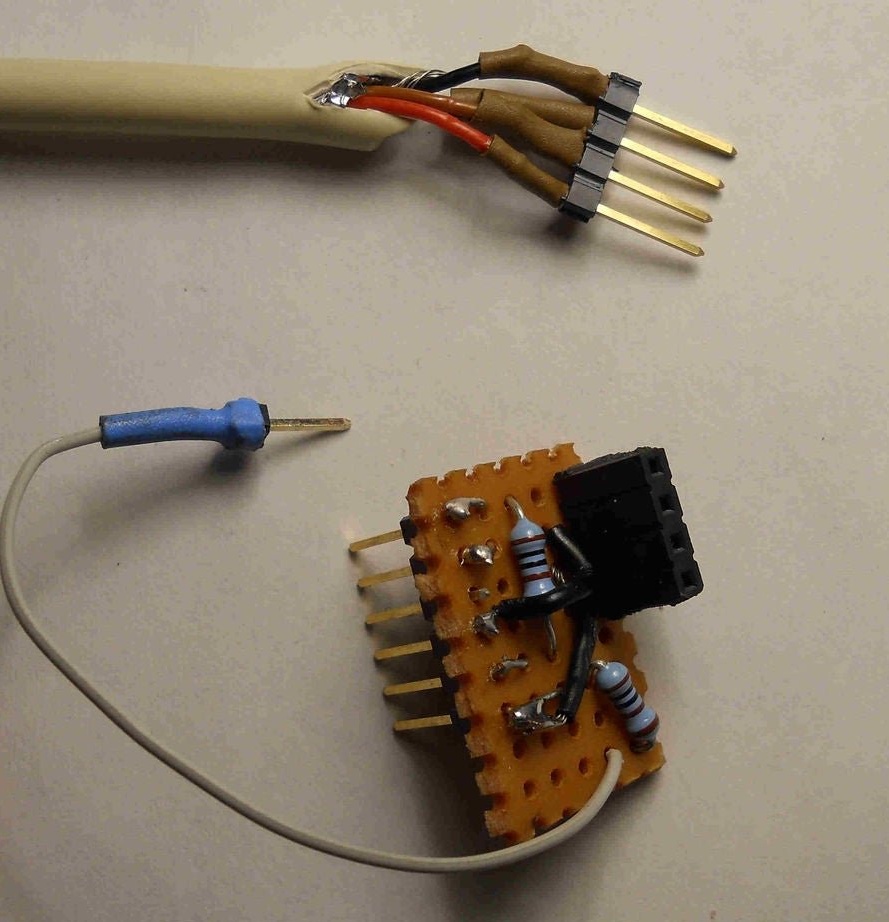
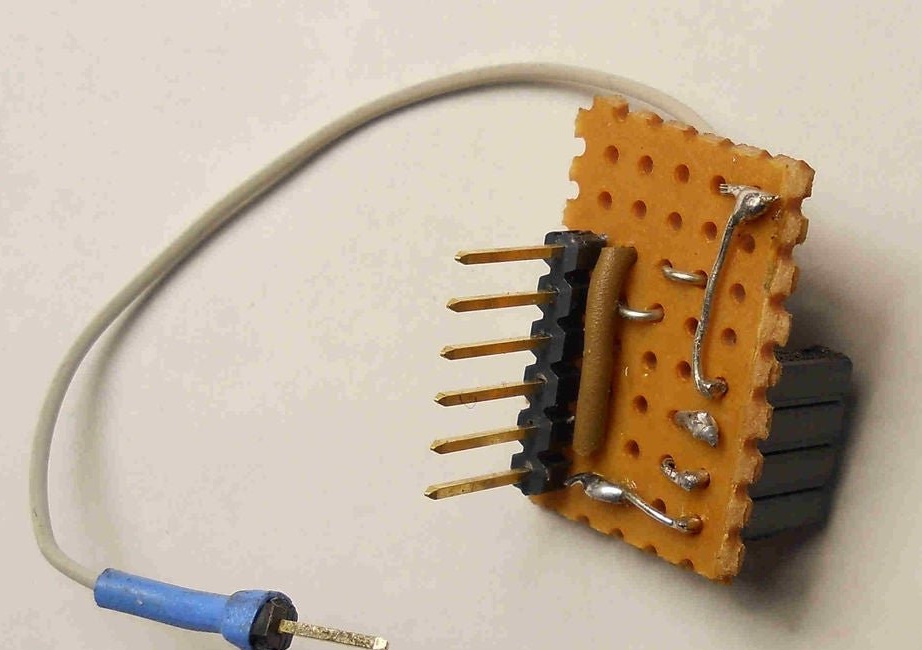
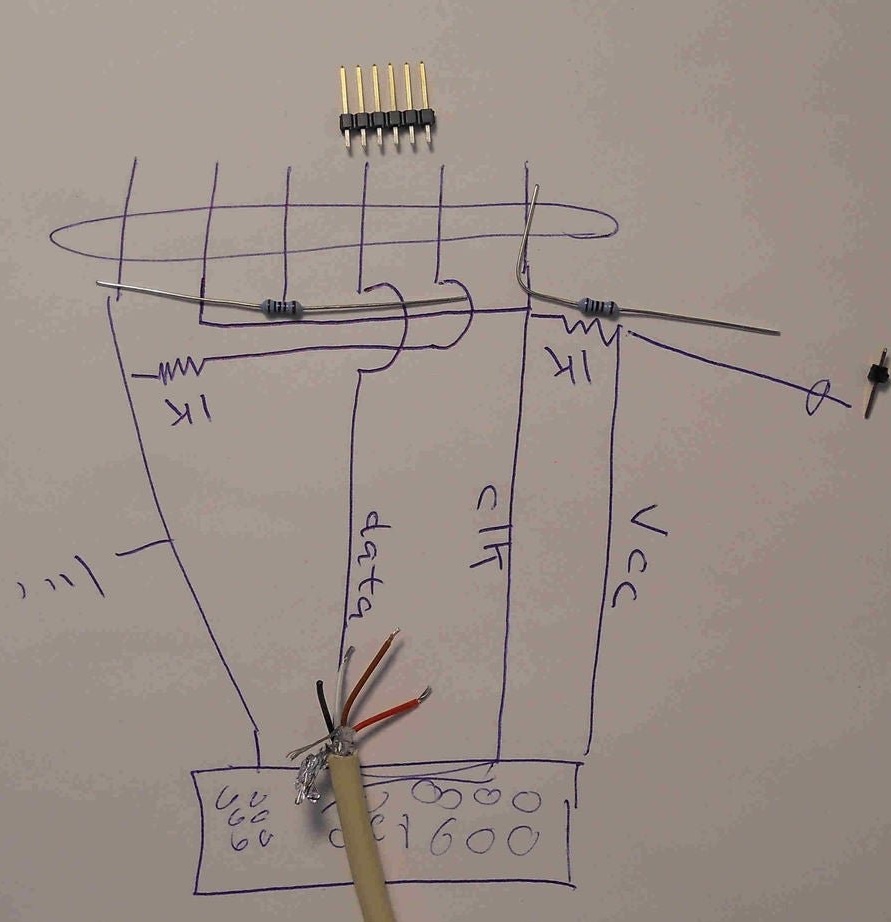
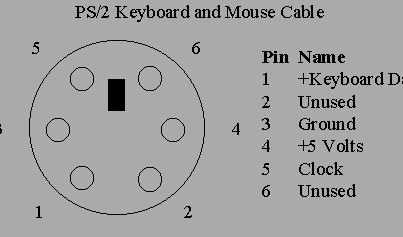
The next task is to connect a keyboard or mouse (but not both at the same time) of the outdated PS / 2 standard. There are still quite a lot of them.
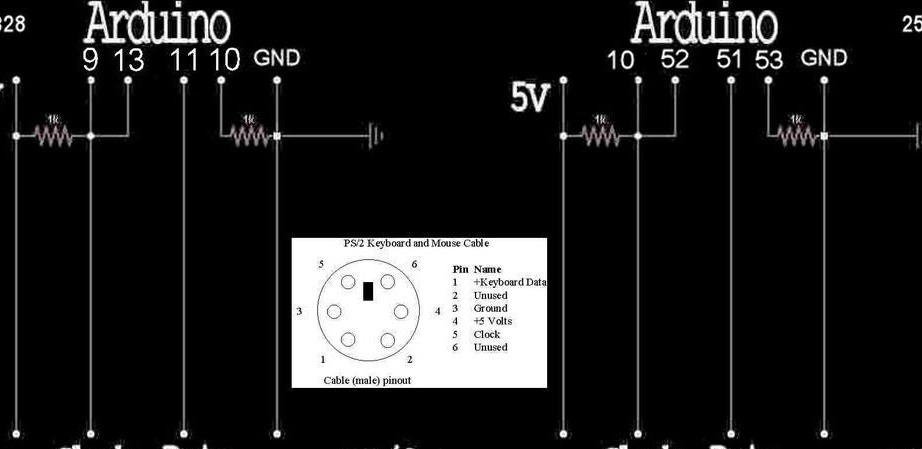
The master also copes with this:
The examples are basically the same, but the new periphery opens up new possibilities:
TVText.ino - now the terminal allows not only displaying information, but also entering it
ShootEmUp.ino - game, control the arrow keys, only ATmega328 and 2560
Ponguino.ino - now you can play: press j, then control the WASD keys, then when it comes time to connect the sensors, you can make analog controllers
KeyboardTool.ino - ScreenTool development utility
Bounce.ino - by connecting the keyboard, you can try more effects
Arudion.ino - with the keyboard you can try more functions, and also play yourself as on a synthesizer
All this is wonderful, but after the examples I want to try to use the functions of MRETV in my programs. The wizard recommends not using the Arduino IDE serial port monitor, but a terminal emulator with a more developed set of functions. The following shows how to access library functions from your programs. You can use all of the above interfaces simultaneously, one at a time or in any combination.
Work with video output:

The wizard tries to connect various analog sensors also supported by MRETV to Arduino. For example, a variable resistor, a thermistor, a divider for measuring voltage, a humidity sensor, a diode as a temperature sensor, a photoresistor:


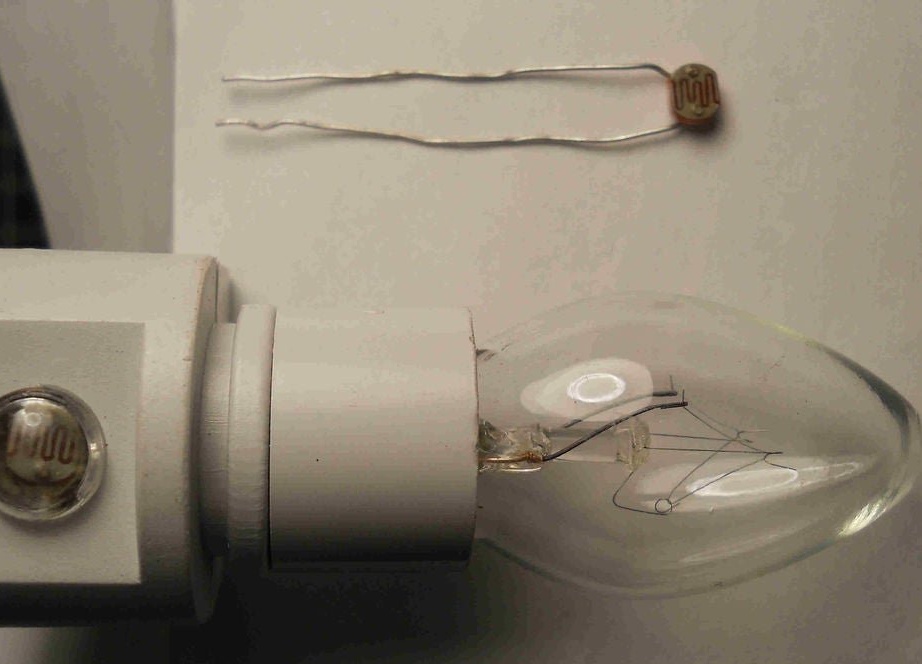
The sensors must be such that the input voltage falls in the range from 0 to +1 V, while achieving the best measurement accuracy. Examples:
Ponguino.ino - now you can play with an analog controller
KeyboardTool.ino - see reading function from analog inputs
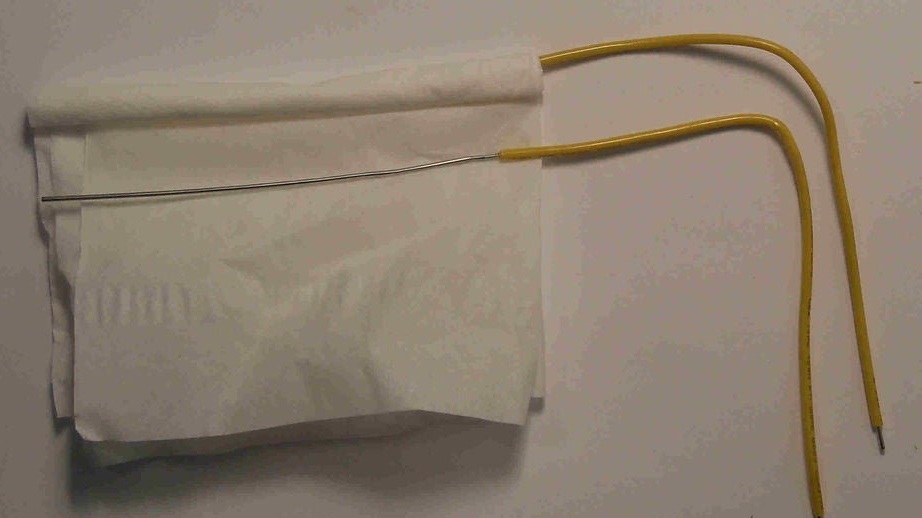
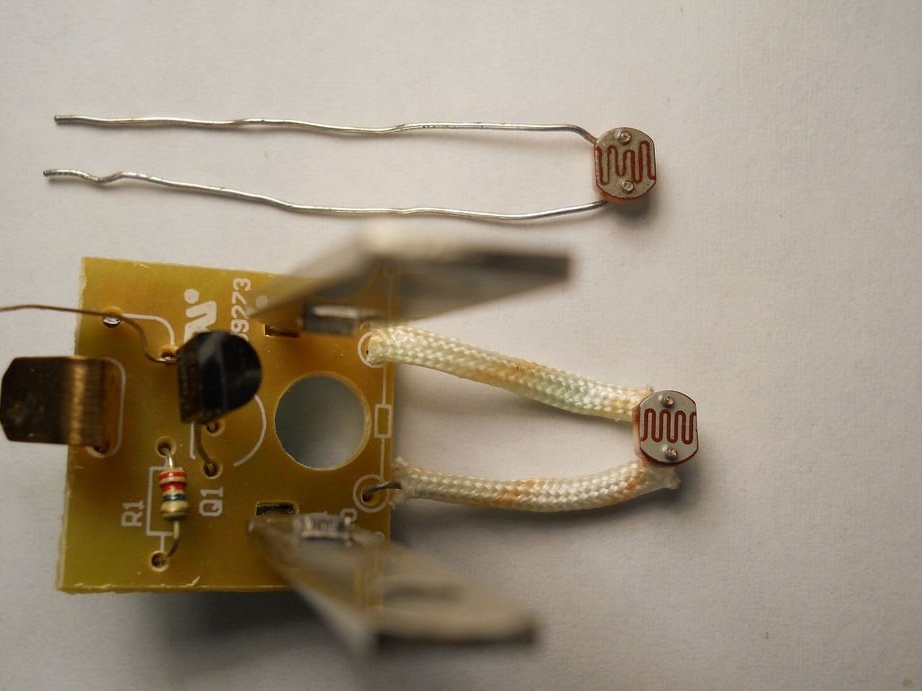
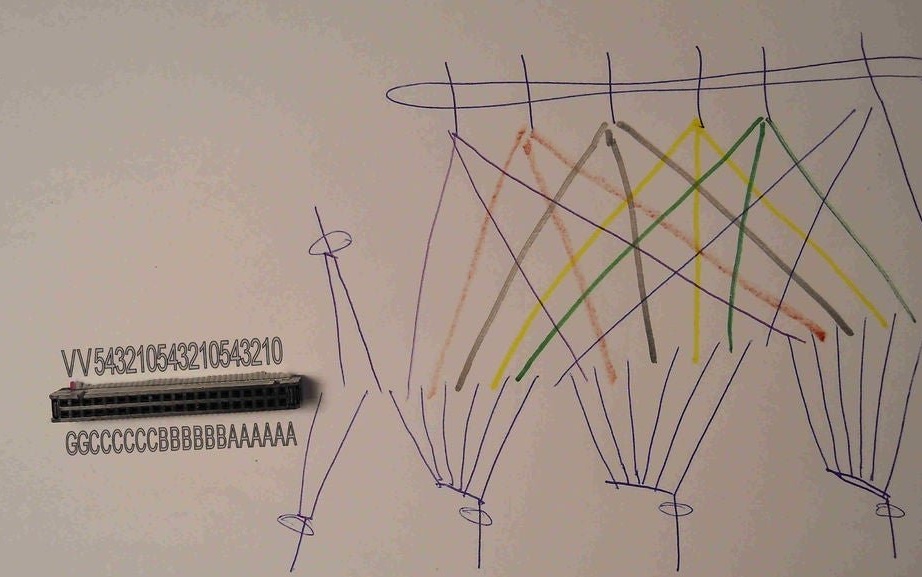
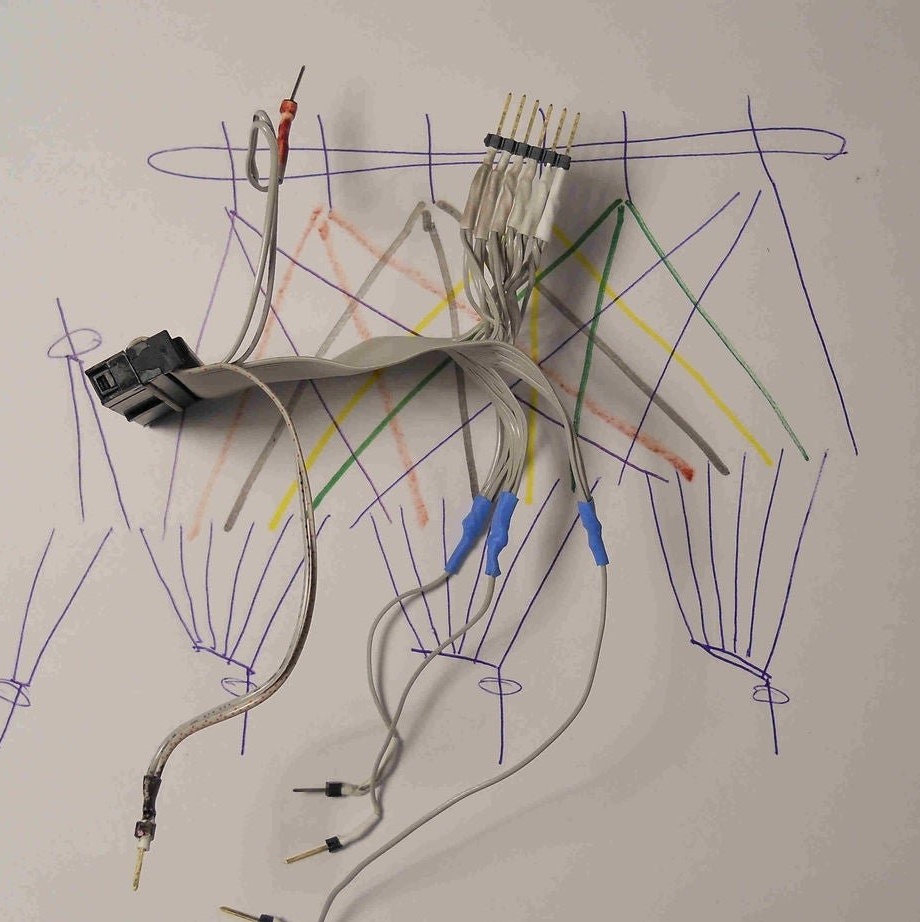
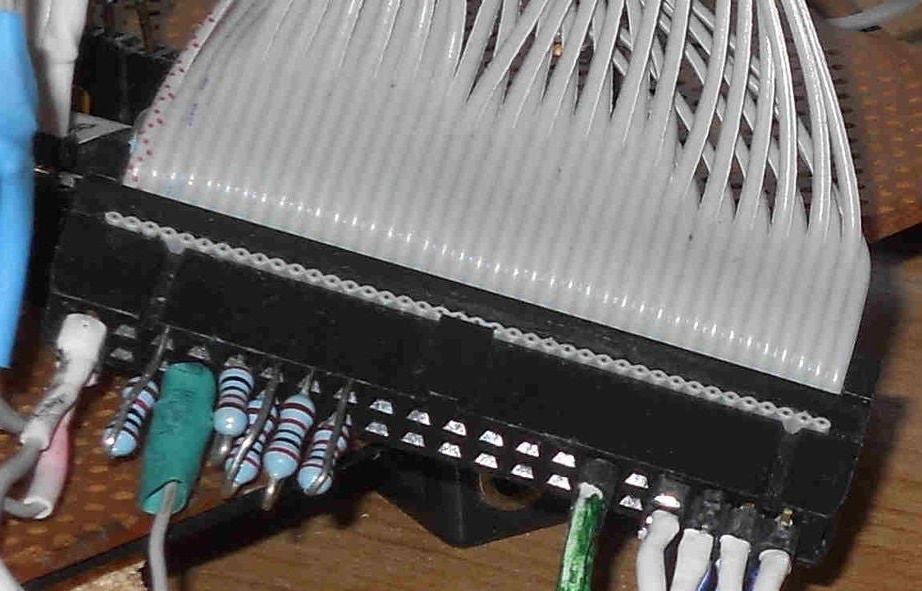
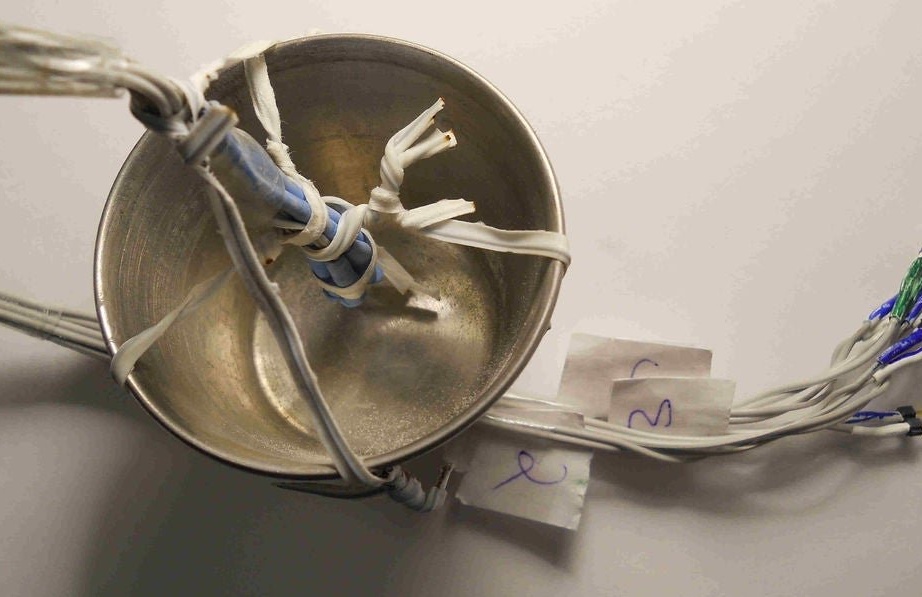
From the hard drive cable with an IDE interface, the master makes a “sensor bath” - an adapter for convenient connection of analog sensors:
Examples for working with it:
KeyboardTool.ino - use the same way as when connecting sensors without a “sensor bath”
DiodeCalibration.ino - automatic calibration when using diodes as accurate temperature sensors
Calibration Procedure:
1. Connect a thermistor to A0, a 10 kΩ resistor to C0
2. Make a voltage divider: a resistor of 2 kOhm smoothly (possible from two resistors of 1 kOhm) to A1, a resistor of 10 kOhm to C1
3. Connect from one to four diodes as temperature sensors to A2 - A5, 10 kΩ resistors to C2 - C5.
Now you are ready to calibrate.
The MRETV.S file is written in assembler, it will only compile when it is in the library folder. The MRETV.extensions file is needed to decide which extensions to use when compiling.
Application.
MRETV uses a serial output to generate video, and a random data stream can be sent to the serial port monitor. The switch allows you to choose between hardware and software data transfer. In the second case, full duplex is implemented simultaneously with video generation.
The name of the library set comes from the nickname of the developer Mr. E, and also simultaneously means Master Raster (Extended) Transmission Vision.