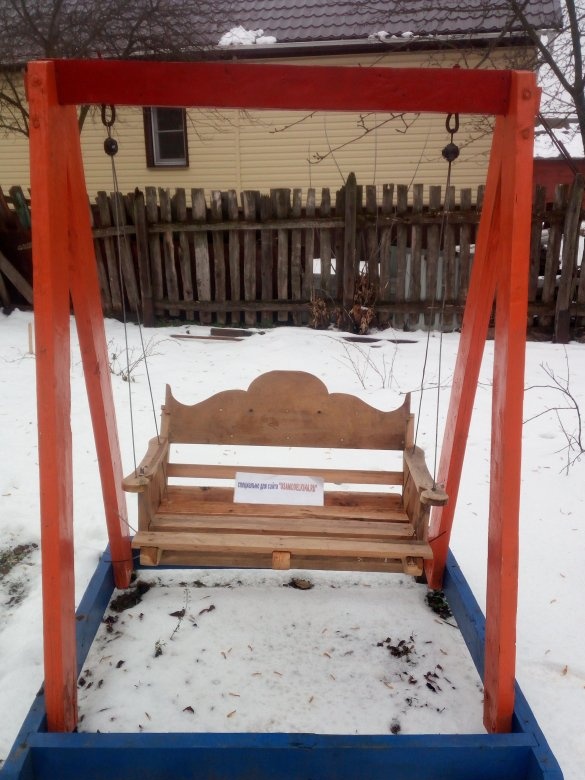
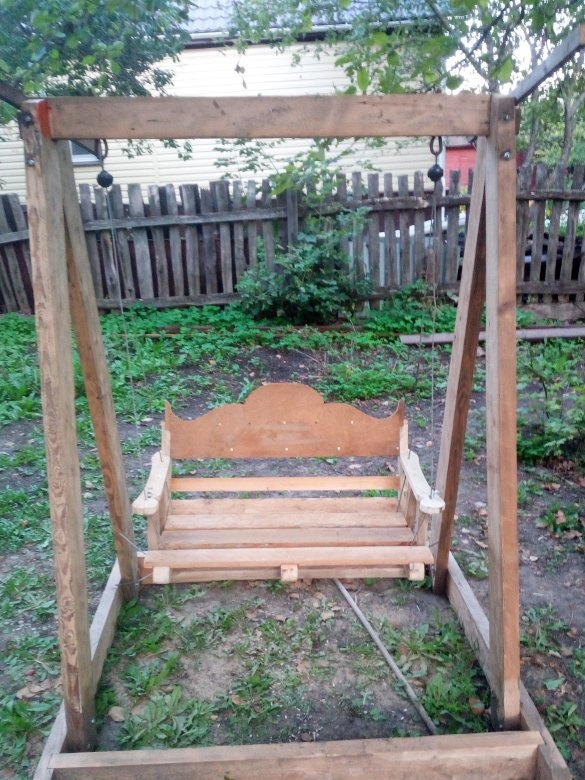
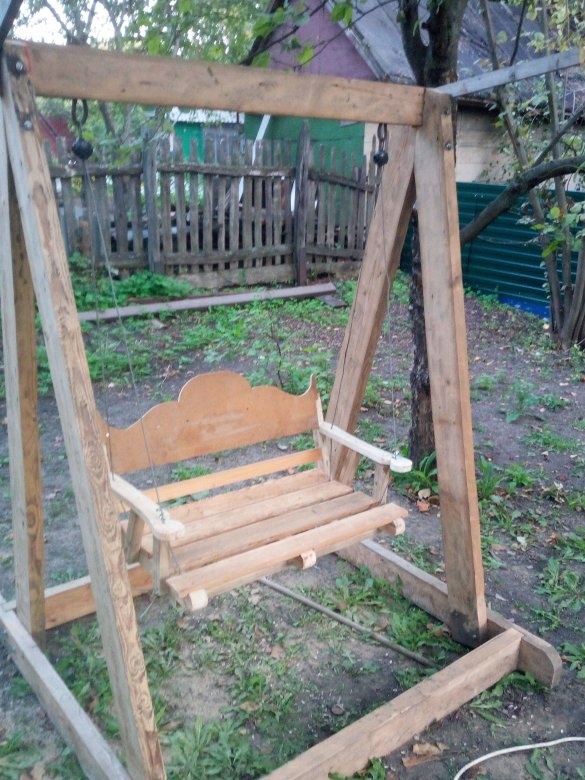
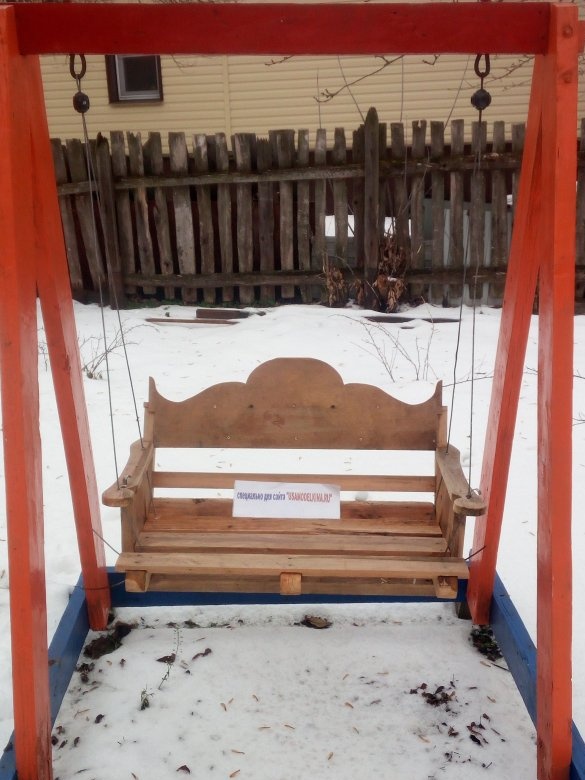
Hello dear the inhabitants of our site and site visitors. Today, once again, I present to your attention my next homemade product, namely, a children's swing made of wood. The design of this product is very simple and will not cause anyone any difficulties in its manufacture. For a complete assembly, from design to implementation, it took two days off. And then, this is not only constant work on this product.
For work, I needed tools such as:
-electric jigsaw with a set of files, one of which was 110 mm long,
Drill and long drill
- the grinder with cutting and grinding disks,
-gas-burner,
-hammer,
screwdriver
M10 stud, washers, nuts and wood screws.
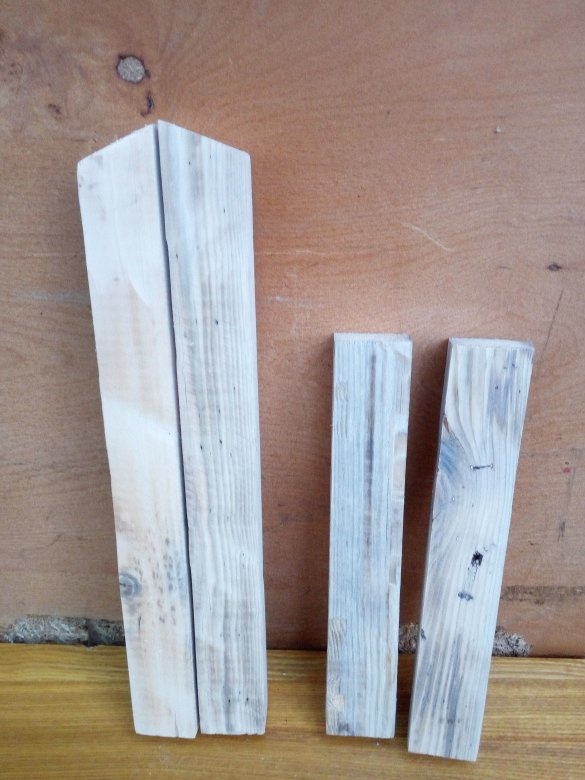
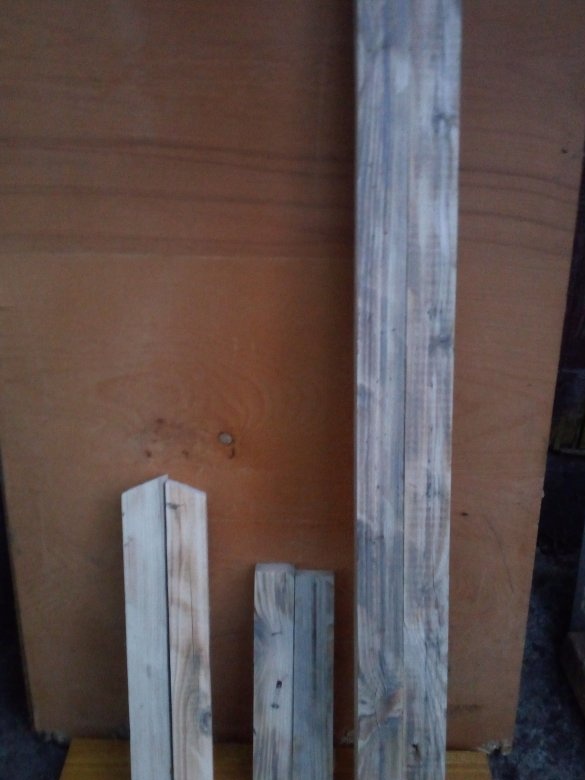
There was a need to make a swing for the child. Since I didn’t have any metal from which to weld them, I had to be content with the Blago tree, I work with it quite often and there were several bars of the appropriate size. For the base, supports and crossbeams, I used a beam of 70x140 mm.
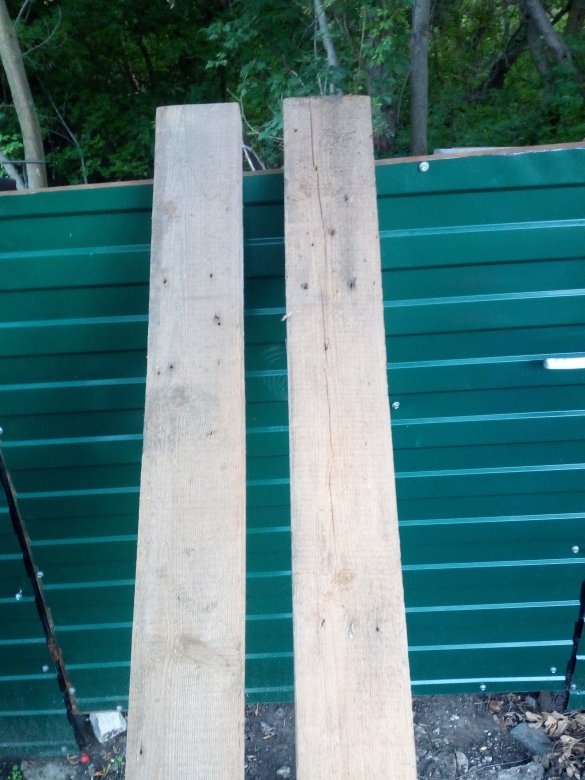
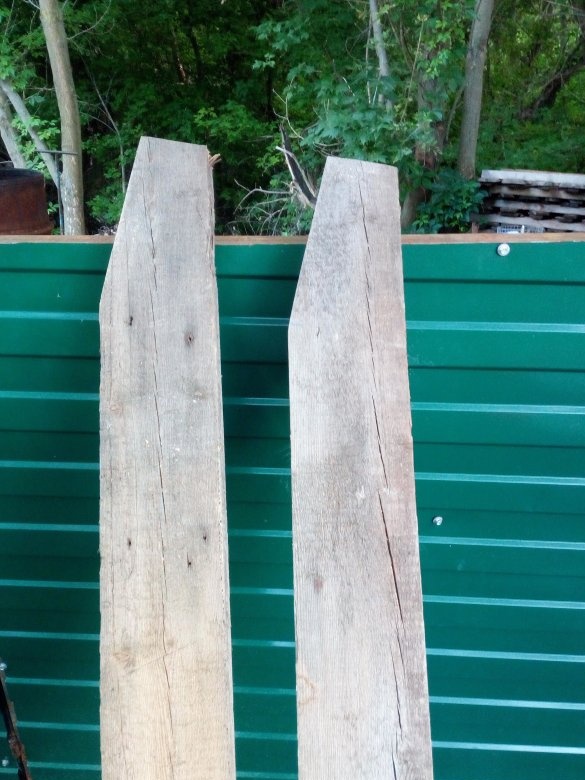
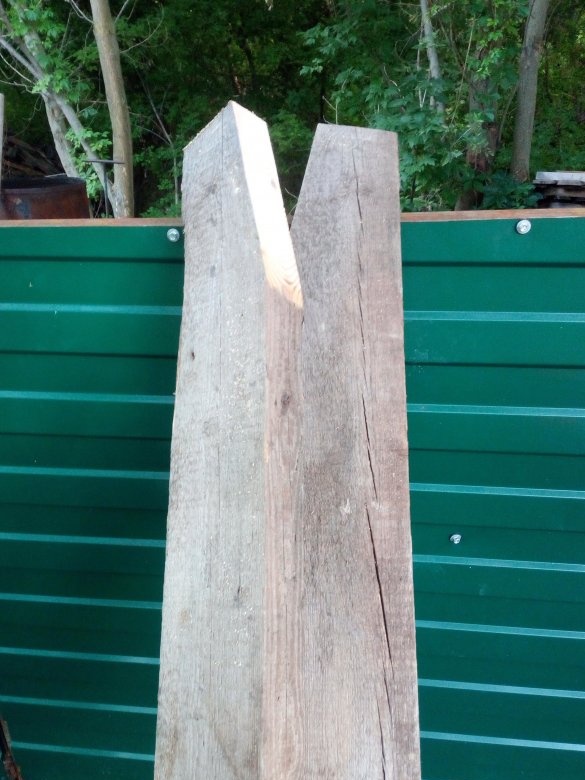
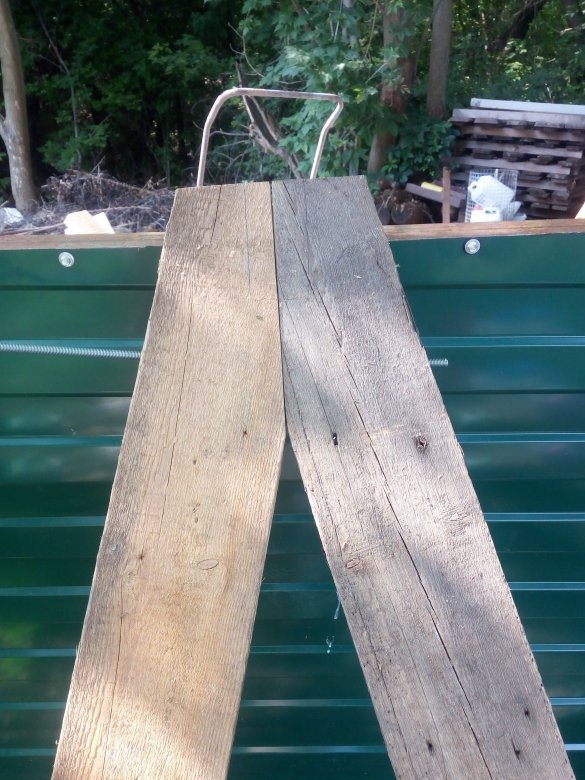
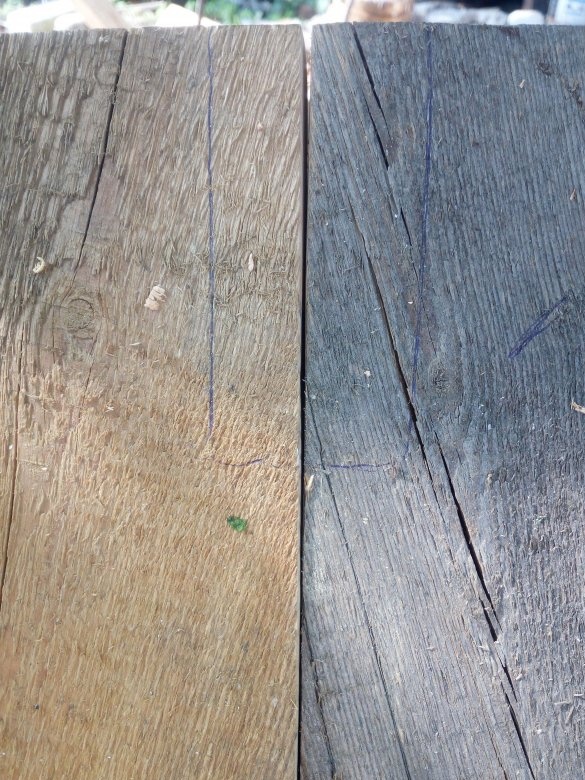
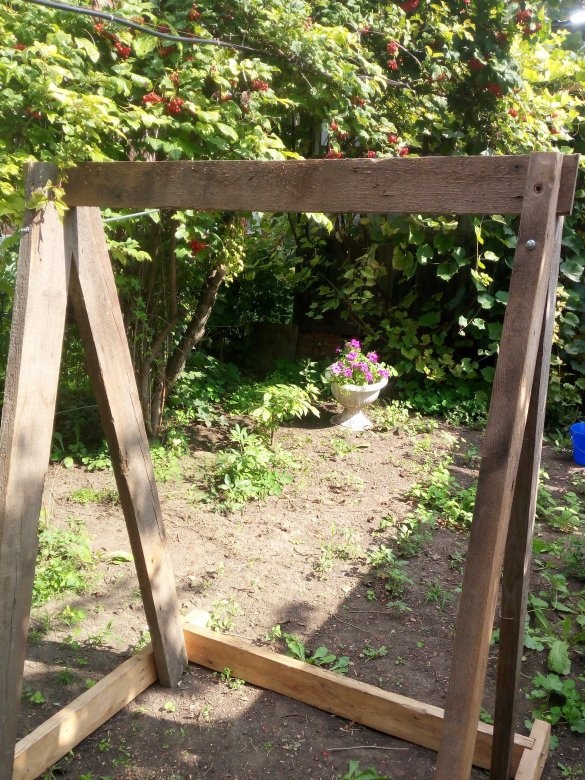
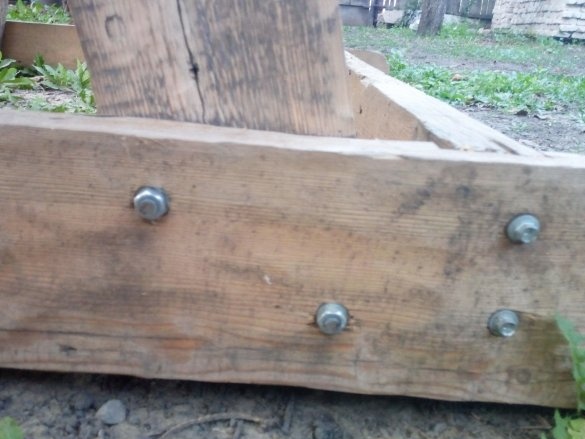
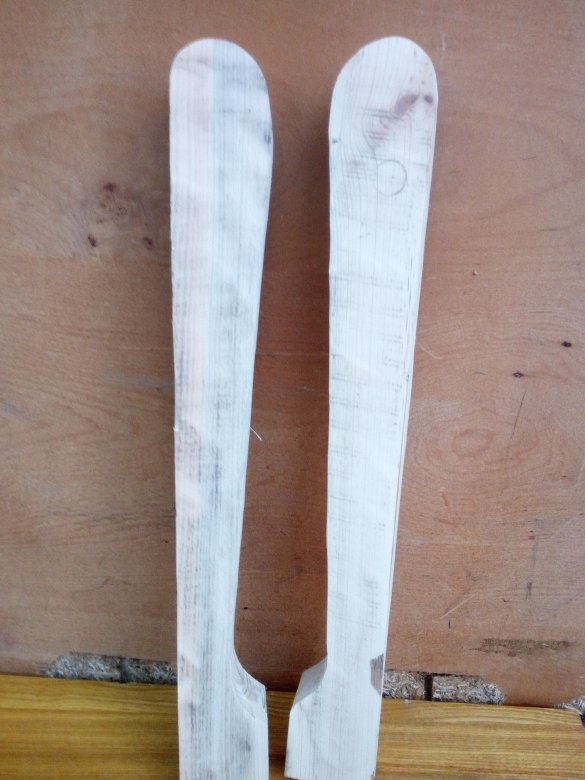
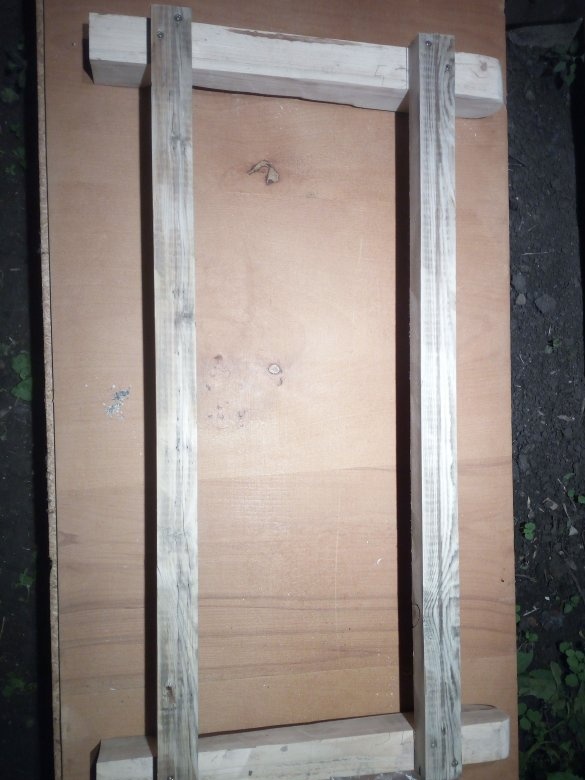
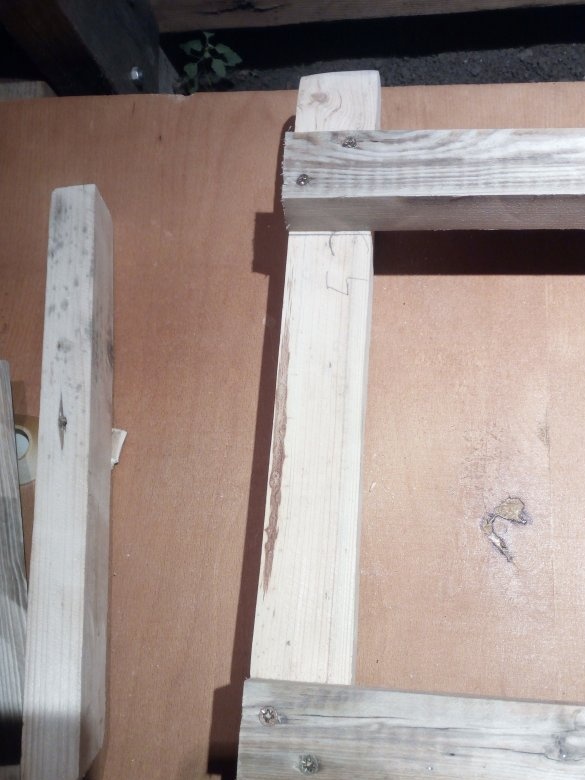
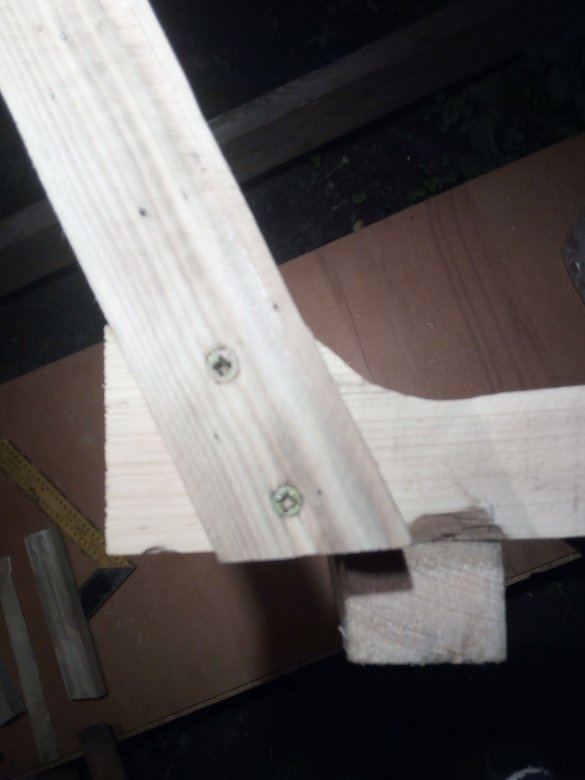
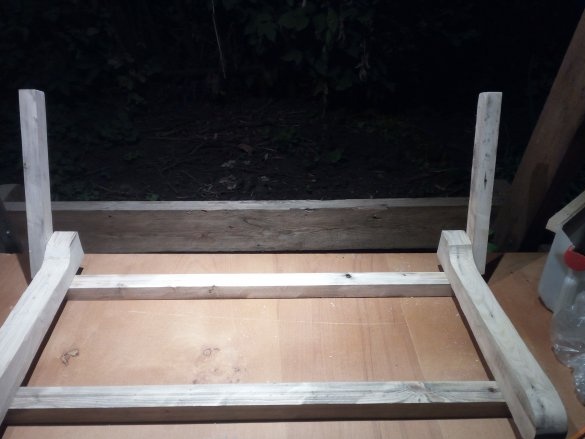
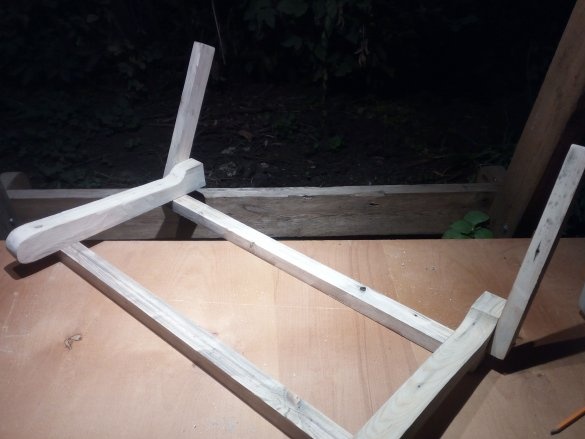
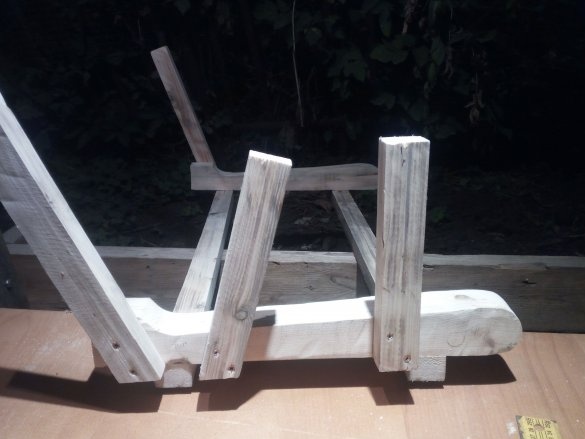
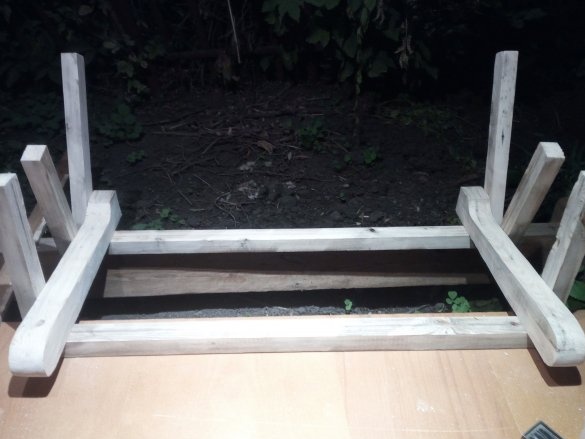
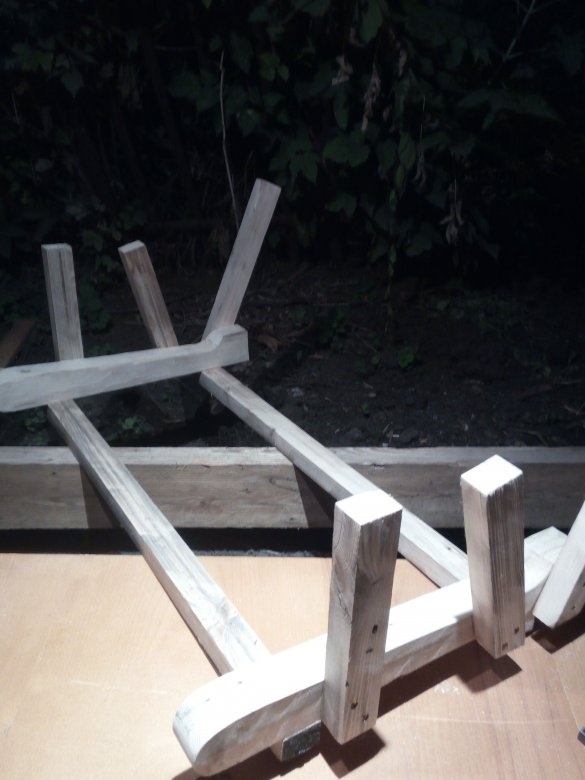
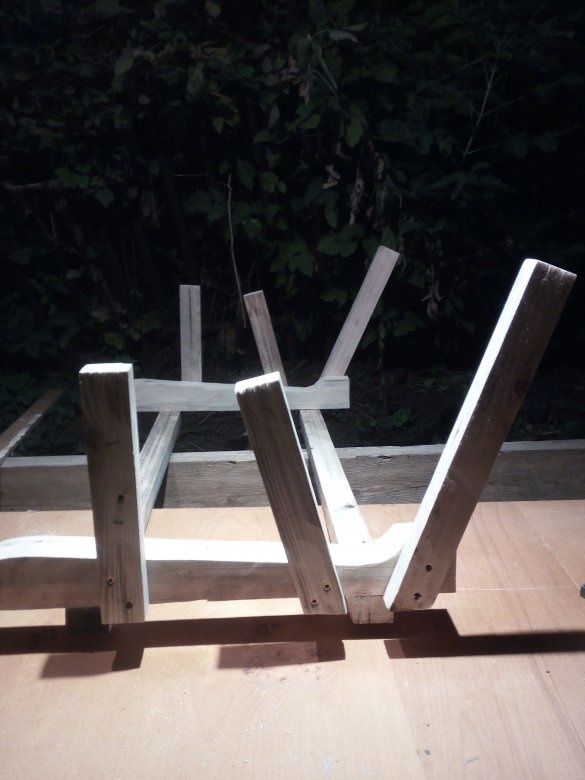
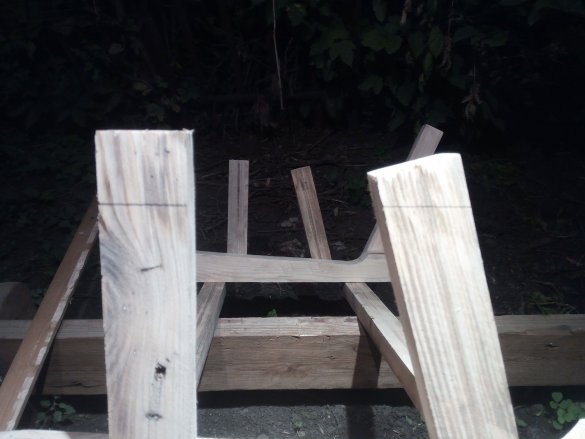
I decided to make the base in the form of a rectangle. In two bars along both edges, he made recesses into which the two remaining bars will enter the ends. Fastening was carried out with long self-tapping screws, twisting them from the outside into the end parts. Additionally, he put metal corners and they pulled the base from the inside. Unfortunately, I do not immediately take off the photos from external media to the computer, so I can not show you how the foundation was going. Some photos in several works were damaged due to damage to the media. Therefore, I spread what is. But there is nothing difficult, in the remaining photos you will see how the base assembly looks. After I assembled it, I proceed to the manufacture of support beams. All the same bar we saw on the parts necessary for the size. On the base, we estimate the supports and the upper parts of the beams are sawed off at such an angle that they evenly fit together, but do not go beyond the edges of the base.
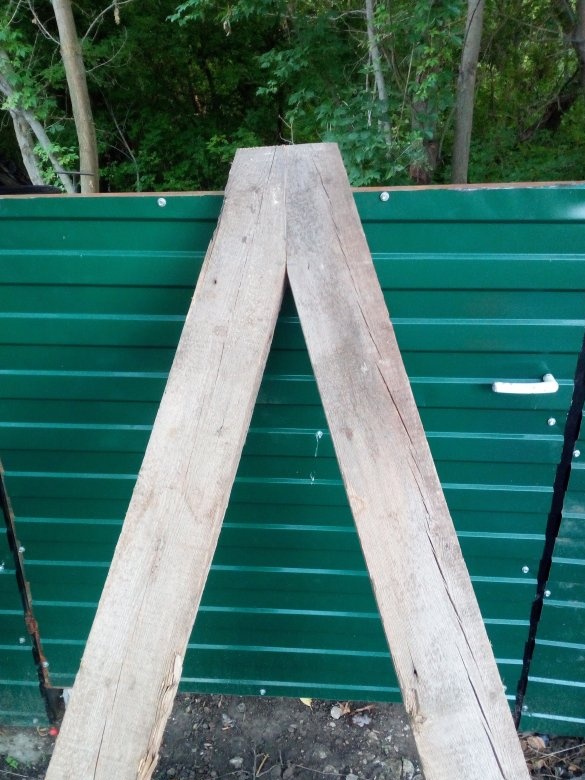
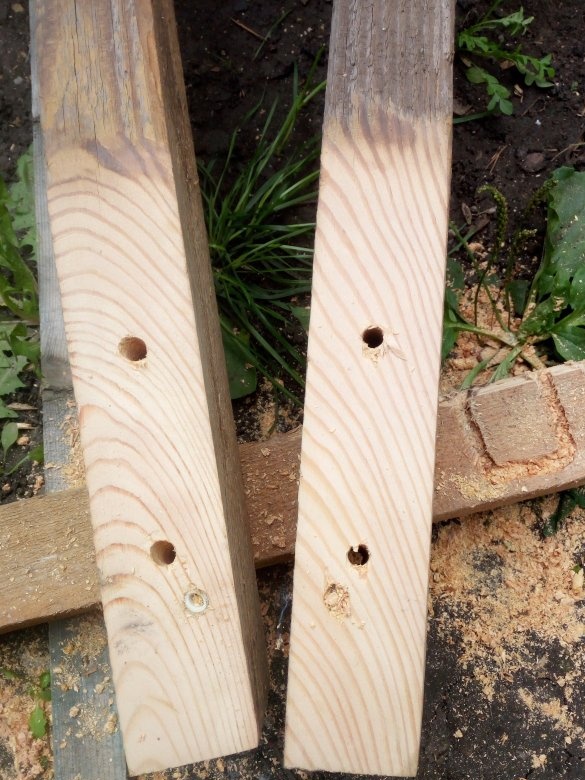
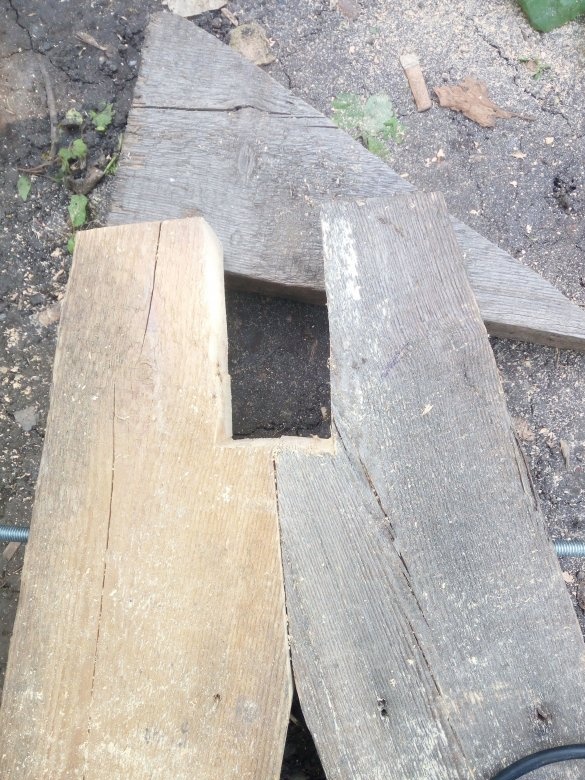
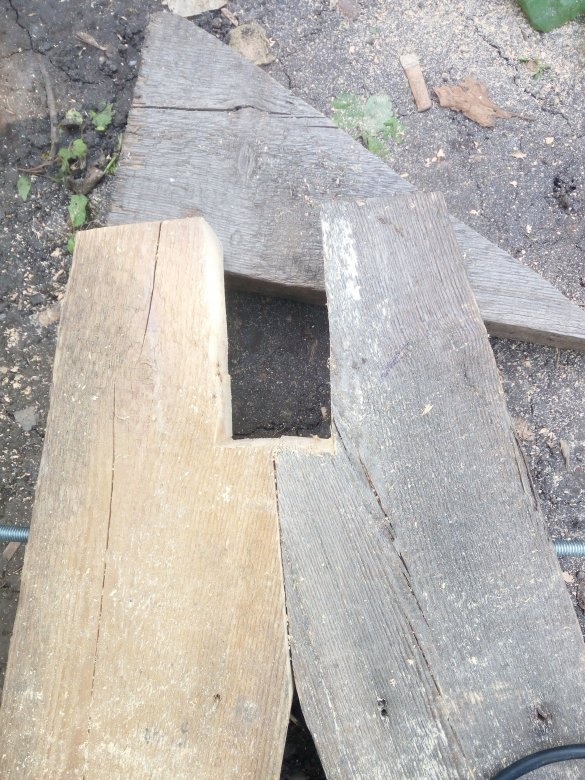
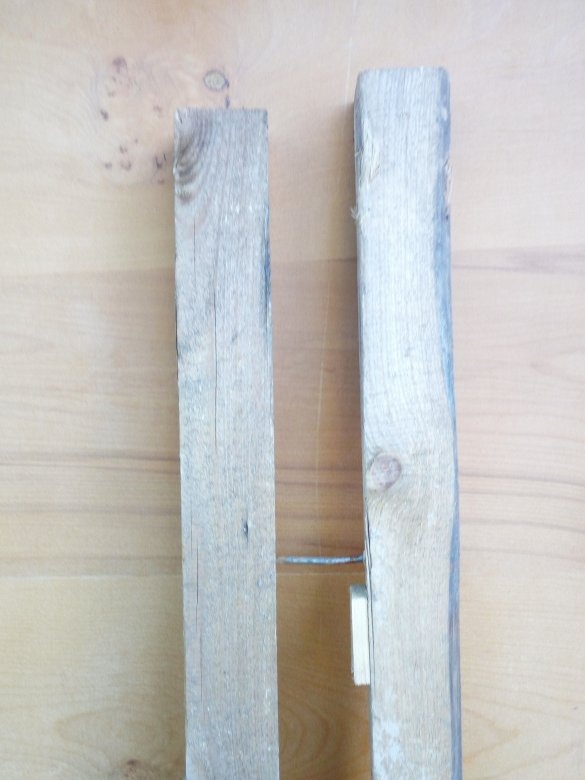
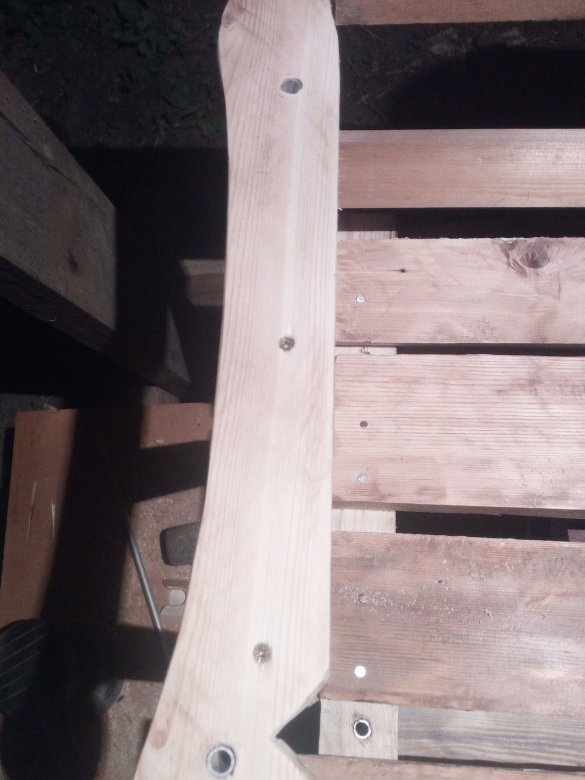
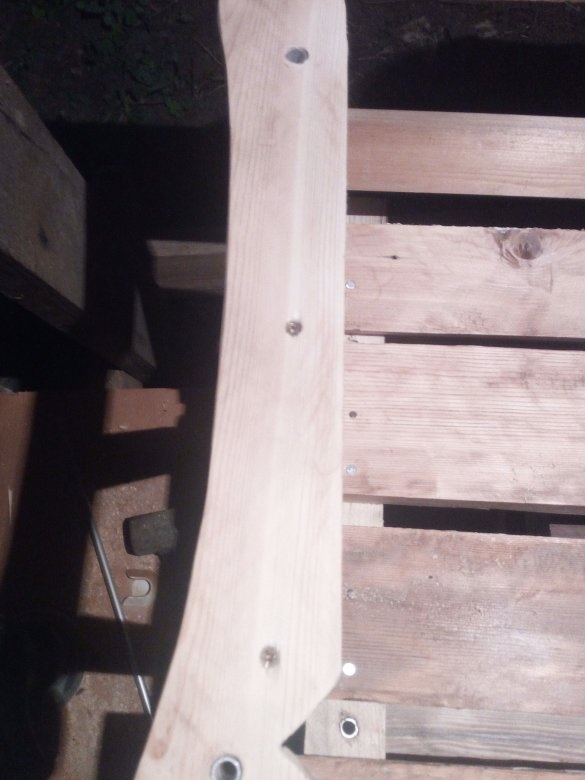
Further, these supports in the upper parts I fasten together. To do this, I need to drill several through holes in both beams. I do not have such a long drill, because it is rarely necessary. So I made it myself out of a piece of thick wire. He heated one end with a gas burner and flattened it.The grinder gave it the shape of a rectangle and cut out several protruding parts in it, like a crown. It turned out something remotely resembling a feather drill. He sharpened the side faces and began to drill. It was a little difficult, but still the impromptu drill did its job more or less tolerably. Only at the very end shifted a little to the side. To connect these lateral support beams to each other, an M10 pin was used. The second hole made will be needed a little later, when it becomes necessary to install the crossbar.
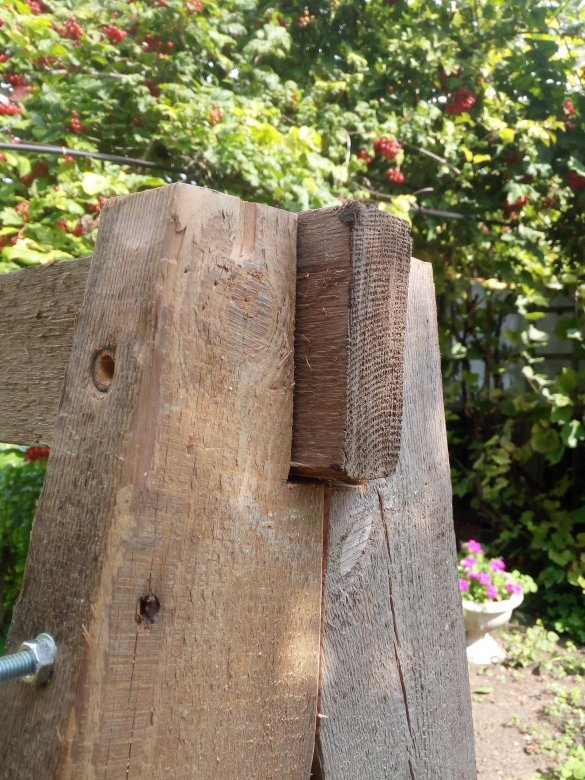
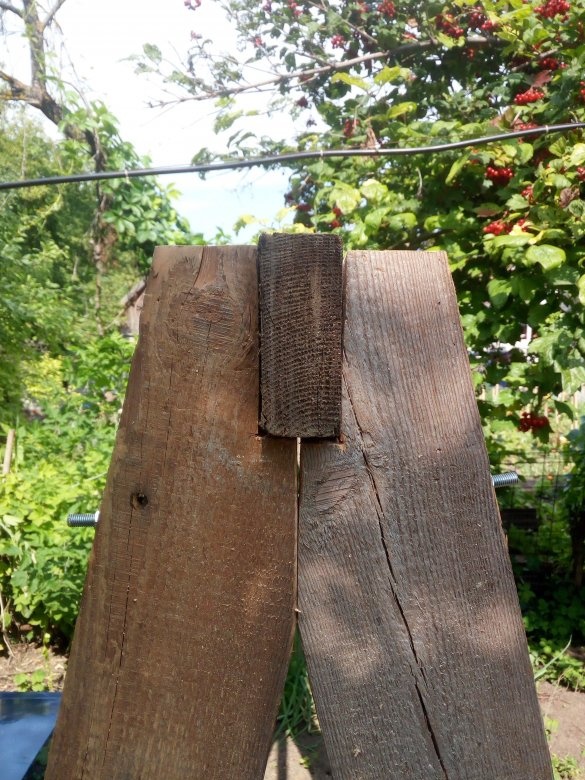
To install it, I needed to cut rectangular grooves in the supports for it. The crossbar itself is also from a bar. I put it in these grooves and made holes in it through the second holes in the upper parts of the support beams. I insert the hairpin, on the spirit of the sides I put on wide washers so as not to push the tree when tightening the nuts, I put engraving washers on top of them and tighten the nuts tightly. The connection was strong, there was no backlash. And the engravers will not allow him to appear after operation. The resulting structure - the support beams with a transverse crossbar, I install on the base of the swing and tightly twist, repeating the same steps as described above. Each support is attached to the base at two points. The bulk of the work is done.
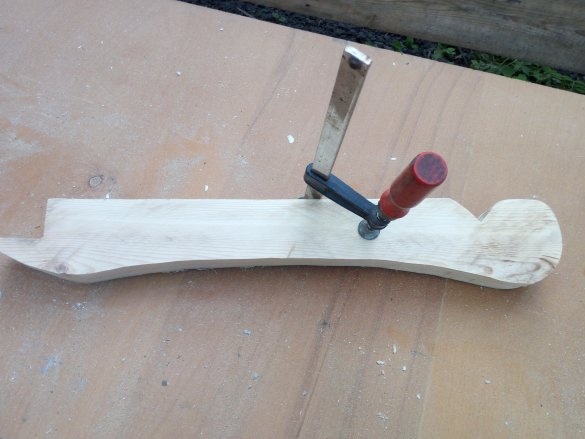
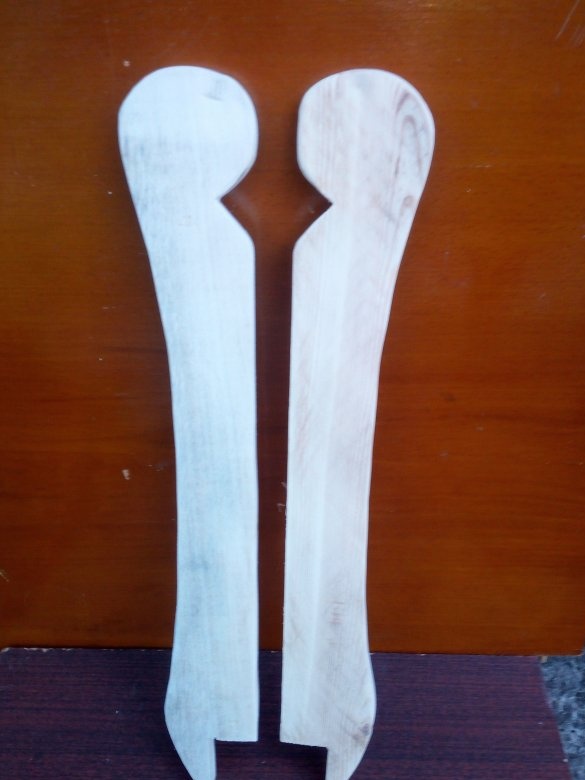
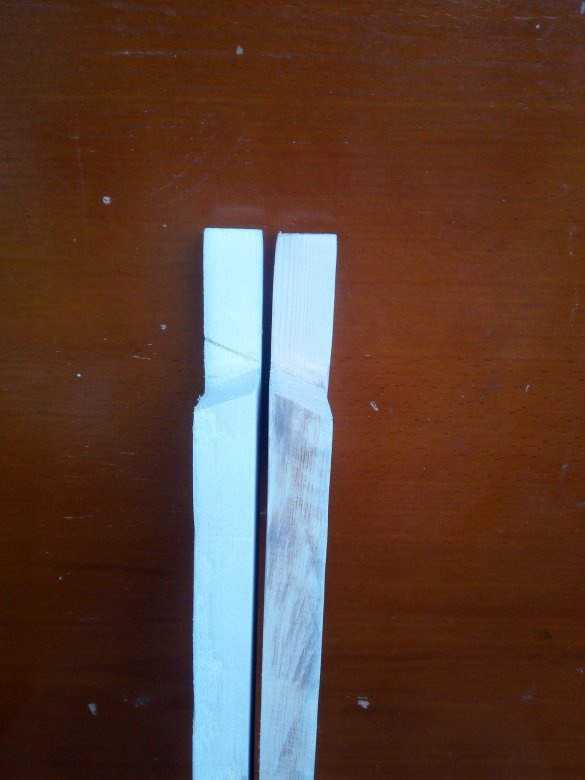
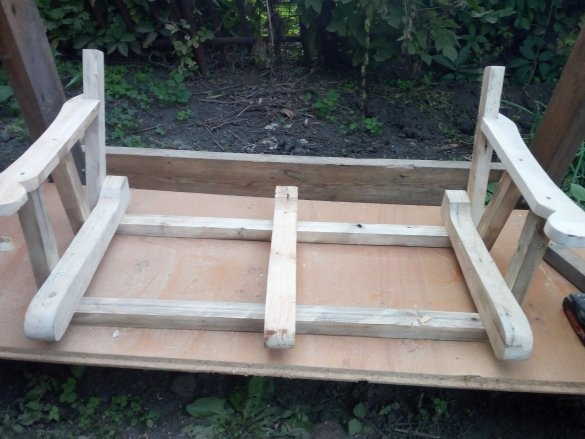
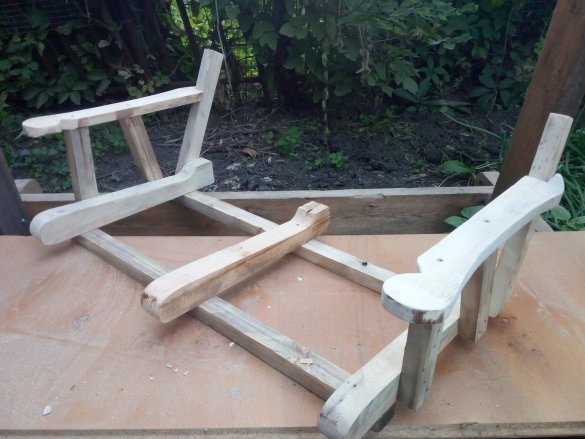
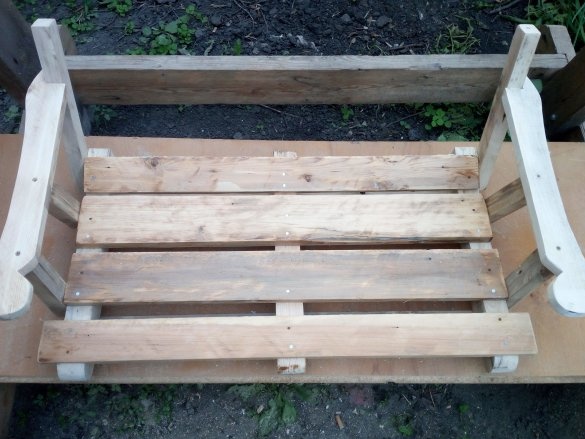
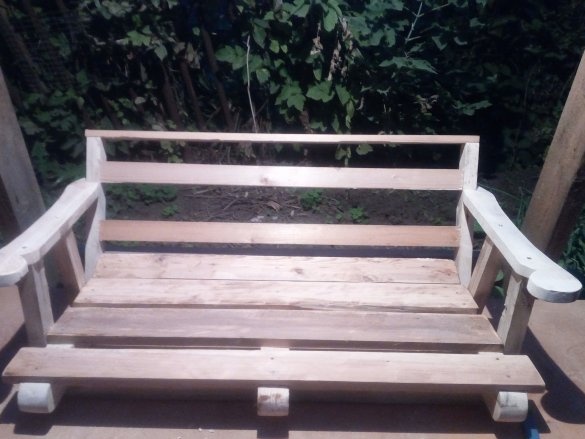
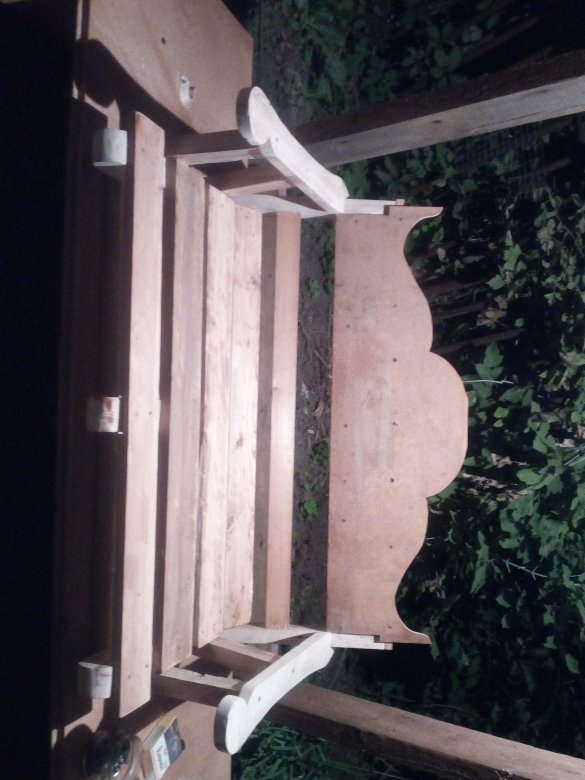
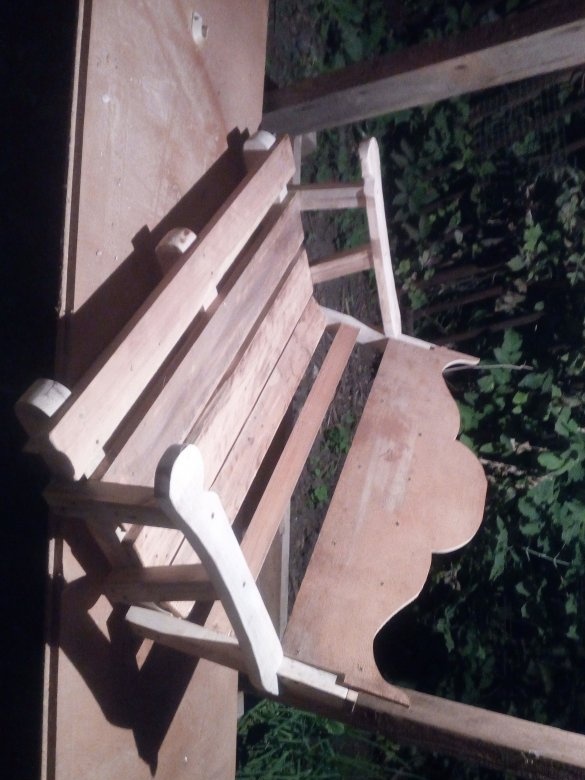
Now proceed to assemble the seat. I approached this quite seriously, because it will be the main load on it. Climbing on the Internet, I found several interesting options for their assembly. Having slightly upgraded both options to fit his needs, he assembled one based on them. It turned out pretty well. True, in time it was made even more than the entire base and mounts for the seat itself. The parts of the chair on which the boards will be sewn are assembled from 60x50 mm bars. All the rest are from smaller bars. The bars are fastened to the base, serving as supports for the backrest and for railings - railings. I align the supporting parts of the railing - I make them of the same height. After the above actions, it is the turn of manufacturing the railing themselves. I make them in duplicate in mirror image for both sides. All seat connections on the screws. The length of the chair is designed for 2 people - for the child and the parent, so it turned out to be long. It was decided to put another bar so that the boards do not bend under the weight of those sitting on them. I fill the boards on which they will sit and make the back. The chair is ready. Now you need to hang it on the crossbar.
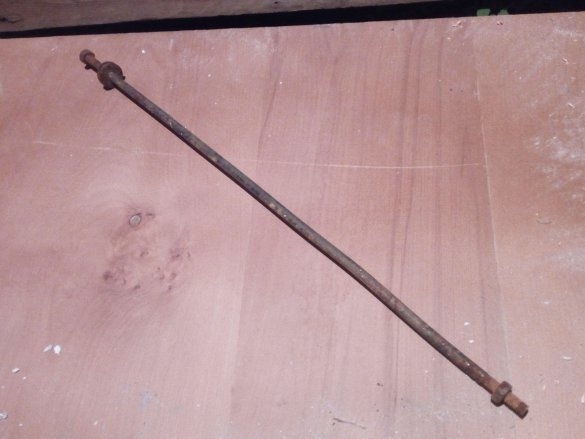
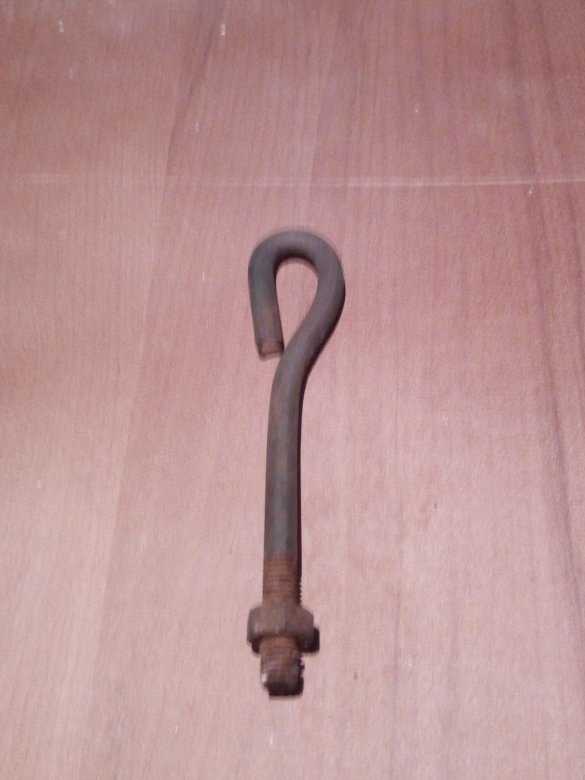
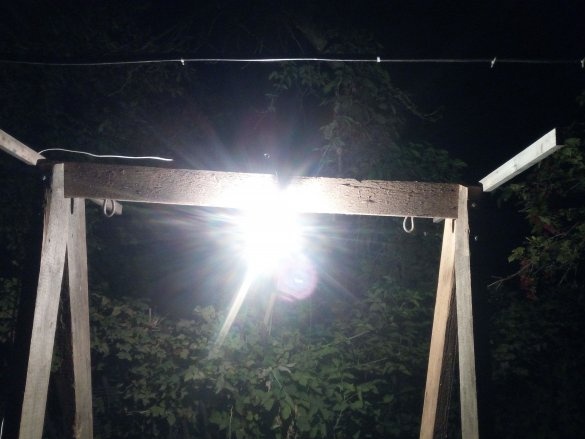
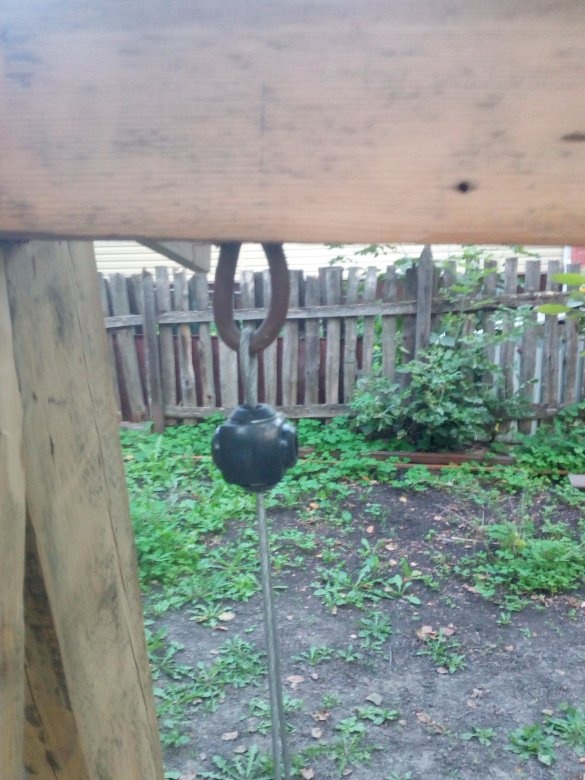
In the stores I did not find fixtures of this size so that they went through the crossbar and went outside. They were wrapping up, but, firstly, they were short, and secondly and most importantly, they seemed to me not very reliable. I think they could be pulled out over time while riding, and this is unacceptable. Therefore, I also made them myself. Their production went one axis with a thread at both ends. Sawed it in two and bent it so that it turned ears. I made holes in the crossbar and installed fasteners in them, twisting them from the opposite side.
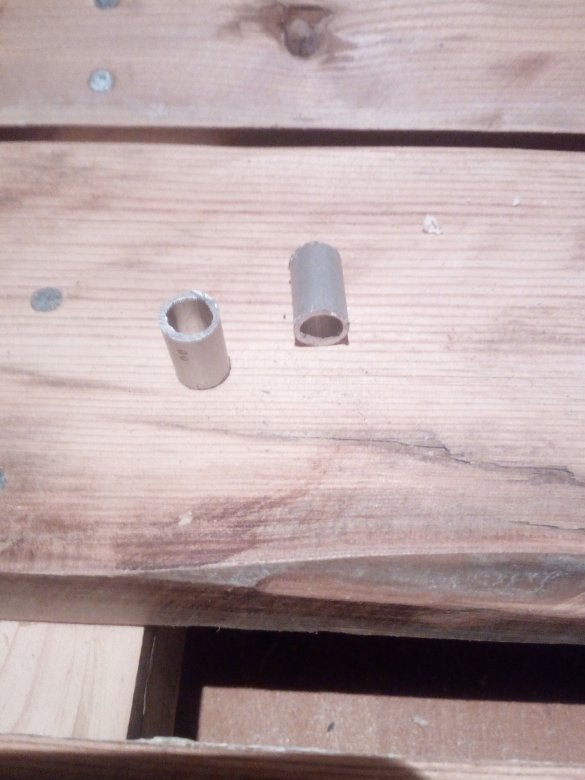
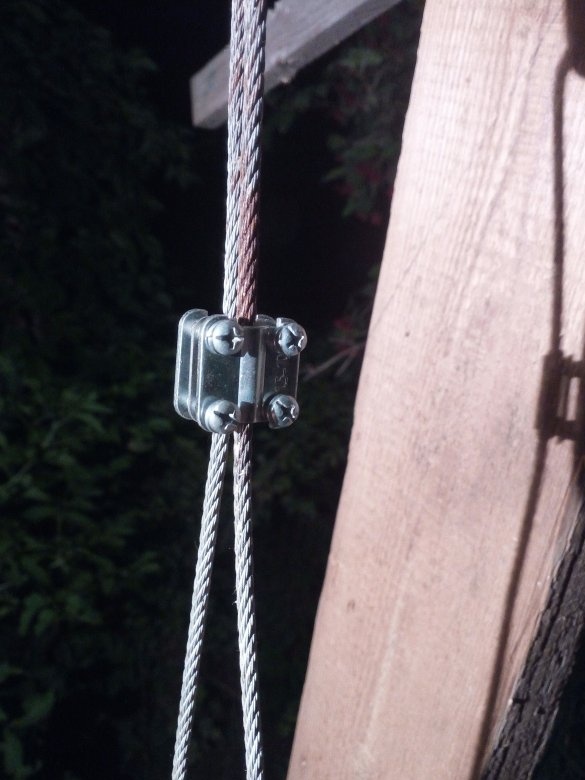
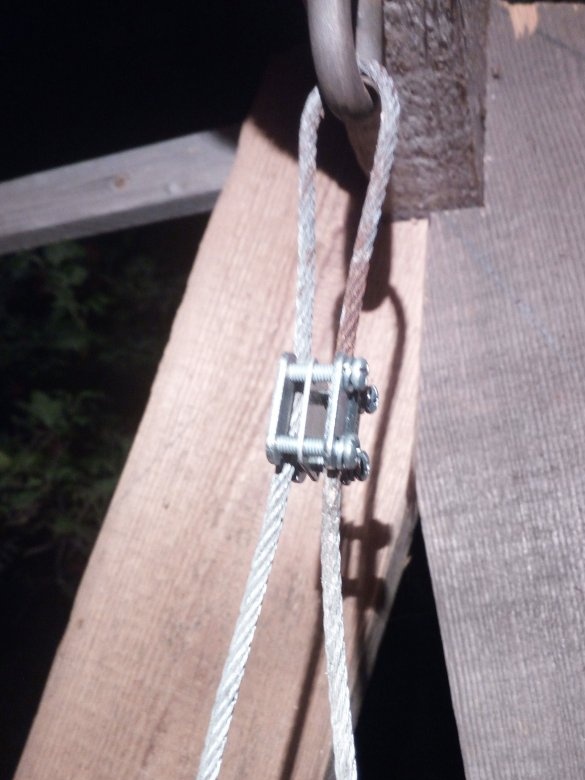
I hung the chair on a thick metal cable. He drilled holes for him in the chair, and so that he would not rub the wood, he installed aluminum cylinders in them. A cable passed through them and secured the bottom of the seat. And so that it does not tilt to the side during rocking, under the mounts I connected them with the nuts that connect the power cables.
That's all, the swing is ready. It remained to be painted, but then I did not have time to completely do this. Painted everything except the chair. He painted late in the evening, and in the morning the child began to actively use them as intended. So they stand not repainted until next summer. For the winter, I covered them with foil and put them on bricks so that the tree would not deteriorate.Unscanned only to take the missing photos.
I wish you all inspiration and creative ideas!


