
In this article, we will consider some very useful effects for the interior that can be created using LED strip. We will also talk about algorithms, about how mathematical calculations allow LEDs to create the illusion of warmth and comfort, namely, a flame, a real digital flame.
All source codes that will be parsed later can download from the project page author (AlexGyver).
First, let's deal with e component. To yourself do it yourself make such beauty at home The following components are required:
- Driver for RGB tape;
- RGB tape;
- Power supply 12V for RGB tape;
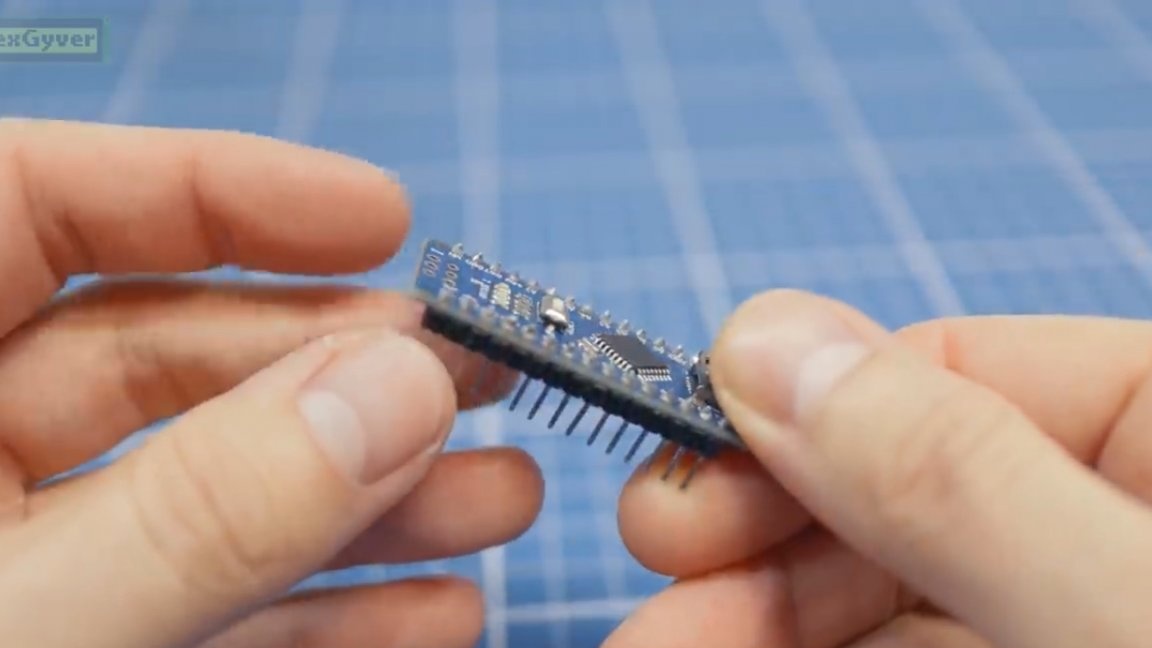
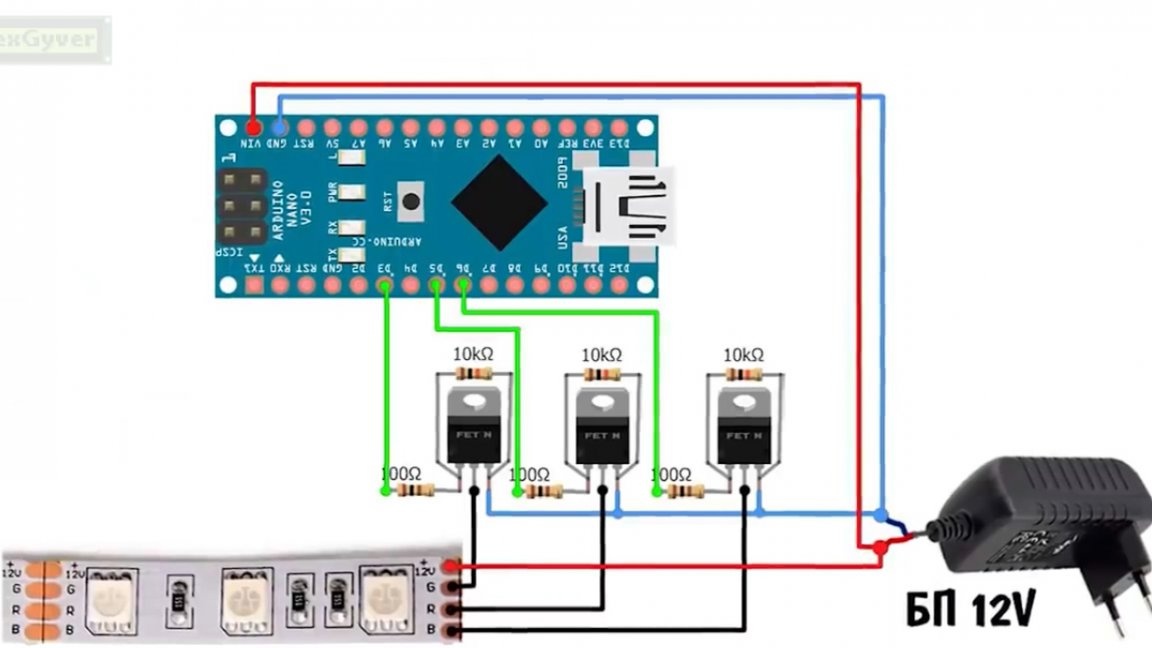
- Arduinо Nano.

Any of you can download and download the firmware and get your digital hearth. We will control the LED strips from the microcontroller, in this example Arduino Nano.
Let's start with the simplest, zero dimension - a point (or a whole tape of points).
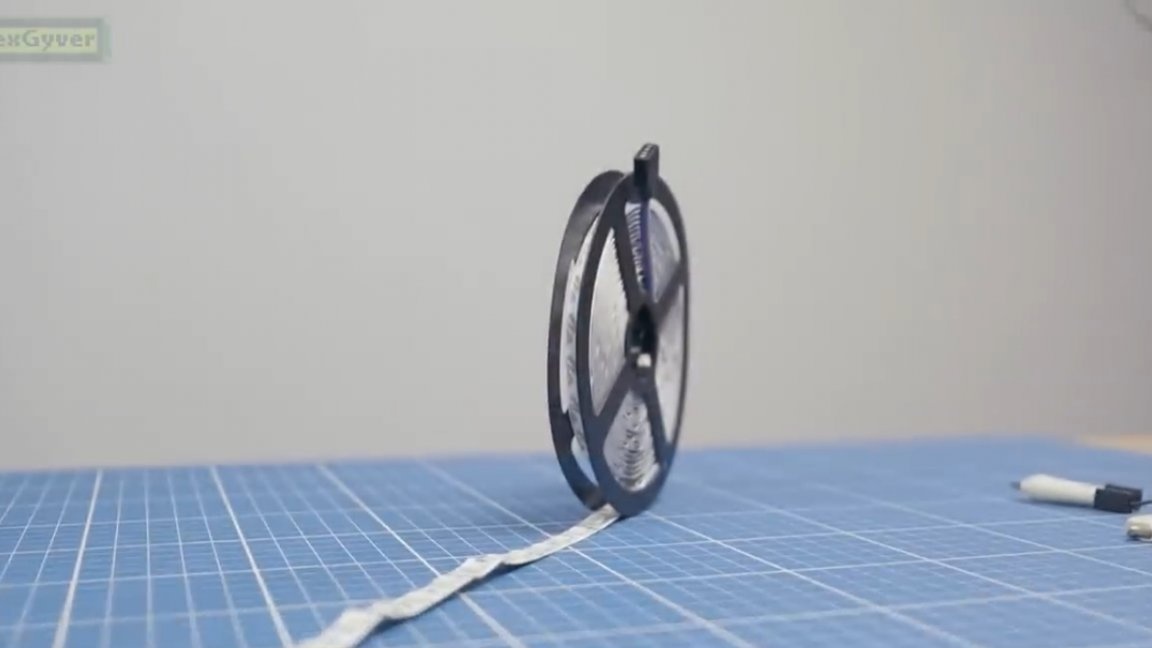
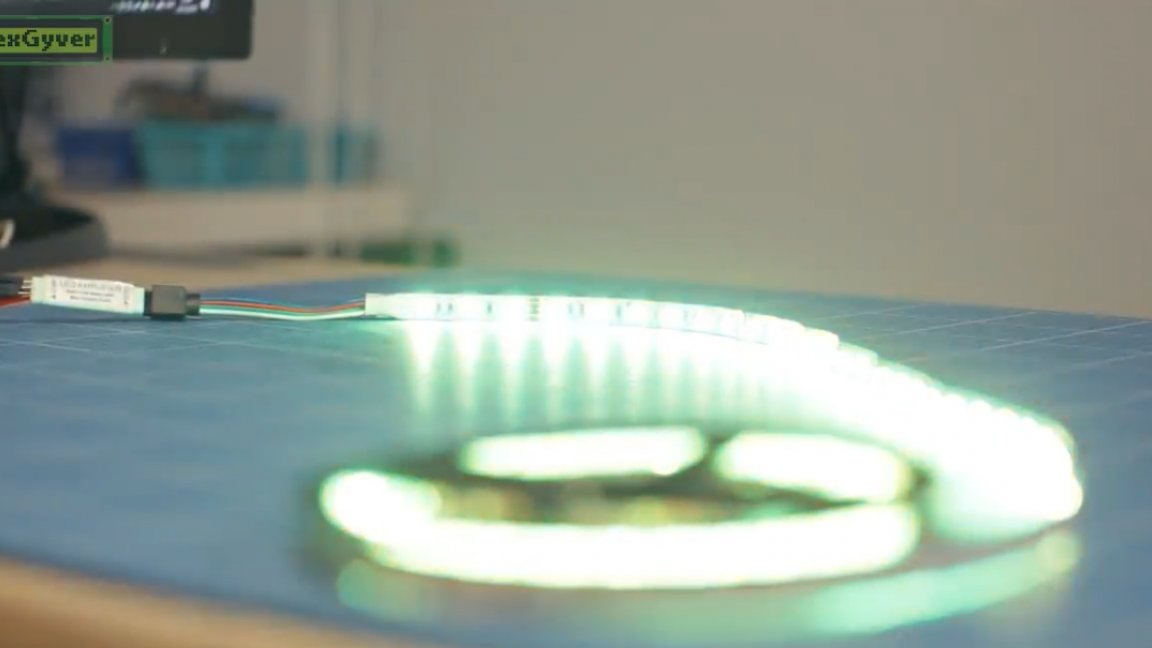
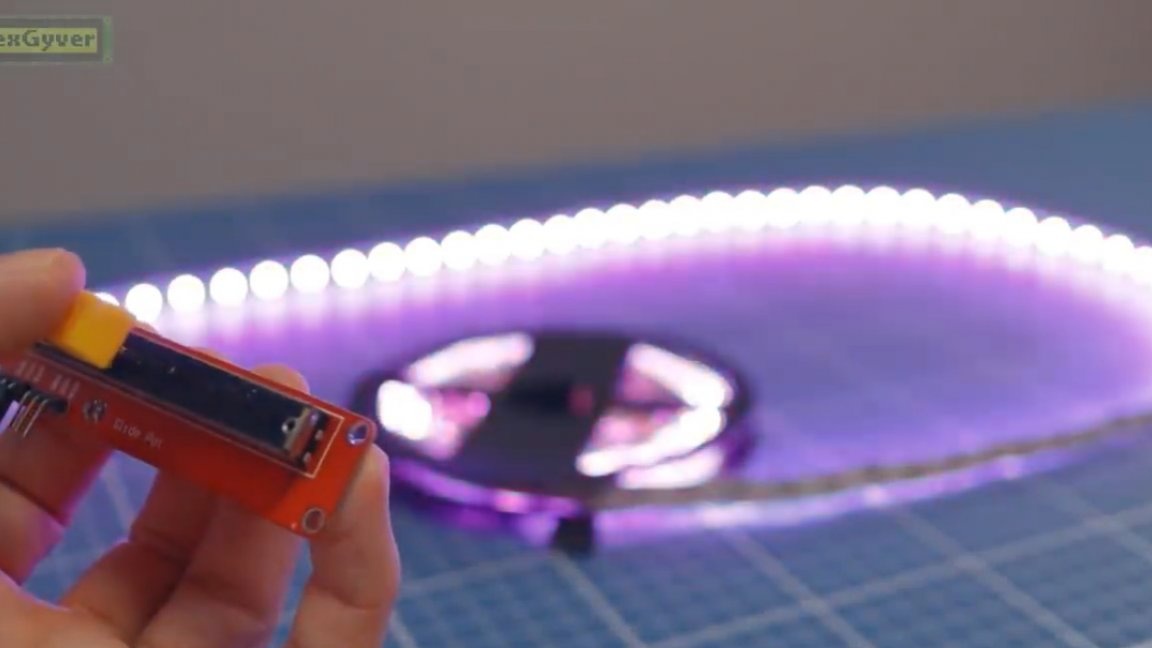
This is the most ordinary RGB LED strip, which is powered by a voltage of 12V and has three-channel control for each color.
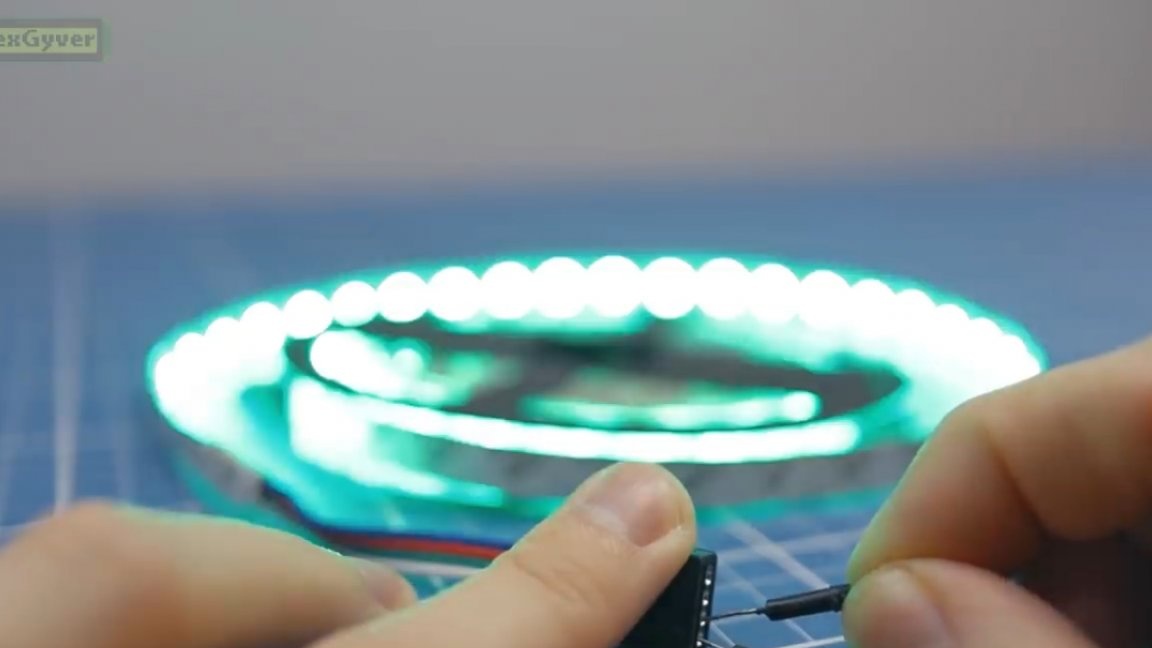
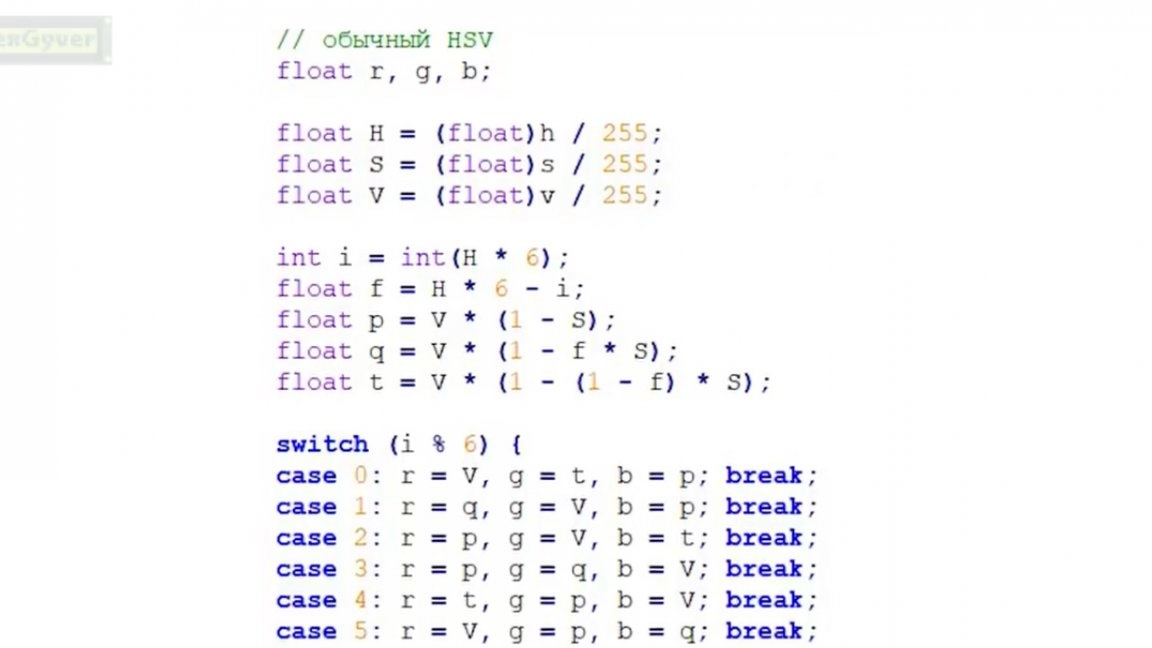
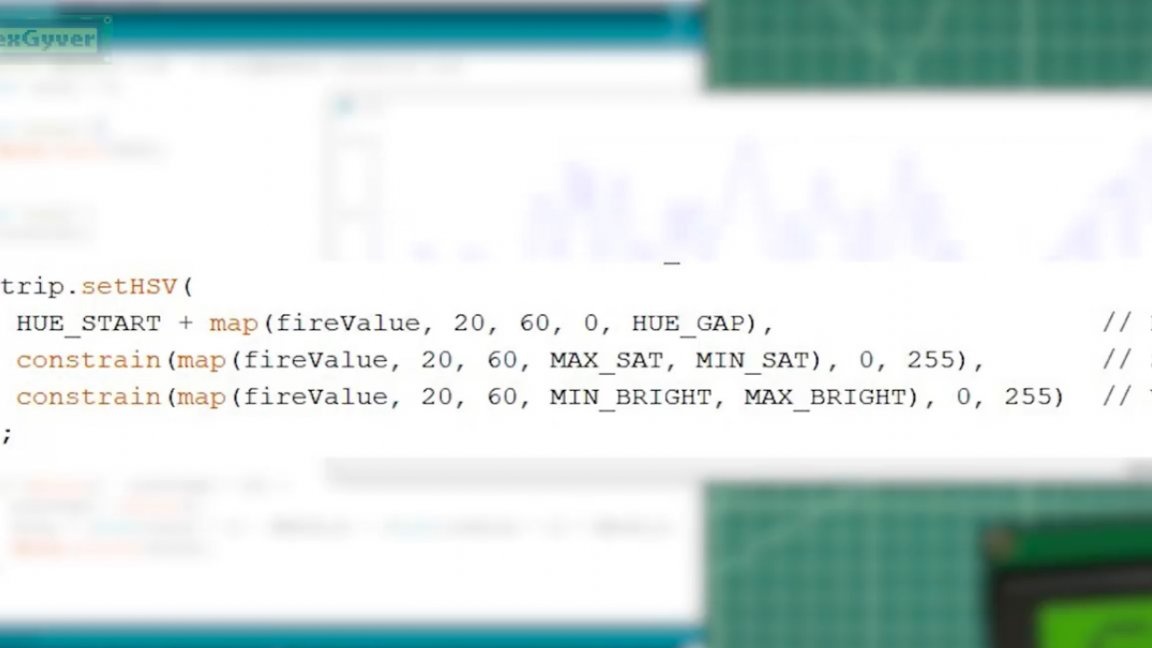
Using the PWM signal (we have it 8-bit), you can set the brightness of each color, and thus get 16.7 million colors and shades. But we are interested in fire, or rather its imitation. To simulate a flame, it was decided to work in the hsv color space (color, saturation, brightness).
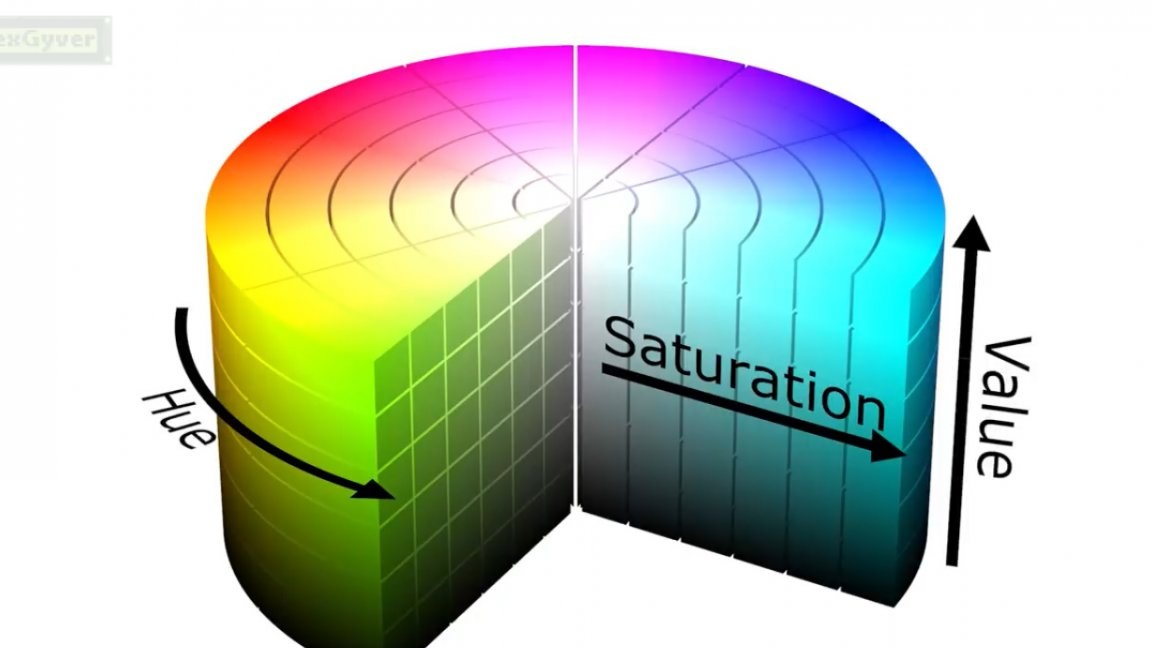
These 3 parameters allow you to get 255 basic shades, plus each shade to make 255 gradations of saturation, i.e. mixes with white color. Well, the third parameter is brightness, in a simple language - a mixture of shade with black color.
There are several algorithms for converting from a convenient hsv space to RGB, just use one of them.
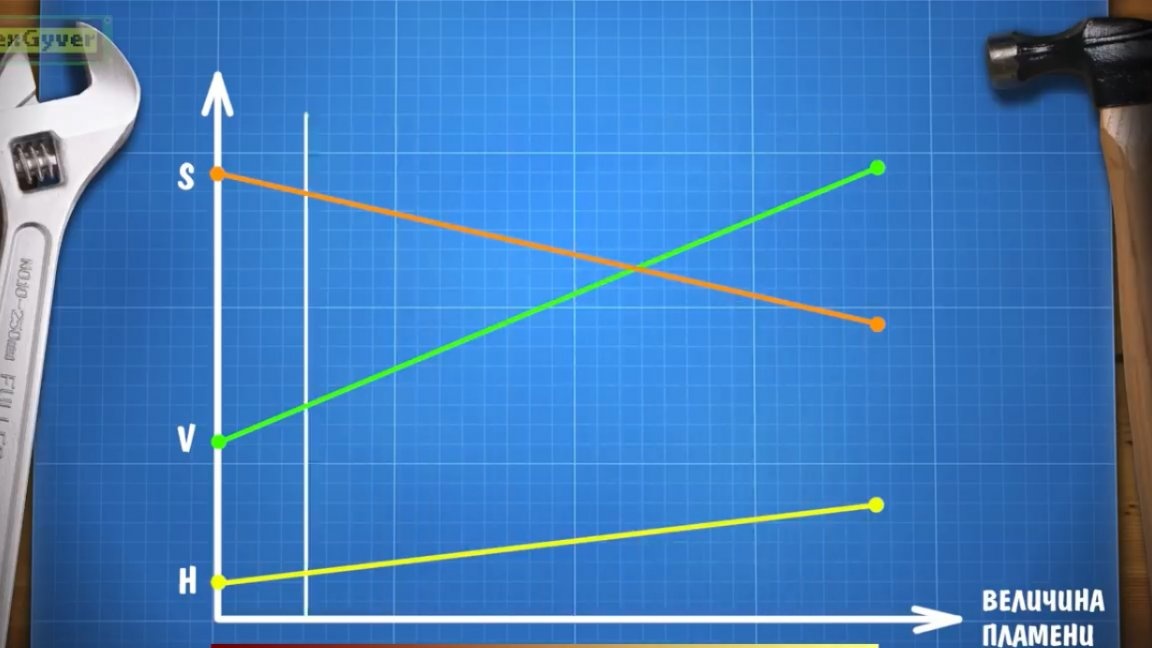
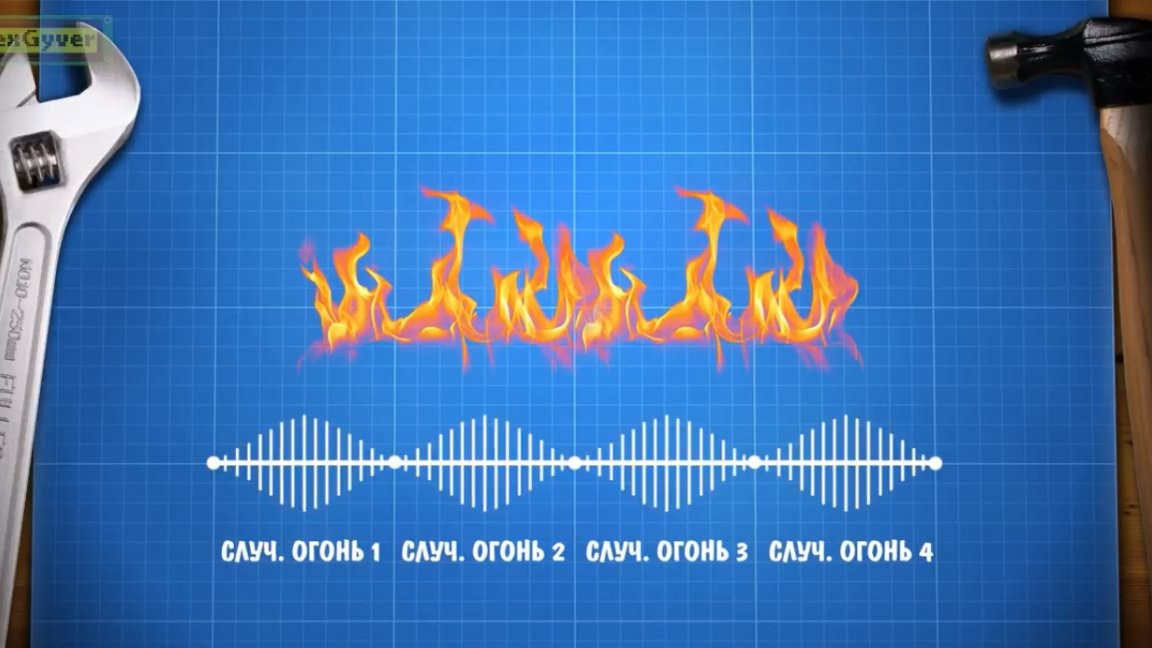
Next, you need to specify the behavior of the fire. Suppose the flame strength is a certain quantity, which in the minimum value gives the LEDs saturated red color and low brightness, and in the maximum value gives white-yellow and maximum bright color.

In order to get the flame effect, we need to make this value make random oscillatory movements, the movements must be random, but at the same time quite smooth, that is, something similar to a trembling light. Following this value, respectively, the color and brightness of the flame along the gradient will change.

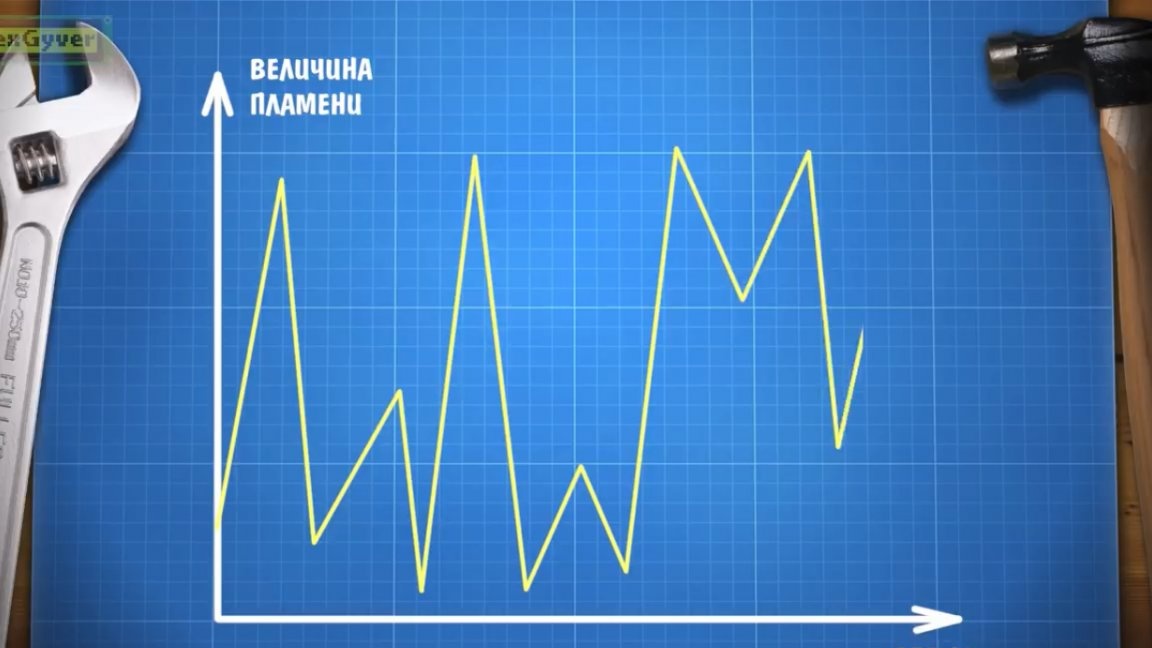
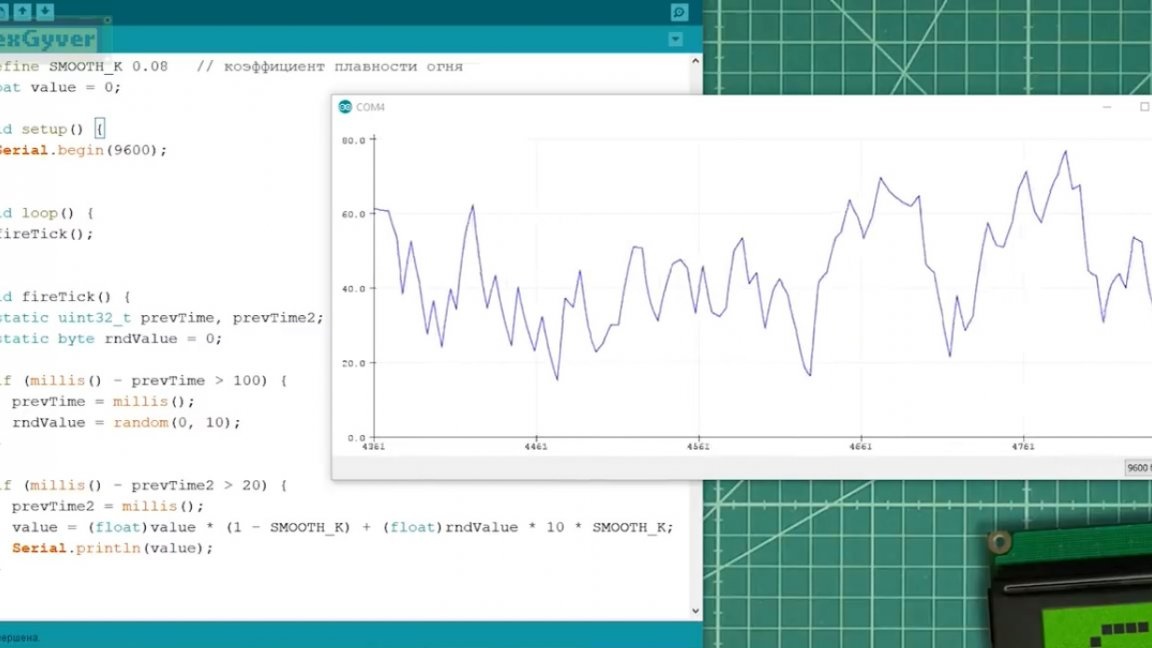
The author proposes to solve this problem as follows: there is such a very simple filtering algorithm, a running average, which turns a sharp change in value into a smooth process, just one coefficient and a fairly simple calculation.
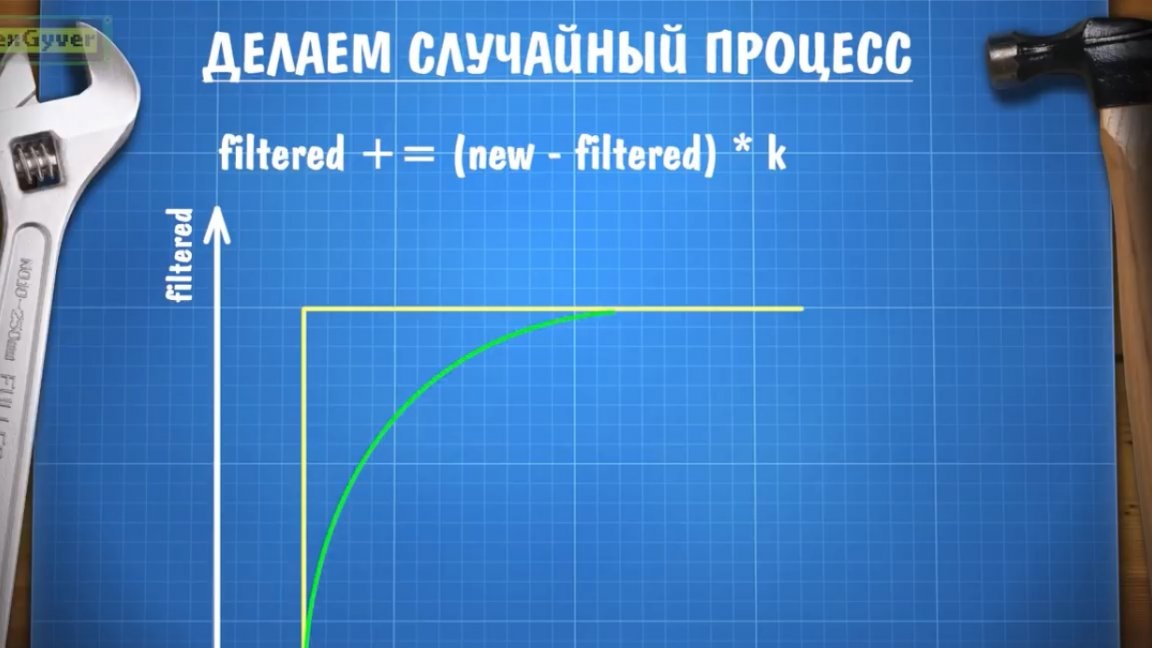
The idea is this: it is necessary, say 5 times per second, to set a new random position for the value of the fire, and somewhere around 50 times per second to filter this value, gradually changing it. As a result, such a random process is formed.
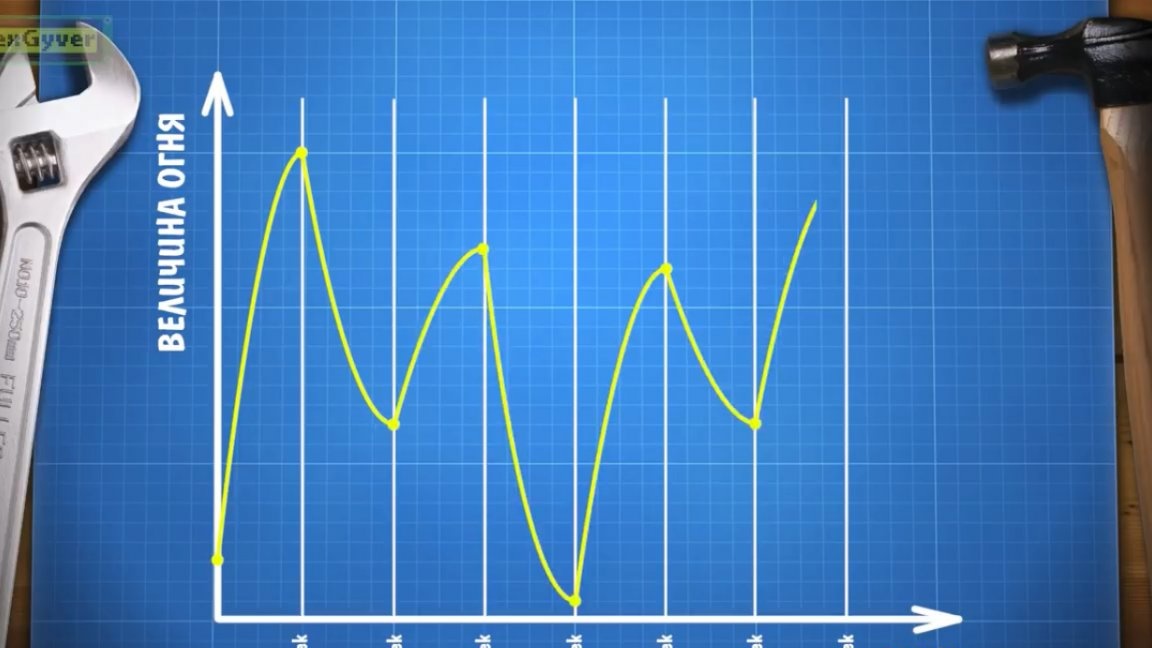
In a real-life example, everything works as intended.
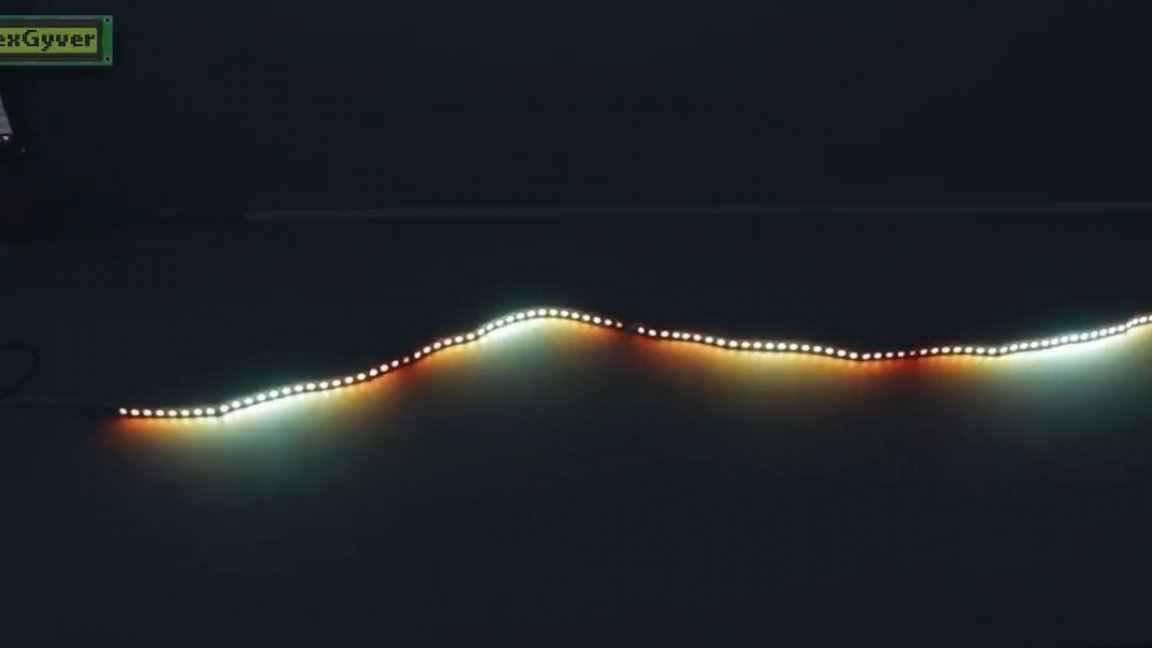
Now we need to translate our value into the color of the flame according to the law mentioned above, and get a one-dimensional fire.
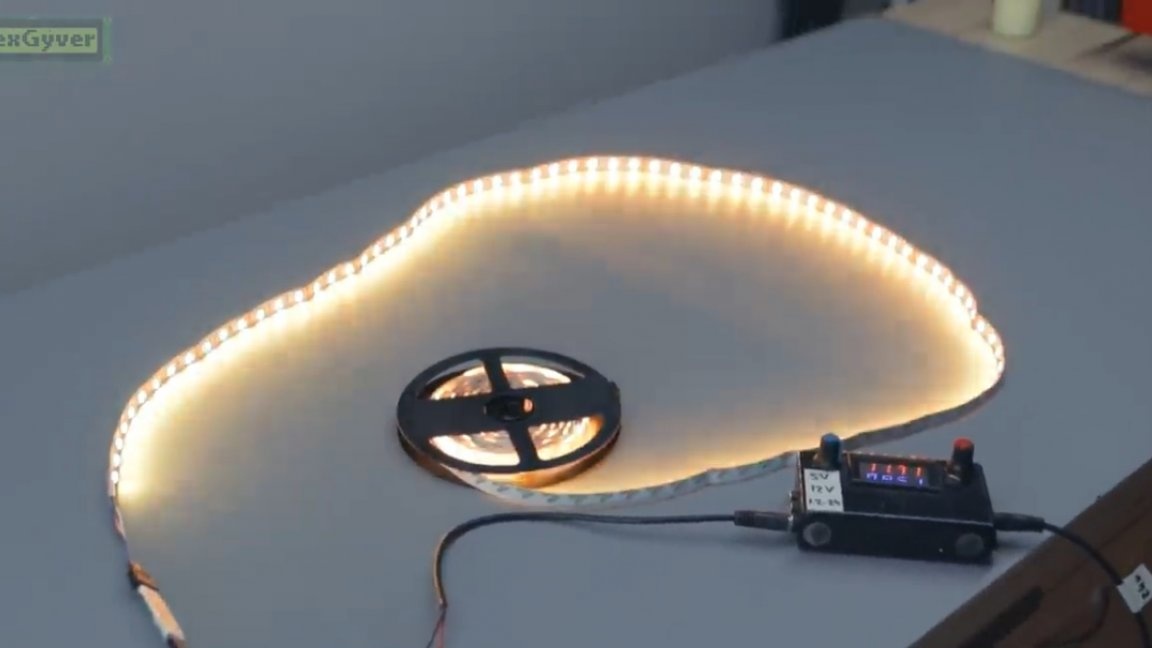
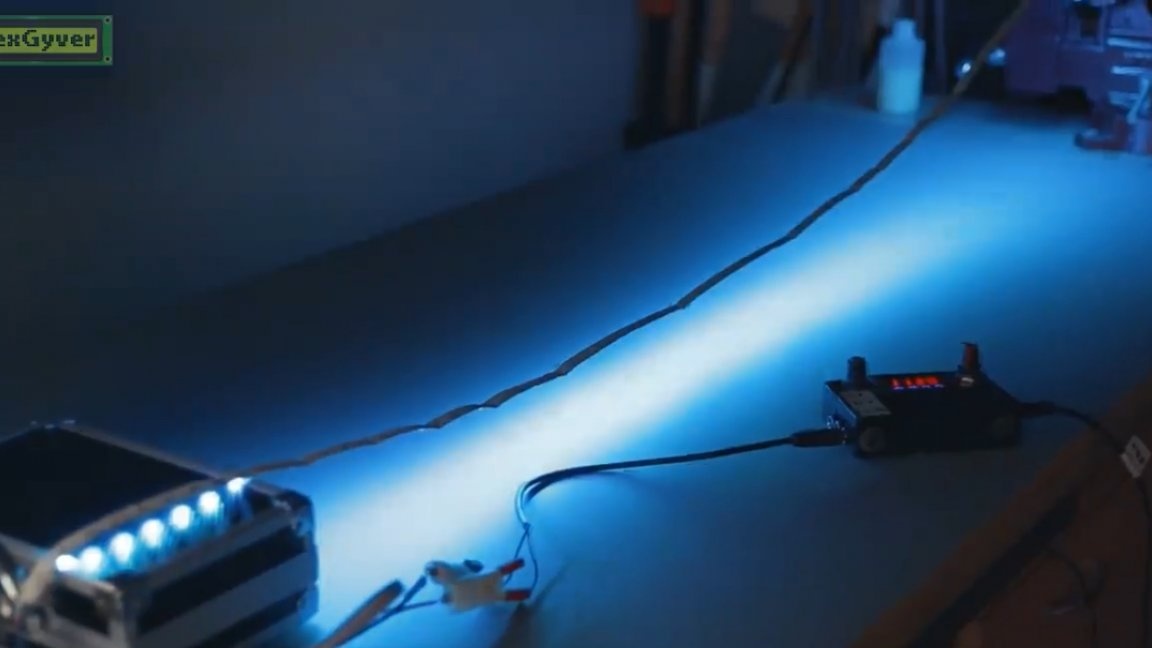
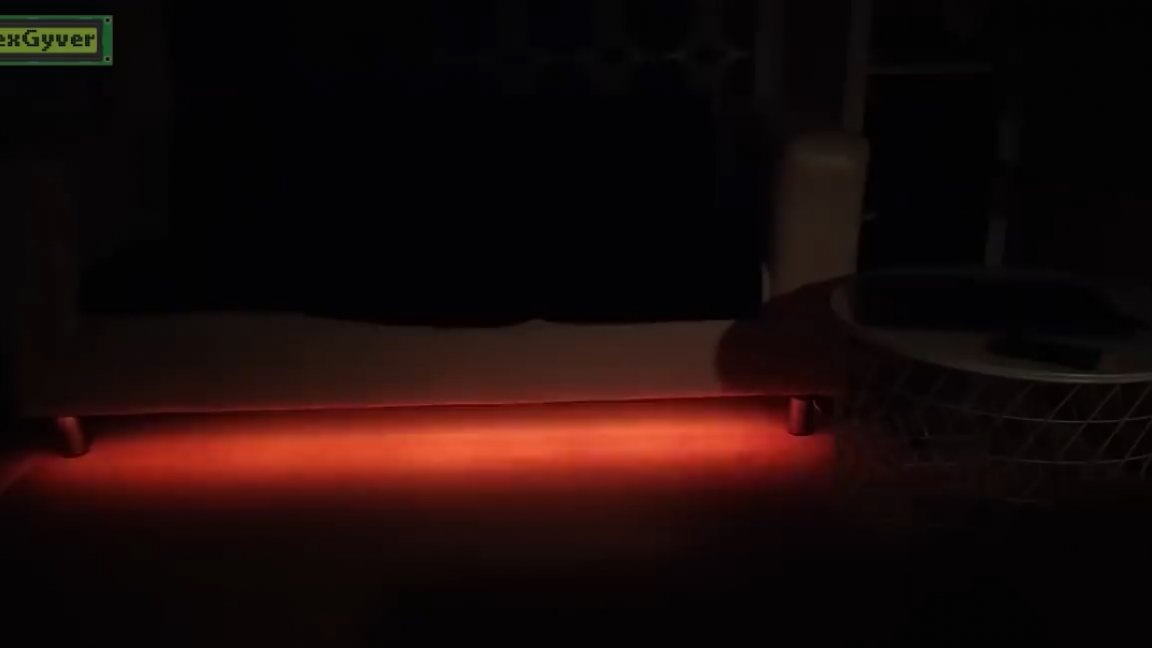
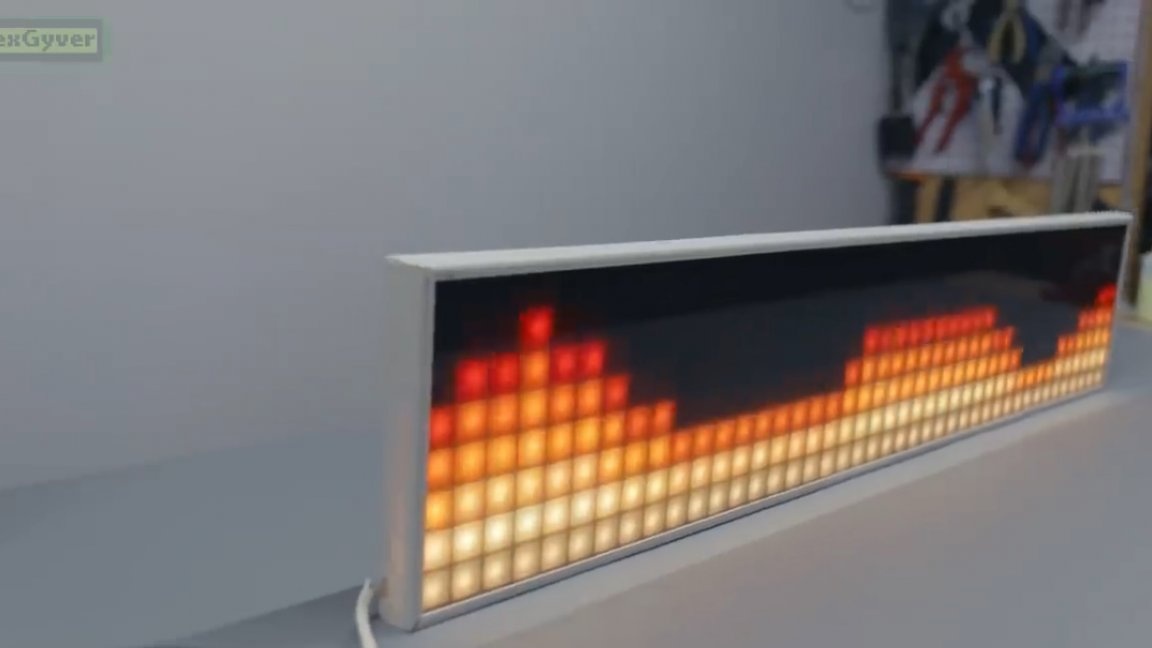
The LED strip programmed in this way can be hidden, for example, by the baseboard or by some protrusion. Also, such a ribbon can provide background lighting, it looks quite interesting and unusual.
Also, the tape can be sent to the floor from a short distance, and thus also achieve a rather interesting effect.

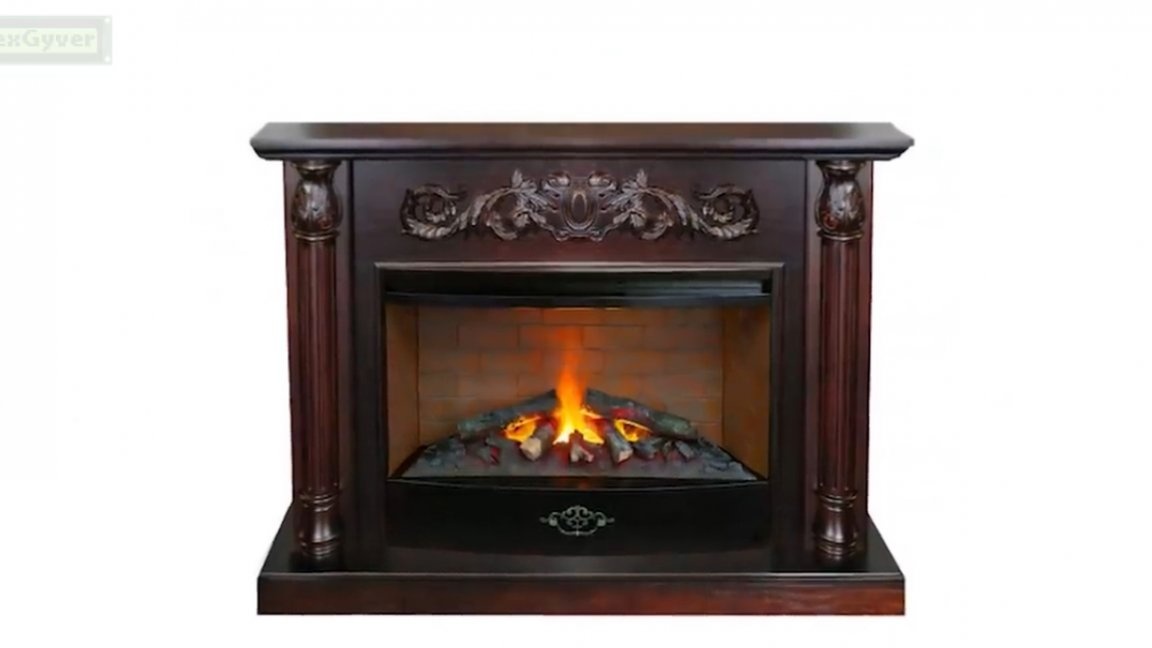
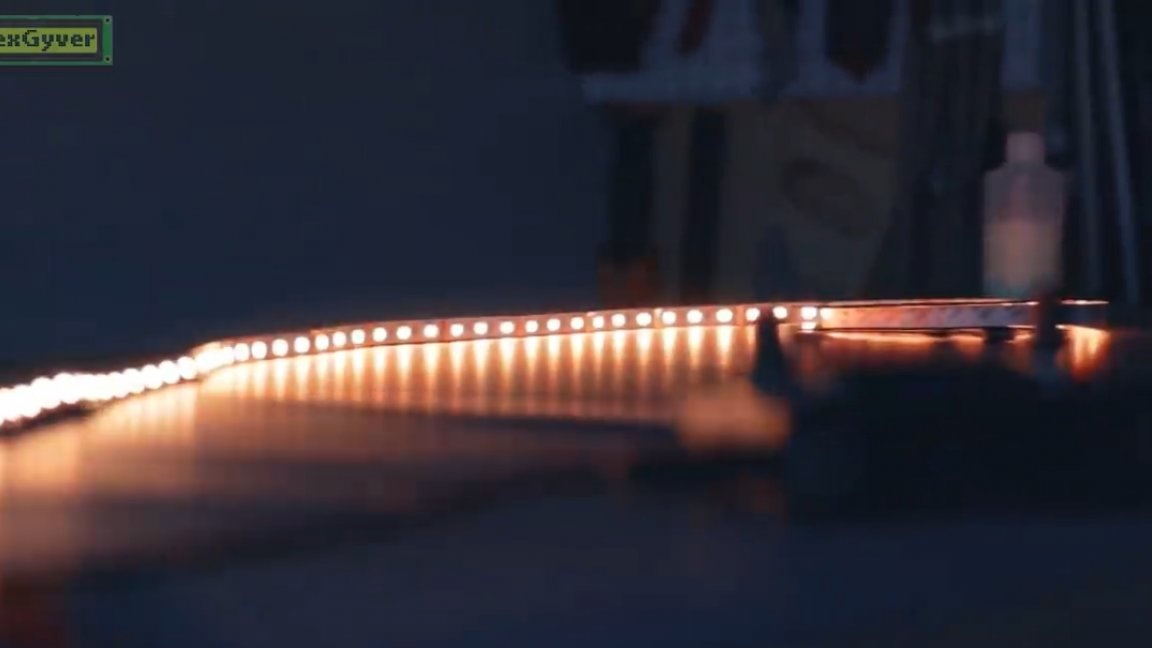
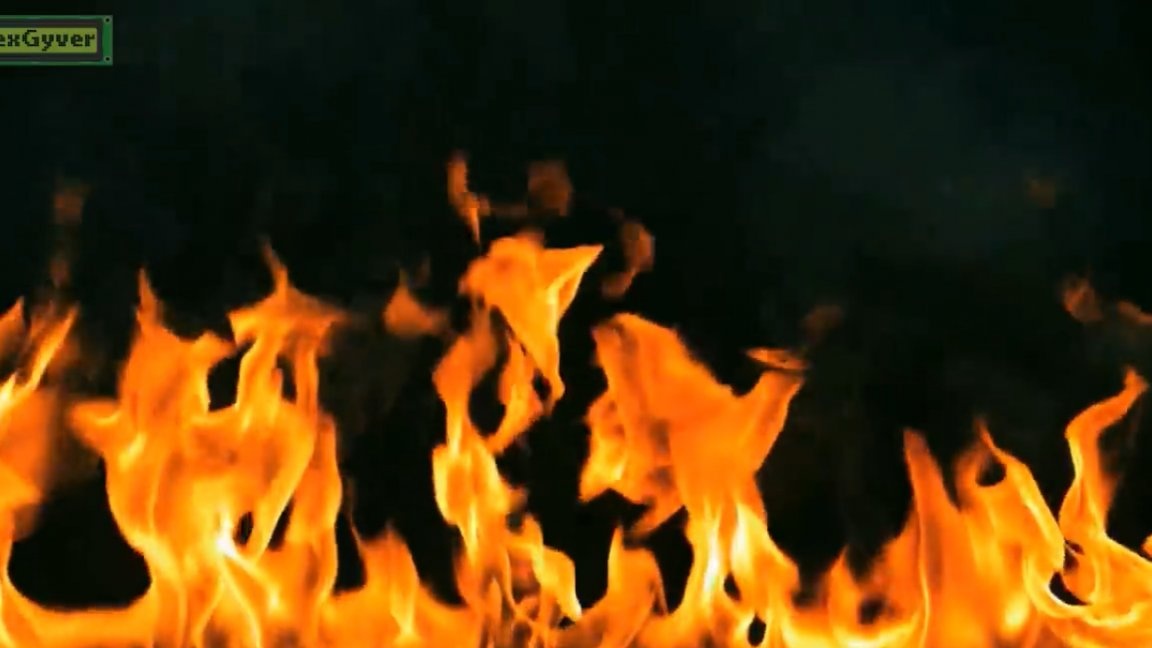
And of course, a piece of tape can be used to illuminate a fireplace or simulate it. And if you remove the bright color from yellow to orange, you get an imitation of smoldering coals.
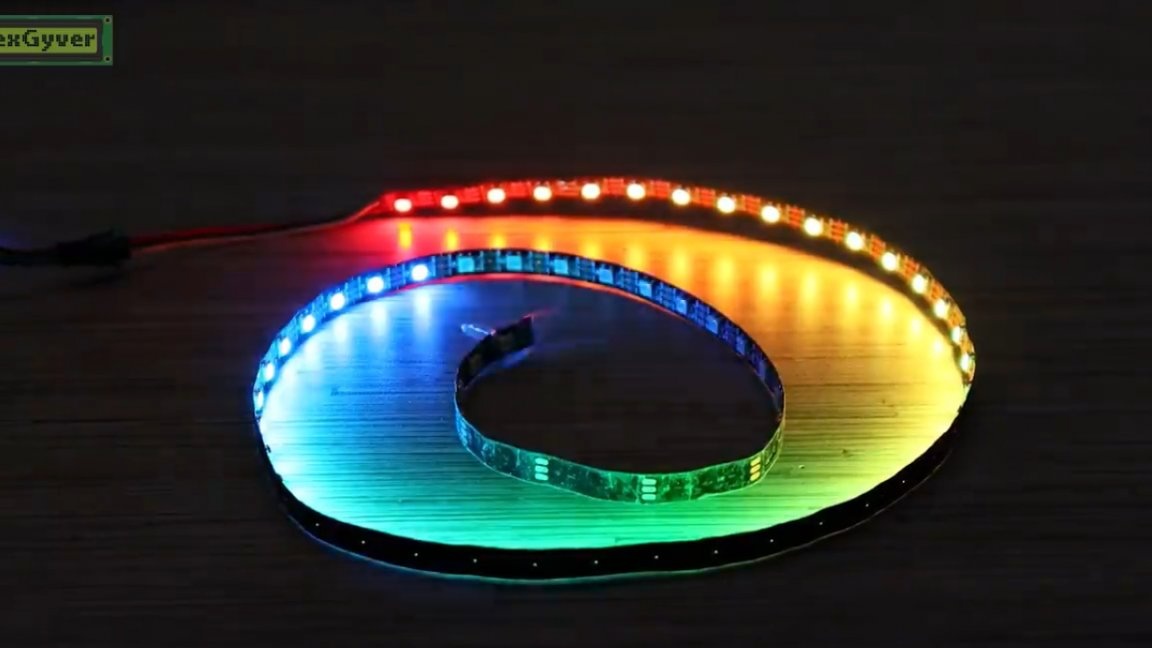
Since we have RGB tape, we can make any color of fire by itself. You want dead green - so easily!
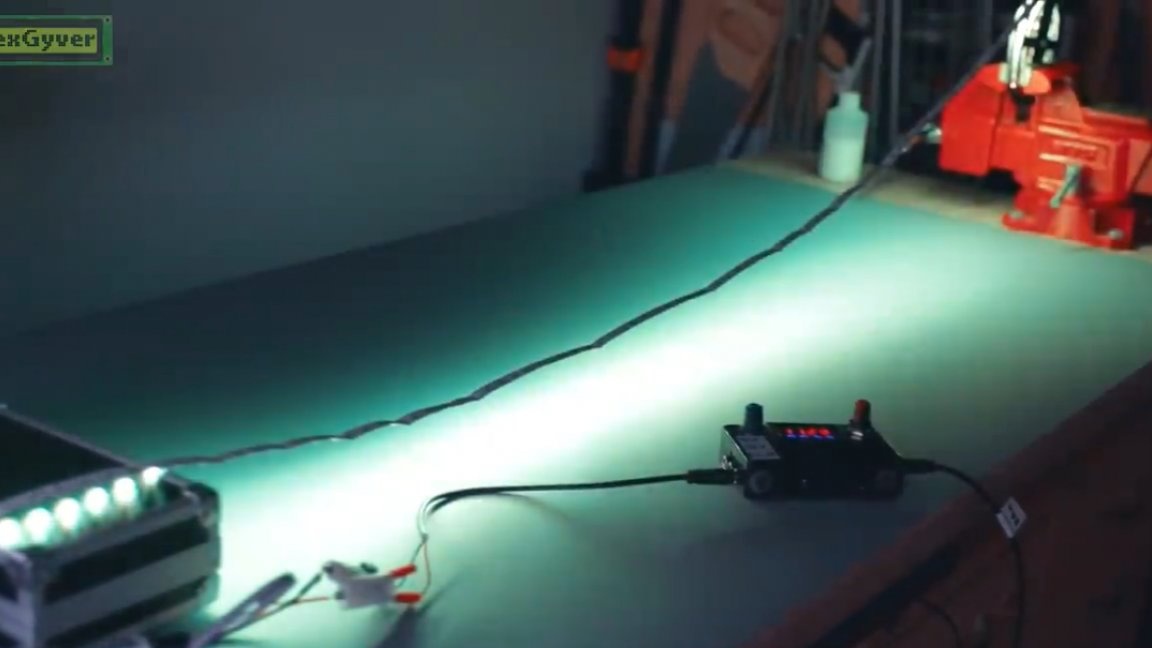
We need a magically blue fire - no problem!
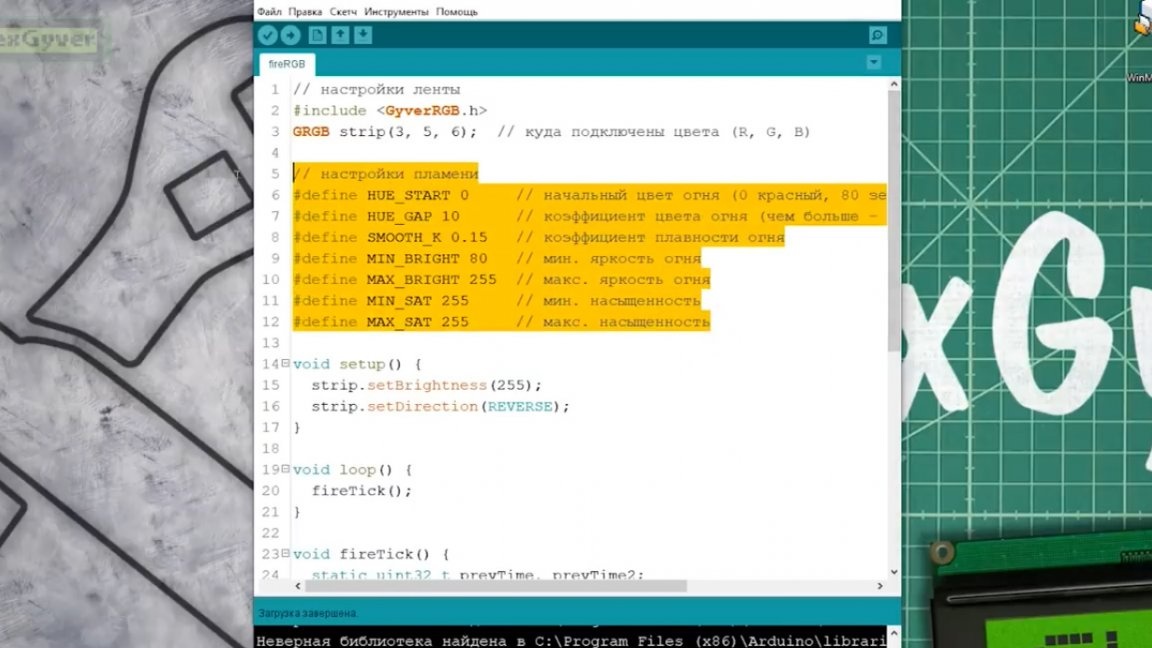
Then install the program and drivers, as written in the instructions on project page, download and run the firmware.
At the very beginning there are all the necessary settings. With their help, you can fully customize the fire for yourself, namely: color, behavior and the like.
Actually, this was the easiest way to make the LED strip “burn”. Now let's look at more interesting examples. For further work you will need address led strip.
This tape allows you to individually control each of its LEDs and each include one of 16.7 million color shades.
Everything is connected very simply, according to this scheme:
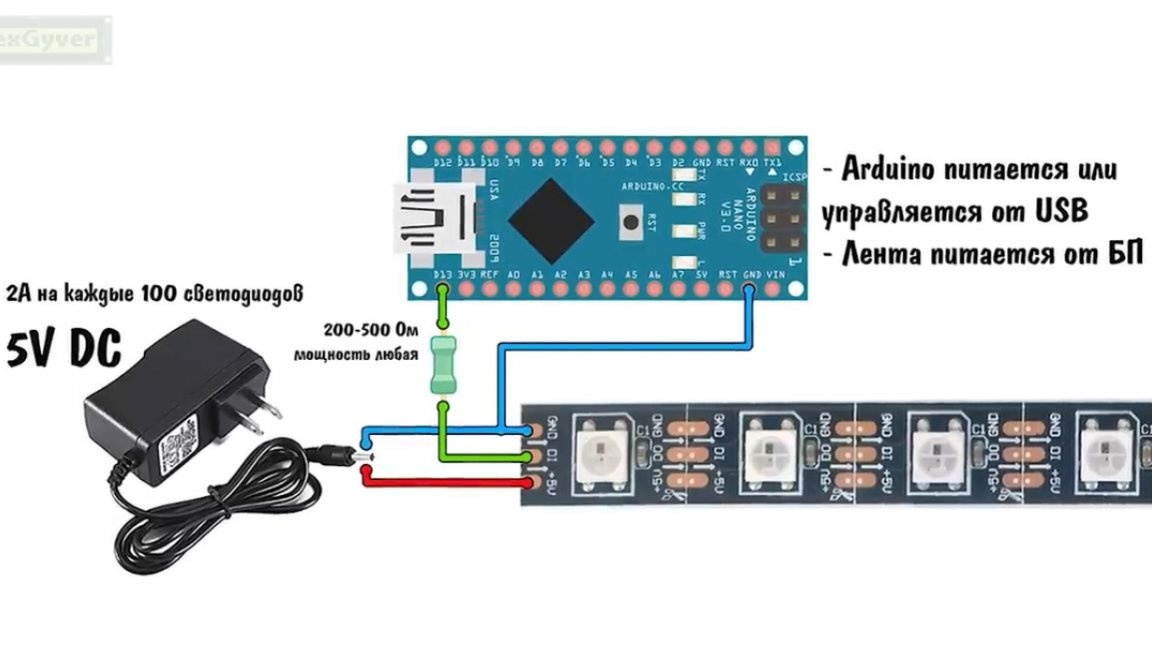
No drivers are needed, but a resistor is recommended. You can do without it, but there is a chance of burnout of the first LED, and if this happens, then the next ones will also not work.
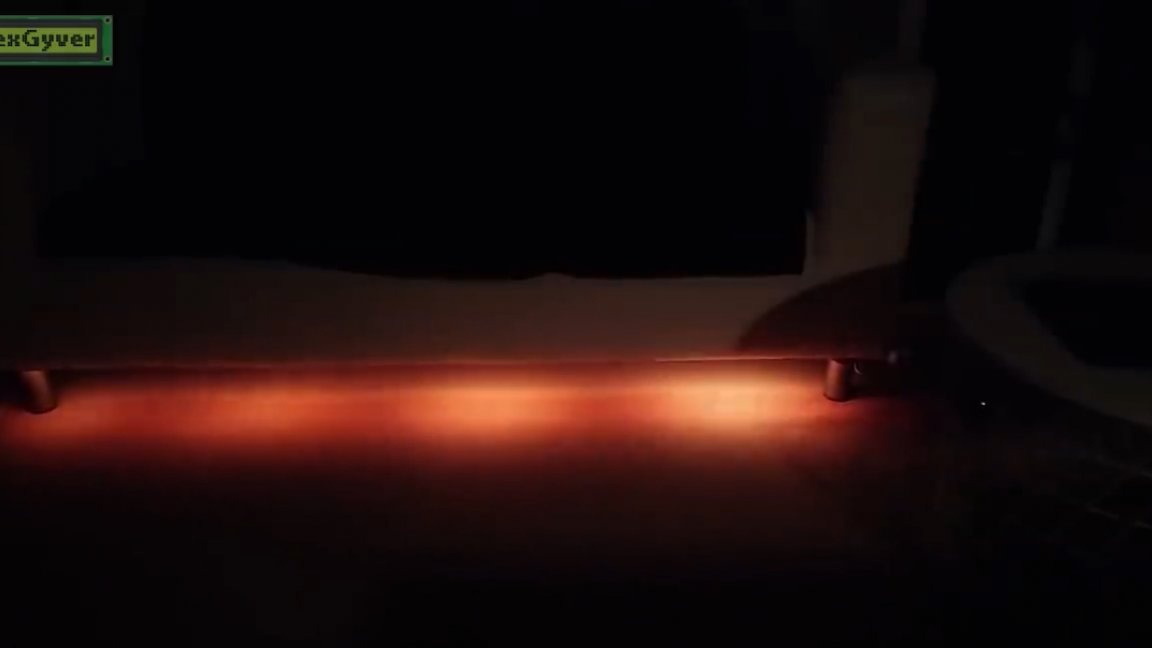
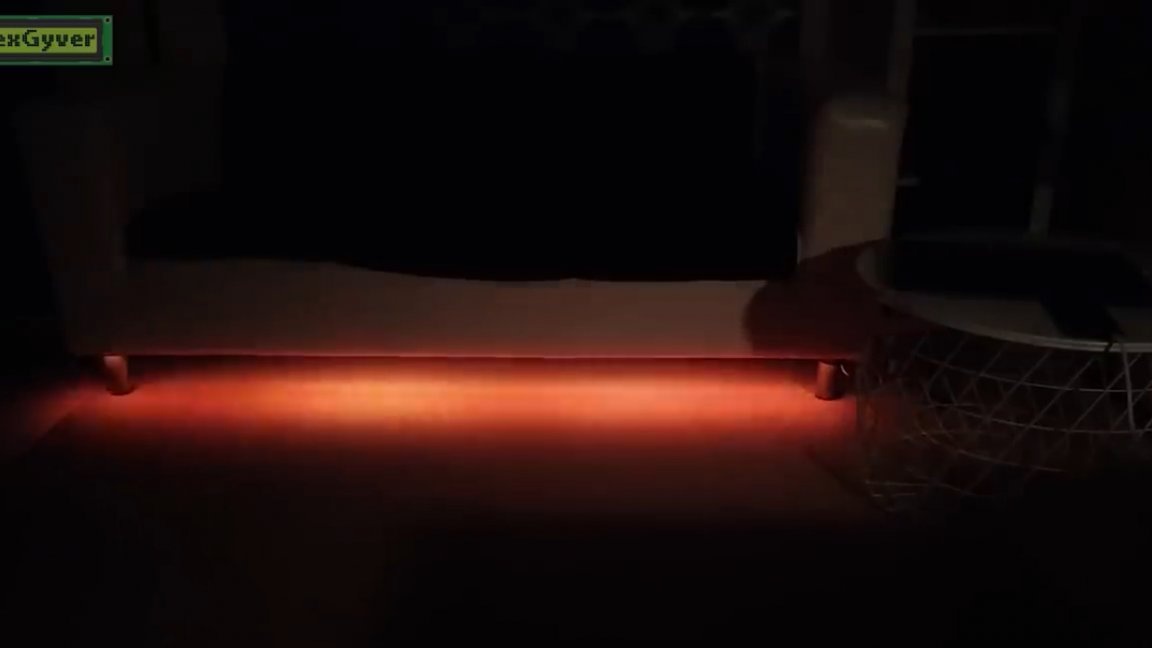
With direct illumination, for example, from under the sofa, you get an excellent hellish sofa with the effect of smoldering coals.

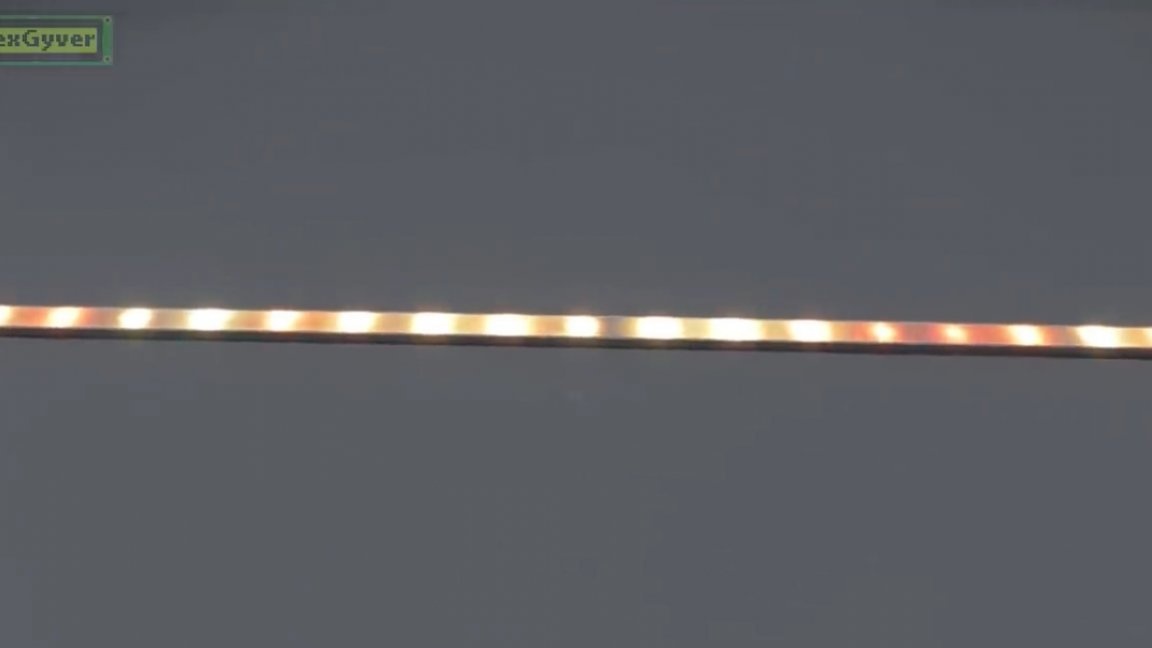
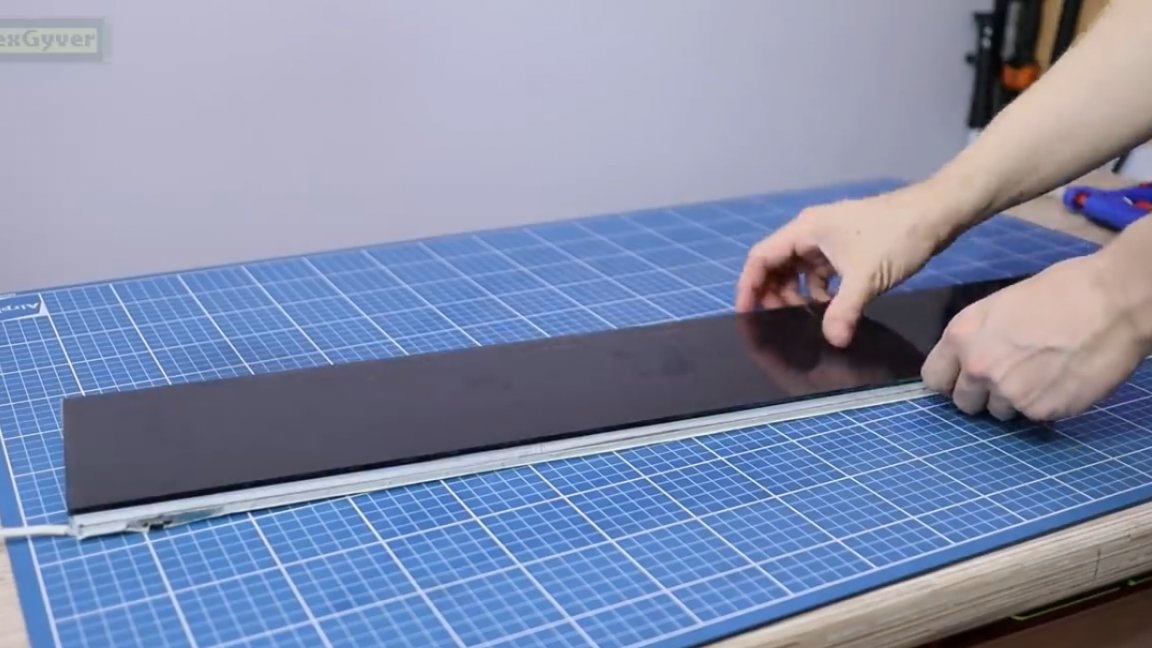
Also, such a tape can be shoved into a regular light profile and use as an independent element of the interior.
It looks pretty good, agree, but let's still try to achieve individual flames.
We will leave the algorithm the same. We break the tape into zones of different widths, each zone will have its own random process. To make this process even more similar to a real flame, we will fill the zones from the edges to the center, gradually increasing our random value to its current value. Also in the process of “burning”, the size of the zones should also change randomly.
This is how it looks:
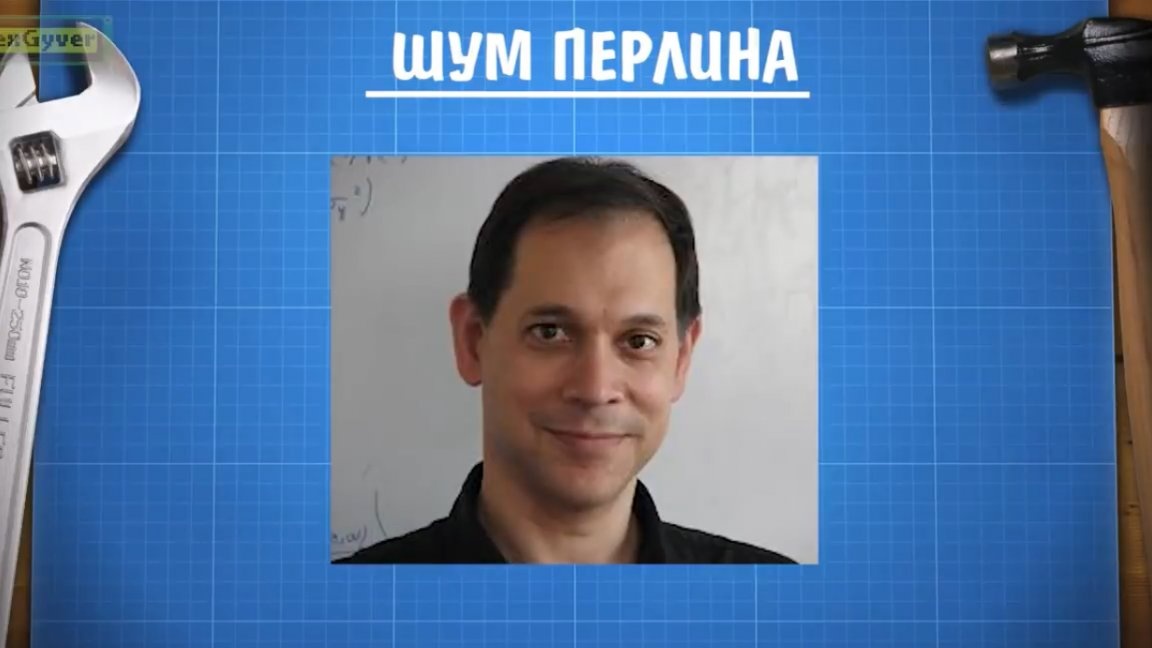
Now let's look at another interesting random process called Perlin noise, which Ken Perlin came up with in 1983.
Perlin's noise allows you to create a random smoothed distribution of the magnitude in any number of dimensions. The well-known cloud filter in Photoshop is an example of two-dimensional Perlin noise.
But Perlin’s three-dimensional noise makes it possible to generate, for example, a mountainous landscape, moreover, to generate it very randomly and endlessly, and at the same time practically without creating a load on computer components, since the algorithm there is not very computationally expensive.
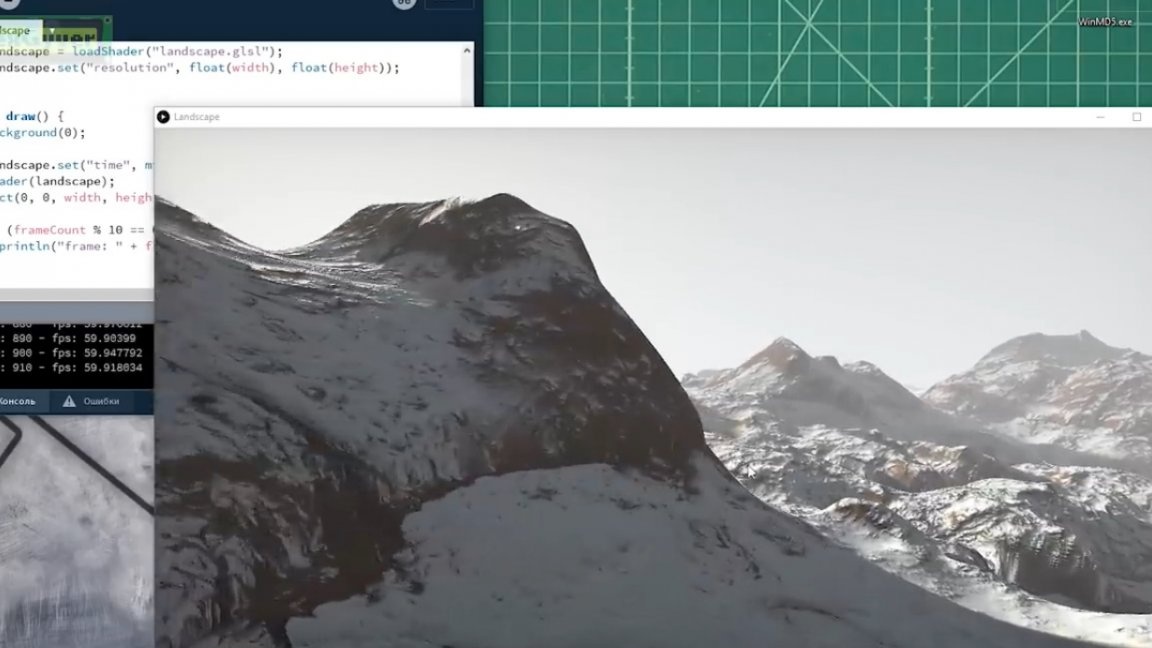
The action plan is as follows: first, create a two-dimensional Perlin noise region and move along it in a certain way, scanning the line of pixels and outputting it to the LEDs.
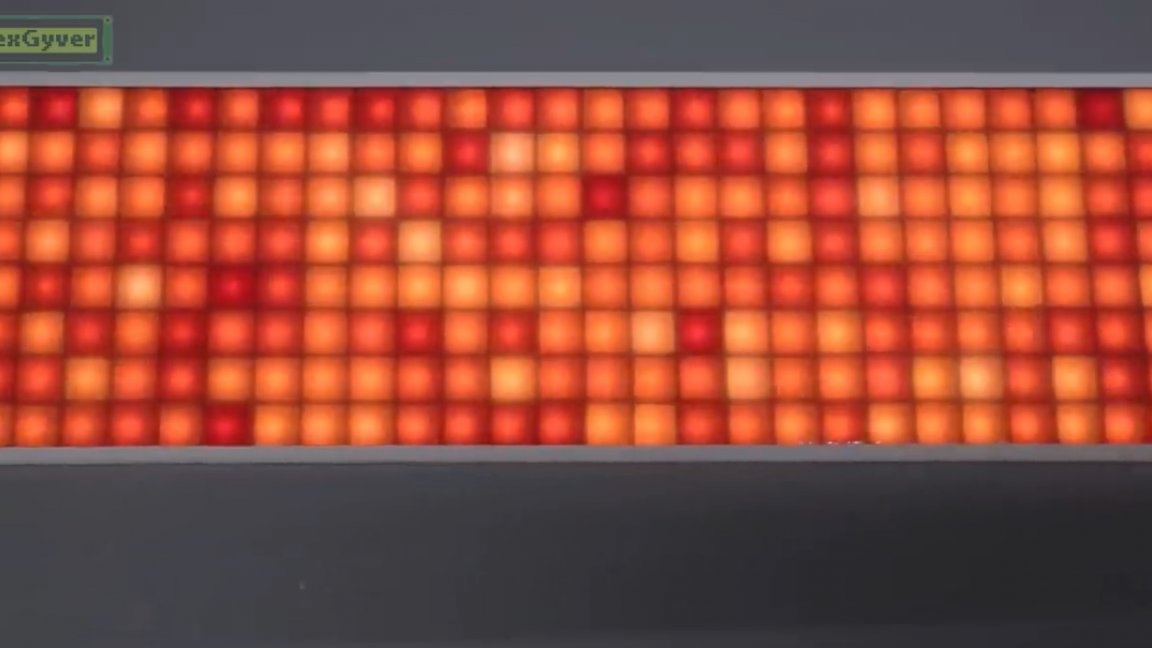
The algorithm as mentioned above is not very complicated and Arduino calmly deal with him.The result is such a very cool effect, as smooth as possible, random, and already very similar to the real flame with end lighting.
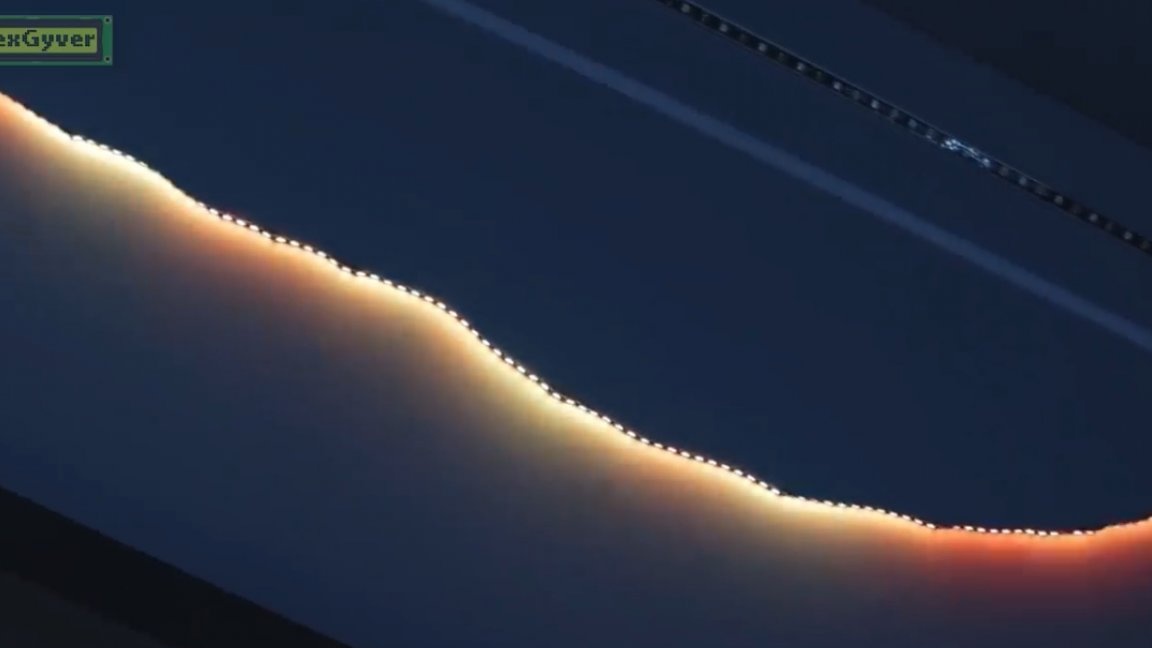
With direct lighting, it looks like this:
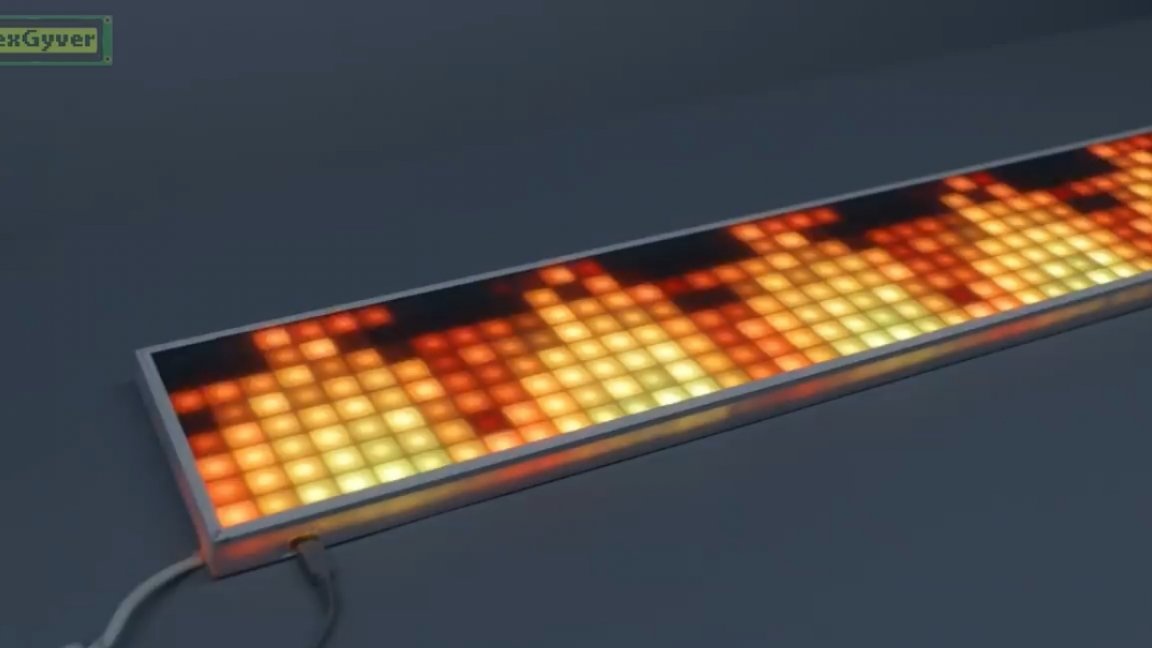
But all these were fire algorithms for one tape. And what about sticking the tape in a zigzag pattern and trying to make two-dimensional fire on the matrix?

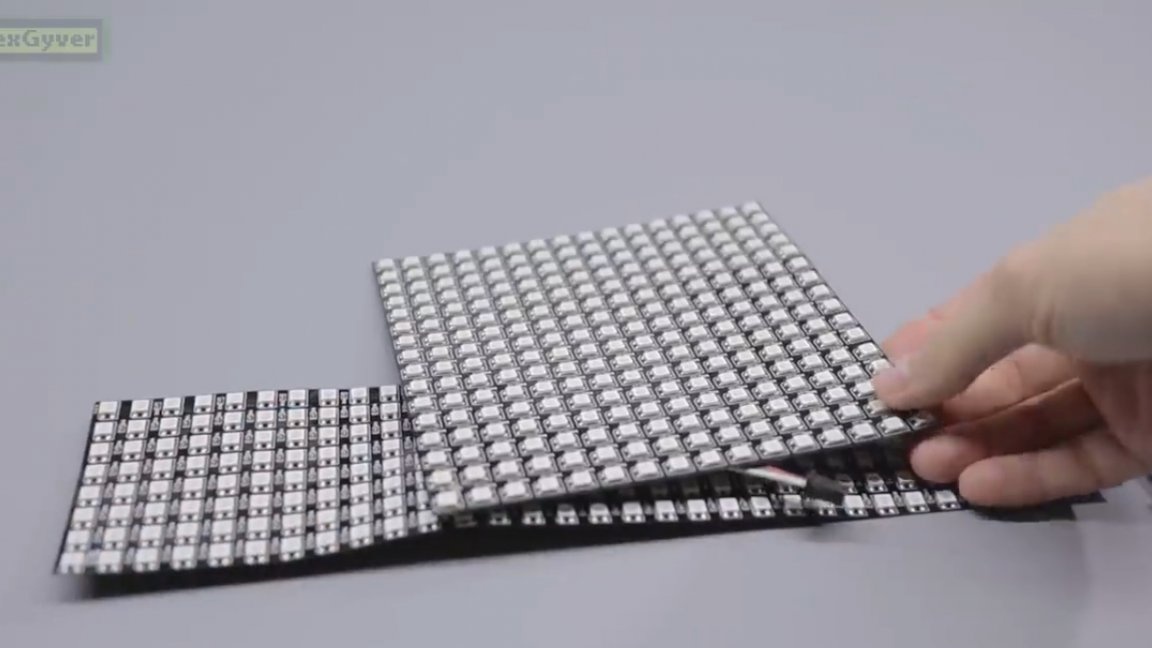
Such matrices can be bought from the Chinese. Above the matrix we place a diffuser and glass tinted with automotive film, that is, this is a real amolead ultra-low resolution display.
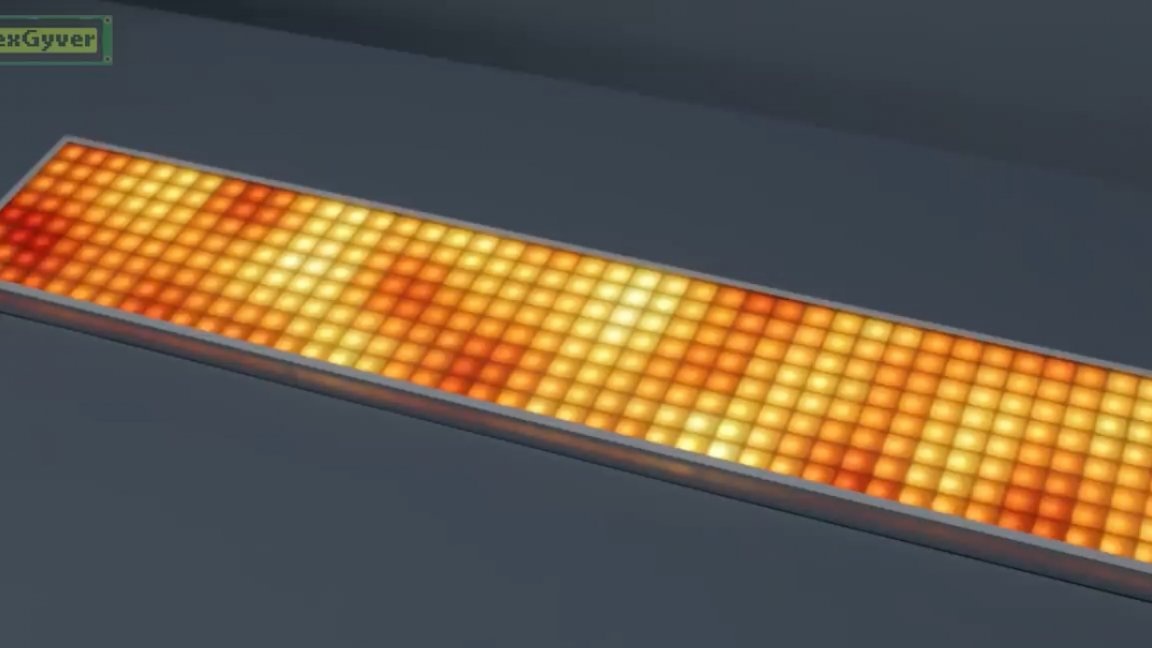
By the way, it looks pretty realistic. See the author’s original video for more details:
That's all. Thank you for attention. See you soon!