
I have already done a lot of LED lamps based on energy saving. Some of them were assembled on the basis of ready-made blocks, others were completely self-made. All of them regularly work at home and in the country.
But then I came across a Chinese light bulb, which, in my opinion, burned out everything. LEDs did not ring, there was no power supply. In general, complete garbage. The light bulb was declared as 7-watt.
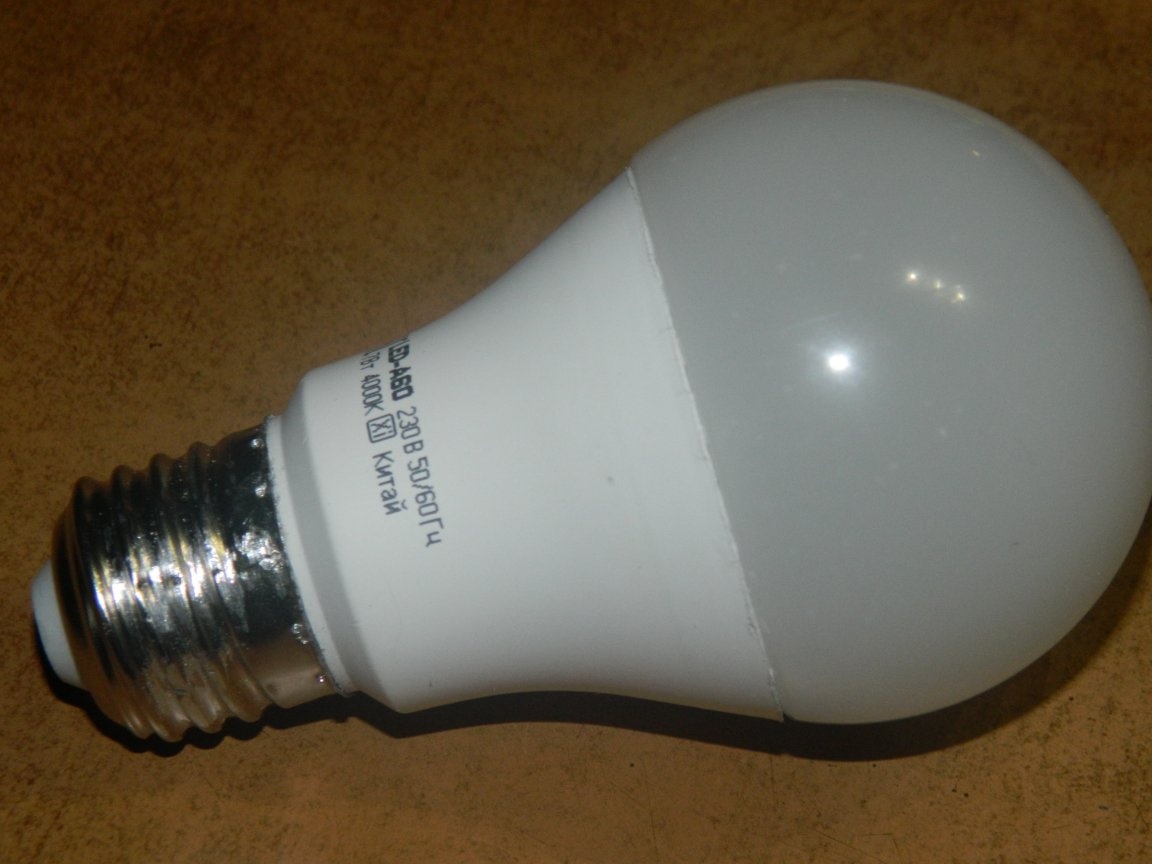
It was not difficult to disassemble it: the lamp shade on the latches, and the lamp base was simply unscrewed. The central wire was broken off.
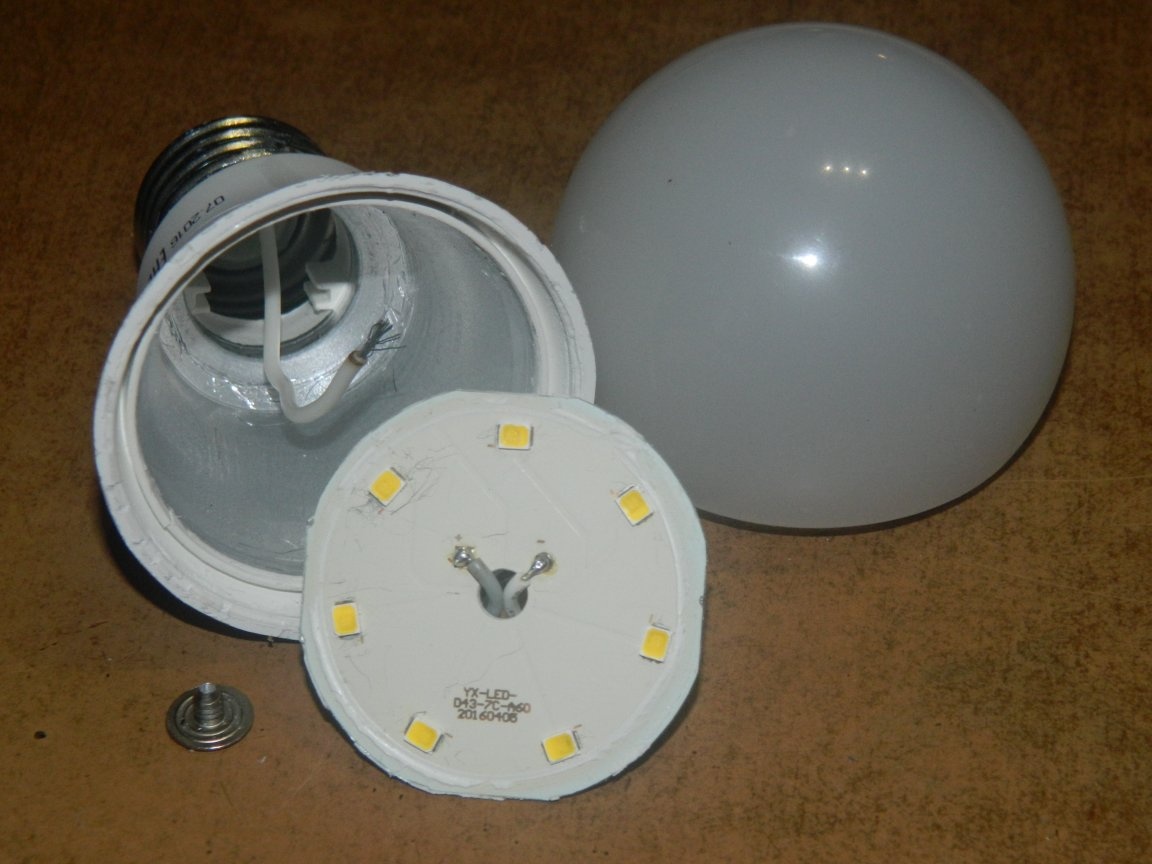
And then I thought that if you apply LED plates of 30 LEDs 5630-0.5? Fortunately, I had a lot of such (I once bought on Ali). There were also enough LEDs (bought on Ali for a penny). The LEDs were with a thermal temperature of 4000 K.
The hardest part (for me) was to solder the central contact, because it was made of aluminum. I had to go to "CHIP and DIP" and buy a special flux and solder.
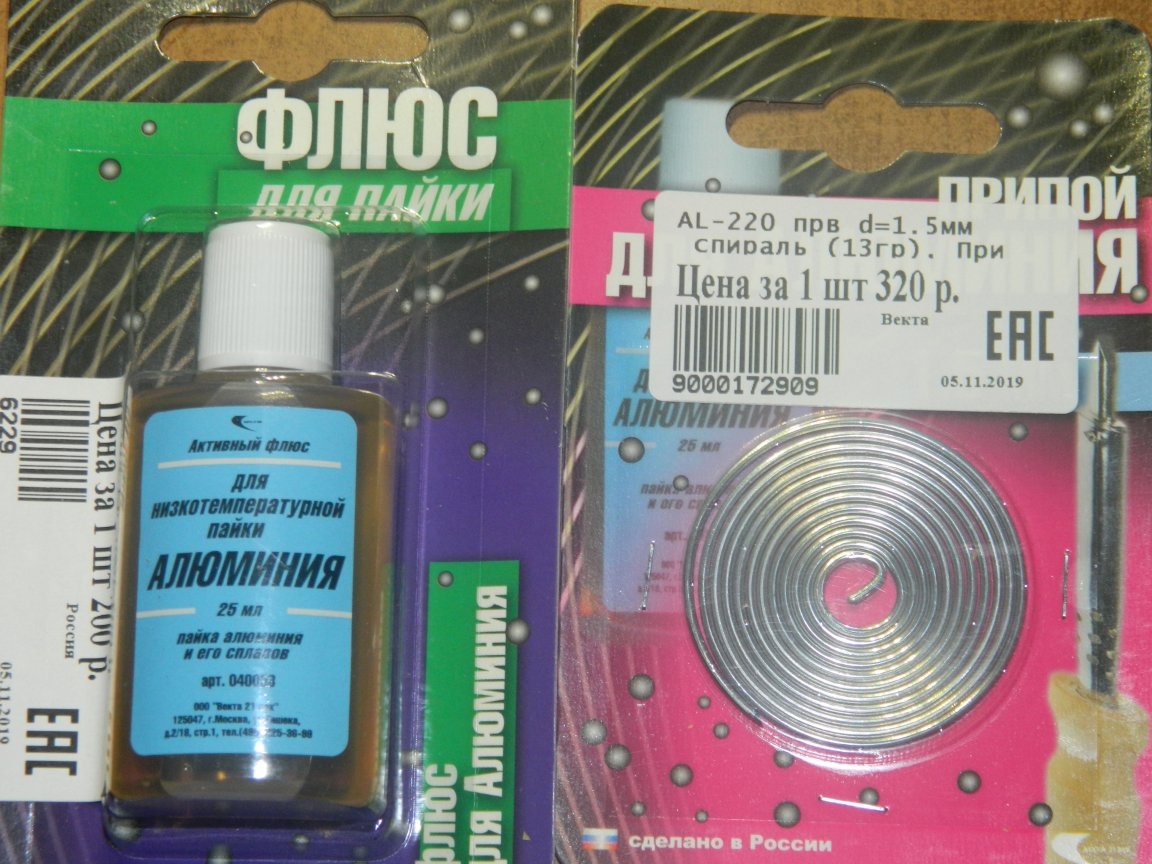
I decided that it would come in handy more than once, and I spent the money not in vain. (Indeed, soon I had to solder a few more lamps, where the central contact was made of aluminum).
Next, plastic bushings for electricity went into business. Having picked up the tube of the required diameter, I sawed it to size (with a drill with a cutting disc) and sawed the grooves at the corners of a square profile pipe 20x20 mm in aluminum (which was supposed to serve as a radiator). Then glued hot glue into the cartridge.
I took the driver ready PRD-420mА-3-4WS with the following characteristics: Uin = 90-260 VAC; Uout = 8-12 VDC; Iout = 420 mA; dimensions - 22.5x16x14 mm. With this driver, I can connect four plates of three LEDs in parallel. The current through each branch will flow 105 mA, which will not load the lamp (recall, the maximum current through these LEDs is 150 mA).
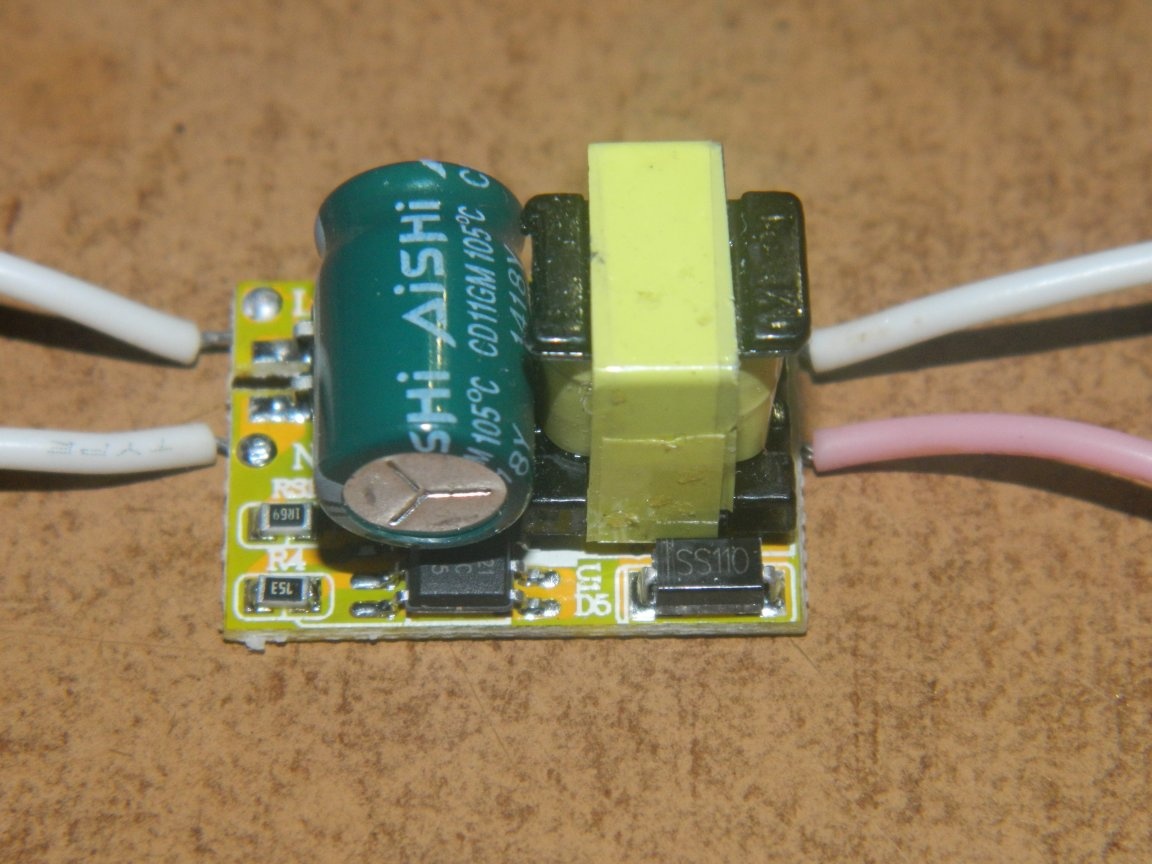
The size of the driver completely allowed it to fit inside the heat sink after clamping it in heat shrink.
Next, the iron went into business (inherited from my grandmother), which I used as a thermostat.
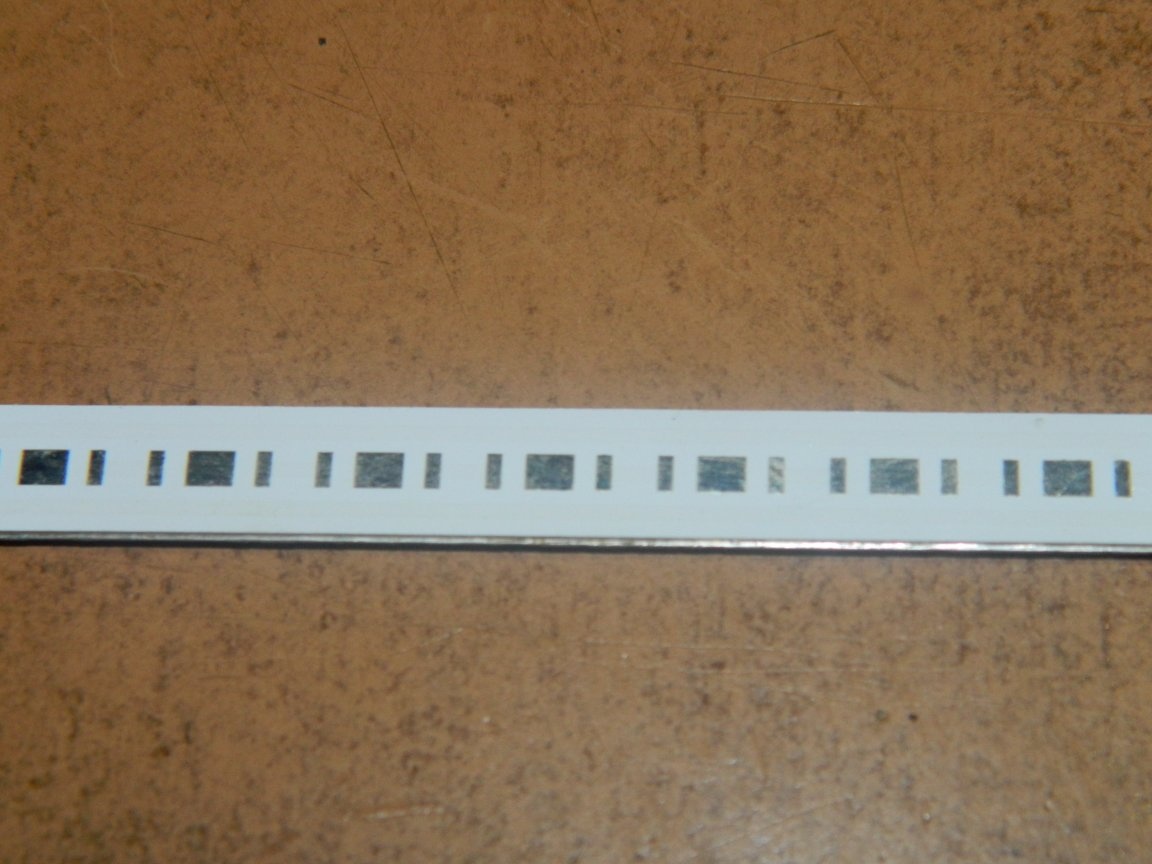
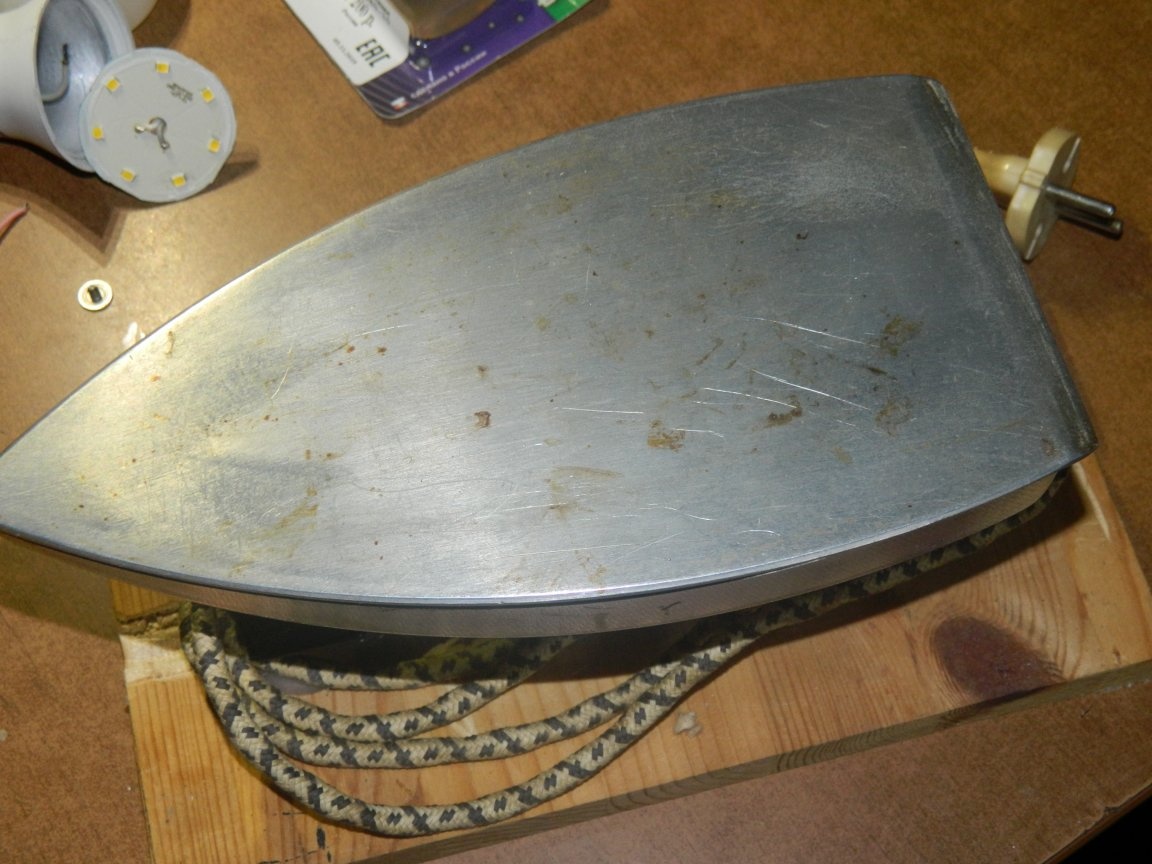
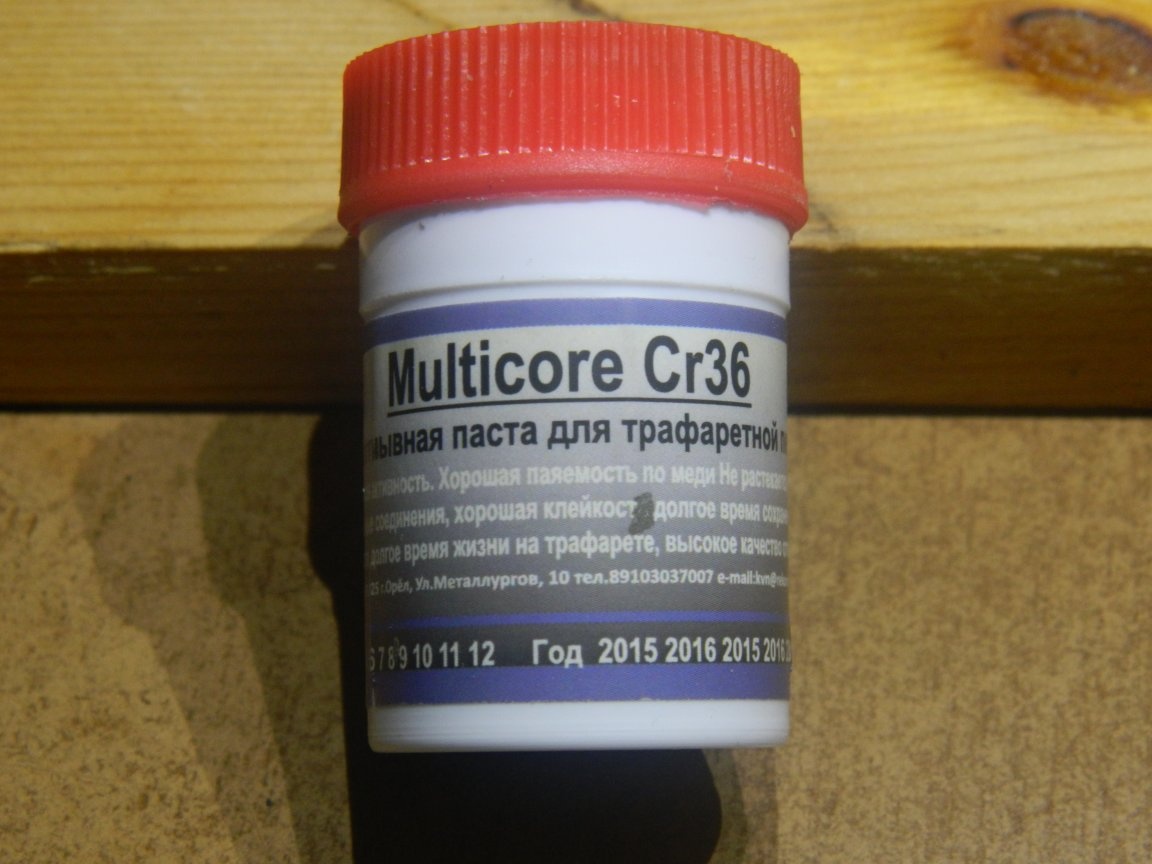
Soldered to a paste for screen printing.
 [/ center]
Having cut a plate multiple of the 3rd LEDs, I soldered the LEDs on them. Glued the plates on the Radial hot-melt adhesive.

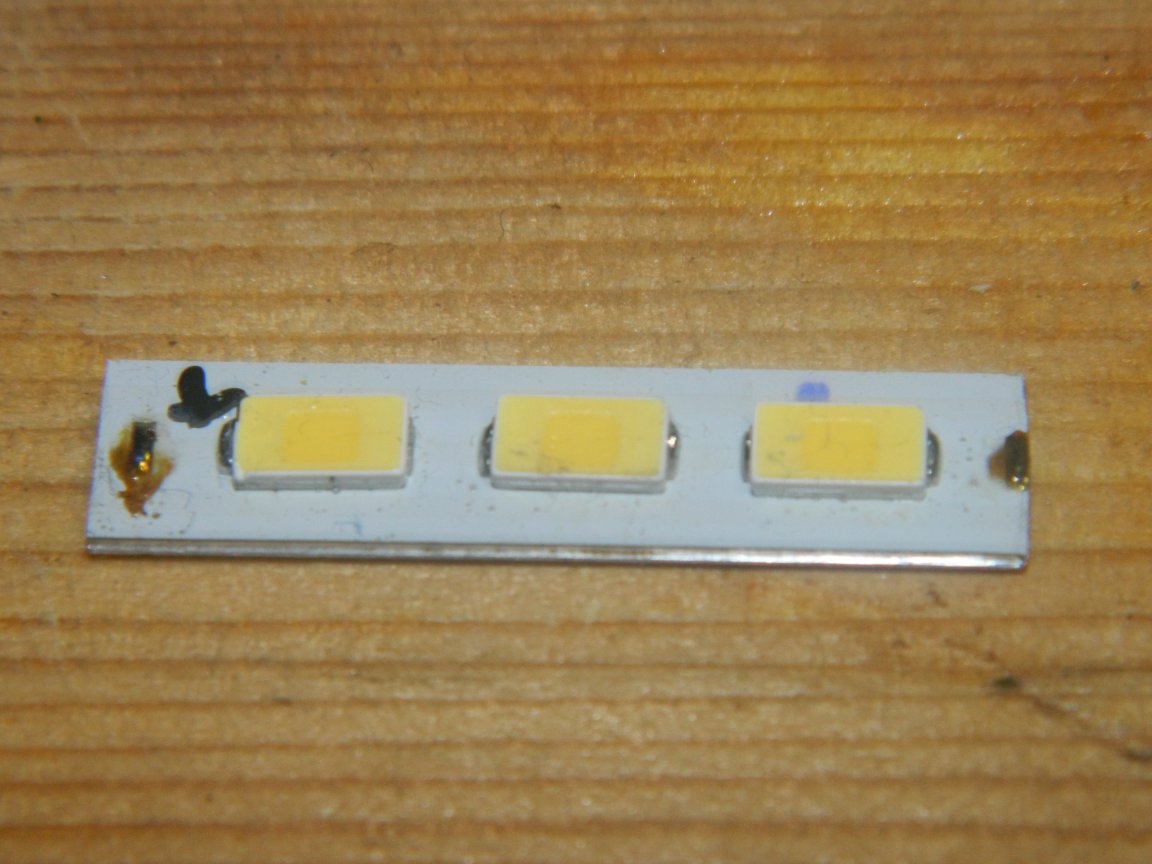
The following thing turned out.
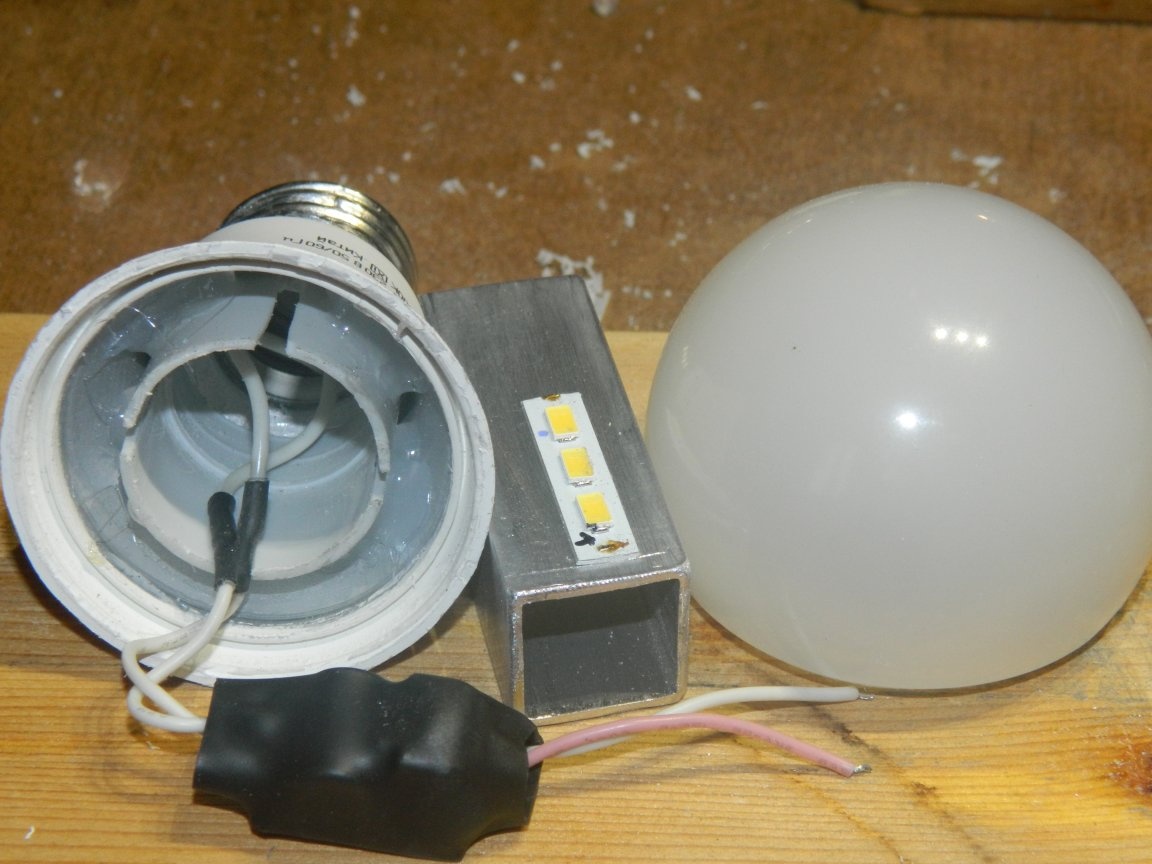
Then it’s a matter of technique to fix the radiator in the cartridge, solder all the wires and close the lamp.
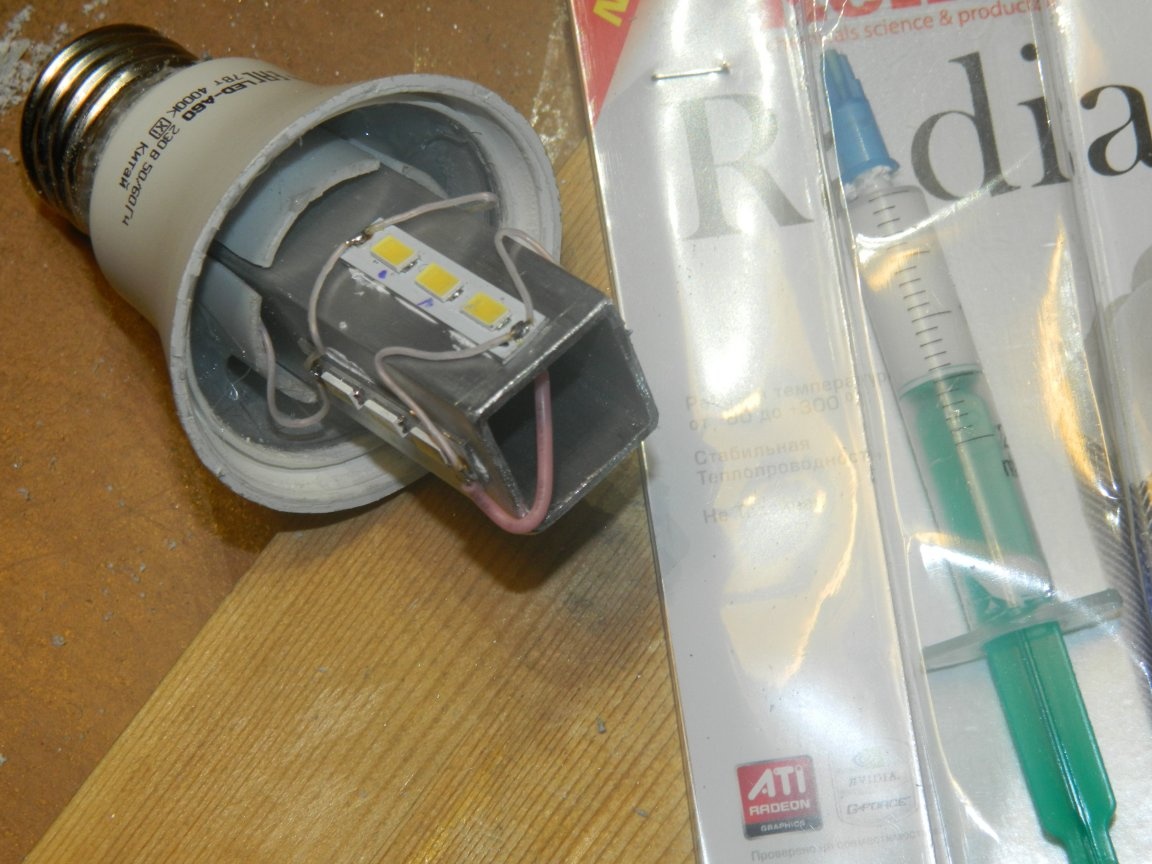
The lamp turned out to be about 4 watts (according to calculations). But it shines very brightly, thanks to high-quality LEDs.

(Shot with reduced exposure)

