

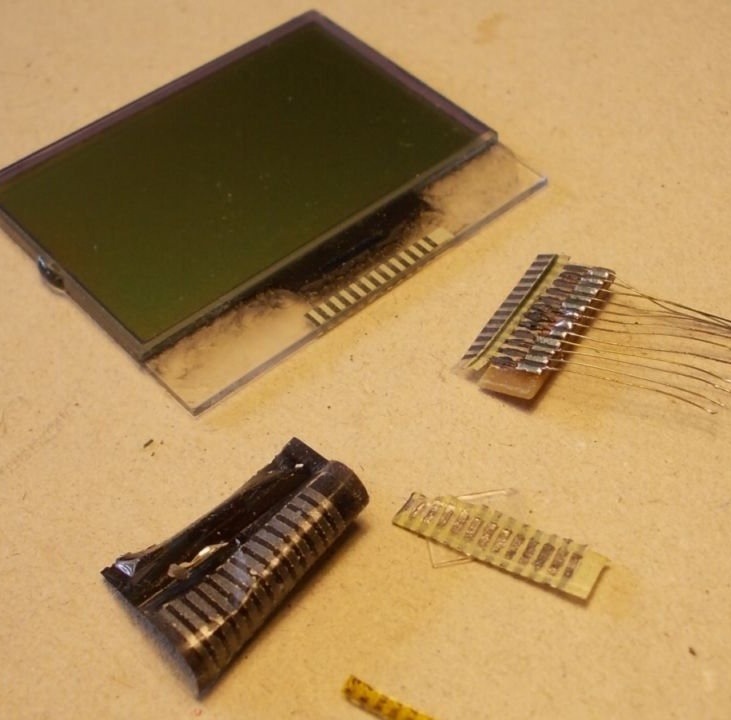
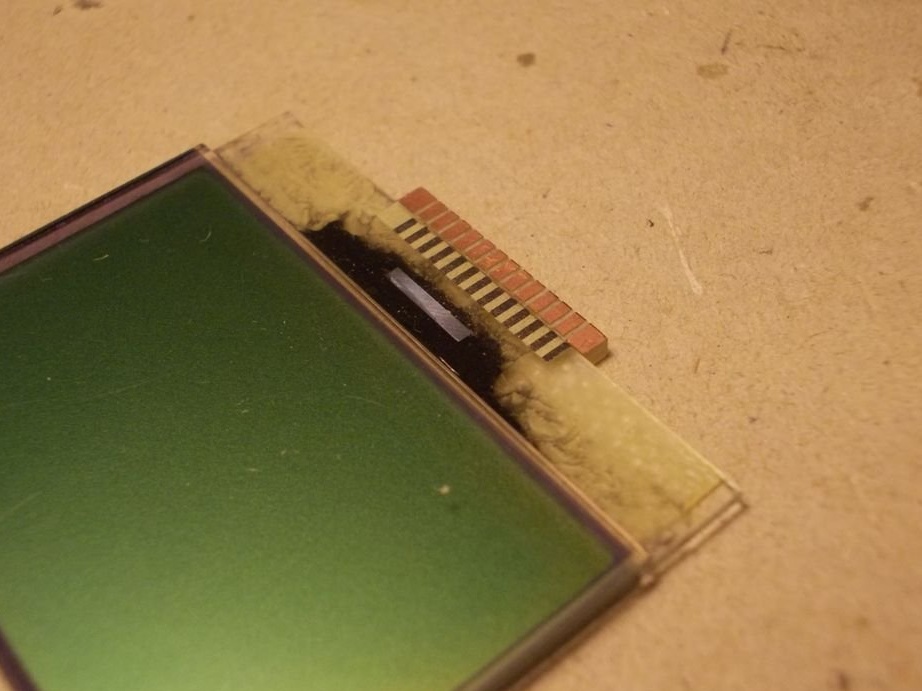
The author of Instructables under the nickname csgeza is self-balancing robot With the Lego NXT module, after the initial euphoria, it stood motionless for about a year. Then they missed him, decided to start it again, installed the batteries, but the sound from the module worked, and the image did not appear on the display. The master began to read what to do in such cases. It turned out that three SMD capacitors were decayed, or the display cable went off. Soldering capacitors did not lead to any changes in the operation of the device. It turns out that you need to do something with the display.
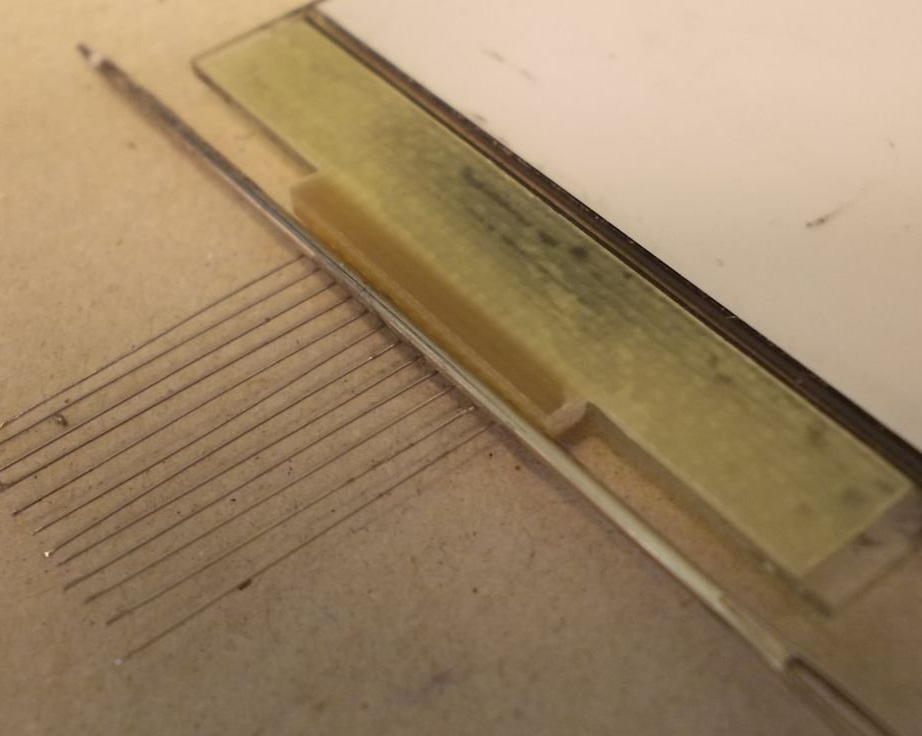
Since this display is made using COG technology (chip-on-glass - crystal on glass), the number of conductors going to it is small, and they are wide. An almost precision loop with many thin conductors with a small pitch is not required here, everything is much simpler. But not the first time. The trial and error method forces the wizard to try several options that do not give acceptable results:
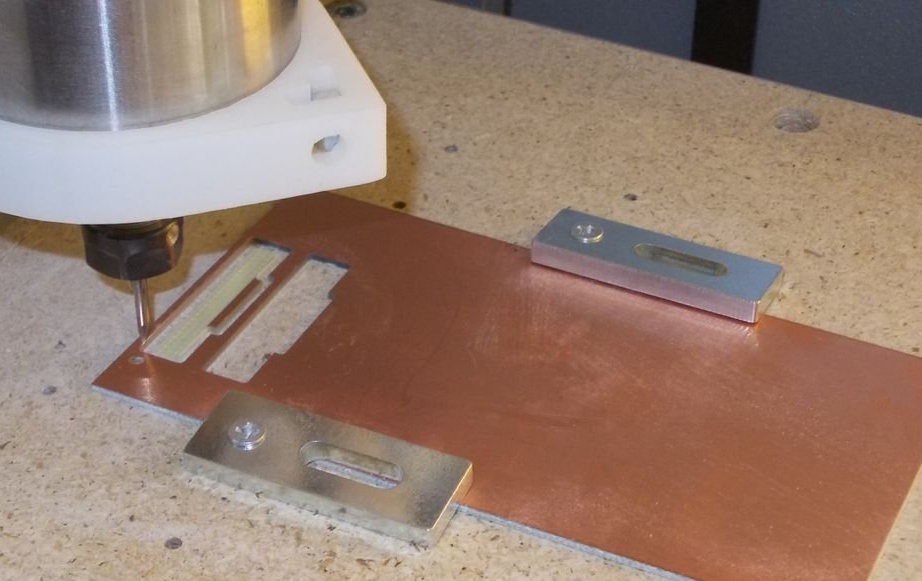
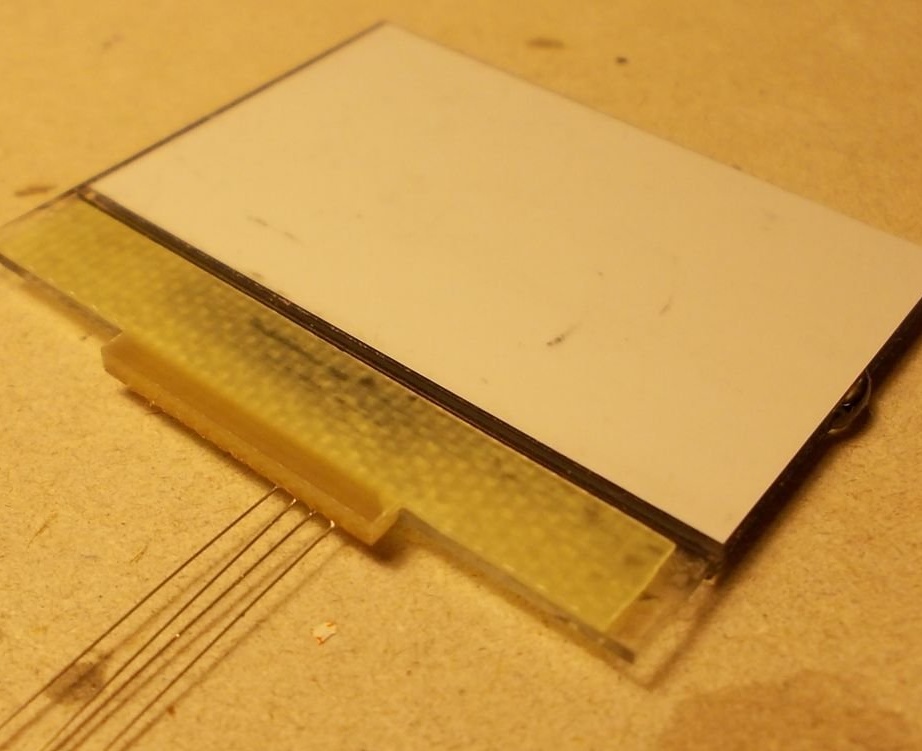
Then the master decides to make a small adapter board of variable thickness (!), The sketch of which is shown below, stick it to the display, solder the bare single-core conductors to the board, which will go further, to the contact pads on the display glass, and glue them there with conductive glue.

The wizard compiles two files with a G-code: first - for all operations except slotting between the pads, and second - for the remaining operation. It is clear that from glassPCB can not be done - it will require very serious respiratory protective equipment. And the work began to boil:
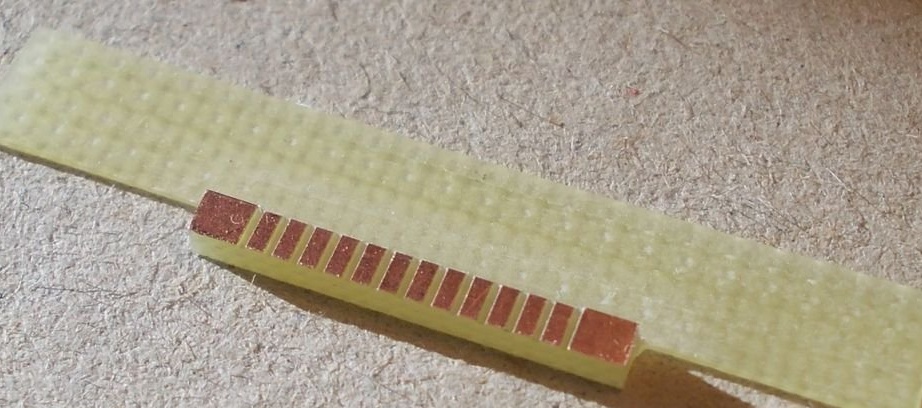
And the result is ready:
The master glues the adapter board to the display with superglue so that the pads match:
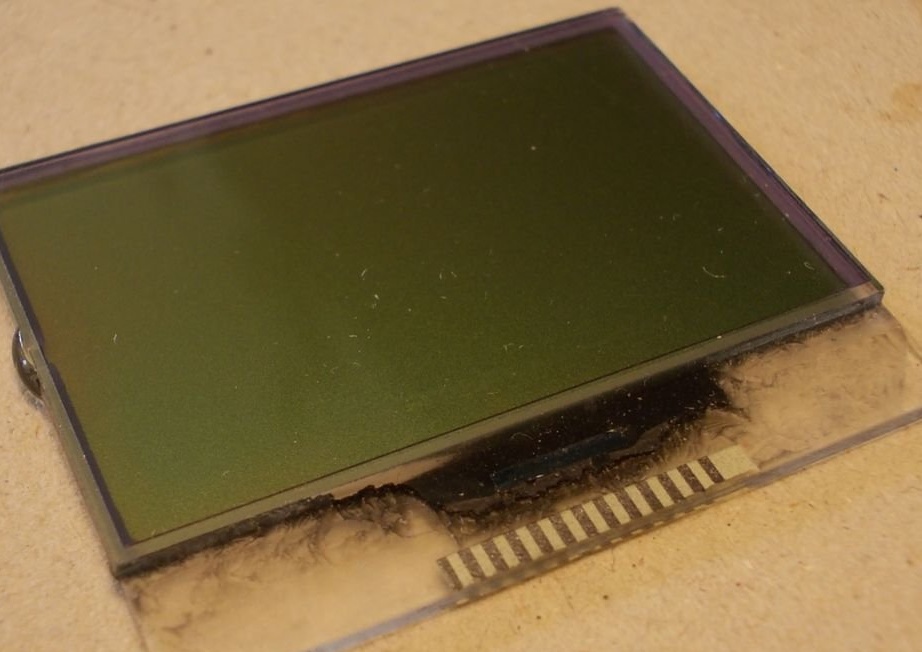

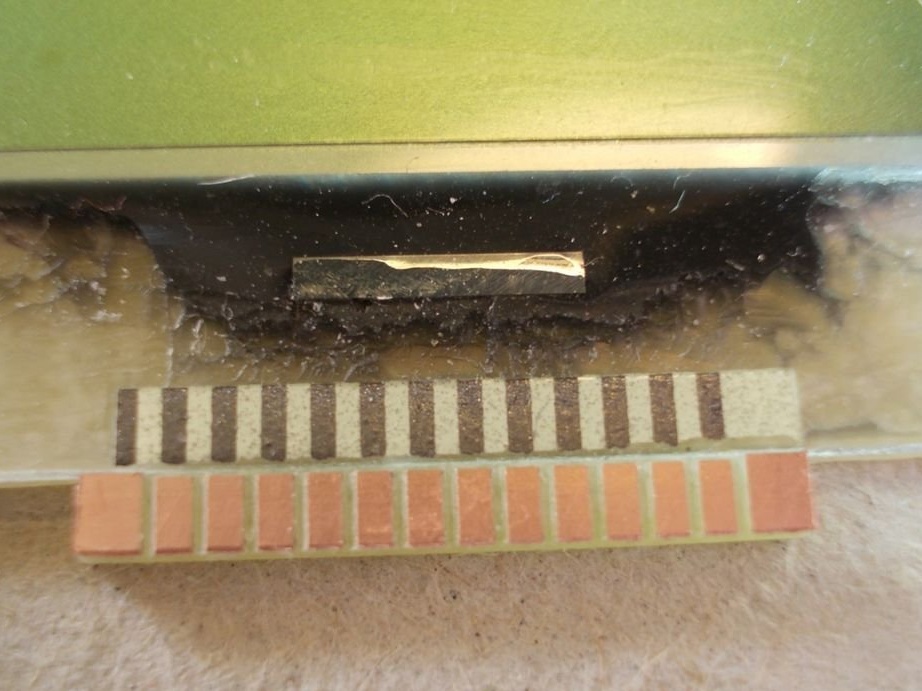
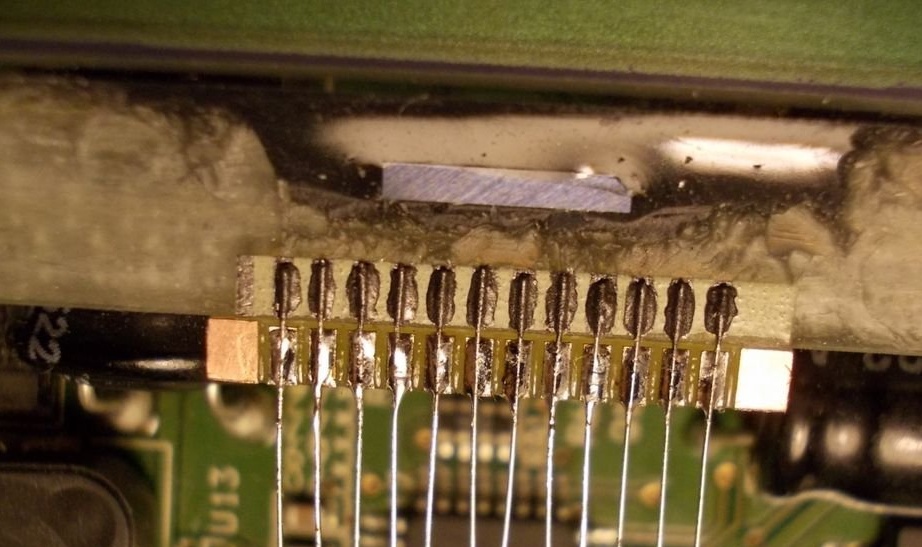
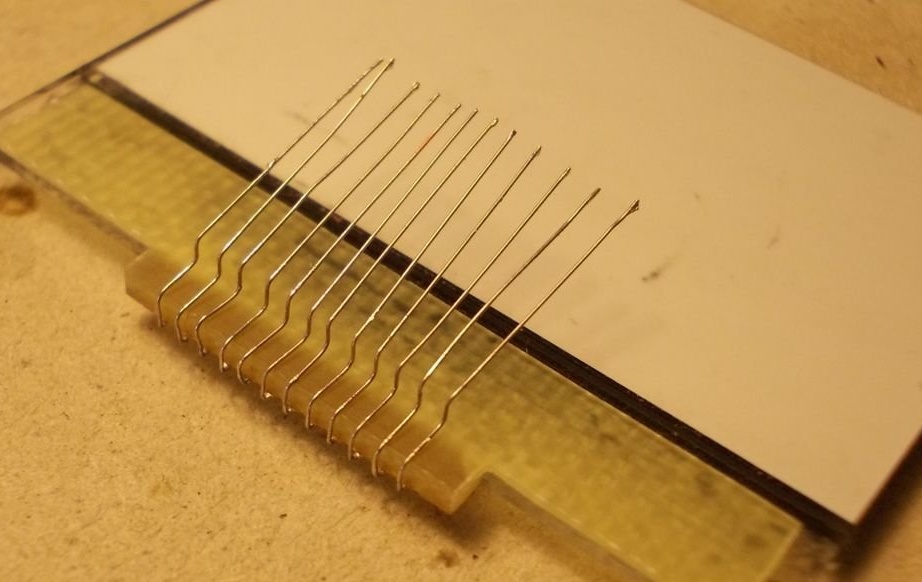
The master cuts and solders the conductors to the pads of the board with a margin so that they protrude to the length of the display pads:

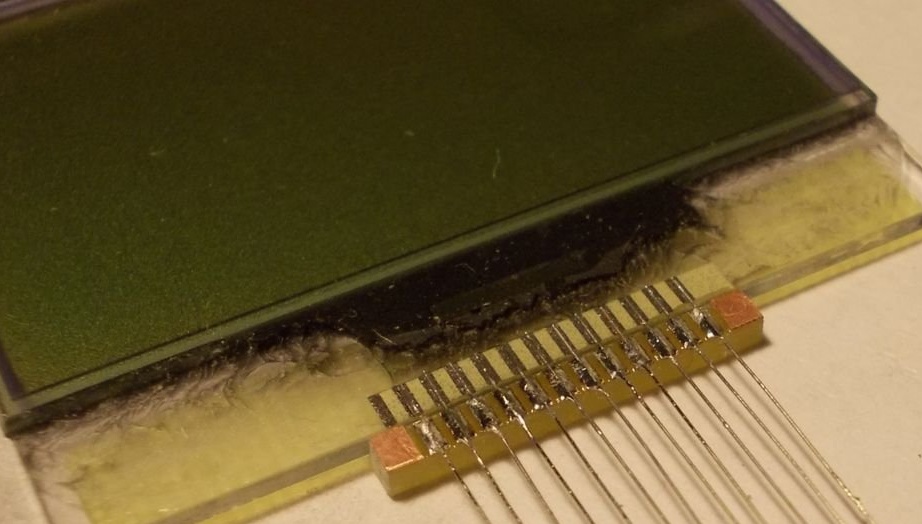
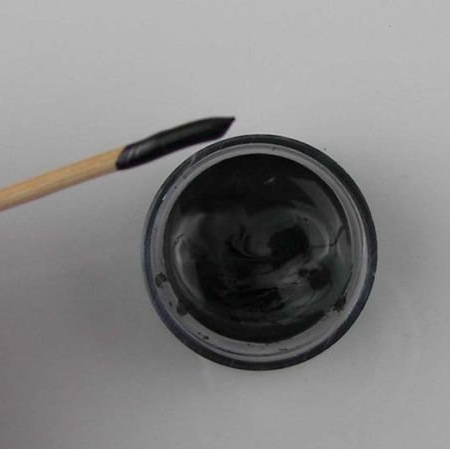
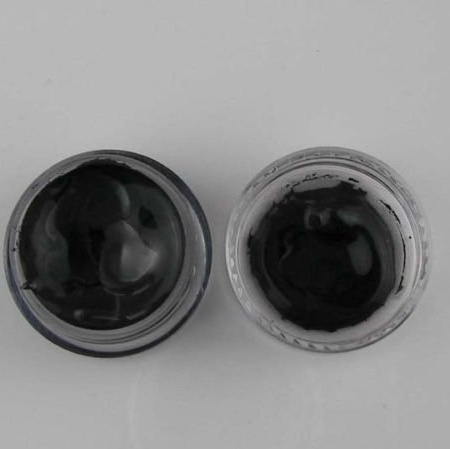
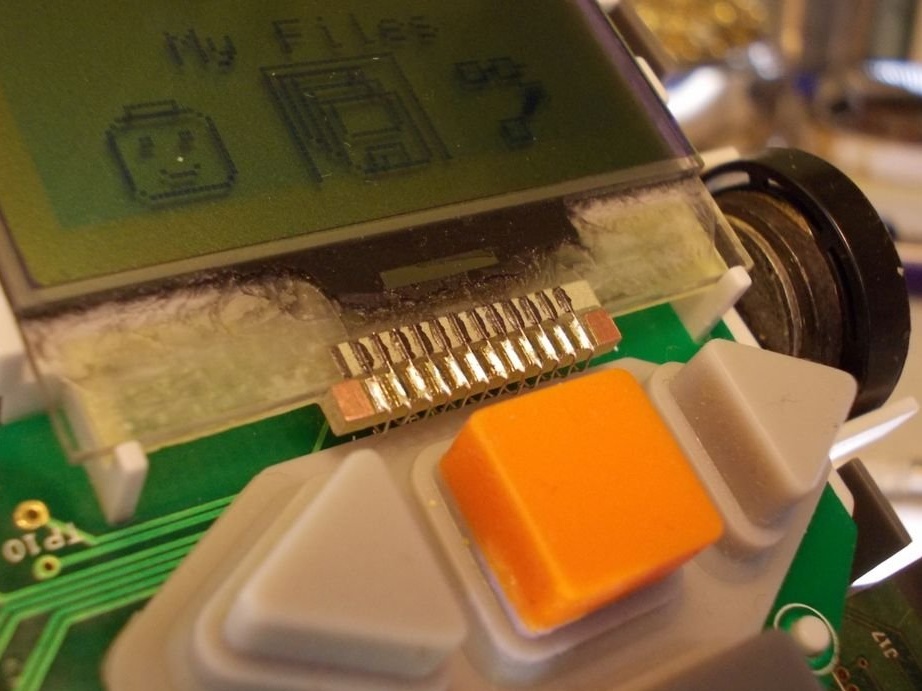
Adheres conductors to the contact pads of the display with conductive glue, preventing short circuit:
Solves the restored display into the NXT module board, checks, and everything works!
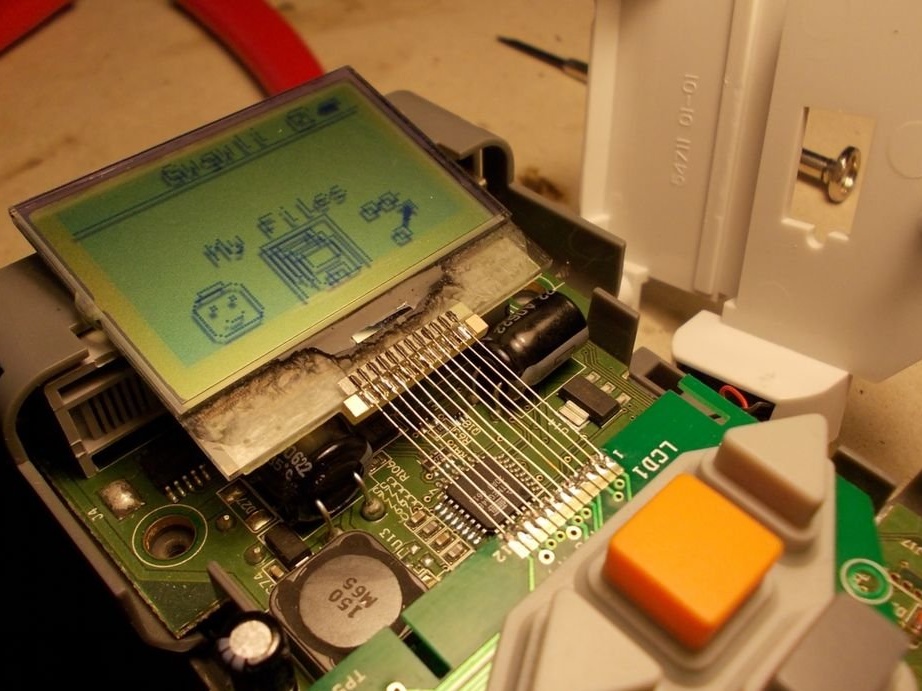
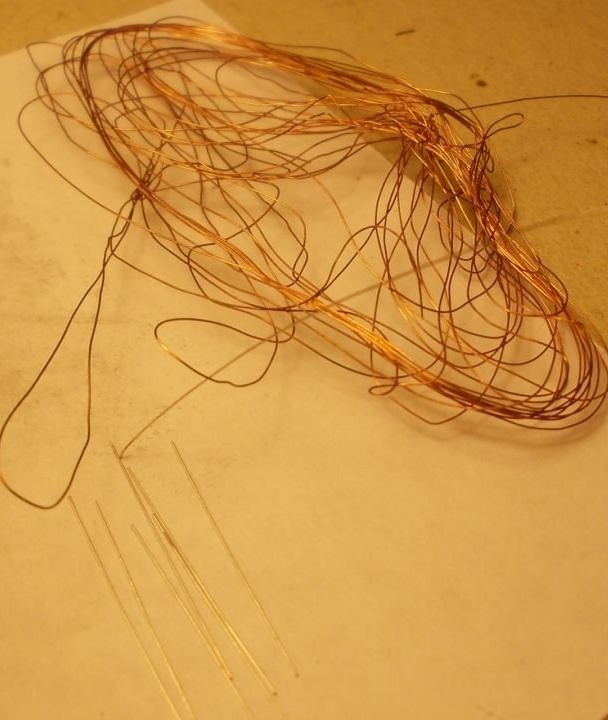
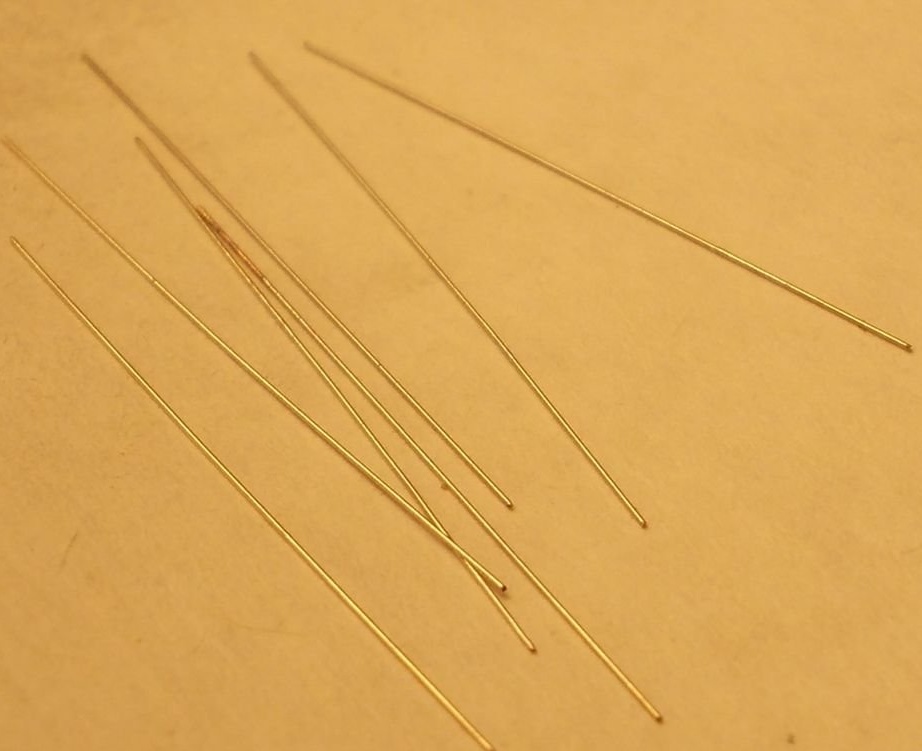
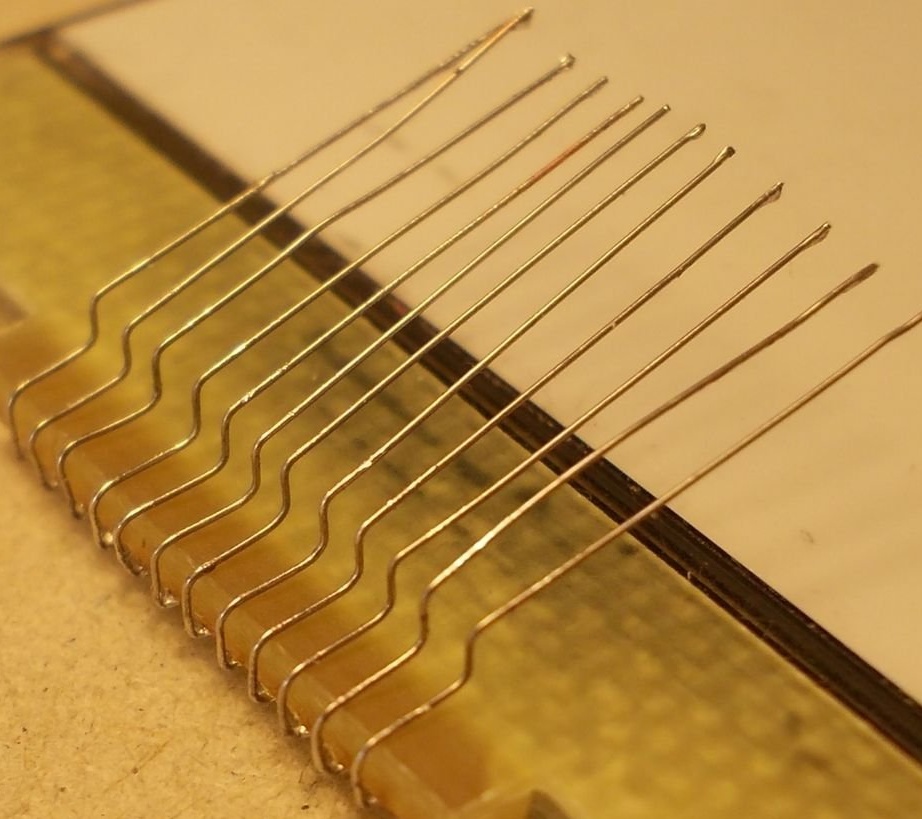
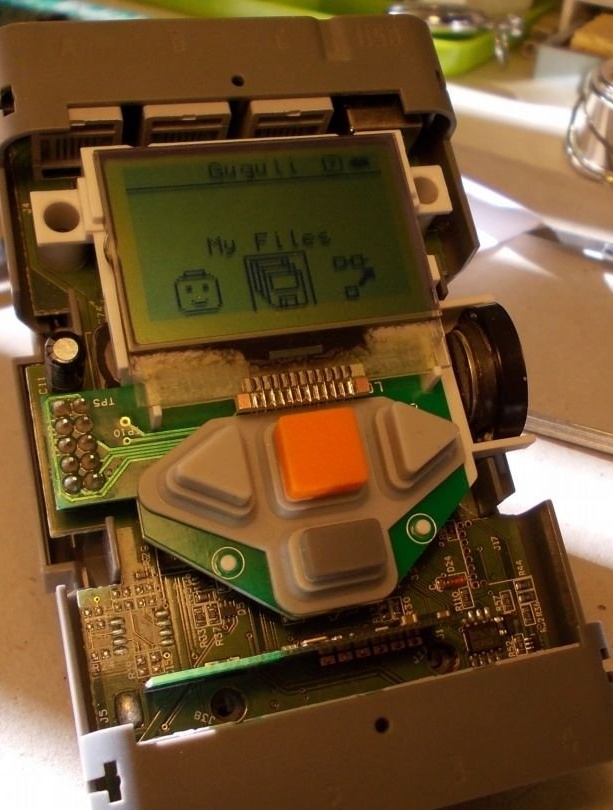
To adjust the position of the display relative to the buttons so that it falls into the recess from the back of the upper case cover, the display is evaporated, the conductors are bent, leaving them parallel, non-contacting, soldered again:
As you can see, this does not affect the performance at all - the most difficult is behind:
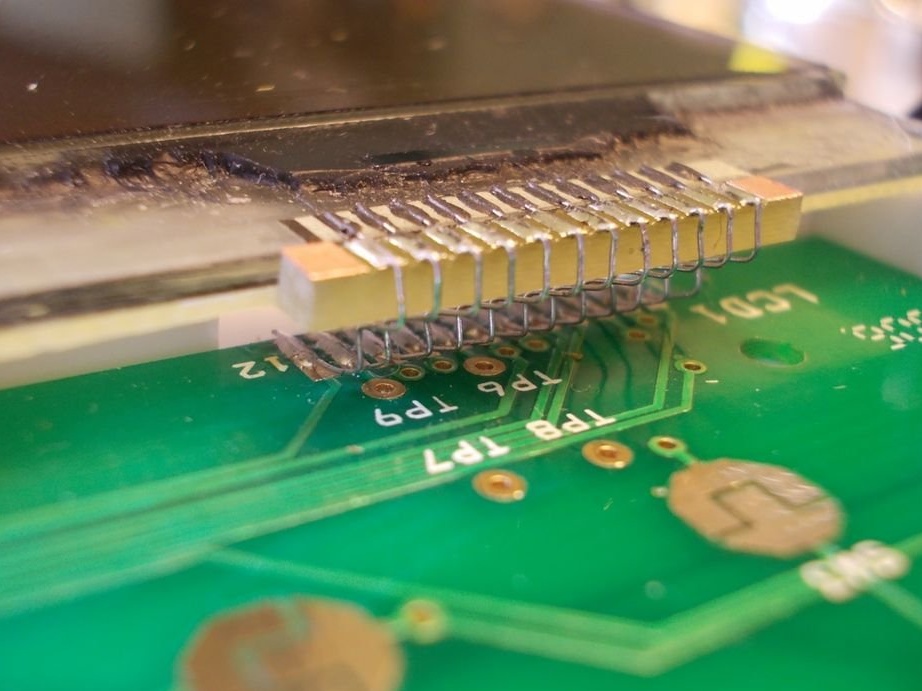
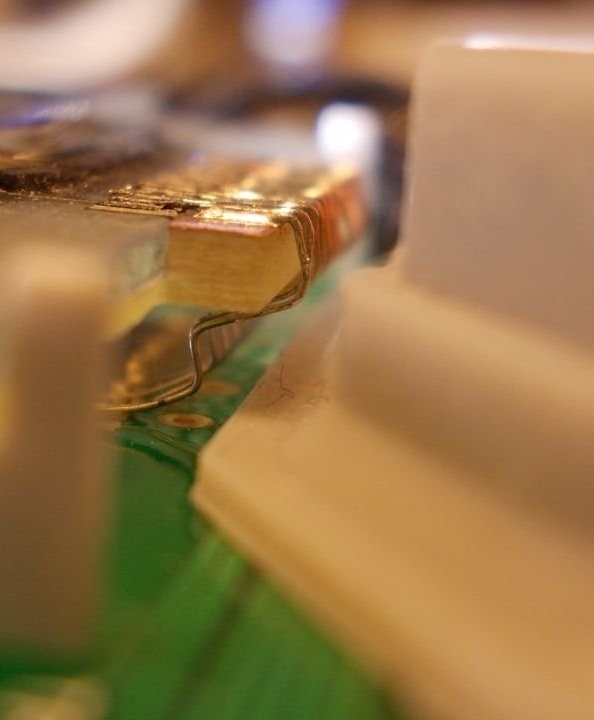
After making sure that there is a gap between the conductors and the buttons:
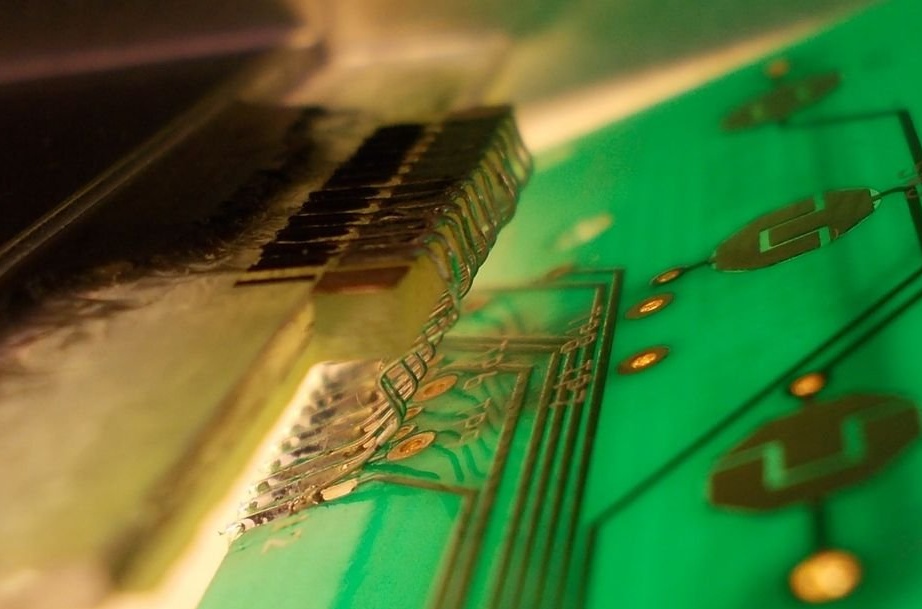
The wizard builds the module:
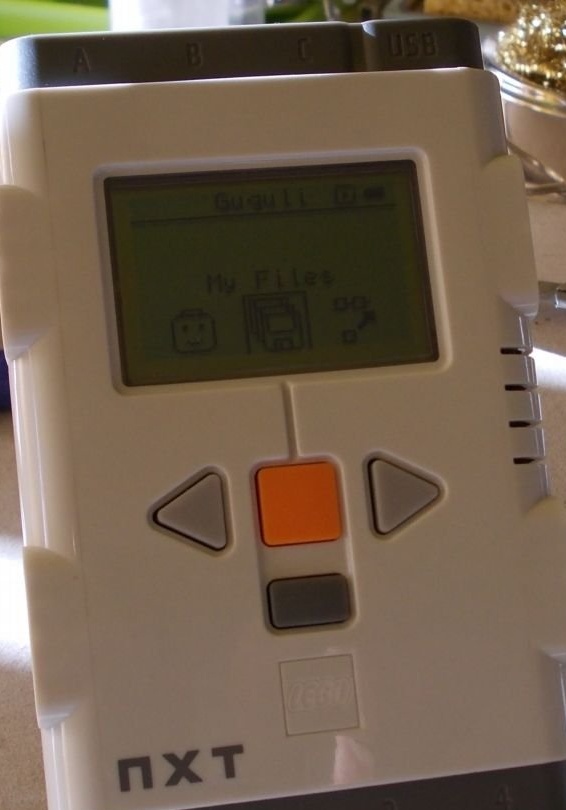
That's how you can fix a rather expensive thing, making it even more reliable than before.