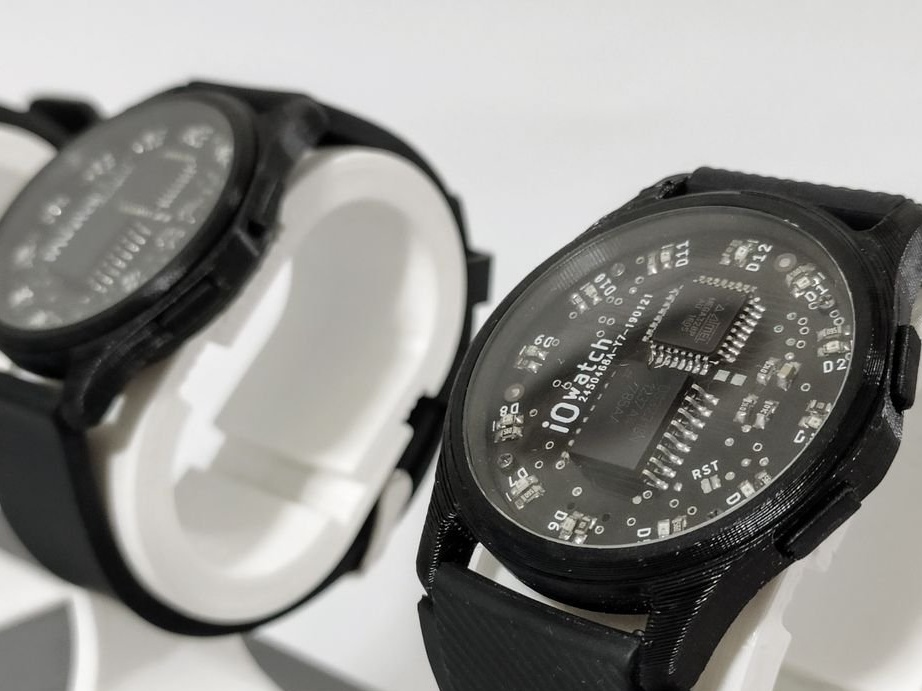
In this article, the wizard will explain how you can make your own programmable wristwatch - from the design process to the search for parts, soldering and programming.
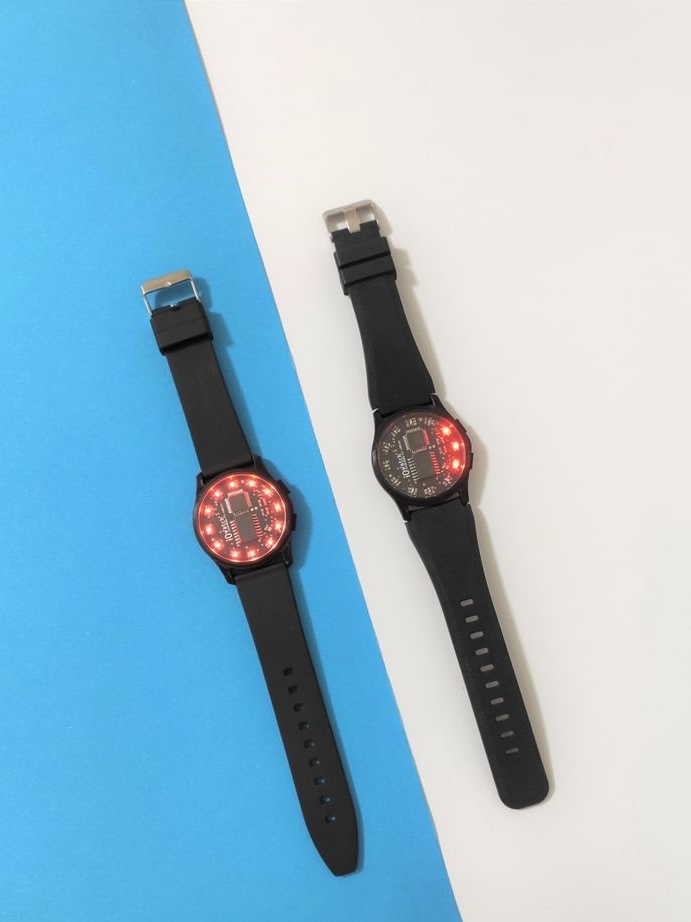
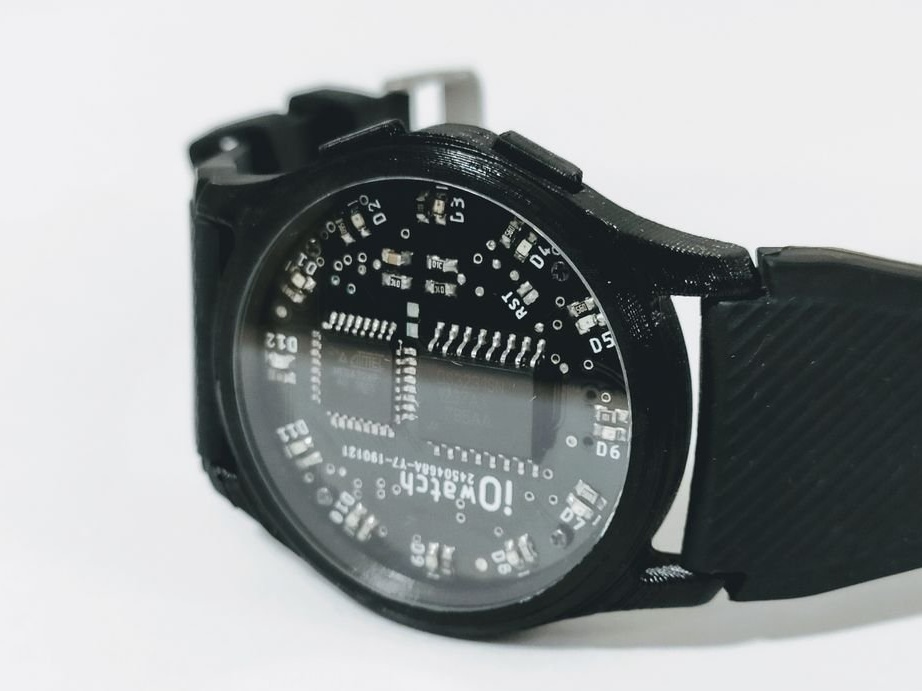
This simple digital watch is based on the Eiriks binary wristwatch. The watch uses the same microcontroller as on Arduino UNO.
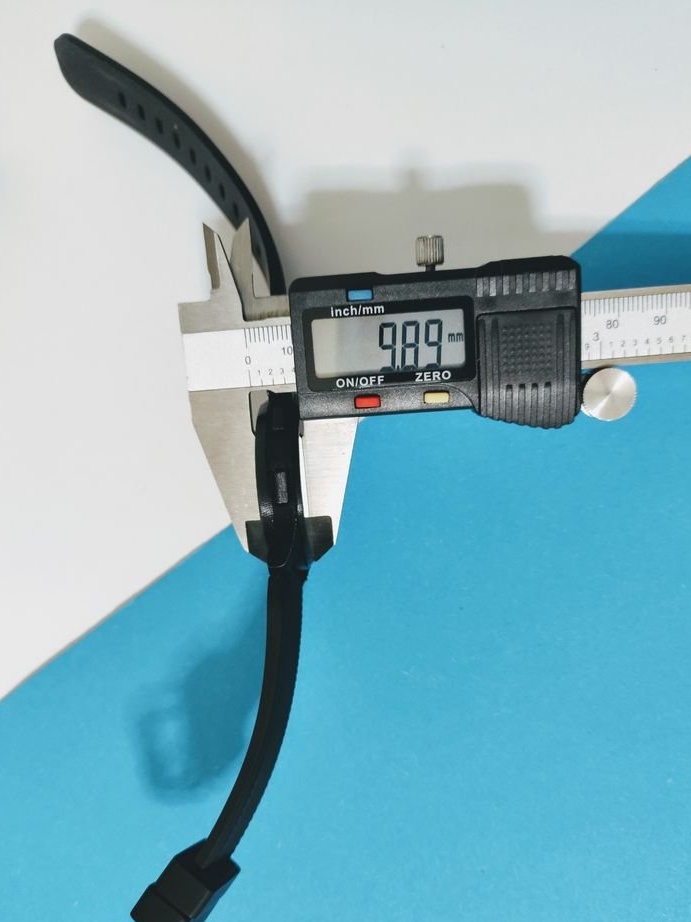
This watch has a thickness of 10 mm, and can work for several years on a single CR2032 battery, show the exact time and even compensate for the temperature using the DS3231 Real Time Clock (RTC) chip with an integrated crystal.
Tools and materials:
-Soldering equipment;
-3D printer;
-Printed circuit board;
-Electronic components according to the list;
Step One: About Some Features
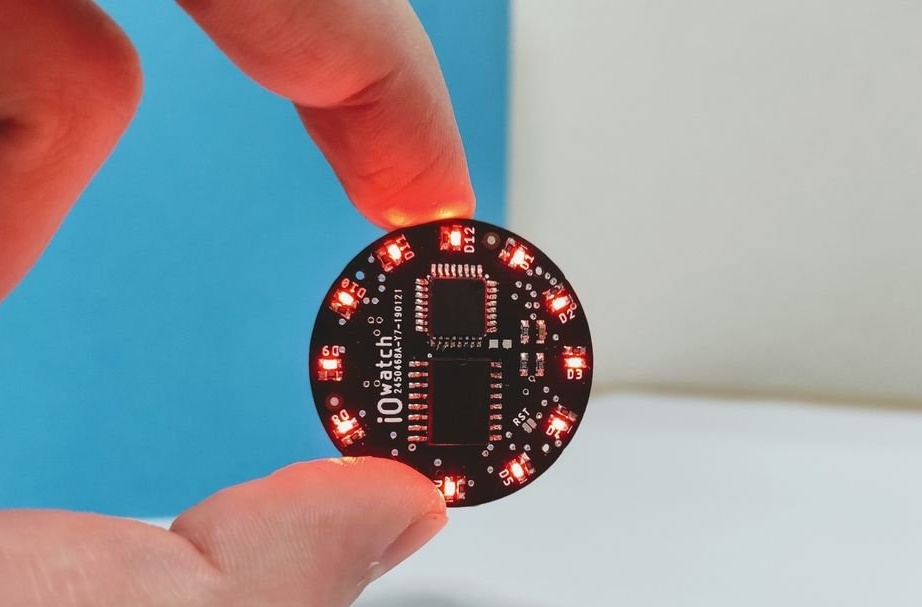
To show the time, 12 LEDs arranged in a circle, like a simple analog dial, will be used. The master chose RED LEDs of size 0603 in combination with resistors of a rather high value (680 Ohms). They are quite energy efficient and at the same time, remain visible in direct sunlight.
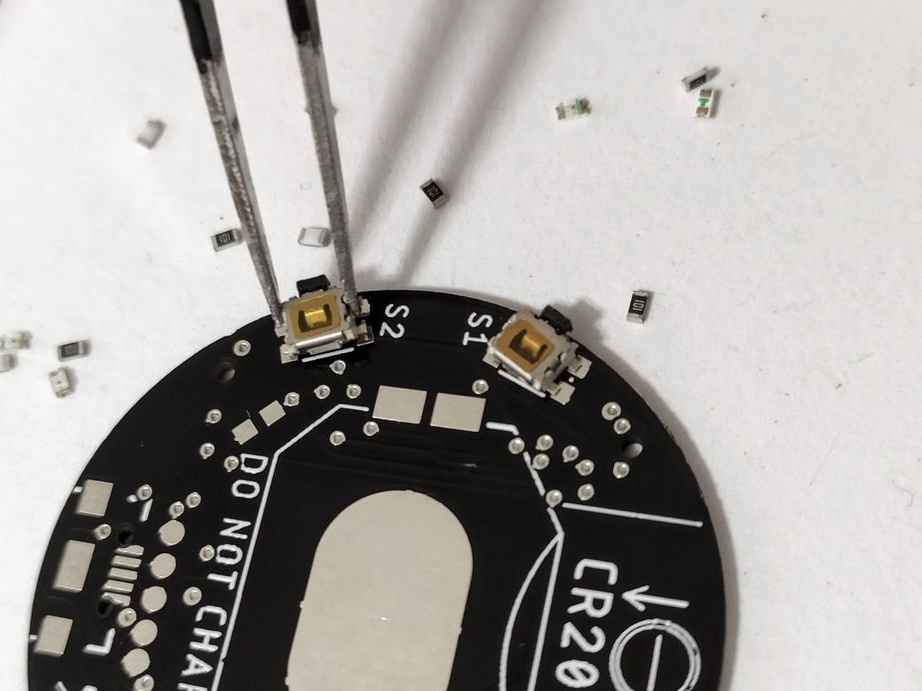
To view the time, you must press the micro button on the side of the case.
As said for the MCU, an ATmega 328 family chip will be used and programmed (all compatible with 328/168/88) (32 KB flash memory, 2 KB SRAM and 1 KB EEPROM) with 23 GPIO.
The best RTC that the master could acquire is the DS3231, which saves accurate time (internal temperature compensation and an integrated crystal make this chip ideal).
Power is supplied by a 2-volt CR2032 cell.
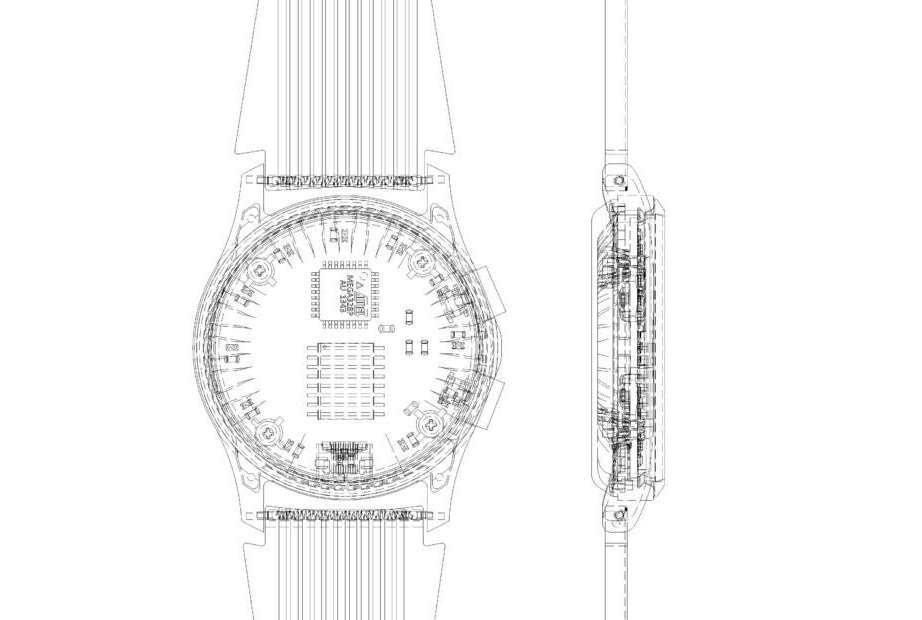
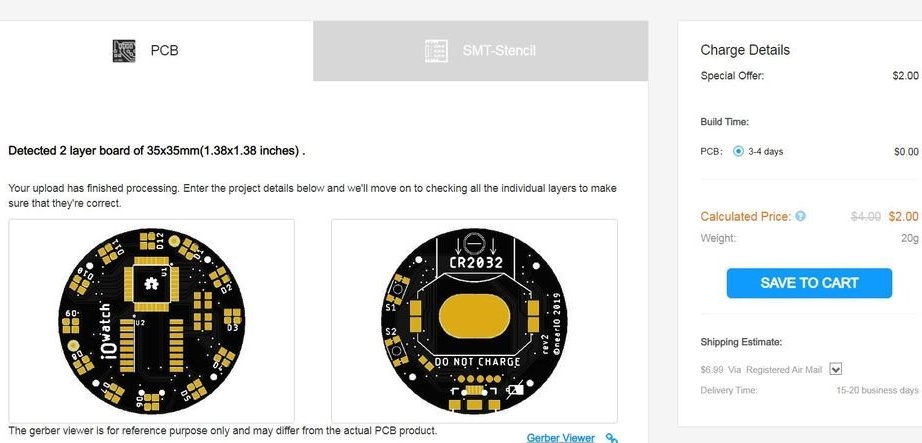
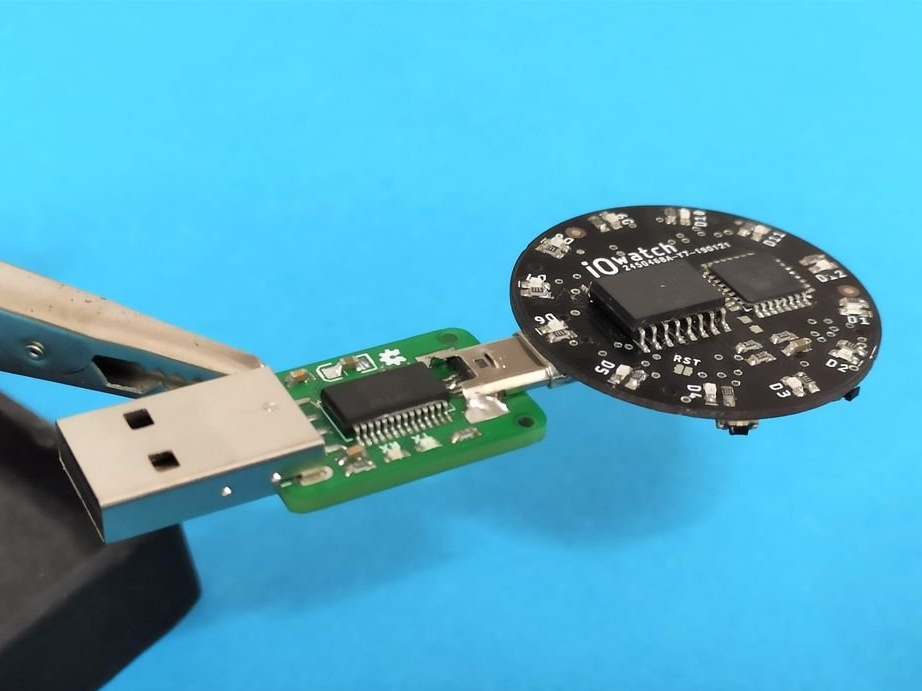
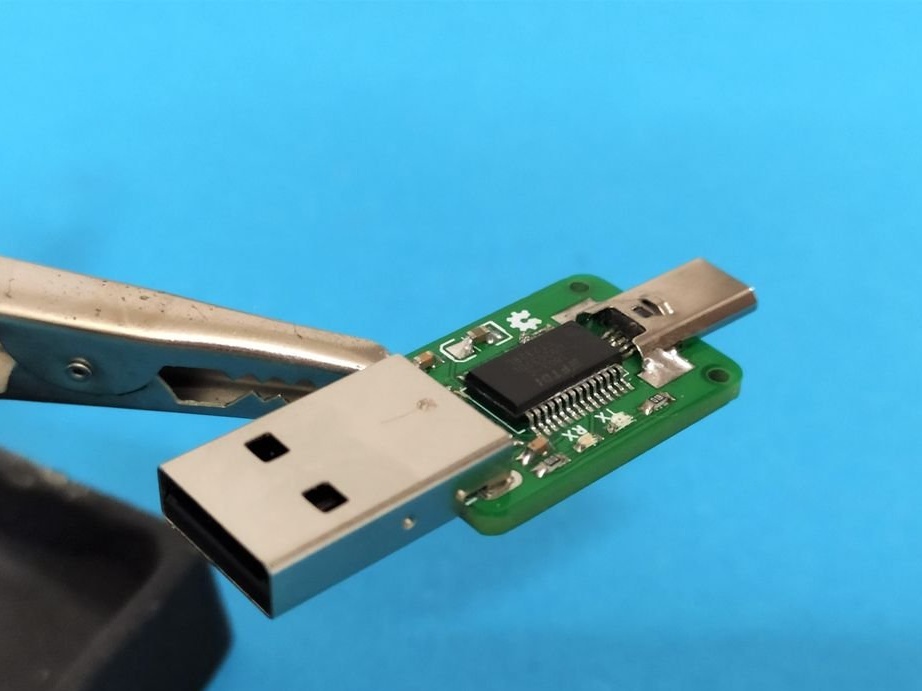
Step Two: PCB
The wizard uses Autodesk Eagle to create a circuit board. First, he draws a diagram, checks the performance. After the circuit (s), he designs a circuit board layout.
For the manufacture of the board sends files to JLCPCB. Printing cost 2 $ + shipping cost.
From myself: as I understand it, on JLCPCB you can order and install components on the board, and it’s absolutely free. It is clear that components also need to be purchased from them.
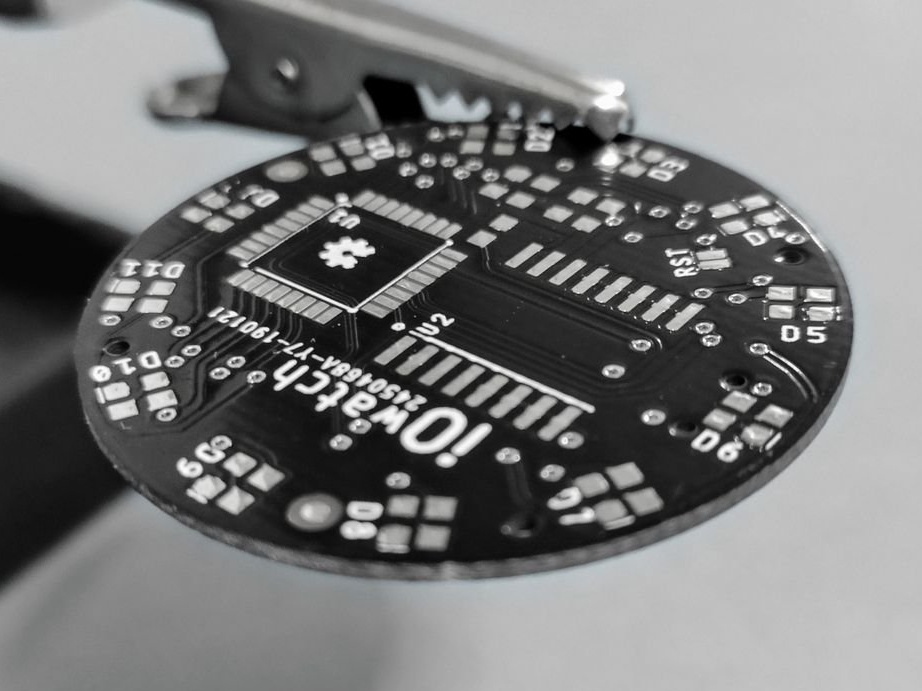
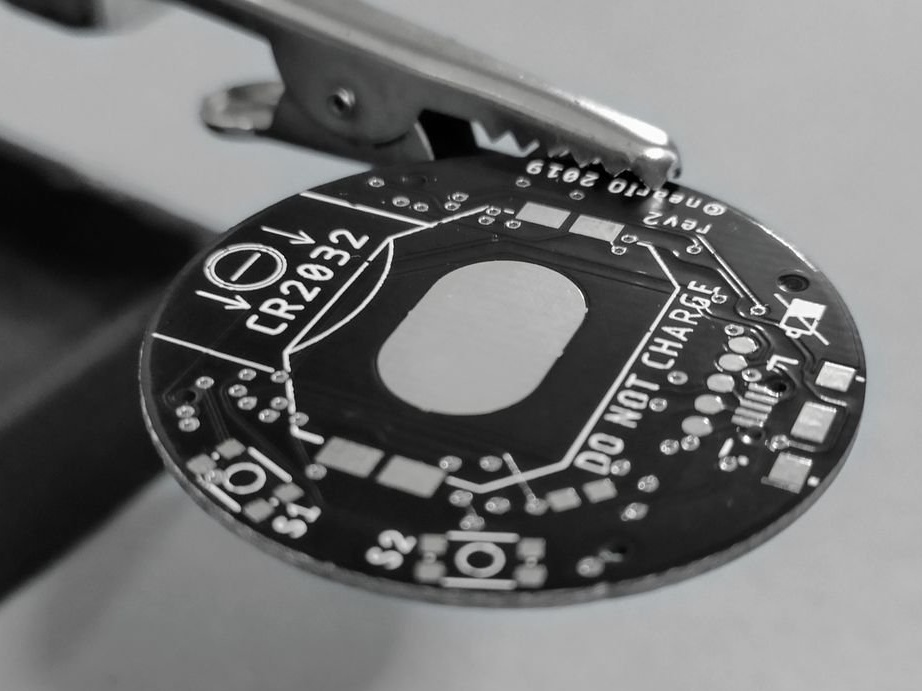
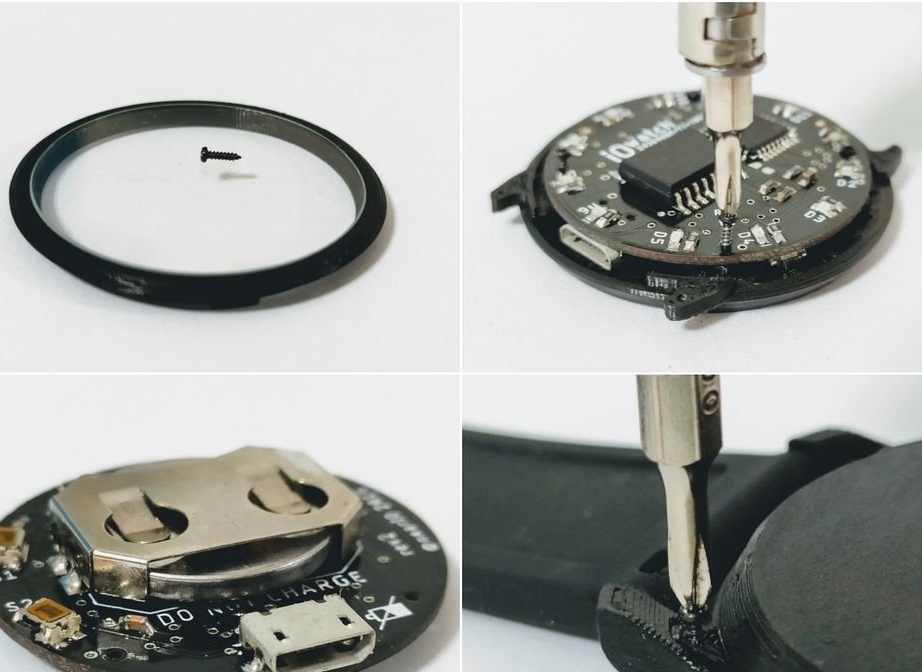
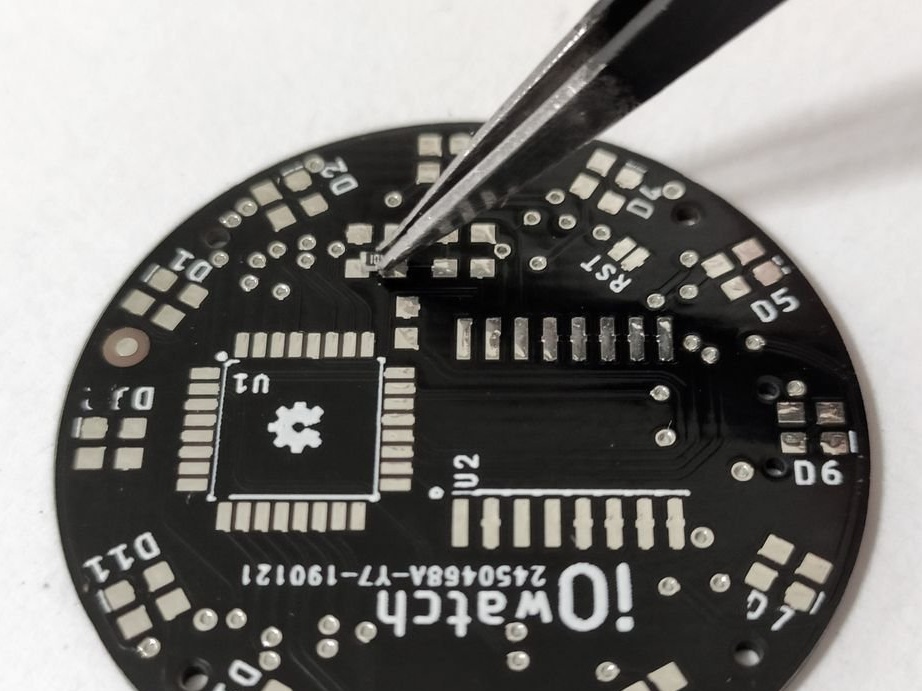
Step Three: Soldering
Then the master installs the board. Below are the files showing the trace and location of the board components.
ShemeAndBOard.rar
GERBER.rar

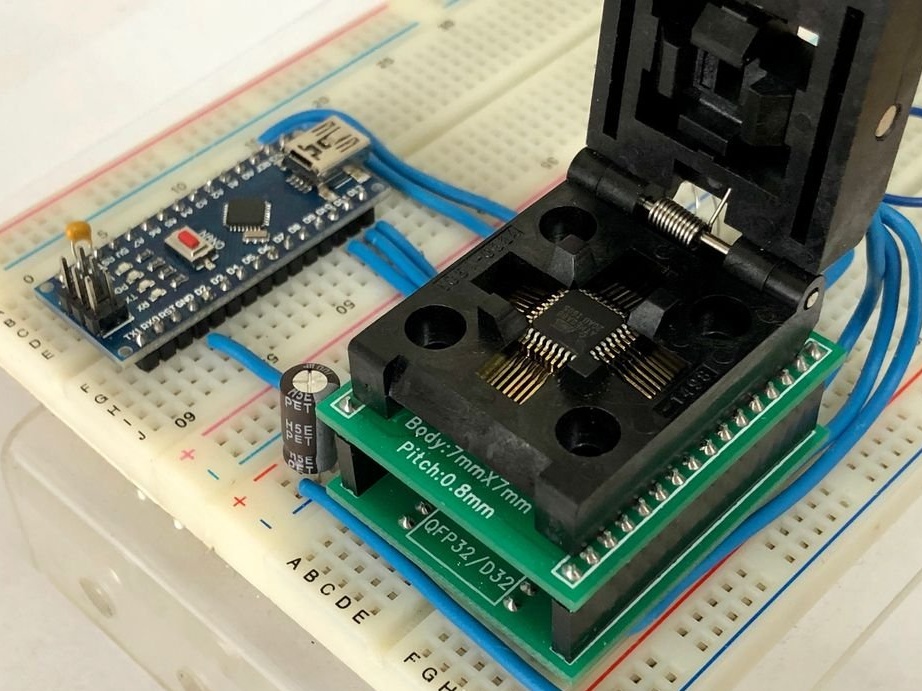
Step Four: Code
Now you need to load the code on the DS3231.
The following parameters must be set in the bootloader.
Board: ATmega328
Bootlader: yes
Clock: 1 Mhz internal
Compiler LTO: Disabled
Variant: 328P / 328PA
BOD: 1.8V
You can download the code, as well as instructions for setting the clock here.
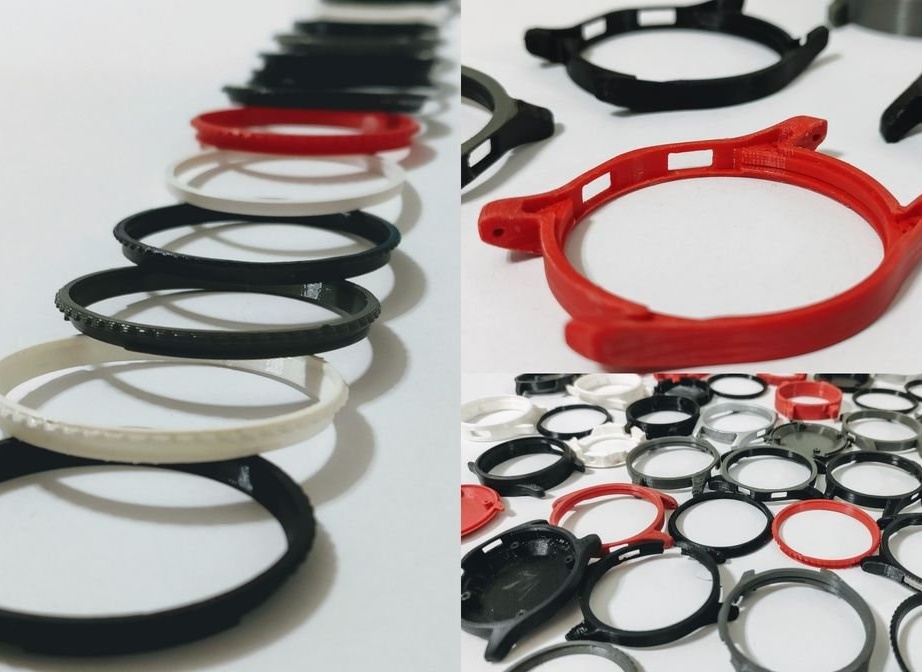
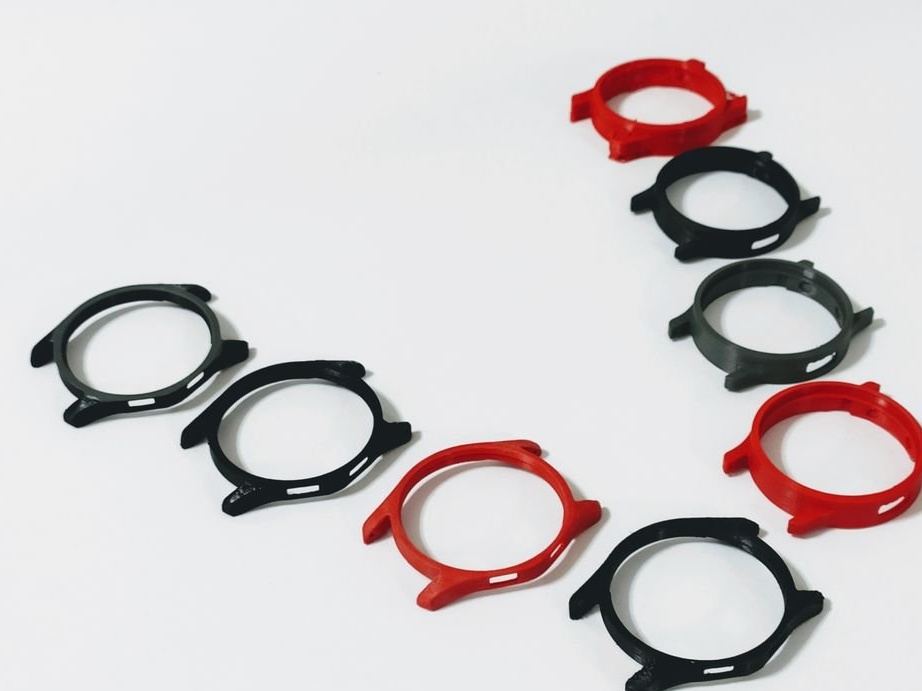
Step Five: 3D modeling and seal
The case is designed in Fusion 360. Everything except the board and glass is printed on a 3D printer.
Body.
Outer ring for glass.
Bottom cover.
Buttons.
The wizard used the following settings for printing:
3D Printer - Prusa I3 MK3S
Material: PLA
Layer Height - 0.1 mm
Case thickness - 0.8 mm (nozzle: 0.4 - 2 cases)
Thickness of top and bottom - 0.8 mm
Density - 100%
Thread - 1.75 mm
Support Type - Everywhere
Clutch Type Platform - Skirt
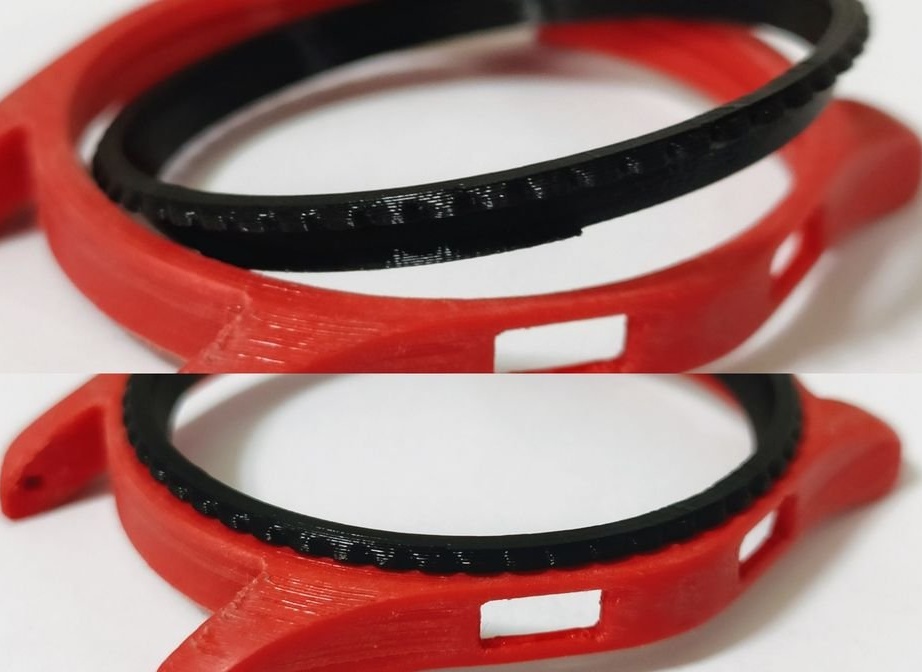
Glass is inserted into the housing, and then a ring is inserted. The circuit board is screwed to the bottom cover with the M1.4 Phillips screws. Then the buttons are installed and the upper part of the case is screwed.
Below you can download the file for printing the watch case, as well as for printing the case in the form of an icon.
All STL and .f3d files can be found HERE .