
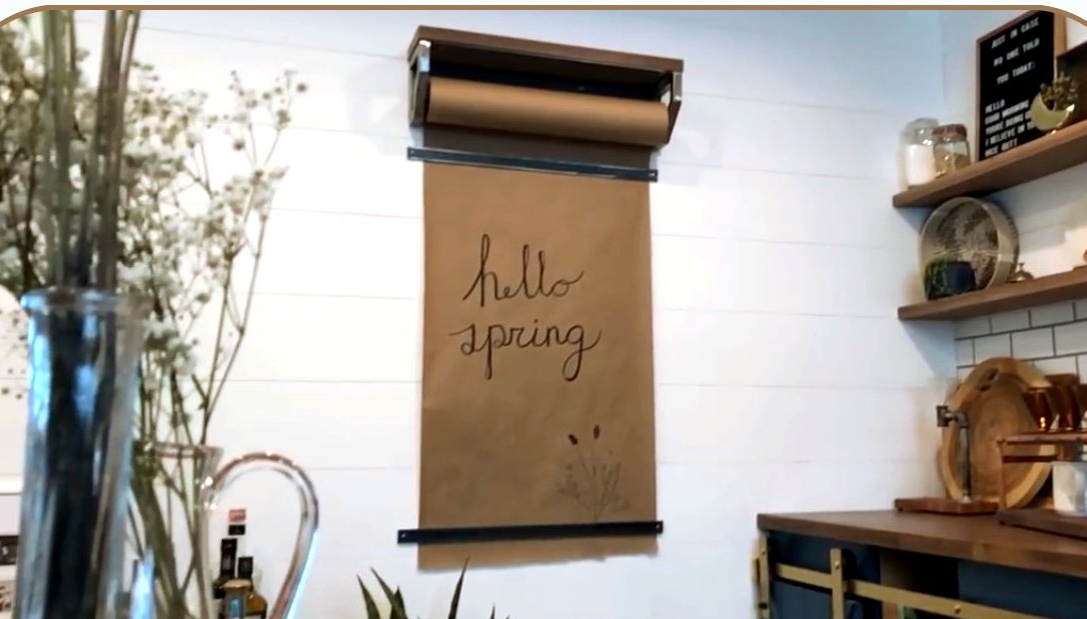
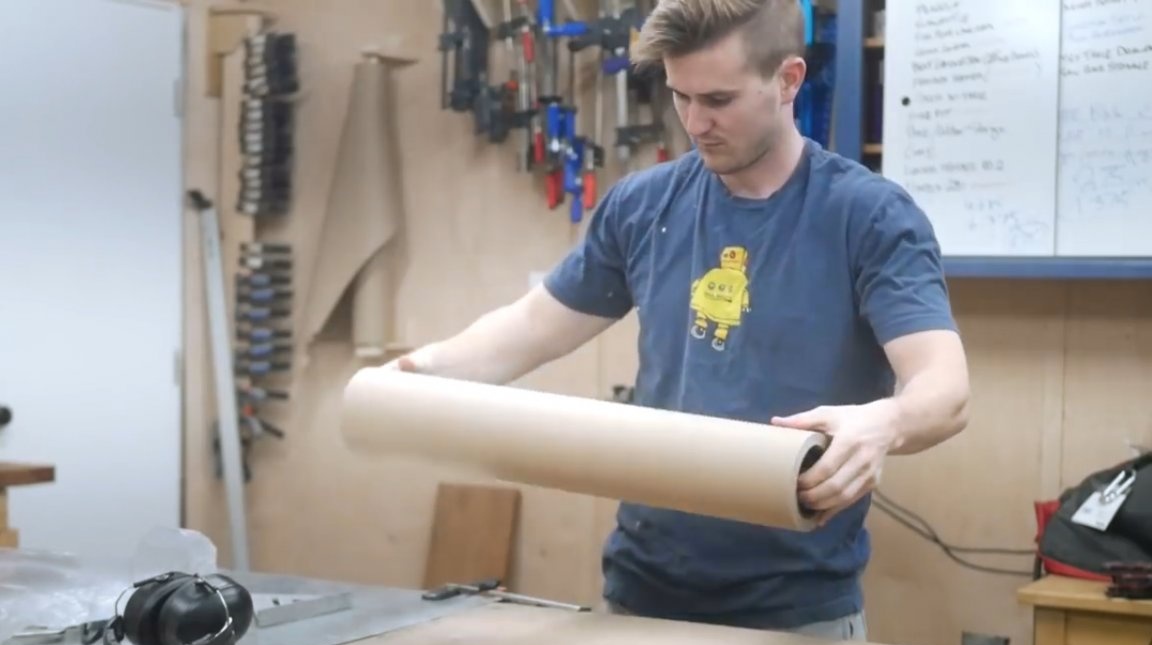
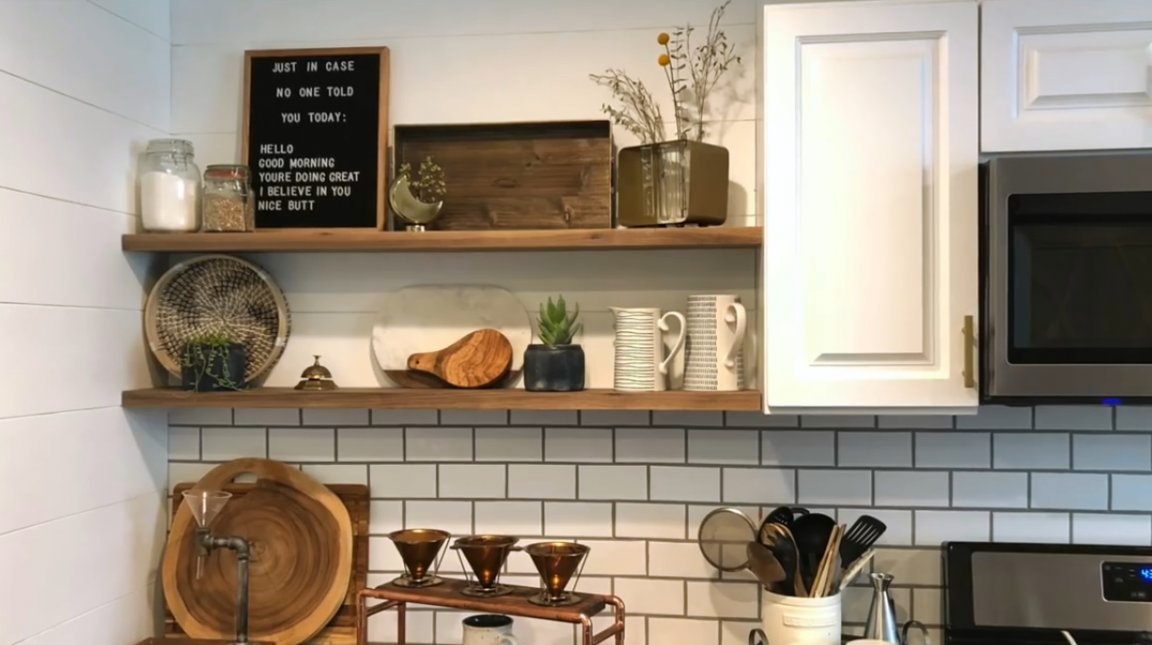
In this article, Zach, the author of the YouTube channel Workshop Edits, will tell you how to make a roll board for notes. The author plans to hang it on the wall of the kitchen, which is very convenient. Of course, there are many ways and solutions to construct something similar. But here is what the author himself offers.
His model will be created on the basis of such technological processes as metalworking, welding, woodworking.
Materials
- Steel profile pipe
- Wrapping paper
- Steel strip, stud, nuts
- Hazel boards
- Impregnation for wood.
Instruments, used by the author.
— Screwdriver
— Flexible adapter for screwdriver
— A circular saw
- Miter saw
- Marking surface gage, square
— Bulgarian
- Petal stripping disc
— Angle for adjustable angle welding
— Semi-automatic welding
— Geyfer capture, hammer
- Drilling machine
- Jointer, planer
- Roulette, marker, core, level.
Manufacturing process.
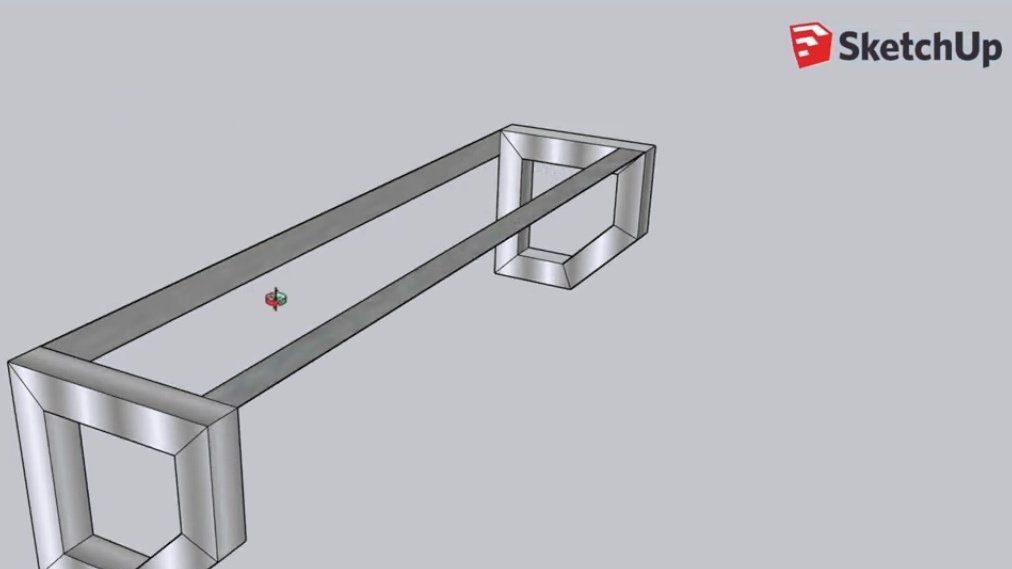
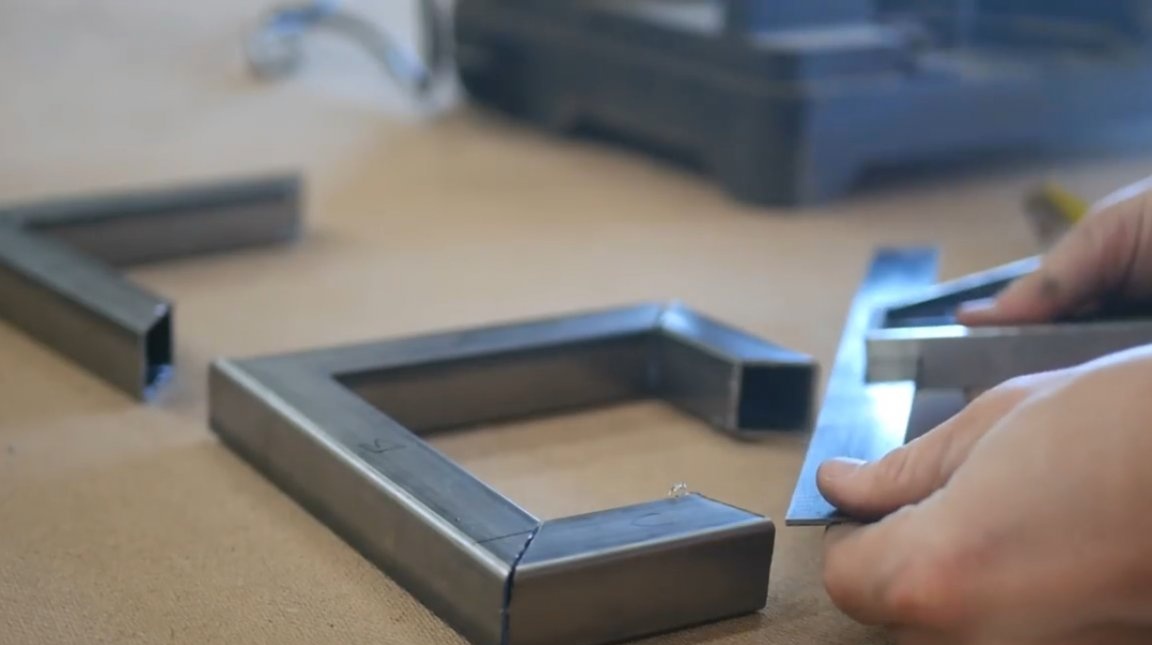
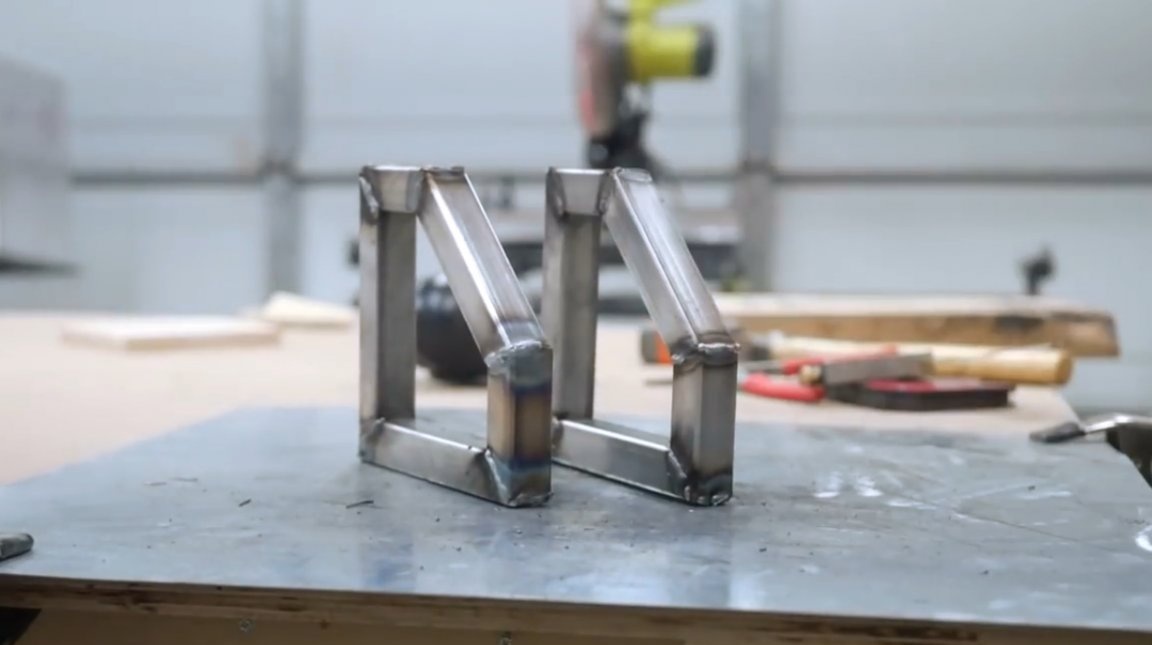
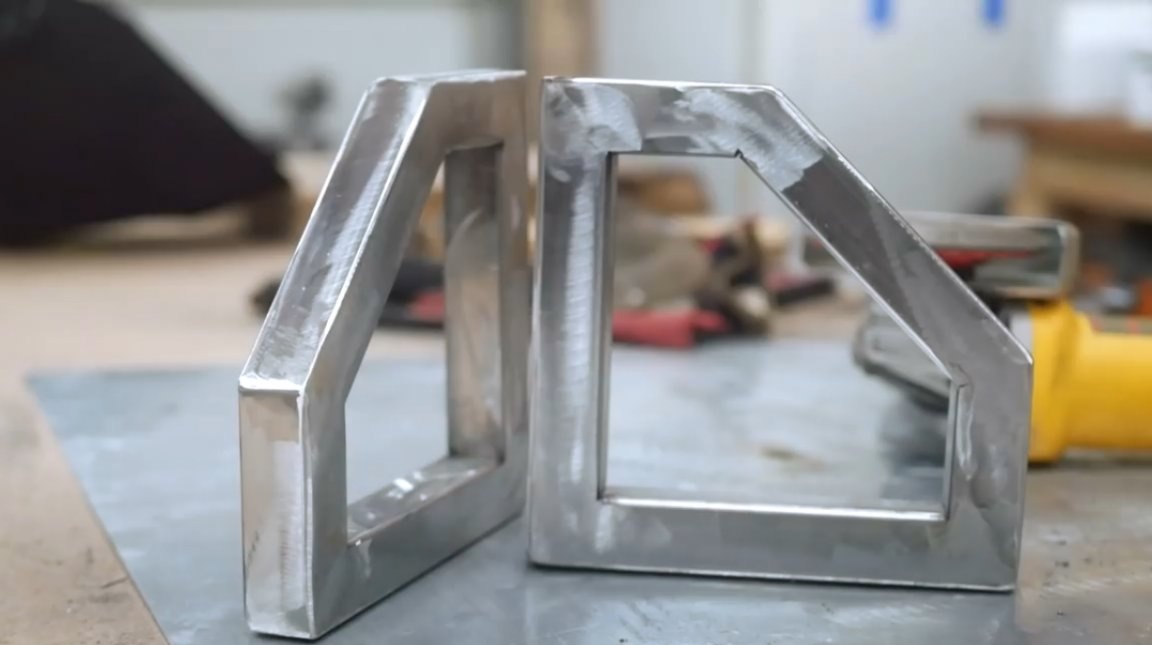
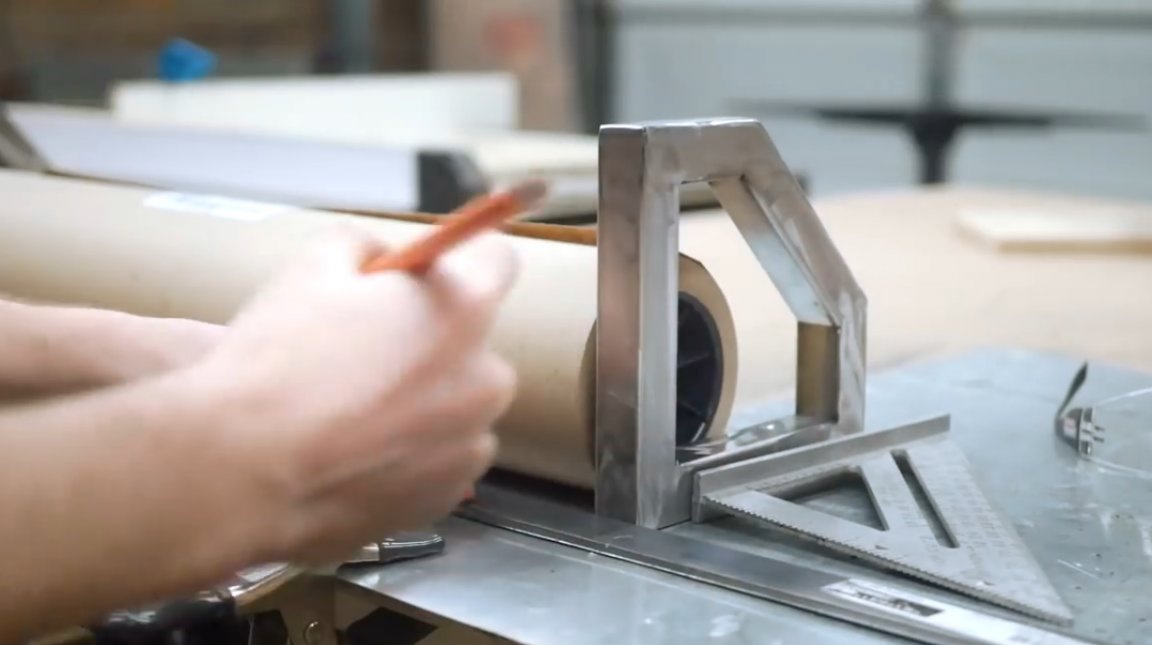
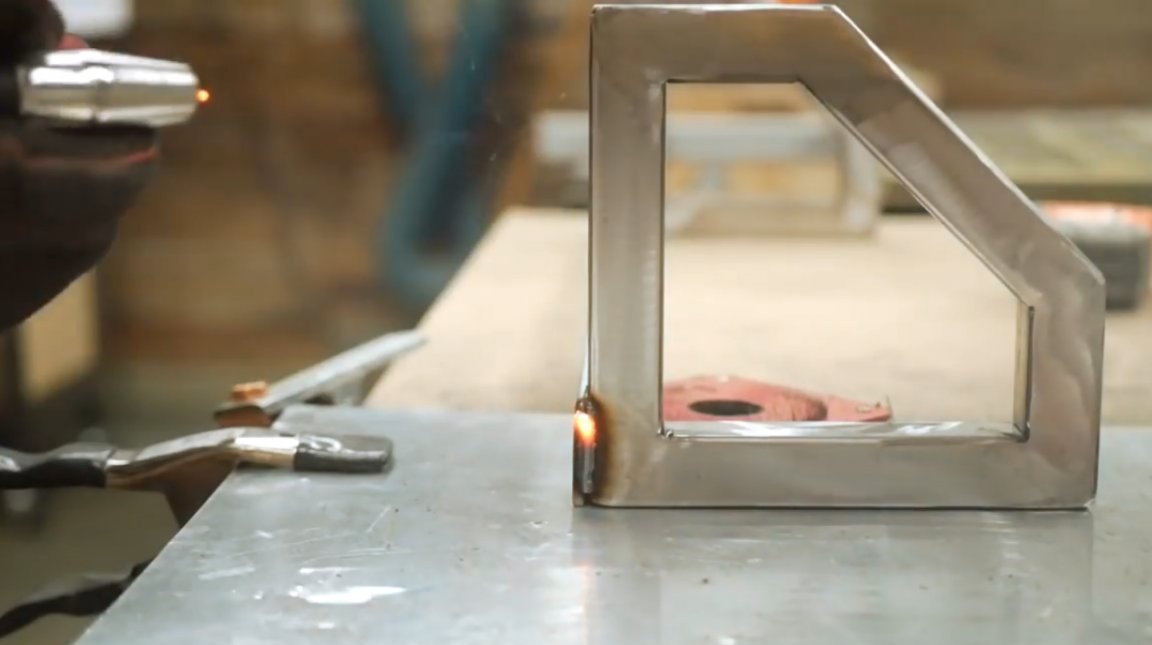
The author begins with the layout of the frame. These will be pipes of profile square section, cut into segments, composed in shape and welded together - a focus, thanks to which the impression of an all-metal steel frame is created.
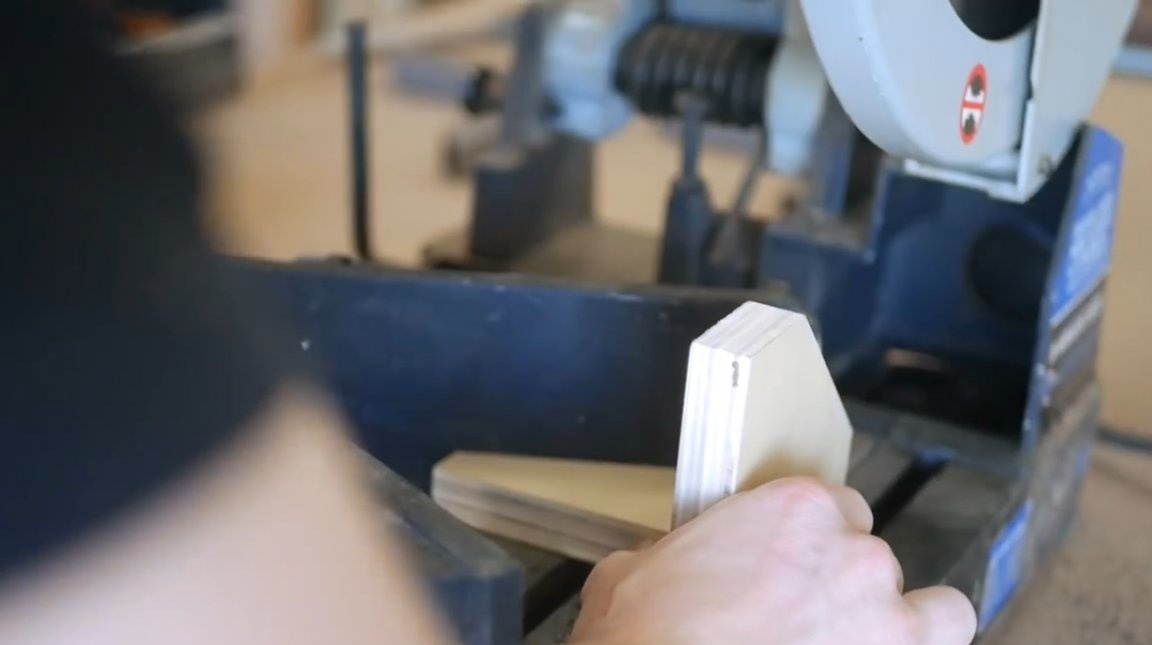
In order to accurately observe the angles of the details, the author makes small wooden linings.
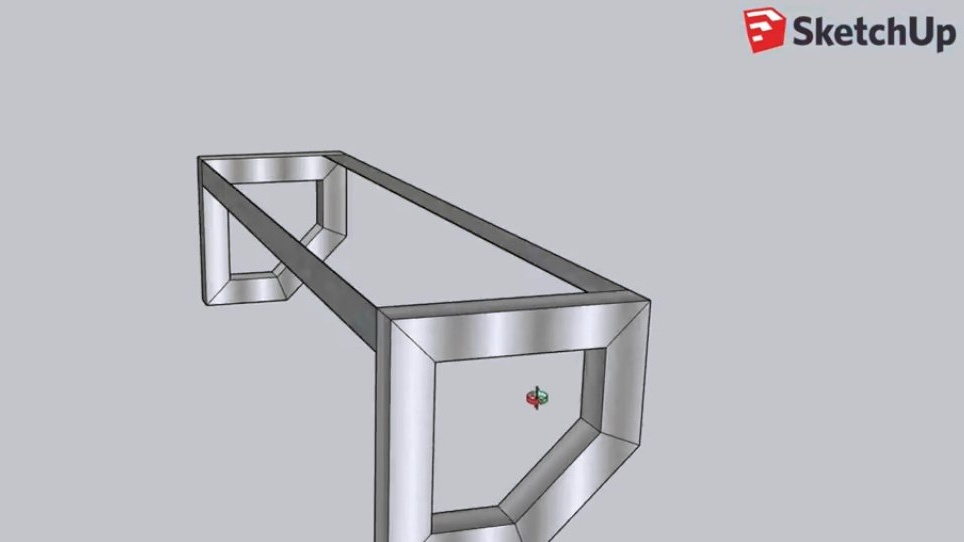
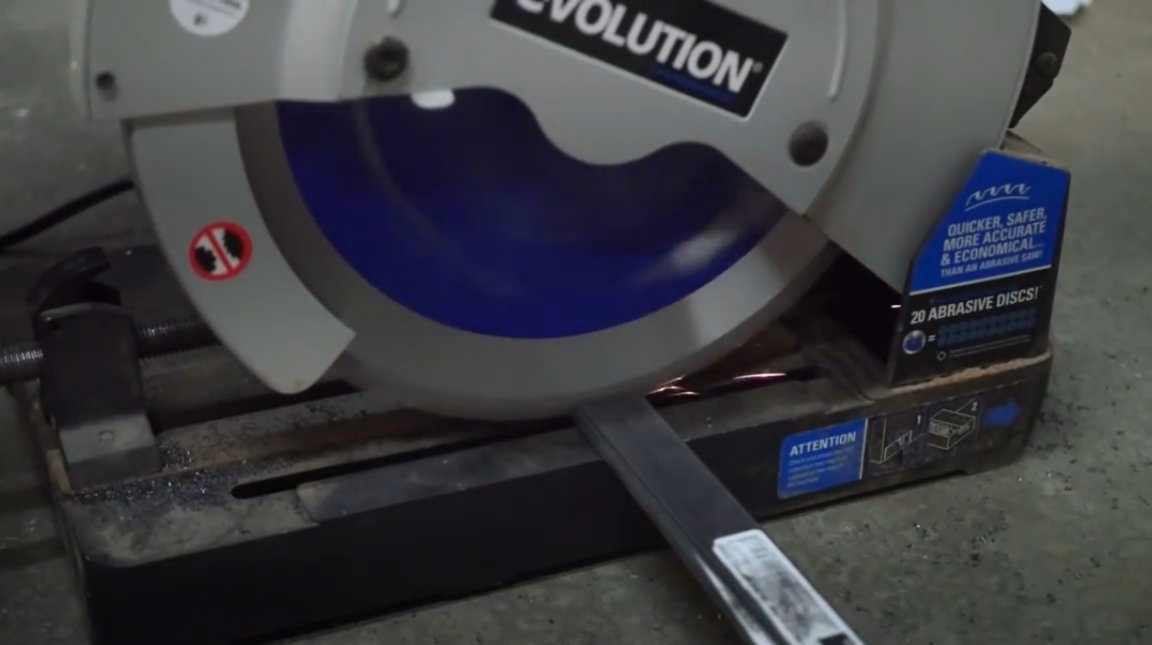
Depending on what angle a particular structure connection has - 90 or 45 degrees - steel segments are cut with an angle of 45 or 22.5 degrees, respectively, and then two segments with the same angle are combined and welded.
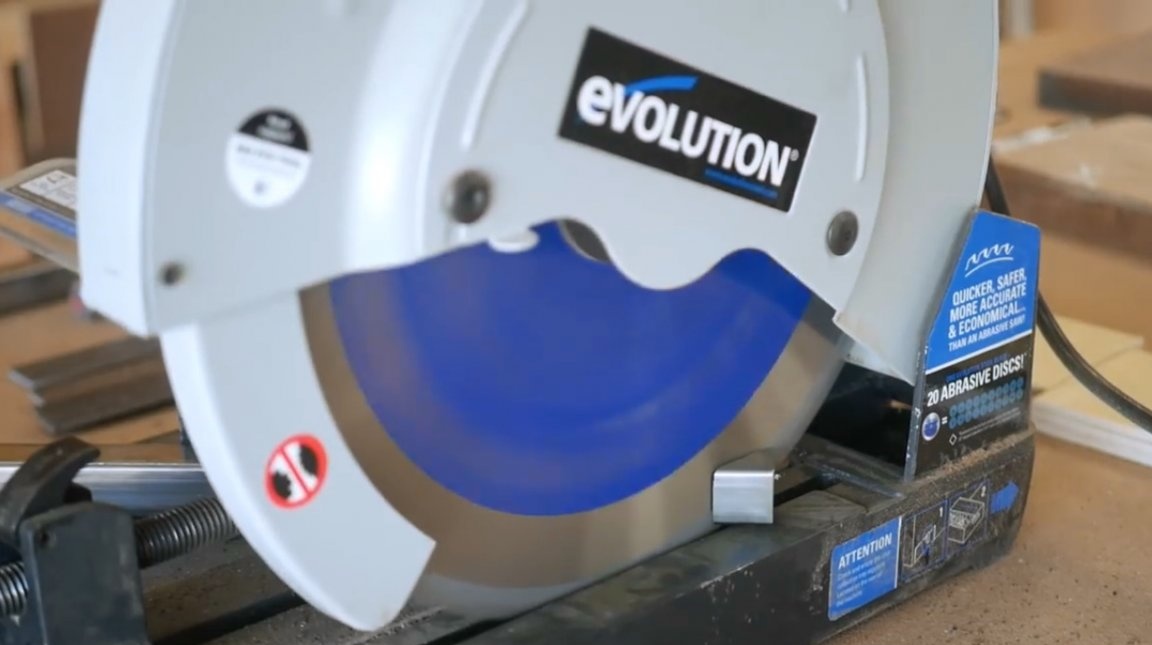
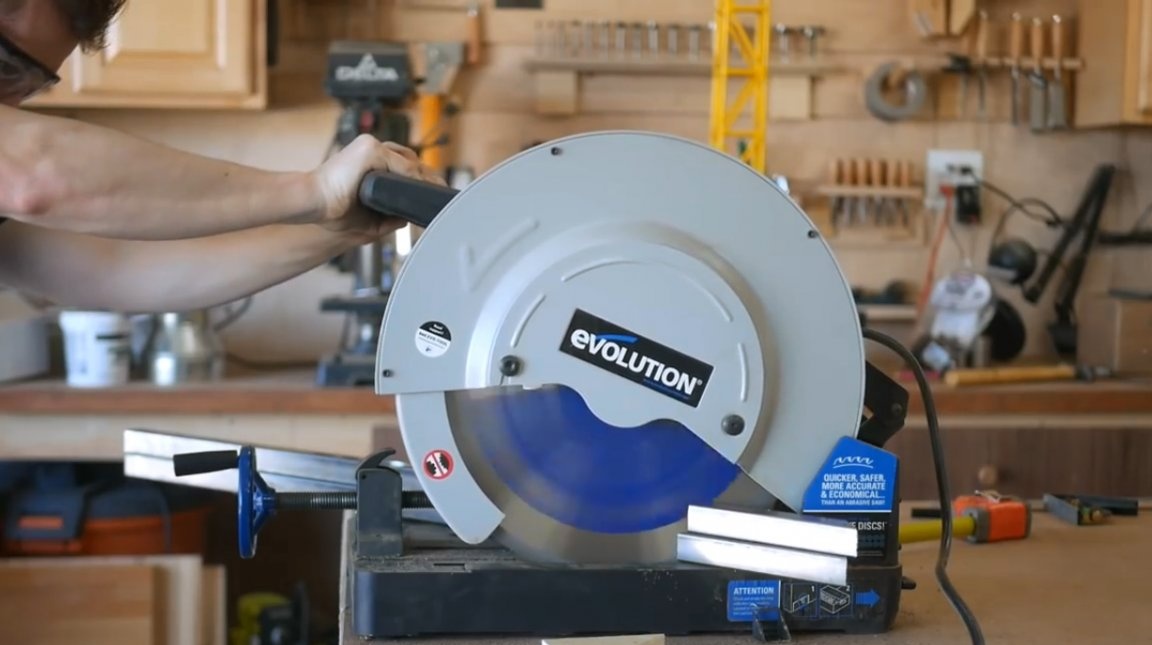
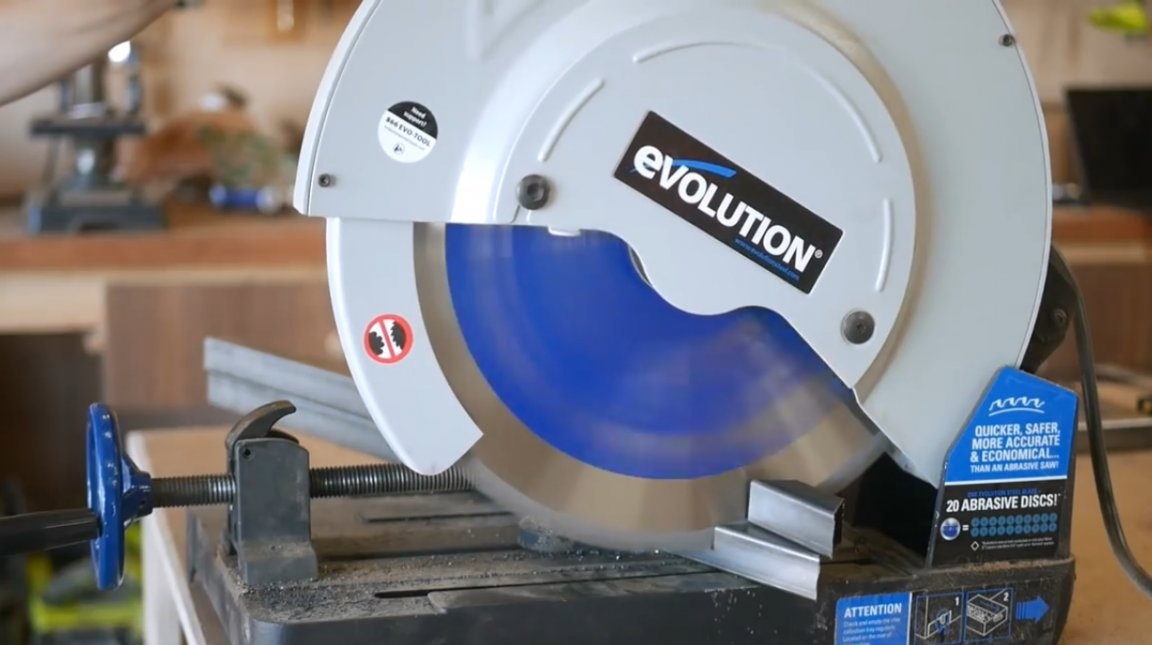
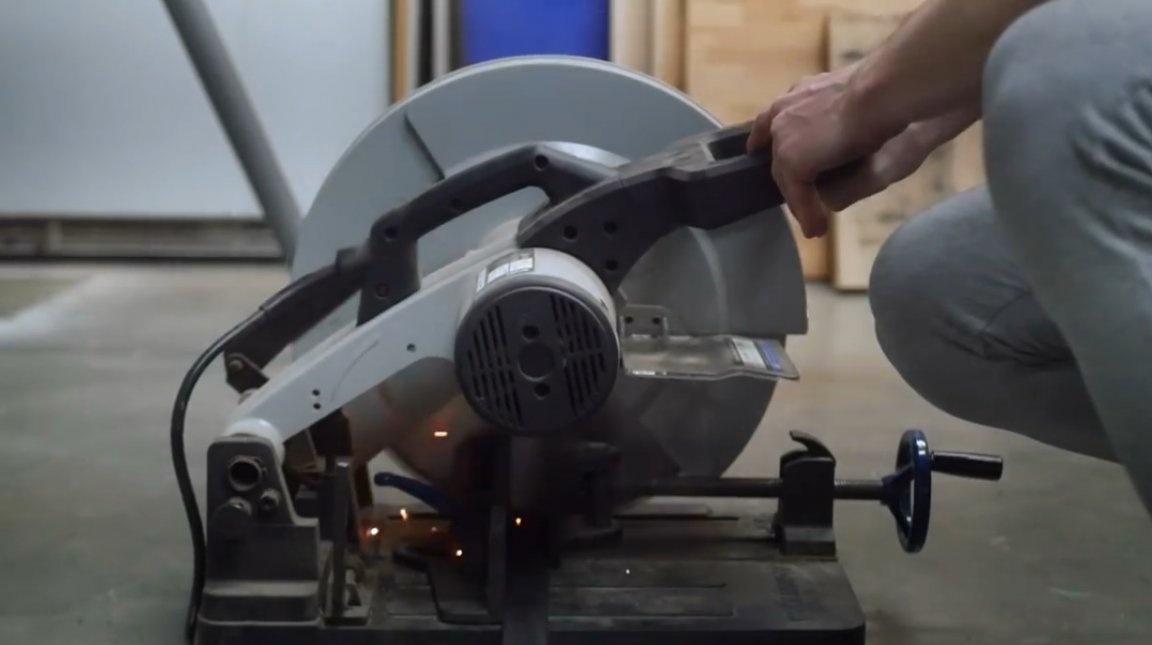
All steel segments are cut on a miter saw with a metal disc. As can be seen from the drawing, on each side of the structure there will be 5 separate segments welded together.
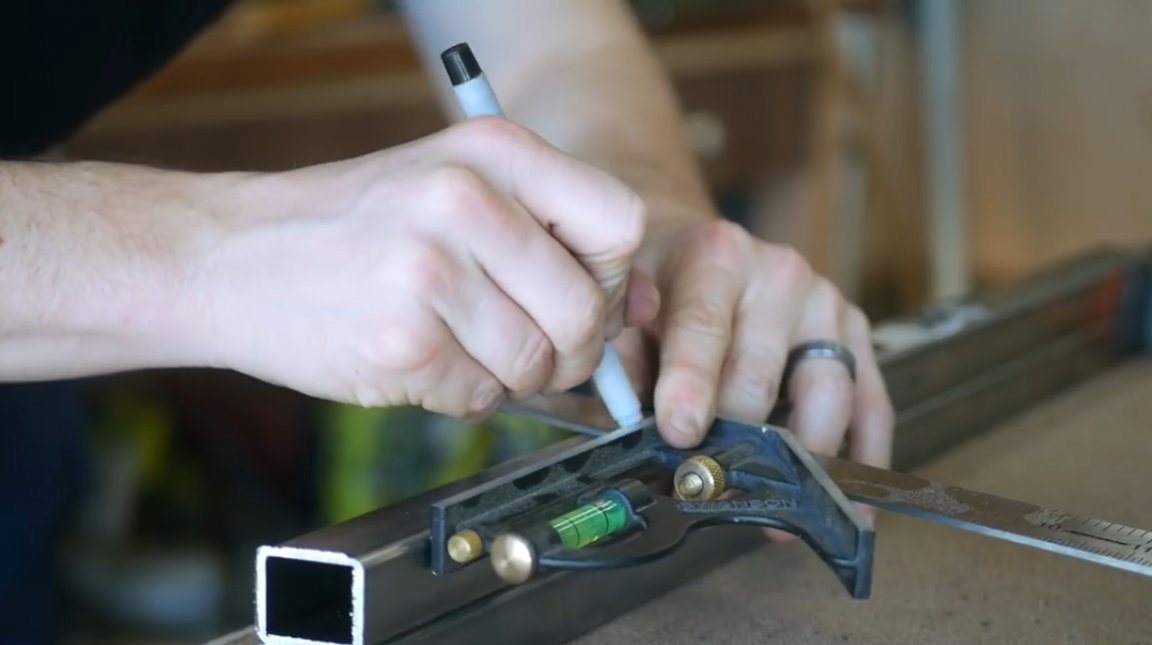
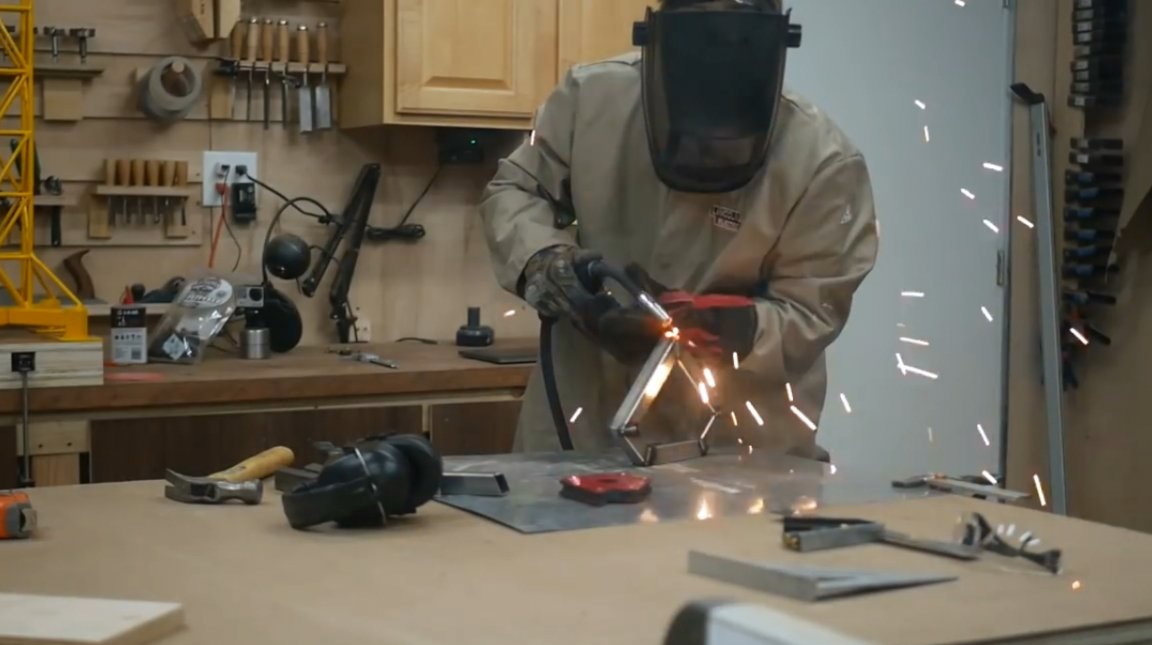
The author carefully measures each segment, referring to the drawing. Although this project does not provide for precise welding, it is necessary to strive for high quality weld with deep boiling.
Parts with an angle of 45 degrees are ready. Now cut out those that have an angle of 22.5 degrees. The enclosing segments of both sides of the structure are cut last, so that they are the same length and equal angle. Then both sides will be symmetrical.
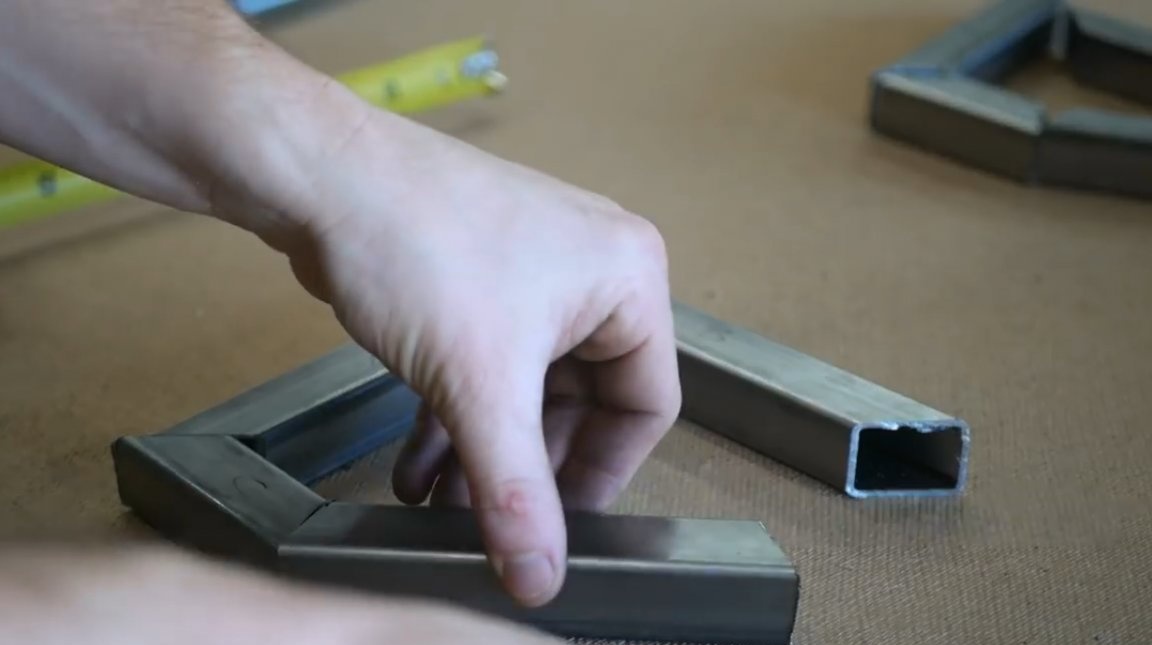
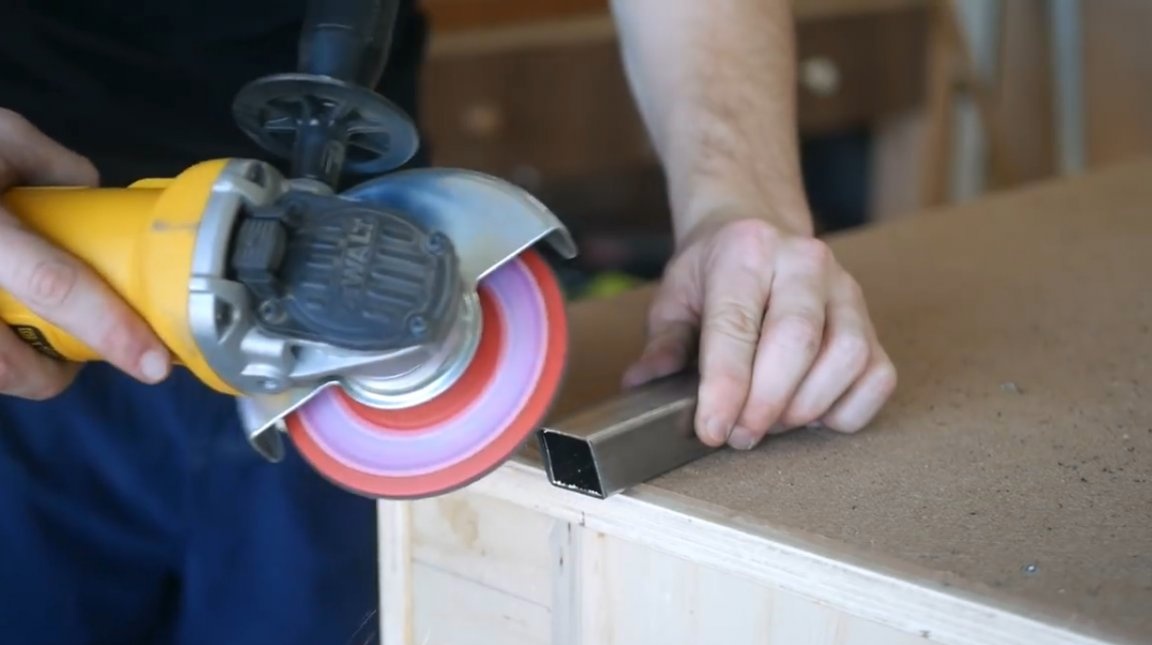
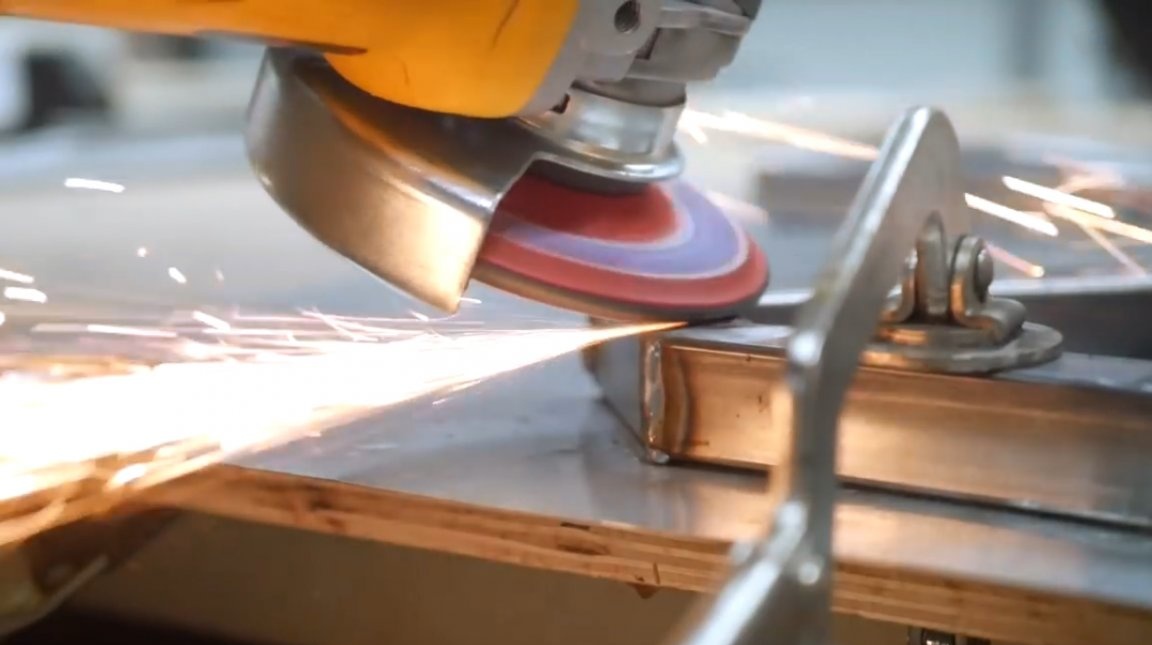
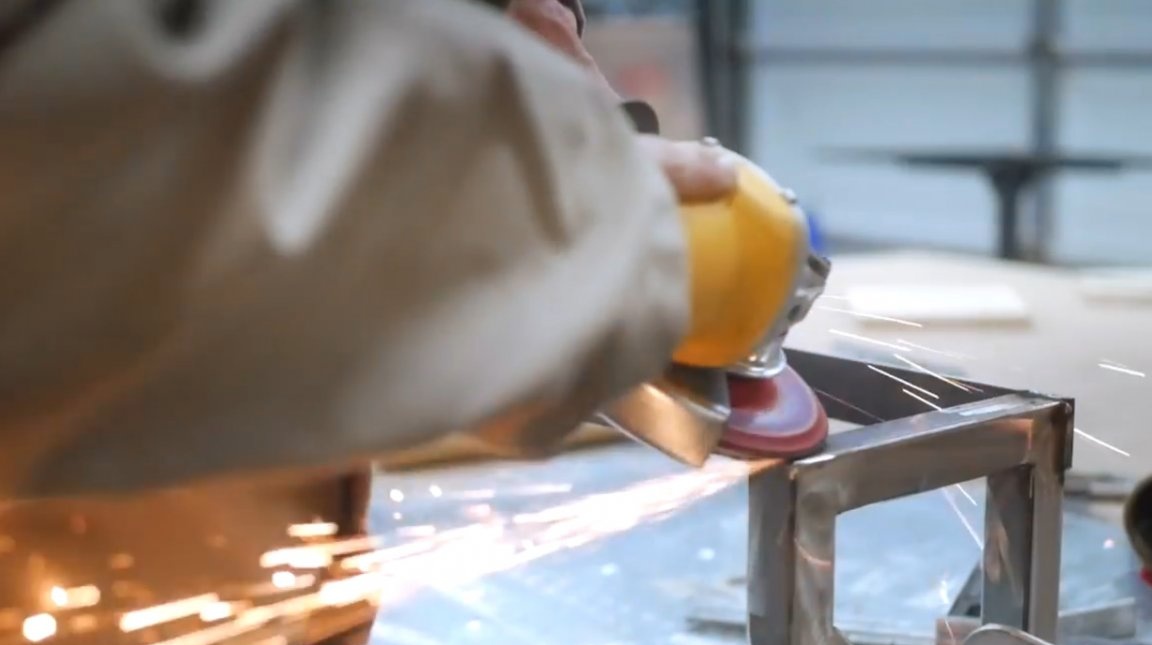
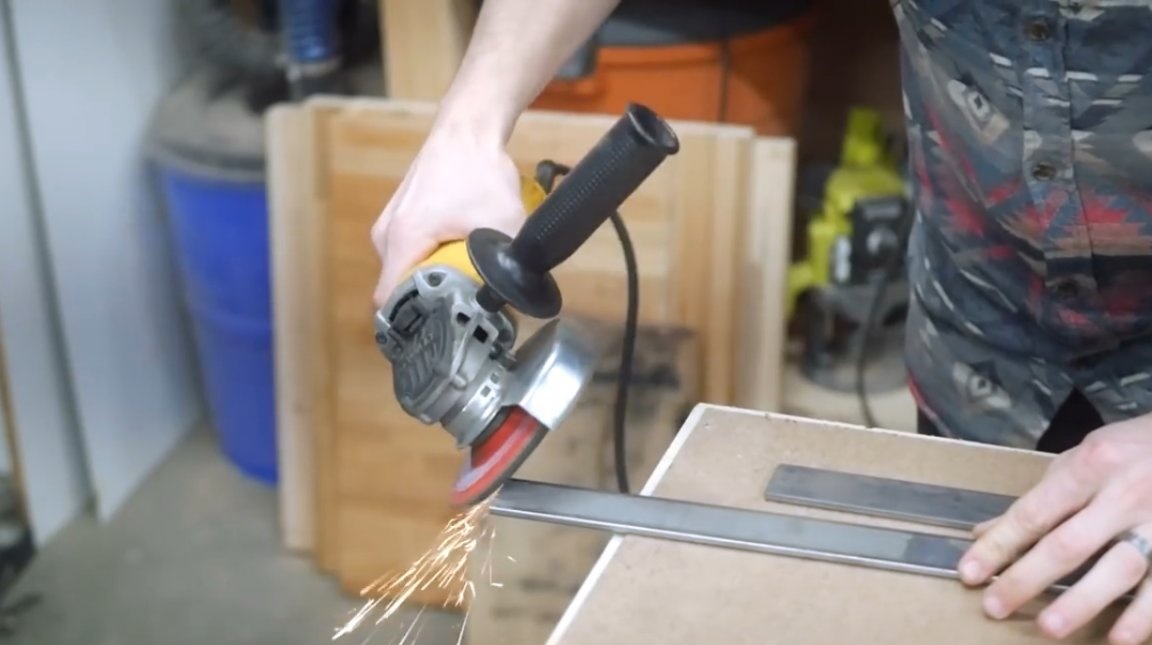
Further, the author processes sharp corners with a grinder with a petal stripping disk.The goal is to remove sharp burrs and make shallow bevels to obtain a better weld.
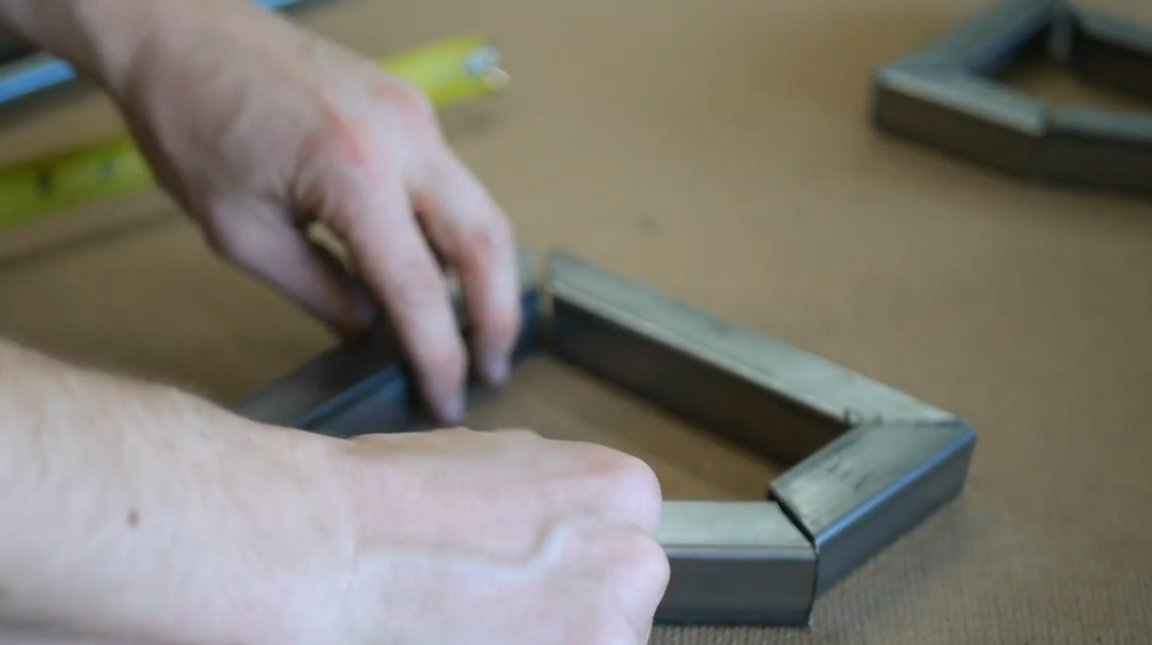
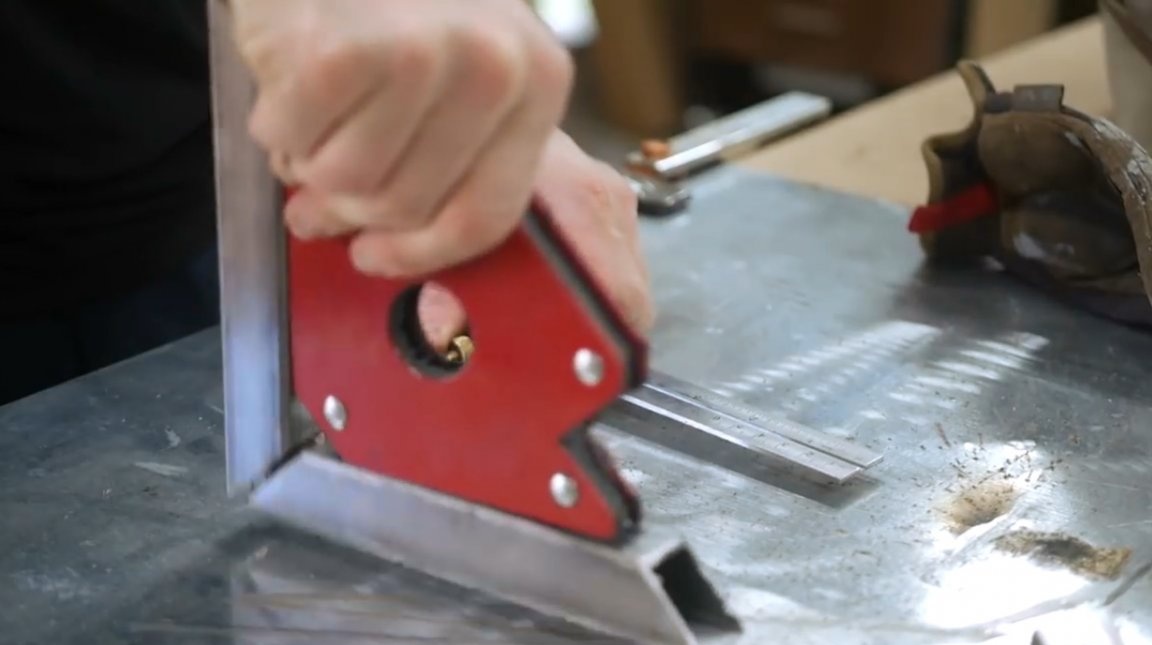
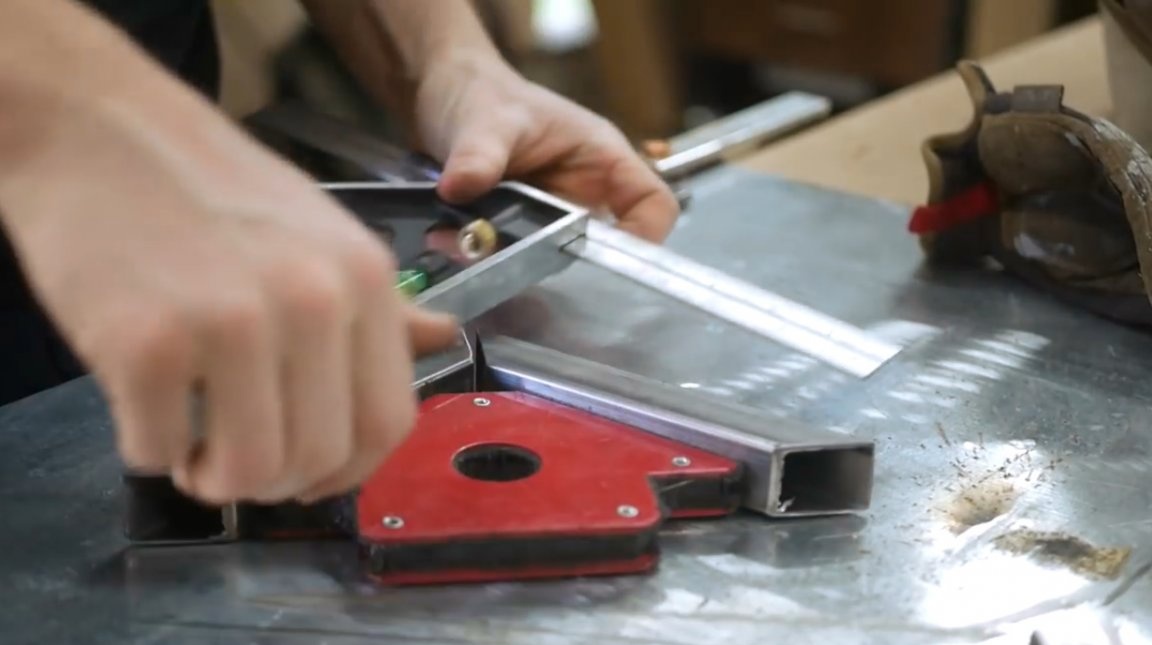
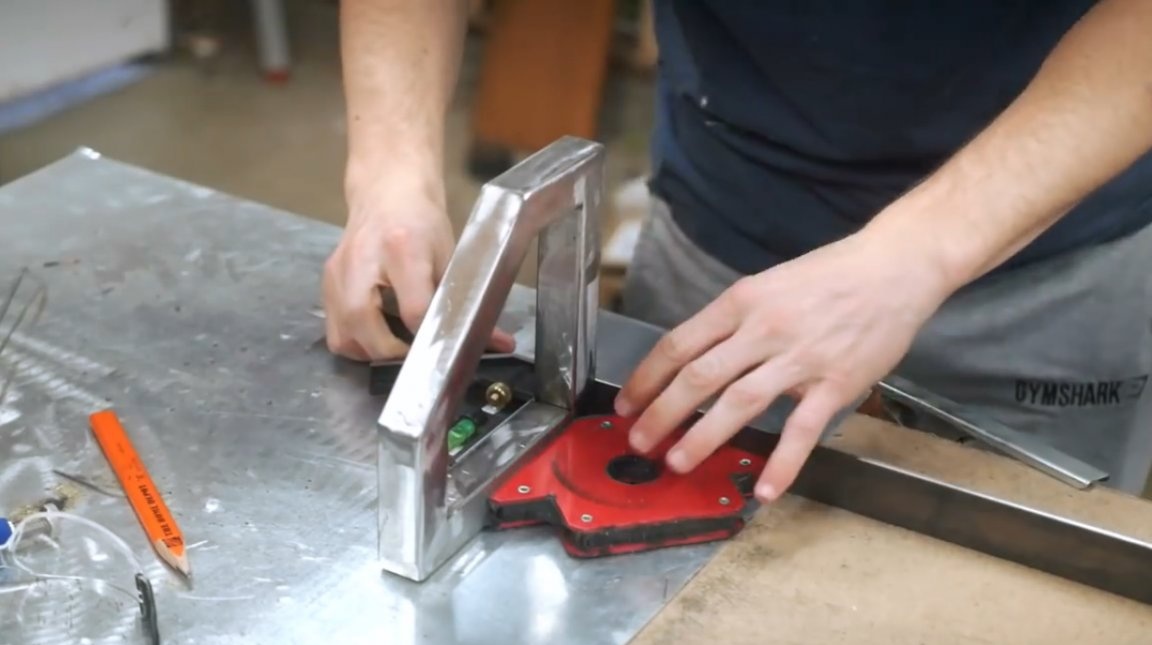
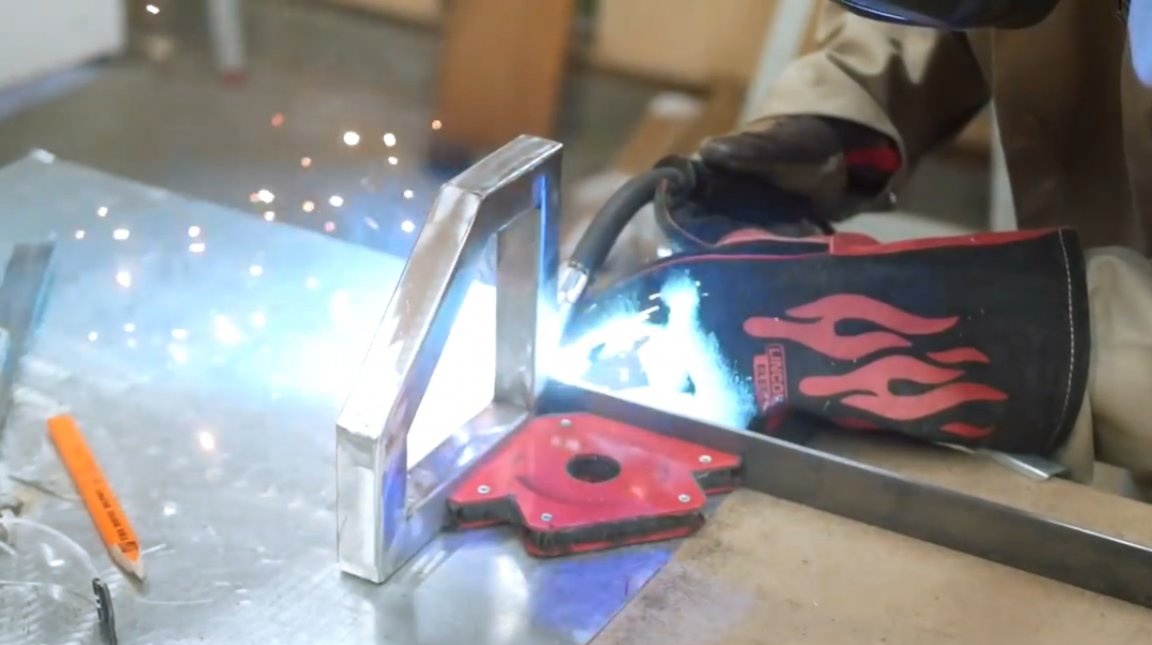
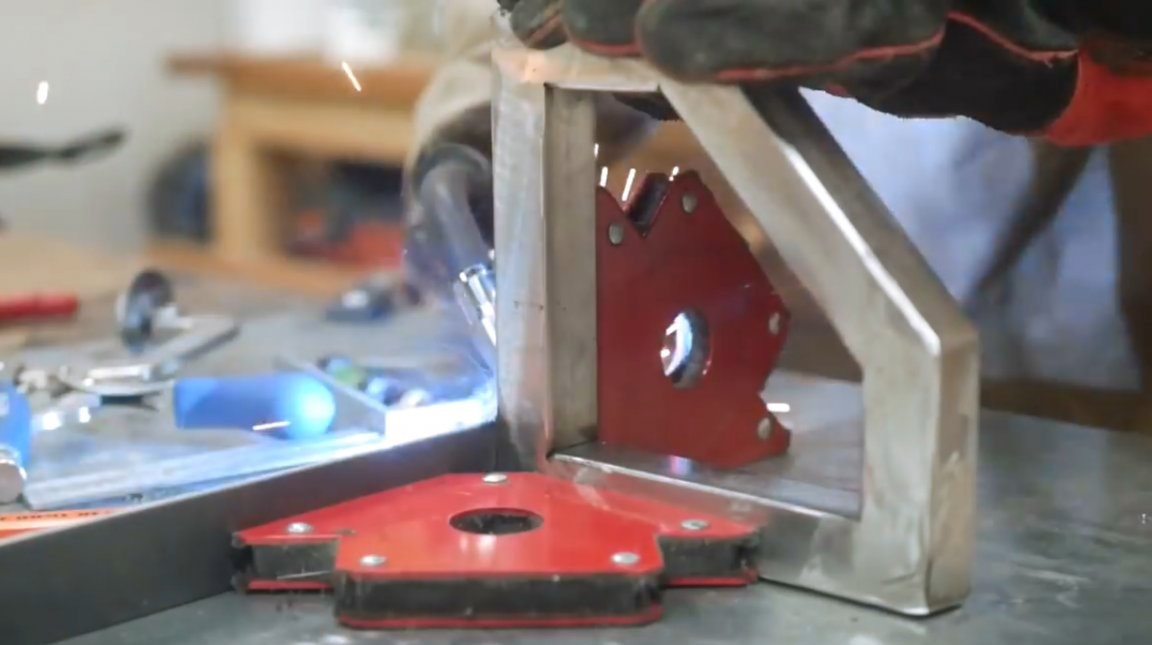
Further, the author carries out welding using magnetic corners and a square.
Each connection is welded first from three sides, lastly internal elements are connected.

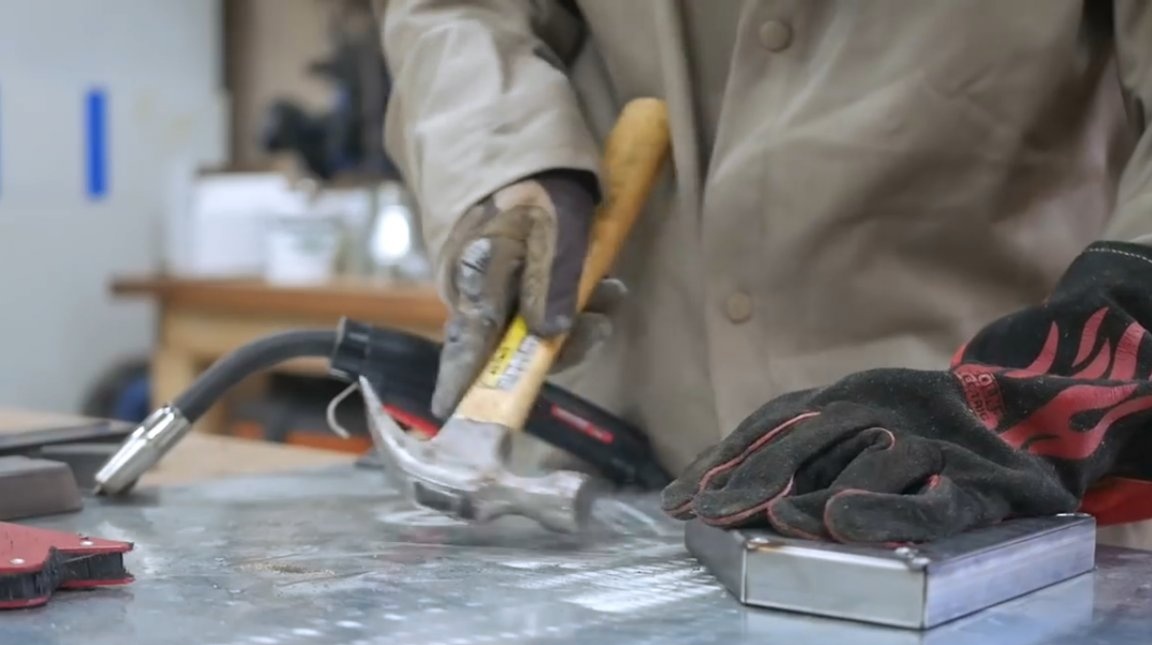
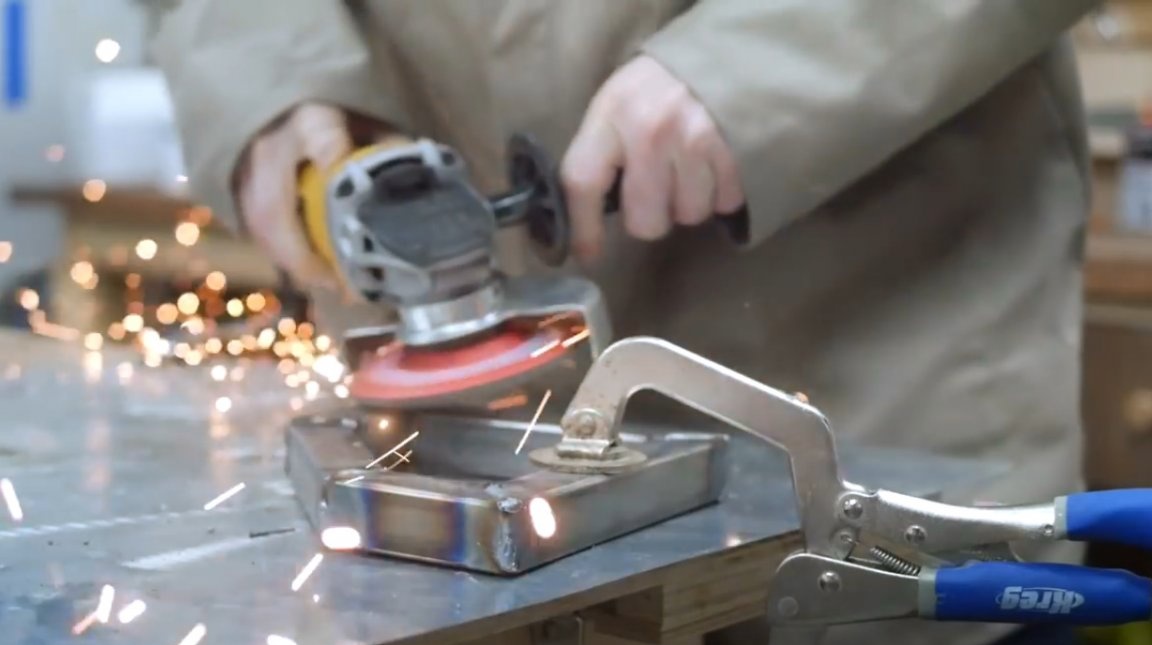
The master did not immediately have at hand the means for cleaning rough seams in tight places. He leaves this work to the last stage. At the same time, he assures that even if you do not have experience with a semi-automatic welding machine, after several hours of practice, you will acquire the necessary skills, practice setting your hands and be able to evaluate how long you should stay in one place depending on the length and thickness of the part to be welded. The arising cones and welding bubbles can be cleaned with a 40-grit flap disc.
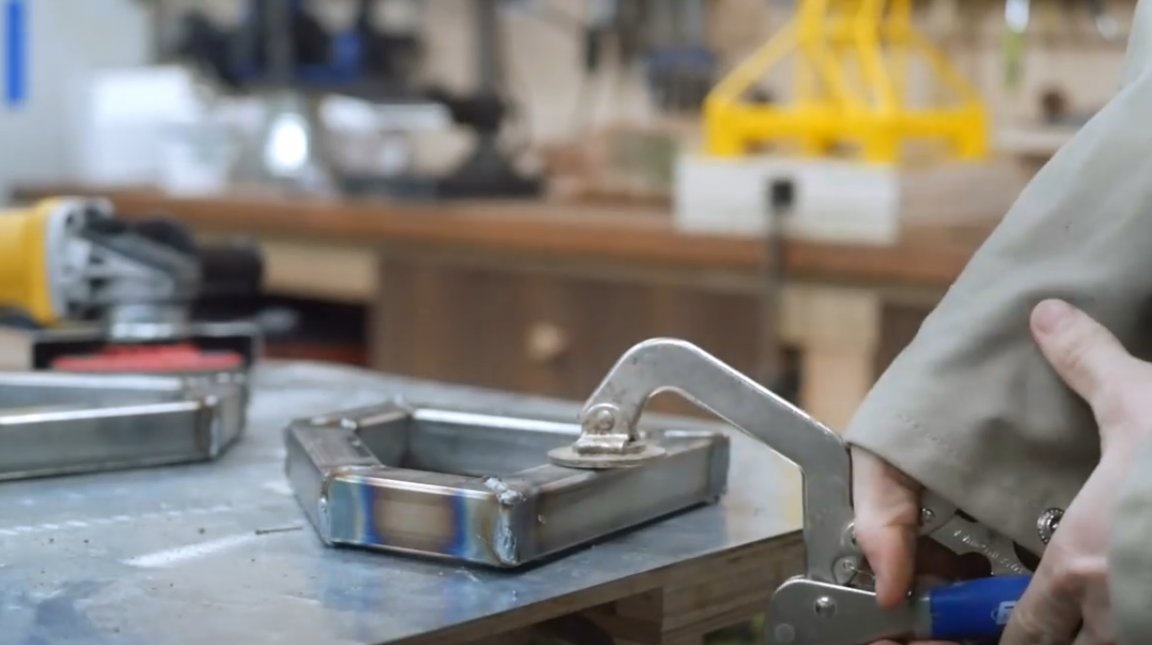
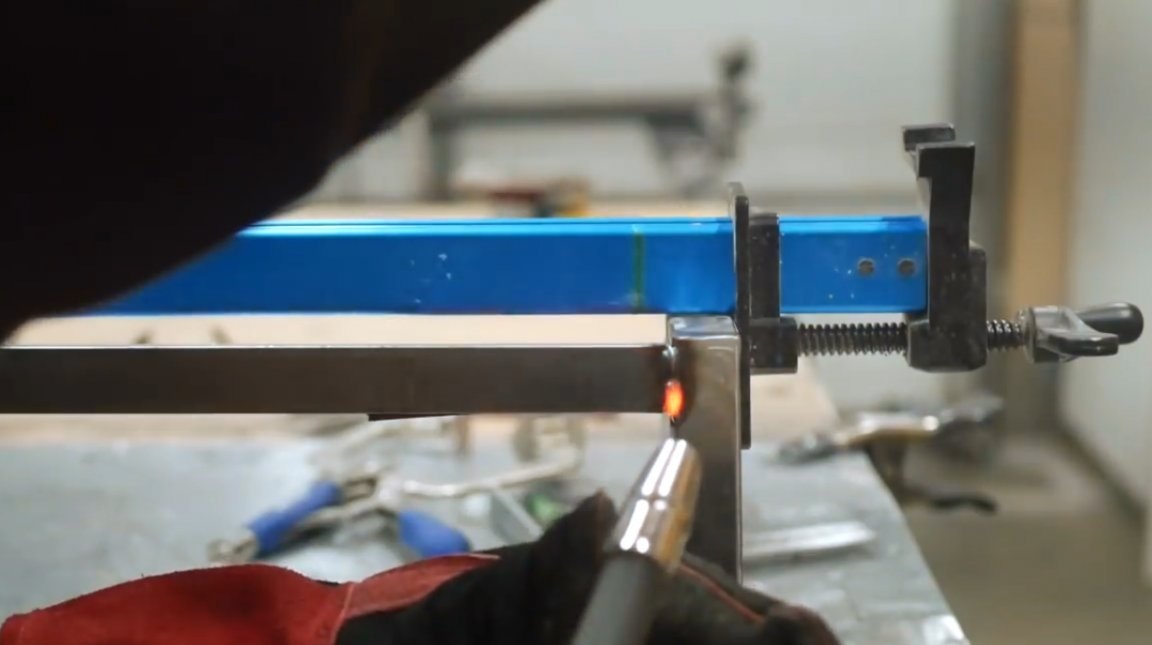
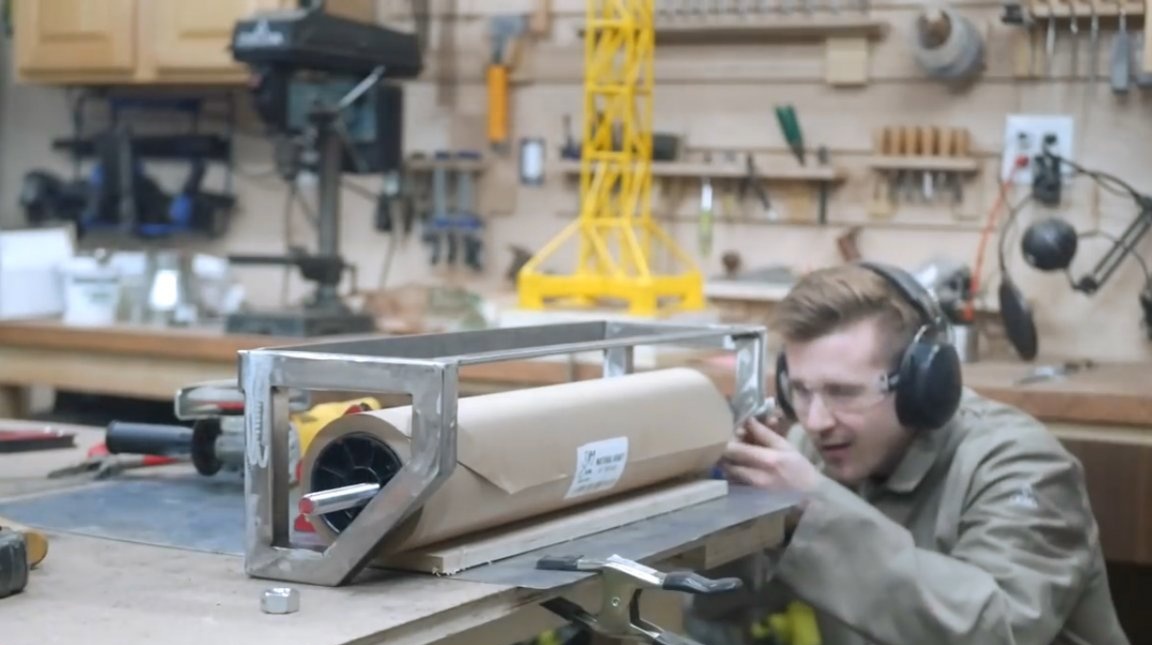
So, the frame for the drum under the block of wrapping paper is almost ready. It remains only to weld two steel strips connecting both sides. One plate will be welded to the back side of the frame (using it, the board will be attached to the wall), and the other to the front to make the structure stiff. The paper block is 24 inches wide.
The master places the sides at this distance and welds the trims.
Then follows the cleaning of the seams.
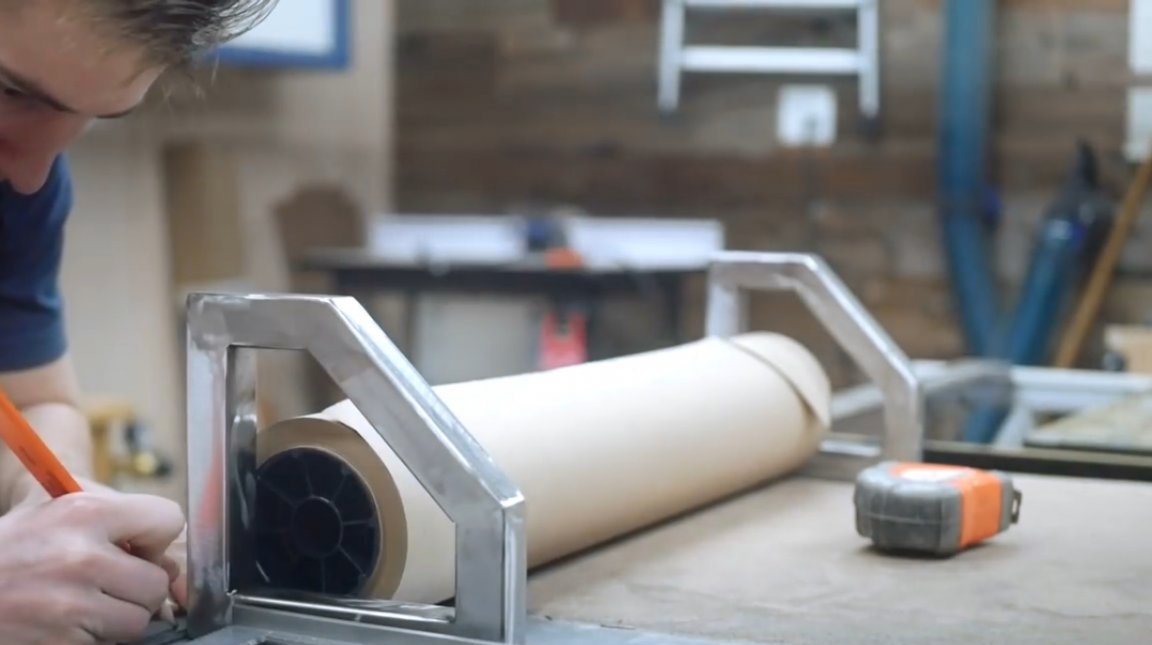
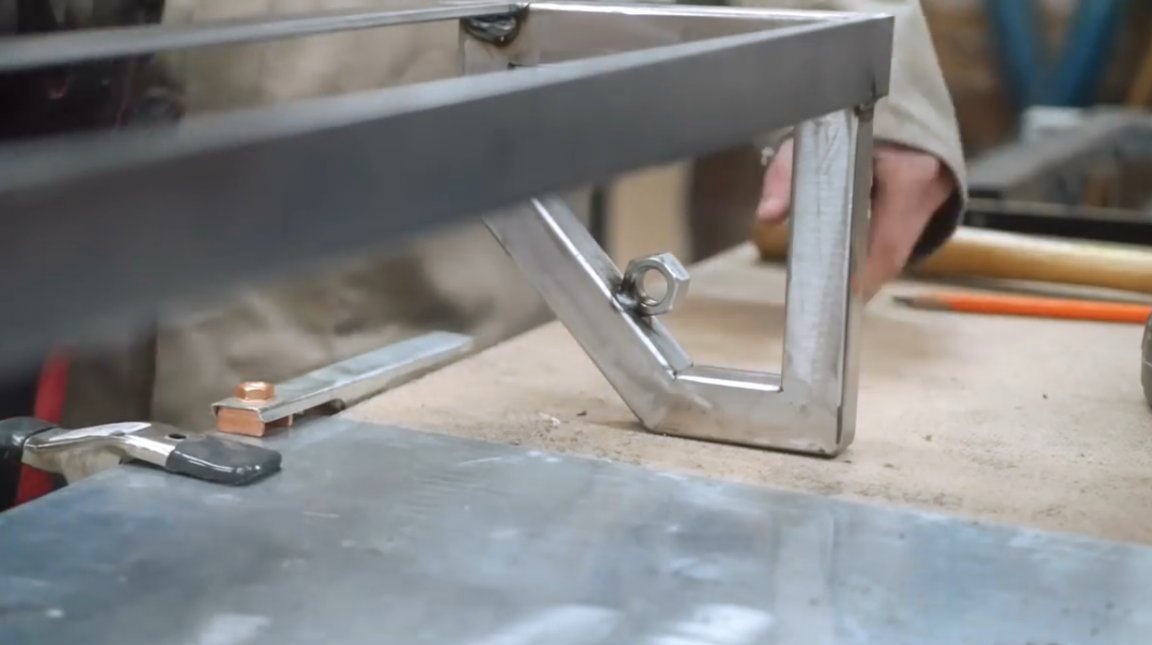
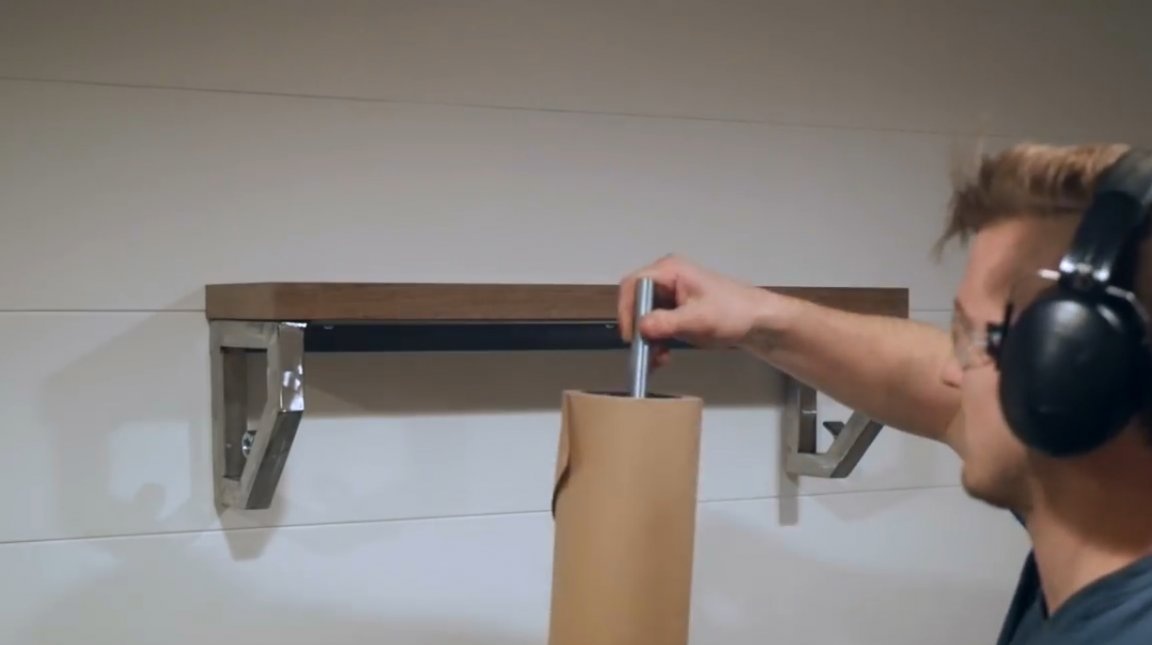
The master is faced with the task of securing the drum inside the structure so that replaceable rolls of paper can be loaded.
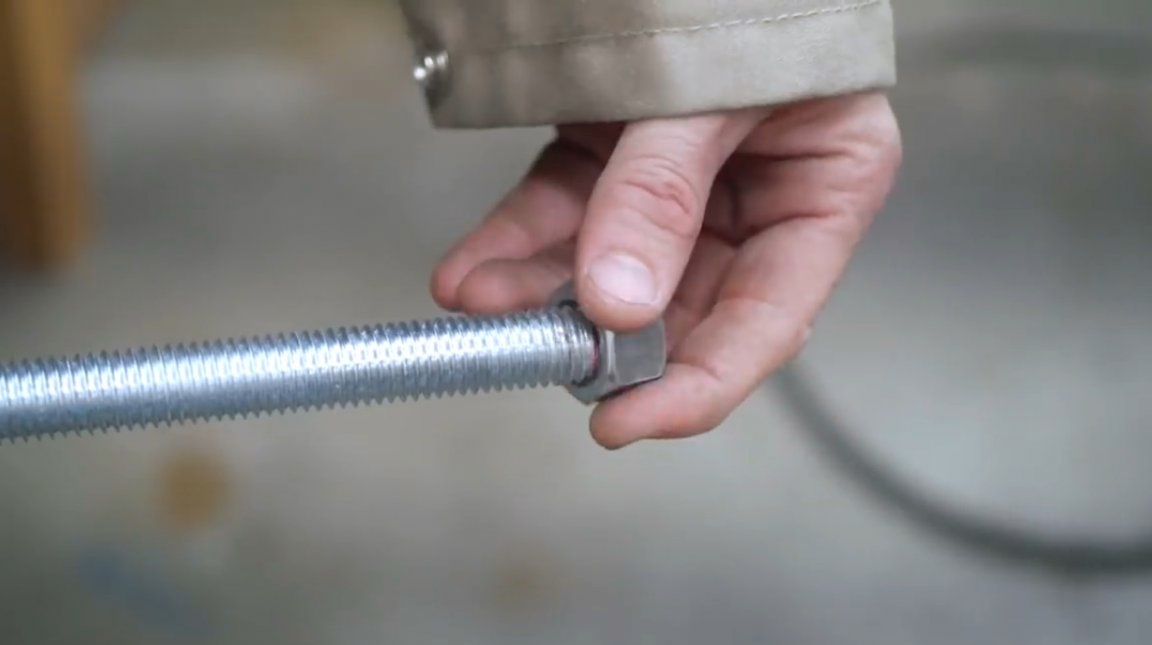
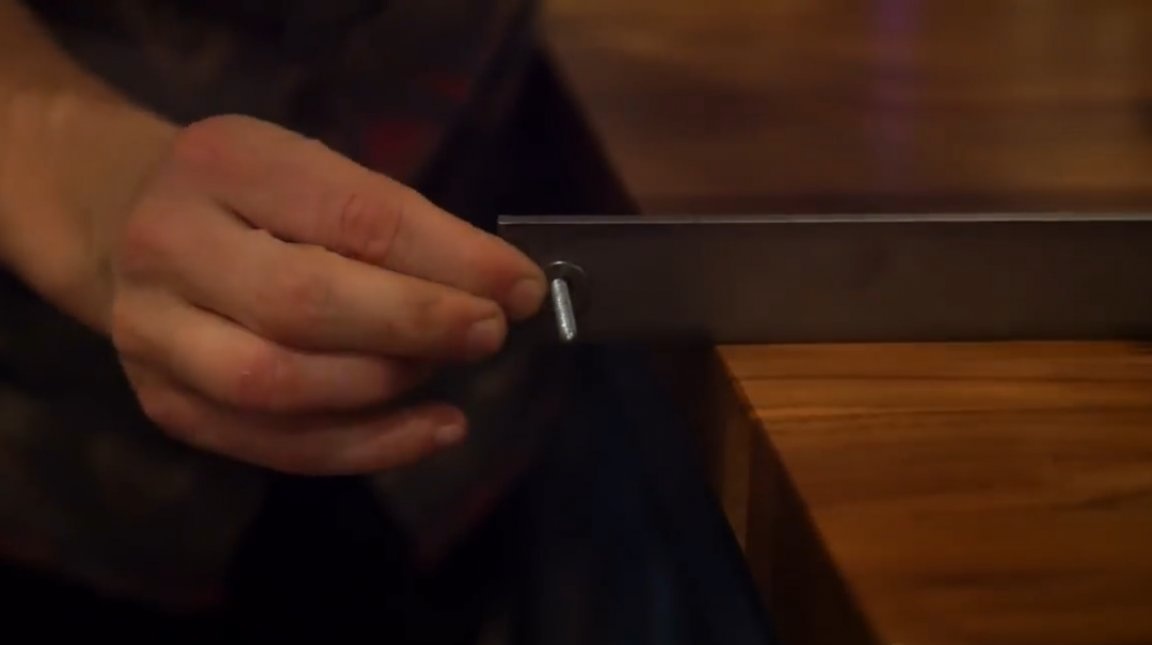
He decides to get out of the situation by applying a steel stud M12 with a nut screwed onto it.
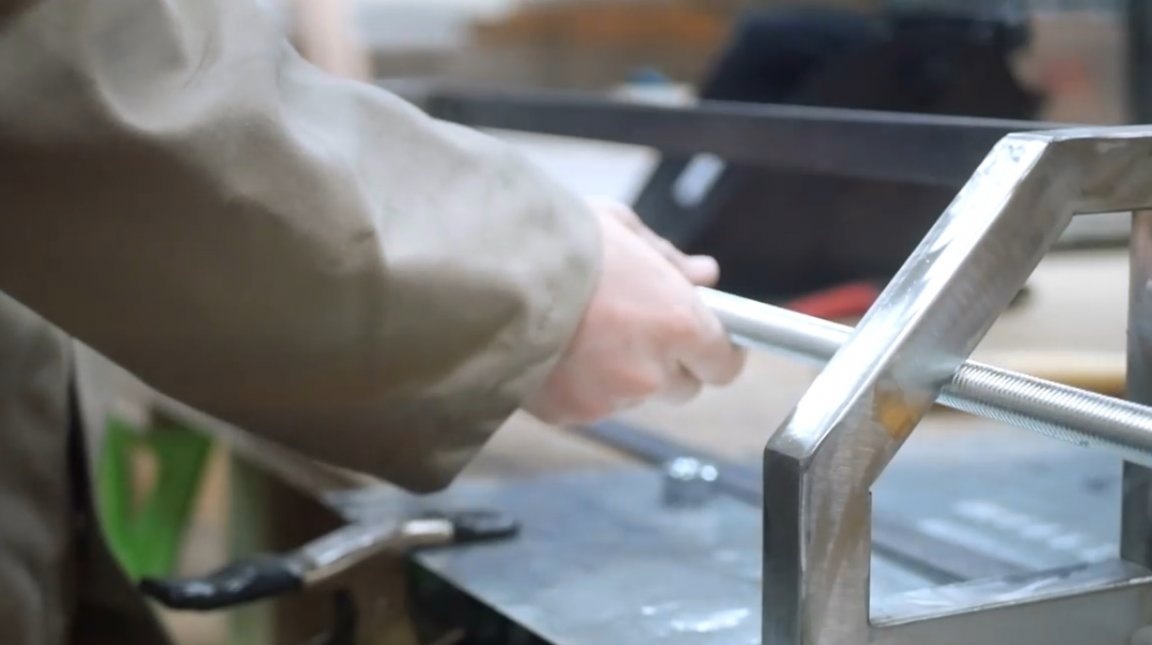
On one side of the frame, Zack grabs the nut by welding to the profile, screw the shaft into it and pass it through a roll of paper. With this design, the rod is surprisingly easily unscrewed and removed if it becomes necessary to replace the roll.
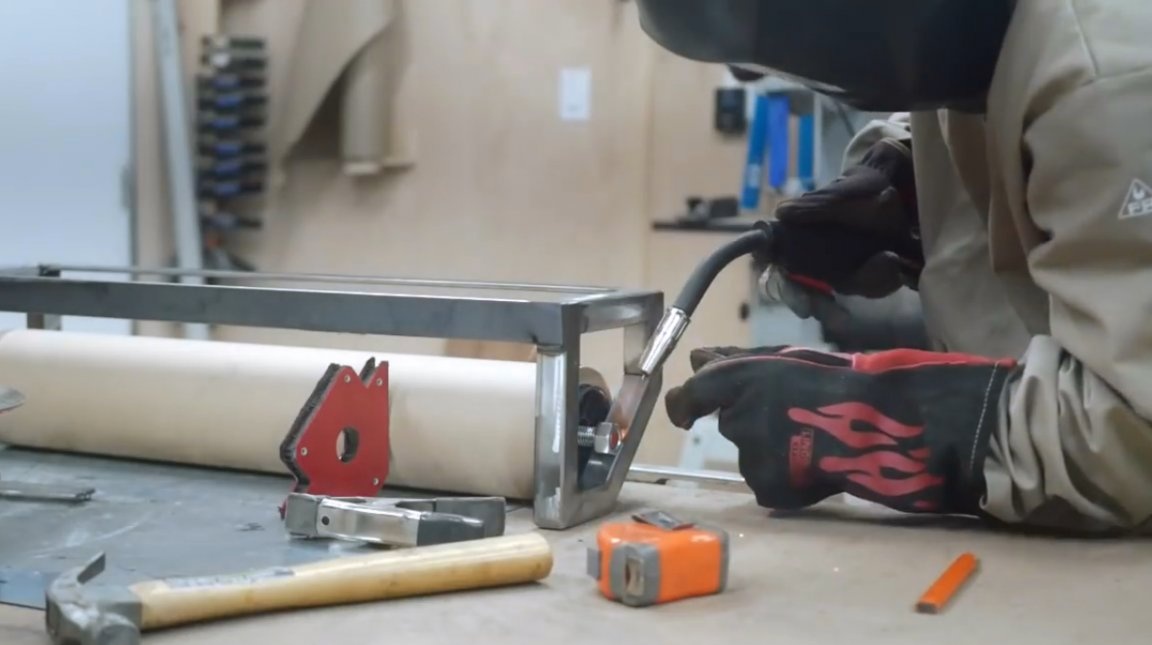
Then he welds a second nut on which the second end of the rod will rest.
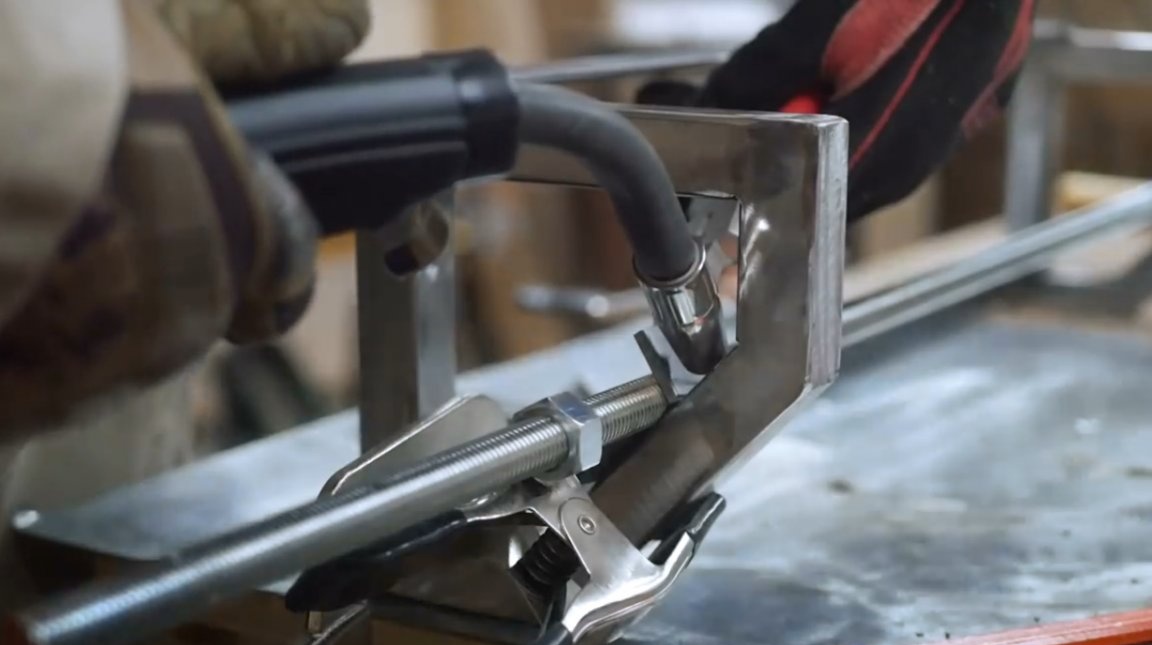
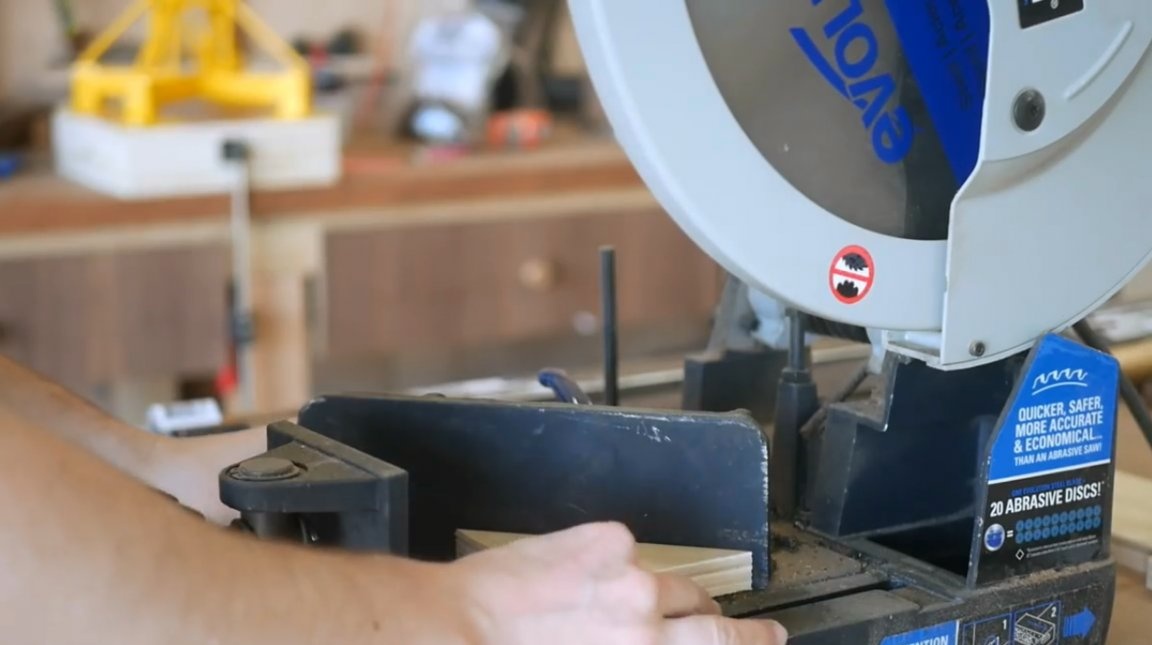
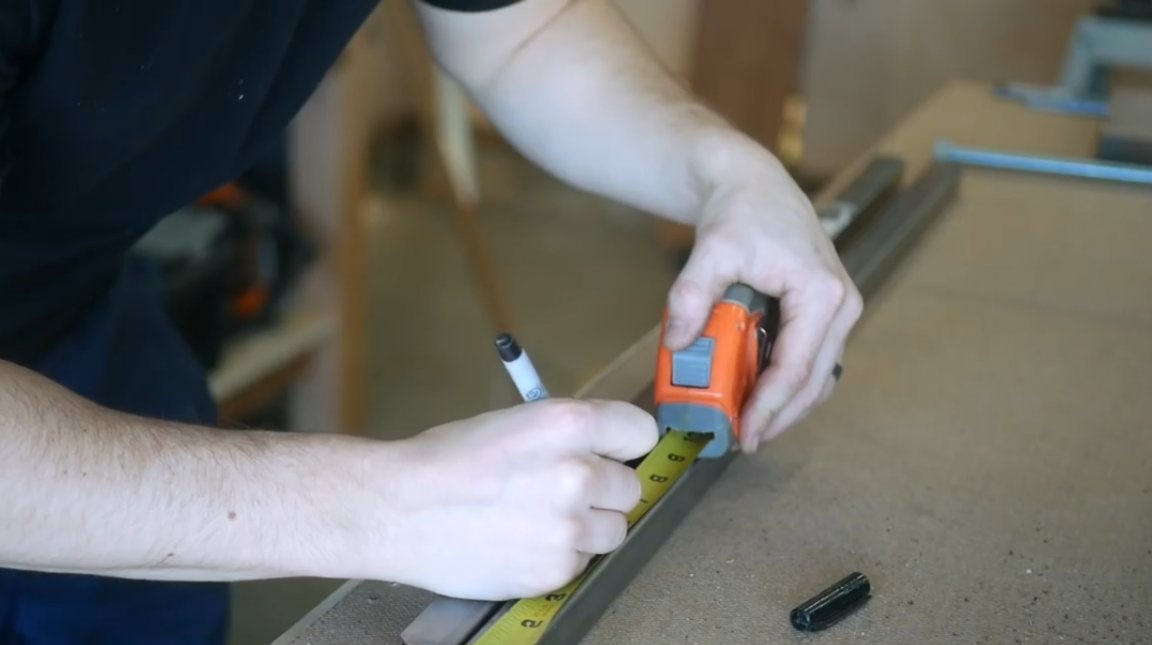
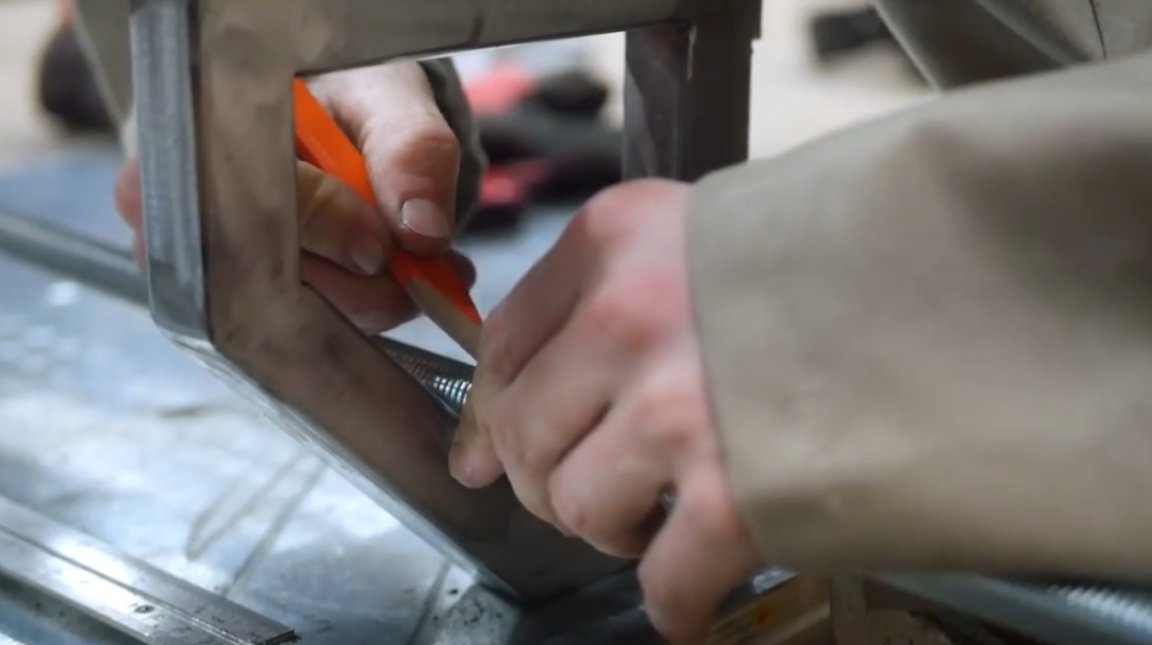
Next, the master measures the required length of the rod.
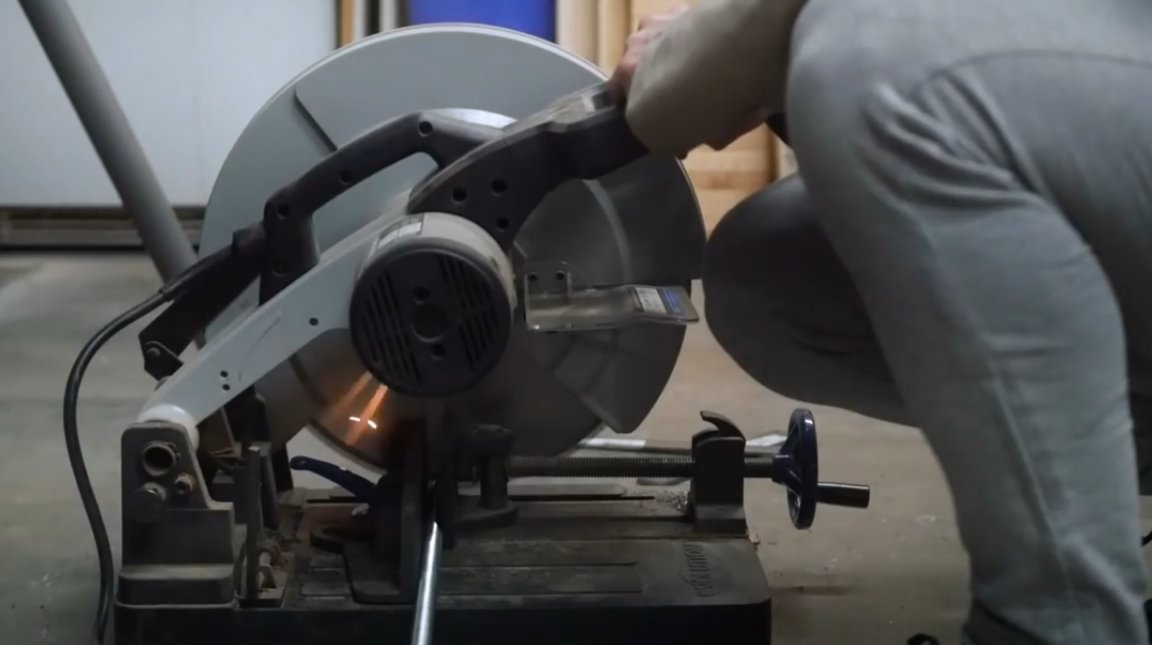
Excess material is cut on a miter saw for metal.
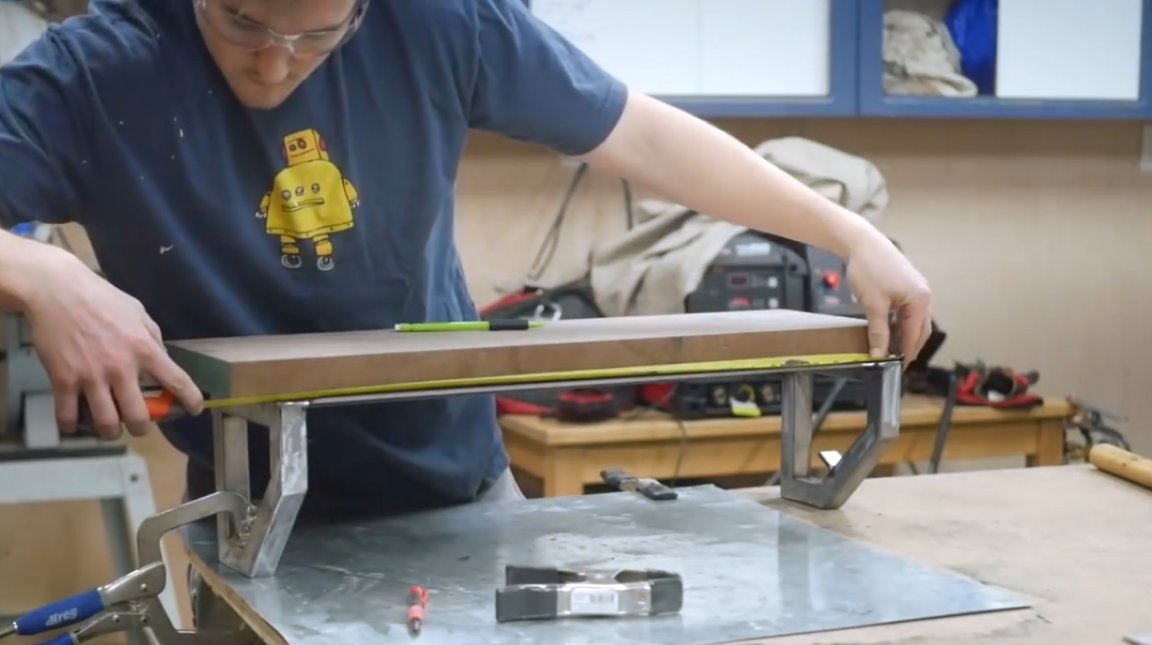
The last stage is the design of the roll board body. Since it will hang on one of the walls of the kitchen, the author decides to sew on its frame a board from the same wood as the shelves in the kitchen. This is hazel wood. First, he measures the required length of the board.
Then the master makes a smooth edge of the board on the jointer.
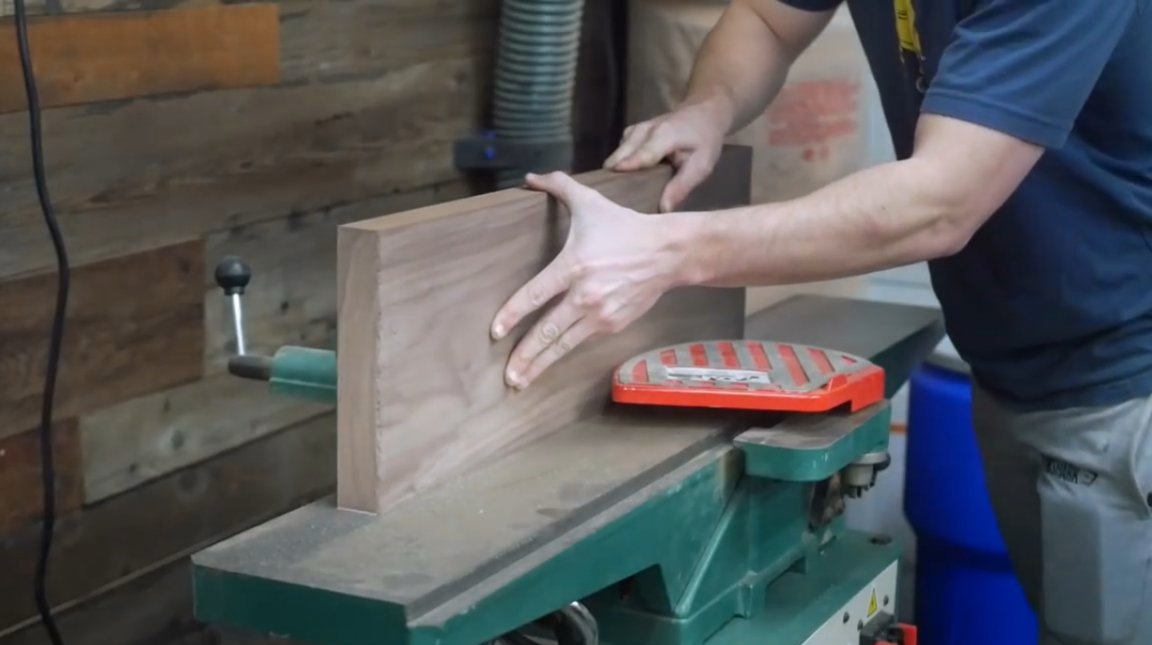
And it additionally passes both wide surfaces of the board through the thicknesser, while simultaneously removing the excess thickness, by about 3-4 mm.

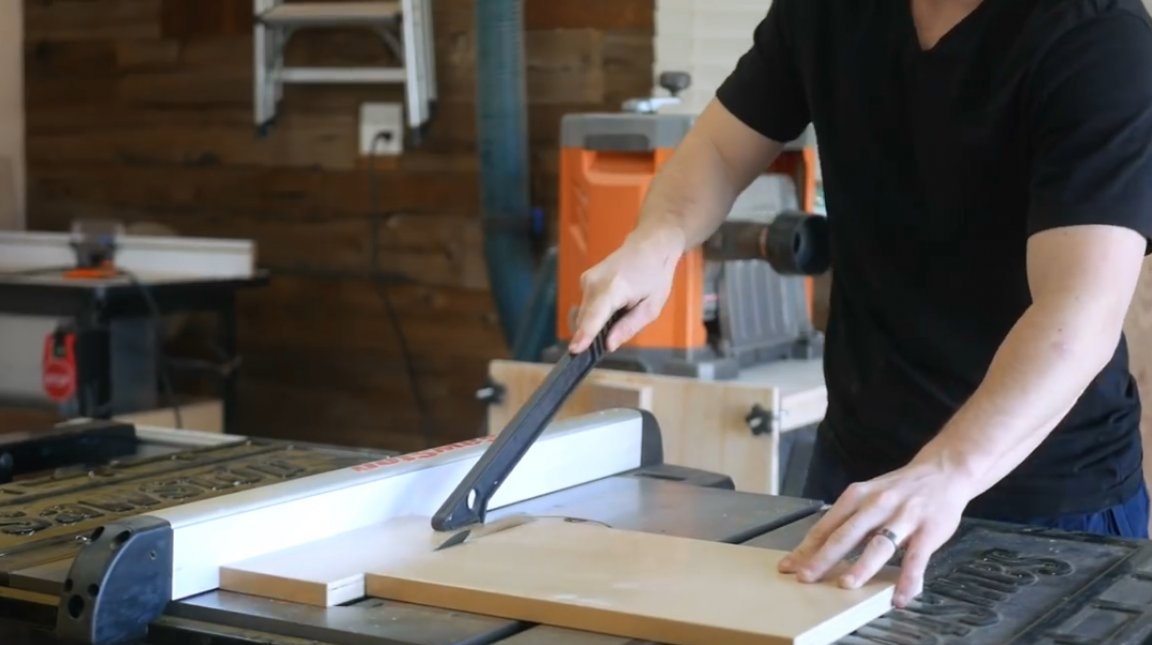
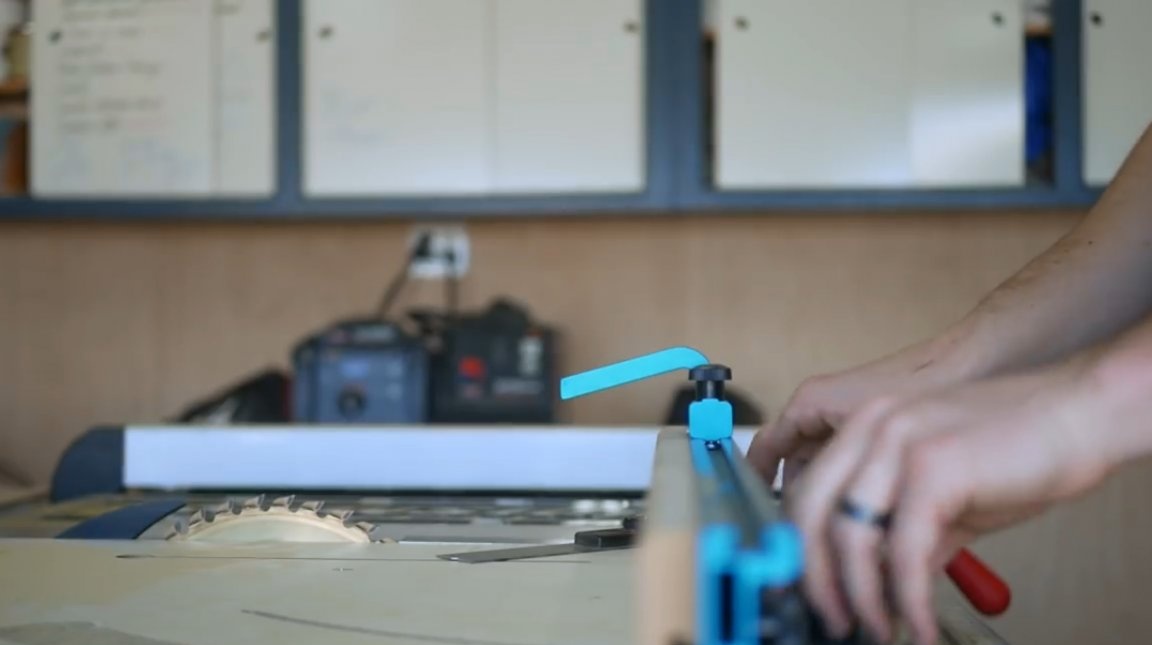
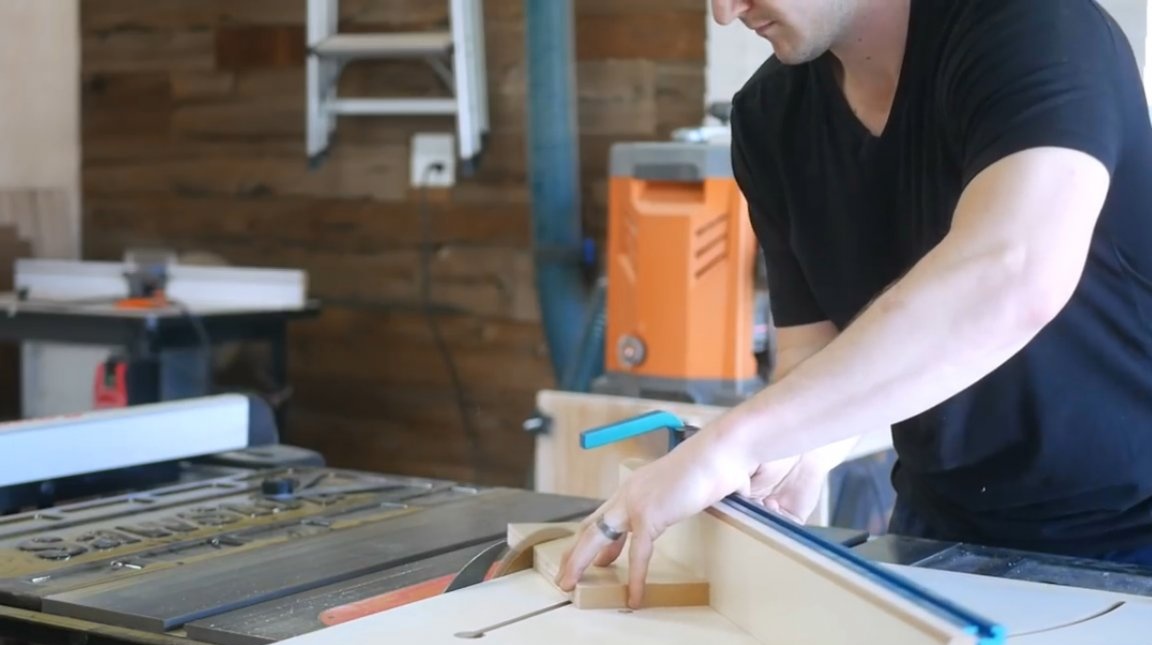
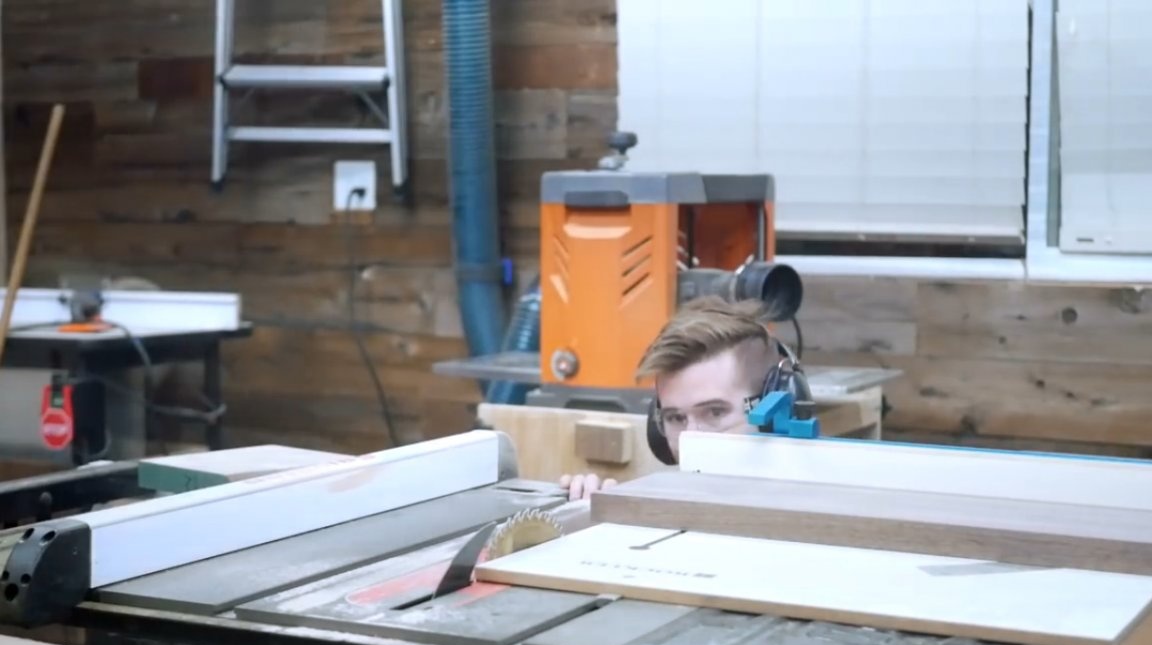
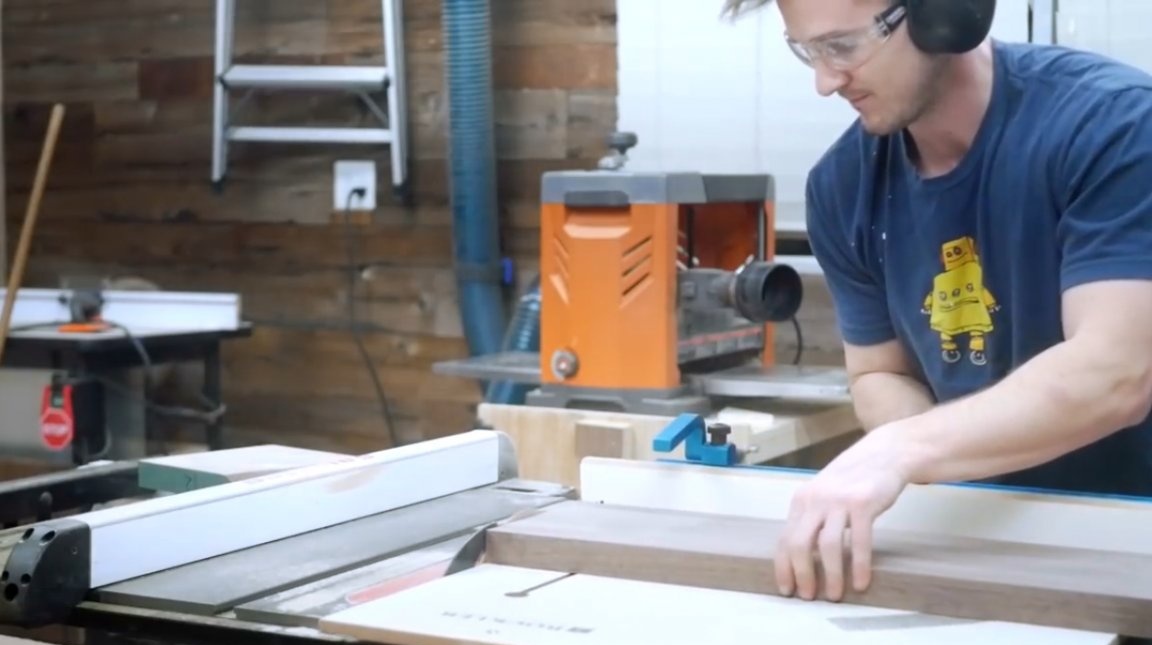
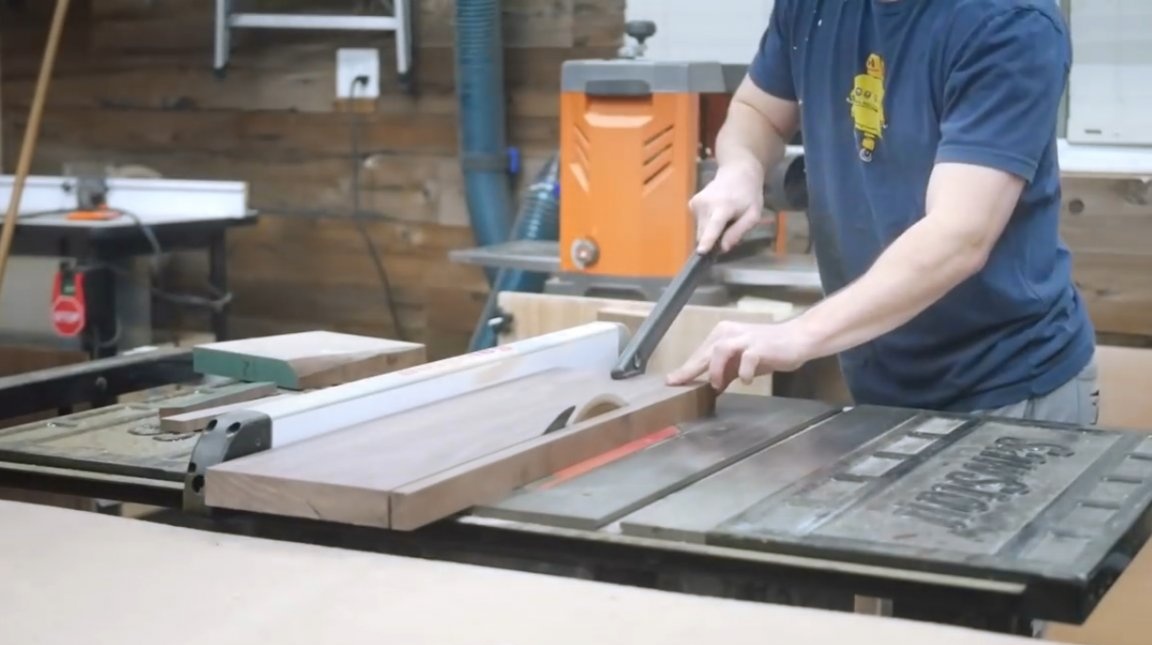
On the circular table, having placed the board on the slide, Zack achieves the rectangular ends and sides of the boards, and determines its final length.
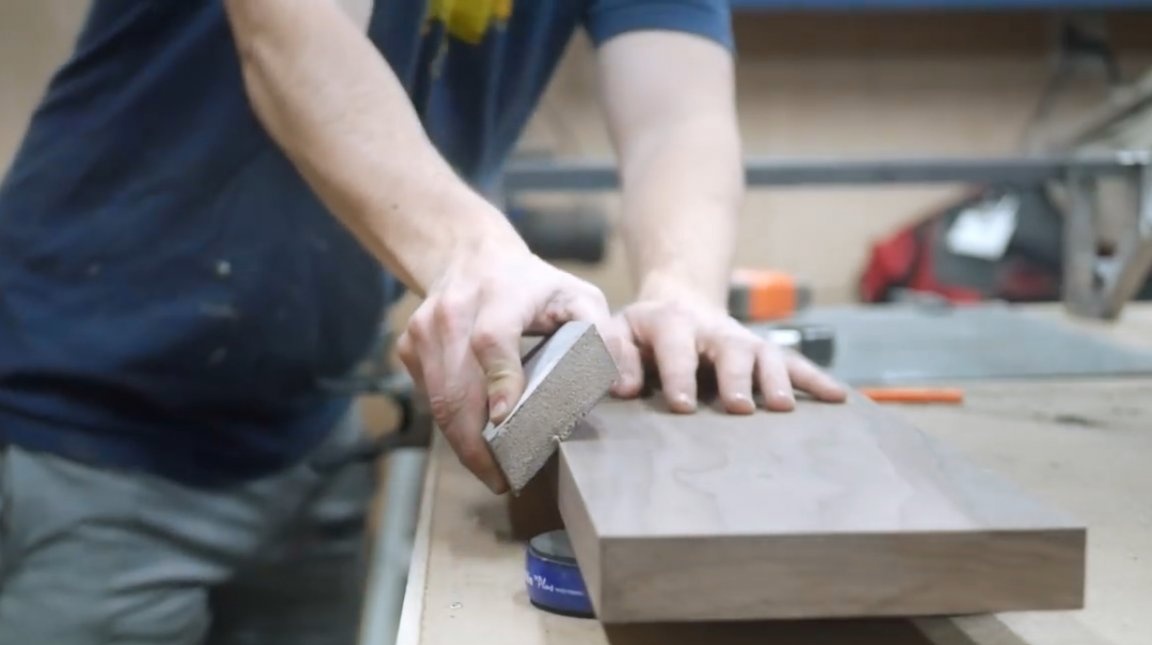
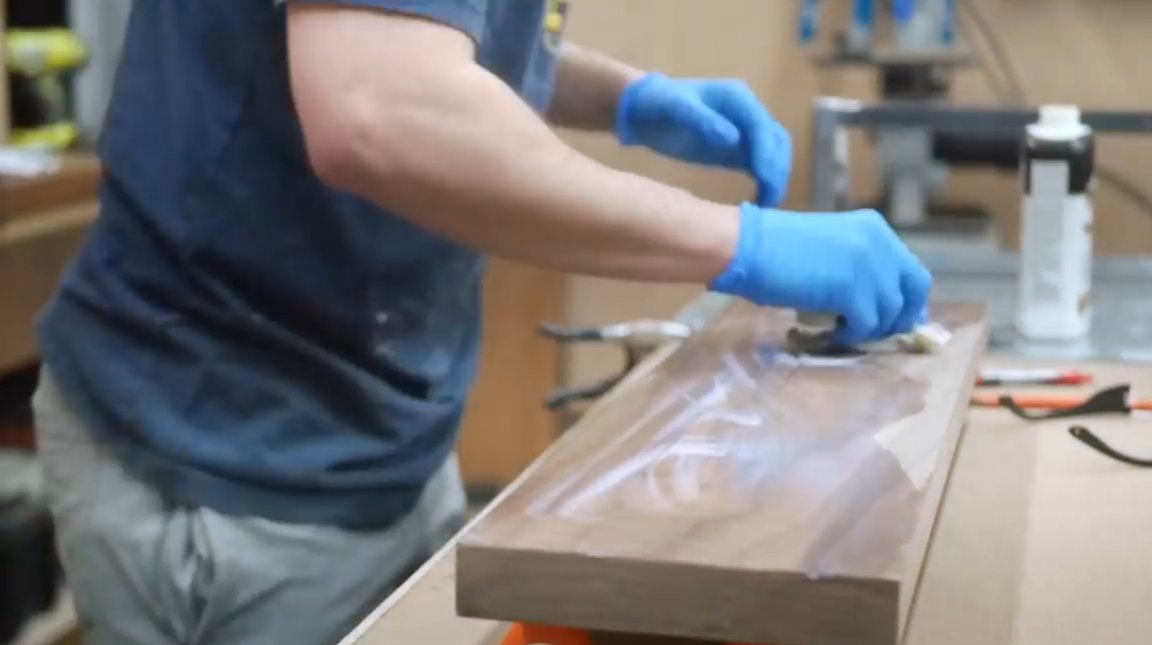
Before applying the finish coat, the author smooths out all the welts on the board with sandpaper.
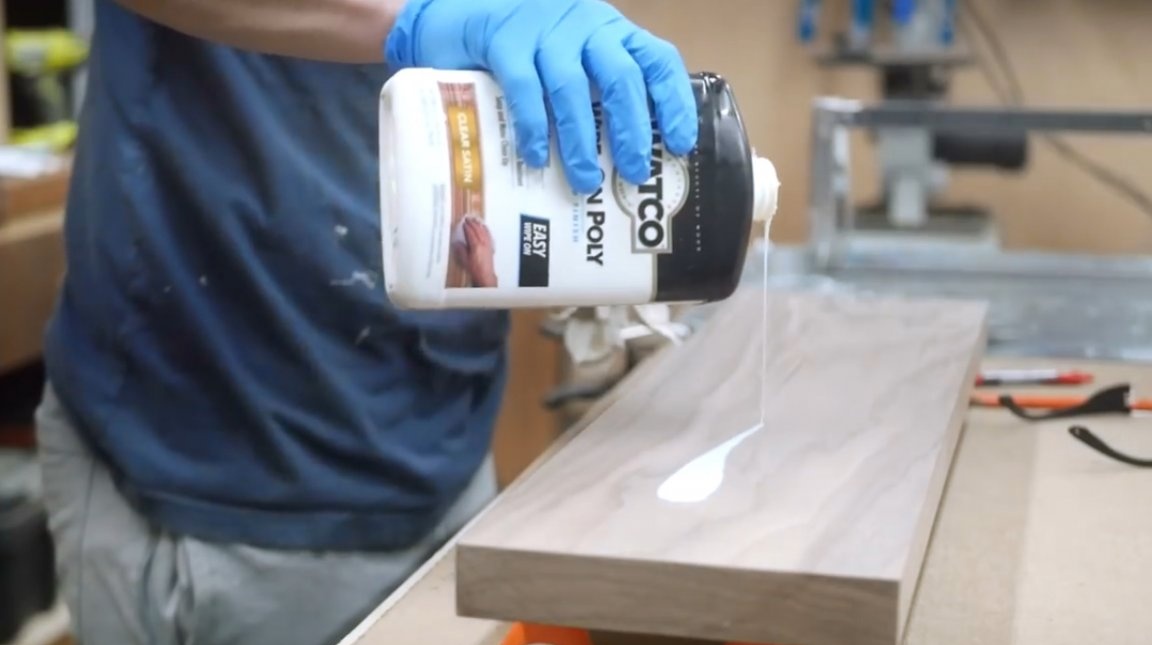
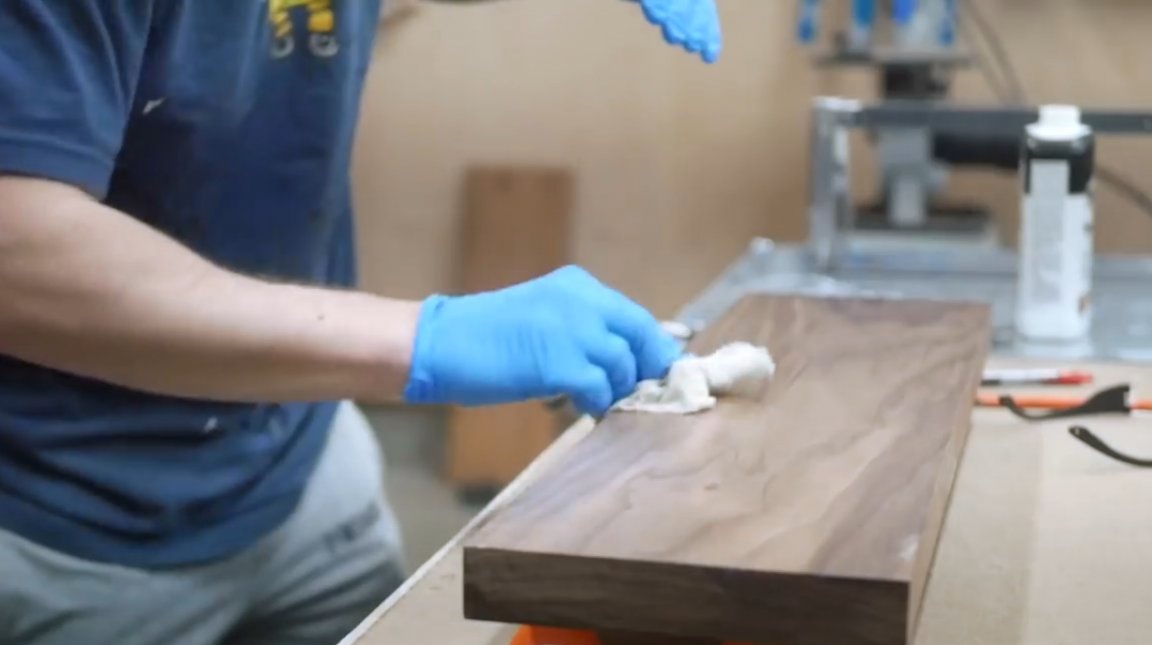
Next, the product is covered with a layer of polyurethane, which is rubbed into the surface with a piece of cloth.
After which the board is left for 20-30 minutes to dry.
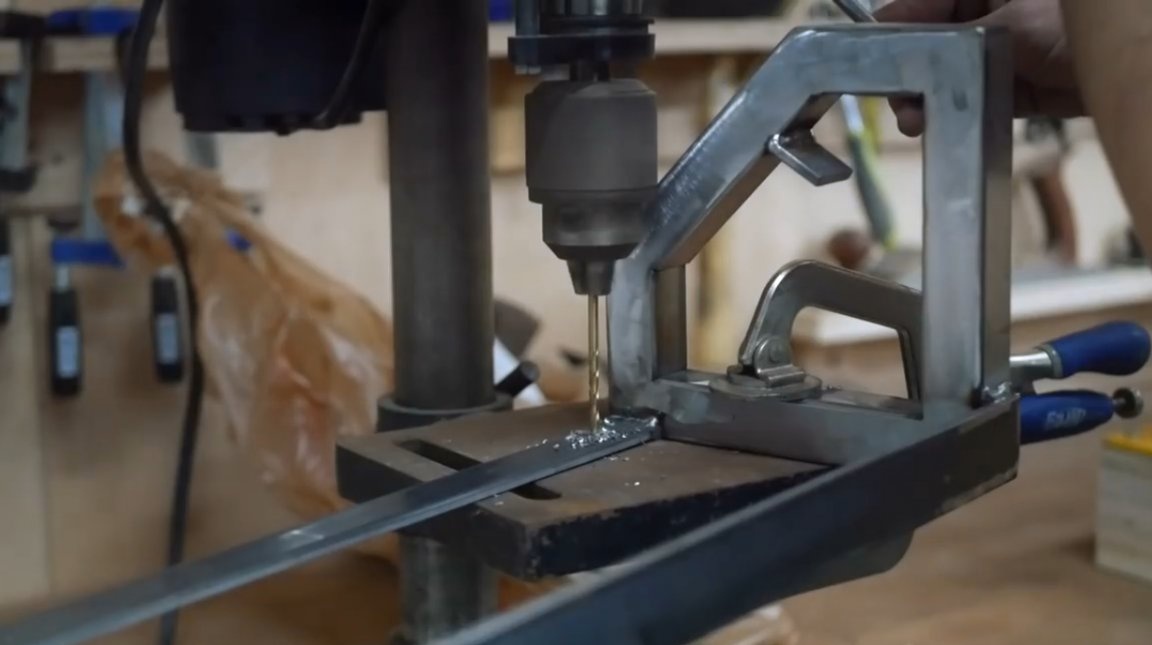
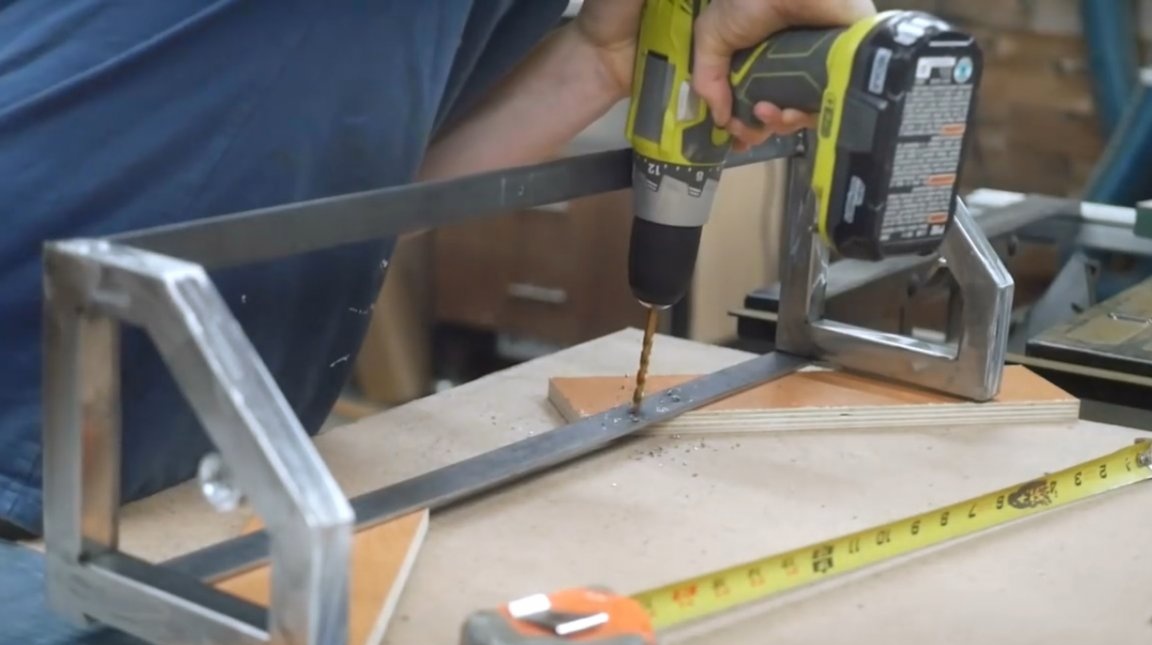
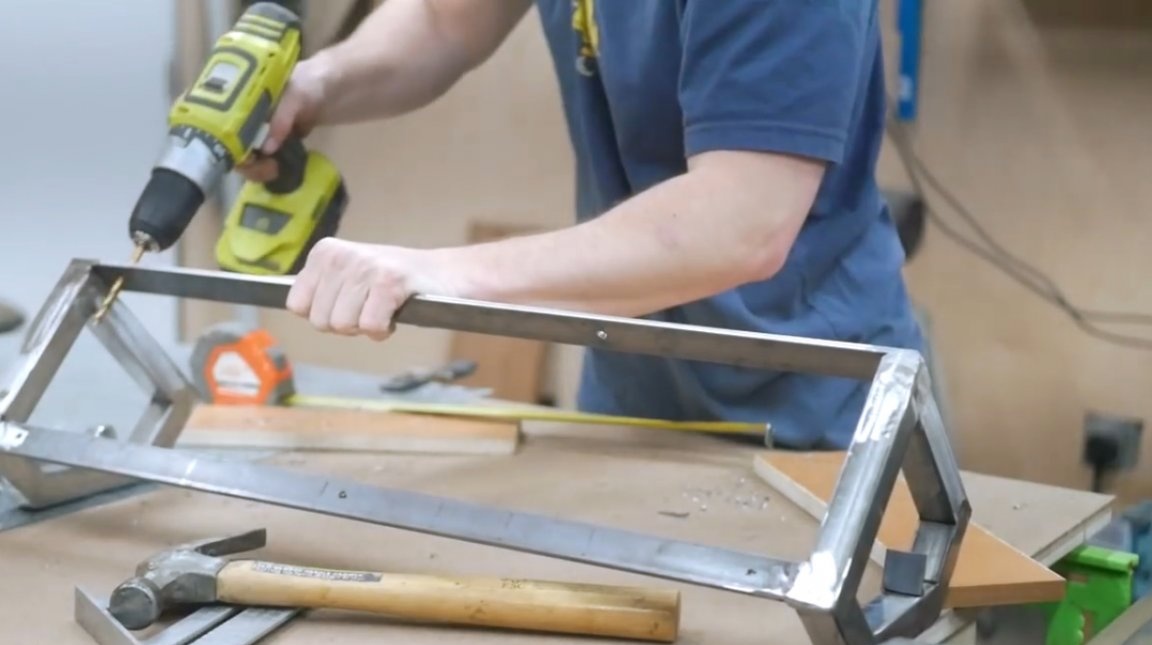
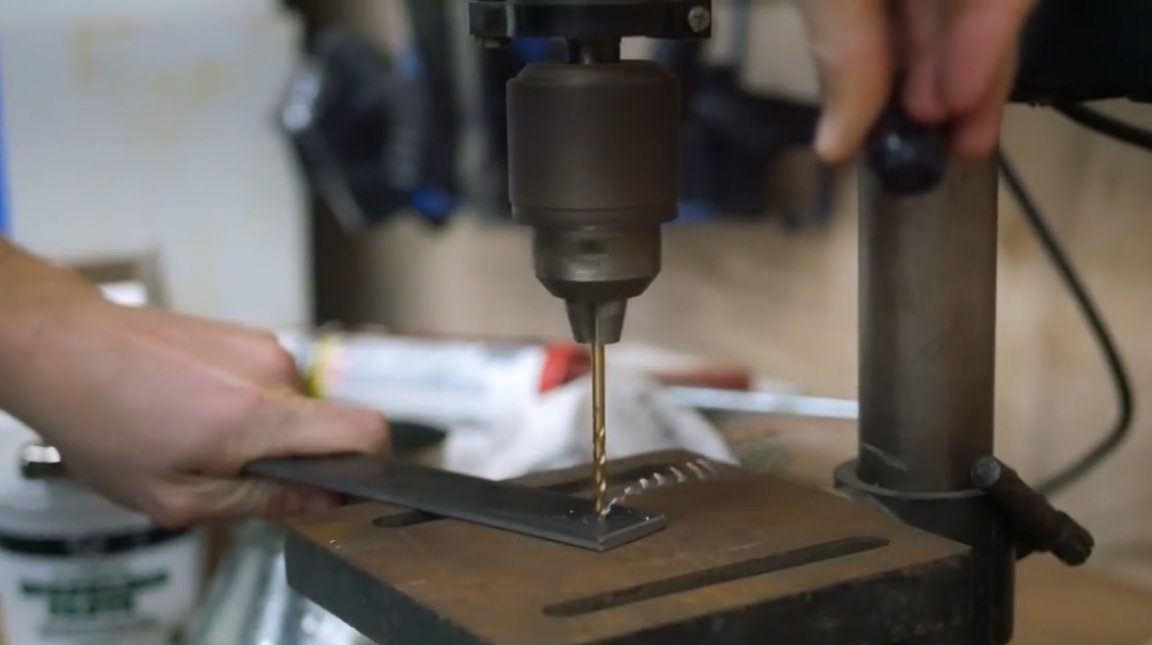
To attach a nut board to the top of the frame, the master marks three holes and drills them on a drilling machine.


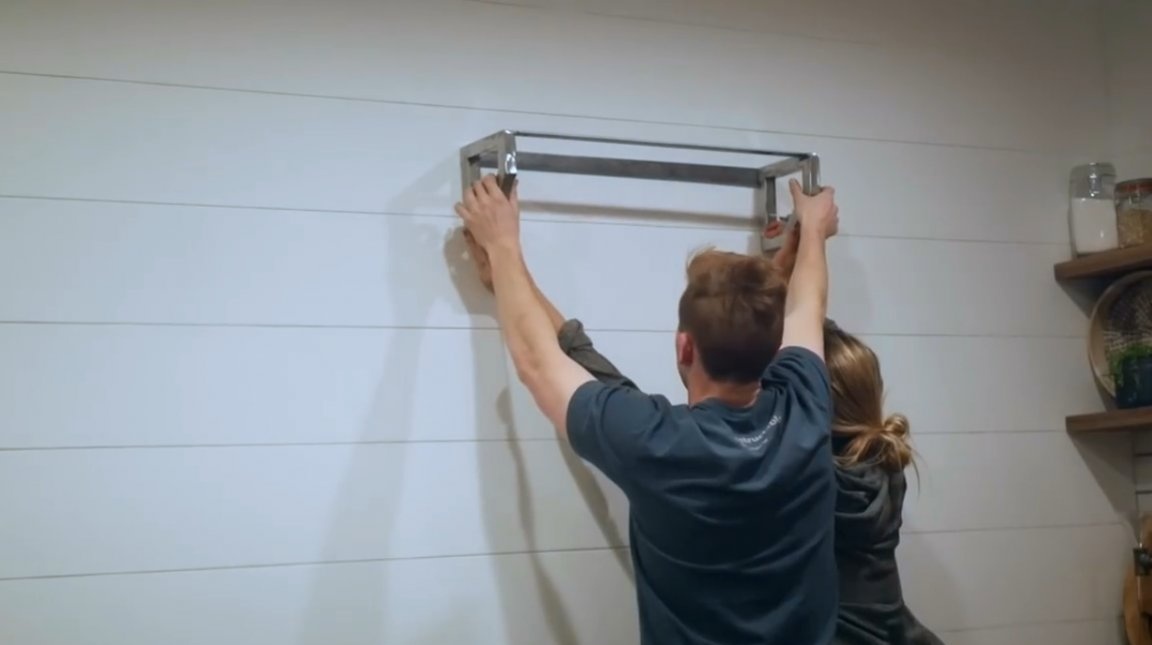
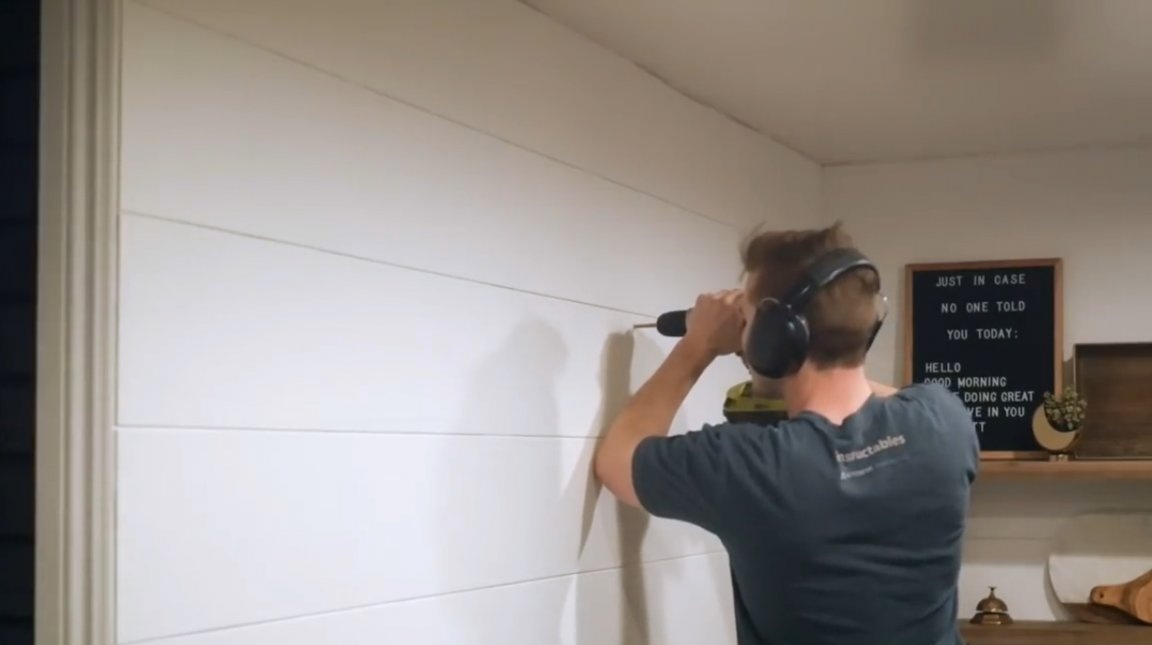
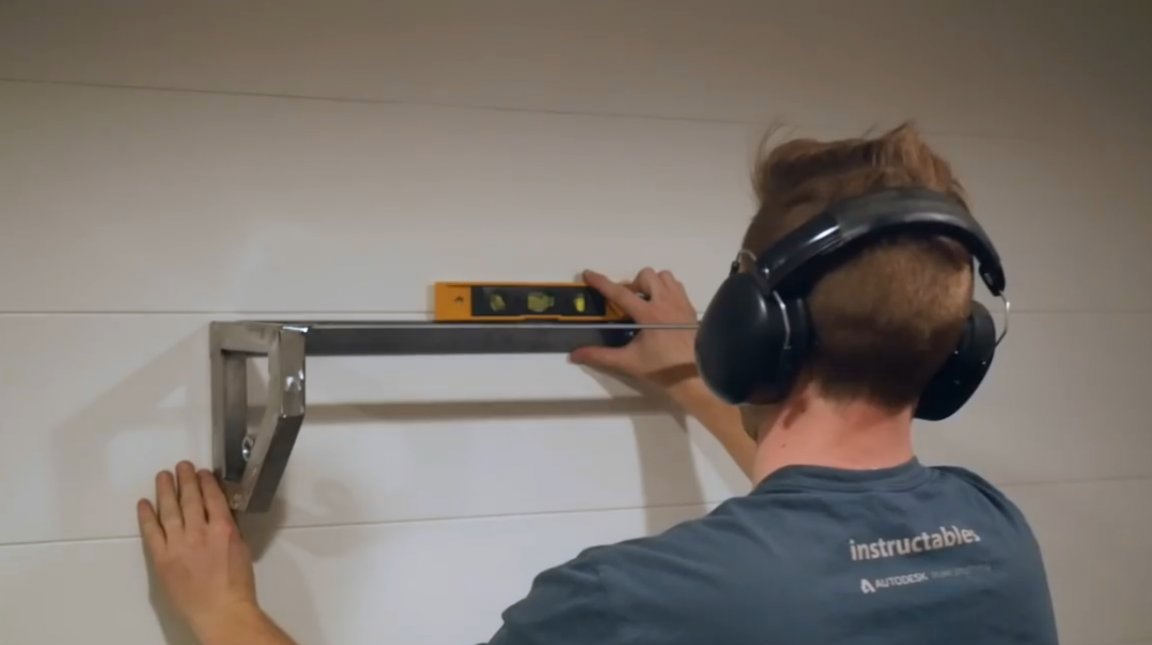
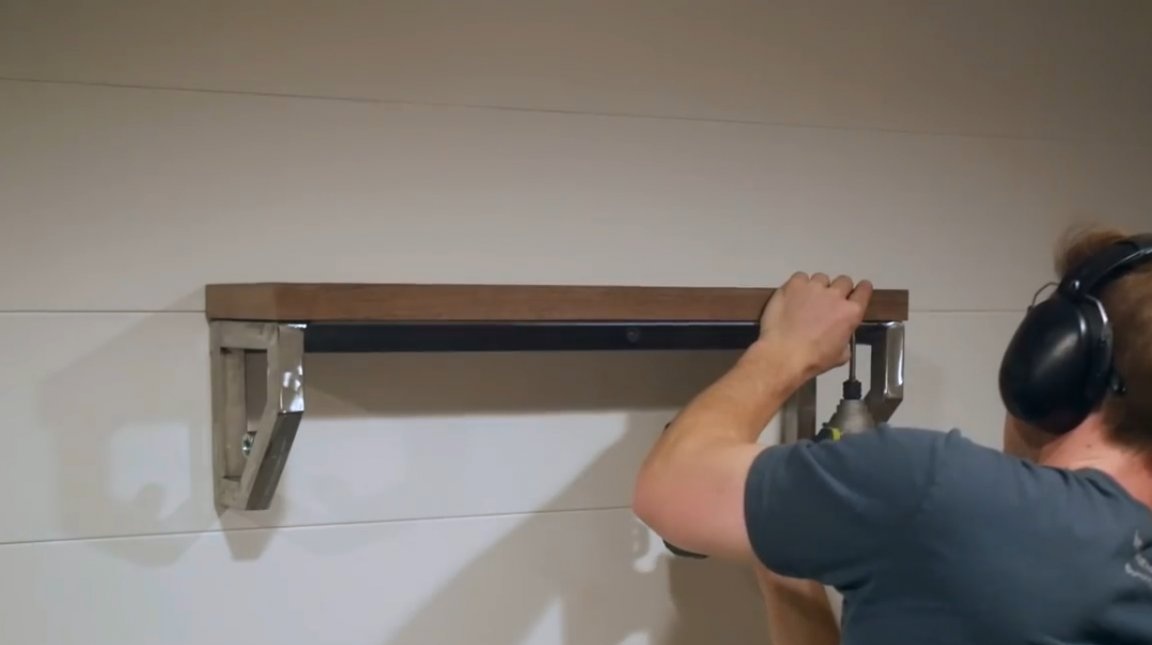
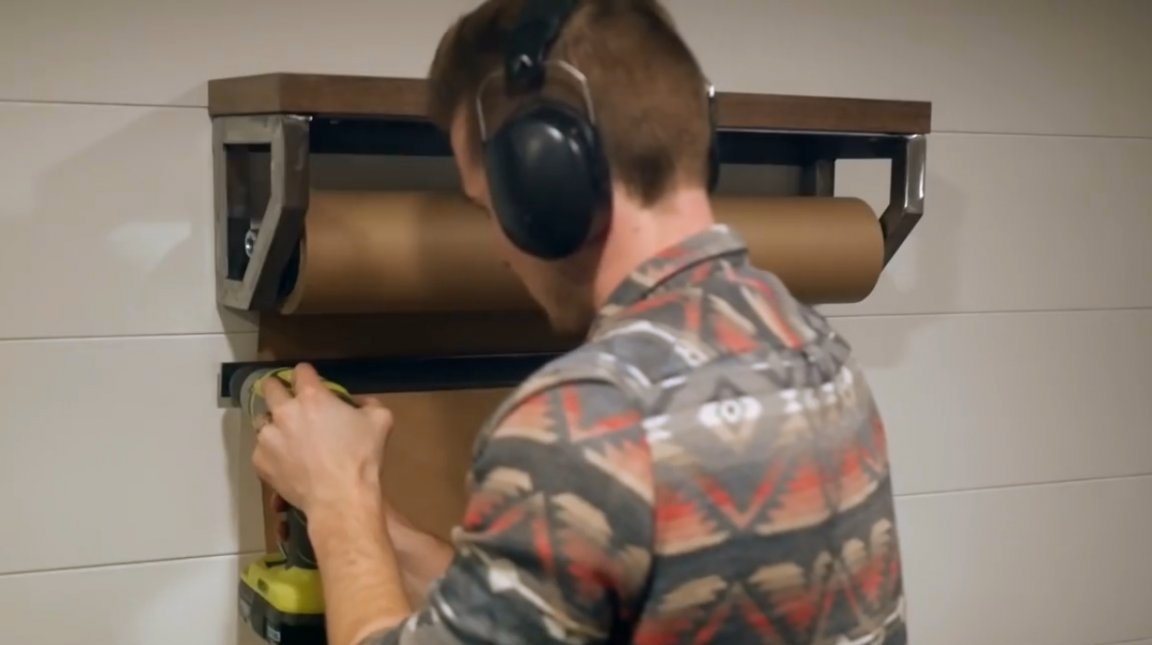
To hang a roll board on a wall, the author first drills the pilot holes in the flat rear side of the structure, and then fastens two dowels, having previously marked their location on the wall.
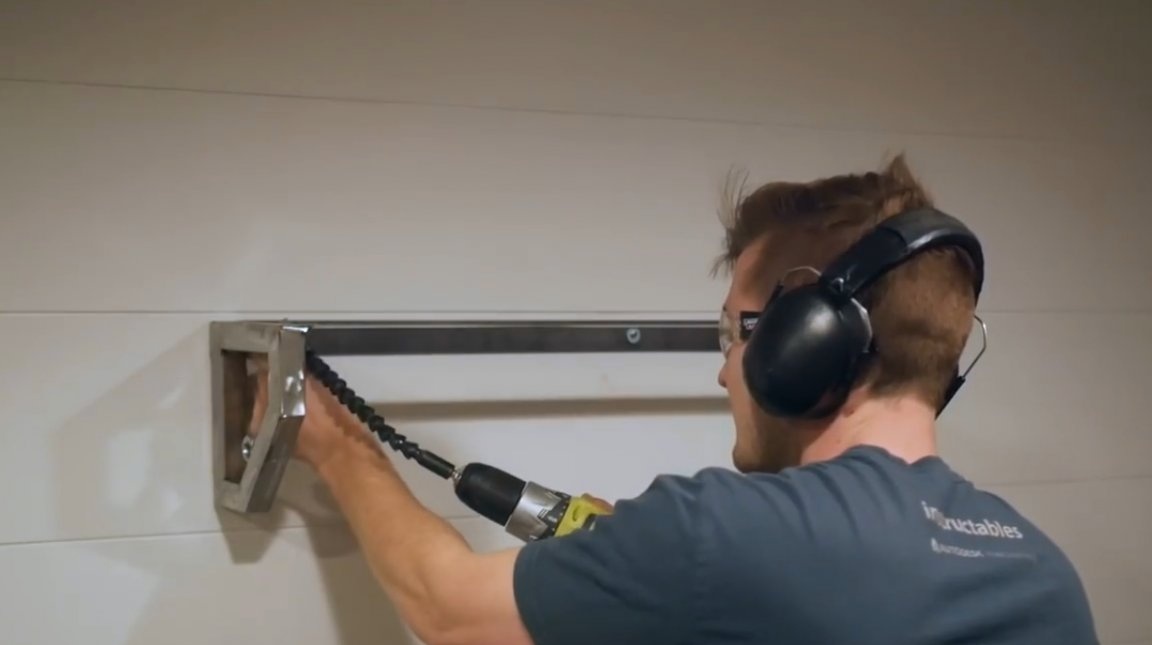
Small pilot holes are drilled into the wall, into which the dowels are then driven in and fastened with screws. Having at hand a level and a screwdriver with flexible adapterIt’s not at all difficult to do this!
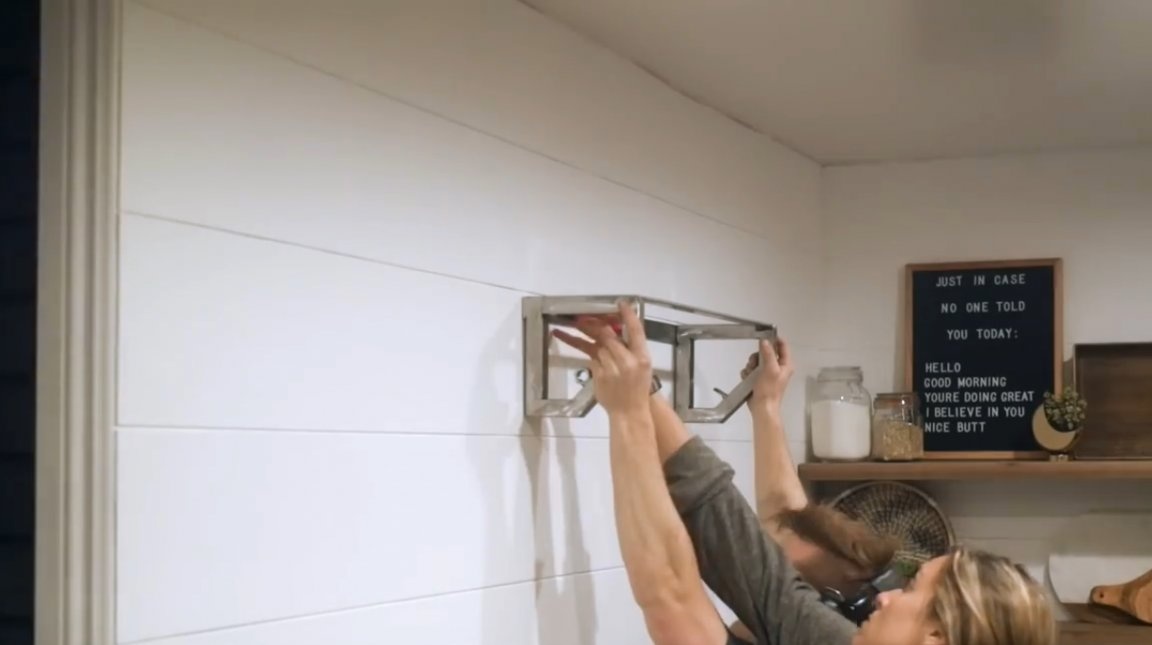
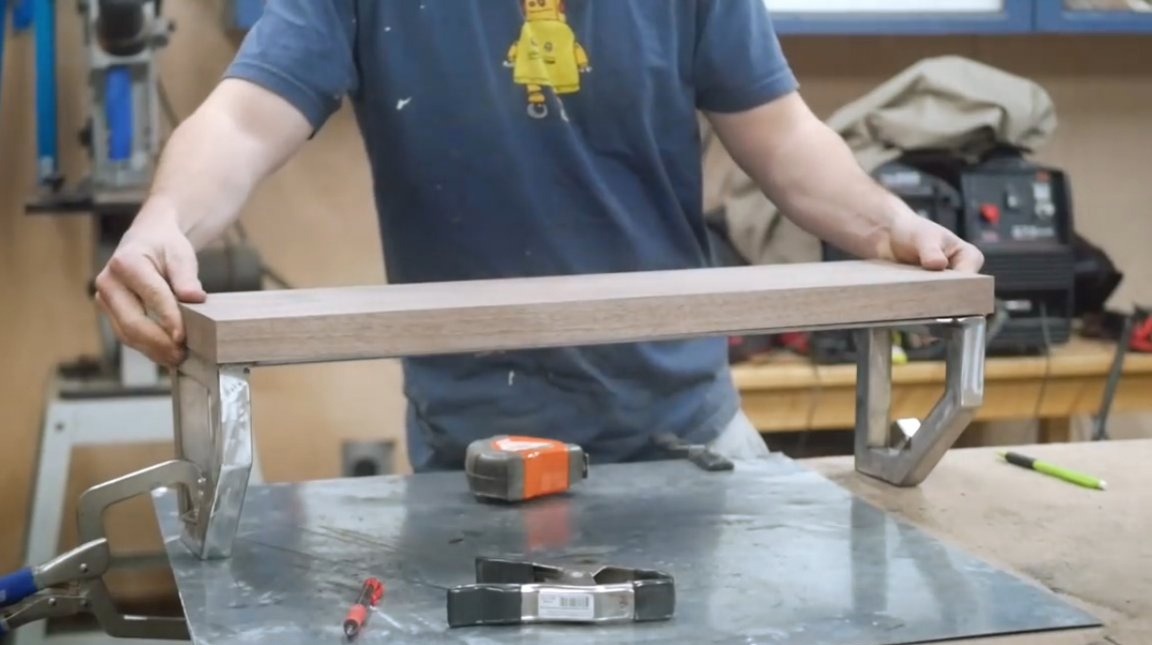
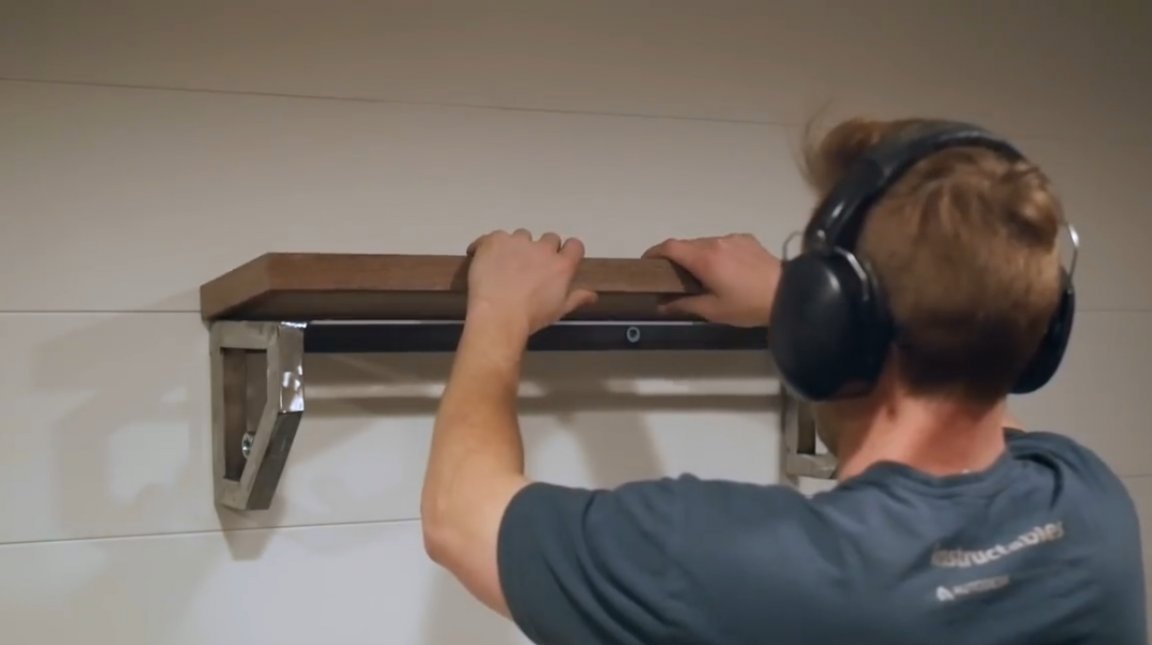
Now you can attach the shelf to the frame.
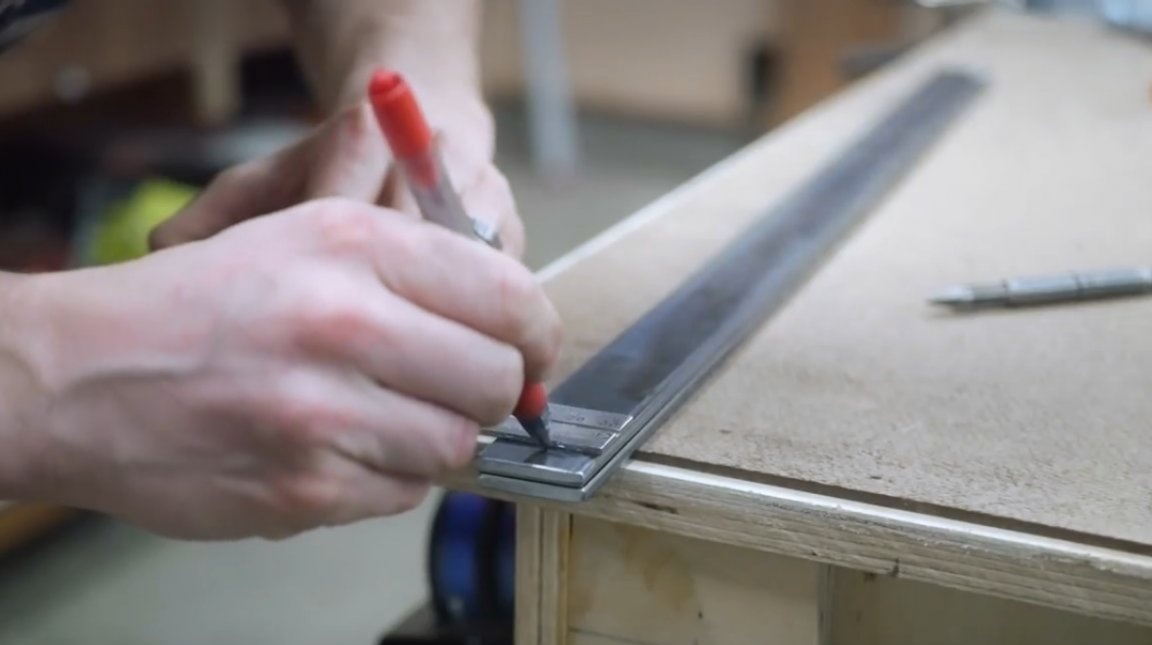
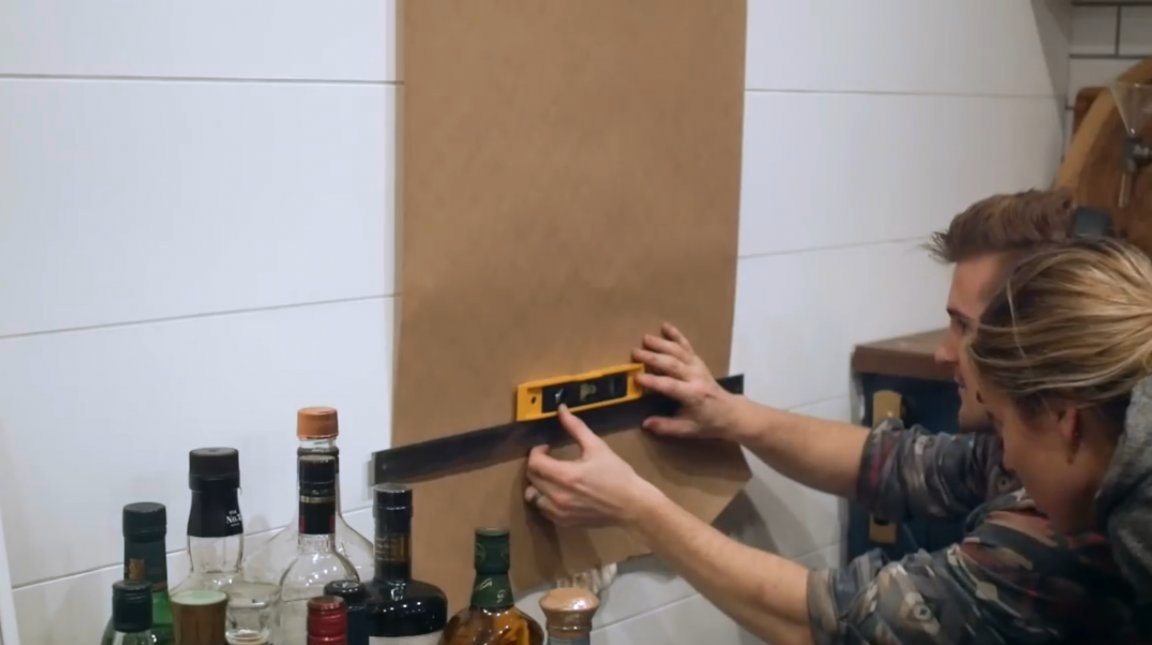
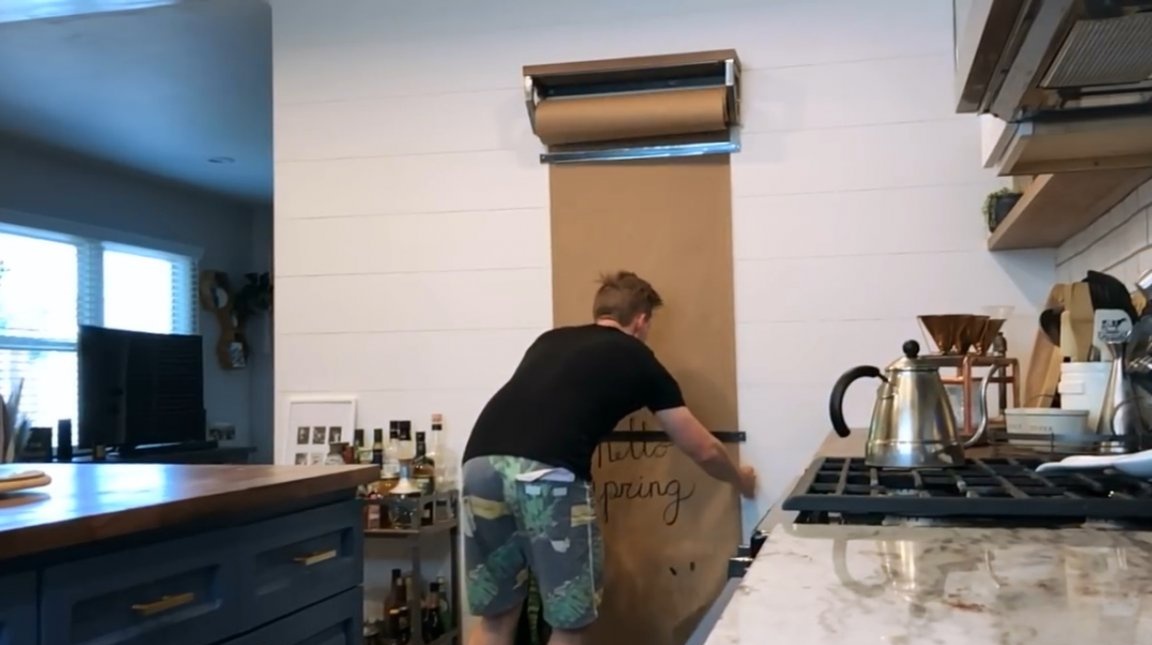
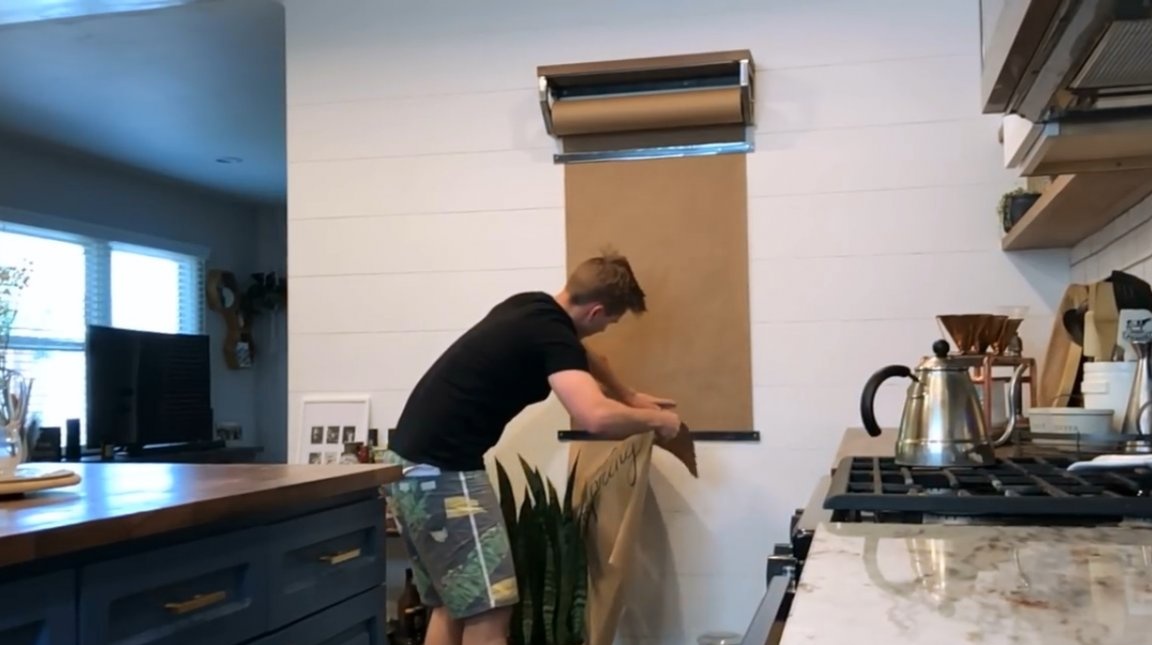
Further, the author cuts two cuts of steel strips of slightly larger width than the sheet of paper itself, smooths sharp edges and drills pilot holes along the edges of each part. They are needed in order to pull the paper against the wall.
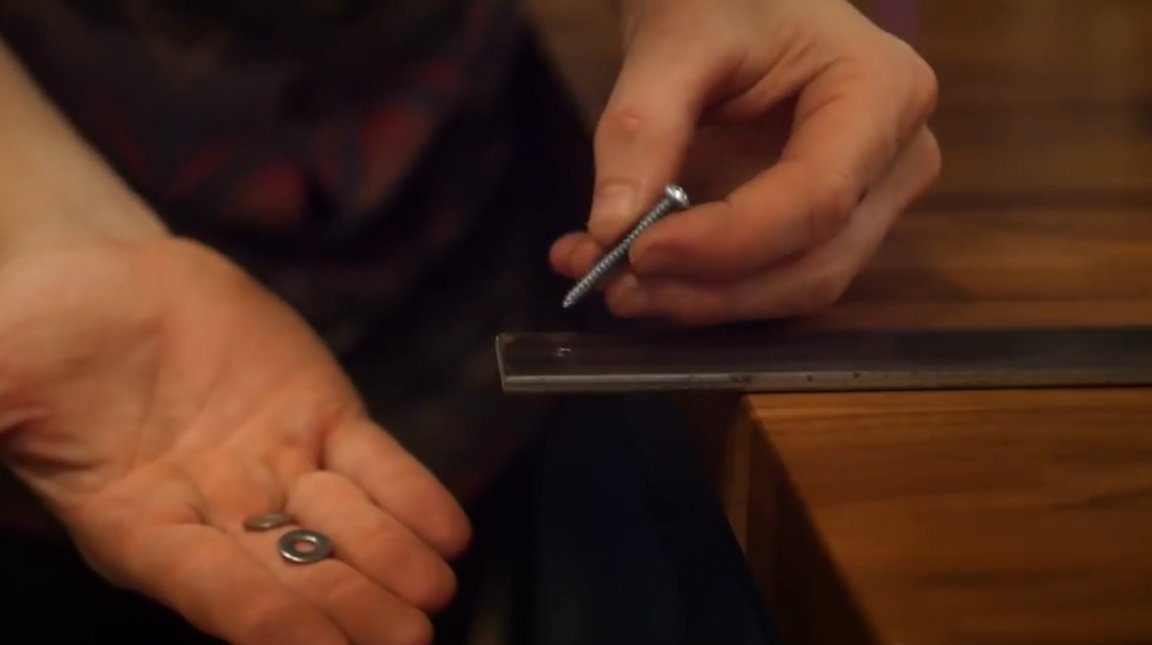
These steel planks are attached to the wall with screws, while washers are laid between the steel plank and the wall itself, two for each screw.So the result is a small gap, sufficient for a paper sheet to pass into it.
At this stage, the key point is to maintain the ideal level of both planks and the drum itself. They should all be parallel to each other and located exactly horizontally relative to the floor.


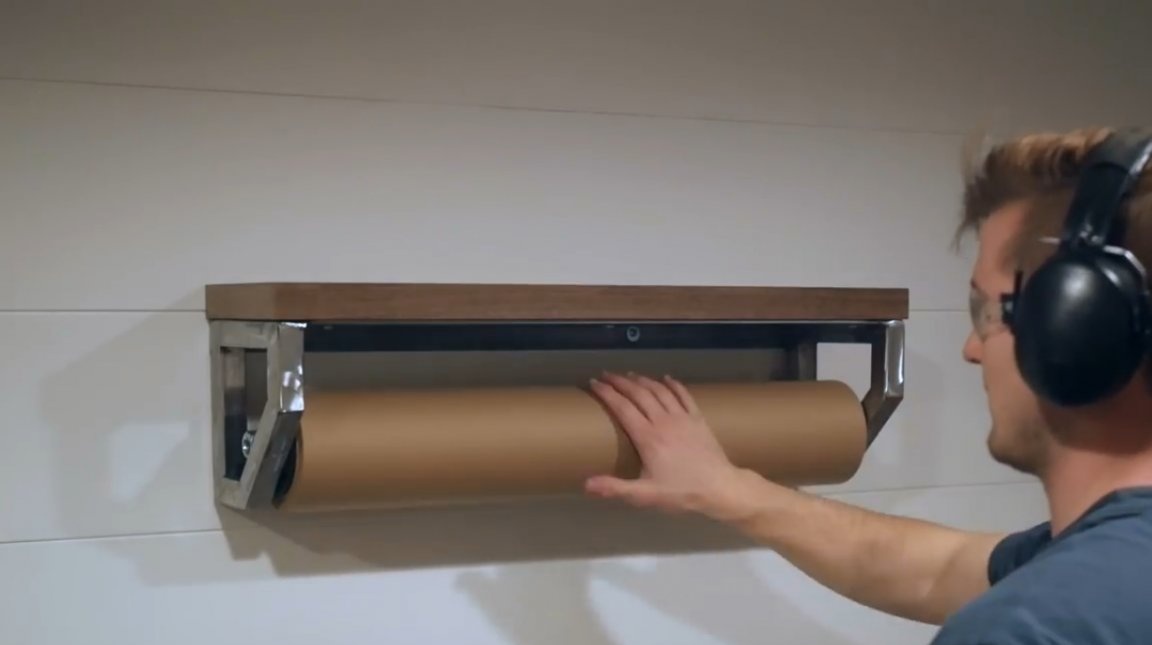
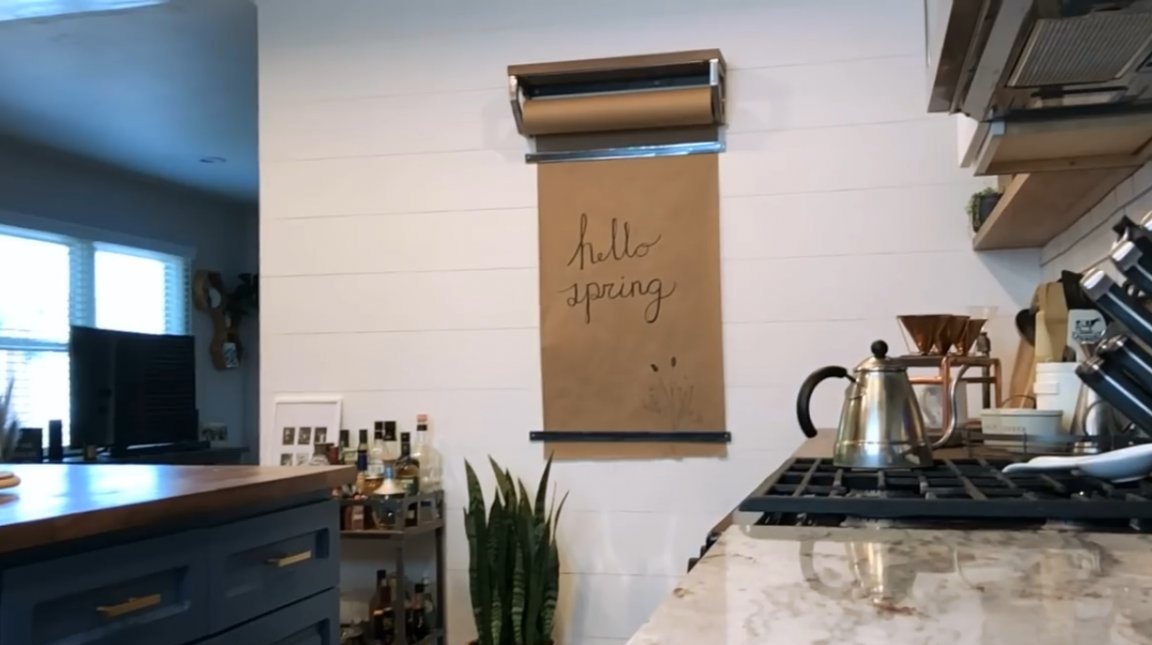
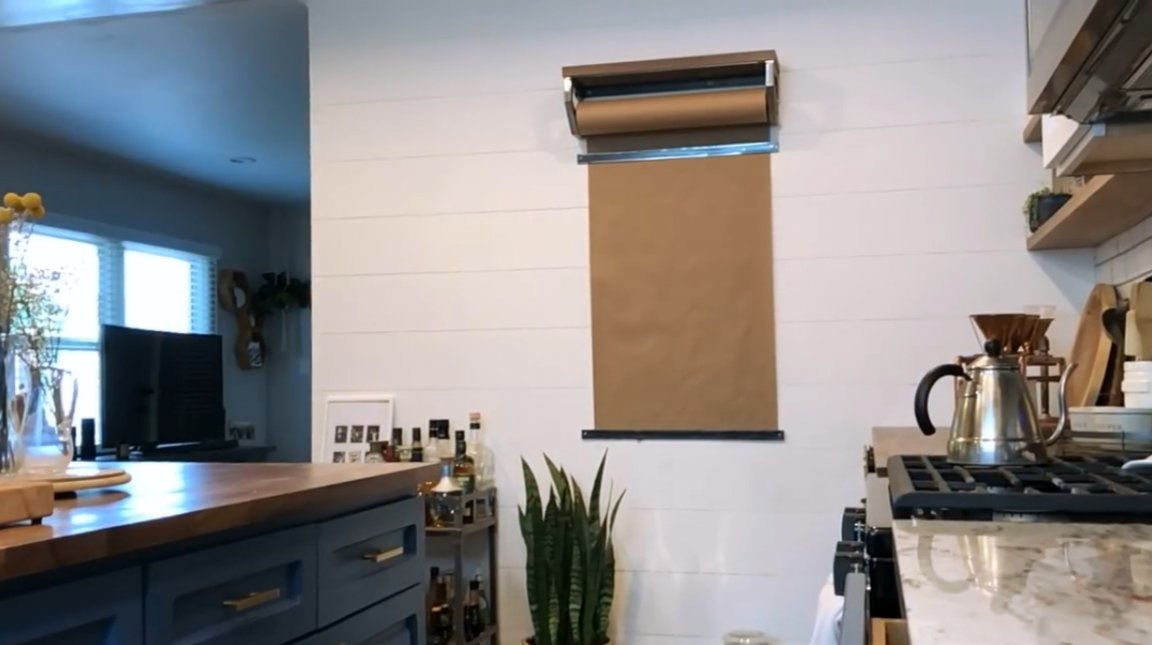
All is ready! Such a roll board will not be out of place to hang at home, as well as in bars, restaurants, where they usually inform about special offers, paint menus, etc. In order to refresh the surface, just pull on the paper and tear off the excess.
I thank the author for a very interesting design of a note board.
If you have interesting homemade products, share them on this site. Here you will get a real reward, not a “bunch of green stuff" at the entertainment forum.
All good mood, good luck, and interesting ideas!
Author video can be found here.