
Hello to all the inhabitants of our sites! Today in this article we will look at how to make a very useful garage homemade. Why garage? Well, first of all, it is unlikely that such a thing will be useful to you at home, and we will collect it from improvised means, and we will not pay any attention to the appearance. Namely, today we will consider how to make an electric stove, on which you can cook, heat or warm something. Surely you at least once needed a similar thing in the garage, but money was a pity, since the "tool" is not entirely important. So, the budget of this homemade product is extremely small, since most of the elements necessary for assembly are probably already available in many in the garage. Well, well, I think you should not delay with a long introduction, they drove.
For a homemade electric stove you will need:
- Two cans of different sizes
- Clay (e.g. clay for pottery)
- Computer cooling fan
- Spool of nichrome thread (for example: 20 M, 0.50mm, 7.14 Ohm / M)
- Power cord with plug / Step-down converter from 220V AC to 12-24V DC.
From the tools you will also need:
- Hammer.
- Can opener
- Plastic bag
- Drill with a cutting disc
- Common thread
- Something cylindrical in shape, such as glue sticks.
- Pliers / nippers
- soldering iron
- Shrink
- Ordinary wire
- marker
- A wooden stick.
We proceed to the assembly of the electric stove (heater).
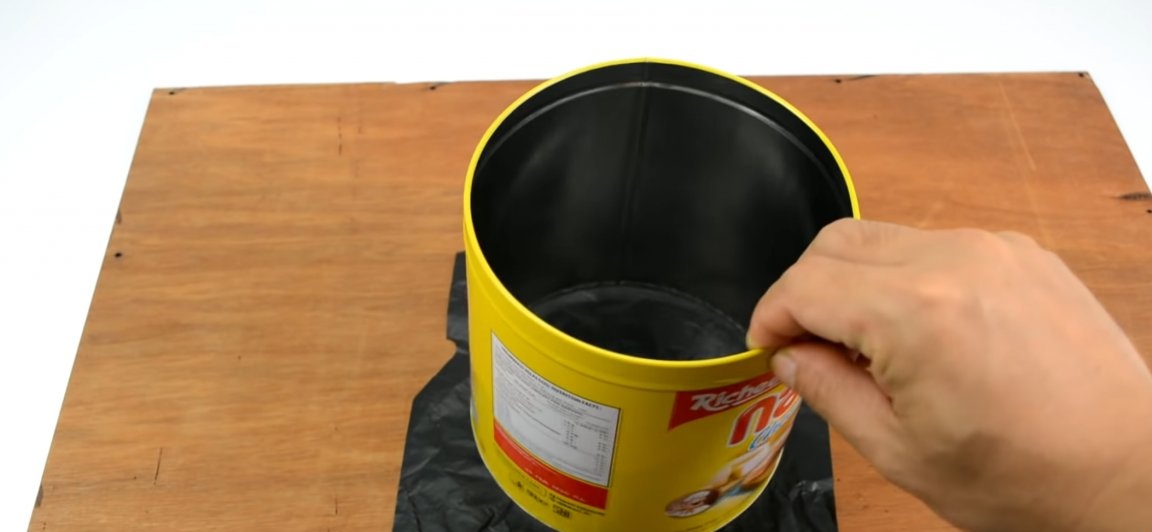
The first step is to make the most basic part of homemade work, namely the basis on which we will continue the assembly. For it, you need to take some tin can, the volume of which will be at least one liter (the more the can, the more and more powerful the stove / heater).
In the tin can you have taken, the upper and lower parts should be removed so that we get a workpiece resembling a pipe. To do this, using an opener or a simple knife, we cut out these elements. Next, you should remove the tin burrs remaining after the work done, which during assembly will only interfere. We hammer them on the inside of the can with a hammer until we remove all the burrs.

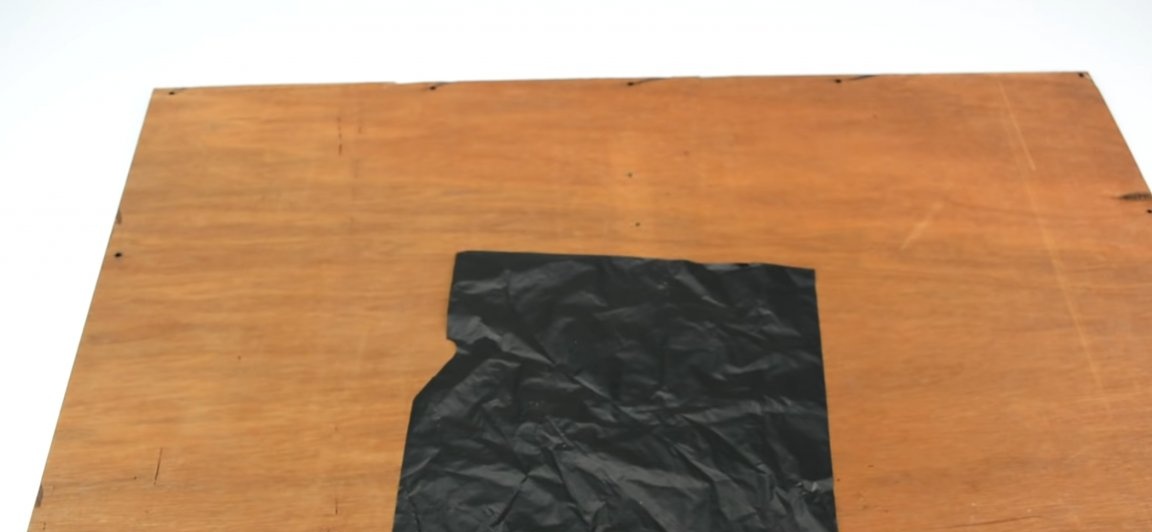
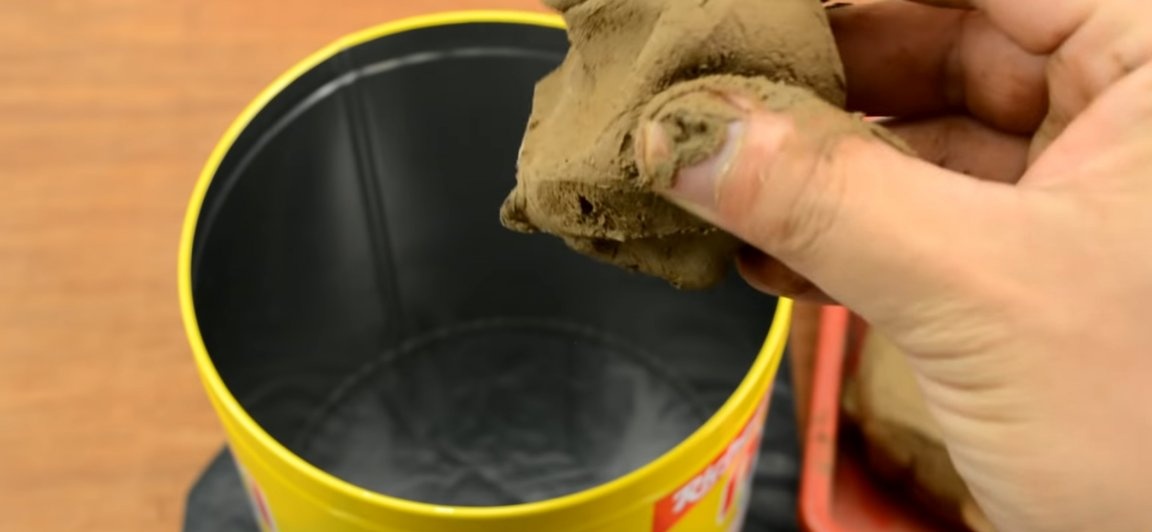
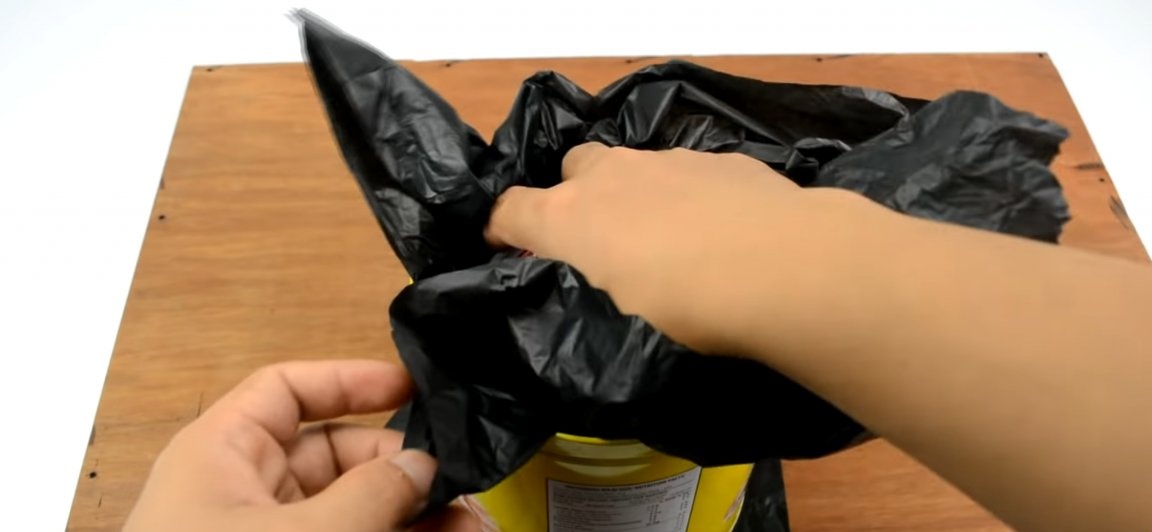
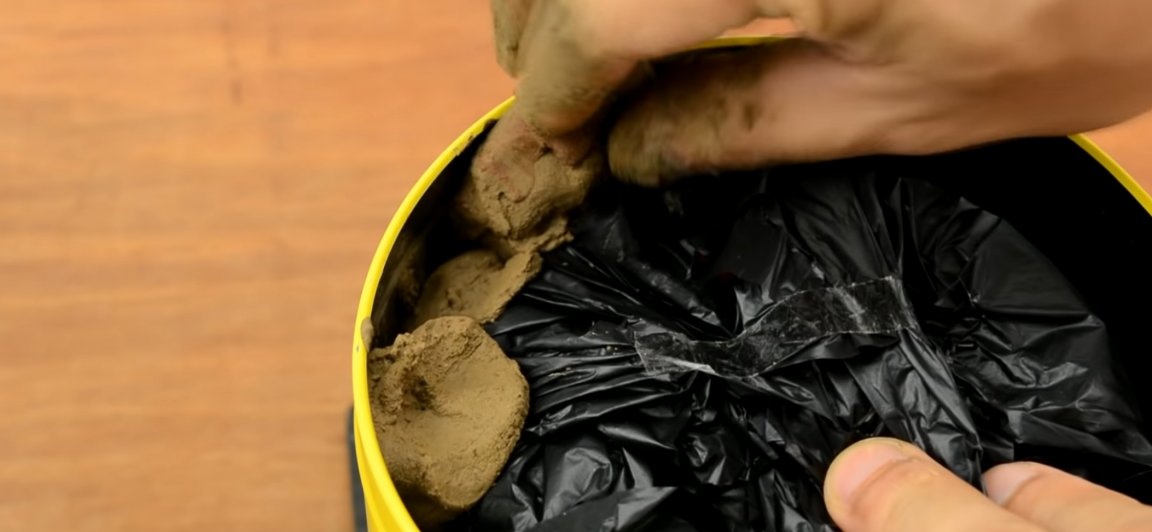
After that, the design should be made more heat-resistant. And for this, the walls of the banks should be overlaid with clay.In order to do this apperception we repeat the following steps. We put a plastic bag on the table, a jar on it (the bag is needed so that the clay does not stick to the table) and evenly fill the bottom of the jar with clay. Clay can be taken absolutely any, the author of the homemade used "pottery" clay, this is usually sold in vacuum packaging already diluted, and you do not have to knead anything.
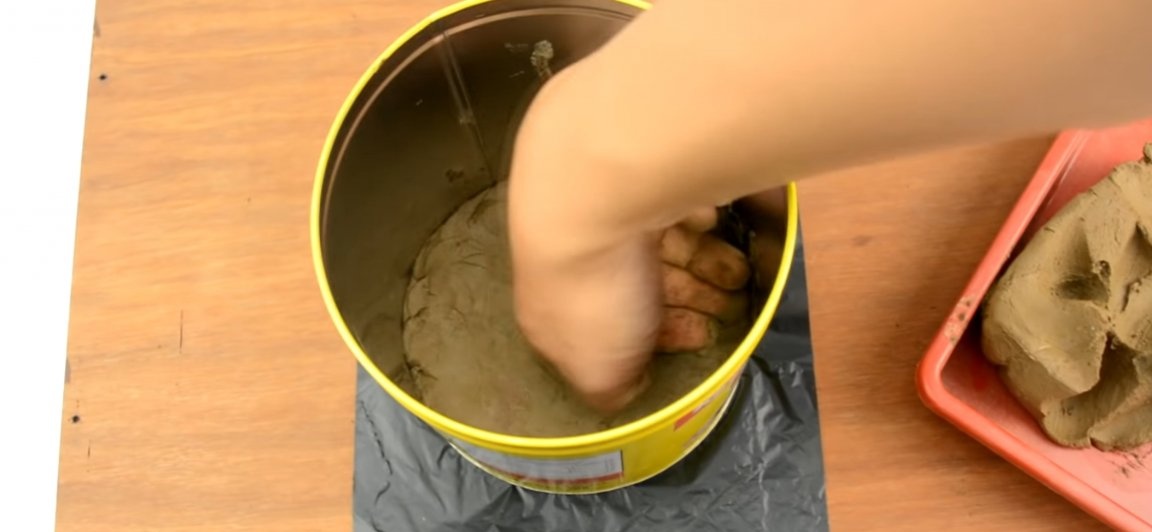
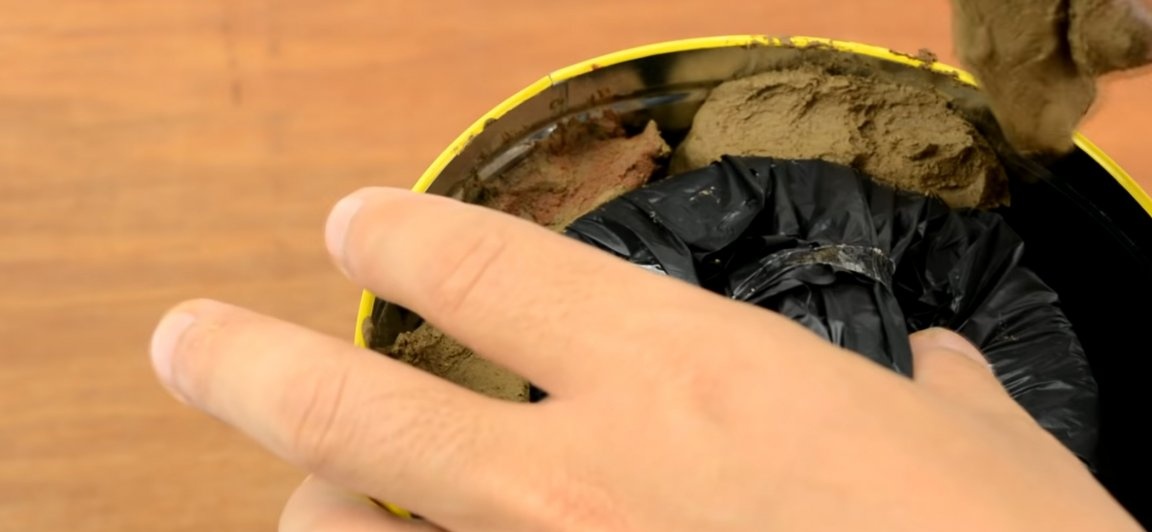
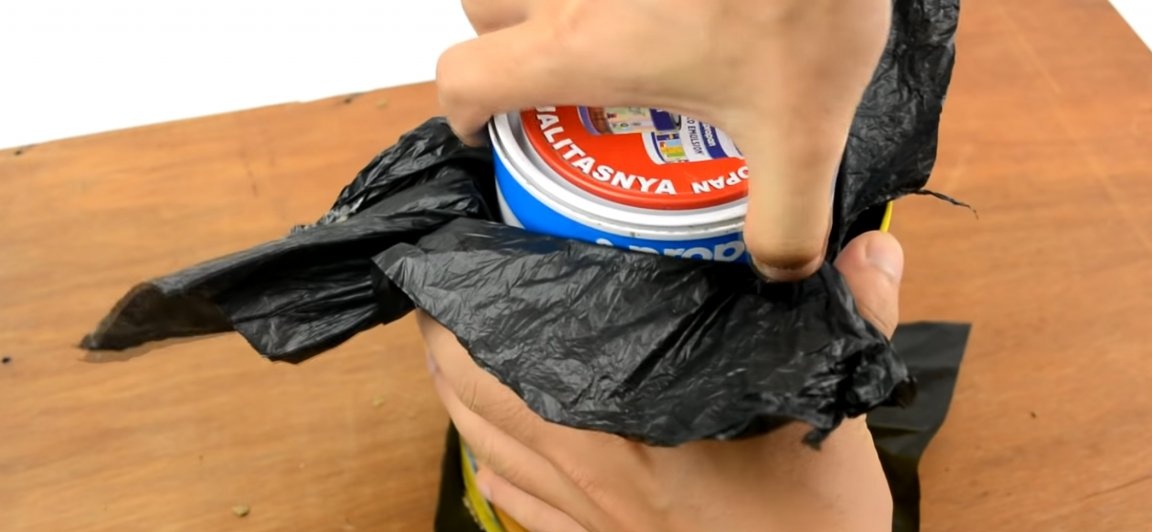
After the clay is evenly distributed along the bottom of the can, we take another plastic bag and a tin can smaller than the previous one. We wrap the jar in a plastic bag, fix it on the jar with tape so that the bag is pulled onto the jar, and put it exactly in the center of the big jar. The space between the walls of the two cans should be completely and completely filled with clay. As an improvised tool for this work, we’ll take some stick with the help of which we will hammer clay.

After completing the steps described earlier, carefully remove the inner can from the large can. First we take out the jar itself, and only then a plastic bag. As you can see, due to the fact that we used a plastic bag, we were able to easily remove the can, otherwise it would simply not be possible to do this!
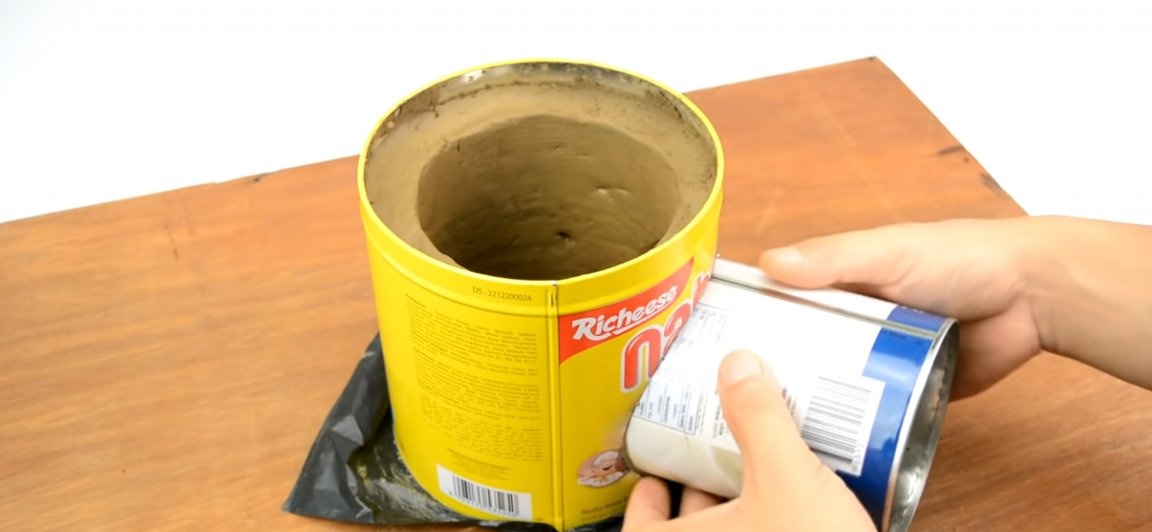
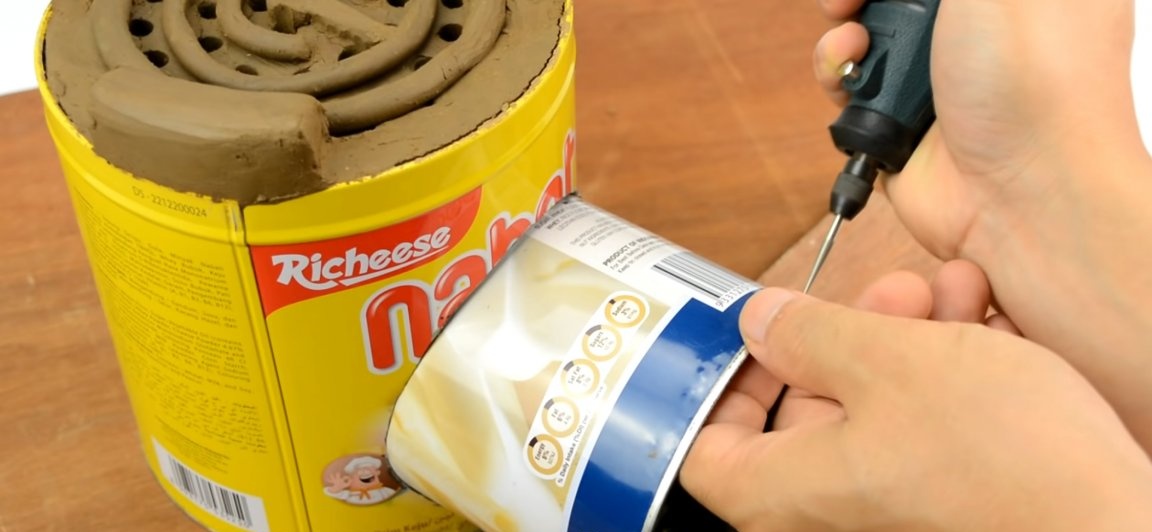
The next step is to make the part of the structure in which the fan for blowing will be installed. To do this, take a jar of suitable diameter, to install your fan in it, the author used the jar used earlier perfectly. We apply a small can to the side of the structure and circle it with a marker, and then, taking a drill with a cutting disc for metal, cut a hole along the contour.
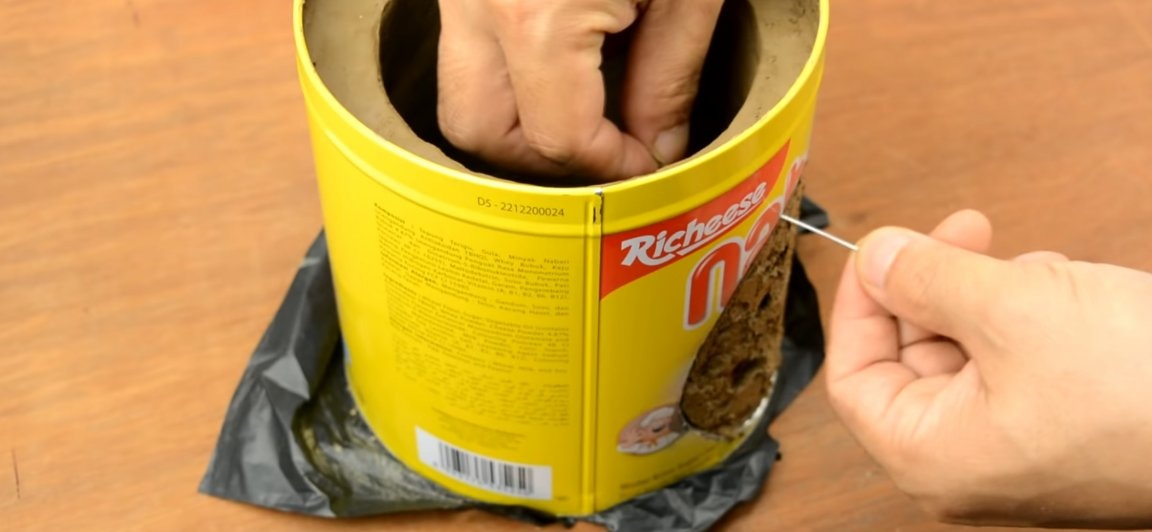
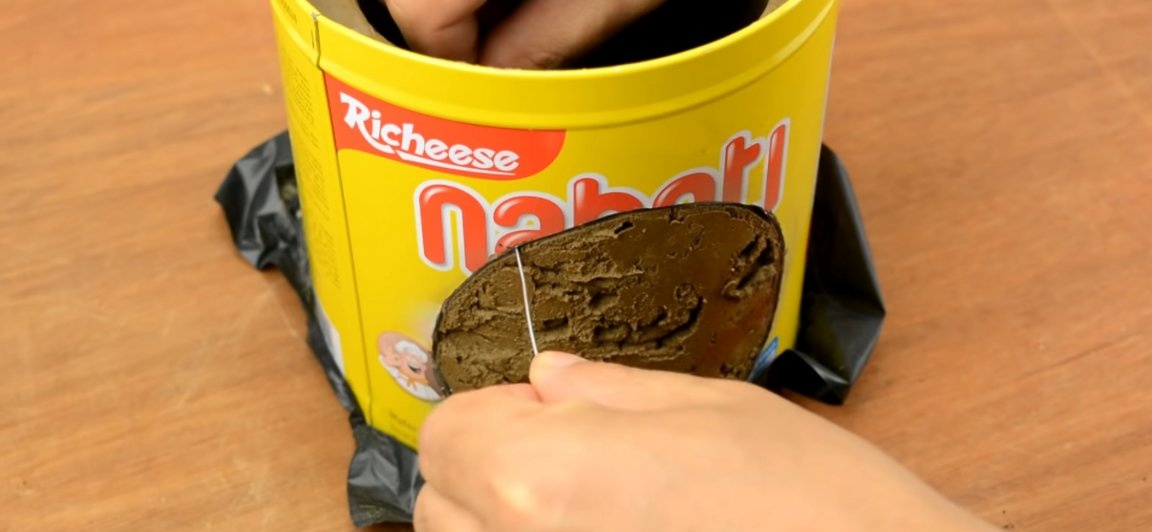
Having cut a side hole in a large can, we observe clay, which should be carefully removed from there. In order to carefully cut a round clay disc, use a needle with a thread. A needle with a thread is pushed through the clay and the thread itself carefully cut a round hole around the office (see photo).

We insert a tin can into the already completed hole, for which this hole was made. Due to the fact that our stacks are clay and thick, no additional fixation of the tin can in the construction is required, it will stick well there.
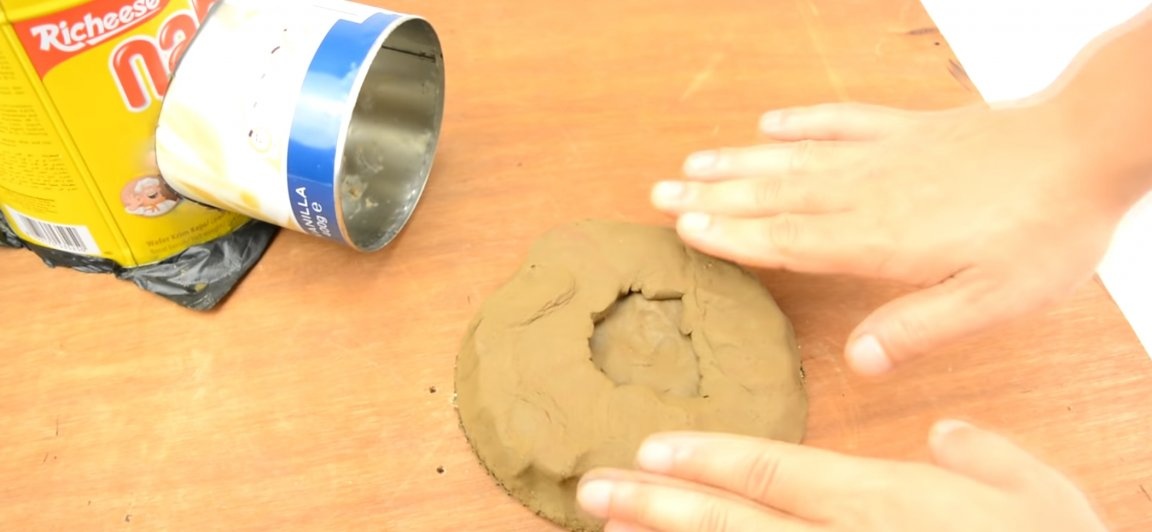
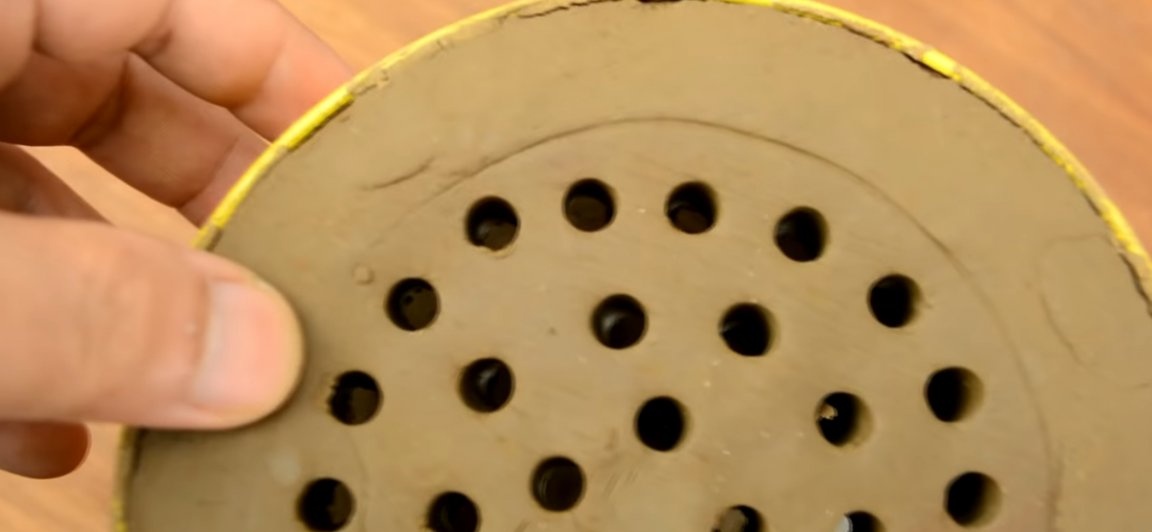
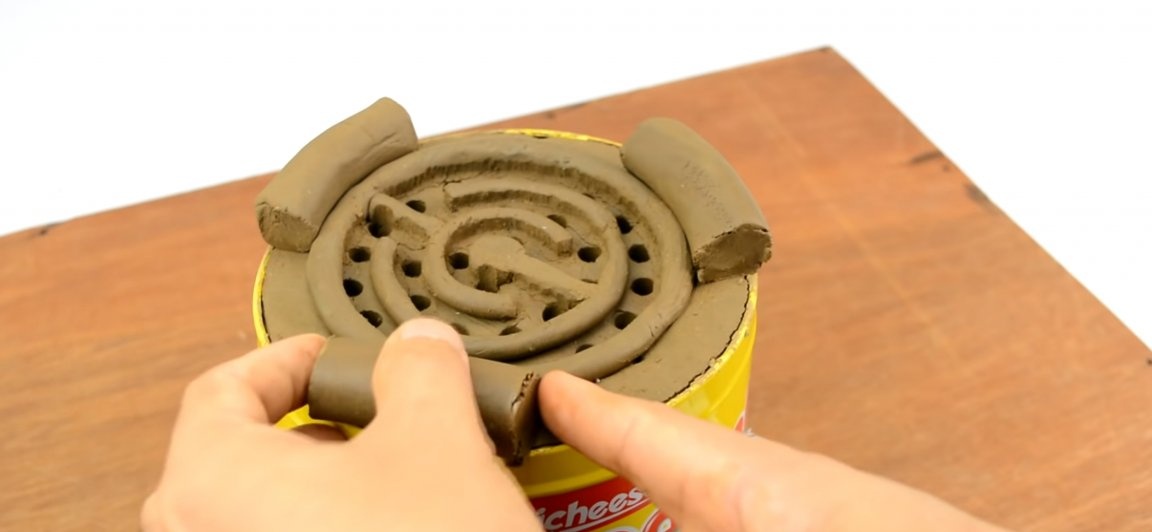
After that, a burner should be made in which a nichrome thread will be installed, on which in turn the heated object will be put. To do this, from the same clay we sculpt a “cover” for the can, that is, the outer diameter of the disk should not exceed the inner diameter of the large can. In a stuck together lid exactly in the center we mark a circle with a diameter equal to the diameter of a small can.
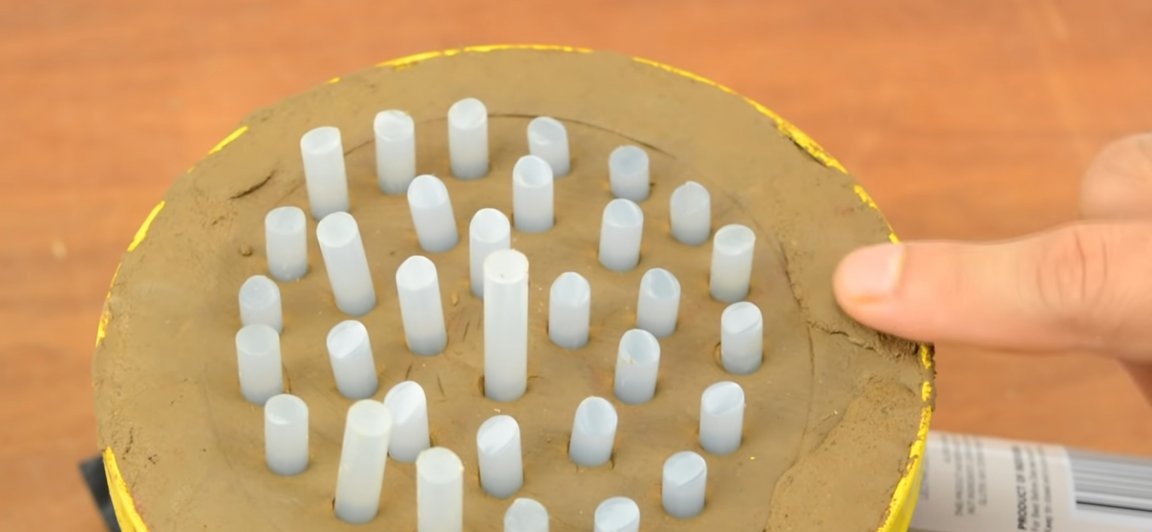
Inside the drawn circle on the lid, make round holes for air supply. For making such holes, the rods of the heat gun are perfect. We insert the segments from the rods into the lid so that we have several rows of holes in the lid (see photo).
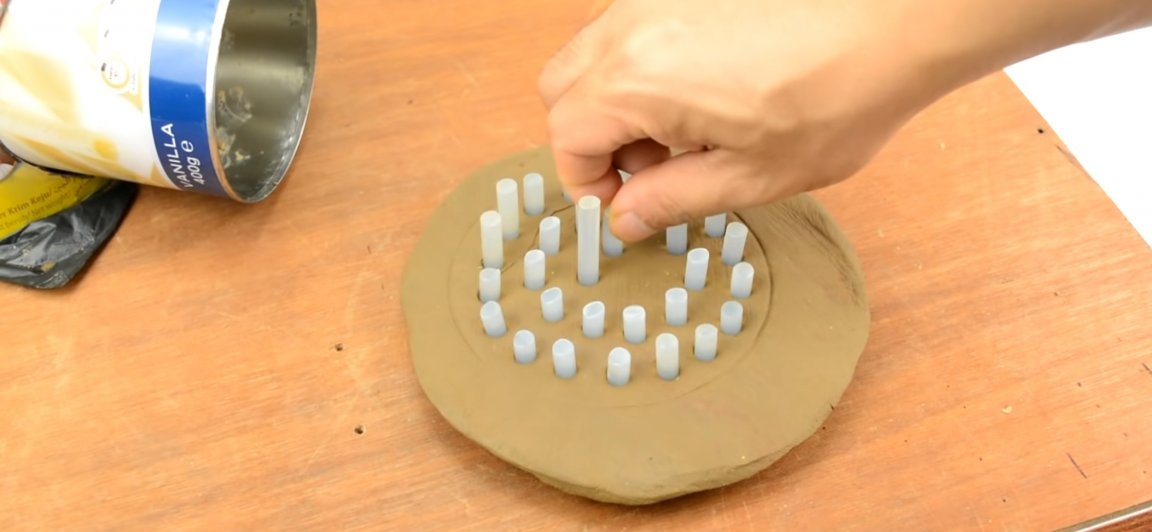
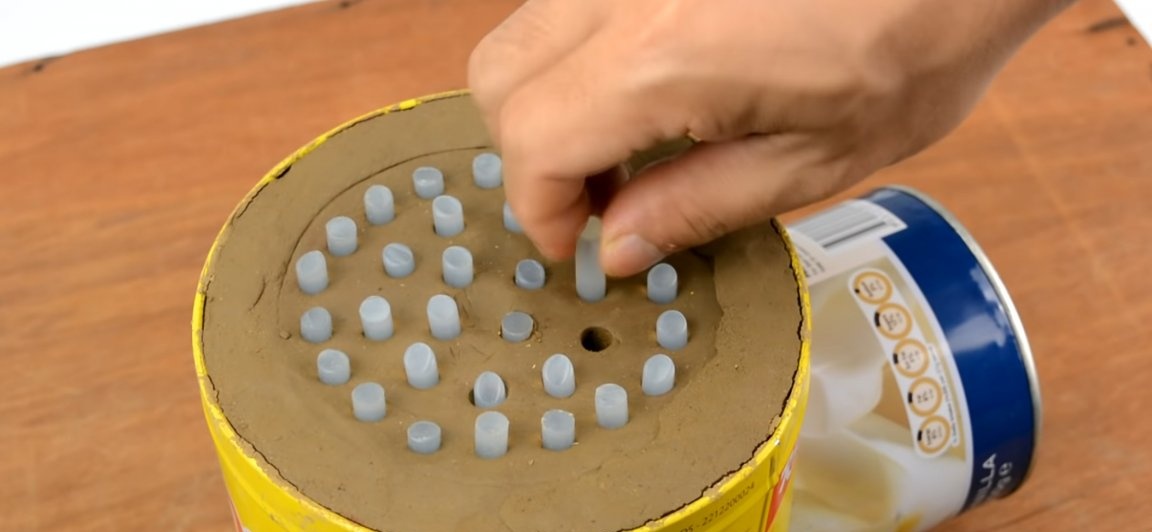
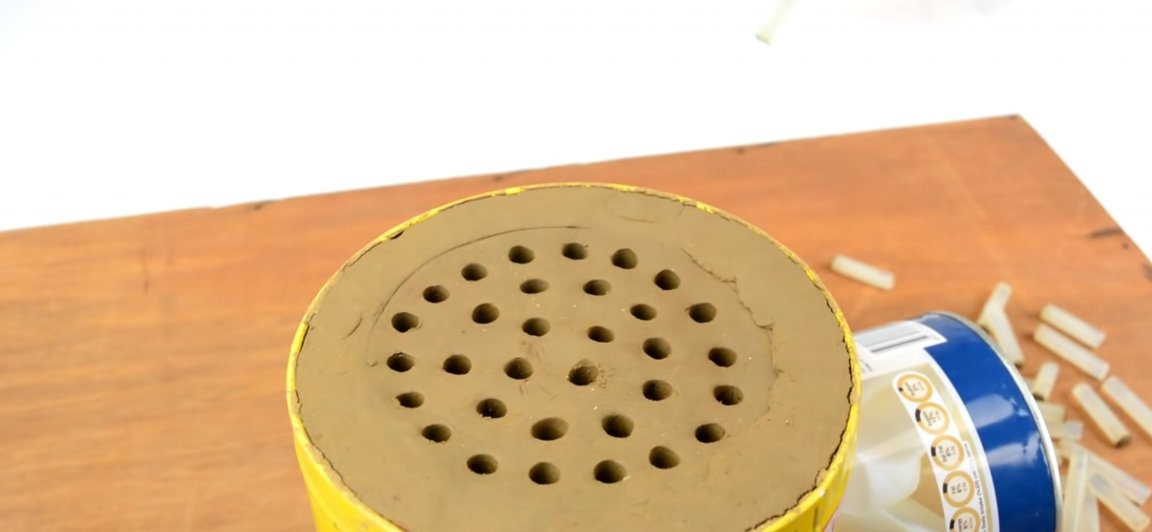
We insert the lid in its place and finally adjust it in size so that there is no gap between the jar and the lid. Then we pull out the glue sticks from the cover. We check for clearance of the hole, they must be through. As a result, we should get a design similar to the one shown below.
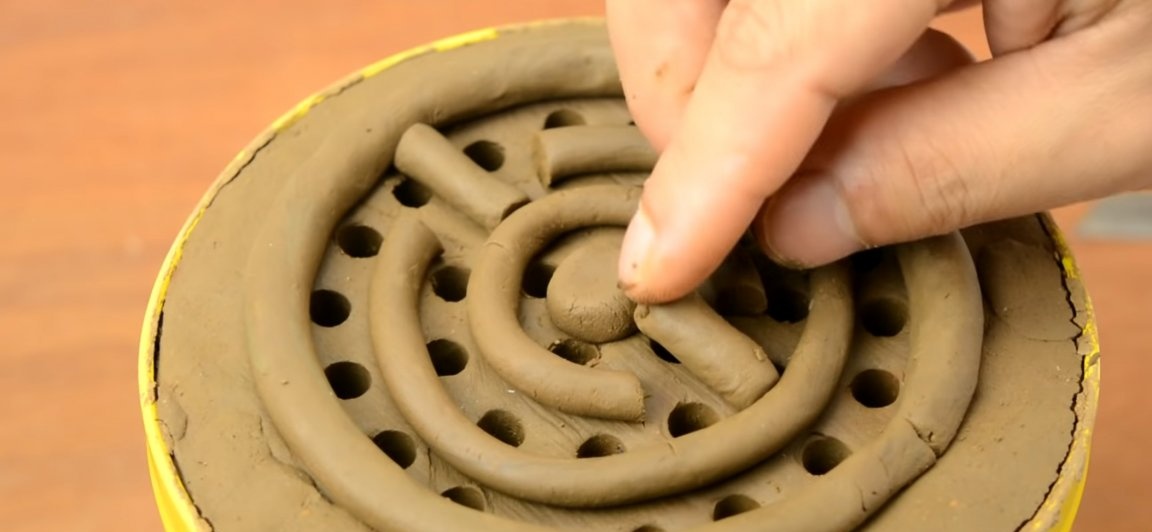
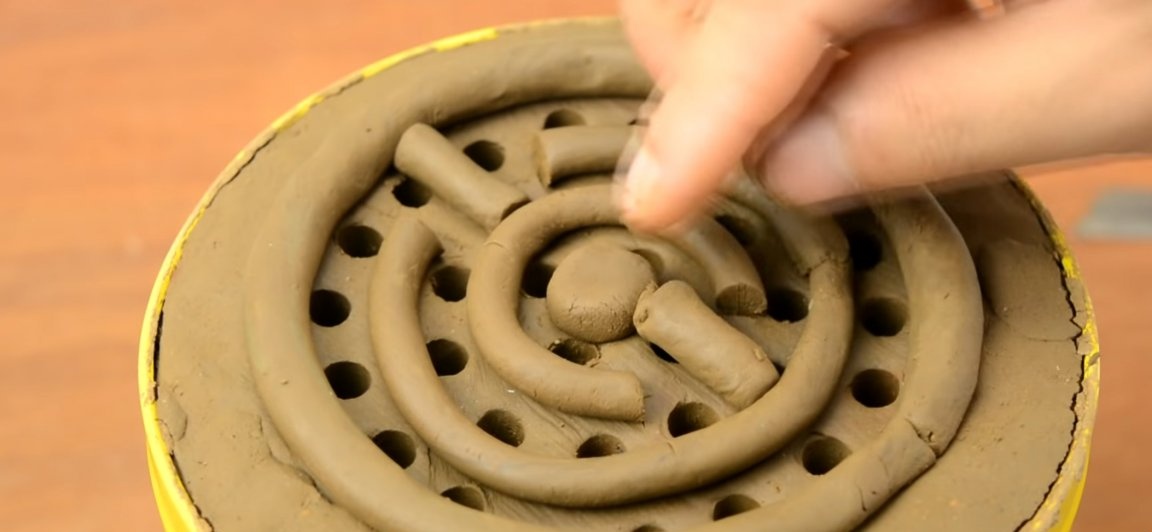
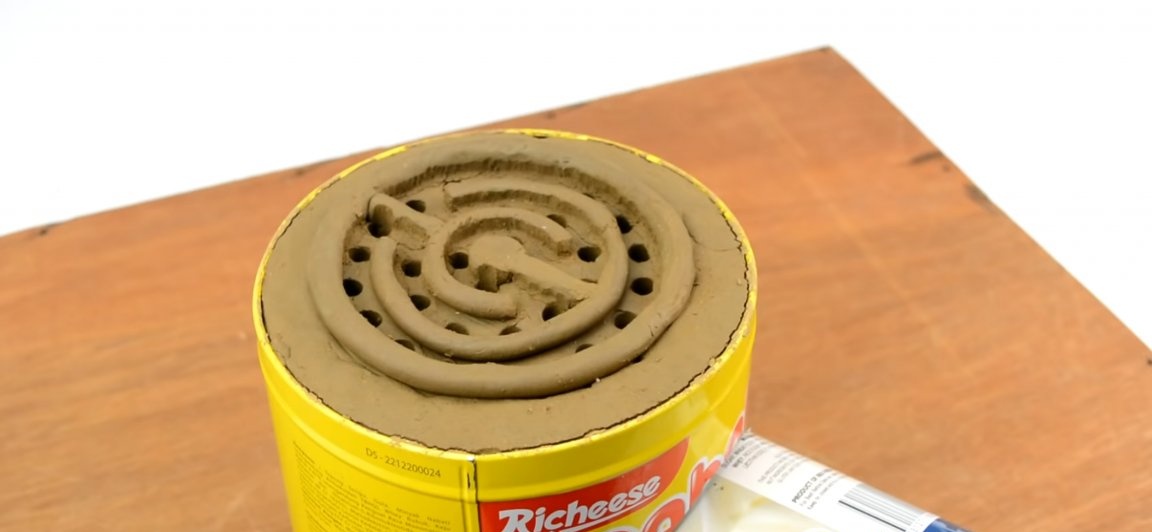
Again we turn to clay modeling. Between the holes should be blinded and lay "sausages" so that we get a groove in which there will be a nichrome thread. In short, repeat the steps from the data images below. We stick on the edges of the lid larger clay “sausages” (the dishes will be put on them).
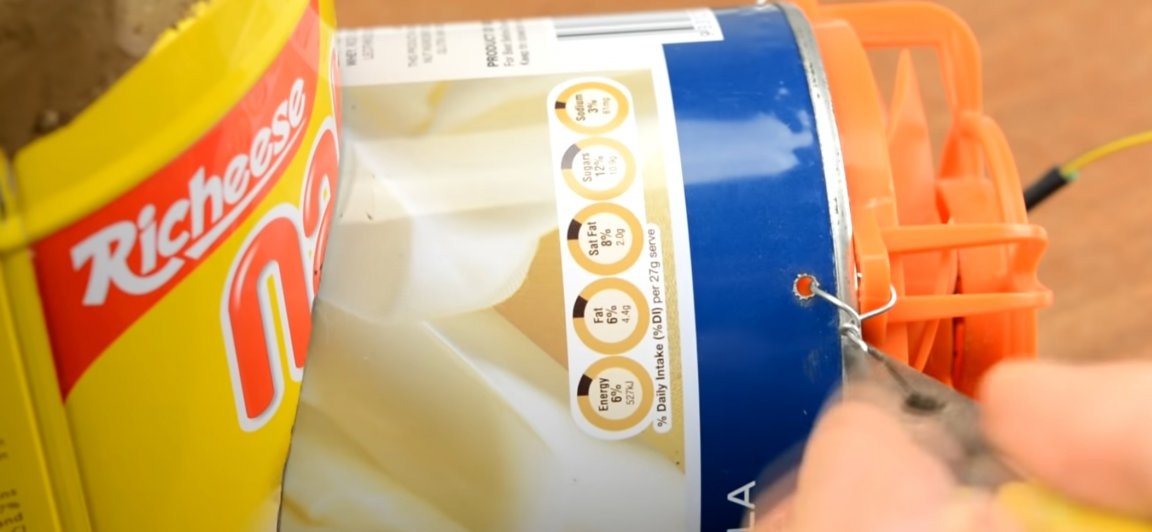
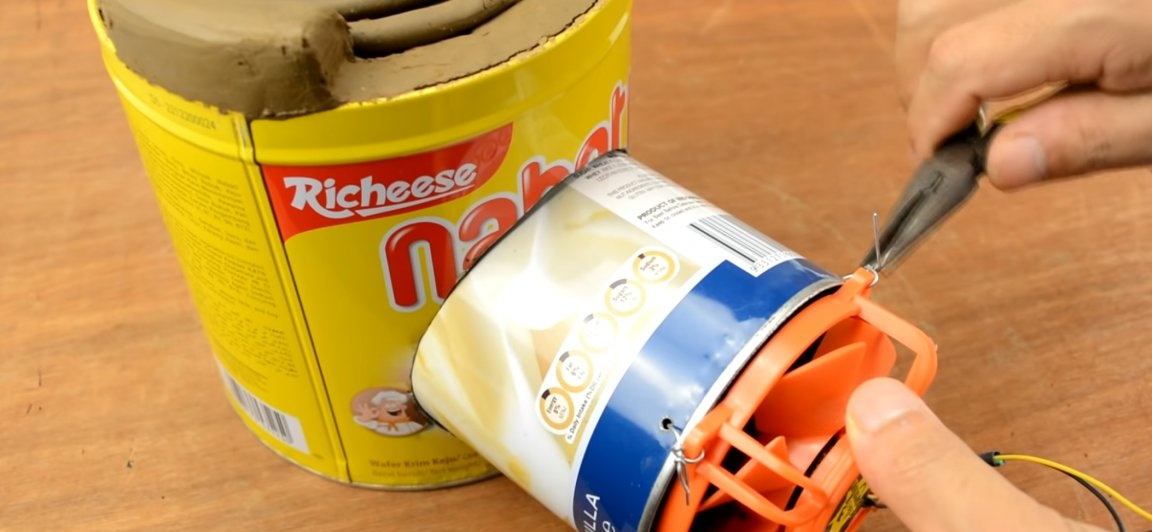
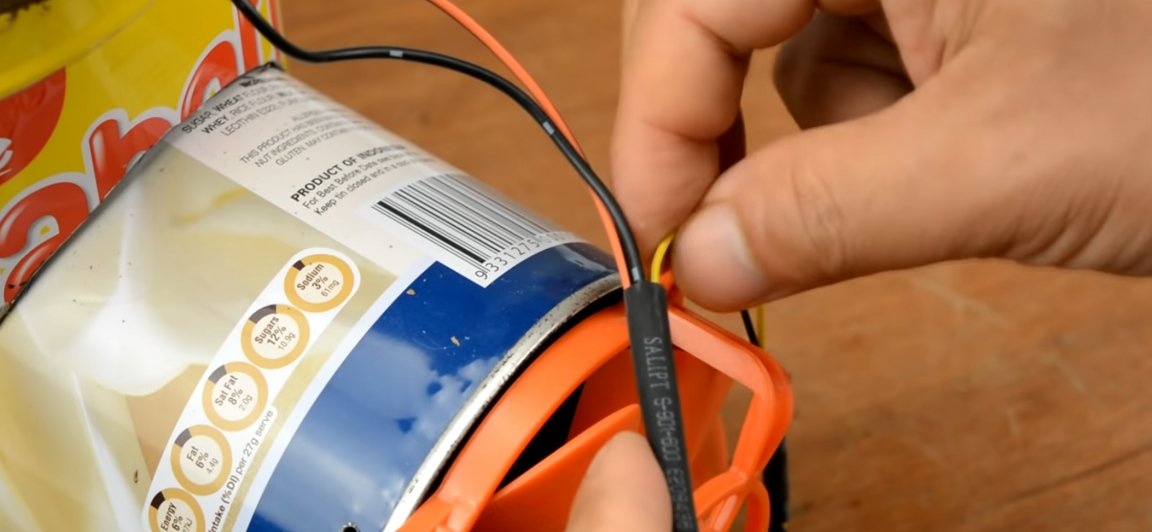
On a tin can mounted on the side of a large can, install a fan. To do this, with the help of a drill, we drill several through holes along the perimeter of the edge of the can.And install the fan, fixing it with a wire, as indicated below. Instead of wire, you can use plastic ties.

We pass to the most important part of homemade work. To the heating part. First of all, you should decide which network you will be using. Just if you feed a nichrome thread from 220v, you will have to separately power the fan from 12-24v. In order to calculate the final power of the heater, the necessary length and thickness of nichrome, you can calculate using special calculators, which on the Internet are just a dime a dozen.
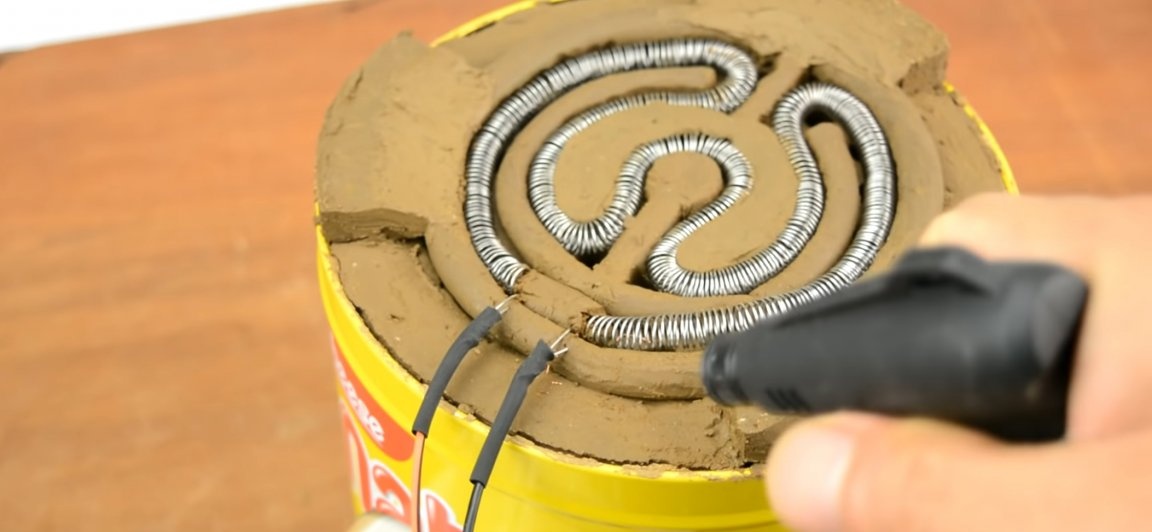
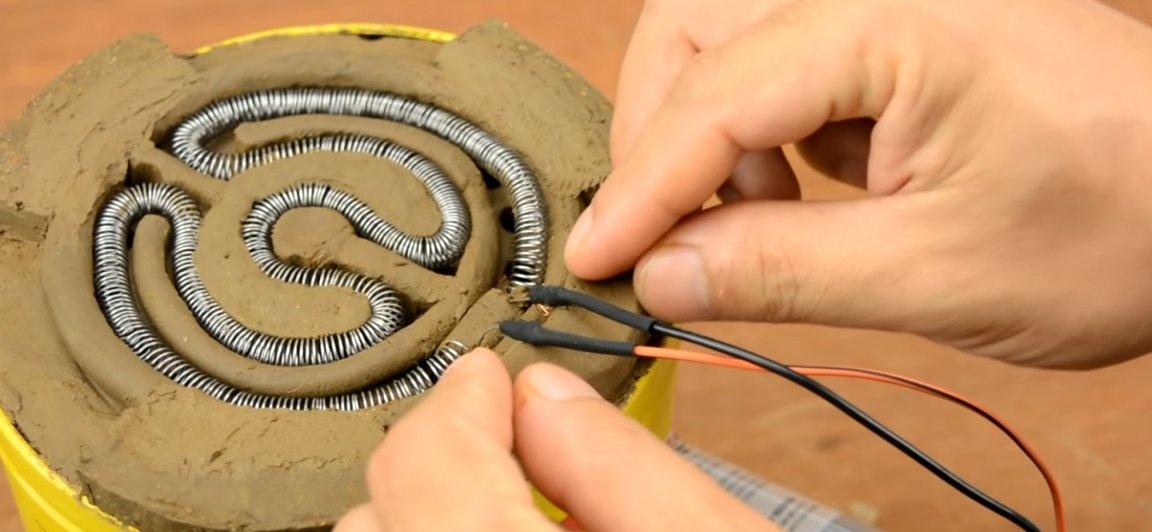
Having decided on the quantity and thickness of the thread, we wind it on a screwdriver, creating a spiral. The spiral itself is laid through the trench prepared earlier.
We connect the wires, isolate the connection point with heat shrink. We also add some clay at the places where the wire connects with the thread (see photo). In this case, clay is responsible for securing the wires to the “case”, so that we do not accidentally tear them off in the future. We connect the fan. The fan can be connected in parallel if you use voltage 12-24v.

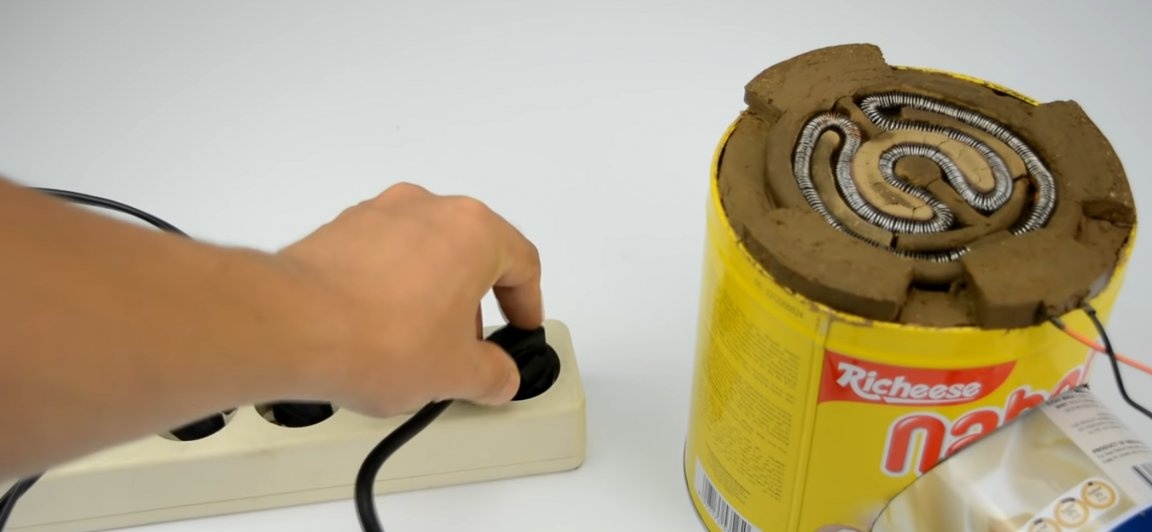
That's all done! We connect the homemade product to the network and test. From the tests we see that the homemade product does its job perfectly, it can not only boil water, but also fry fried eggs. This homemade product also does an excellent job as a heater. It should be noted for greater strength and faster drying of the clay, it should be burned in the oven.
Here is a video of the author of the homemade:
Well, thank you all for your attention and good luck in future projects, friends!